PHOTO DIARY
Click on an image to enlarge it and to enter slideshow
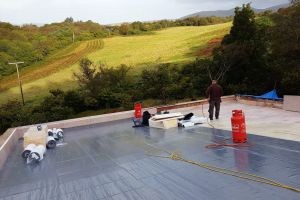
July 2020
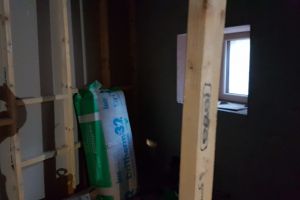
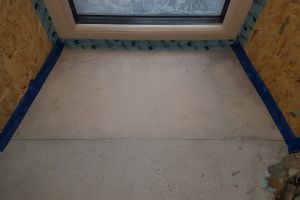
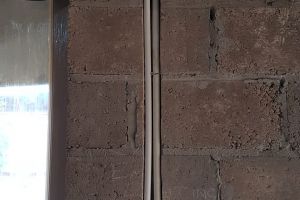
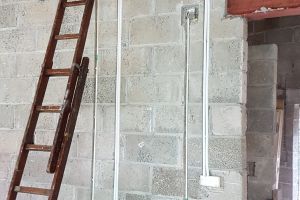
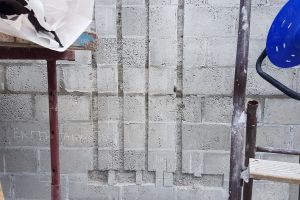
Plasterboard; internal walls; green roof; water connection
June 2020
Lockdown starts to ease and builders return
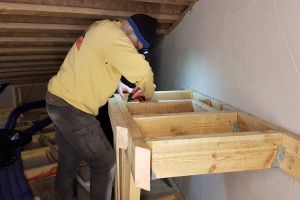
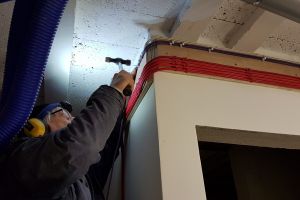
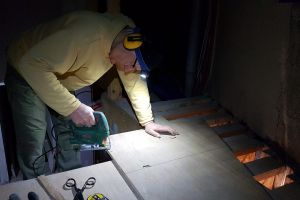
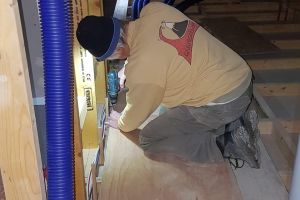
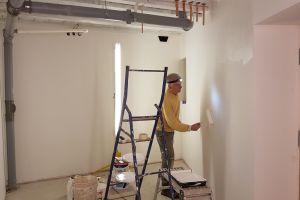
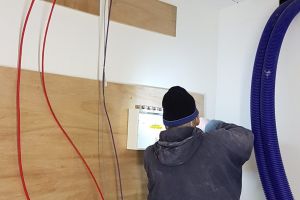
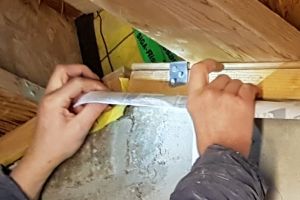
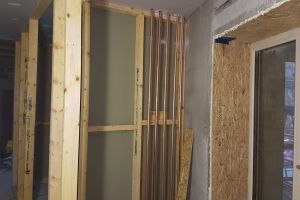
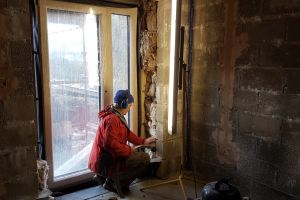
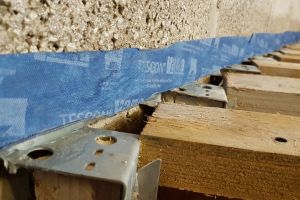
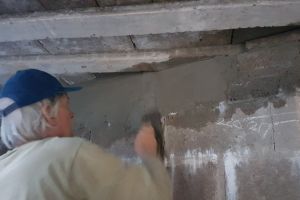
On June 1st Scotland entered Phase 1 of lockdown easing and construction is one of the businesses that is allowed to restart. Our builders have some work left to do at the hotel extension, so Mike puts his carpenter's hat back on and sets to work on the back wall of the kitchen cupboard.
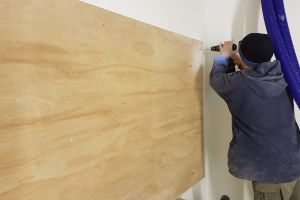
This stud-partition wall will screen off - and protect - the MVHR ducting and cables that pass through this cupboard. Removable boards will be used here so that the area is accessible if any rewiring takes place in the future.
When the house is finished, this space will serve as a pantry, recycling store, wine cellar and general storage cupboard.
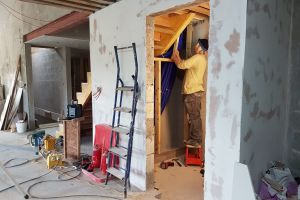
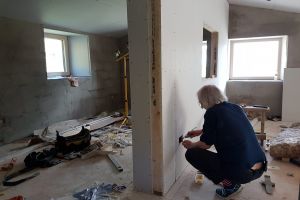
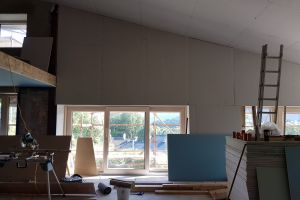
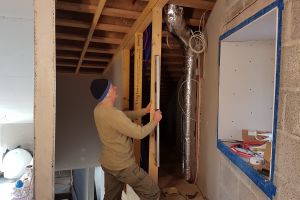
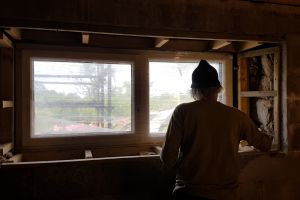
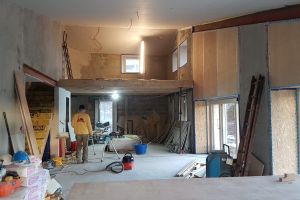
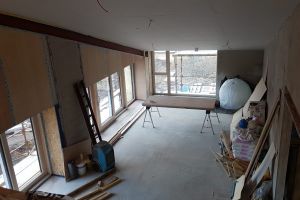
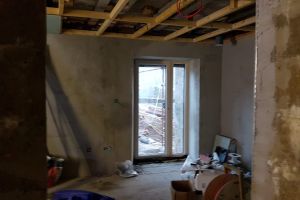
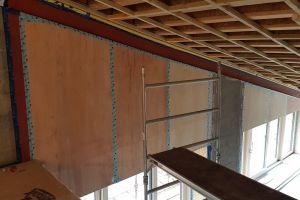
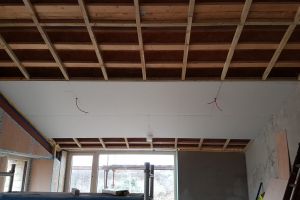
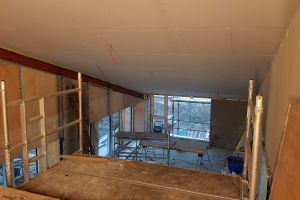
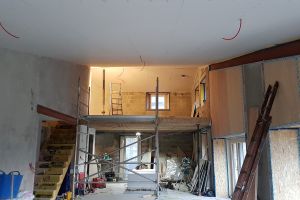
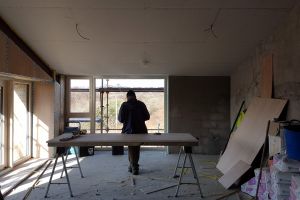
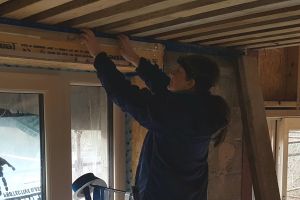
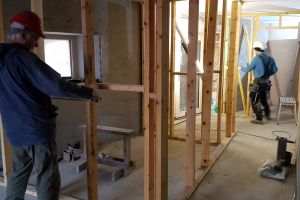
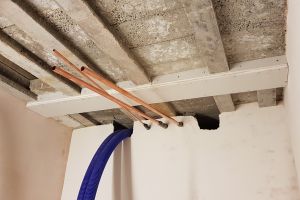
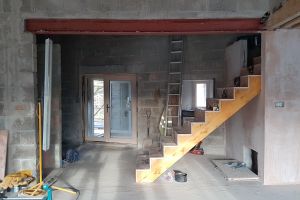
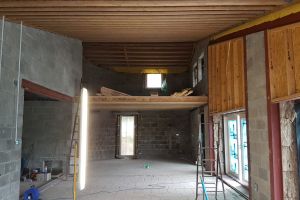
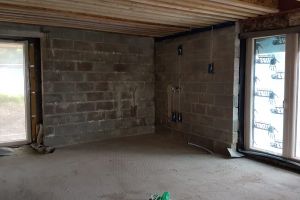
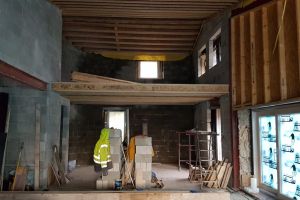
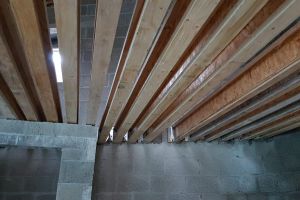
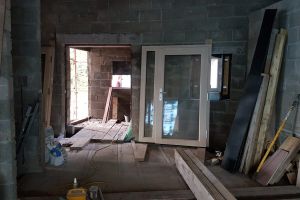
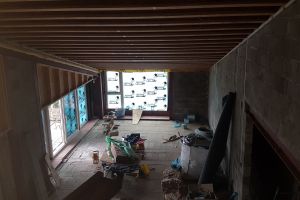
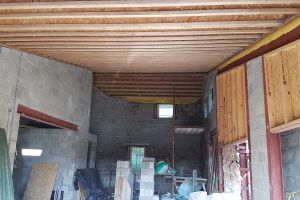
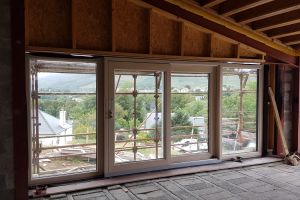
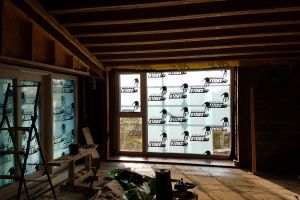
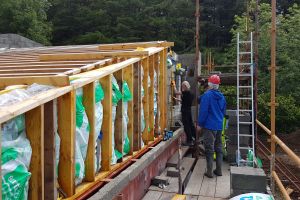
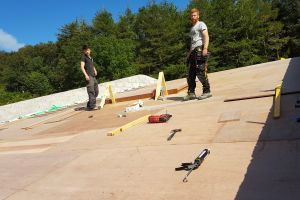
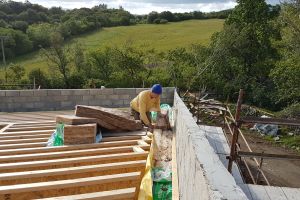
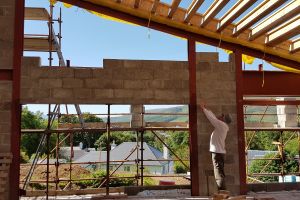
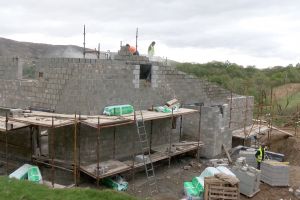
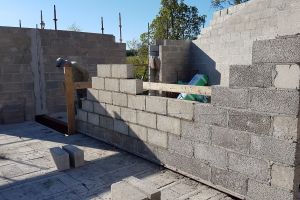
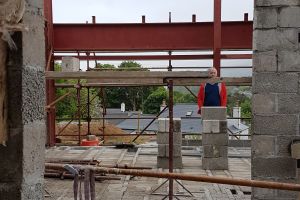
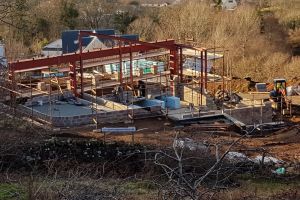
Near the end of June, things really start moving again as several members of the building team return to site. The stud-partition wall on the mezzanine soon begins to take shape.
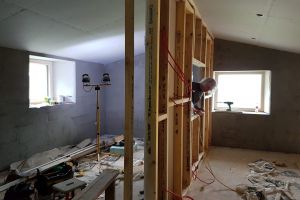
It's now possible to see how this space is divided up: office on the left; 'chill-out' zone on the right.
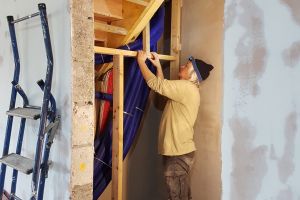
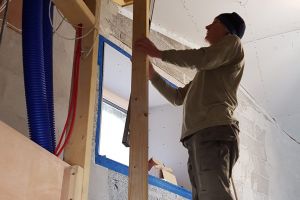
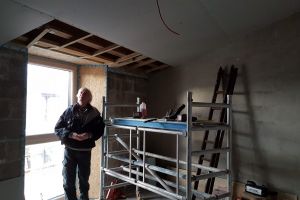
The plasterboard is installed on the office side first.
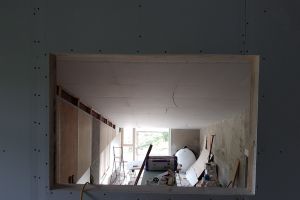
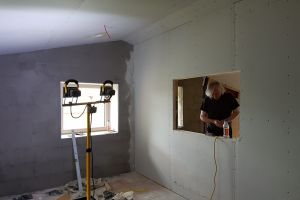
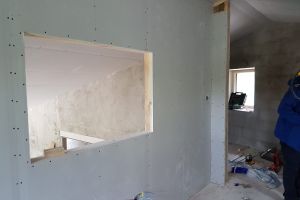
To prevent the office feeling cut off from the rest of the house, the dividing wall features a large internal window.
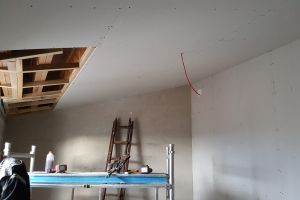
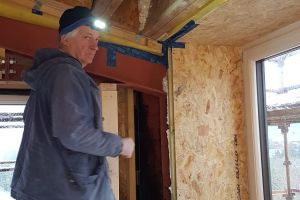
In the office, looking towards the doorway.
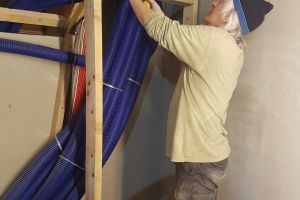
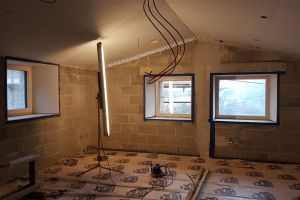
A thin layer of insulation is installed next (this is for sound insulation) and then plasterboard goes on top.
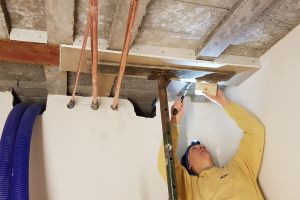
Mike doing some out-of-hours wiring to sockets and switches in the newly finished wall.
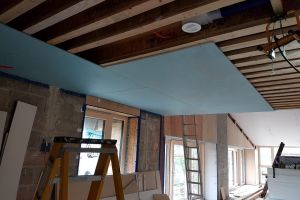
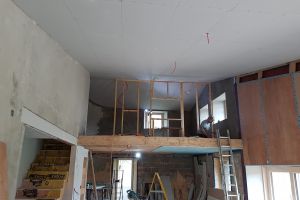
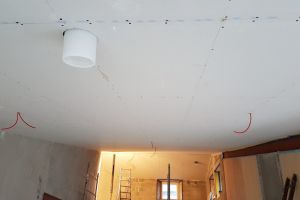
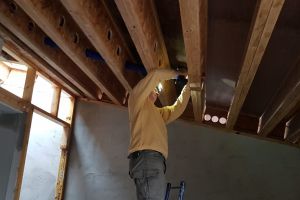
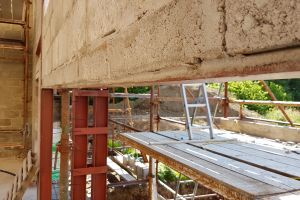
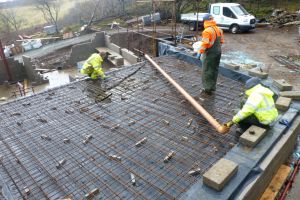
Down below, plasterboard is being applied to the kitchen ceiling.
Two layers of plasterboard are required on kitchen ceilings. Mike checks the dust cover is on the kitchen MVHR extract. Cables for lights and hob are already installed in the ceiling. Mike will cut the holes for those from above once the kitchen units are in place, to ensure that they're in exactly the right place.
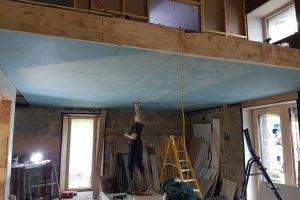
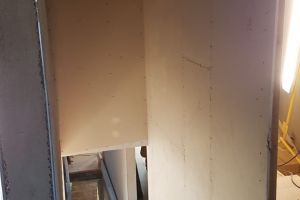
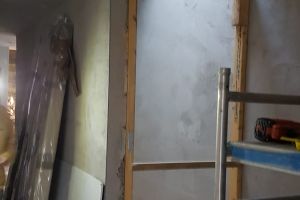
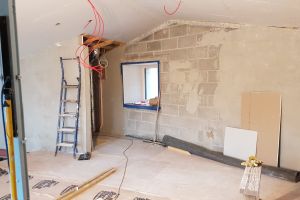
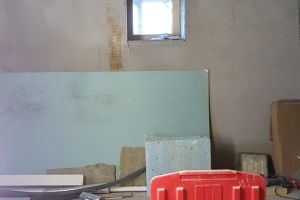
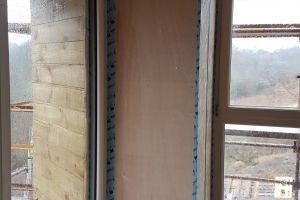
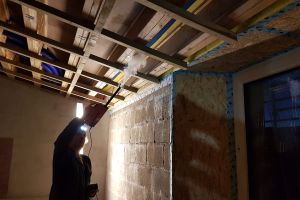
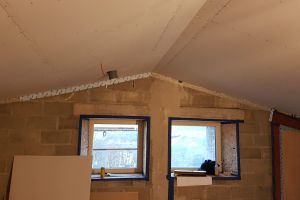
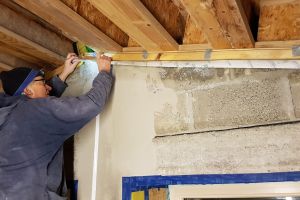
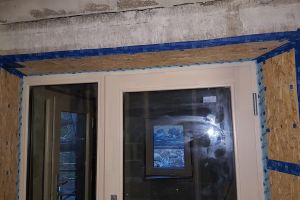
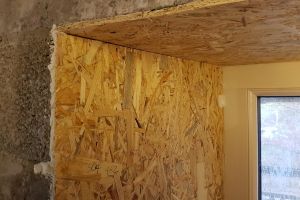
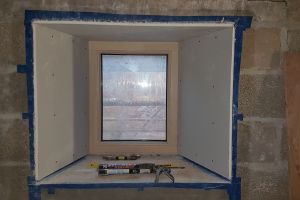
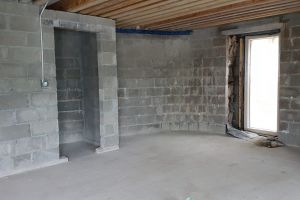
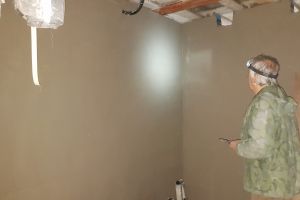
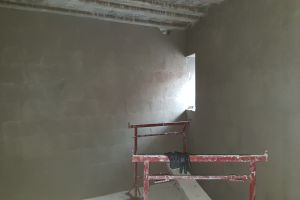
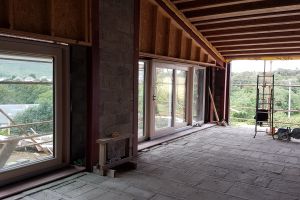
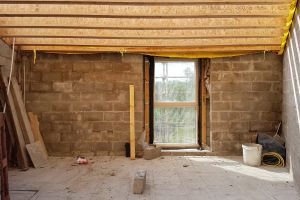
Having finished the kitchen ceiling, the builders move on to applying plasterboard to the south wall and window reveals.
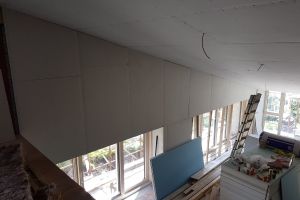
It's strange to see it all looking so uniform. Somehow the addition of the plasterboard has made the room feel smaller.
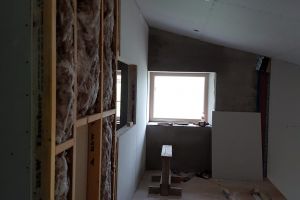
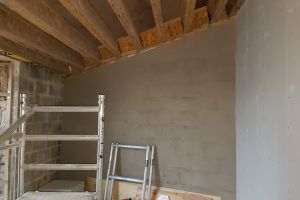
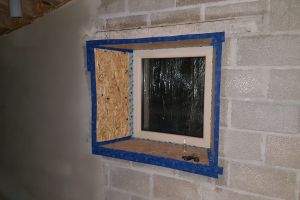
On the lower floor, the studio window has been boarded in.
And the studio ceiling has now been plasterboarded, which makes the room feel a little brighter.
April-May 2020
In Lockdown
Mike keeps things moving
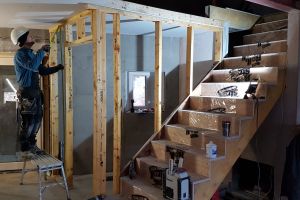
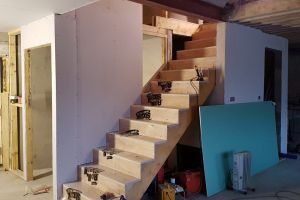
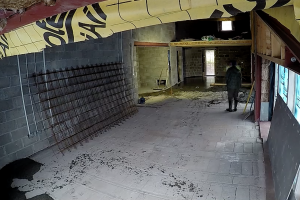
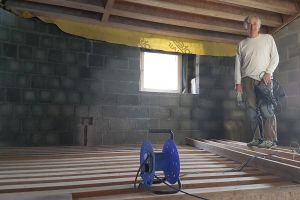
At the beginning of April, with the lockdown firmly in place and no prospect of carpenters returning to work in the near future, Mike decides to finish building the stair wall.
The main timber structure of the wall is in place, but bracing pieces need to be added to attach the plasterboard to.

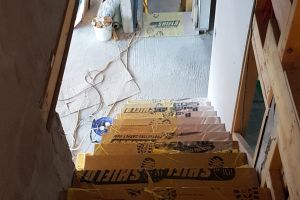
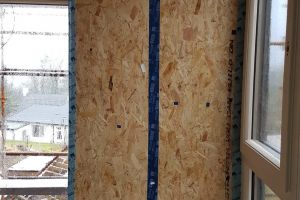
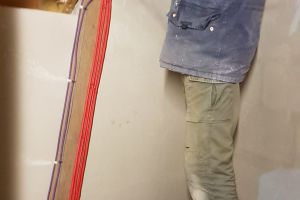
Fixing the sheets of plasterboard in place. Luckily, there was enough of this on site already, as building supply companies are currently closed.
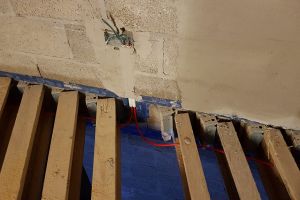
The finished wall. Now we can install the wiring for the stair lights.
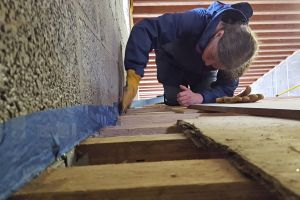
The position of each stair light is carefully measured and marked...

... and a piece of OSB, with a hole in the centre for the wiring, is attached to the plasterboard behind the location of each light, so that there's something solid to fix them to.
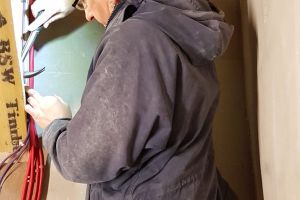
Mike then moves on to wiring up junction boxes in the attic. Most of the upper floor wiring passes through junction boxes here, attached to a board just inside the attic doorway. Unfortunately, it's at floor level, so Mike has to spend hours lying on his side on a hard floor to do the work.
It's a fiddly process but, as always, he makes a very neat job of it.
Mike also installs the wiring for the attic lights. These are all jobs that he would have left until nearer the end, but with no other work happening on site, he's doing everything he can to move things on.
Taking a break from wiring jobs, Mike turns the empty mezzanine into a temporary carpentry workshop and builds himself a mixing desk for his future studio. An exercise in recycling, he's built it from used shuttering-ply and other bits of timber found lying around on site.
After that brief interlude, it's back to finding jobs he can do to move the house build on. Time for some bespoke carpentry in the attic.
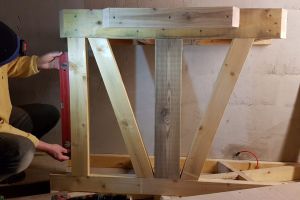
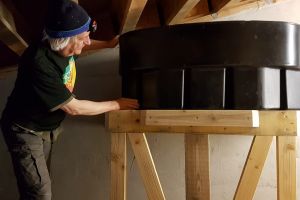
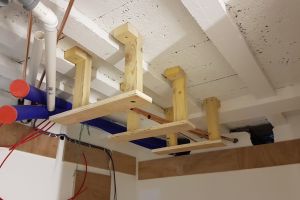
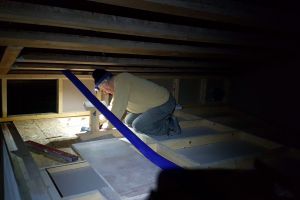
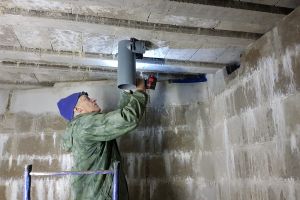
We're installing a gravity-fed water tank in the attic, mainly to provide some buffering in the event of water-supply problems (future droughts; burst water main cutting off supply). Mike is making a platform for the tank to stand on.
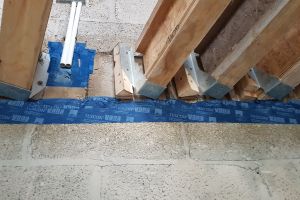
The structure needs to be able to take the weight of a tank full of water. Fixed to the wall at the back, It straddles the attic floor joists above the hall and toilet ceilings.
In the stud partition wall of the toilet below, Mike has fixed reinforcing pieces of timber in place to help take the weight of the tank of water and spread the load.
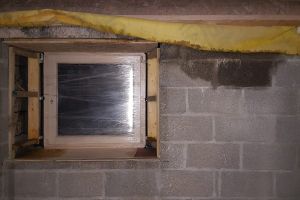
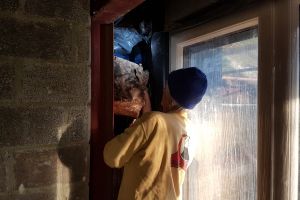
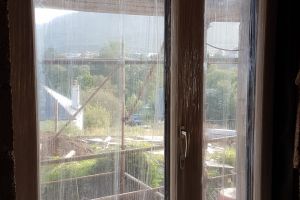
Over the weeks since the lockdown started, we've noticed that the studio window has finally dried out, so Mike now turns his attention to checking and cleaning the insulation.
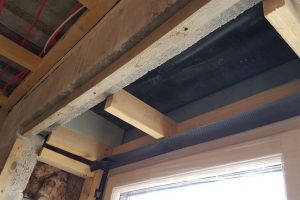
The cavity tray above the window (the black membrane just visible here) tends to slump in the middle, but it would be better if it sloped towards the outer leaf of the wall, so that any water/condensation drains outwards.
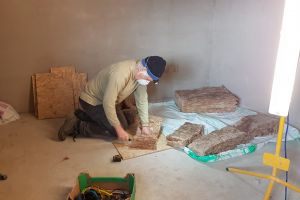
Mike cuts some bespoke pieces from a leftover slab of roof insulation...
...and installs them above the timber supports beneath the cavity tray.
The slope on these should help to stop the cavity tray slumping.
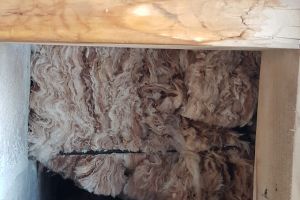
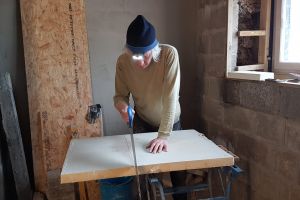
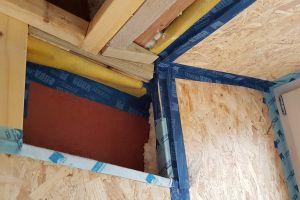
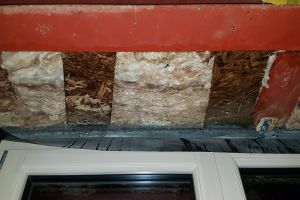
Now it's time to sort out the insulation. Some of it was damaged by the water that got into the cavity and had to be removed. In doing so, we discovered a large gap in the insulation where it hadn't been properly installed when the wall was built.
Mike cuts some insulation to size, and with the aid of a long pole, is able to ensure the gap is properly filled in.
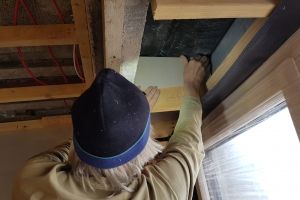
The cavity below the window also needs a good clean out and a top-up of insulation...
...now looking much better and ready for boarding in.
End March 2020 - Covid-19 Pandemic Lockdown Begins
Internal status as work stops
As March comes to a close, an unexpected major delay hits our build. The coronavirus pandemic has reached the UK and the government has decided to enforce a lockdown. All shops, restaurants, hotels and non-essential businesses are closed. Work on site has stopped. It's incredibly frustrating. Just as our builders were about to finish the hotel extension and concentrate their efforts on our house - which is already 6 months late! The hotel project was prioritised over our house because guests were booked in from April this year. It's now lying empty, as the tourists have cancelled. We should already be in our house. But there's nothing we can do. At this point in time, no one knows how long the lockdown will last either. Will we even move in this year?
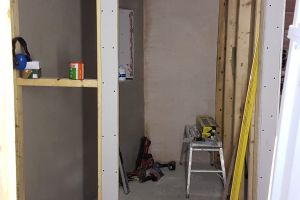
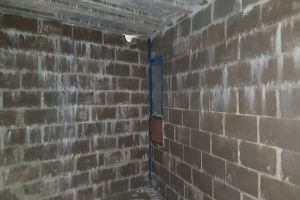
Toilet: stud partition half- finished; soil pipe insulated (the plumbers were the last people to work here, spending a day insulating as much pipework as they could). Room currently being used for storage of excess insulation.
Alcove across the hall, next to the hallway down to the guest bedroom: unfinished; copper pipes insulated.
Guest bathroom: one stud partition wall still to be built. Currently a junk room....
Guest bedroom: window boarded on three sides; ceiling and stud-partition wall plasterboarded.
Guest bedroom: this wall to be finished. The plan is for this to be filled in, but we've asked if a window can be installed in the top section to let light in from the roof window above.
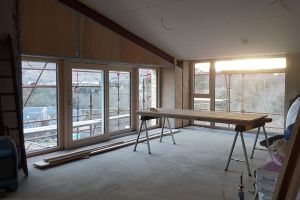
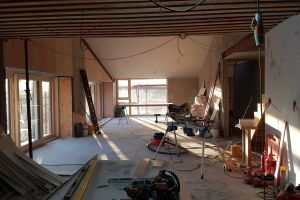
The west end of the main room, looking a little more complete.
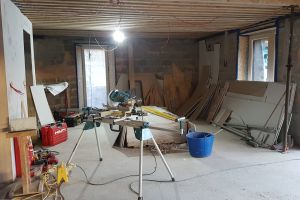
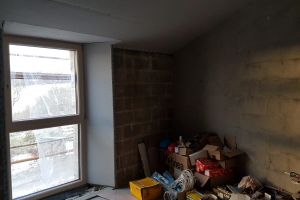
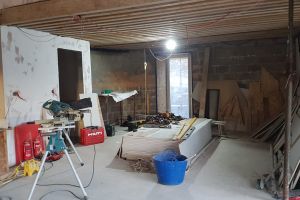
The kitchen - currently piled high with old and new plasterboard and other offcuts.
Looking down towards the kitchen and mezzanine from the west end of the room.
Another view of the kitchen, with the storage cupboard on the left. The pile of plasterboard in the centre is roughly where the L-shaped island will be. This contain the hob and the main preparation area. It's hard to imagine it finished at the moment.
The view down to the west window from the kitchen. The ceiling here is yet to be plasterboarded. The area in front of the first set of windows on the left will be where the dining table sits.

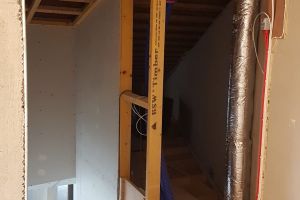
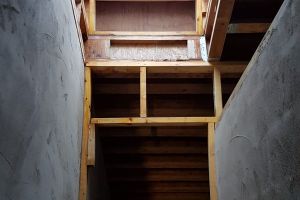
Looking up the stairs to the mezzanine. The stair wall has been left open so that we can get the water tank into the attic.
Looking down from the mezzanine.
The mezzanine - waiting for its stud-partition wall.
Looking back towards the stop of the stairs.
The unfinished stair wall. A door will also need to be put in for access to the attic. The soil pipe has now been insulated.
The attic. The dark shape in the centre of the picture is the water tank. A frame will be built for it to the right of the walkway.
Looking down the stairs from the mezzanine.
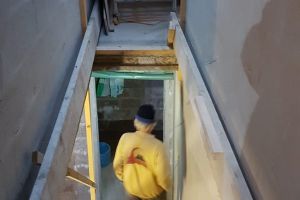
Mike heading down to the lower floor. The wall ahead is waiting to be boarded in.
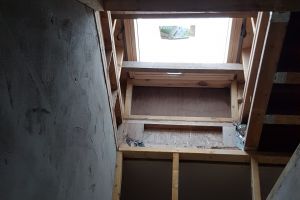
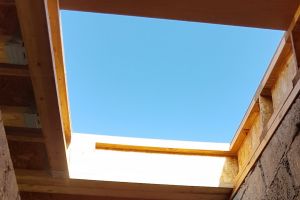
The roof window above the lower stairs. Still waiting to be properly insulated.
Looking up from the bottom. Instead of a banister or handrail, these stairs will have a similar series of wooden battens on the right hand side.
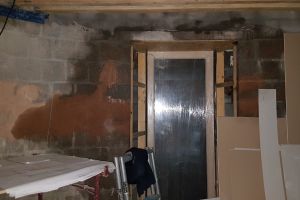
The window in Mike's future studio at the bottom of the stairs. This area has suffered the most from water ingress - mainly from the cavity drying out after it was flooded with rainwater almost a year ago. The plastic insulation wrap on the left has provided a 'pathway' for the water draining out. There are signs that it has now dried out.
Another view of Mike's studio. Waiting for the the ceiling to be plasterboarded, the final coat of plaster and then it's ready for decorating and tiling.
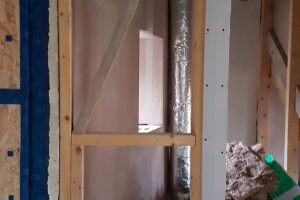
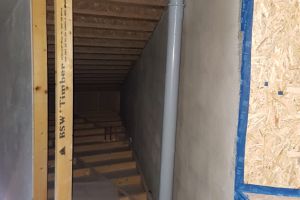
Looking down the lower hallway from Mike's studio. The large opening on the left is waiting for a stud-partition and pocket door section to be installed. This will be the entrance to one of the bathrooms.
Looking into Mike's bedroom...
Each of the two lower-floor bedrooms has it's own en-suite, which will be built into this area between the two bedrooms.

Lizzie's bedroom. The bedrooms seem quite dark at the moment, partly because of the scaffolding. The land outside will be sculpted so that there isn't such a steep bank close to the house.
The hallway seen from the other end. The area under the stairs will be left open to give more of a feeling of space here. Instead of a closed in stair wall here or a banister, there will be wooden battens, which will hopefully add to the open feel.
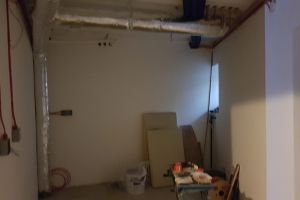
And, finally, the utility/plant room. This is the utility end of the room. A countertop with a sink unit will be built against the end wall, with storage cupboards and the washing machine.
March 2020
Cabling, taping, ceilings and preliminary air test
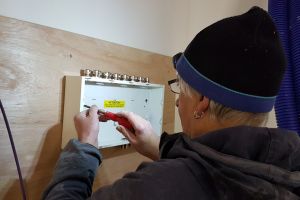
At the beginning of March, after weeks of installing cables around the house, the board in the plant room that houses the consumer unit is looking a lot less empty. Now all Mike has to do is connect them all up....
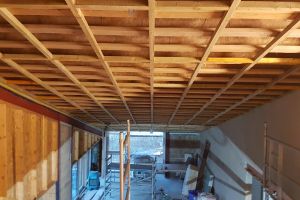
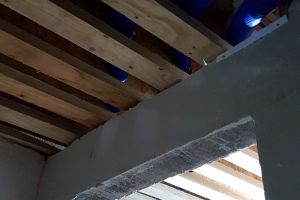
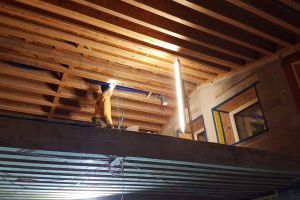
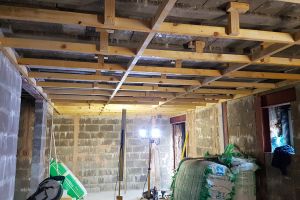
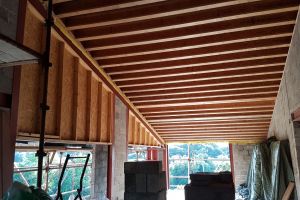
The joiners, Seumas and Max, have finished battening the upper floor ceiling...
...and the ceiling above the mezzanine.
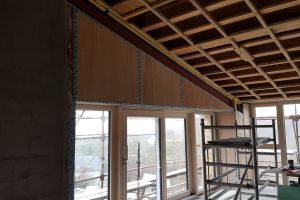
The timber-frame sections of wall built above the south-facing windows have now been boarded in.
These sections were originally going to be built from blocks, but the weight of the blocks was too heavy for the steel beam below them, so a timber-frame section was constructed instead.
The reveals around the window have also now been boarded in and all joins airtightness taped.
And the difficult south-west corner has also been fully insulated and boxed in.
Once again, plenty of expanding foam and airtightness tape has been used prevent future air leaks.
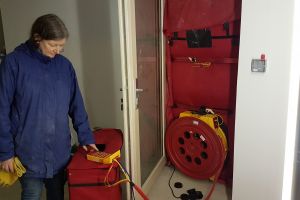
Before the plasterboard is applied to the upper floor ceiling, making the internal roof structure inaccessible, it's time for a preliminary air test to look for leaks in the external structure. The house is far from complete - for instance, one window is still waiting to be boarded and taped and there are one or two other known air leaks and weak points. However, this should give us an idea of how we're doing and will show up any problems in the roof area. Lizzie prepares to switch the machinery on. A 'blower door' containing a huge fan has been set up in the plant room doorway (all other doors and windows are kept closed). The fan sucks the air out of the house...
...we then work our way round with a smoke gun looking for air leaks. You aim the smoke gun towards areas you want to check and, because the house has been depressurised, any air leaks - no matter how small - will disrupt the smoke stream as air is sucked in from outside.
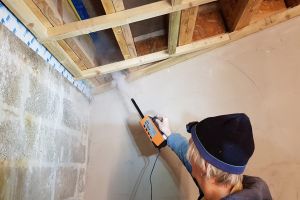
Here, Mike is checking the guest bedroom ceiling - corners and junctions can be weak points.
Window reveals are another area that need to be checked rigorously. Mike tests the difficult south-west corner that caused him so many headaches. Happily, he doesn't find any leaks. In fact, we don't find any (unexpected) leaks throughout the entire house, and the air test result is surprisingly good considering the house isn't finished yet.
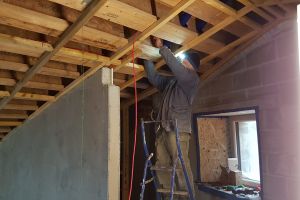
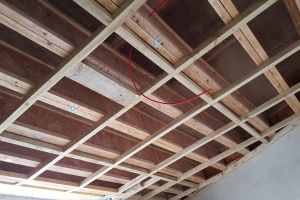
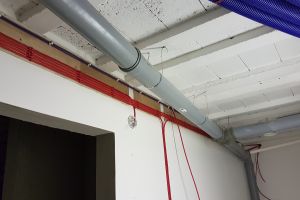
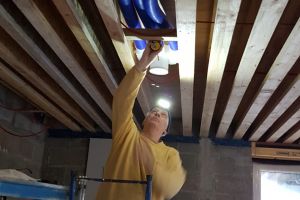
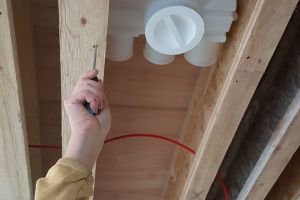
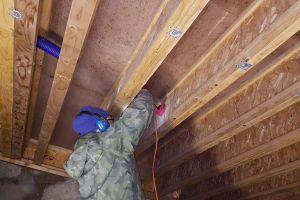
There's one more urgent job to do before the plasterboard goes on the ceilings: put in the mezzanine lighting cables. These run from a junction box just inside the attic and are then threaded through the ceiling joists.
The ends of the cables are left hanging in the approximate position of the lights - this will be one of the office lights. The joiners will cut a hole in the plasterboard to bring the cable through.
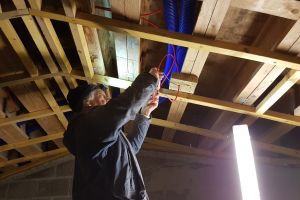
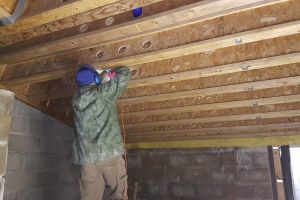
Mike tidies up the cable for one of the mezzanine lights.
Now the plasterboarding begins...
And at the end of the day, this is the finished ceiling looking down from the mezzanine. The plasterboard changes the whole look and feel of the room.
Looking up from below....
Here you can see where the joiners have cut holes in the plasterboard to bring through cables for the lights and smoke alarm and, in the foreground, the end of the white MVHR plenum, which will be cut down so that it's flush with the ceiling.
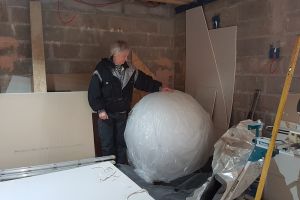
What's this that Mike's standing next to? Is it a giant golfball? No, it's actually one of the lights for the main room. This one will hang in the highest part of the ceiling, in front of the mezzanine and above the dining area. It's called an 'Oh!' lamp. Two much smaller versions will hang in the lower part of the ceiling over the living room.
The newly plasterboarded ceiling above the mezzanine. This space will be divided in two by a stud-partition wall. The area on the left will be an office; the area on the right will be a sitting area overlooking the main room. Both will have great views from the windows.
Now that the plasterboard is on you can see how low the ceiling comes down at the west end of the main room. It draws the eye to the view out of the west window (over the croft) and will make the living room end of the space feel cosier.
The next ceiling to be plasterboarded is in the guest bedroom.
This ceiling was going to be flat, but we asked for it to be left sloping to add a bit of height and interest.
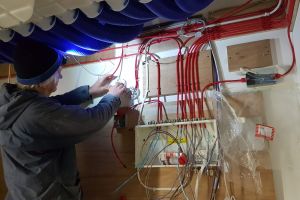
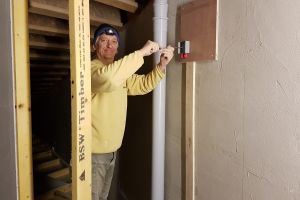
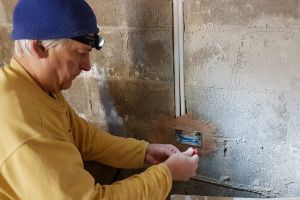
Mike now returns to cabling duties in the plant room.
Boards have been attached to the plant room walls to take the cable runs for the bedrooms, Mike's studio, the lower hall and the plant room itself. Each cable that comes into this room is cable-clipped to the board. Slow and time-consuming work.
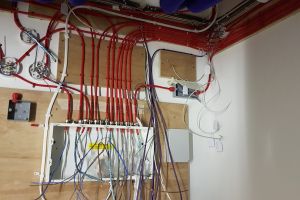
The consumer unit - and the boards above it - are filling up. Good labelling is the only way to ensure you keep track of what everything is!
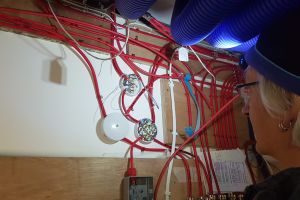
Time to wire up some of these junction boxes. Now, which cable goes where...?
February 2020
More MVHR ducting and airtightness taping, stonework and balcony frame
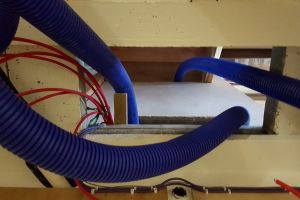
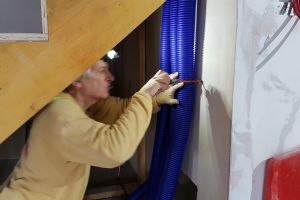
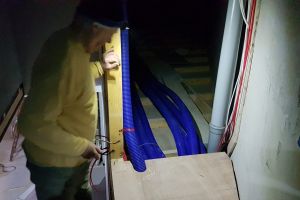
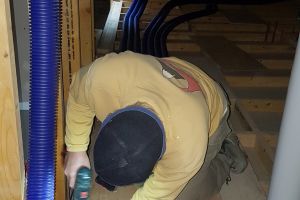
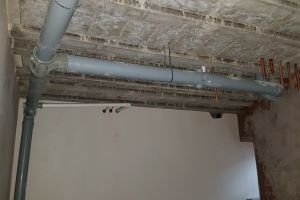
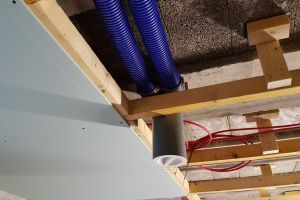
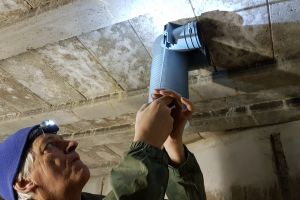
Installation of MVHR ducting continues into February. We need to have it all in place before the builders return to plasterboard the ceilings. This is the view looking up through the access hole in the plant room ceiling, with the MVHR ducts snaking their way up into the cupboard in the kitchen. Hope we can fit all the ducts in....
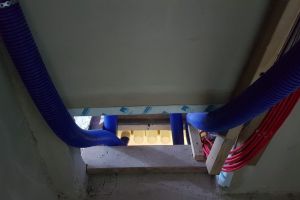
And this is the view looking down into the plant room from the cupboard. The cables that share this space have been cable-clipped neatly to the wall on the right. It's certainly going to be a tight fit.
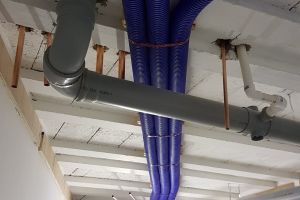
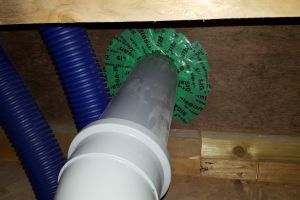
This is the duct that will extract stale air from the upper floor toilet, which is situated on the other side of this wall. As the ducting only has a short distance to go, it's taking a more circuitous route out of the plant room than the others, to lengthen its run. If the ducting runs are too short it reduces performance.

Here it curves its way round to connect with the plenum, which is installed in the back wall of the toilet.

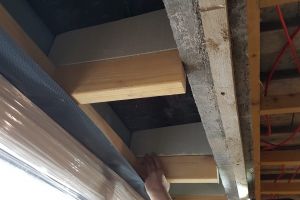
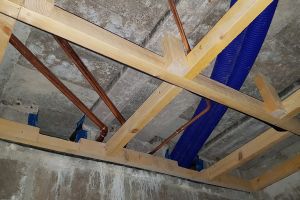
Most of the ducts will run into the cupboard and on up to the attic, but these kitchen extract ducts take a different route. They go straight up under the stairs (held in place by two battens) and enter the kitchen through holes cut in the i-beams that form the kitchen ceiling/mezzanine floor.
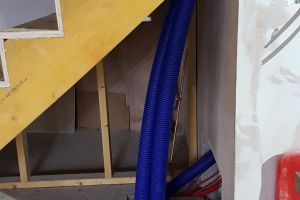
From the main room you can see the kitchen extract ducts emerging from the plant room access hole and heading straight up. Eventually, this understairs area will be boxed in, with a hidden access door.
Mike fixes the ducts to the wall to stop them flopping about.
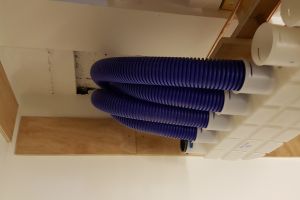
Inside the cupboard, you can see where the extract ducts make their way out into the kitchen ceiling.
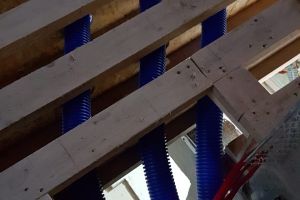
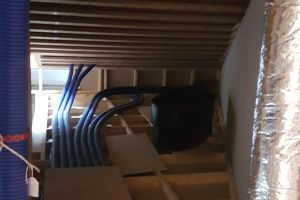
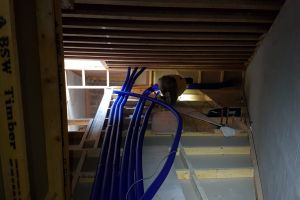
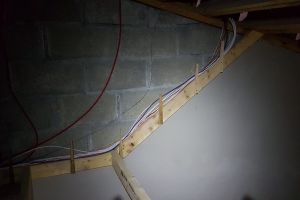
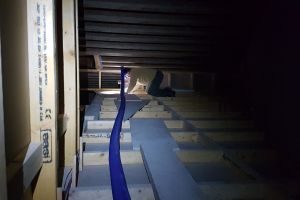
This is the scene at the top of the stairs, beneath the boards that form the mezzanine floor. Cables and MVHR ducting vie for space between the floor joists. Mike has spent a many hours on the tedious and often difficult task of cutting out holes for them to pass through.
The kitchen extract ducts in their final position, fixed into the plenum in the ceiling. Mike is attaching battens to help keep them in place.
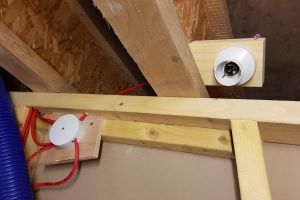
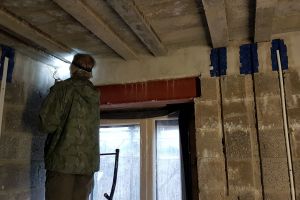
These ducts, just inside what will be the attic doorway, are the air feed for the mezzanine. They pass on up into the i-beams above and then make their way across through yet more holes that Mike had to pre-cut. Mike is strapping them to the stud partition wall to keep them tidy and away from the doorway.
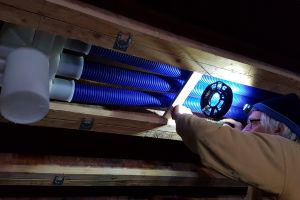
Up on the mezzanine, the ducting for the air feed is now in place - you can just make out the grey plenum in the ceiling ahead of Mike.
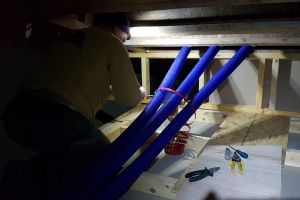
The final run of ducting to put in is for the guest bedroom air feed and the en-suite extract. These sit alongside the ducting for the main living room in the attic.
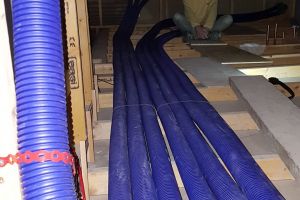
Mike surveys his handiwork on completion. The three ducts on the left are the feed for the main living room; those on the the right are for the guest bedroom (two air feeds) and its en-suite (two extracts). They're strapped to the floor to stop them moving around.
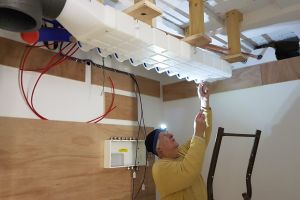
Now Mike can move onto his next job - more bespoke carpentry...
First, he cuts this section of mezzanine floor, in the attic doorway, to fit around the newly installed ducting.
Then he sets to work building a raised walkway in the entrance to the attic, which will both cover and protect the ducting.
It's a very neat job and will make accessing the attic much less hazardous.
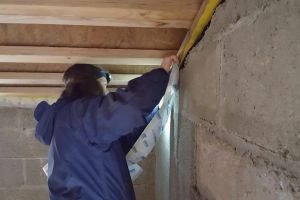
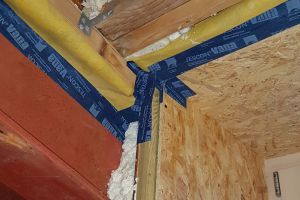
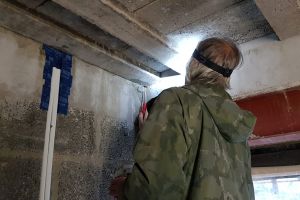
While Mike is busy with the carpentry, Lizzie finishes the airtightness taping of the roof membrane to the mezzanine walls.
This particular tape has a 'fleecy' backing, which makes it ideal for plastering over, ensuring a perfect airtight seal around the tops of the walls.
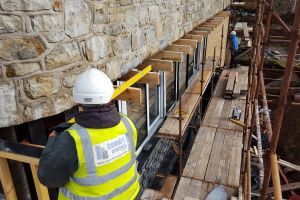
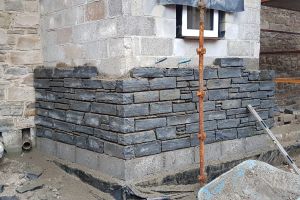
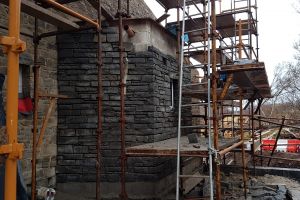
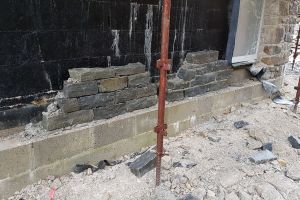
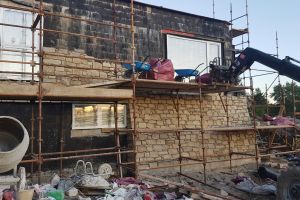
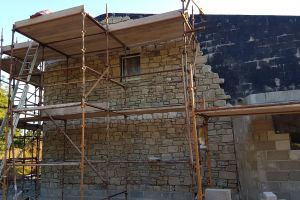
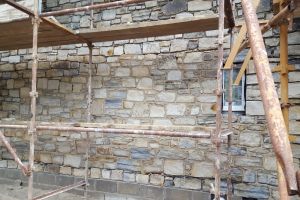
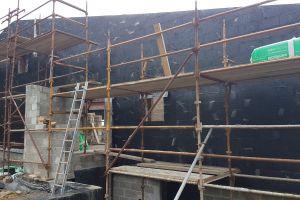
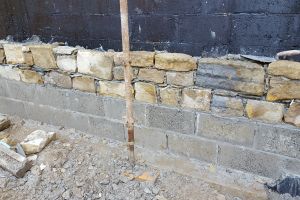
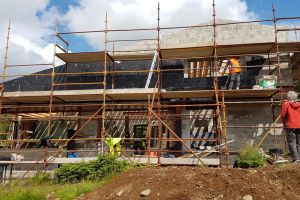
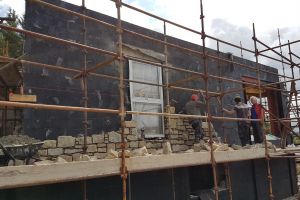
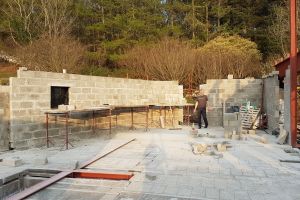
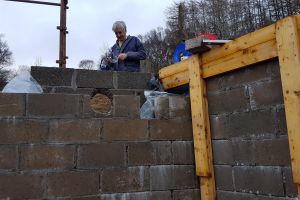
Back outside, Fela and Frankie have completed the dark sandstone section of wall beside the kitchen door, which looks great. All that remains is for it to be cleaned up and pointed.
Anticipating the arrival of the builders on site again soon, we hurry on with the airtightness taping around the upper floor windows. This is one of my favourite windows, on the eastern side of the house, in the kitchen.
Every join is taped, even at floor level.
Lizzie sorting out the airtightness at the top of the kitchen door.
Mike puzzling over the conundrum of how to make the south-west corner airtight. With windows either side, and what is effectively a box filled with insulation between them, with part of the metal frame passing through it and lots of awkward junctions and meeting points of different parts of the house and different materials....
Keeping your eye on the 'airtight line' is tricky in areas like this - but judicious use of expanding foam and airtightness tape should do the job. We'll find out when we do the airtightness test....
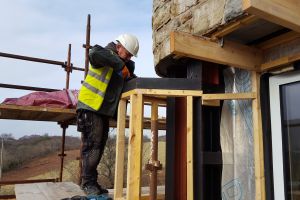
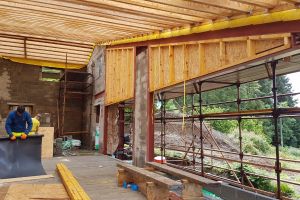
In mid-February, the builders arrive back on site and begin constructing a wooden frame around the south-facing windows.
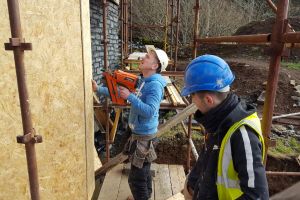
Aran looks on as Alan fixes the OSB boards together...
Brian creates an open frame at the south-west corner....
View from the top...
Checking the levels....
At the end of a day's work, the frame has been covered in boards.

These boarded sections will be clad in bronze metallic sheets.
Seen from the front, now complete, this structure frames the windows and will provide summer shading for the south-facing windows. Once clad in bronze it will also add a bit of drama and interest to the front of the house.
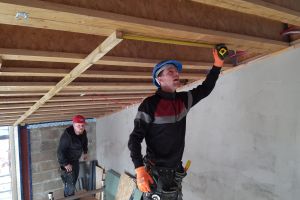
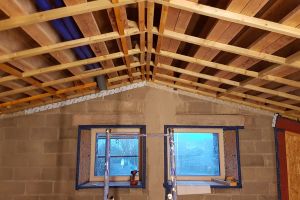
At the end of February, freelance joiners Max and Seumas arrive to tackle the plaster boarding of the main ceiling. First job: installing the battens.
January 2020
Cables, utility room and MVHR ducting
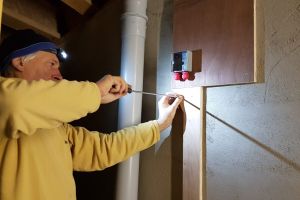
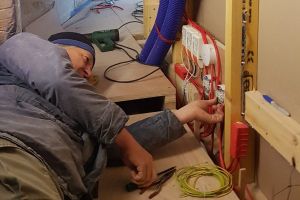
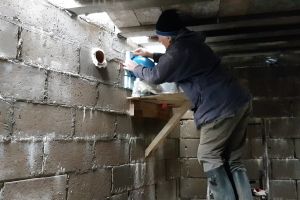
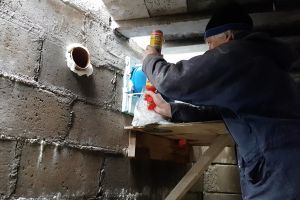
At the start of January, Mike sees the New Year in by installing his first socket in the attic.
This is obviously something to smile about....
The following day, we begin installing cables in the main living space, threading them through holes drilled in the i-beams and down into the conduits, which have now been plastered in.
Some of this cabling work involves being up at the top a very tall ladder - something the electrician's assistant doesn't look too happy about.
In the attic, a bespoke cable tidy consisting of a series of wooden pegs, put in by Mike, keeps the wiring for the entertainment wall and living area in order.
Fulfilling another New Year's resolution: to paint the utility/plant room. We wanted to do this before installing the 'plant' as it's much easier to paint an empty room.
As soon as the paint is dry, Mike fixes a large board to the plant room wall. This will become the operations centre for all the electrical wiring.
And the first thing Mike fixes to the board is the consumer unit. All of the main house wiring starts and finishes here.
The hole in the ceiling above the consumer is designed to take the MVHR ducting and cable runs to the upper floor, attic and mezzanine.
Cables run up from the plant room into the back of the cupboard in the kitchen. Here they are neatly cable-clipped against the wall.
From the cupboard in the kitchen cables then continue up into the attic and from there they are run out to their destinations around the house.
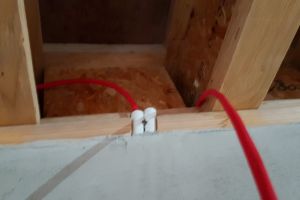
These cables for the sockets on the mezzanine have been run under the floor through holes drilled in the i-beams. This can be time-consuming and difficult as the mezzanine floor joists are very close together, so getting between them to drill the holes is a challenge.
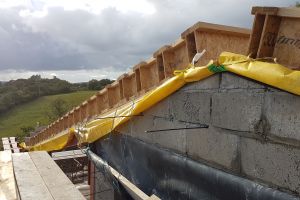
With most of the cables for the mezzanine in place, we take a break from wiring and move on to airtightness taping at the edges of the mezzanine ceiling. When the roof beams were installed an airtight membrane (just seen here in yellow) was put in place between the ends of the beams and the top of the wall (the roof insulation is on the other side of this). The ends of this membrane hang down below the wooden batons that run around the edges of the ceiling. This must be taped down to the wall with airtightness tapes before the ceiling is plasterboarded and before the wall is plastered.
The airtightness tape seals the membrane to the wall and completes the airtightness barrier.
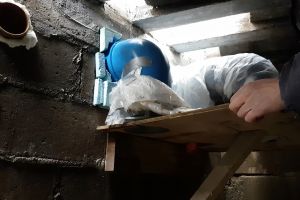
December's stormy weather theme has continued into January. Strong winds have blown the temporary cover off the roof window, which is still waiting for its flashings to be installed. As a consequence, rain penetrates the area around the frame, saturating the wood below. An urgent call to the builder has been made.
The stairs beneath the roof window are also saturated every time it rains. Let's hope this can be remedied soon.
The MVHR unit is now in place in the plant room. Mike built the table it's standing on about a year ago. He installed the blue air intake and exhaust ducts a year ago, too. They have to marry up with the openings on top of the unit and, thanks to careful measurements being taken at the time and the making of a template, their positions are spot on.
Our next job is to install the manifold, part of which can be seen leaning against the wall here.
Before the manifold can be installed, there's more carpentry for Mike to do.
There are three sections to the manifold and they are suspended from ceiling via Mike's wooden structure. Two will take the ducts feeding air into the rooms; and one will take the extract ducts.
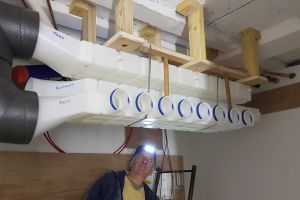
Mike 'admires'(?) his handiwork. All three sections of the manifold are now in place. Extra supports and strap band will help to keep them firmly in place. Once all the ducts are installed, it's going to be very crowded in here.
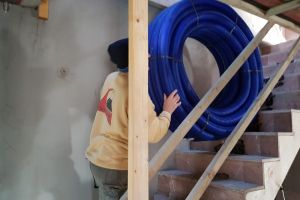
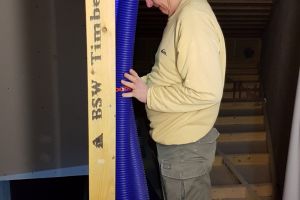
Now we can start the installation process. Mike brings a roll of MVHR ducting down to the plant room. This flexible ducting comes in set lengths that are cut down to fit.
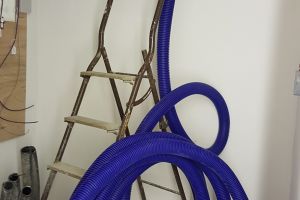
While one of us unrolls the ducting and feeds it through the appropriate access hole ('like wrestling with a large, unruly snake'), the other manoeuvres it across to its destination.

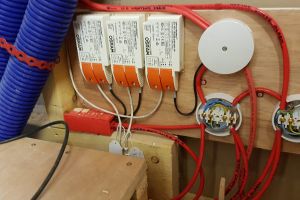
Back in the plant room the manifold sits - like a row of open mouths waiting to be fed...
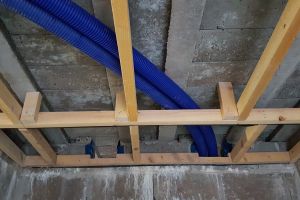
The first two feeds to the bedrooms are in place. The ducting is pushed into the correct hole in the manifold and then the blue clips are slotted into place to hold it in. It's a fairly tight fit, so there's no danger of it falling out when in use.
By the time all the feeds and extracts to the bedrooms and bathrooms are in, the suspended ceiling has become a spaghetti junction of blue flexible ducting.
So far, so neat... but there are plenty more to be installed.
The feed to Mike's studio and the extract from the plant room weave their way across the plant room ceiling.

Two of the ducts carry on through to Mike's studio; the extract is positioned at the end of the plant room (left) where the washing machine and sink will be.
As the plant room is 'finished' the proper extract valve has been installed.
The next MVHR duct installation is the feed to the living area. First, Mike fixes the plenum to the ceiling between the roof i-beams. As this is a large room, this plenum is fed by three ducts.
Mike's next job is to increase the size of the holes cut into the guest bedroom i-beams. The ducting passes from the attic down through holes cut in the i-beams, then bend round and pass on through the three holes you can see cut into the beam at the top of the wall. The i-beam holes aren't quite large enough to accommodate the bend of the ducting, so Mike is expanding them.
The lengths of ducting are fed up through the hole in the ceiling of the plant room into the cupboard in the kitchen. From there they are fed through a hole in the attic floor...
...and along the attic floor to the guest bedroom ceiling.
Before continuing, Mike has another bit of bespoke carpentry to do. He makes a stand to fix the three lengths of ducting to where they rise up from the floor.
Once the third duct is in place, Mike uses strap band to fix them in place in the attic.
The three ducts are now slotted into the plenum in the living room ceiling. Mike puts in batons between the i-beams to stop the ducts from slumping and guard against them pulling free from the plenum.
December 2019
Guest en-suite, attic and toilet constructed, porch stonework, first plumbing, airtightness taping and water ingress
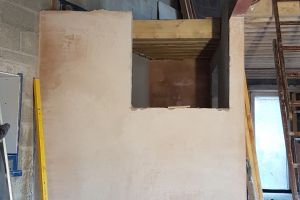
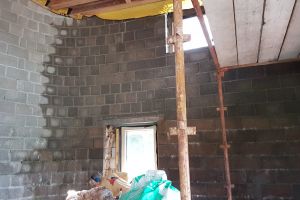
At the start of December, Iain the carpenter moves on from stair-building to constructing the ceilings and walls of the guest bedroom en-suite, hall and upstairs toilet. These ceilings also form the floor of the attic, as seen here. This is an important space as many of the services will run through here. It will house a gravity-fed water tank, as well as a small amount of walk-in storage space.

The timber structure is built first and then plasterboarded.
Once the ceiling is in place Iain can move on to buildng the internal partition walls. This is the guest bedroom en-suite. Mike is measuring up for positions of light switches.
And this is the guest bedroom. The timber partition wall (on the right) has been plasterboarded. In the original plans, this room was designed with a flat ceiling, but we decided it would look more interesting if it was left as a sloping ceiling. It also makes it feel more spacious and less 'box-like'. Hopefully, future guests will agree.
Iain is working on the walls of the little upstairs toilet.
Another view of the upstairs toilet with some of the plasterboard in place. The house is 'wedge-shaped', not rectangular, so the toilet has an interesting wall that slopes inward.
The (almost finished) toilet wall is also the wall of the stairs to the mezzanine.
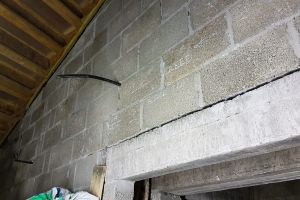
Outside, the stonemasons have moved on to the porch, which is to be clad entirely in the dark sandstone.
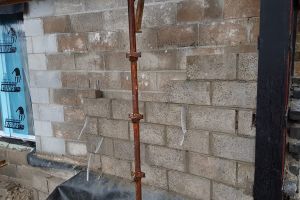
Electrician Mike can now start bringing cables up to the guest bathroom....
... but first he has to drill some holes down through the concrete floor into the plant room below - and the problem with reinforced concrete is, there's always a chance you'll end up hitting steel.
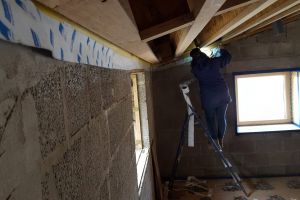
Meanwhile, airtightness taping expert Lizzie tackles another window - this time, up on the mezzanine.
Water ingress has become a nagging problem as the weather turns stormy in December. We're still waiting for the zinc cappings to go on the roof, so water is still getting into the cavities in places. This is a window at the east end of the mezzanine.
A damp area around the window at the east end of the upper floor...
Saturated boards above the west window. The south-west corner lets in a lot of rain as the external stonework and other details have not been finished yet.
Back outside, the porch stonework is almost complete.
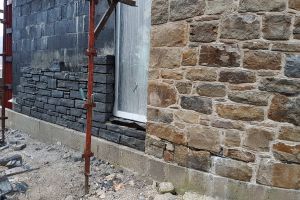
Work has begun on the final section of the east wall; the dark sandstone provides an interesting contrast to the natural sandstone.
This wall, to the right of the kitchen door, is being built out at one end, so that it slopes inwards towards the door. This section will also be clad in dark sandstone.

With the Christmas break looming, we're keen to get the plant room 'finished' so that we can paint it and start installing 'plant'. The walls have been plastered and the plumbers have installed some of the pipework that crosses the ceiling, so we know where we can site the MVHR manifold, which all the ducting plugs into. The manifold will sit alongside the air intake and exhaust ducts (seen here, still wrapped in their protective covers), which Mike installed a year ago...
These pipes will carry the wastewater from the upstairs toilet and guest en-suite. Normally they'd be boxed in or out of sight, but as this is a no-nonsense plant room, we'll be leaving them on view. Being a passivhaus, all the pipework will be insulated to guard against heat losses.
Copper water pipes coming through from the plant room to supply the en-suite bathrooms will be hidden in the suspended ceiling, along with the MVHR ducts and cables.
Hidden at the back of this alcove in the upper hall (which will be plasterboarded in, of course, and will provide a space for hanging coats), these copper pipes will carry water to and from the tank in the attic above.
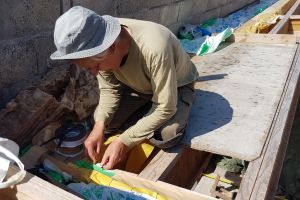
The plumbing has been installed in the upstairs toilet. The pipe going up through the ceiling is the soil vent pipe...
...it passes through the attic and out onto the roof.
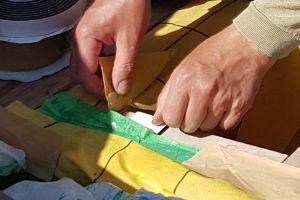
Where the soil vent pipe penetrates the airtight barrier of the roof on its way outside it has to be made airtight. This is done using a combination of expanding foam to fill any holes and airtightness tape. The pipe will then be insulated.
The porches sit outside the airtightness barrier, so it's important to pay meticulous attention to airtightness detailing around the door into the house.
Airtightness tape covers every joint and junction. The door was a tight fit, without much frame showing, so lapping the tape onto the edges of the door was a challenge. The light blue tape has a split backing, which makes it easier to use in tight corners.
On the right hand side of the doorway, where the blocks were cut away, there is a rough section of concrete that can't be insulated to make it airtight before being boarded over. Instead, overlapping layers of tape have been applied to the whole section and awkward holes filled with expanding foam.
While the builders are enjoying their hard-earned Christmas holiday, for Mike, Boxing Day takes on a new meaning this year. One of the structural steel beams passes across the plant room ceiling and fire regs require it to be boxed in. So, Mike did just that..
The newly boxed in beam, ready for painting - our next festive entertainment.
November 2019
Black sandstone, stairs, airtightness taping, cables and MVHR ducts
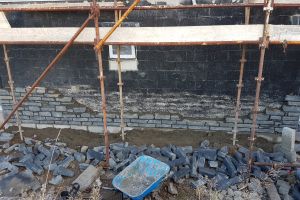
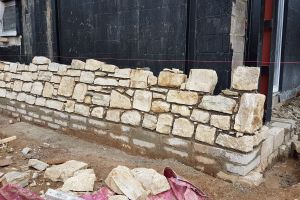
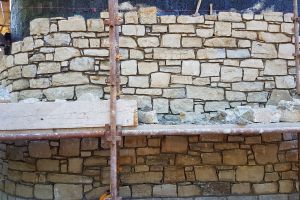
At the start of November, the stonemasons take delivery of the black sandstone, which will clad some of the lower sections of the external walls and the porch. Fela prepares some test sections to show the different options: pointed or unpointed. We choose to have it pointed, but with a much darker mortar.
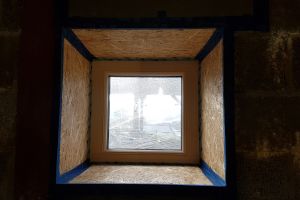
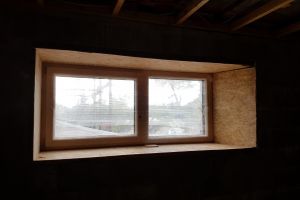
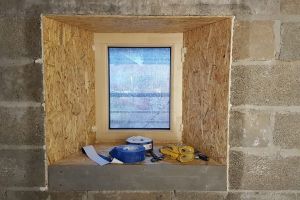
The lower floor bathroom window. The reveals have been boarded with OSB and then taped. It wasn't possible to splay the reveals in this room; it shows the 'tunnel' effect if they're not splayed.
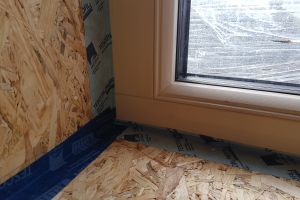
A close-up showing the airtightness tape lapping across from the OSB onto the edge of the window. Tape is also applied where the two pieces of OSB meet.
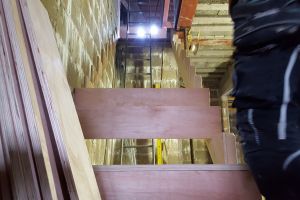
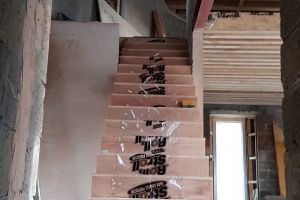
After months of using a ladder to access the lower floor (tricky, if you're carrying lots of tools), work begins on the lower staircase.
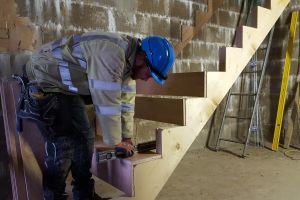
Iain the carpenter, hard at work fitting the treads and risers to the stairs.
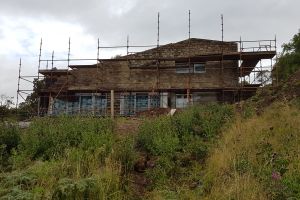
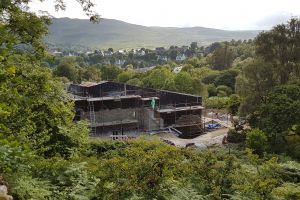
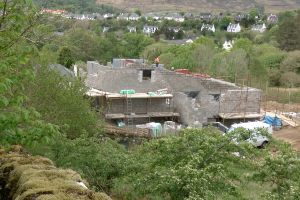
The house is looking pretty good on this beautiful November afternoon - can't wait to see it without scaffolding.
Fela and Frankie start work on the section of wall below the large south-facing windows. The dark sandstone should be a pleasing contrast to the natural sandstone of the rest of the house.
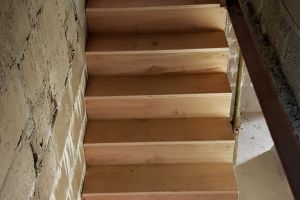
Back inside, the lower stairs are now finished...
...and the mezzanine now has a floor.
Another window boarded and ready for taping.
Any gaps or holes, where the OSB meets the blocks or the window, are filled with expanding foam, which is then sliced off neatly before taping.

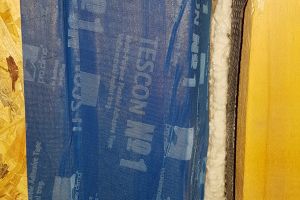
The airtightness tape is applied next. Airtightness tape has a very strong adhesive, and sticks well to wood and metal surfaces, but where it laps over onto concrete or stone, the surface must be pre-painted with a PVA-type adhesive first, to make sure that it sticks well.
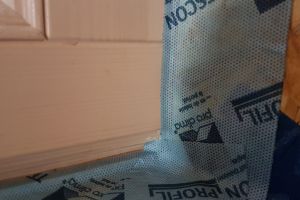
Corner details can be tricky, but it's important to make sure the tape covers every possible gap or join. This tape comes with a split backing paper to make it easier to use in tight corners.
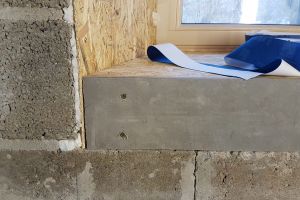
Here, the blocks hadn't been laid to the right height for the windowsill and it had to be built up with cement board...
...every edge and join in the cement board has to be airtightness taped.
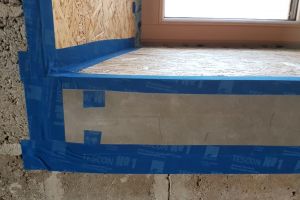
And here's the window just before the wall is plastered. The plasterboard has been installed on top of the OSB. Only the sill has been left - this is possibly going to be slate or timber. Discussions are ongoing...
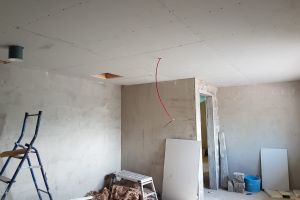
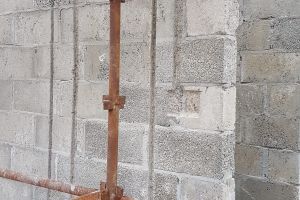
A strange wavy shape has appeared on the wall above the lower stairs. Is it an exotic snake?
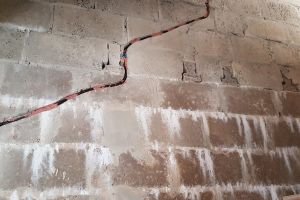
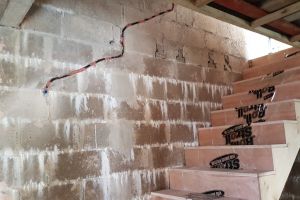
This unconventionally shaped conduit was chased out by Mike for the stair light wiring. Short sections of blue conduit have been inserted in the holes where the lights will go, linked by flexible black conduit to carry the wires.

We plan to install the same lights on the stairs that we chose for our previous house build in Cropthorne.
With the boarding of the lower floor ceilings imminent, it's time to start installing the MVHR ducts. Holes were left in the blockwork at the top of the wall between the plant room and one of the bedrooms. Most of the ducts and cables for this floor will pass through here. Luckily, the ducting for this MVHR system is small diameter and fairly flexible.
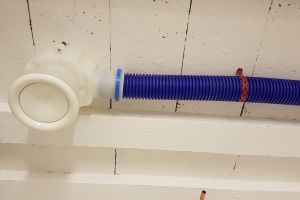
These are the extract ducts for one of the en-suite bathrooms, so they'll be extracting stale air from the room. The ducts slot into holes at the top of the plenum and are fixed in place with plastic clips. The plenum will be cut flush with the plasterboarded ceiling and a proper air extract valve installed. This white cap is temporary; it's important to stop dust and dirt getting into the system during building.
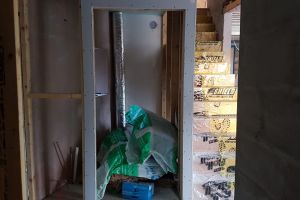
On the upper floor, a hole has been cut out of the top of the cupboard wall, ready for the construction of the stairs to the mezzanine. The hole at the bottom, and a hole in the floor in front of it that opens into the plant room (covered by boards here), will be the access holes for all of the upper floor ventilation ducting and wiring.
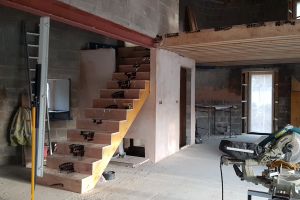
And now we have stairs! An exciting moment, as we can now access all levels of the house without climbing ladders.
They look quite impressive seen from below.
And even more impressive seen from the bottom of the lower stairs...
As seen from the main room: instead of a handrail or solid wall on this side of the stairs, there will be vertical battens through which you'll see the stairs and the wall behind. The understairs space will be enclosed with a hidden access door. The area the other side of the stairs will be the upstairs toilet.
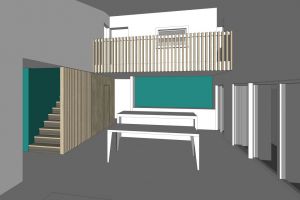
This mock-up produced by the architects gives an idea of how the stairs and mezzanine might look. We like the idea of using a bold colour on the stair wall - and in the kitchen.
October 2019
Upper floor screed, MVHR ducting preparation, utility/plant room plastered
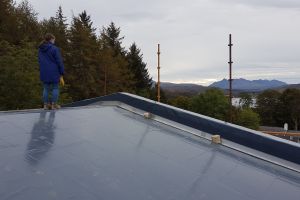
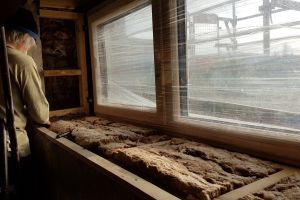
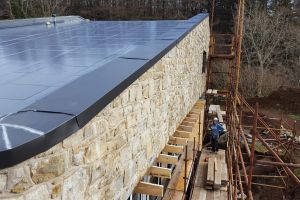
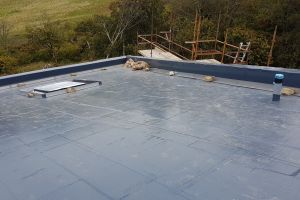
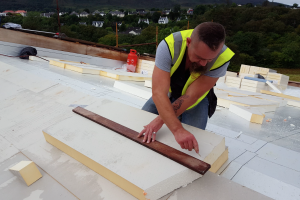
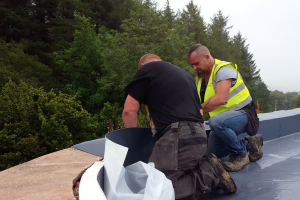
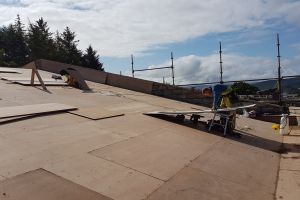
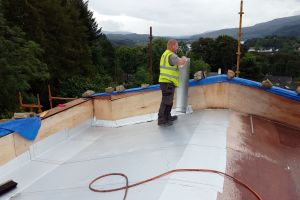
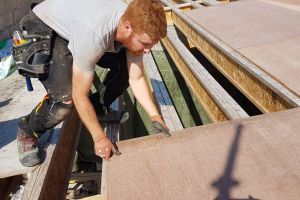
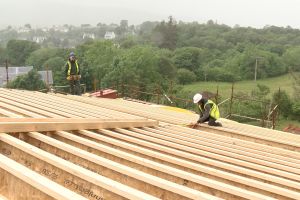
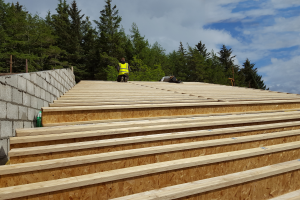
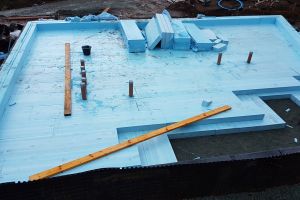
At the start of October, we pay a visit to the 'finished' roof - the next stage will be installation of the soil and the grass roof seed mix. There's a great view of The Cuillins from up here.
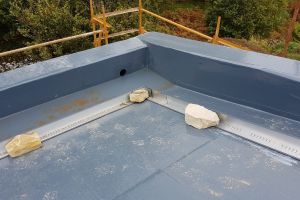
The stones you can see here are temporary weights holding in place metal strips which mark the boundary of the soil area. Outside of this there will be a pebble border for water drainage. The soil will hold a certain amount of water; excess water drains out through drainage holes at either end of the roof - one can be seen here.
There are only two penetrations through the roof: the window over the stairs (left) and the soil pipe (right). The roof window is passivhaus certified and quadruple-glazed, but will need special attention to detail when insulated internally, as will the soil pipe.
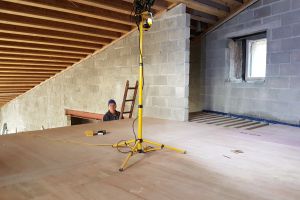
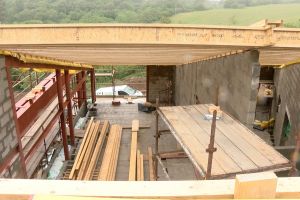
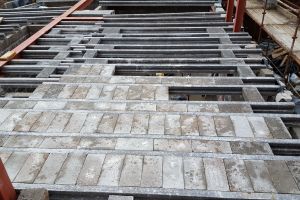
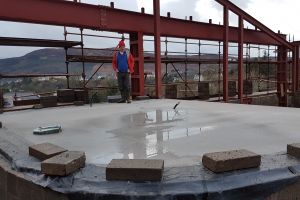
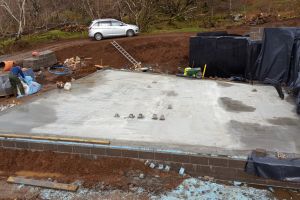
Inside the house, the upper floor has been cleared ready for the concrete floor screed to be poured.
With the room emptied out, it's easier to visualise how it will look when it's finished. Looking down the room from the kitchen (out of sight behind), the dining table will be in the middle, and the sitting area with the TV and hifi down at the far end. The hall and stairs are accessed through the opening on the right.
This is the south-east corner of the kitchen. The main units will be installed here, between the window and door: sink on the left, mid-level ovens on the right, with worktop and cupboards inbetween. An L-shaped island unit will be in the foreground: the hob will be on the section facing out to the room; the rest will be workspace. In the original plans the far end of this space - and the tall window on the right - were walled off, making an extra room. We didn't really need this room, so we decided to remove the wall and make the whole space into the kitchen. We're glad we did as the long window will now be part of the main room and will bring extra daylight into the kitchen.
And this is the north-east corner of the kitchen, with its curved wall. The door leads into a large storage cupboard, which will also house all the MVHR ducting and wiring coming up from the plant room below.
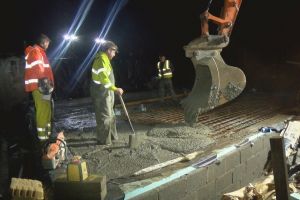
The time has come for the concrete screed to be poured. The whole process was completed in a day: the concrete had to be barrowed into the house from the mixer and was then spread out manually. Once set it will provide a level surface for the floor tiles. Above is a short time-lapse of it happening - click on the image to start it.
The upper floor has to be left for the screed to dry, but work can continue on the lower floor. Mike installs the first of many components of the mechanical ventilation system on his studio ceiling.
This is known as a 'plenum': fresh air is fed into the room via ducts attached at the top of the plenum; an air valve will be attached to the bottom. The plenum will be cut down so that it's flush with the suspended ceiling, which is yet to be built.
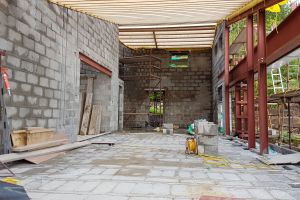
Next door, the utility/plant room is almost ready for plastering. This room will be left fairly basic as it's a cross between a utility room and a plant room. The walls will be plastered, but the ceiling will be left as it is and the whole room will be painted white. The floor will be left as untiled concrete, painted with a grey floor paint.
All the junctions around the window and the door out to the lower porch have been airtightness taped - as have the junctions where the floor meets the outside walls. Although the plaster provides the airtightness barrier inside the house (as the concrete blocks themselves aren't airtight), any cracks in the plaster at the joints would be air leaks, so they're taped as insurance.
Mike stands in the 'plant' end of the newly plastered plant/utility room. This space won't be empty for long - all of the plumbing, ventilation ducting and electrical cabling for the house will start from or pass through this room.
At the other end of the room there will be a run of worktop with a sink, cupboards below and the washing machine.
Mike makes preparations for the installation of the MVHR ducting (a test piece of the blue ducting can be seen on the left). This necessitates drilling (many) holes in the upper floor i-beams using a hole saw, so that the ducting can be threaded through. This can be tricky as some of the i-beams are spaced quite close together.
The holes Mike is drilling here are in the guest bedroom ceiling. The i-beams here will be directly plasterboarded, so a pathway needs to be made for the ducting to pass through. This ducting is for the main room, on the other side of the wall. The main room is very large, so the plenum is fed by three ducts. Each i-beam therefore has to have three holes cut into it and, of course, they all need to line up properly...
Back on the lower ground floor, the carpenters have started constructing the timber framework for the suspended ceilings. All the plumbing for the bathrooms, the MVHR ducting and the electrical cables will be run in this ceiling space - so no hole-drilling is required here.
The bedroom windows are due to be boarded in soon, so Mike checks the insulation in the reveals, and vacuums out any accumulated dust, dirt and building rubble.

OSB is installed in the reveals first, then airtightness tape is applied where the boards meet the window. Plasterboard is then applied on top. The tape will ensure that if the paint or plaster cracks in these areas, as it can do over time, there won't be a leak in the airtightness barrier.
As October draws to a close, Mike dons his electrician's hat and installs the first of many cables. These are in his future studio.
September 2019
Water ingress, roof work continues, mezzanine, airtightness and stonework
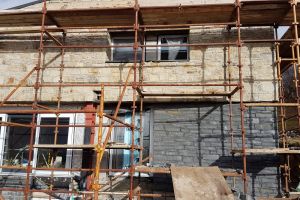
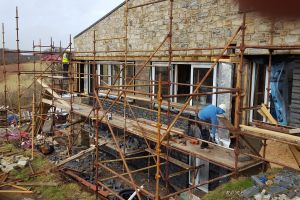
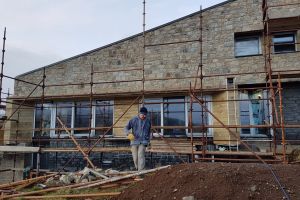
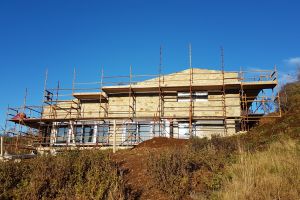
By the beginning of September the stonework on the south-facing wall is almost complete and the house is beginning to look very nice indeed.
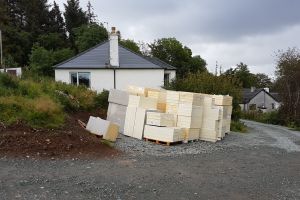
A large delivery of roof insulation has arrived and is stored temporarily in the bungalow car park.

Rainy weather shouldn't be a problem now the roof is covered, but an unfortunate error (a hole was drilled at the western end of the roof to let the water out), has led to a disastrous flooding of the cavity - most of the water has ended up in Mike's future studio on the lower ground floor.
The flood has caused a strange discolouration and hardening of some of the insulation around the window. Once the cavity has dried out, this will have to be removed and replaced before the reveals are boarded in.
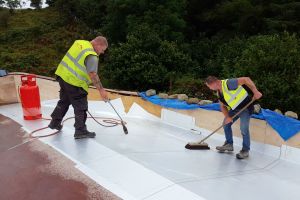
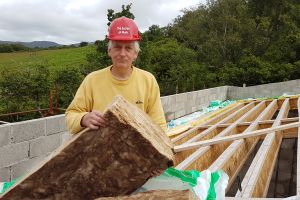
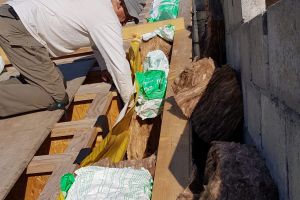
The roofers continue their work during breaks in the rain: 300mm of insulation is installed on top of the membrane.
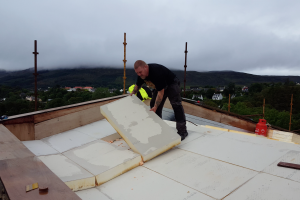
These insulation batts come in set sizes: three layers are needed to make up the 300mm. This is the shorter slope at the eastern end of the roof.
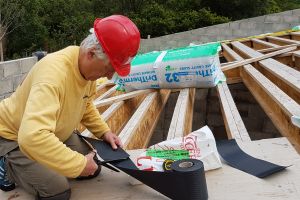
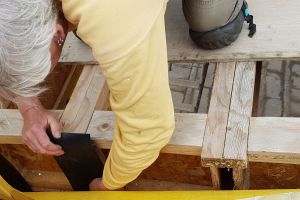
After installing the insulation, the final layer of Alvitra roofing membrane (grey) is applied. The membrane laps up the sides and over the top of the 'upstand' to keep water out of the cavities. The 'upstand' is also insulated (see foreground, centre).
The Alvitra has a special adhesive backing that bonds with the insulation beneath it and provides a tough, fully watertight covering. It is often used as the final covering, especially on flat roofs; but we'll be adding soil sewn with grass roof mix seeds.
Frankie the stonemason cleans a section of the north wall before final pointing begins.
Back inside, the i-beams that form the kitchen ceiling/mezzanine floor are being installed. Now that this part of the main room is divided into two floors it doesn't feel quite so vast.
The i-beams rest in metal joist hangers attached to the walls at each end. Every one of these could represent a major 'break' in the airtightness barrier created when the walls are plastered. To prevent this, the wall behind the joist hangers has been 'parged' with a coat of mortar first. Airtightness tape will also be applied, above and below, before the wall is plastered.
The internal porch door waiting to be installed.
Down in a corner of the lower ground floor, Mike is attending to more airtightness duties. Here he's 'parging' around the end of a conduit that runs down from the kitchen above. This will carry some of the kitchen's mains wiring, which will then be fed through to the plant room.
This photo shows some of the many channels that Mike has cut in the walls for cables. Each one will have a length of conduit installed to protect the cables behind the plaster. Blue airtightness tape has been applied to the wall at the top of the cable runs - this area will be above the suspended ceiling and will therefore not be plastered.
Water is still getting in at the south-west corner of the house. It's hard to imagine this as a comfortable, dry, finished bedroom.
It's half past eight at night, but some jobs just won't wait... a hole had to be drilled in the wall above the porch door for this length of black conduit...
This conduit will carry the cables for the porch lights and needs to be installed before the porch roof is completed tomorrow.
At the bottom of the west wall, below the large window, Fela and Frankie have begun work on the stone 'buttress' that is one of the design 'quirks' of the house. The buttress slopes outwards, so it has to be built out at the bottom first with a foundation of concrete blocks backfilled with rubble.
It's a very neat job so far....
A week later the buttress is complete. The section of wall to the left of it will be clad in a contrasting, darker stone.
Round on the north side of the house, the stonework is almost complete...
...the porch is looking more complete too, although it is yet to be clad in stone and lacks a window and a door.
In this picture you can see the difference between the stonework before pointing (on the right) and after pointing (behind the scaffolding).
First view looking down from the mezzanine.
And first view of the mezzanine - almost complete. Mike stands poised to do some drilling.
Lizzie applies airtightness tape along the junction between the floor joist/joist hangers and the walls.
The wall behind the joist hangers (seen from below) has been parged, and now airtightness tape is applied along the top and bottom of the parged area, to ensure there are no breaks in the airtightness barrier.
As self-appointed 'airtightness champions' on this project, details such as these fall to us to keep on top of.
Mike tackles another 'airtightness champion's' challenge in one of the lower floor bedrooms. This window reveal, where the retaining wall, internal wall and the outdoors meet, was in serious need of attention. One of many awkward spaces Mike has found himself dealing with.

Thanks to Mike's hard work, the finished reveal now looks well-insulated and ready to be boarded in.
Meanwhile, Iain the carpenter has been busy in the plant/utility room. Having installed the door out to the lower porch, he's now working on the window. Mike is completing the insulation around the door, so that it can be boarded in.
August 2019
More stonework, windows, roof work and electrical preparations
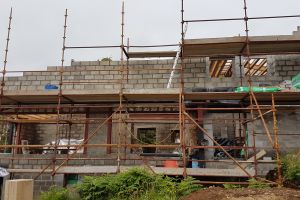
By the beginning of August all the roof boards are on. Now the upper floor has a ceiling, it's beginning to feel like a proper room - a very big room...
It's now easier to see the shape of the room and get a sense of how it will look when it's complete. The ceiling slopes down to meet the west window, which looks out over the croft.
Only one part of the roof remains uncovered - the space left for the roof window over the stairs. It's a difficult feature to have in a passivhaus, as it will require careful attention to detail to get the insulation right, but it will bring a welcome bit of natural light into the lower stairwell.
Outside, the stonework on the north wall has reached roof height. The warm tones of the sandstone are starting to soften the look of the exterior.

Back on the roof, Iain the carpenter is boarding the 'upstand' around the edges.
As it's to be a green roof, the construction differs from a conventional tiled roof. They're effectively building an insulated, watertight 'container', which will be filled with soil.
The top of the 'wall' around the roof will be capped to prevent rain getting into the cavities.
This picture shows what happens without the cappings: overnight rain has infiltrated the cavity on the east wall.
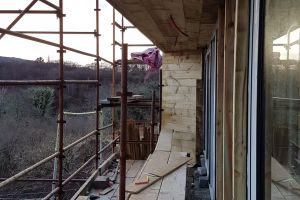
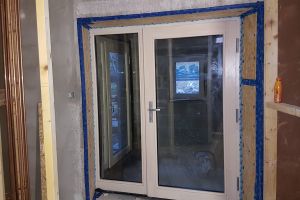
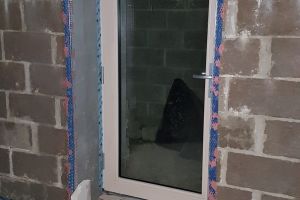
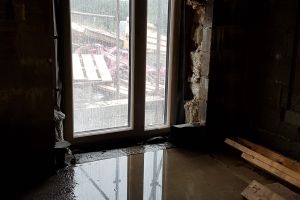
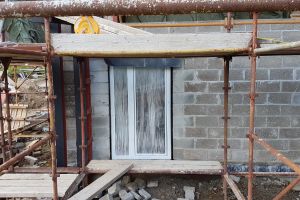
Halfway through August, the exciting moment comes when the south-facing windows are installed.
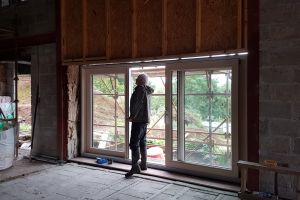
A sliding door in each window section will open onto the balcony - yet to be constructed. The internal wooden frames are pine, treated with an oil containing a small amount of white pigment, which will stop them turning yellow with age.
Installation seems to have gone smoothly, without any major issues, and we're very pleased with how they look.
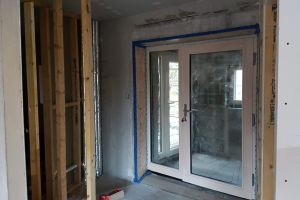
The kitchen door is also installed. It functions as a tilt-and-turn window, but also allows access onto a small south-facing patio area that will be built outside.
Fela and Frankie have completed the first experimental section of pointing (in the centre of the picture). We're fairly pleased with how it looks.
Now that the upper floor is reasonably watertight, Mike prepares to start installing back boxes for sockets and light switches.
Having channelled out the blocks previously, Mike now installs lengths of conduit to protect the cables. These will become buried in the wall at plastering stage. In a passivhaus, the area behind anything attached to an external wall, such as this metal back box, must be made airtight with a thin 'parge' coat of plaster (Mike used leftover floor-tile adhesive as an alternative). Inside a passivhaus, the plastered wall is the airtight layer so anything that 'penetrates' that must be made airtight. Silicone is squirted into the screw holes, too, before installing the screws.
The 'entertainment' wall in the living area is ready for cabling - all conduits and back boxes are in place.
Towards the end of August, the roofers arrive and set to work. First, they apply a waterproof membrane directly to the boards.
The membrane has an adhesive backing and must be applied to a dry roof. The roofers use a heat gun to dry the roof and also to help the adhesive stick. A soft broom is used to brush out any bubbles and wrinkles and smooth it down flat.
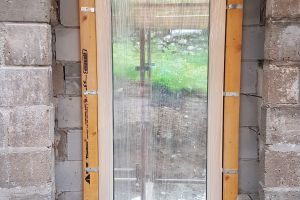
Meanwhile, right at the end of August, the final window - the large west-facing unit - is installed. Now the upper floor is completely enclosed.

The west window looks magnificent from outside. Now the stonework on that wall can continue.
July 2019
Windows, stonework, insulation and roof boarding
The main focus in July is progressing the construction of the south walls. Mike discusses progress with Nick Thomson from Rural Design. A solution has been found for the sections of wall above the windows, where the blocks proved too heavy for the steel beams installed there. The blocks have been removed and are being replaced with timber frame sections. Blocks would be preferable as they provide thermal mass, but there was no alternative at this stage in construction. This shouldn't compromise the thermal properties of the house too much as there is plenty of mass in the rest of the building.
A similar timber frame is being constructed above the other south-facing window.
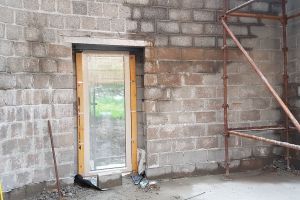
Where the walls are complete, windows can now be installed. This window is in the east-facing wall of the kitchen. Although it looks like a door, it is non-opening.
This will be the only east-facing window on the main living floor. All the windows are being installed towards the outer leaf of the house, so that the internal sills and reveals are quite deep. Where possible these will be splayed to bring in more light and to lose the 'tunnel' effect of deep straight reveals.
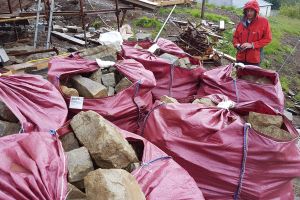
The stone for the cladding has arrived on site. We had to order the whole lot in one go, without seeing it first, to get it at the best price.

It looks promising, but we won't know if it's right until we see it on the walls. Fingers crossed...
The north wall has been prepared for stone cladding with a waterproof coating of black bituminous paint. The upper floor porch is still under construction.
Inside, the south wall is looking more complete with the timber-frame sections boarded in.
Meanwhile, the complex job of building up the external south wall continues. Above the massive steel beam a timber structure has been constructed to hold the insulation and complete the wall to roof height.
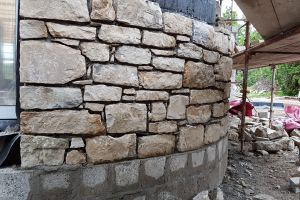
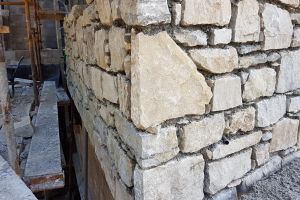
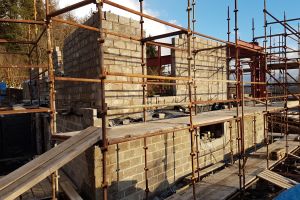
Frankie and Fela, the stone masons, have started work. So far, so good! The double layer of concrete blocks support the stone and will be out of sight under the soil.
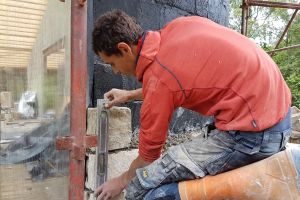
The stone masons are fast workers and the quality of their work is excellent. Here, Fela is checking levels to get a perfect edge - not easy when you're working with 'random' stones.
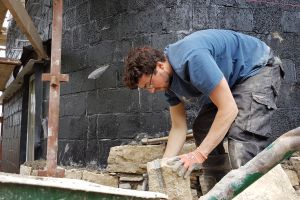
Meanwhile, Frankie is selecting and preparing the next stone. The wall behind him is curved, which offers extra challenges.
But, within a matter of days, the results of their efforts are beginning to show and it's beautiful work.
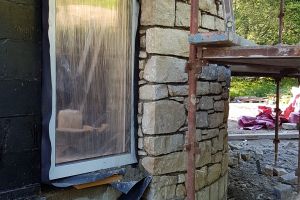
A neat edge and nice detailing where the cladding meets the kitchen window.
And a perfectly rounded eastern corner.
Meanwhile, the external blockwork on the south wall is coming along nicely.
At the weekend, Mike is back on insulation duty on the roof.
First he cuts pieces of waterproof membrane...
...these pieces of membrane are attached to the rough ends of the i-beams to protect the yellow airtightness membrane from damage.
It's slow and tiring work, but it's the last chance to make sure that the airtightness barrier is unbroken and the insulation installed correctly with no gaps, before the roof boards go on.
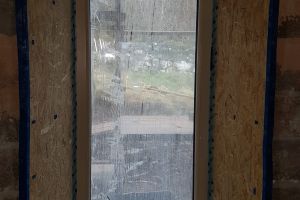
Back inside, the next window to be installed is in the west-facing guest bedroom on the upper floor.
Seen from the viewpoint on the Scorrybreac path, the house is really beginning to take shape and it's a good place from which to see the progress of the stonework.
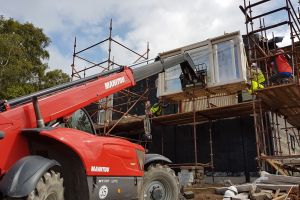
A few tense moments as the telehandler lifts the big south and west-facing windows into the house. They're not being installed just yet, but will be better protected in the house.
One of the lower-ground bedroom windows, newly installed, seen from outside. The frames are wooden, clad in a dark grey aluminium externally to make them more weather resilient. The white protective coverings will be kept on until all the stone-work is complete.
Stone work on the south wall is about to start, so the wall is treated with the black waterproofing paint in preparation.
Frankie and Fela are working their way along the west wall; Mike discusses the next steps with them.
A close-up showing the beautifully sharp edges and neat lines of the stonework on the north-west corner.
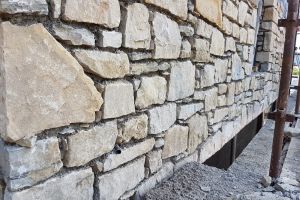
Another close-up of the north-west corner, looking down the west wall. The wall has yet to be pointed - this will be done at a later stage.
As July comes to a close, Iain the carpenter starts installing the marine-ply roof boards. These will offer some protection from rain until we can get the proper roofing material in place.
Although we've been blessed with a spell of dry weather, it's good to get these boards on, as it marks the beginning of getting the house watertight.
While the boards are installed, Mike works his way around the edges making sure that the airtight membrane is taped to the i-beams...
...this is particularly tricky at the corners, where several layers intersect. Gaps or damage equal air leaks that can affect the passivhaus performance, so it's important to get these areas right.
June 2019
Insulation issues, roof i-beams installed and south wall construction glitch
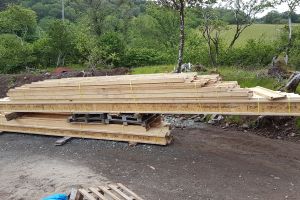
The arrival of the roof timbers at the start of June signals the start of the longed-for process of getting the roof on and the house water-tight.
With much of the messy blockwork complete, and what remains to be done on hold until the roof timbers are installed, we can now embark on a general cleaning and checking of the insulation. This is the west window cavity - currently the main way in and out of the house - so it's important to keep the insulation covered here.
Ideally, the insulation would all go in as the wall is built up, but sometimes Mike has to add it later - no matter how awkward....
...and sometimes it involves Mike filling the cavity from the top of a ladder...
...or Mike finds himself lying face down on a cold concrete floor, on a particularly wet and midgy day, stuffing insulation into the cavity below.
Here's an example of how filthy the insulation can get if not protected: mortar 'snots' and general building dirt and dust, plus over-exposure to the elements, can lead to the insulation failing. This needs to be thoroughly vacuumed off, mortar 'snots' removed, gaps filled and, in some cases, replaced or reinserted correctly.
Looking at the house from the front: the mezzanine wall (right) has been built up to roof height and the apex of the roof is now clear to see.
In preparation for the roof timbers being installed, a wide strip of yellow airtightness membrane is attached to the steel beam as part of the thermal barrier. This can't be done in one continuous strip, so Mike has to check that all joins and corners are properly taped and sealed.
At evenings and weekends, Mike's work channelling out walls for sockets and switches continues....
.... and the site inspector pays a visit to check that his equipment is satisfactory. She seems content enough.
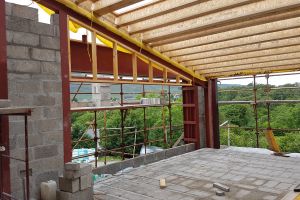
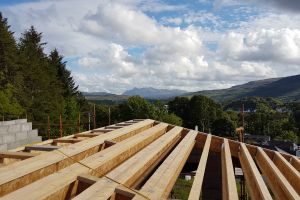
In the middle of June, the roof timbers - or i-beams - are moved into the house, and installation begins.
The i-beams are spaced quite close together and, in some places, two are joined together for extra strength. They are designed to take the weight of the green roof, with the added weight of rainwater at times, aided by the structural steel beams.

This is one of the tricky corner junctions, where i-beams meet blocks, that Mike has to keep an eye on to ensure airtightness isn't compromised. The yellow membrane is wrapped around the end of the i-beam and taped down securely.
Seen from the top of the scaffolding the roof is beginning to look impressive. The carpenters measure the distance between the beams carefully before fixing them into position.
Looking up the main slope of the roof. The walls are higher than the i-beams to accommodate the soil for the green roof.
Seen from the scaffolding at the eastern end you can get an idea of how the ceiling of the main room will look.
And from the west end of the main living space, once all the i-beams are in place, the room looks vast.
A nice view from the apex of the roof looking down the line of i-beams.
Now that the i-beams are in place, Mike gets to work cleaning out the wall cavities around the edges of the roof and installing the final layers of insulation up to roof level.
You get a fine view of the Cuillins from up here.

Will Mike's new assistant measure up?
One evening, towards the end of June, a trailer loaded with strange packages arrives....
...the windows are here! They've survived their journey from Eastern Europe and are now carefully stowed on site to await installation - which, hopefully, won't be too far off.
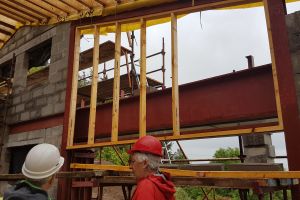
During construction of the block wall above the south windows, a problem is encountered. Mike takes a photo to show to the architect...
...the structural steel beam beneath the blocks can't support their weight and is starting to bow, which you can just about see in this picture. Back to the structural engineers....
May 2019
Wall-building continues
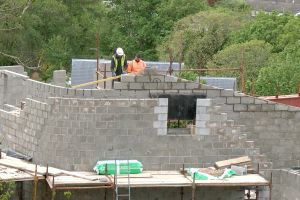
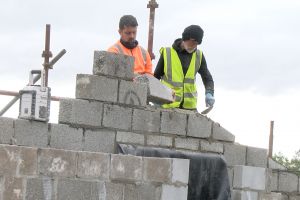
In May the bricklayers, Tommy and Steve, get to work on the north and east walls of the house.
To ensure that the slope of the wall - and therefore the roof - is correct requires a lot of careful measuring...
...and then a lot of messy angle-grinding.....
...as well as careful placement of the blocks....
...but the end result looks quite impressive.
The house is beginning to look quite interesting from the Scorrybreac Path.
Preparations can now be made to build the internal supporting wall, which separates the main room from the upper floor bedroom and entrance hall and also helps to support the roof timbers. A steel beam is already in place (centre); the strip of black membrane provides a surface that the mortar can bond to.
The central supporting wall connects to the west wall of the house at one end. In a passivhaus, walls are only considered airtight once they've been plastered internally, so where the two walls will meet, the wall is 'parged' with a thin layer of mortar to ensure an airtight seal.
Before the central wall could be built, an extra length of structural steel had to be inserted, as the original was not long enough. Where it penetrates the wall an airtight membrane was wrapped around the end and then mortared in to prevent thermal bridging.
And here's the central wall under construction.
Every day, after the block-layers have gone home, Mike looks for any left-over mortar and, rather than let it go to waste, puts it to good use. The junction between the lower-ground floor walls and the beam-and-block floor is another potential thermal bridge, so 'parging' around this area with mortar ensures an airtight seal.
The central supporting wall (left) is coming on. It will, of course, need to follow the slope of the roof. The steel lintel supports the blocks above the opening where the hall and stairs will be.
Another view from the north-west corner, looking out from where the guest bedroom suite will be. The opening on the left will be the way through from the front porch; in the centre will be the entrance hall and a small toilet; the stairs and the way through to the main room are on the right.
Standing in the unfinished porch, looking through what will be the entrance hall and on into the main room. As you enter the house, you will get a tantalising glimpse through to the views out to the south.
The eastern end of the central dividing wall also forms one wall of a storage and services cupboard in the kitchen.
And here is the finished dividing wall, sloping up towards the mezzanine.
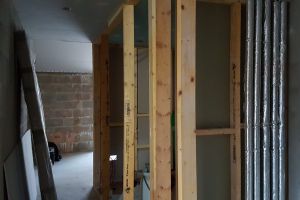
Work begins on another internal wall, just visible behind the scaffolding. This one separates the stairwell from a short corridor in the guest bedroom suite.

This section of the dividing wall will form the 'entertainment' area of our open-plan living/dining/kitchen space, where the television, speakers and hi-fi equipment will be. That means it will need plenty of electrical sockets....
.... so Mike returns to his favourite pastime of channelling out the wall.
April 2019
Upper storey construction begins
With the beam and block floor in place at the start of April, work can begin in earnest on the upper walls.
The north wall of the house, seen from outside. The inner leaf is built up first, followed by the outer leaf, and insulation is inserted as the walls are built.
This close-up of the north wall shows the gap left for the upper porch and 'front' door. The smaller gap on the left is for the toilet window.
Inside, looking west, as the walls go up. Without the dividing walls, this space looks enormous.
The south and west window walls.
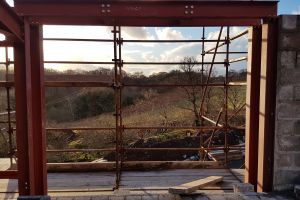
Looking west, over the croft, from the living area - all the views are beautifully framed by the windows.
Standing at the north-west corner - the inner leaf is almost at full height now. This corner houses the guest bedroom, with Mike's studio below.
While the wall building continues up above, Mike takes care of another passivhaus detail down in the utility room - insulating around the MVHR intake and exhaust tubes that he installed back in January.
Every penetration of the walls in a passivhaus constitutes an air leak or thermal bridge, so the MVHR ducts are packed around with insulation.
Gaps too small to fill with insulation are sealed with expanding foam; foam has also been used to fill the gap around the services duct, seen here to the left of the MVHR ducts.
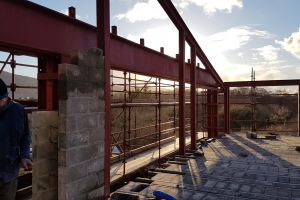
The wall-building is moving on swiftly now - here you can see the upper porch under construction.
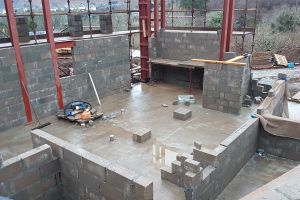
Mike stands in the eastern end of the upper ground floor, where the kitchen will be. As the walls go up, the unusual shape of the house becomes easier to see....
Taking shape... the Scorrybreac Path offers a great overview of our progress.
Unfortunately, as the electrician on the build, every completed wall means another channelling out job for Mike.

Sockets channelled out in the west wall. The missing blocks in the floor made this particular channelling job a little simpler.
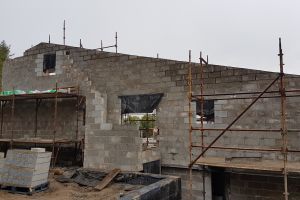
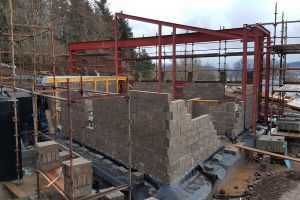
The walls at the western end are now at roof height but, because the roof slopes up from there, work continues to build up the walls to the apex height.
The wall on the left has to be constructed to follow the slope of the structural steel beam on the right. The eastern end of the house contains a mezzanine, above the kitchen. The apex of the roof is just beyond the highest point of the steel; it then slopes down more gently to meet the east wall.
The shape of the roof can be seen a little more clearly from the front.
March 2019
Beam and block floor
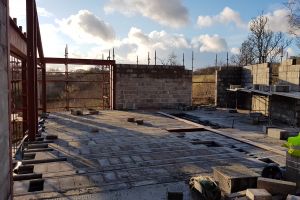
By the beginning of March, the walls at the eastern end of the upper-ground floor are almost complete. Preparations are now being made to install the beam and block floor.
This part of the floor doesn't sit directly on the ground, so has to be beam and block. First, the concrete beams are laid across at intervals.
Blocks are then slotted between the beams to form the completed floor.
The ends of the floor beams rest on the inner leaf of blockwork, held in place by mortar.
Now that the floor is in place, work begins on the west wall of the upper-ground floor. This corner will be for the guest bedroom suite. The steel frame on the left of the picture is where the large west-facing window in the living area will be. A dividing wall runs along the line of the structural steel beam in the floor. The large hole in the centre is the stairwell.
As the house isn't a perfect rectangle, the beams extend beyond the wall in places and will need to be cut back flush with the inner leaf.
With the beam and block floor in place, the lower ground floor rooms now appear darker and more enclosed. This will be the utility room; the sink unit, worktop with washing-machine underneath and cupboards will be installed along this wall.
The utility room only has one small window, but will get some extra natural light through the glass doors of the lower porch (the opening on the right). It will be painted white to make it seem brighter.
In it's current state, Mike's studio on the lower ground floor is dark, damp and uninviting....
...despite that, Mike's onerous task of channelling out the walls for the electrical wiring continues.
February 2019
Wall-building and channelling out
An overview of the site in early February. The lower-ground floor walls are complete, so the next step is to complete this floor.

As the walls went up, the layout of lower-floor rooms could be seen more clearly. In this picture you can see the utility/plant room In the foreground, which is a sort of L-shape. There's a hall cupboard in the centre of the picture. The large space to the left is where the two bedrooms and en-suites will go. At the back, on the right, is Mike's studio.
A corner of the plant/utility room: MVHR air ducts in position and protected from the building going on around them. You can just the blue insulation that has been packed into the holes around them.
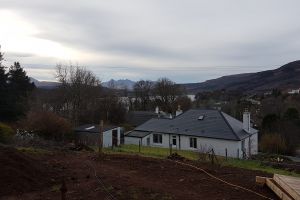
And this is the view we'll enjoy from the main living area - all the way across Portree Bay to the distant Cuillins.
This detail of one of the windows shows the light-coloured insulating blocks that are used around all window and door openings. This is a passivhaus requirement - windows and doors are weak points in any building, as a great deal of heat can be lost through and around them.
A wall cavity packed with Kingspan insulation. This must be installed properly, so that it completely fills the cavity with no 'holes'. It should be kept clean of mortar 'snots' and rubble, too, for it to function correctly. One of our jobs, throughout the build, is to check the quality of the installation and correct it if necessary.
Mike is the electrician on this project and, as the lower-ground walls are now built, he can start the unpleasant task of channelling out the walls ready for light-switch and socket installation. First, he has to mark the positions...
... he then uses an angle-grinder to define the edges of the area to be channelled out - a very noisy and dusty process...
...then he does the channelling out with a chisel bit attached to a drill - also very noisy, messy and tiring.
Here's an example of a light switch run that he channelled out earlier - it's a pretty neat job...
The walls at the eastern end of the upper-ground floor (the kitchen) are now starting to appear.
An overview of the site from the Scorrybreac path. The structural steel frame is the dominant feature at the moment, but it will make more sense when the walls are built and it disappears into the structure.
December 2018-January 2019
MVHR ducting preliminaries
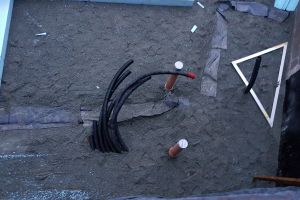
The builders are now on a well-earned Christmas break, but not all work has stopped. Mike needs to install the large air intake and extract ducts for the ventilation system, where they penetrate the wall, before the builders return and the rest of this section of wall is built. First, he needs to drill out the holes...
These holes are near the top of what will be the plant room wall and the MVHR (ventilation) unit will sit below them. The ducts will pass through these holes and connect up with the unit - if all the measurements are correct....
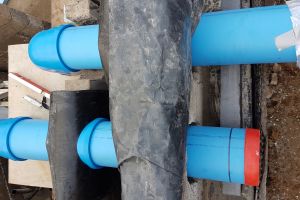
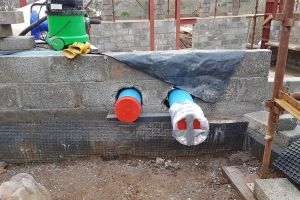
Looking down on the ducts in position (plant room, left; outside, right). The air intake duct will run underground for a short distance and connect with a cylindrical air intake tower, which sits above ground. The extract duct will finish nearer the house, with a simpler vent. As this is a ventilation system, the ducts have an integrated protective anti-microbial silver lining.
It's important that the ducts marry up with the holes in the top of the MVHR unit when it's installed, so Mike has made a template of it and checks the measurements carefully.
The ducts will be left covered until the building work is finished - which could be some time....
Snow in January contributes to a delay in the builders returning after Christmas.
However, there are always plenty of side projects to occupy Mike if he's not working on site - such as constructing the wiring for the doorbell.
November-December 2018
Wall-building, steel frame and kitchen foundations
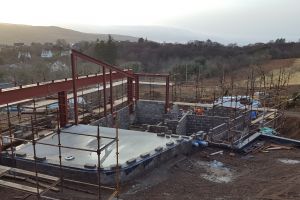
In early November we have another delivery: a sizeable quantity of red oxide painted steel sections...
Scaffolding is going up and the upper ground floor foundations are being prepared for the next concrete pour.
A tele handler lifts the heavy structural steel sections into place, while the builders bolt them together.
The steel frame forms part of the support structure for the roof.
It also takes the weight of the blocks above the large south and west-facing windows.
Mike watches the steel installation from what will be the kitchen end of the open-plan living area. Note the pleasing curve of the wall here.
Viewed from the Scorrybreac Path, which overlooks the site, the steel is an impressive sight.
Final prep for the kitchen concrete pour: a steel reinforcement grid sits above a waterproof layer on top of insulation.

Before the concrete is poured, flexible ducting is installed for electrical wiring and drainage for the kitchen sink.
Mike surveys the finished floor. This is the only part of the upper floor that sits directly on the ground; the rest of the floor will be beam and block construction.
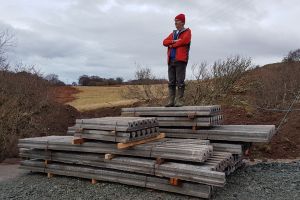
And this is the pile of concrete beams waiting to be installed. Mike has staked his claim...
The lower floor is starting to take shape, but work has now ceased for the Christmas break.
Viewed from the north-west corner, the inner block walls look almost complete.
Looking along what will be the south-facing wall cavity you can see the many wall ties, which tie together the inner and outer block walls. These are commonly metal, but metal wall ties are thermal bridges - they conduct heat out of the building - so these wall ties are made of a non-conductive material.
September-November 2018
First foundations and earth-retaining wall
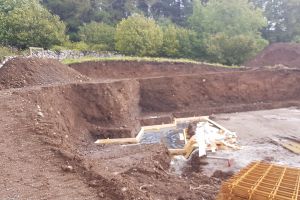
The lower-ground floor is smaller than the upper floor and built partly into the slope of the hill. This means that an earth-retaining wall must be constructed. The ground is prepared first, then wooden shuttering is built along the line of the wall.
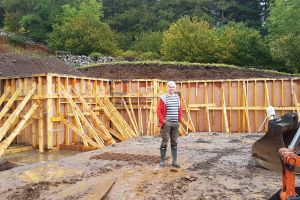
Mike stands in what will be the lower floor of the house with the shuttered earth-retaining wall behind.
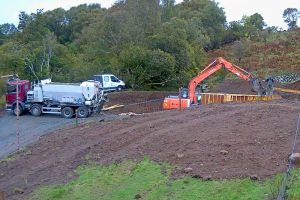
The concrete lorry arrives but can't access the wall directly, so a digger is used to transfer the wet concrete from the lorry to the shuttering.
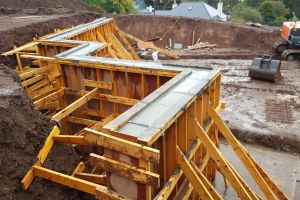
The view from above after the concrete has been poured into the shuttering.
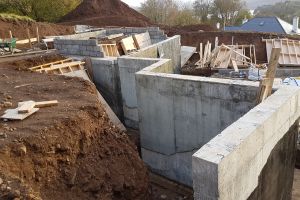
And the finished wall with the shuttering removed. House building has begun!

Work has now begun on the lower-floor walls (bottom right). The earth-retaining wall is being coated in black 'tanking' - a waterproof coating to stop the damp penetrating the walls of the house. (The section that has already been treated that you can see here is actually an external wall that was coated by mistake).
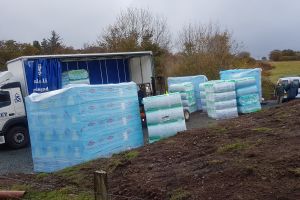
The parking area is filling up with packs of insulation, which has arrived much earlier than anticipated.
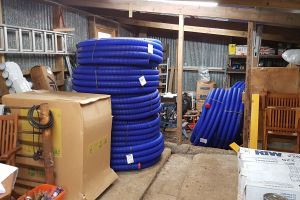
Another early delivery: the MVHR system, now stored in the former cow byre.
Roddy is due to bring the sheep back to the croft soon, but first he enlists Mike's help to install a new sheep-retaining gate and fence to stop them coming over onto the building site.
The earth-retaining wall is now fully tanked and the lower-floor area is being made ready for the concrete pour...
... but first the (blue) underfloor insulation has to be installed.
A blinding layer sits beneath the insulation; ducts for electrical supply, water and waste are in place.
A layer of waterproofing material goes on next; water and waste pipes are insulated to avoid thermal bridging (one of many ways heat can escape a building).
And finally the concrete can be poured. It's November now, and there are fewer daylight hours, so work continues after dark under floodlights.

A vibrating poker is used to remove air bubbles from the newly poured concrete.
And the next day - a finished floor.
The former cow byre was in reasonable condition when we bought the site. We had the roof replaced early on and have been using it for storage already, but as it's to become the site office/tea room, Mike now attends to repairs and repainting of the door and windows.
Painting the repaired cow byre door. A neon orange mistake being tamed by a more sedate green.
Fulfilling a planning requirement: planting a mixed hedge next to the post and wire fence, to provide a natural privacy barrier between old and new properties.
July-September 2018
Groundworks begin
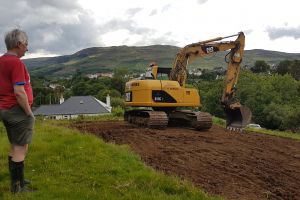
After a long wait, at the end of July the groundwork begins. Mike looks on as Staffin groundworks remove the first layer of topsoil....
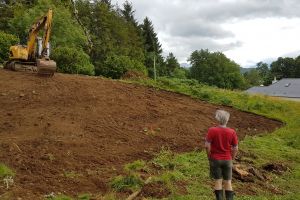
Feeling very small at the start of a very big project....
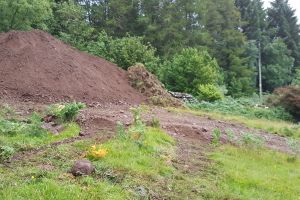
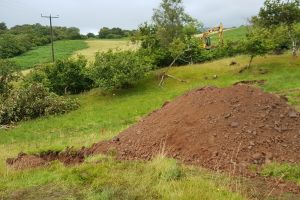
The topsoil has been set aside for later use - as the soil for our green roof.
Cutting and marking out foundations: lower floor and earth-retaining wall (the house is set into the slope of the hill).
In a slight setback, the digger hasn't found any rotten rock on the site, which is required for the base layer under the track and foundations. After hunting around for it on site, the digger goes in search for some over on the croft (the alternative would be buying it in).

Luckily, some rotten rock is found just over the burn on the croft, so the digger driver makes himself a temporary road up to the source of the rock, before digging it up and transporting it across.
The lane in front of the bungalow, that accesses the croft and the building site was too narrow for large vehicles, such as concrete lorries and delivery trucks, so it has been widened temporarily and built up to take the extra weight of traffic.
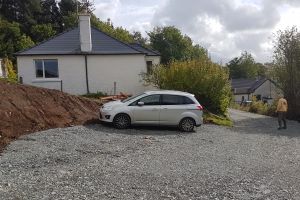
A new car park has been created for the bungalow, which will also be used by site vehicles during the build. At the end, this will be tidied up and a pathway created through to the front door.
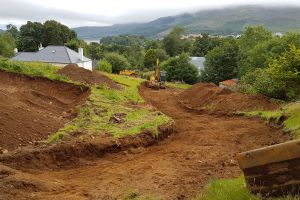
Creating the new driveway.
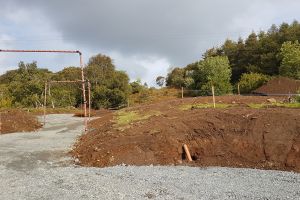
New driveway ready to receive site traffic. The goal posts have been put in either side of the power lines that cross the site at this point.
February 2017-July 2018
Pre-groundworks
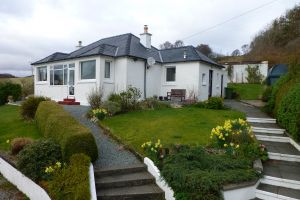
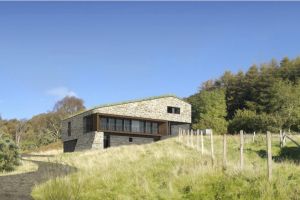


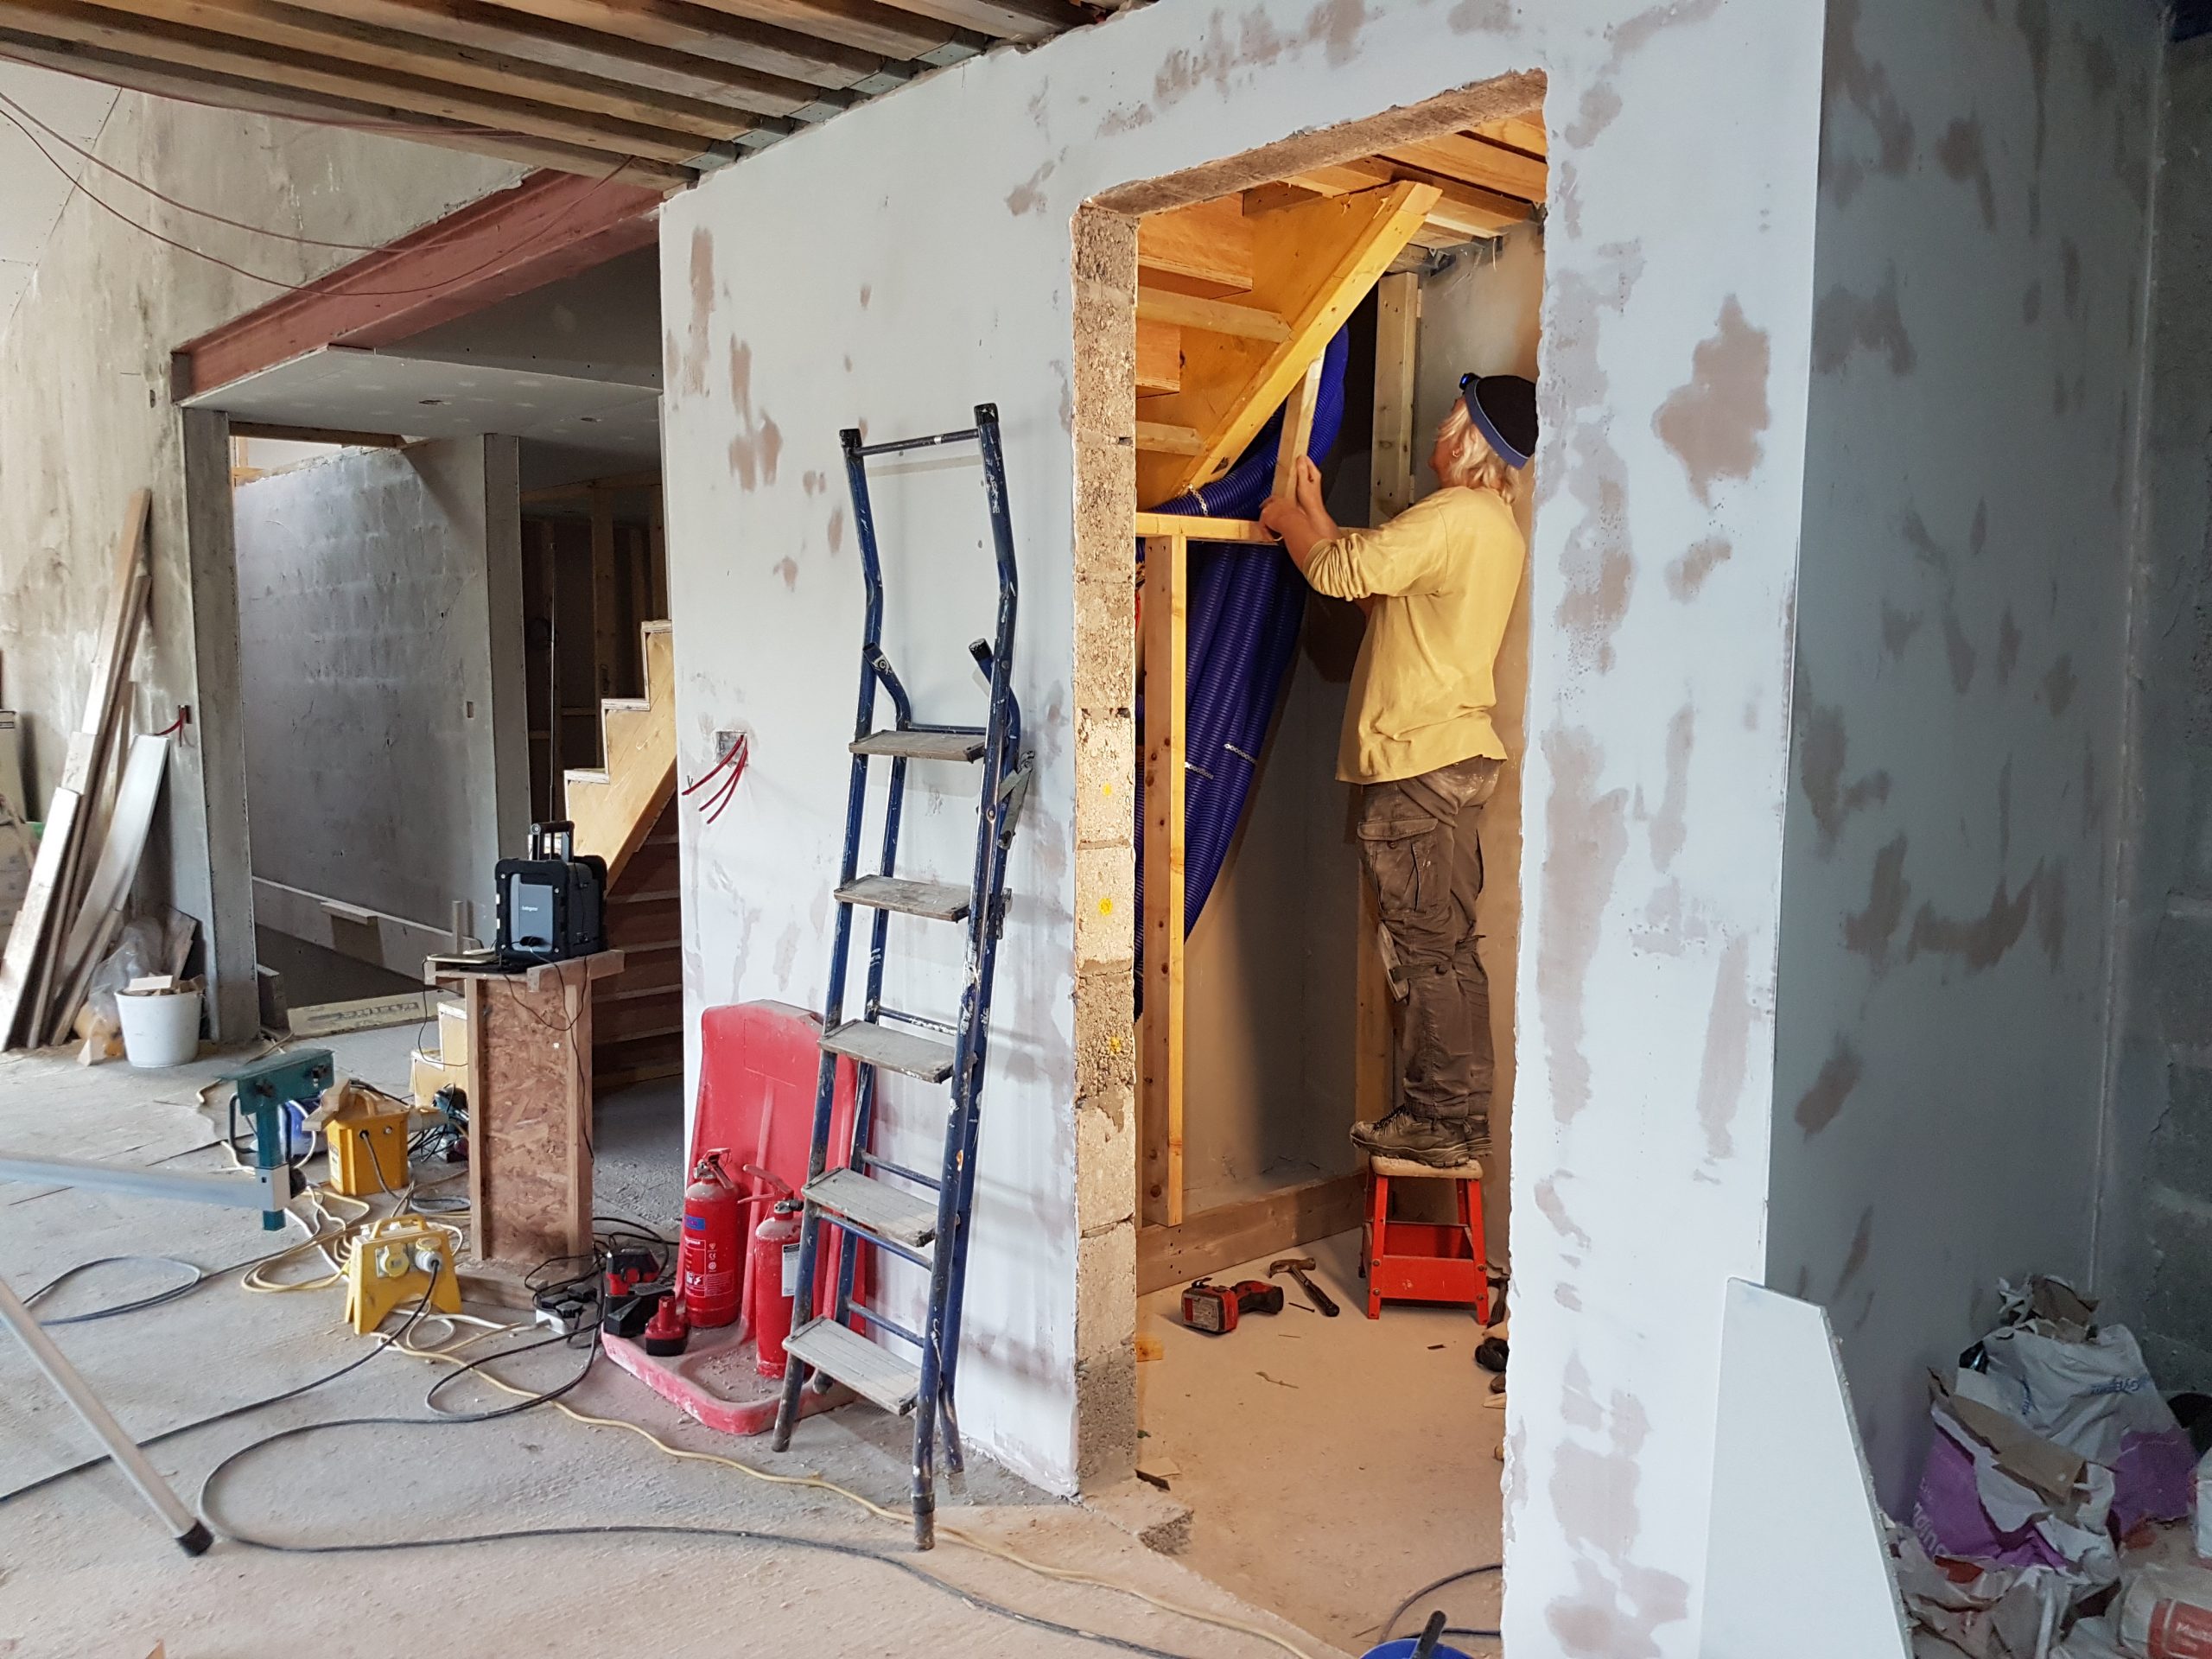
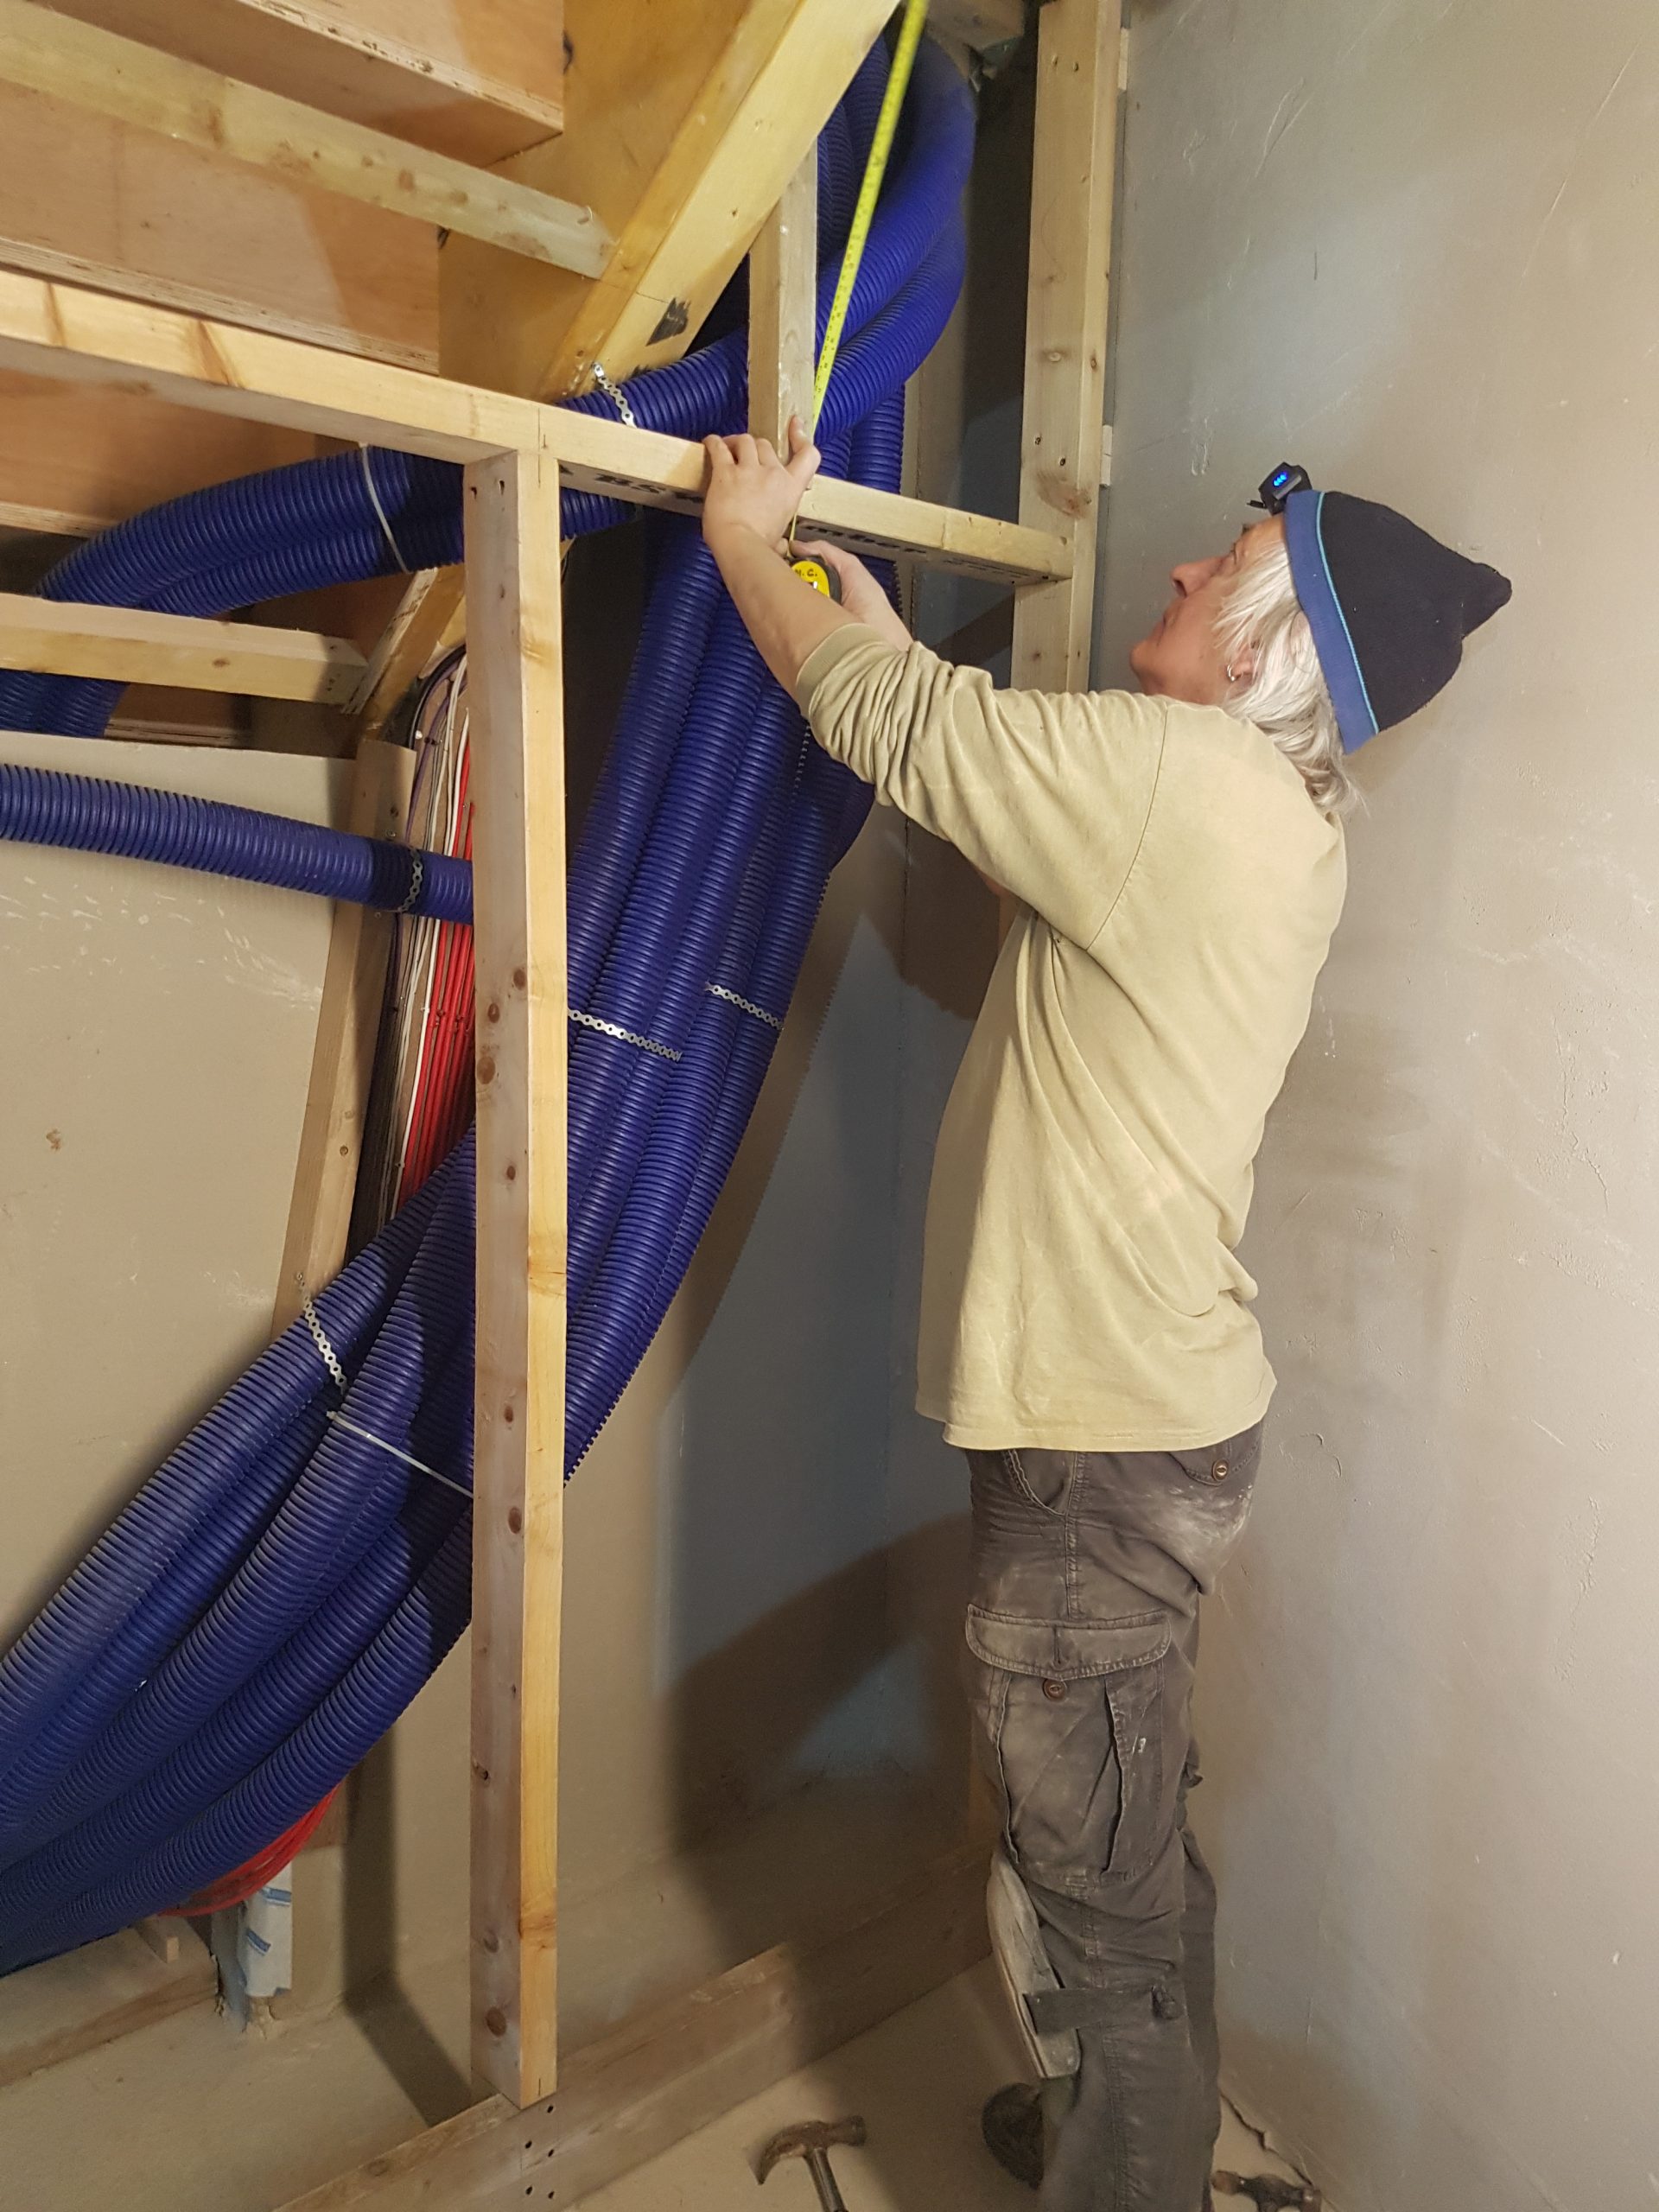
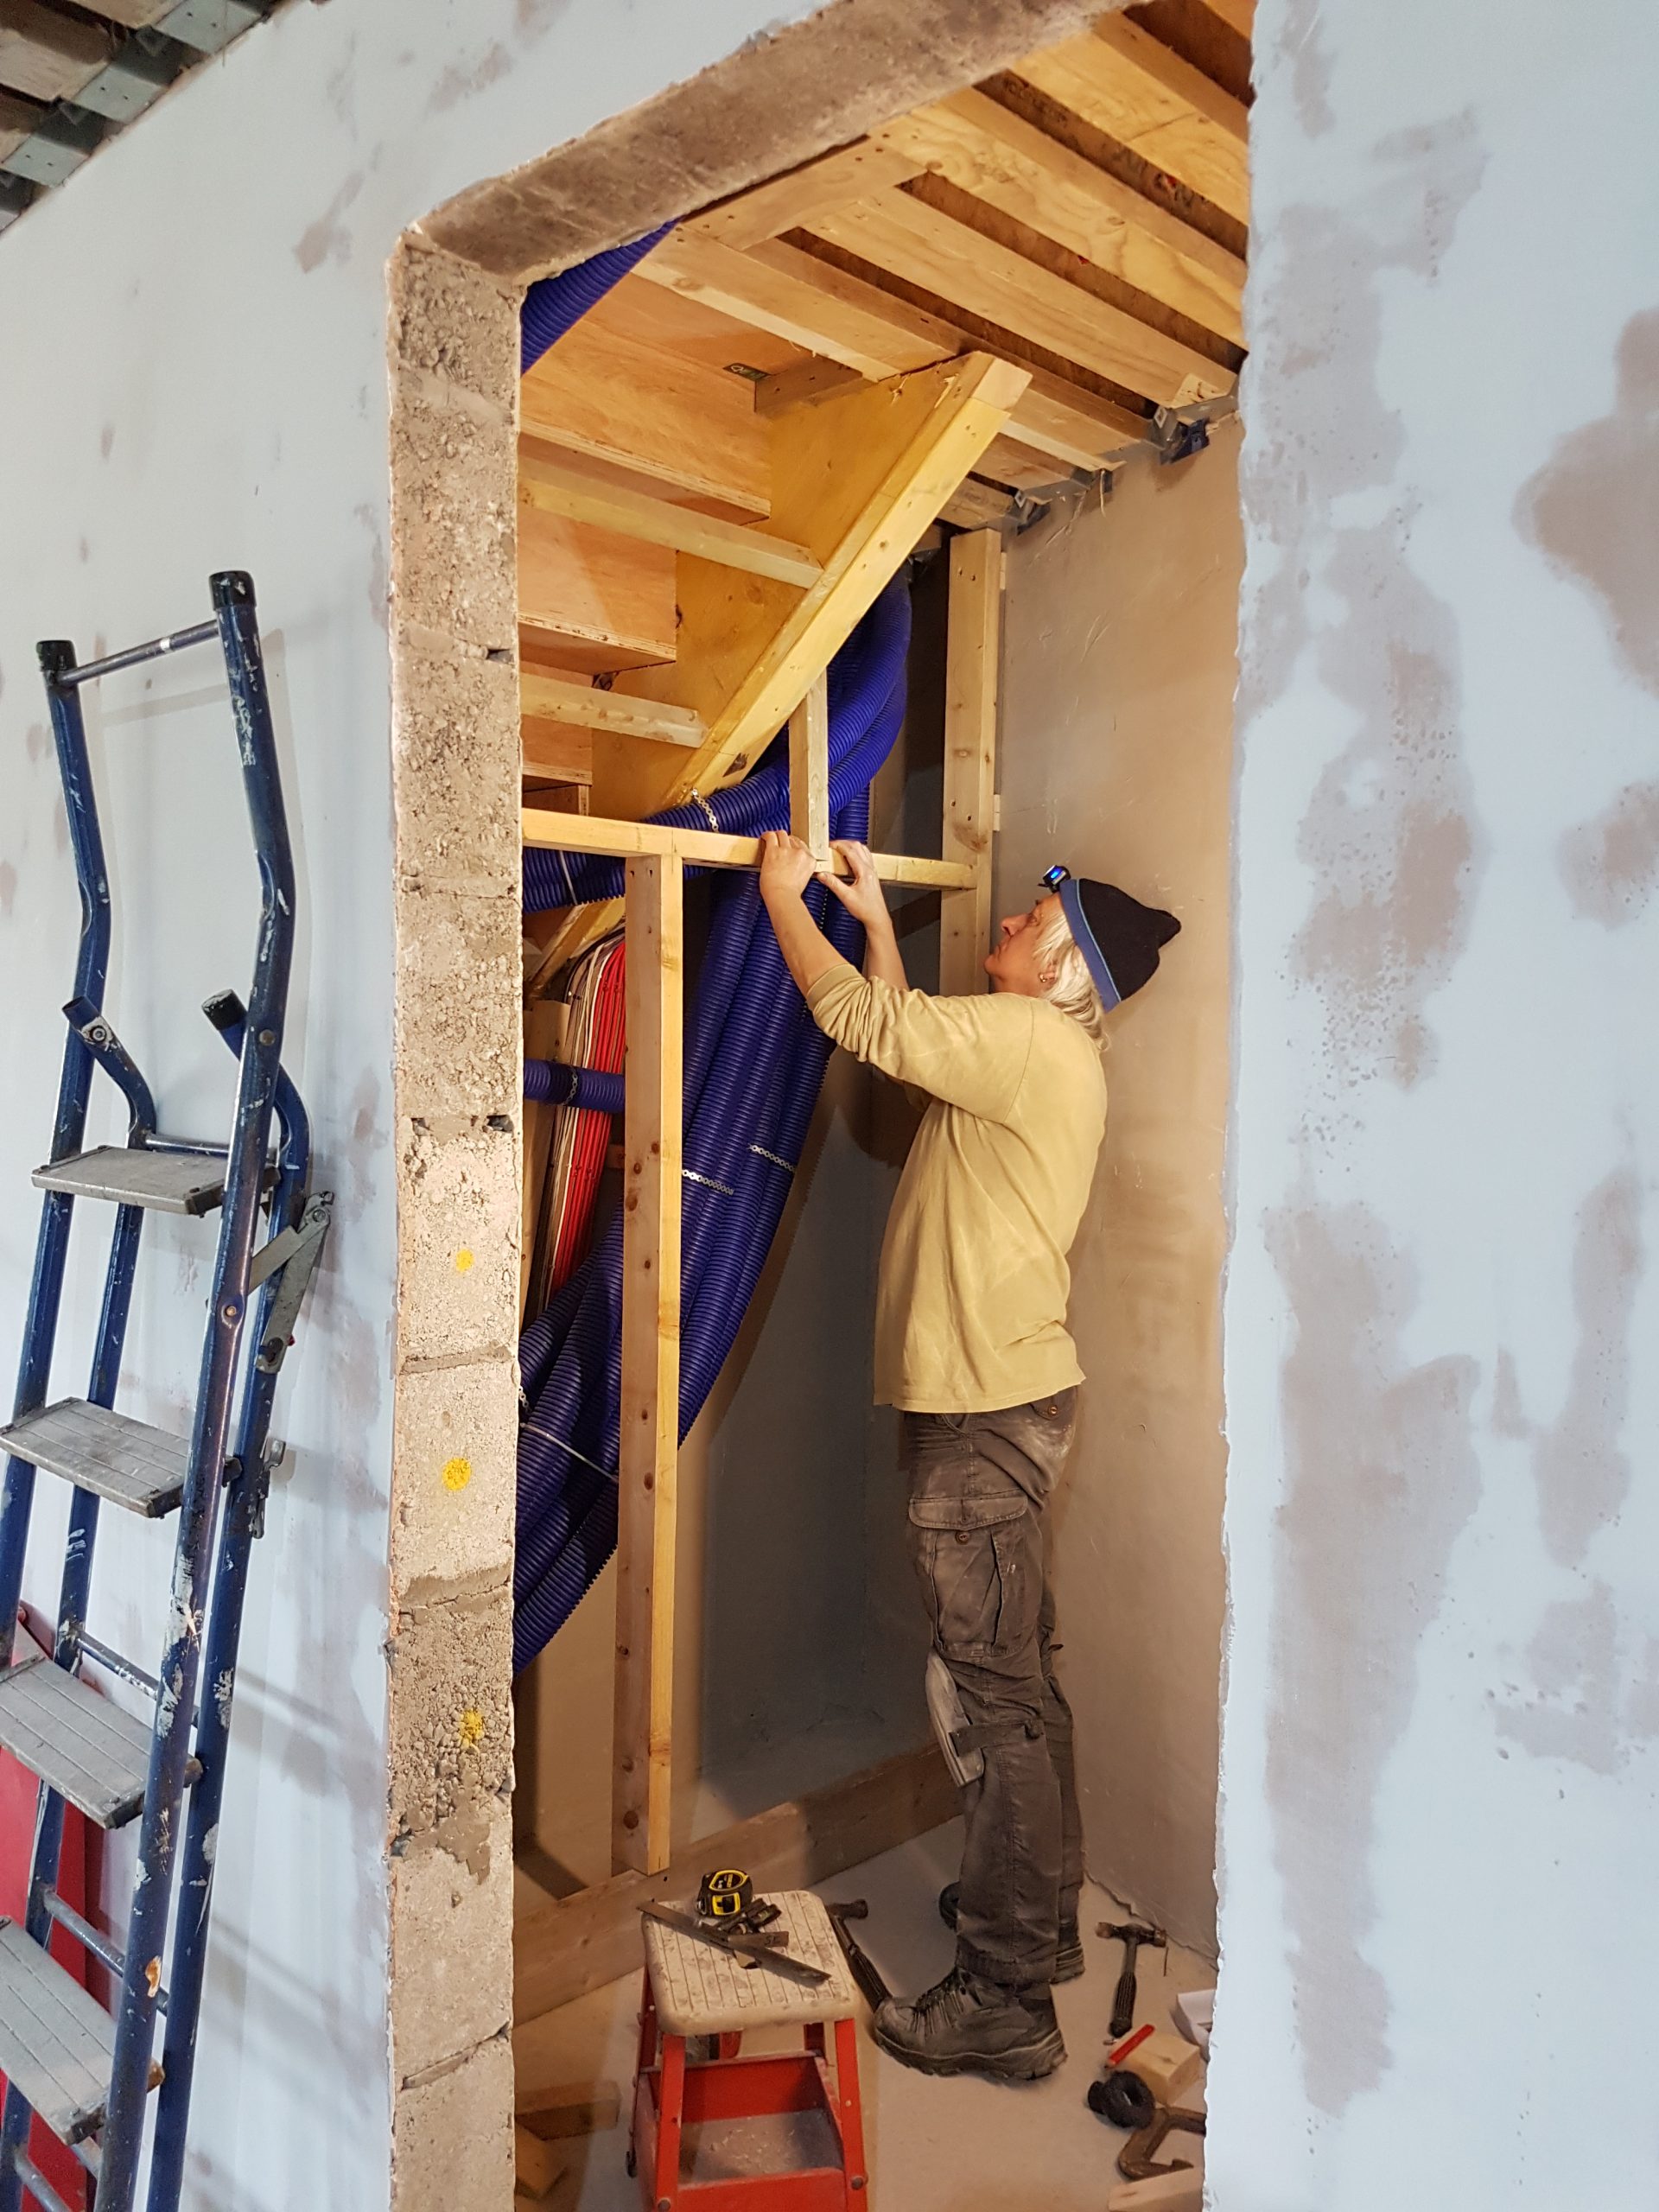
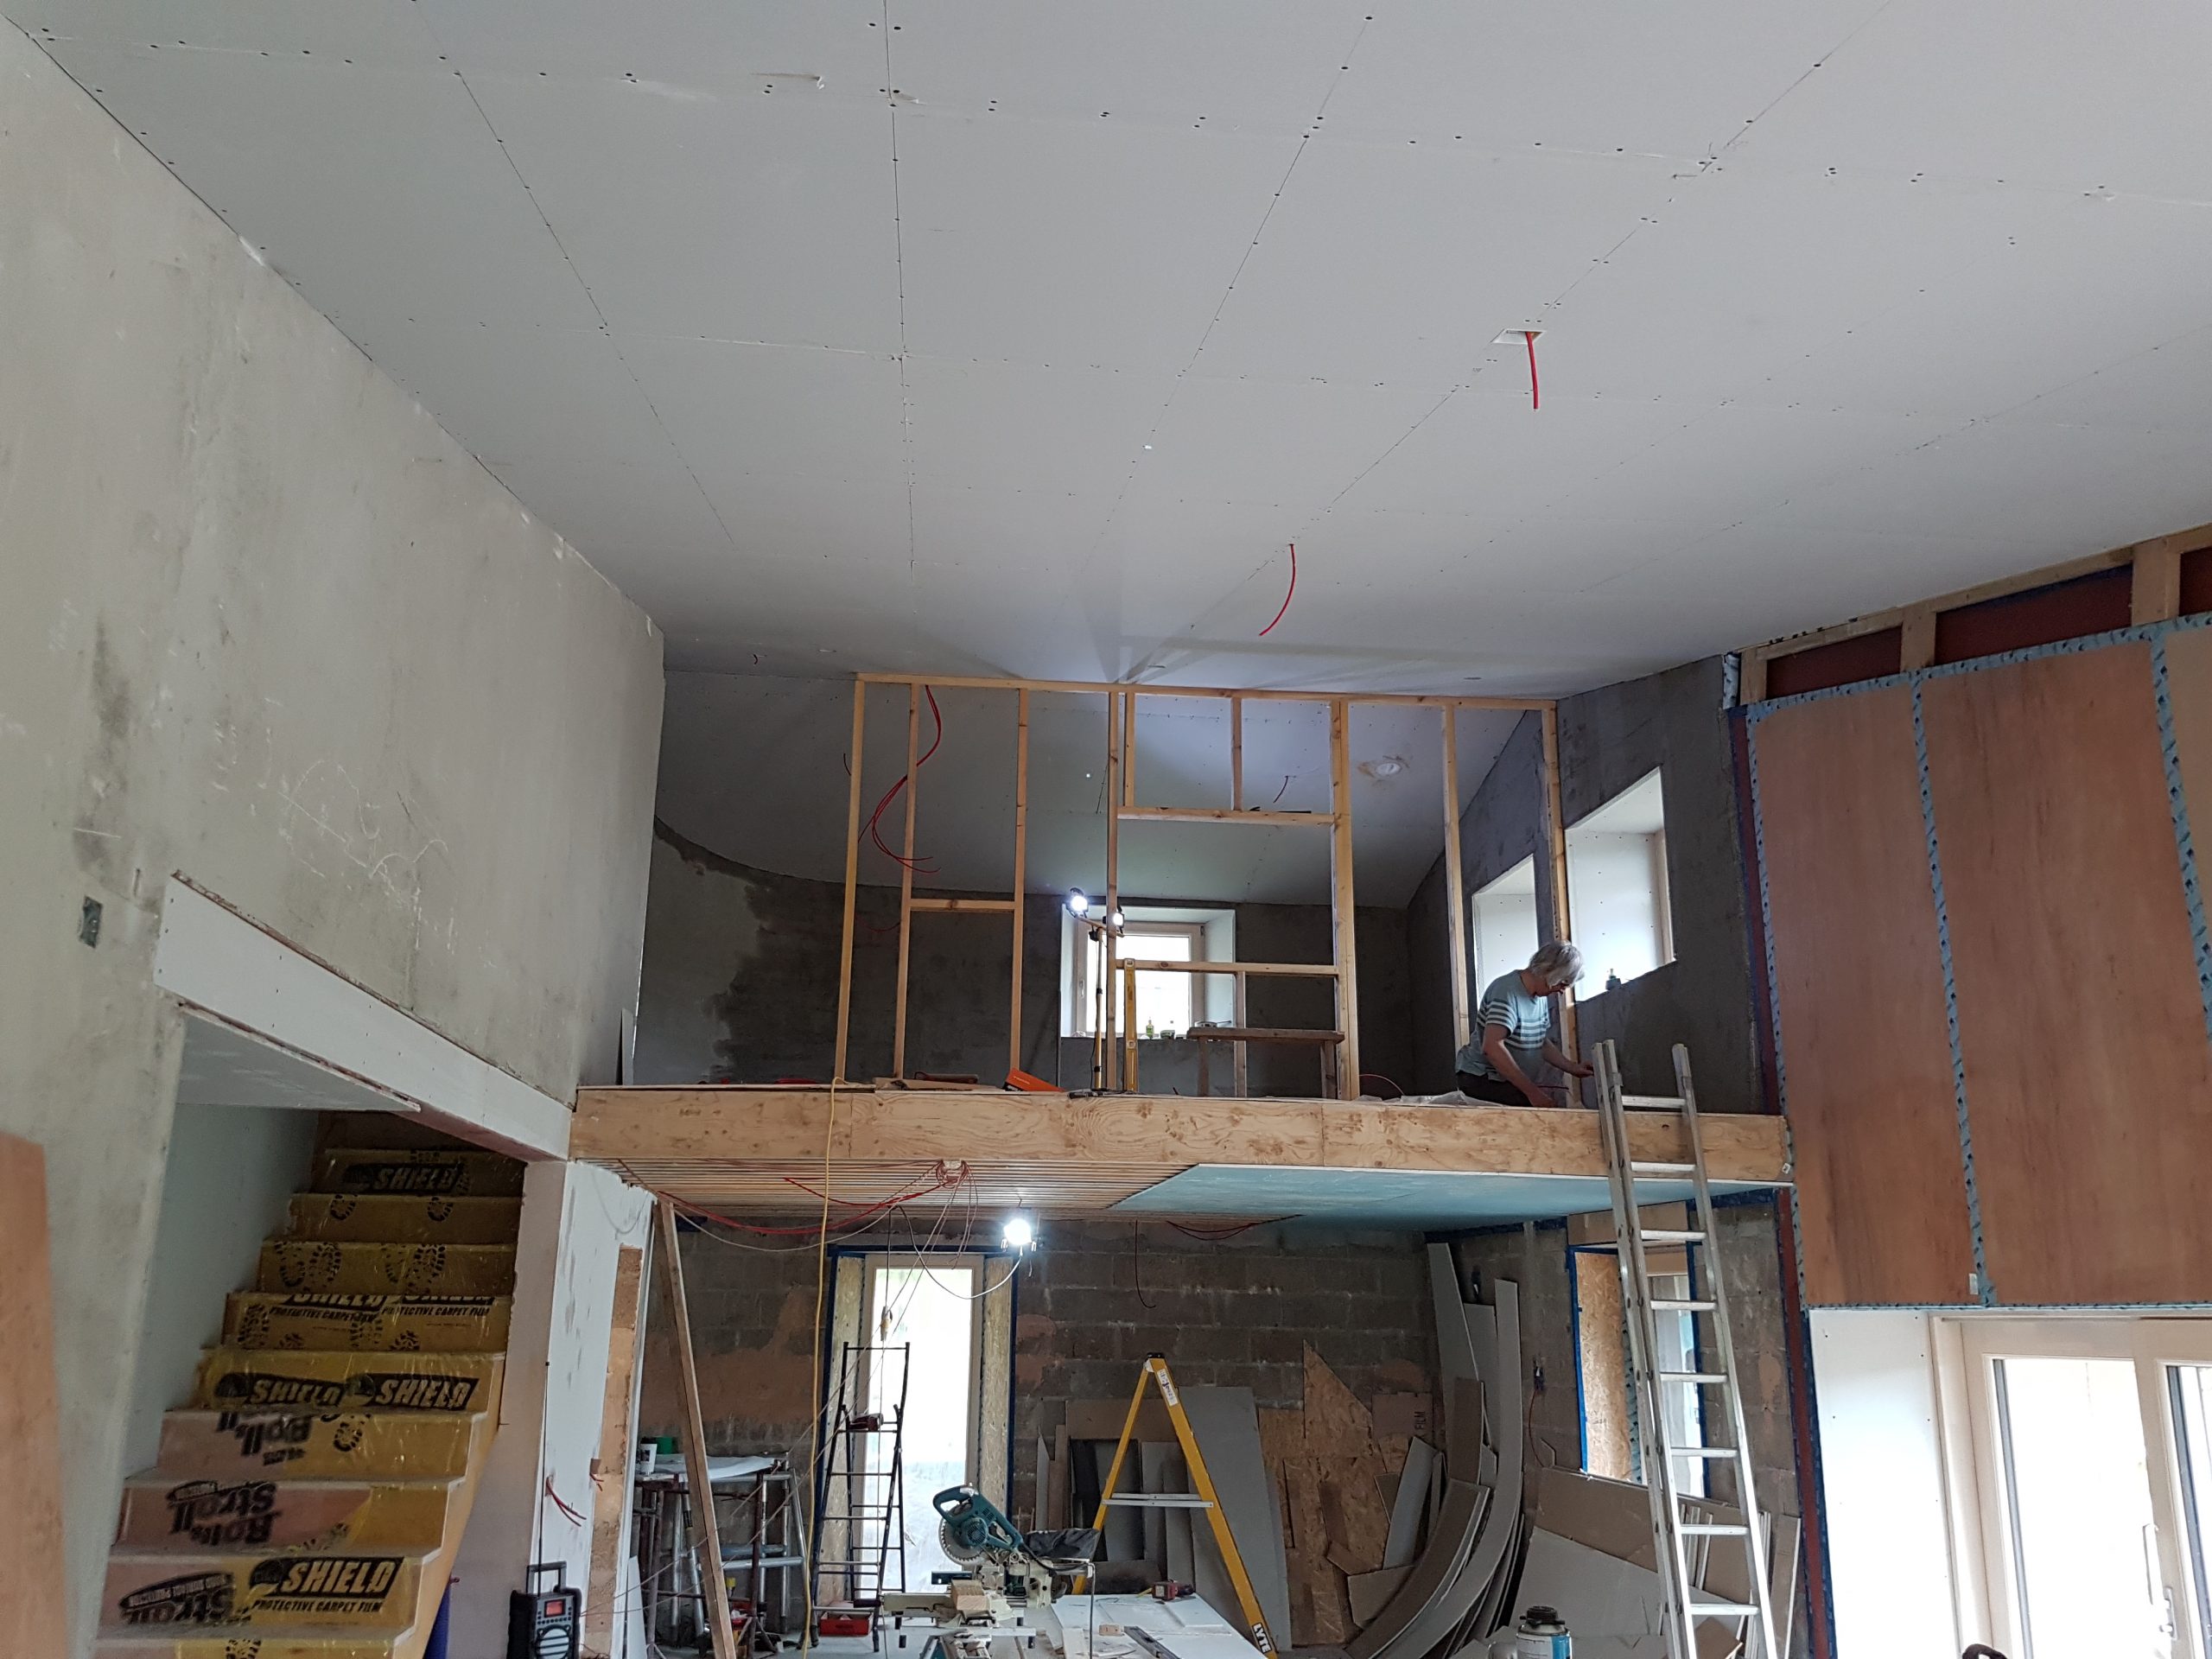
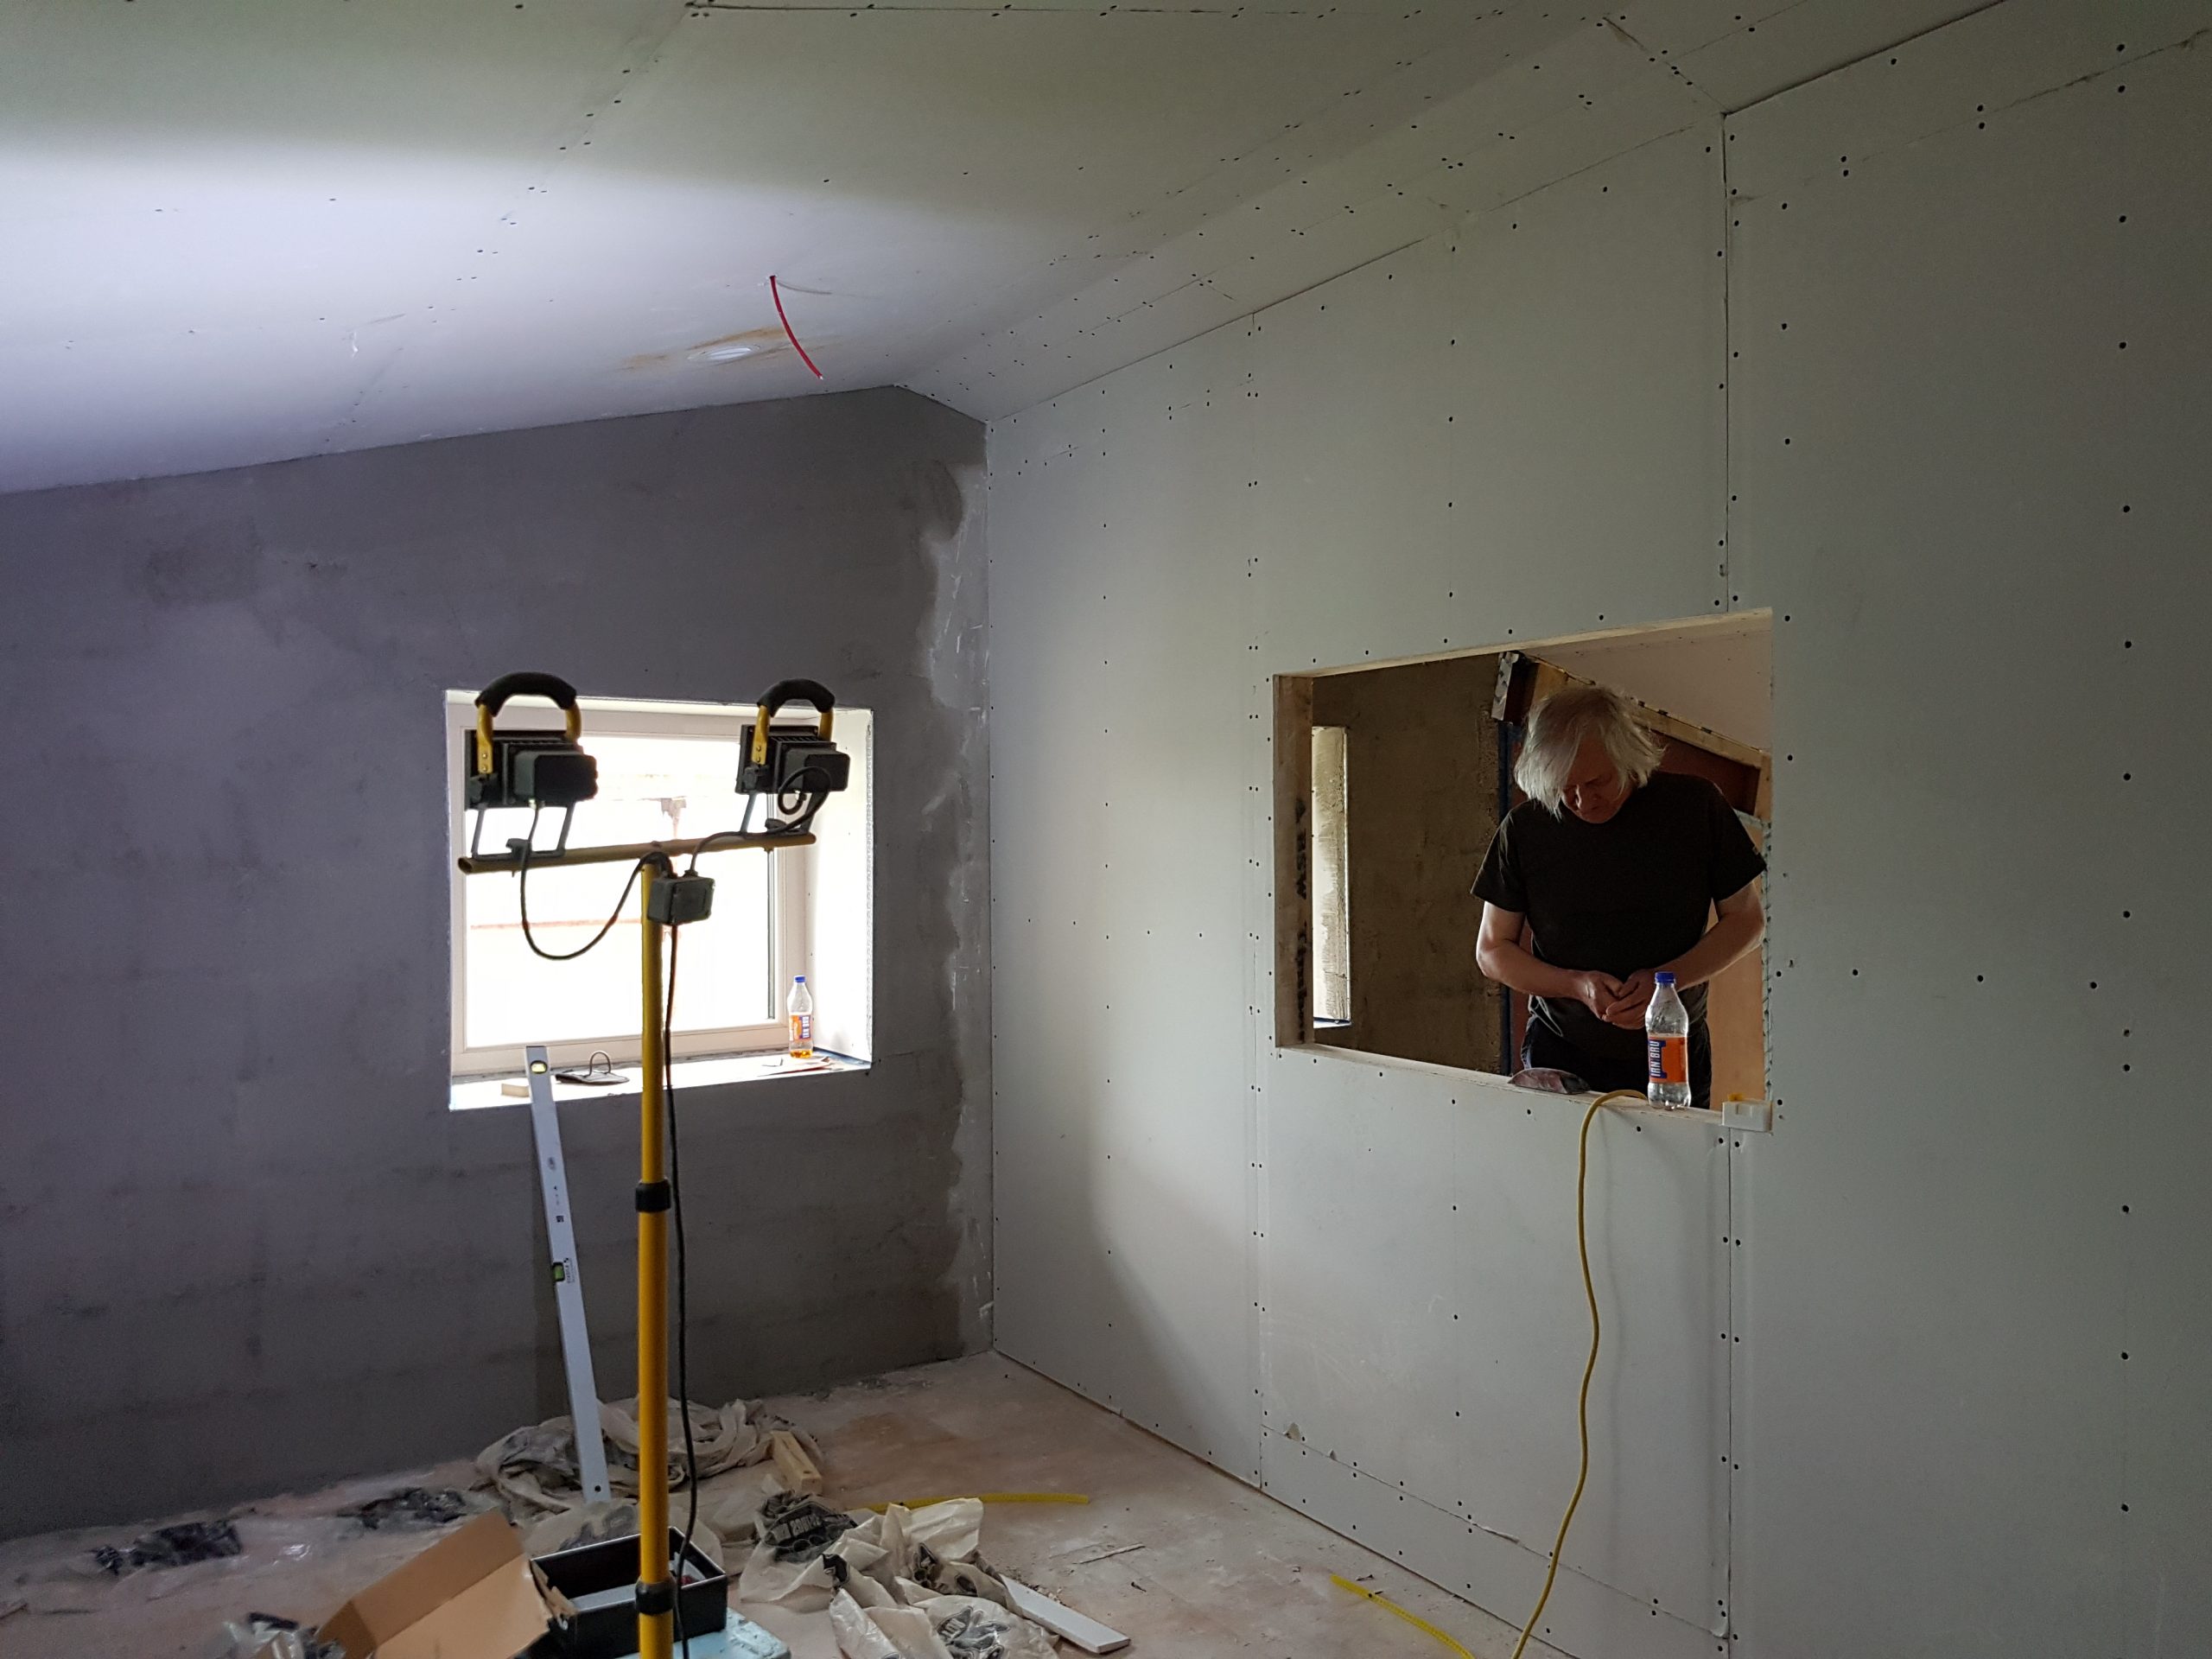
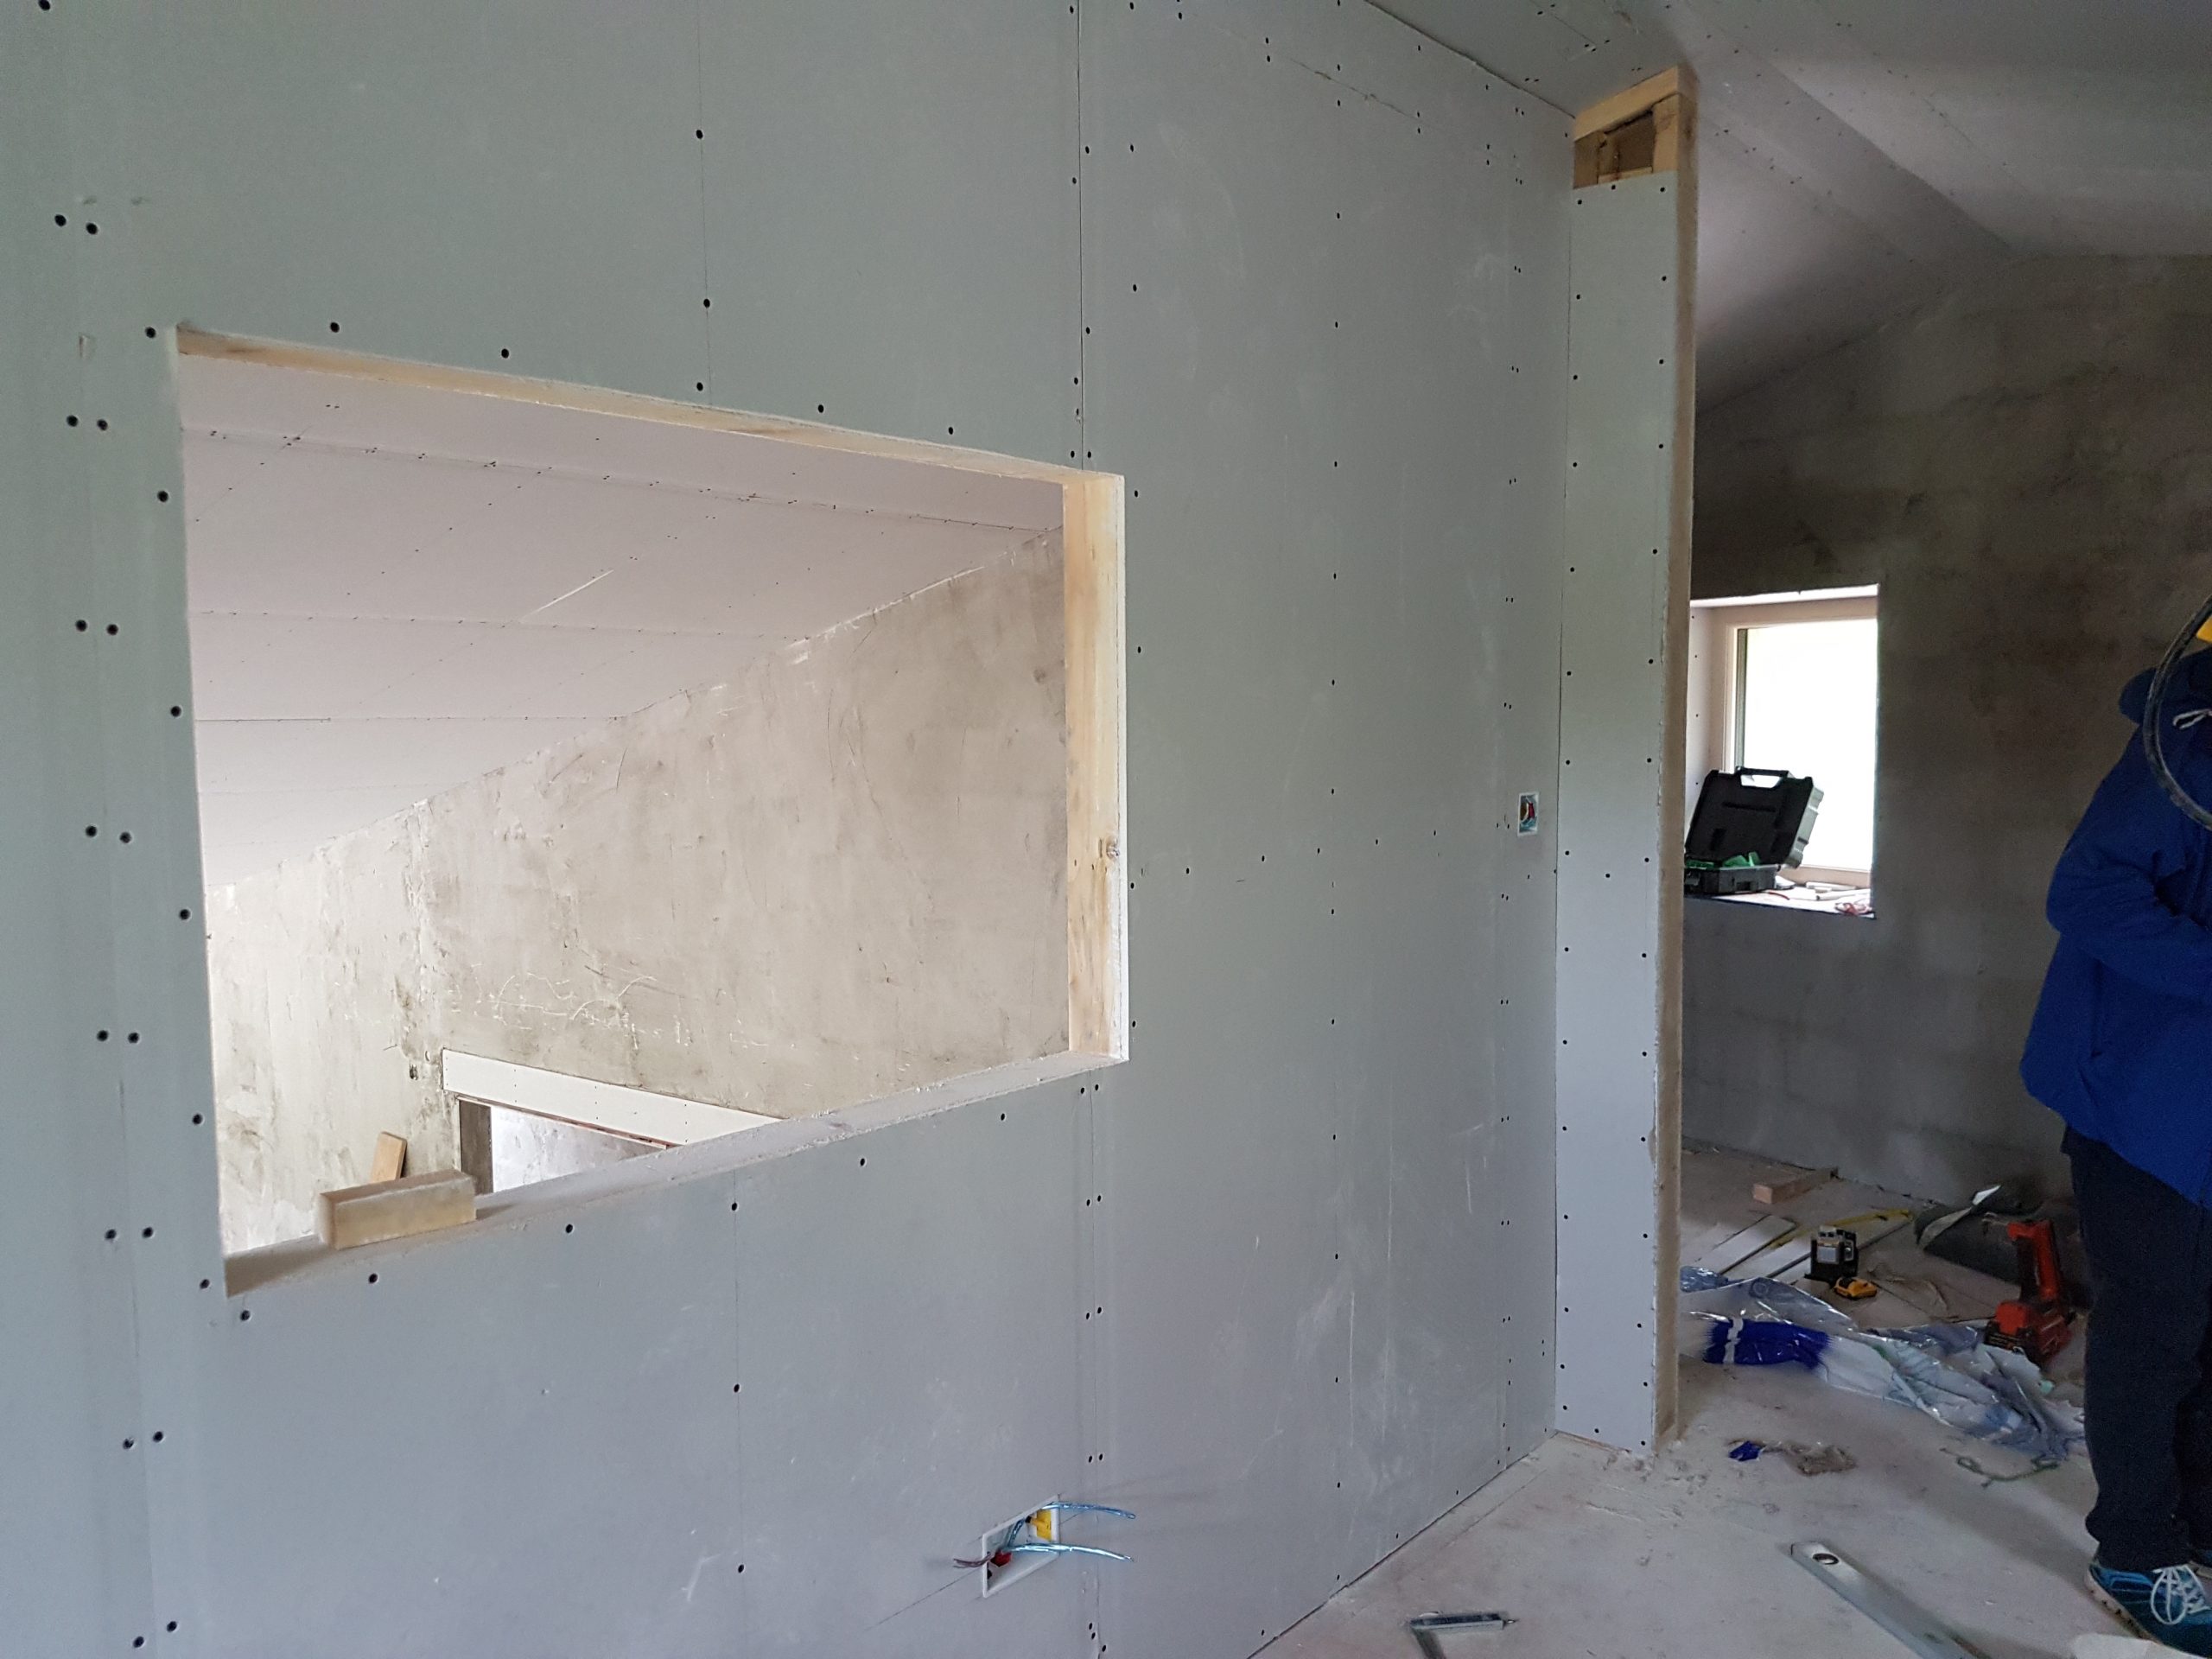
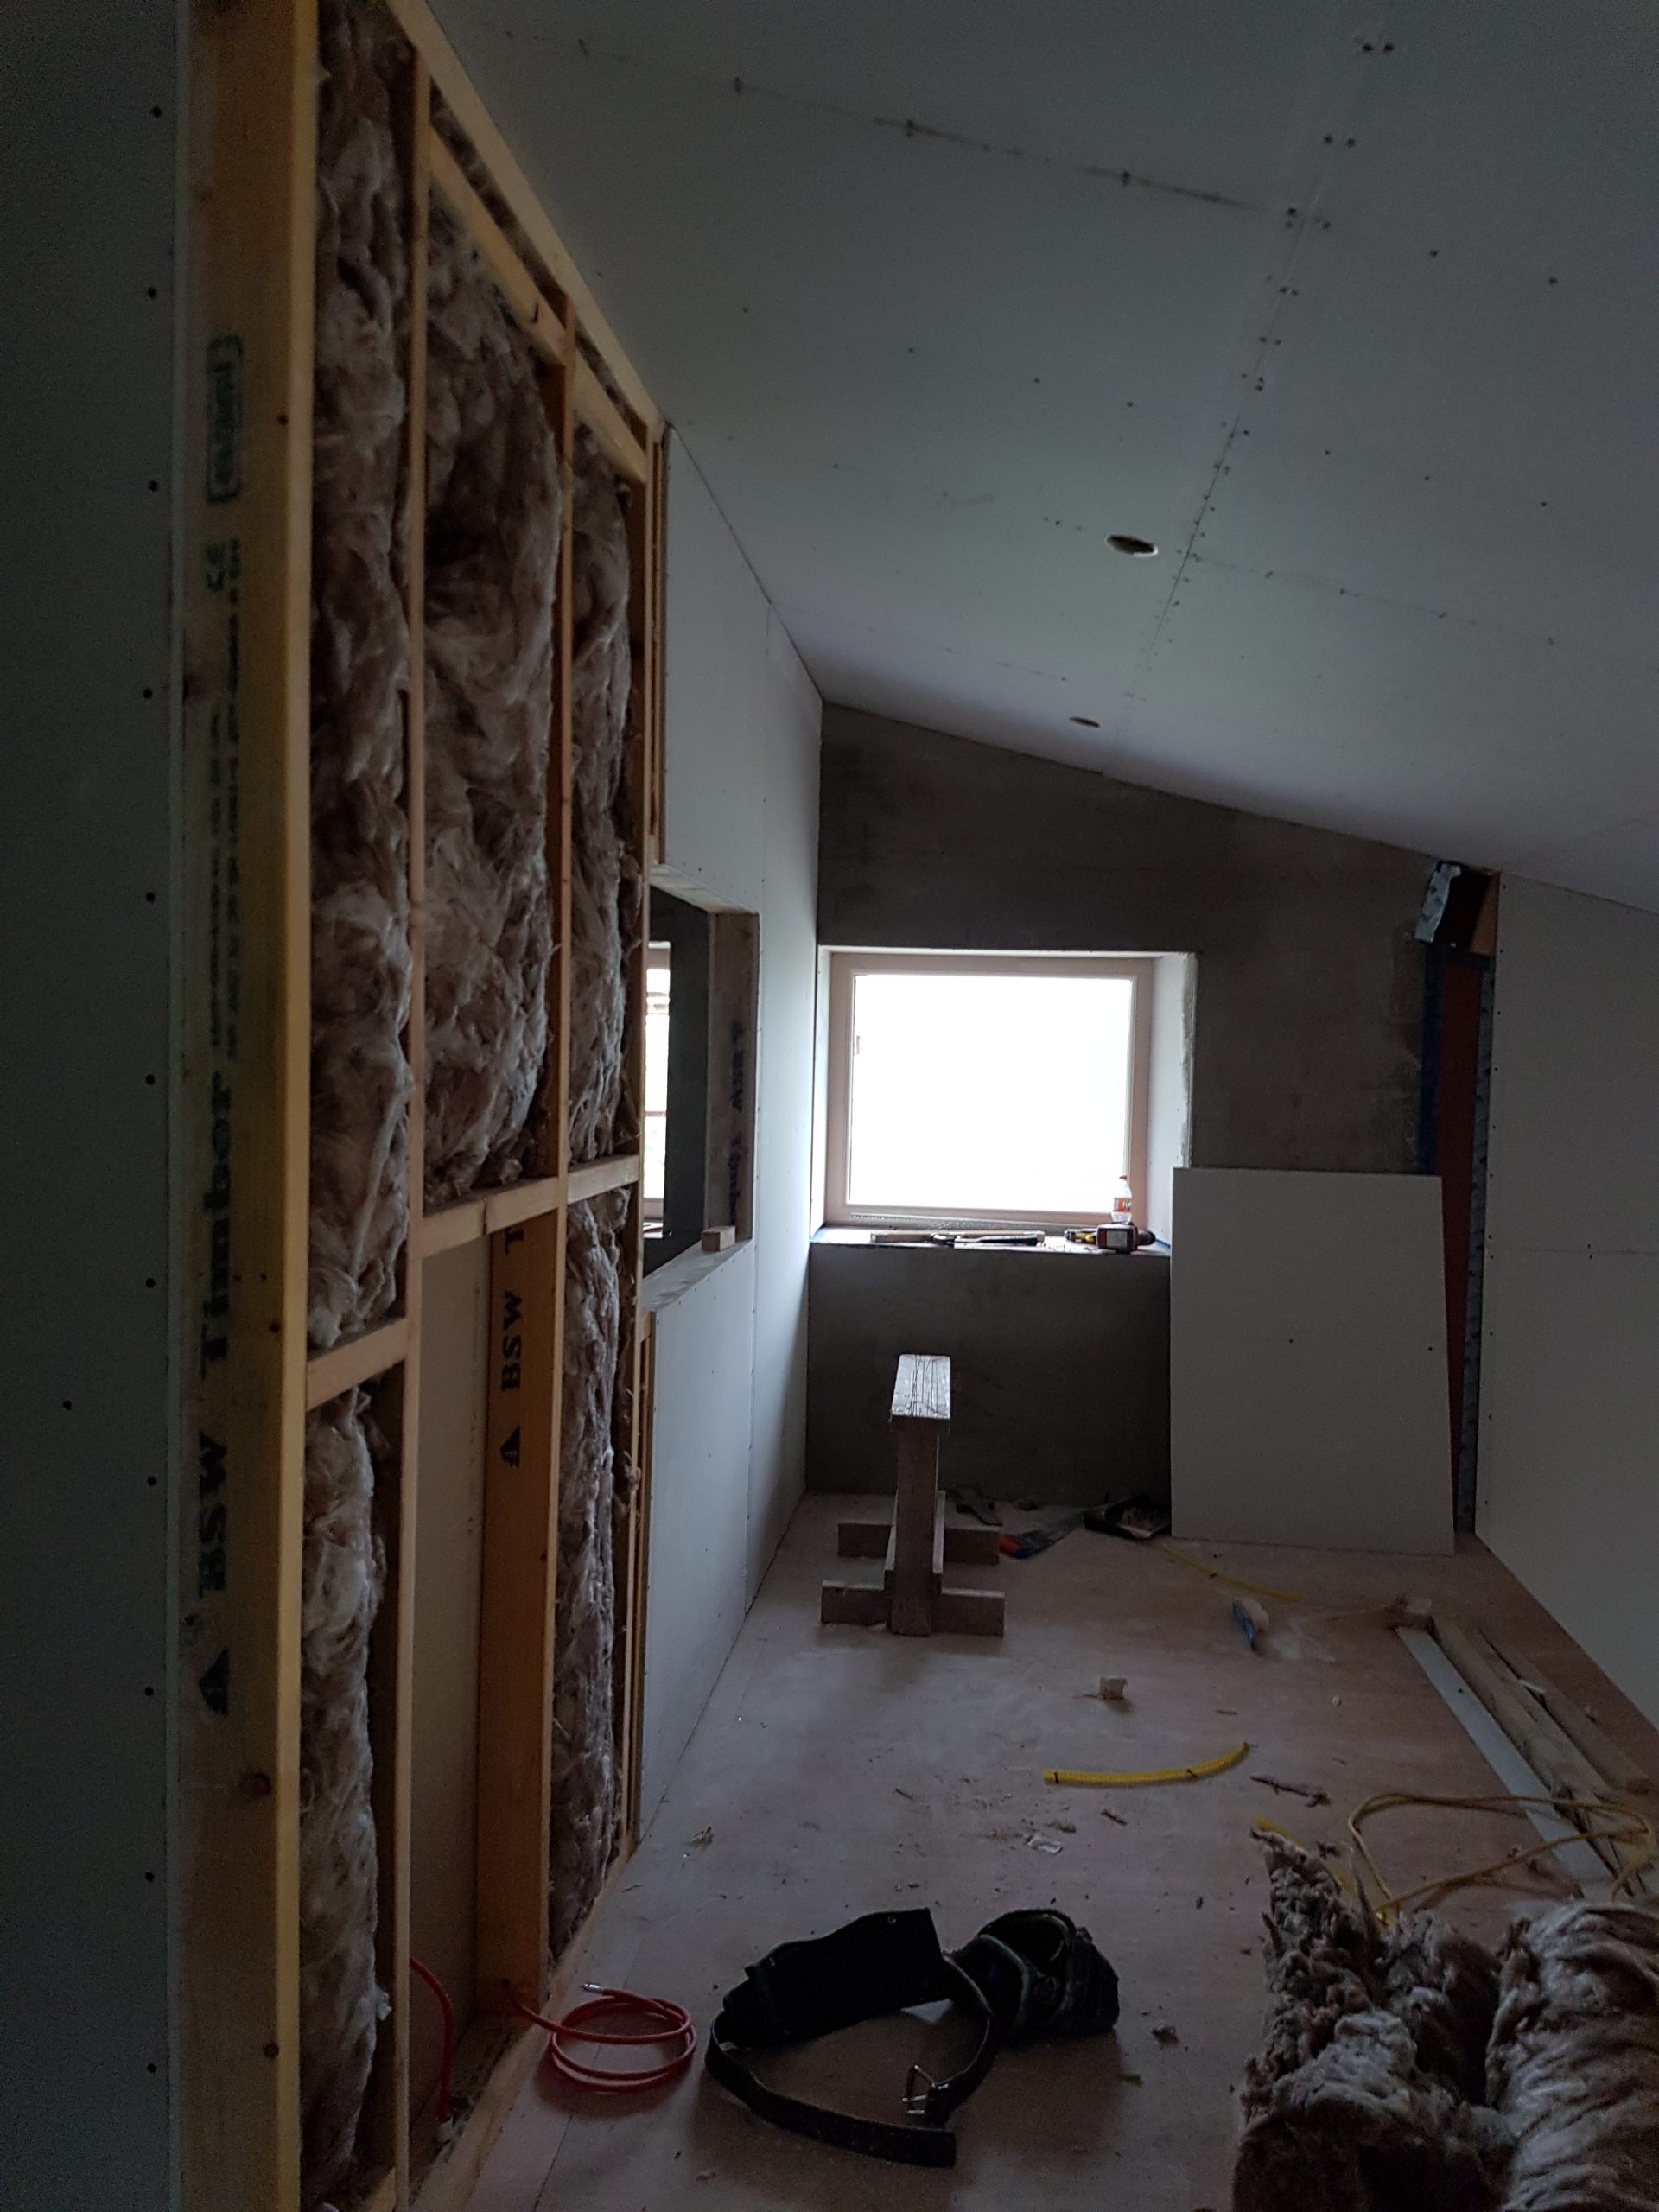
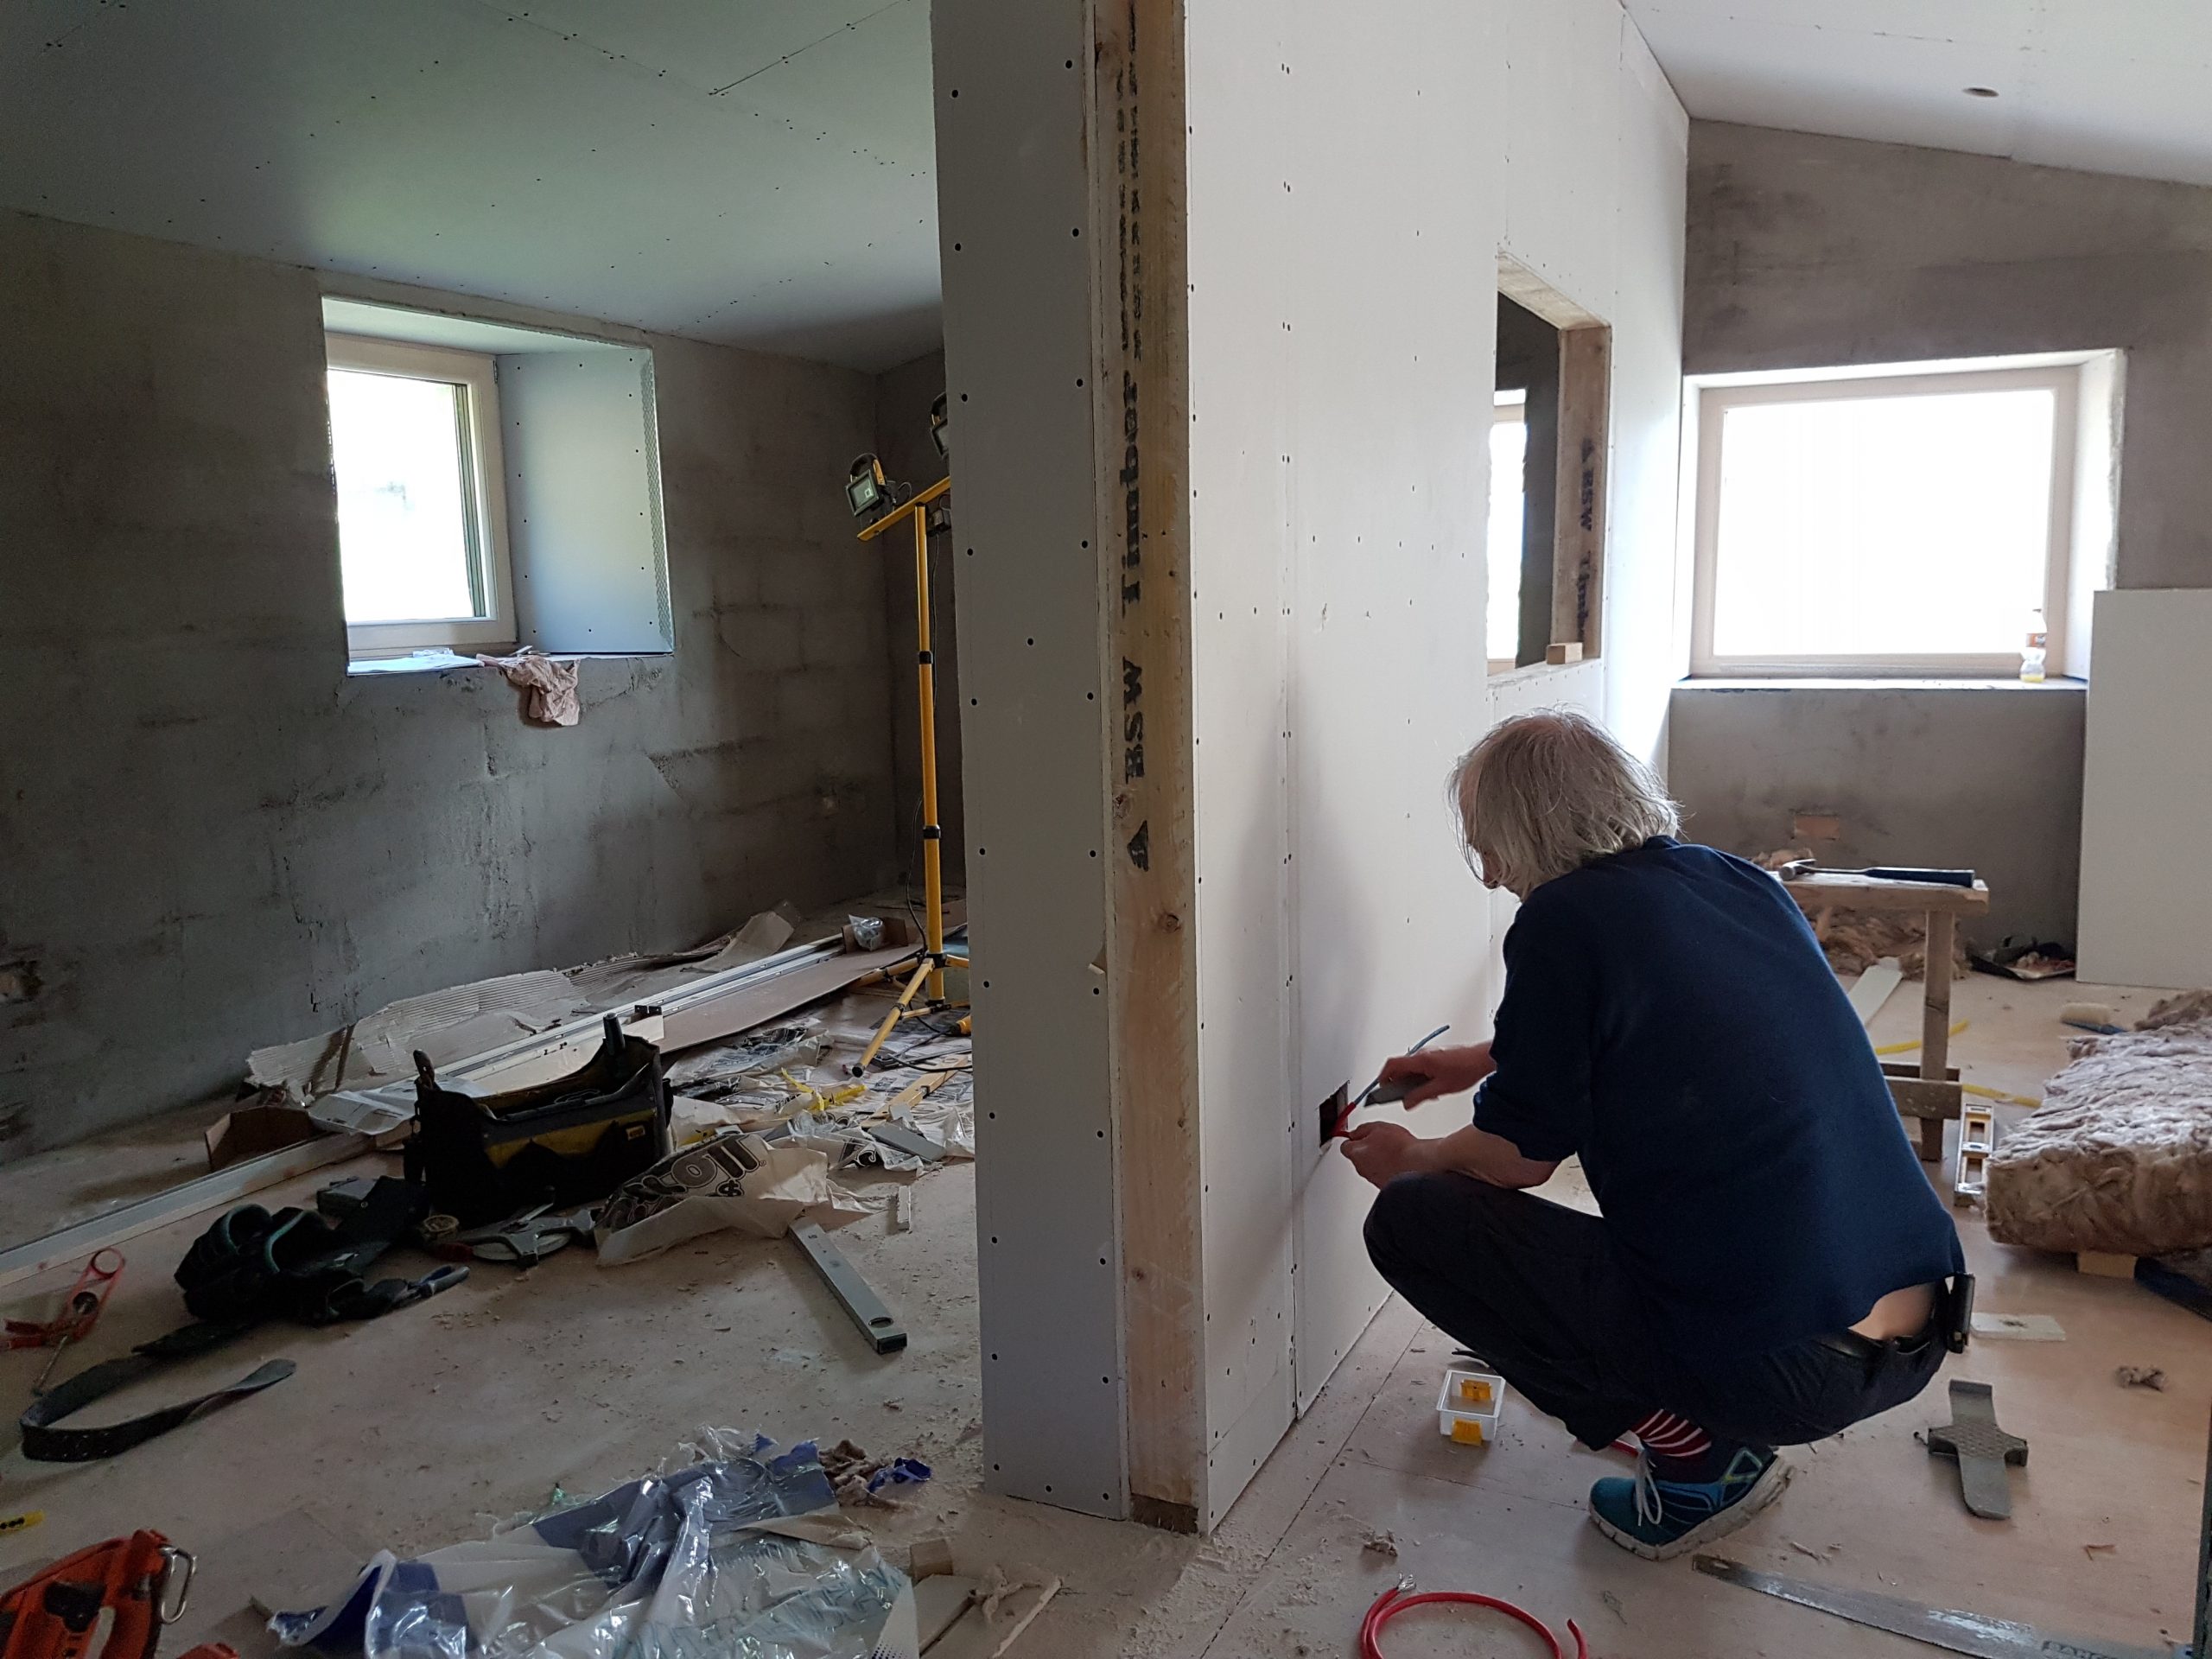
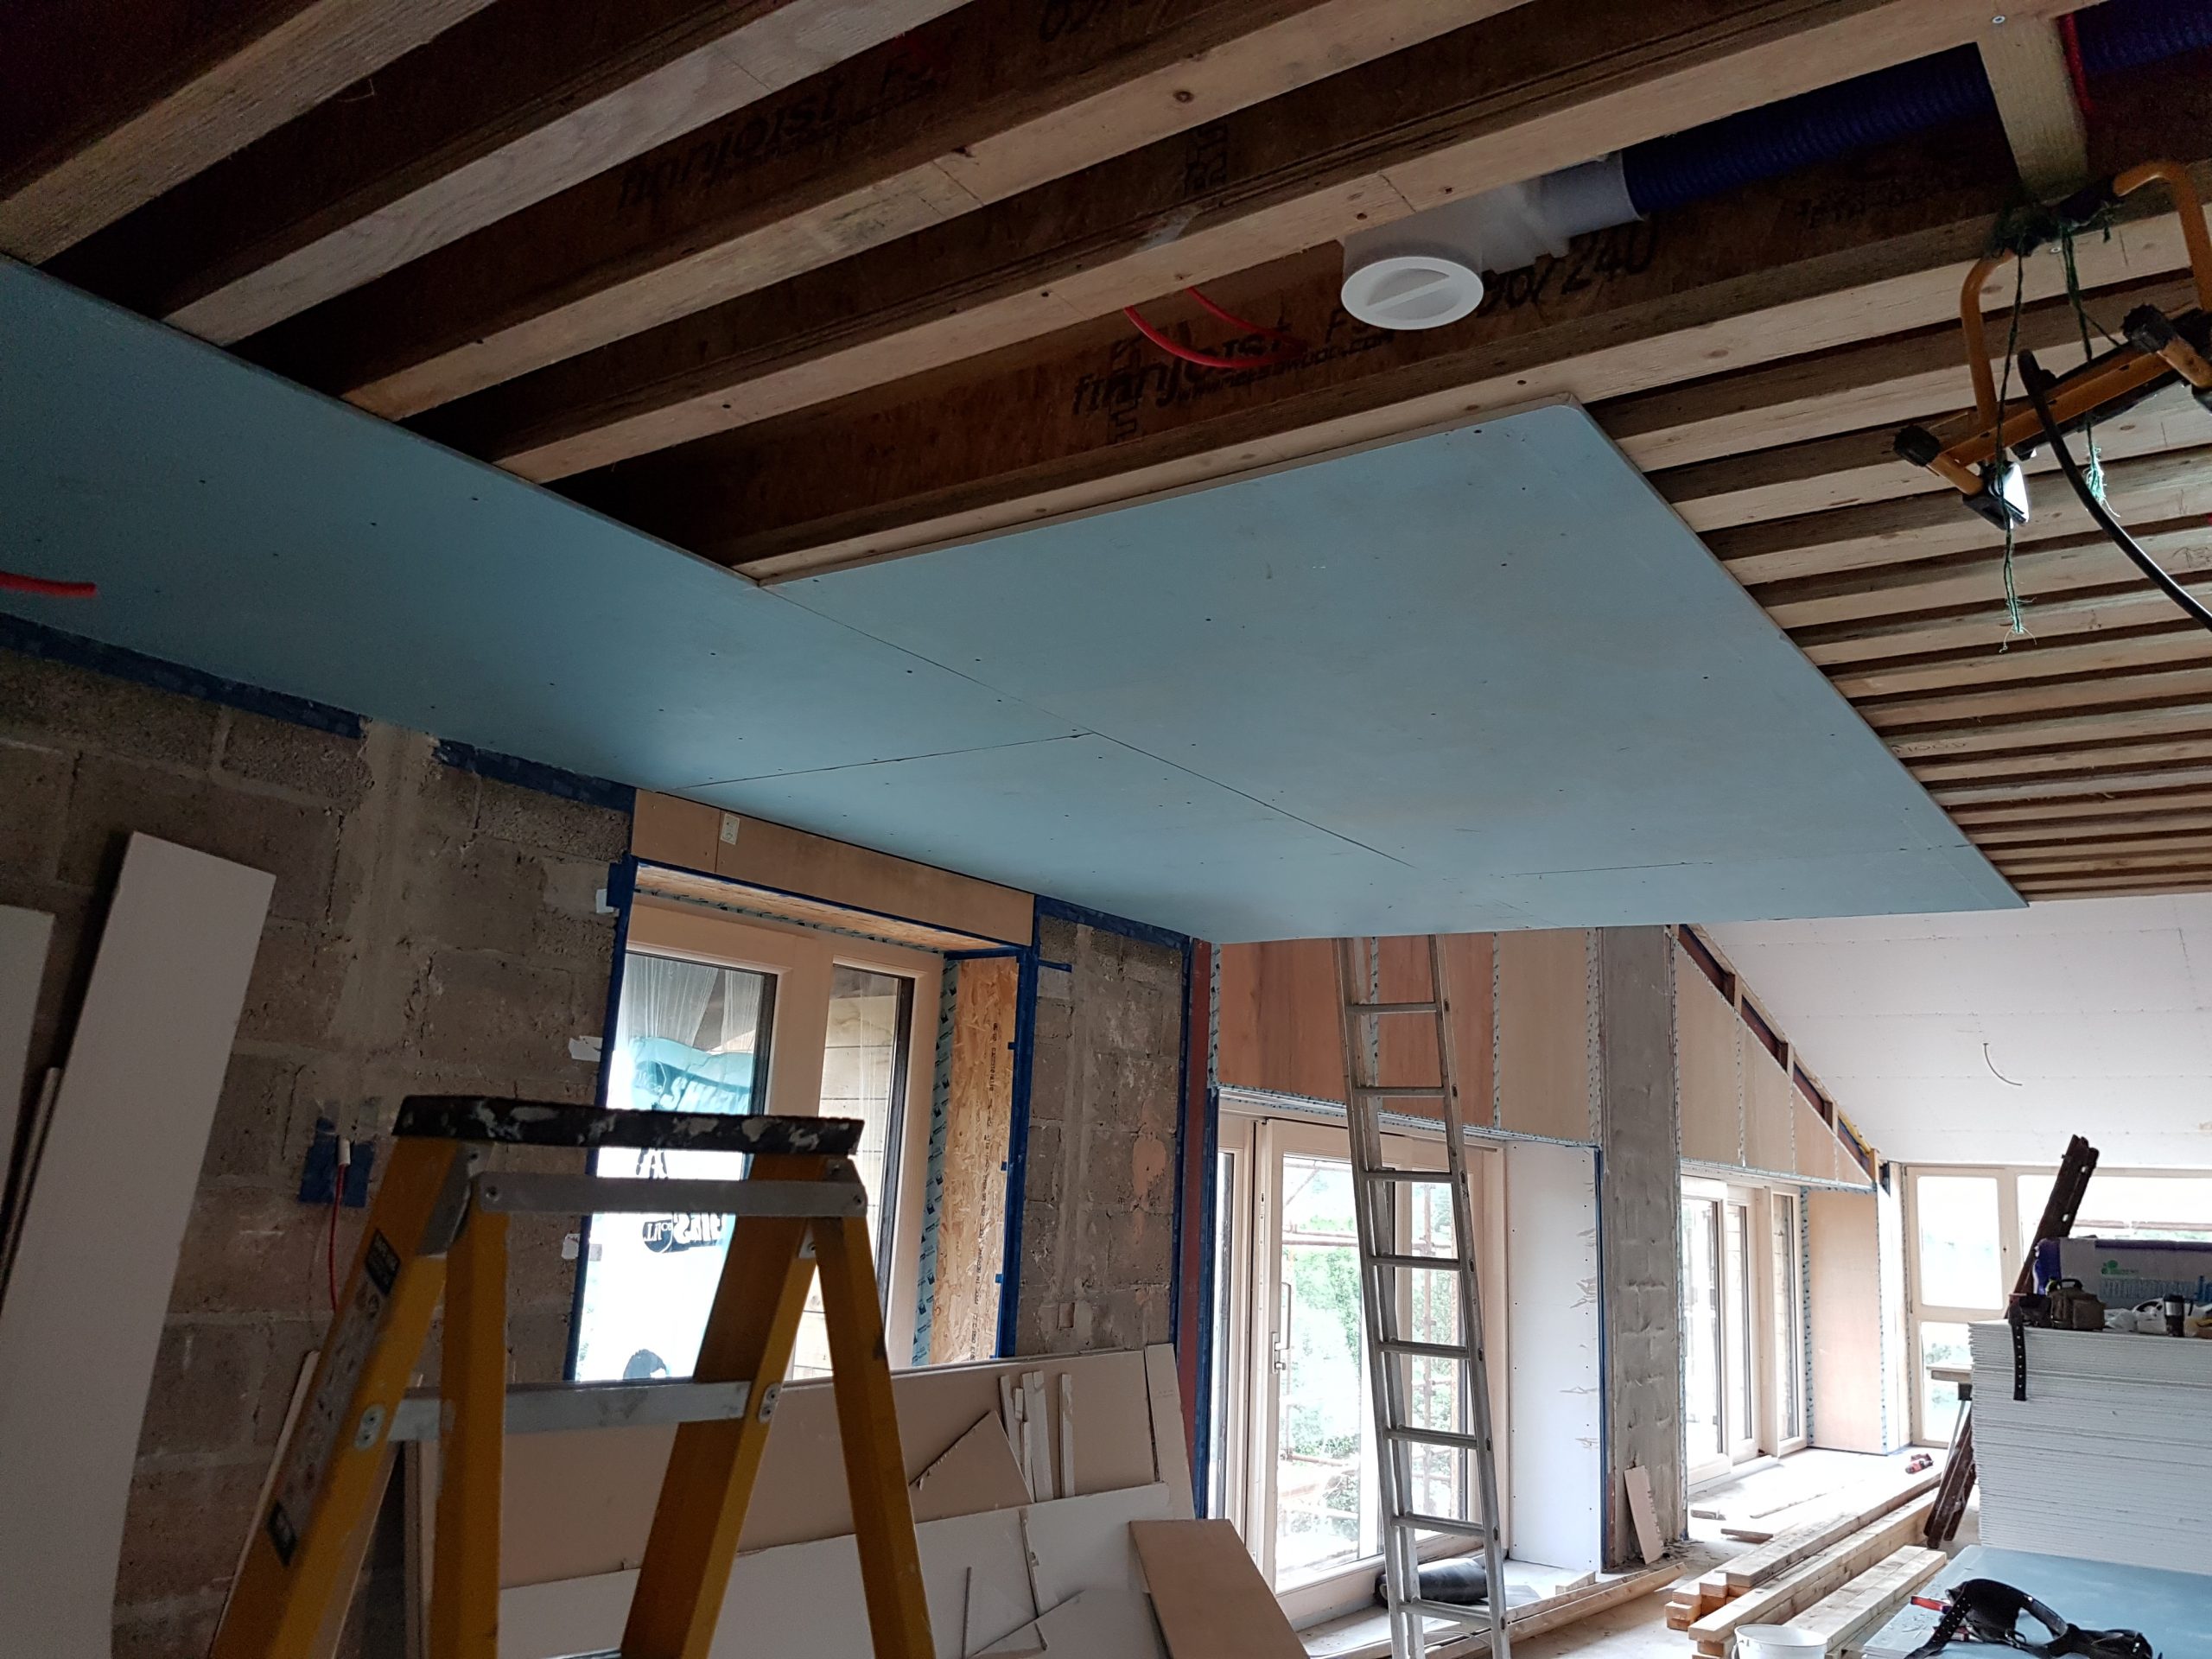
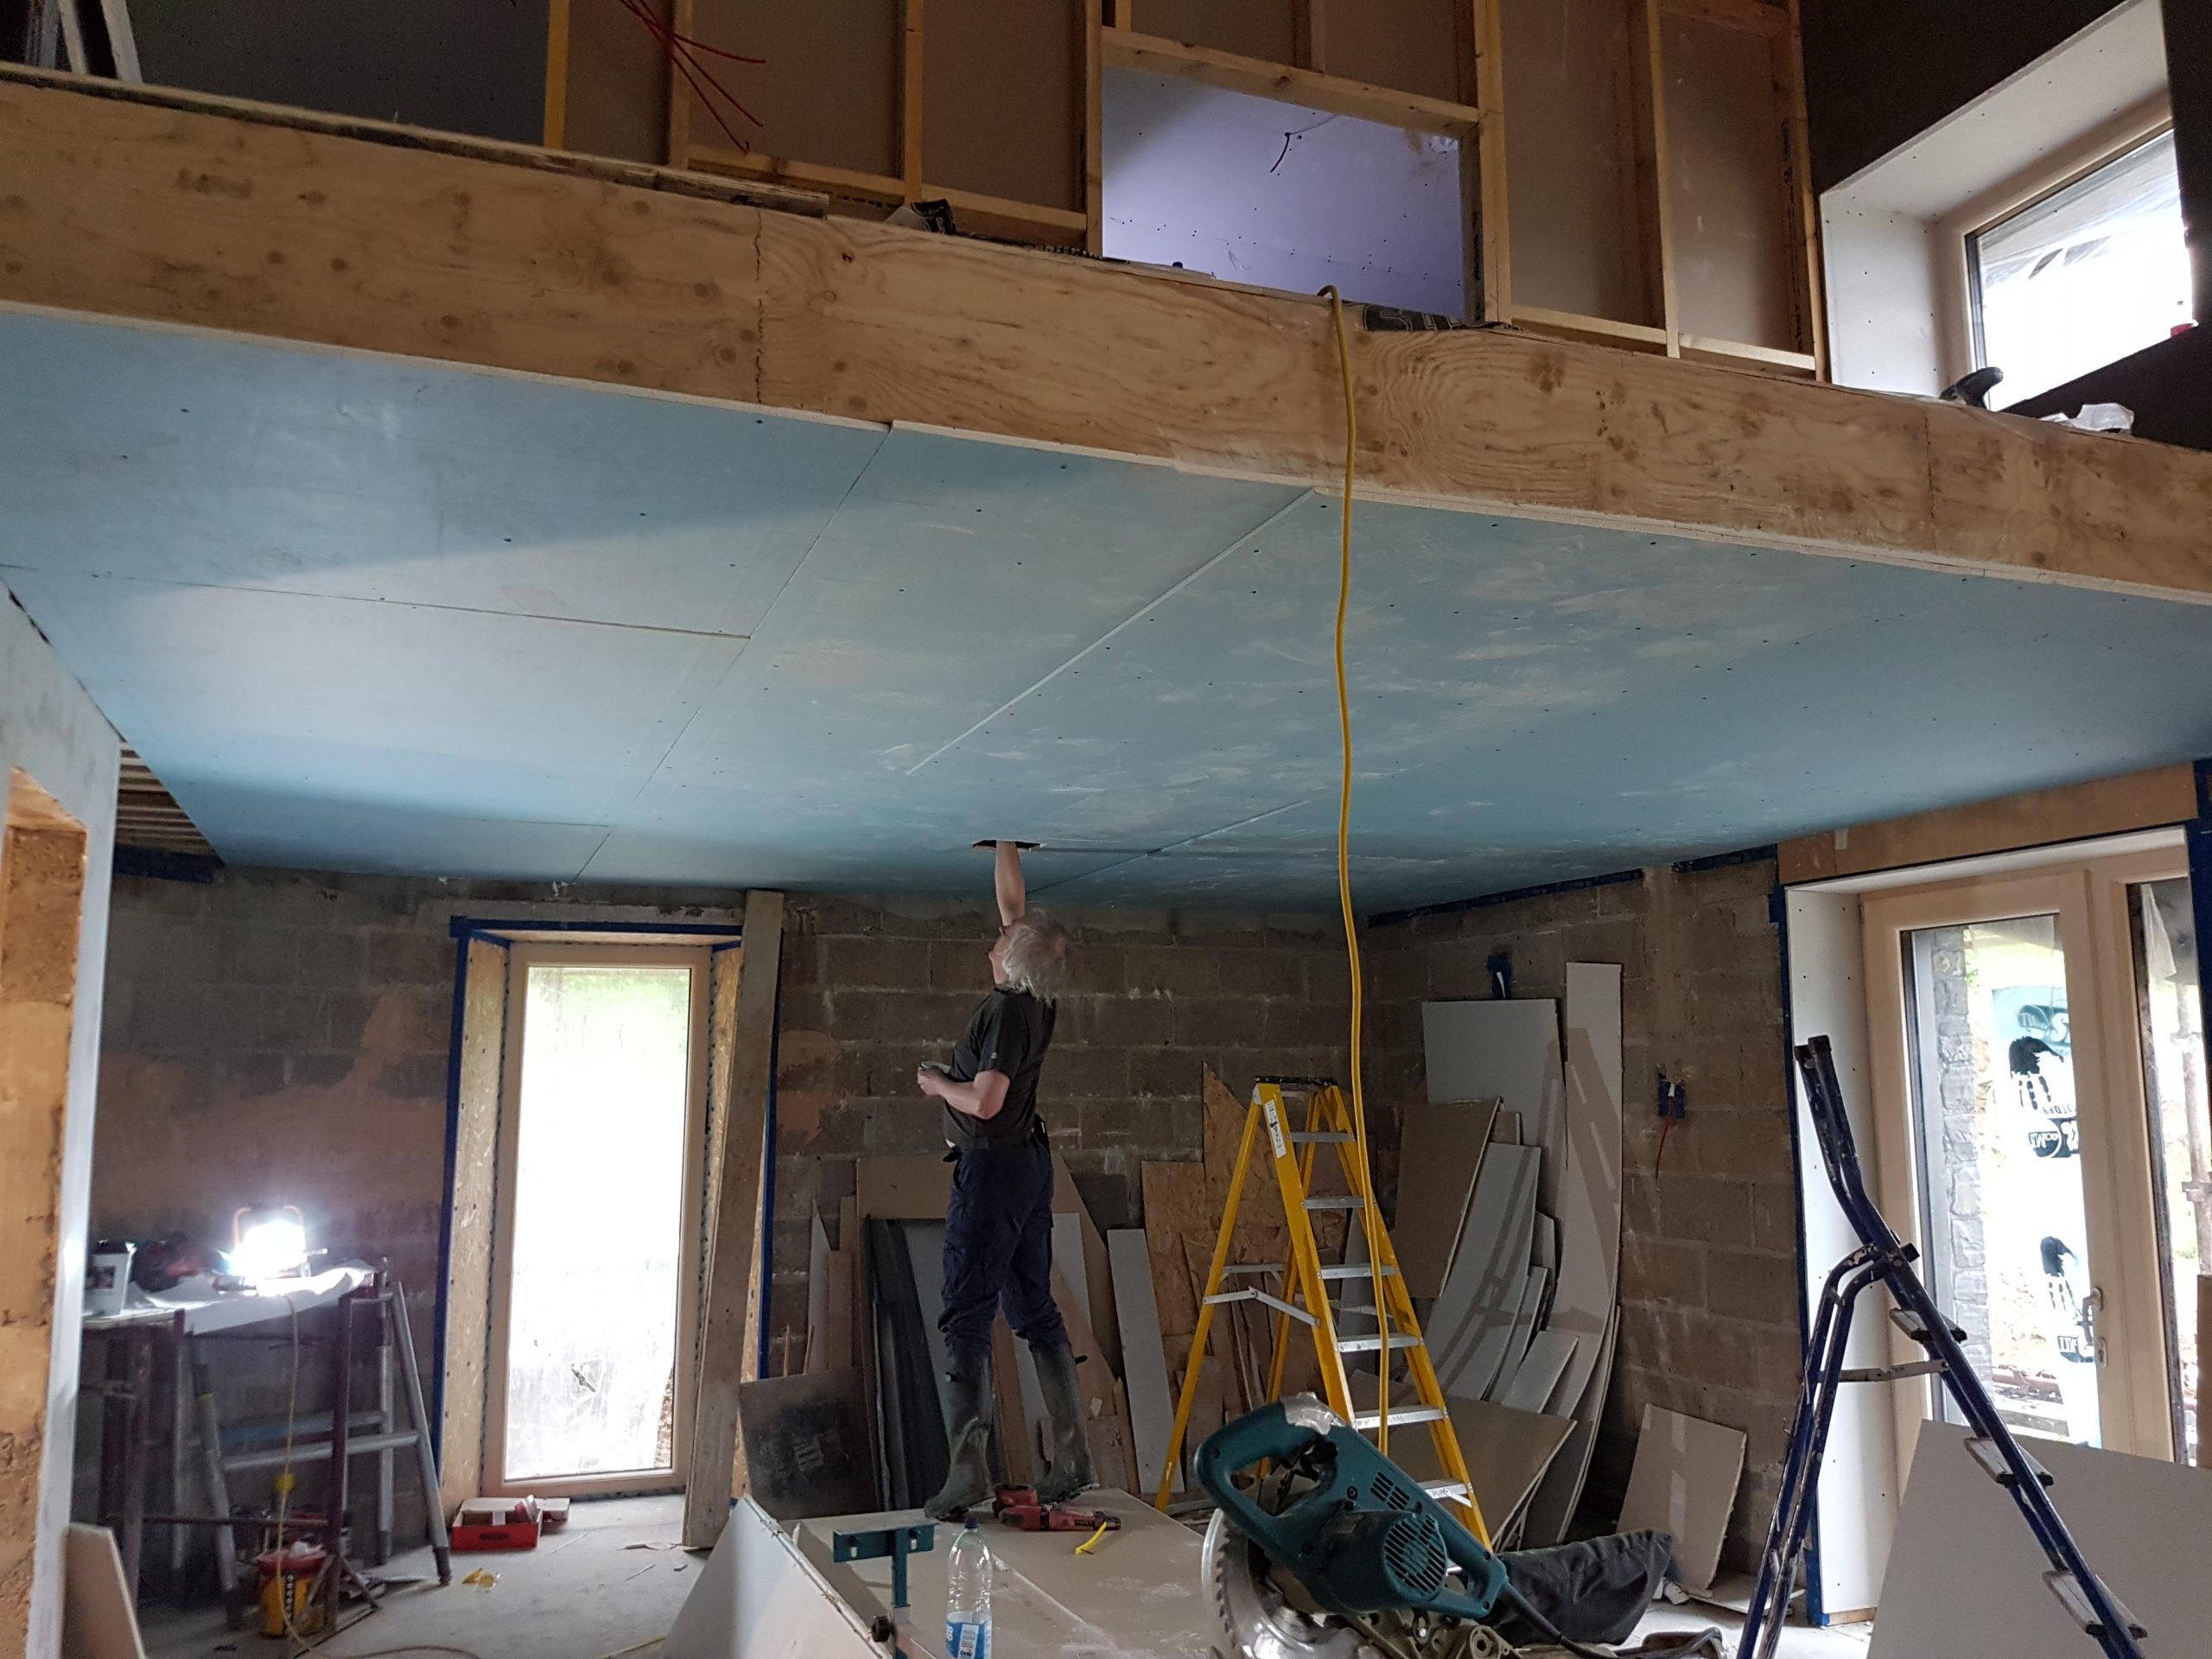
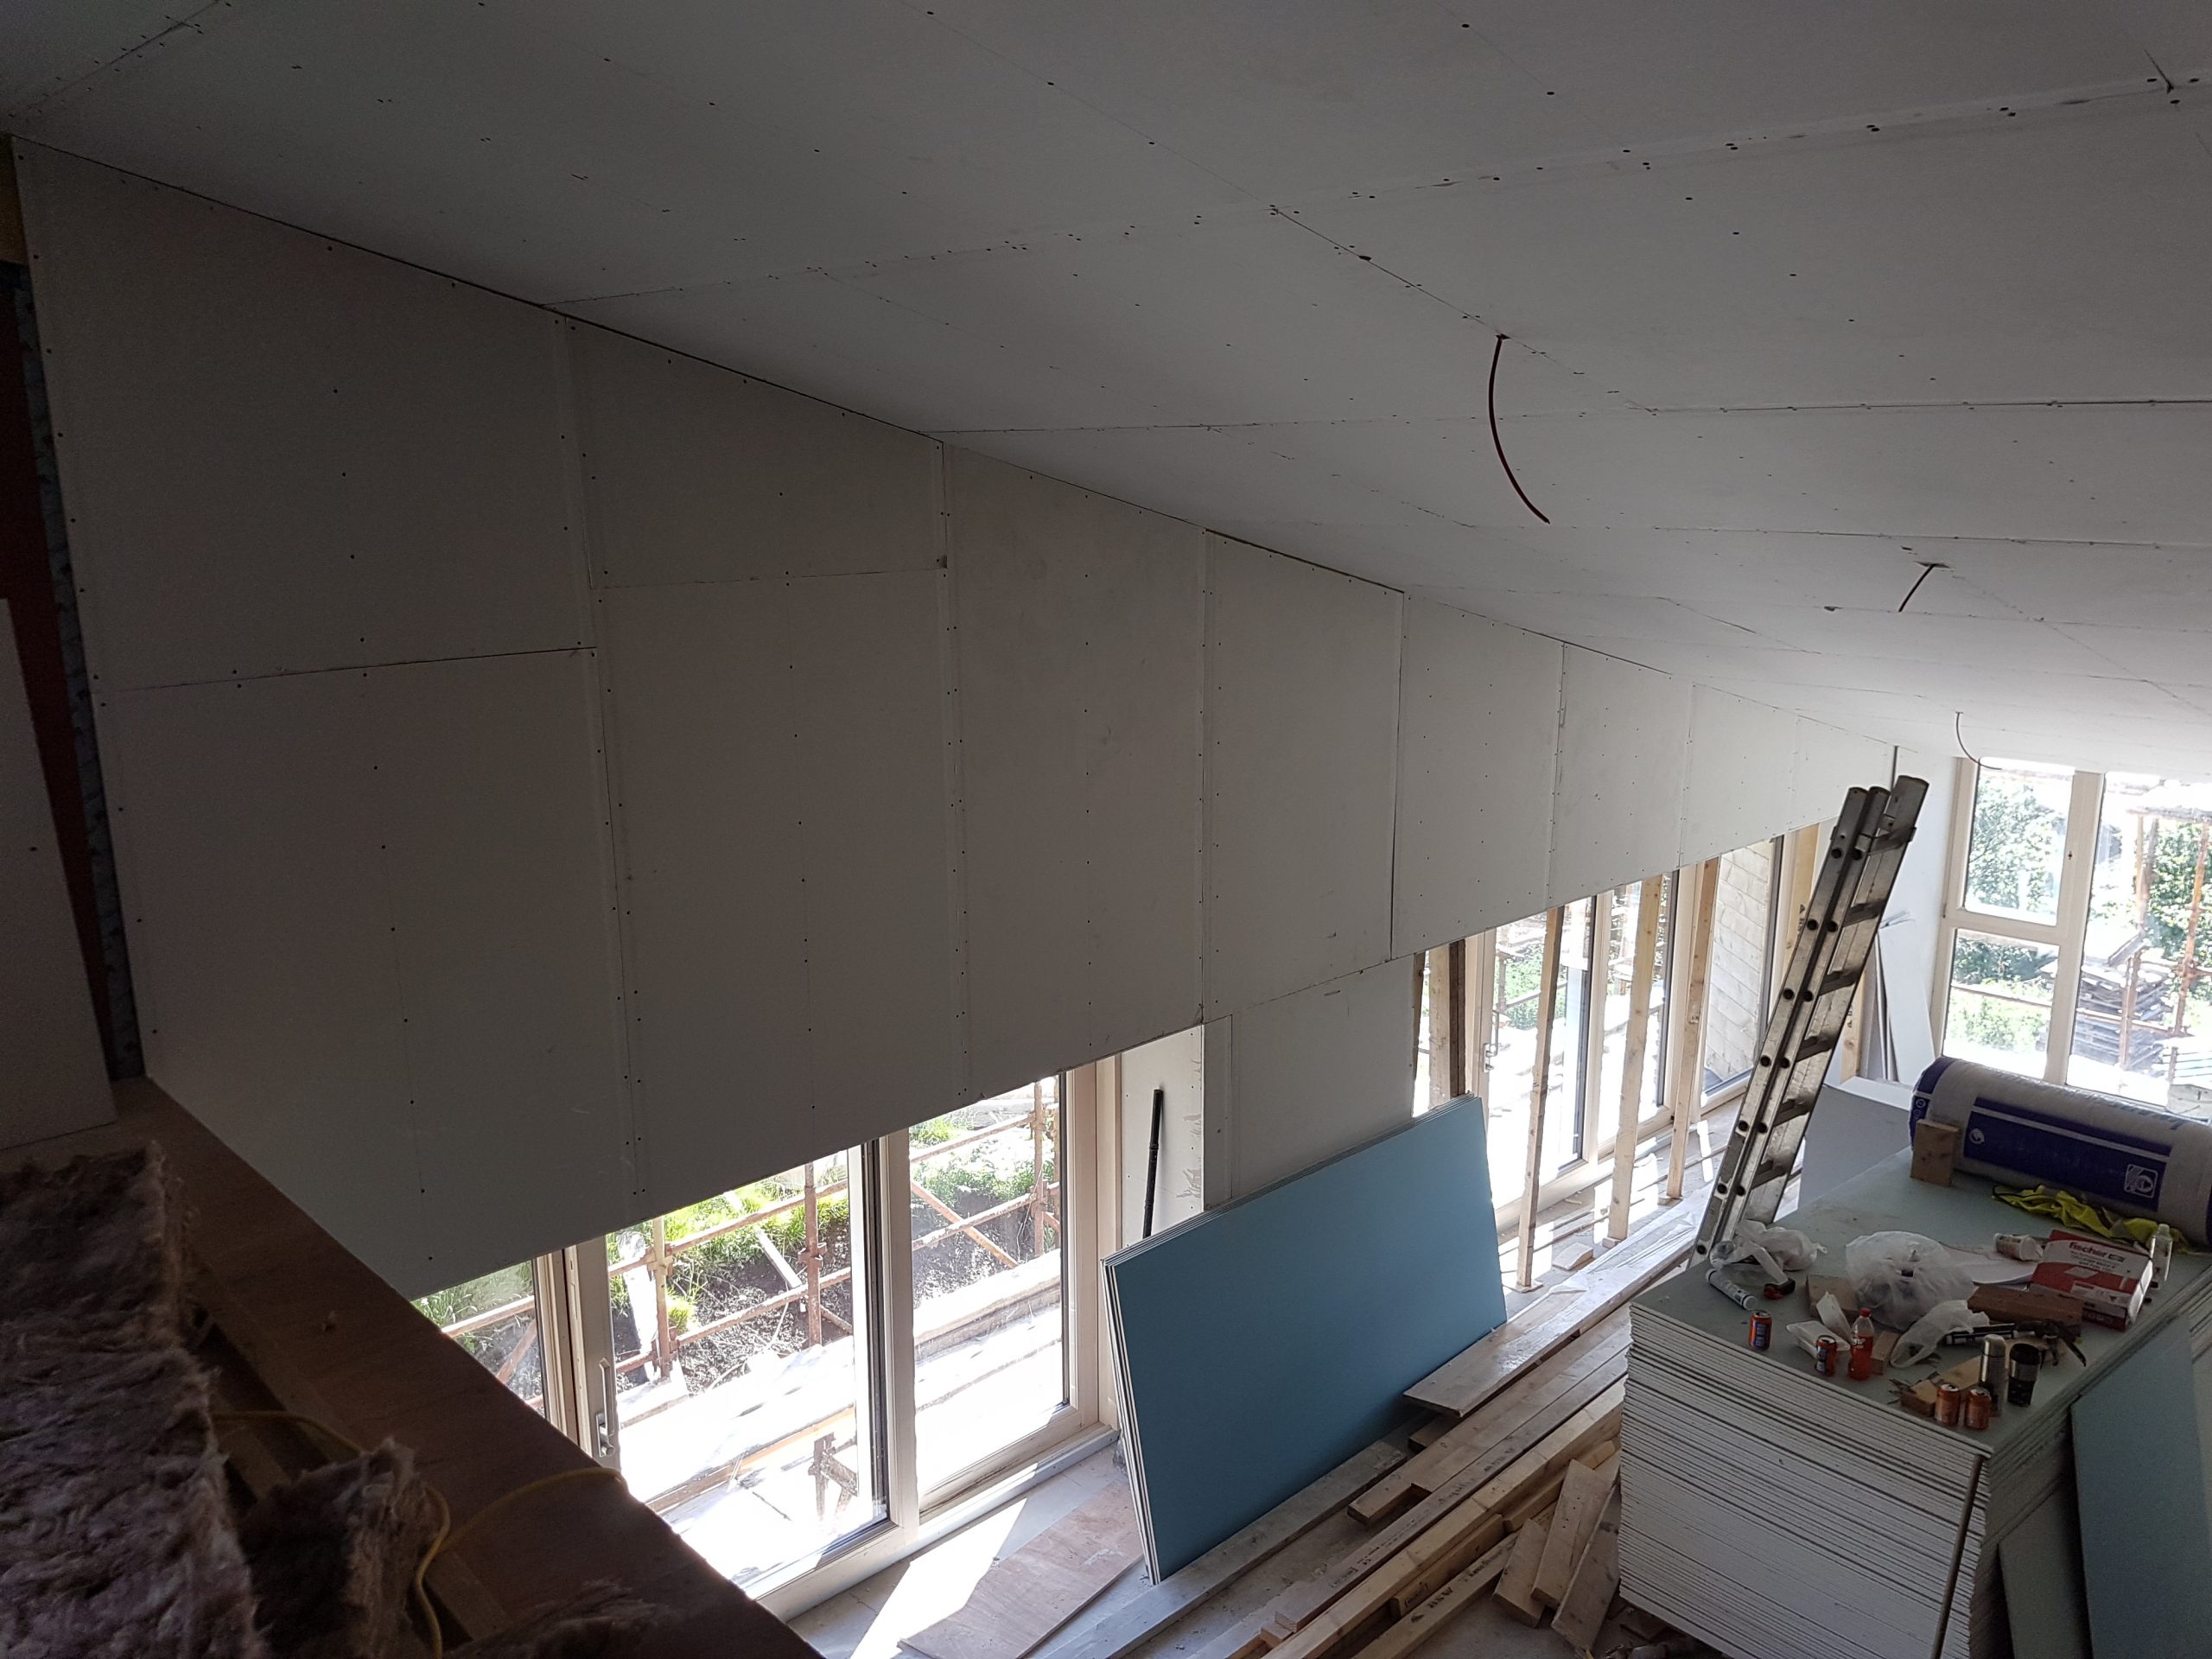
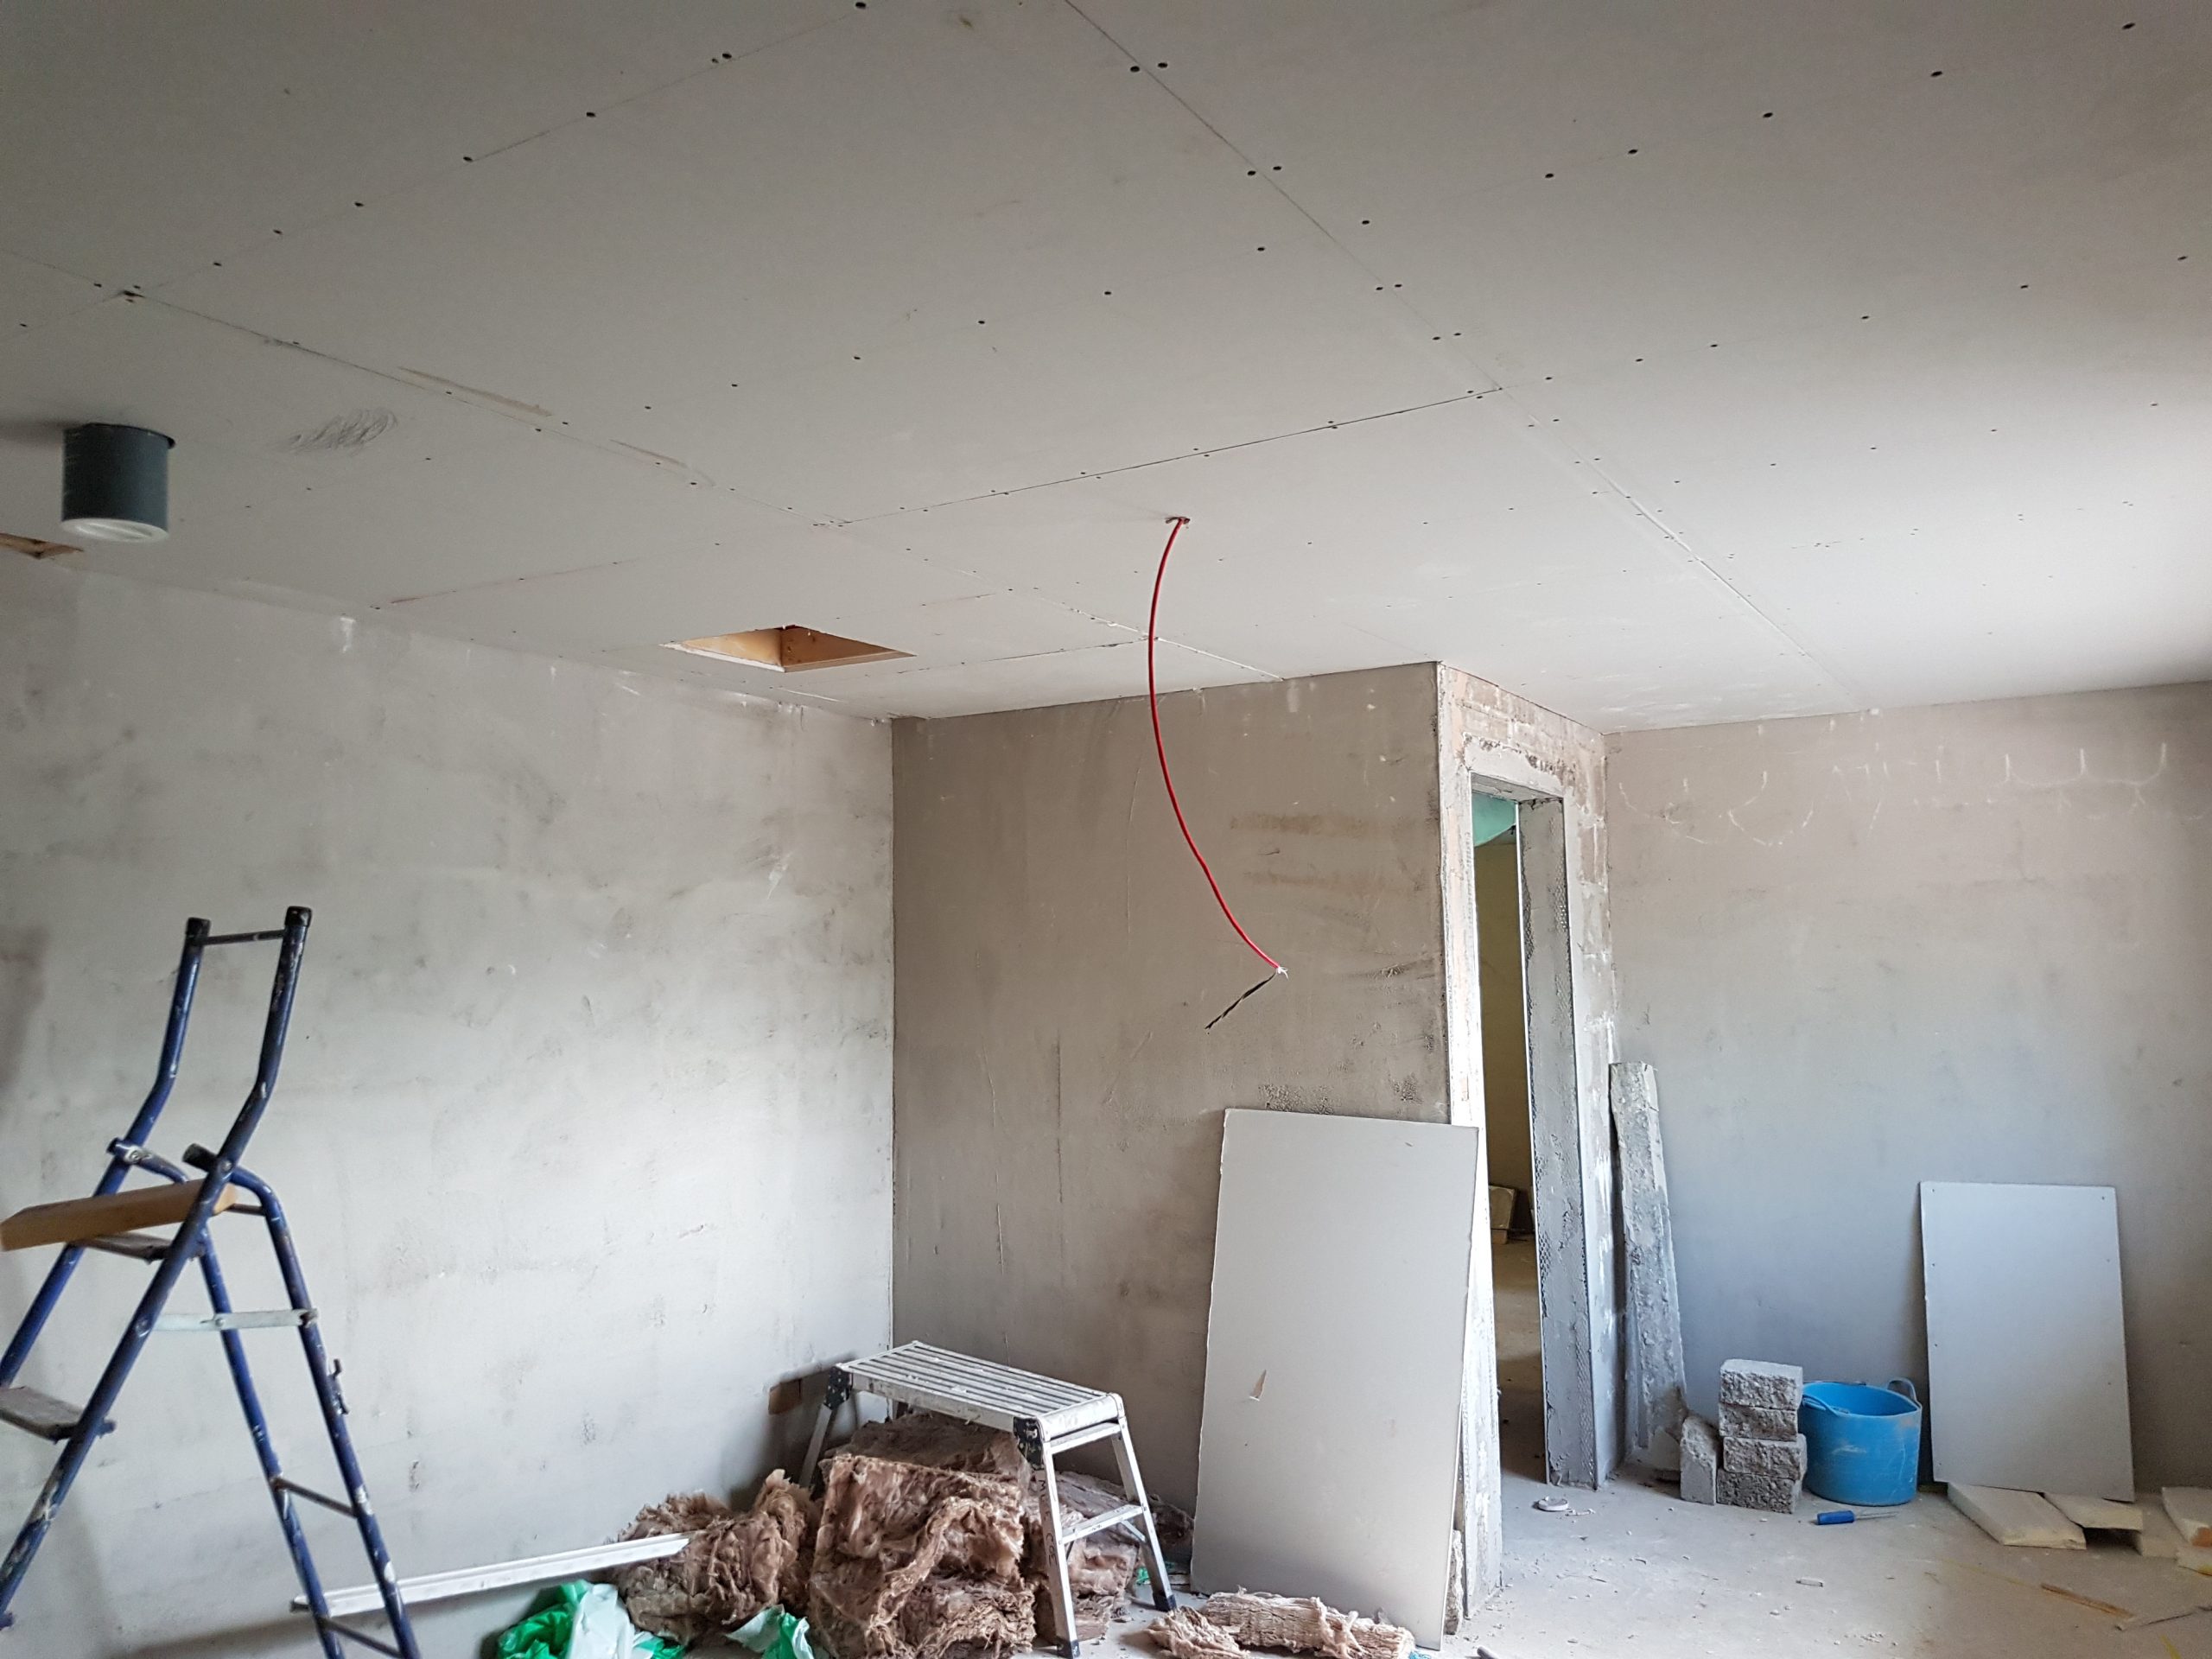
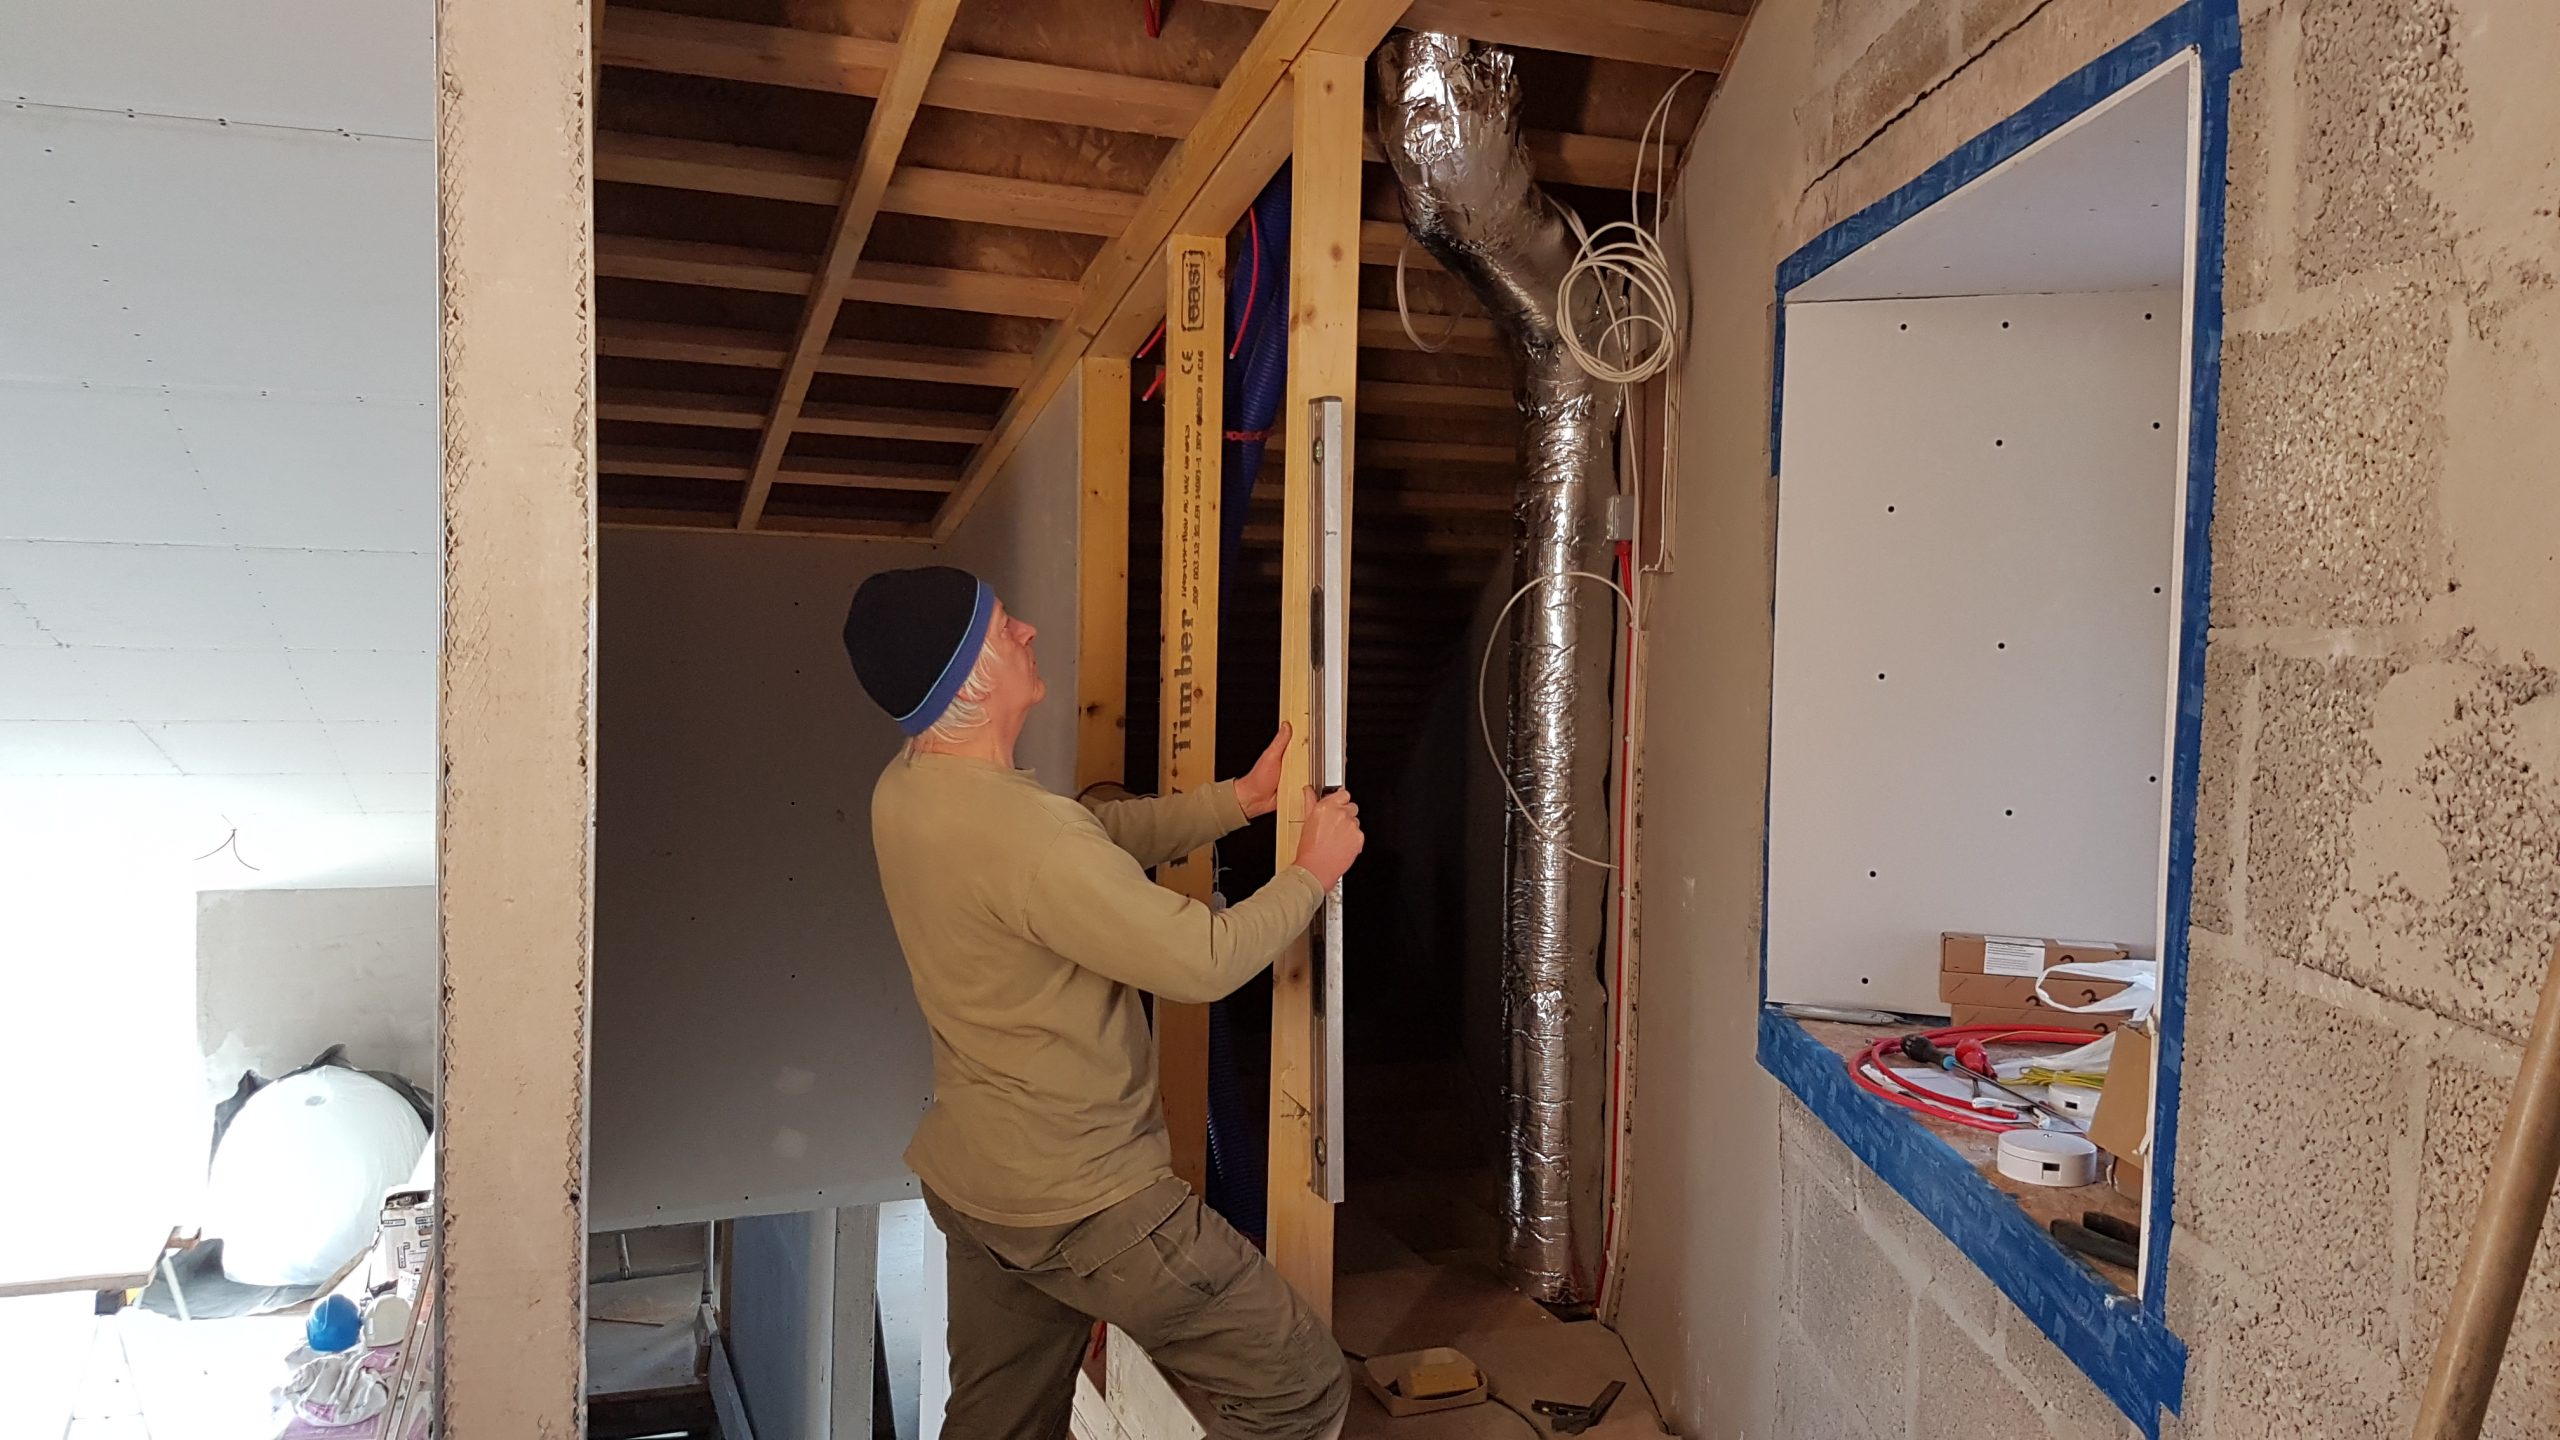
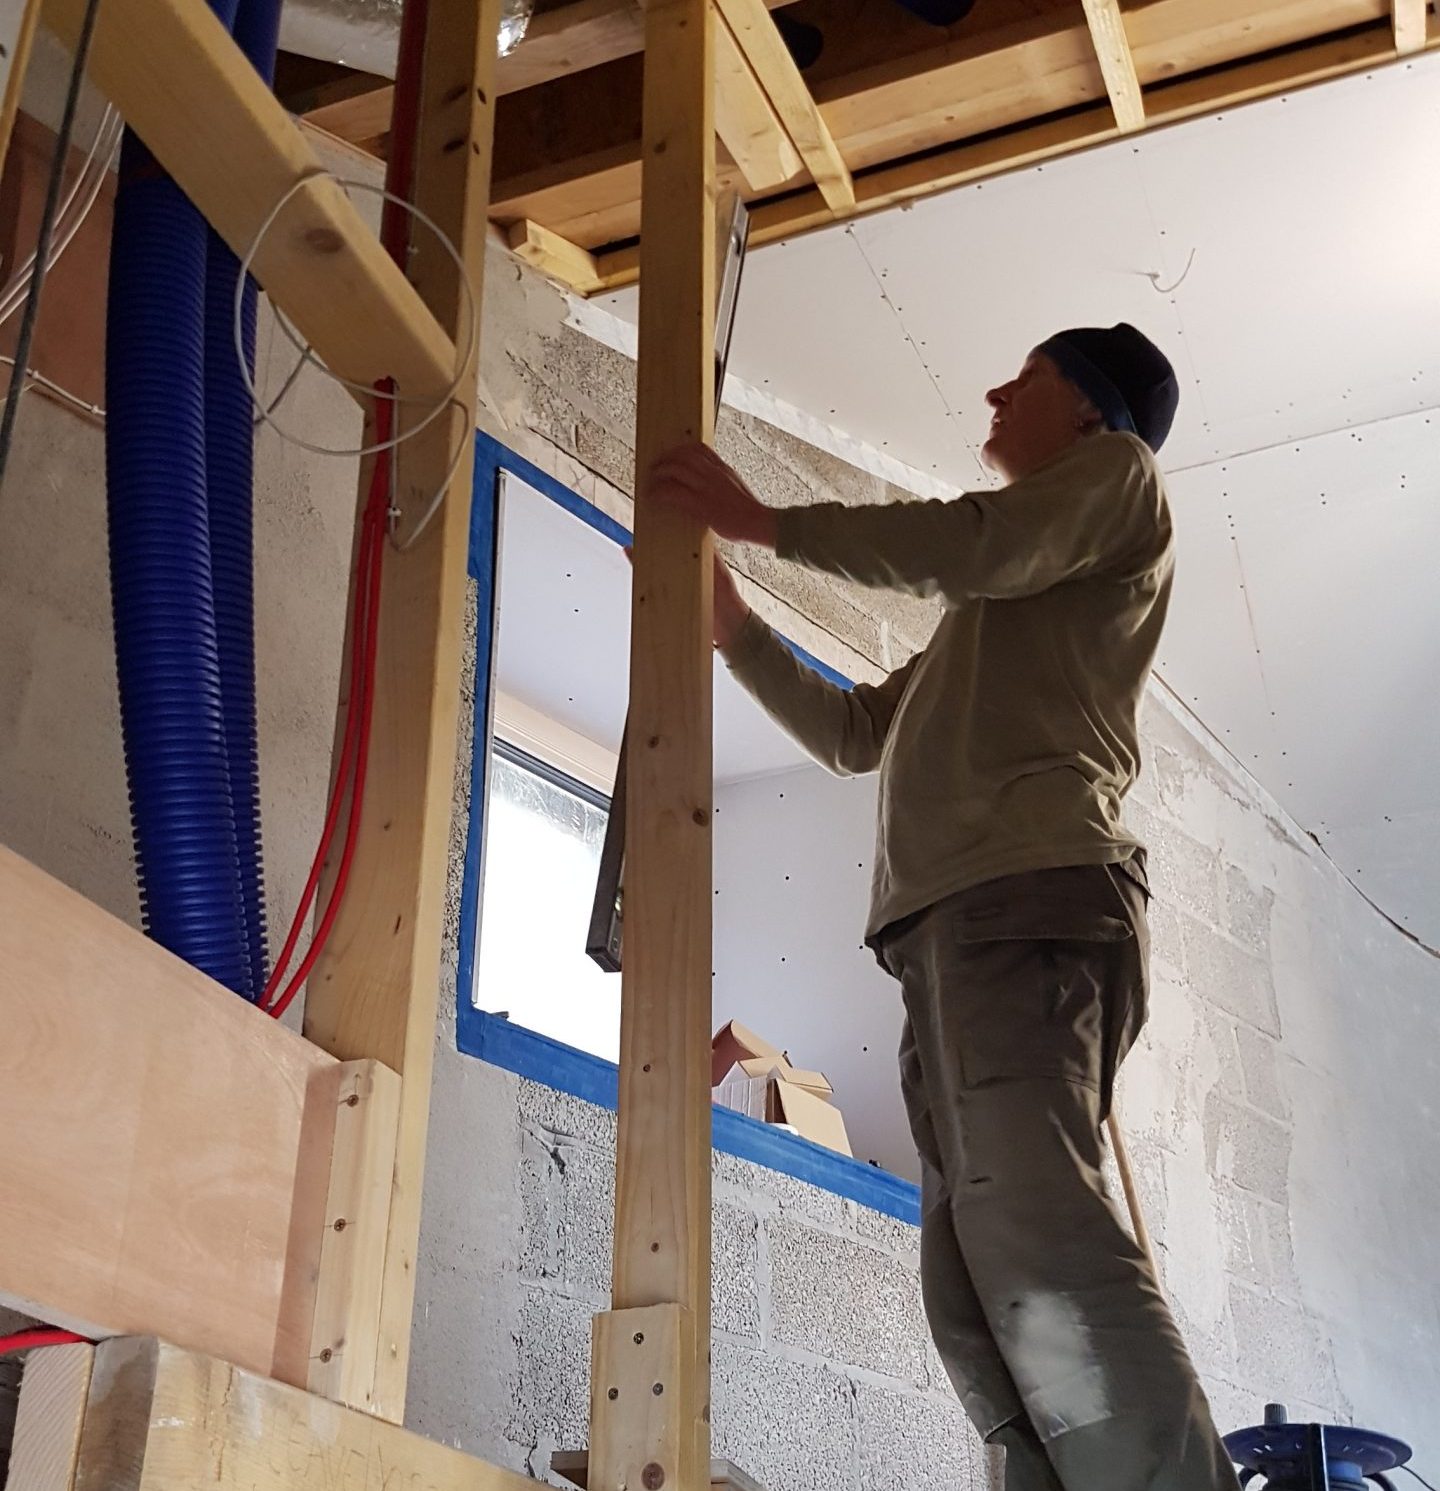
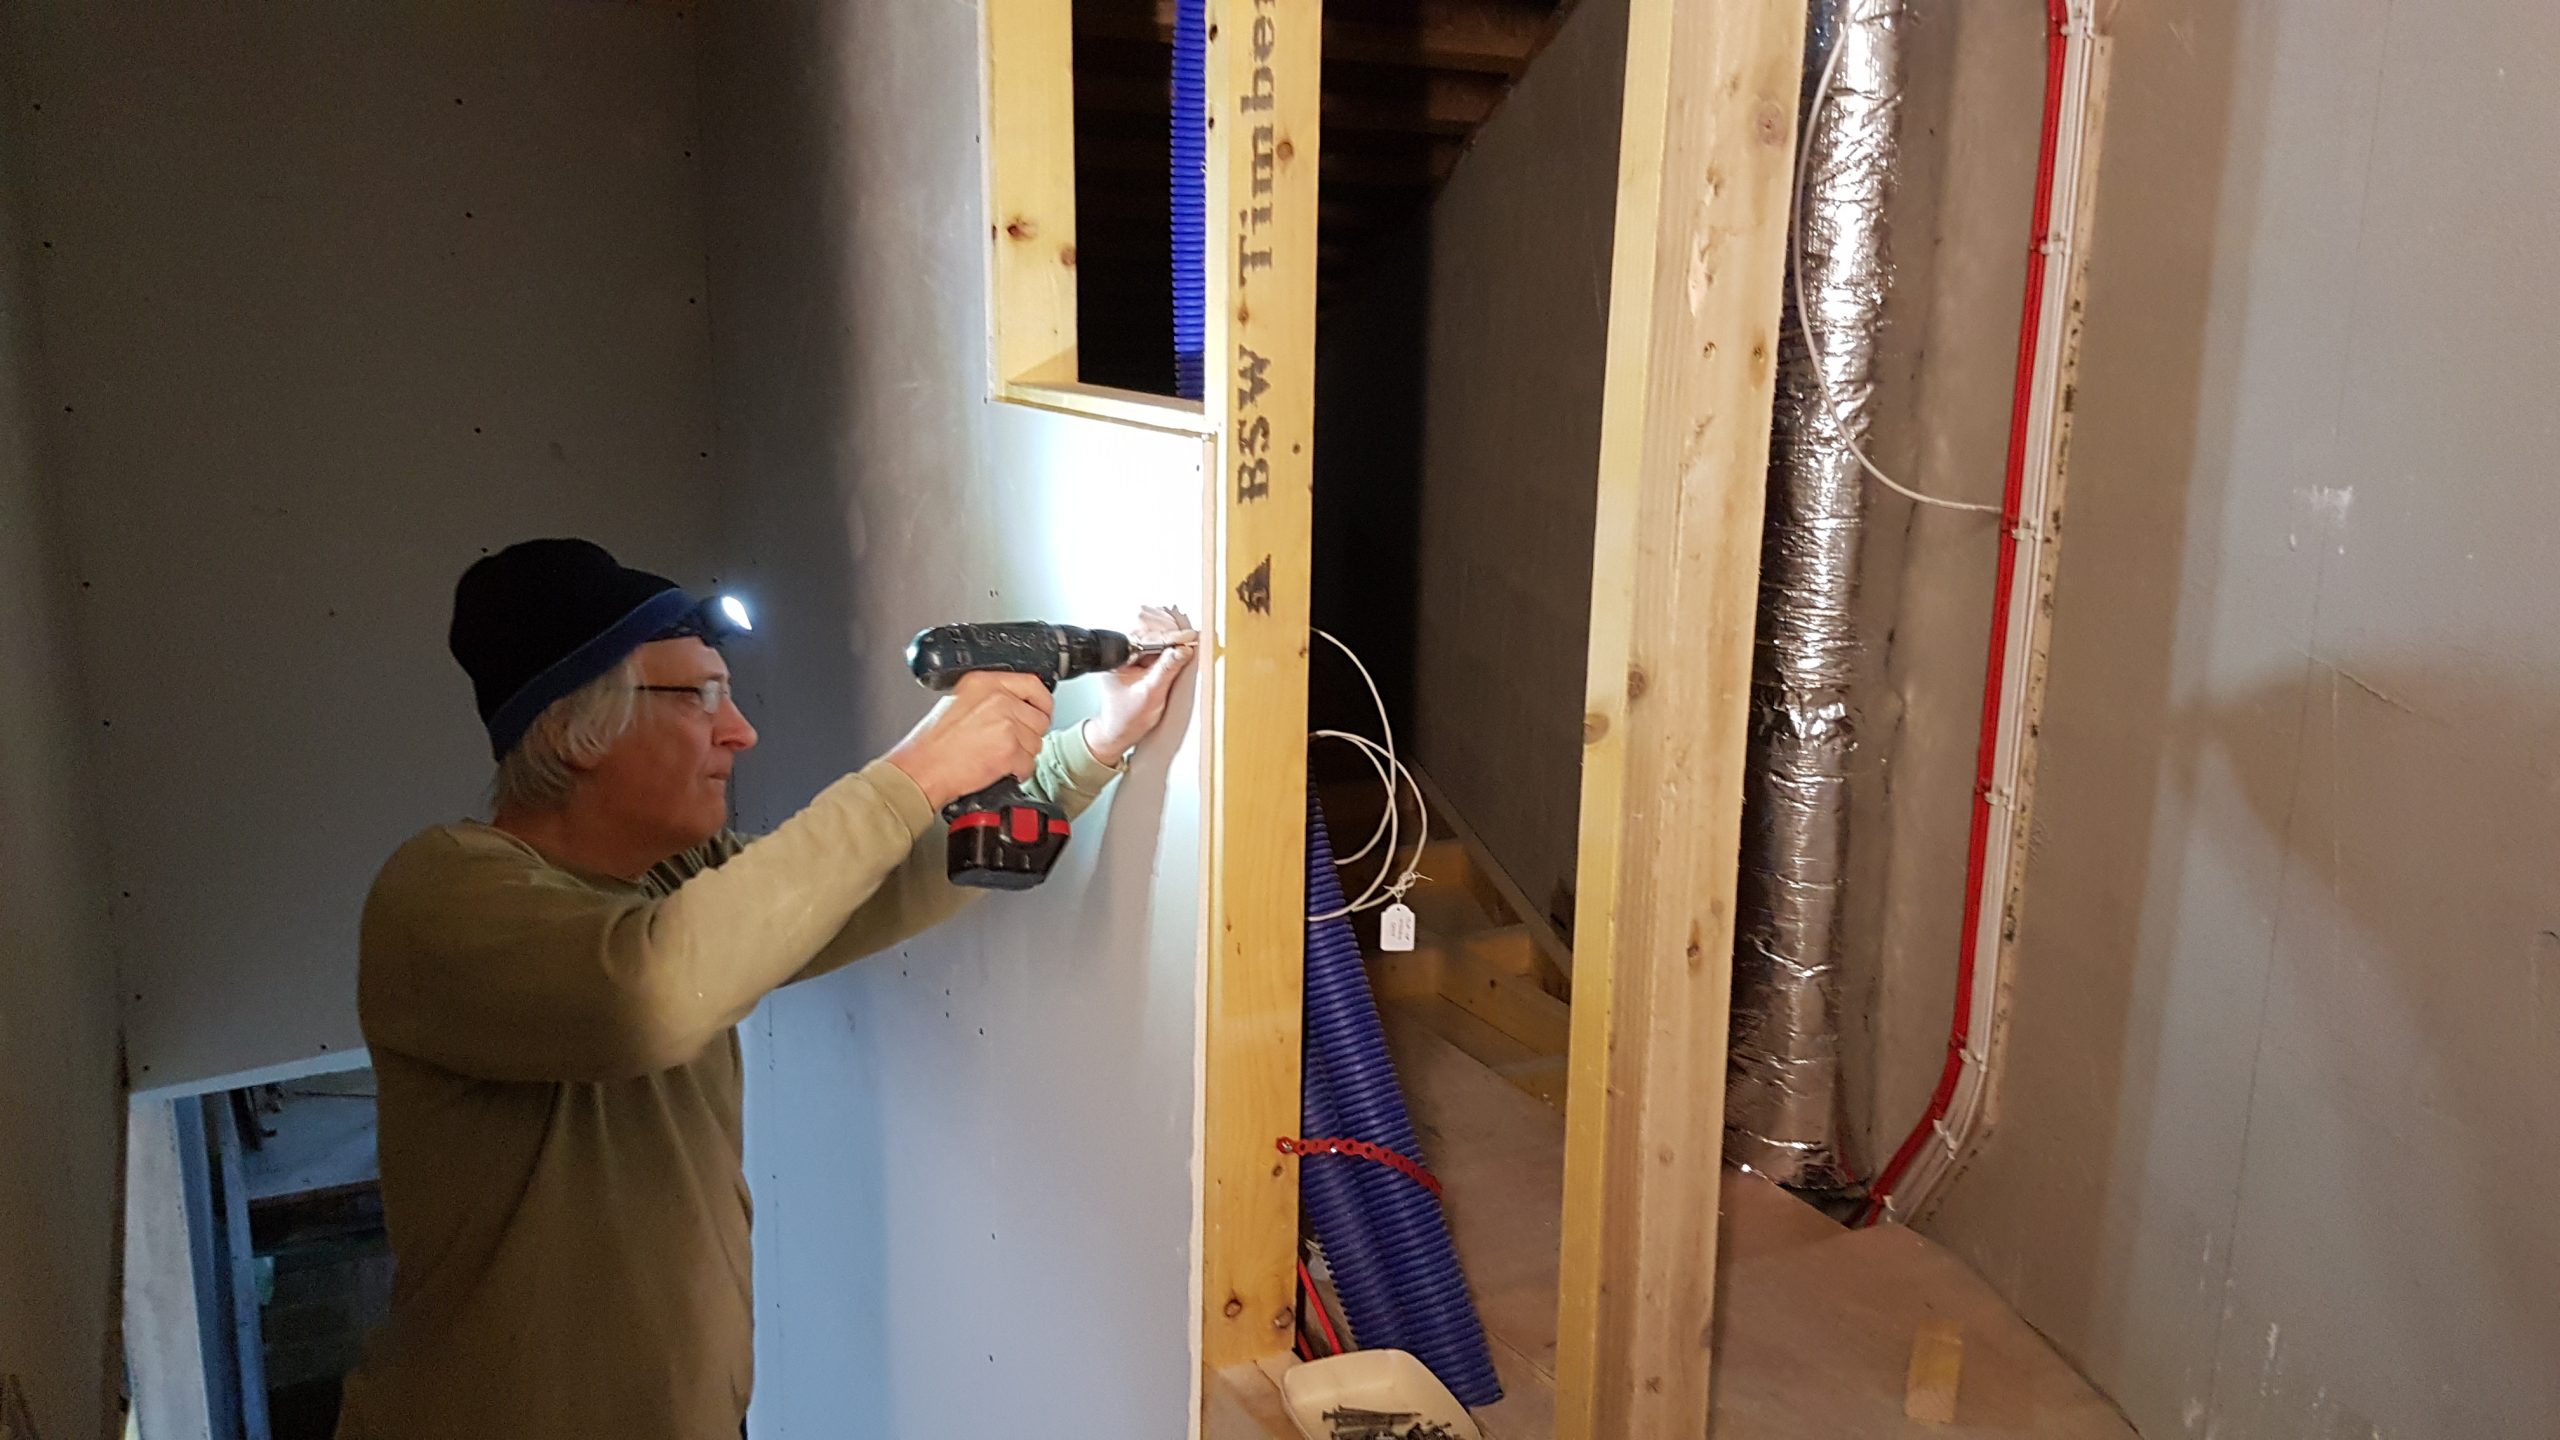
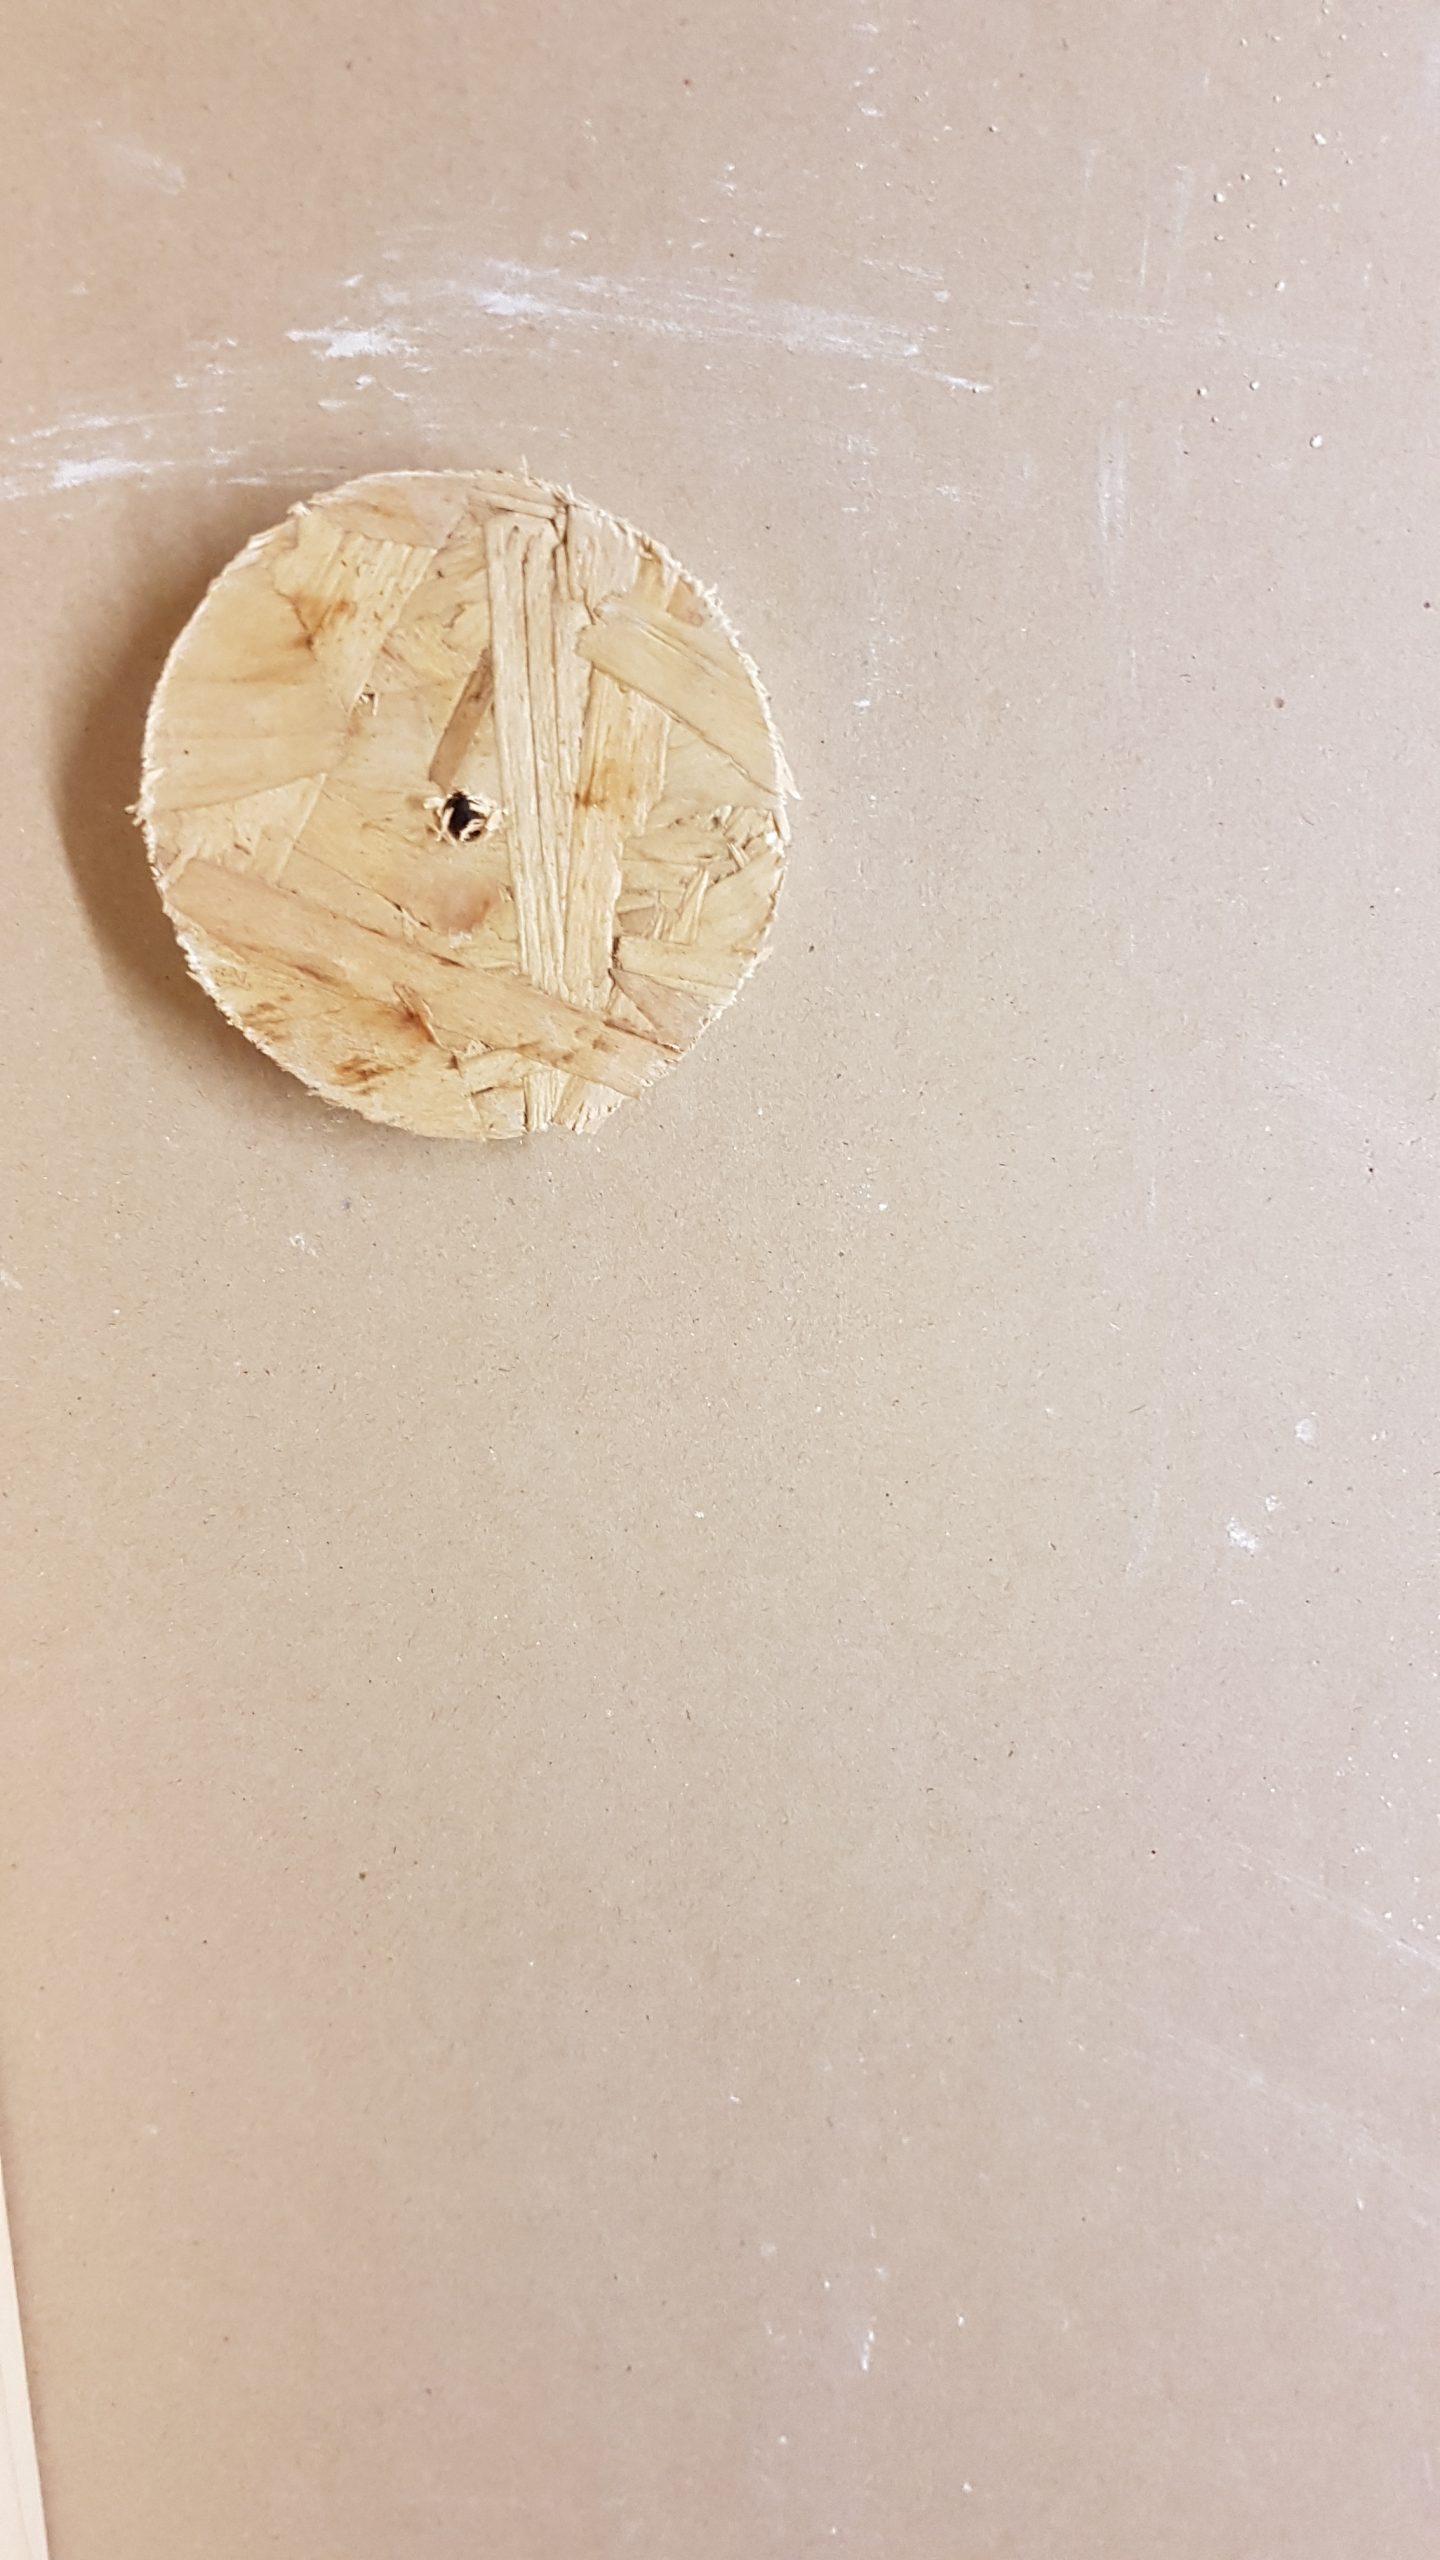
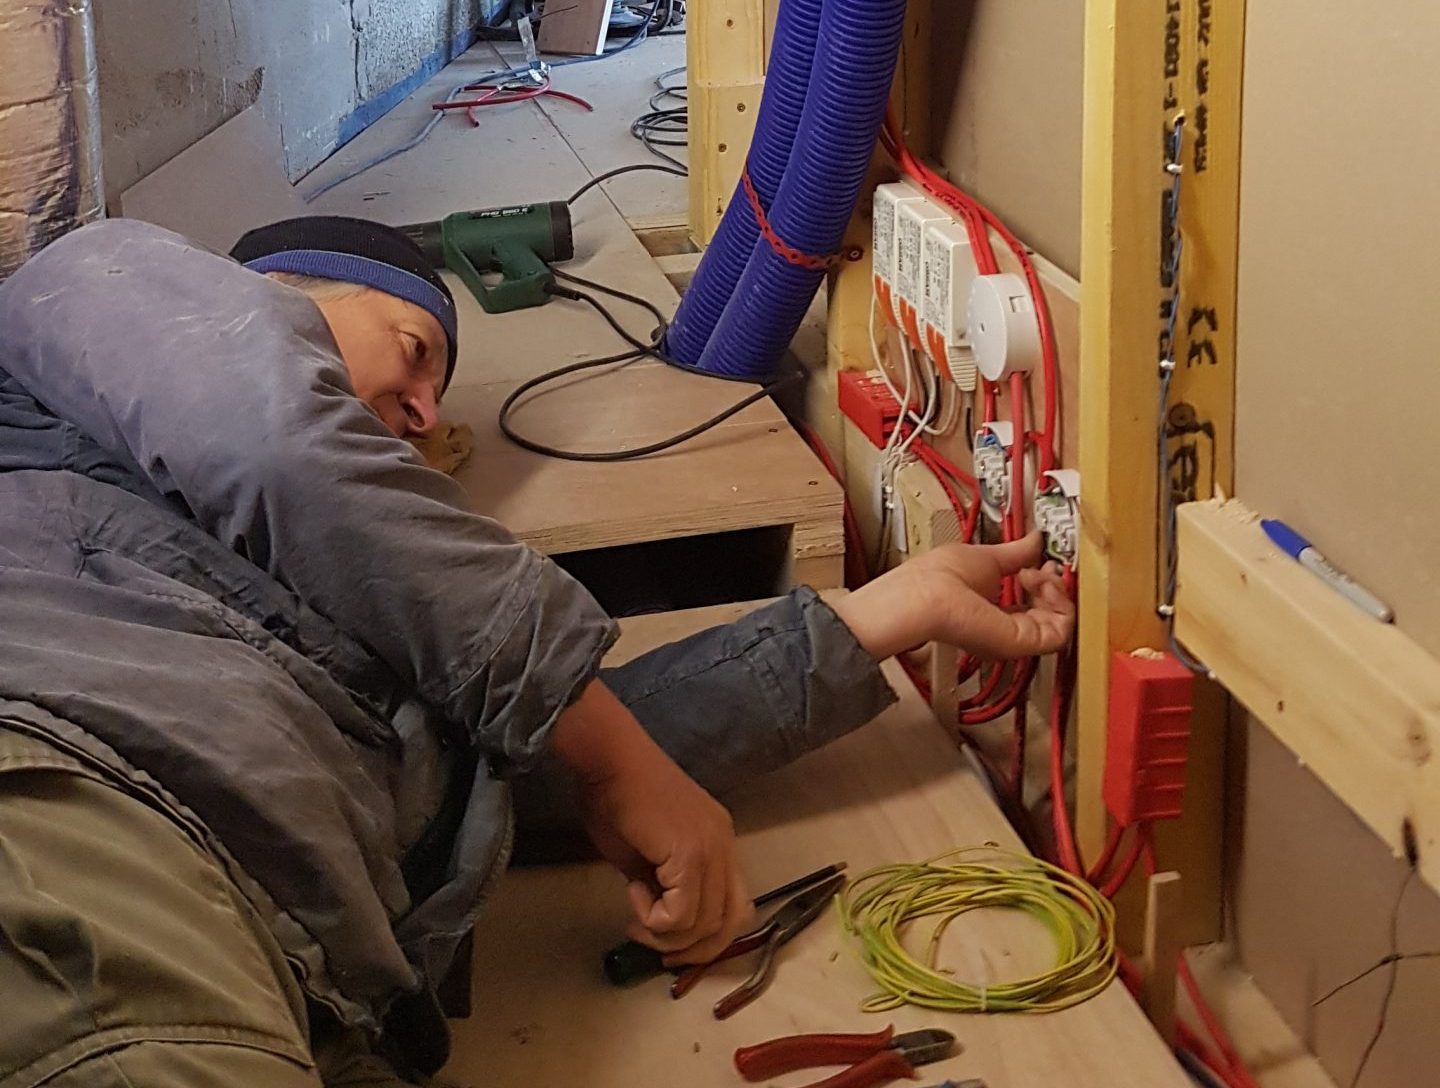
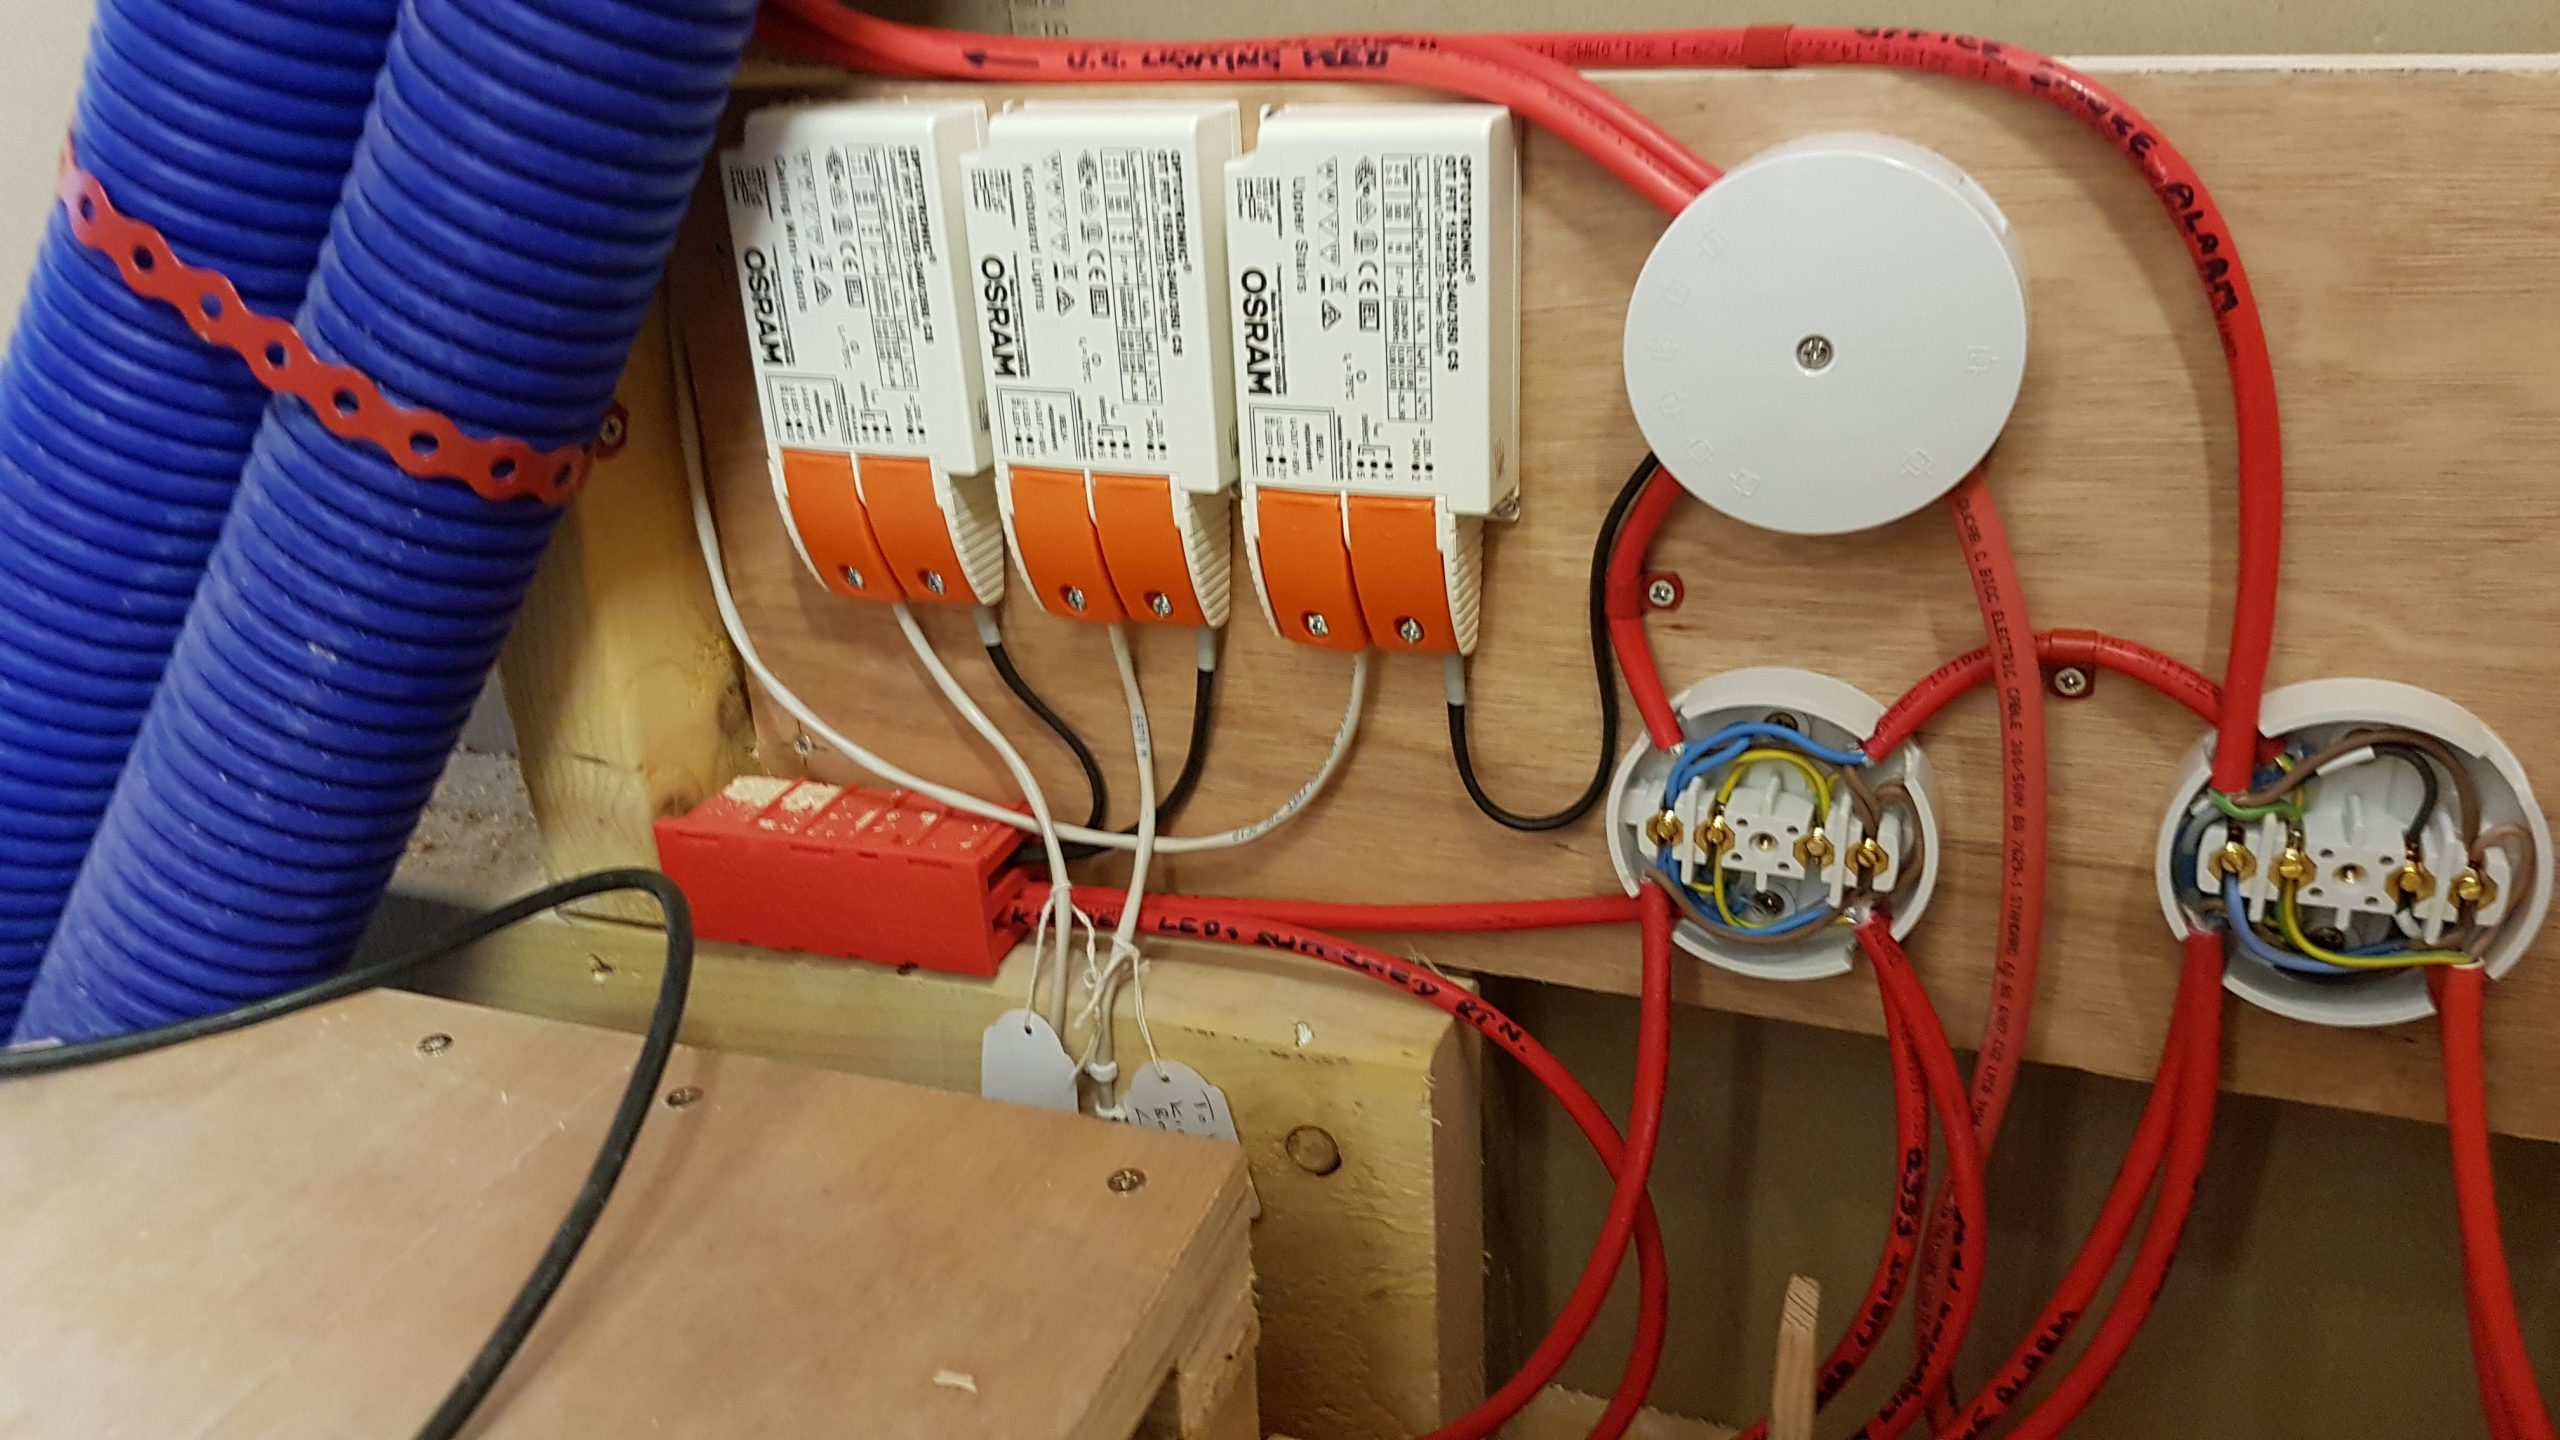
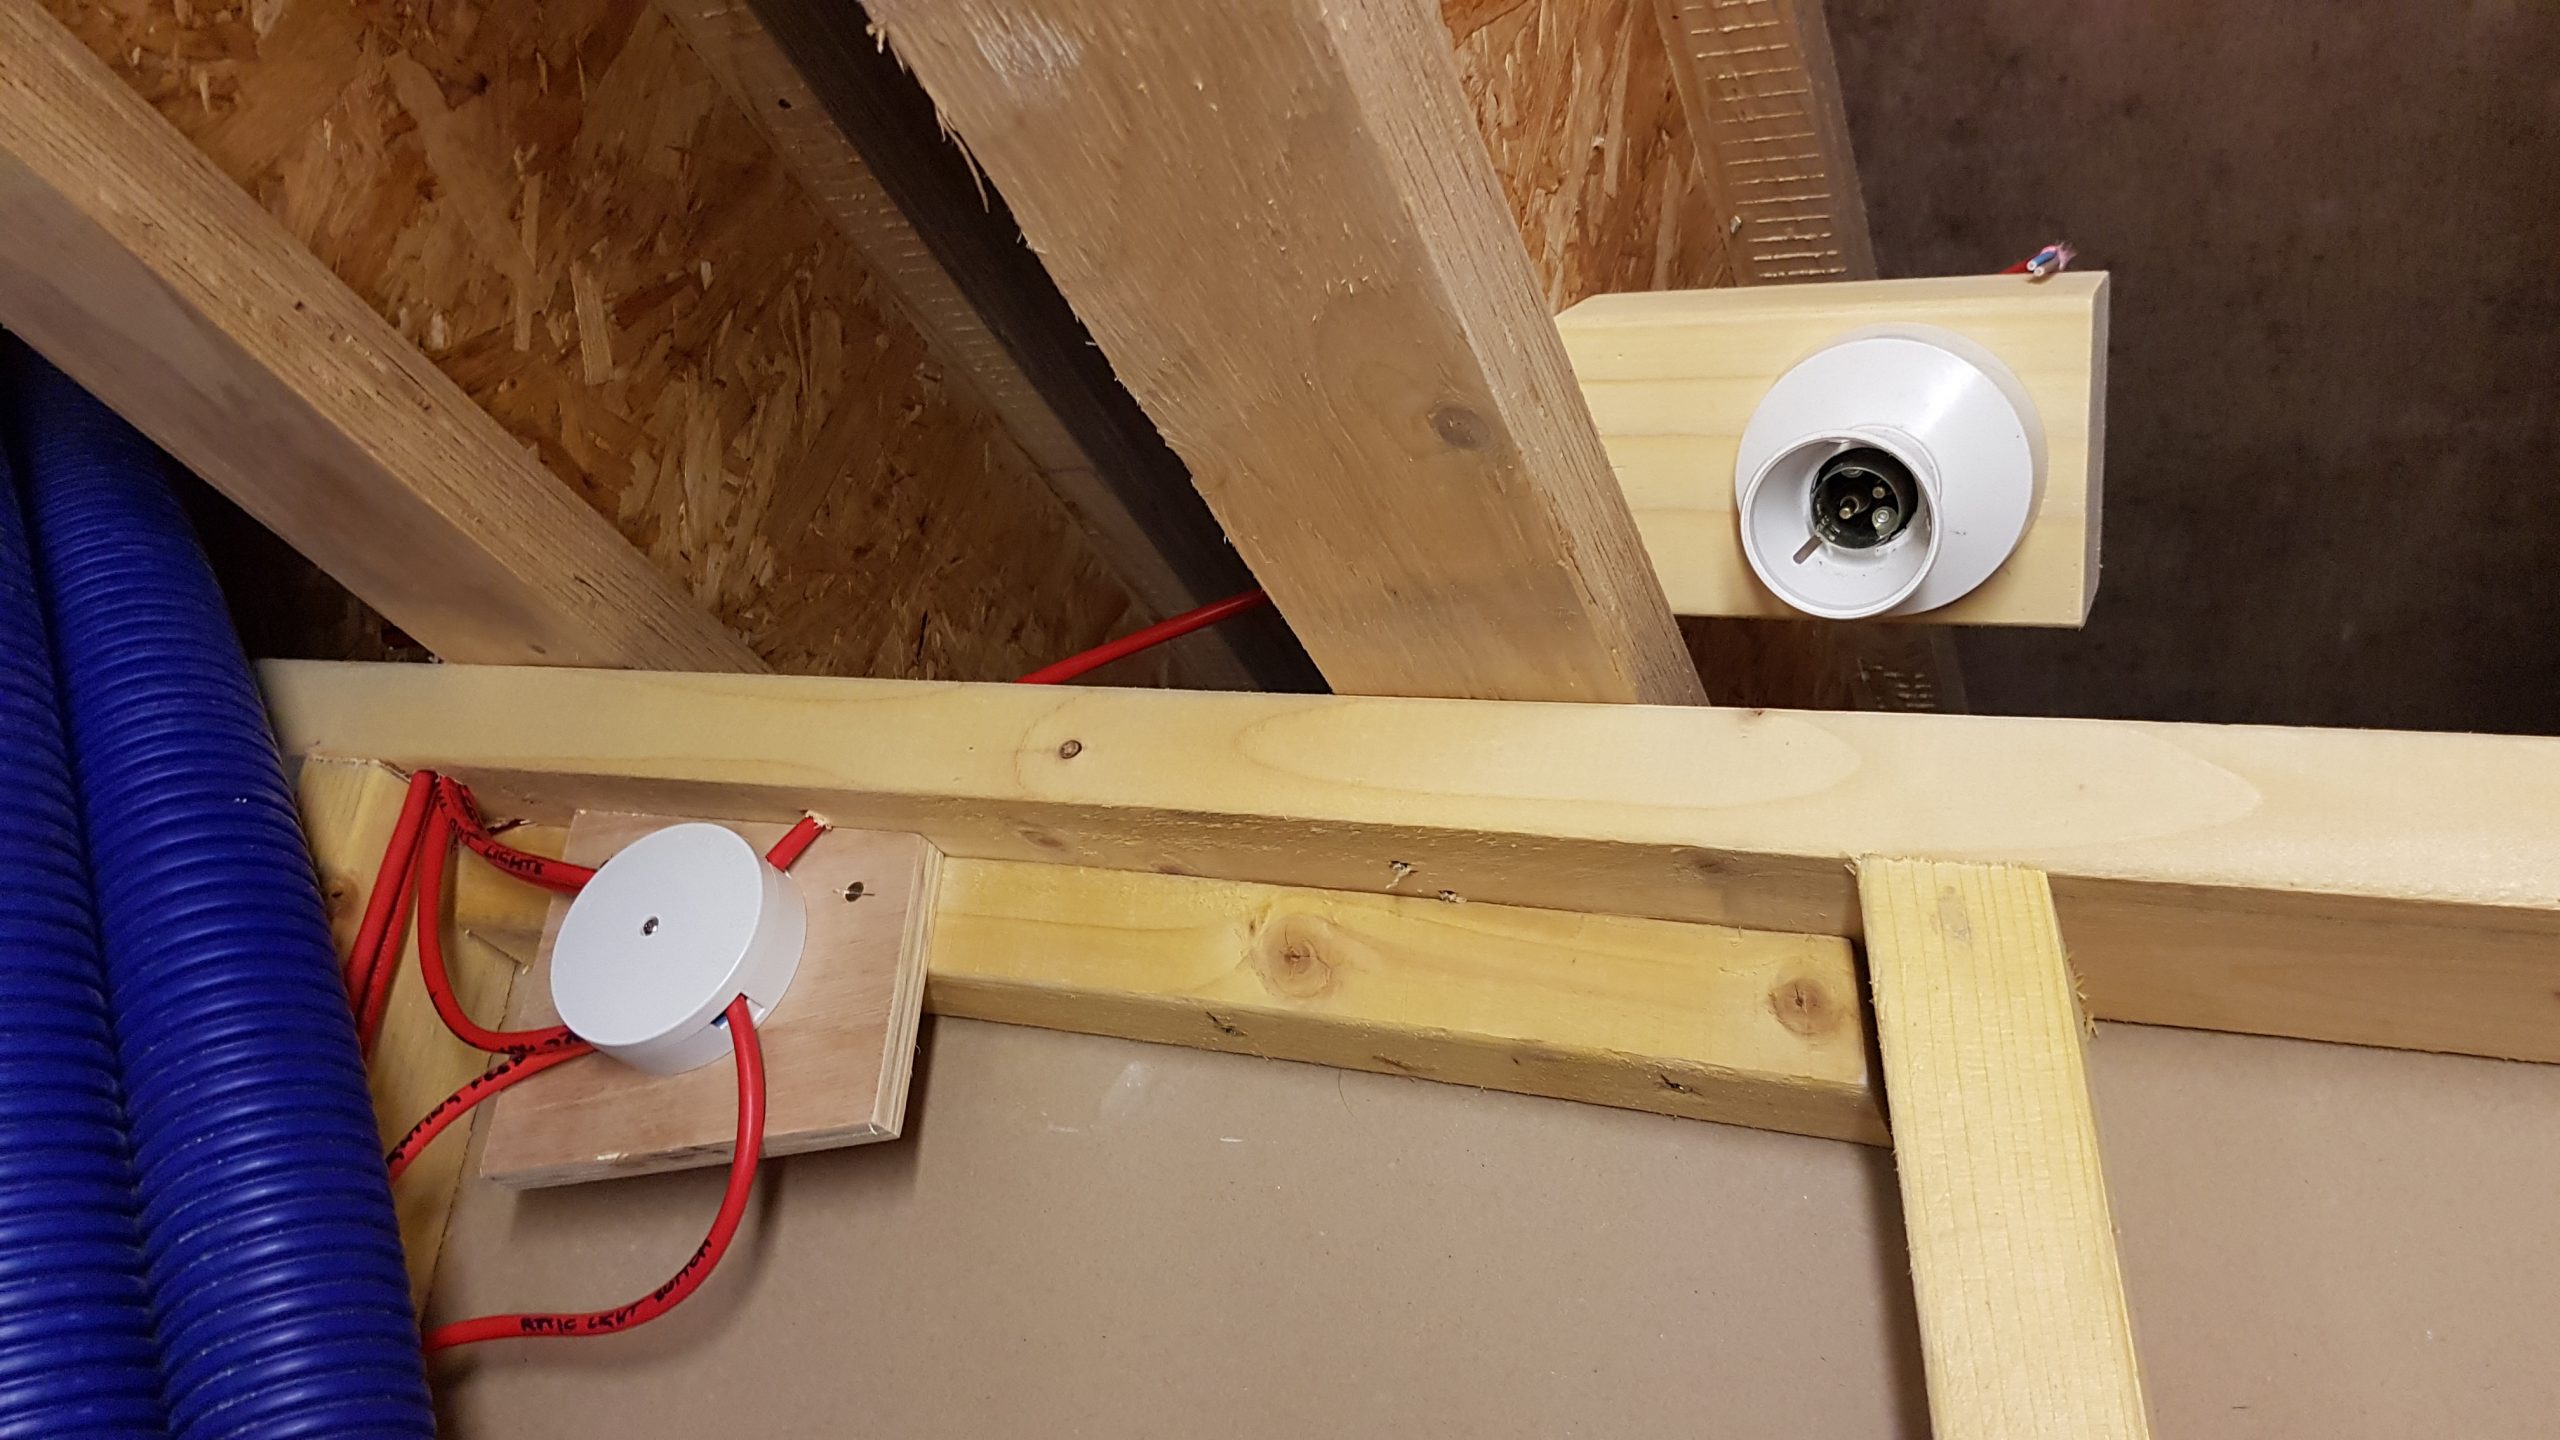
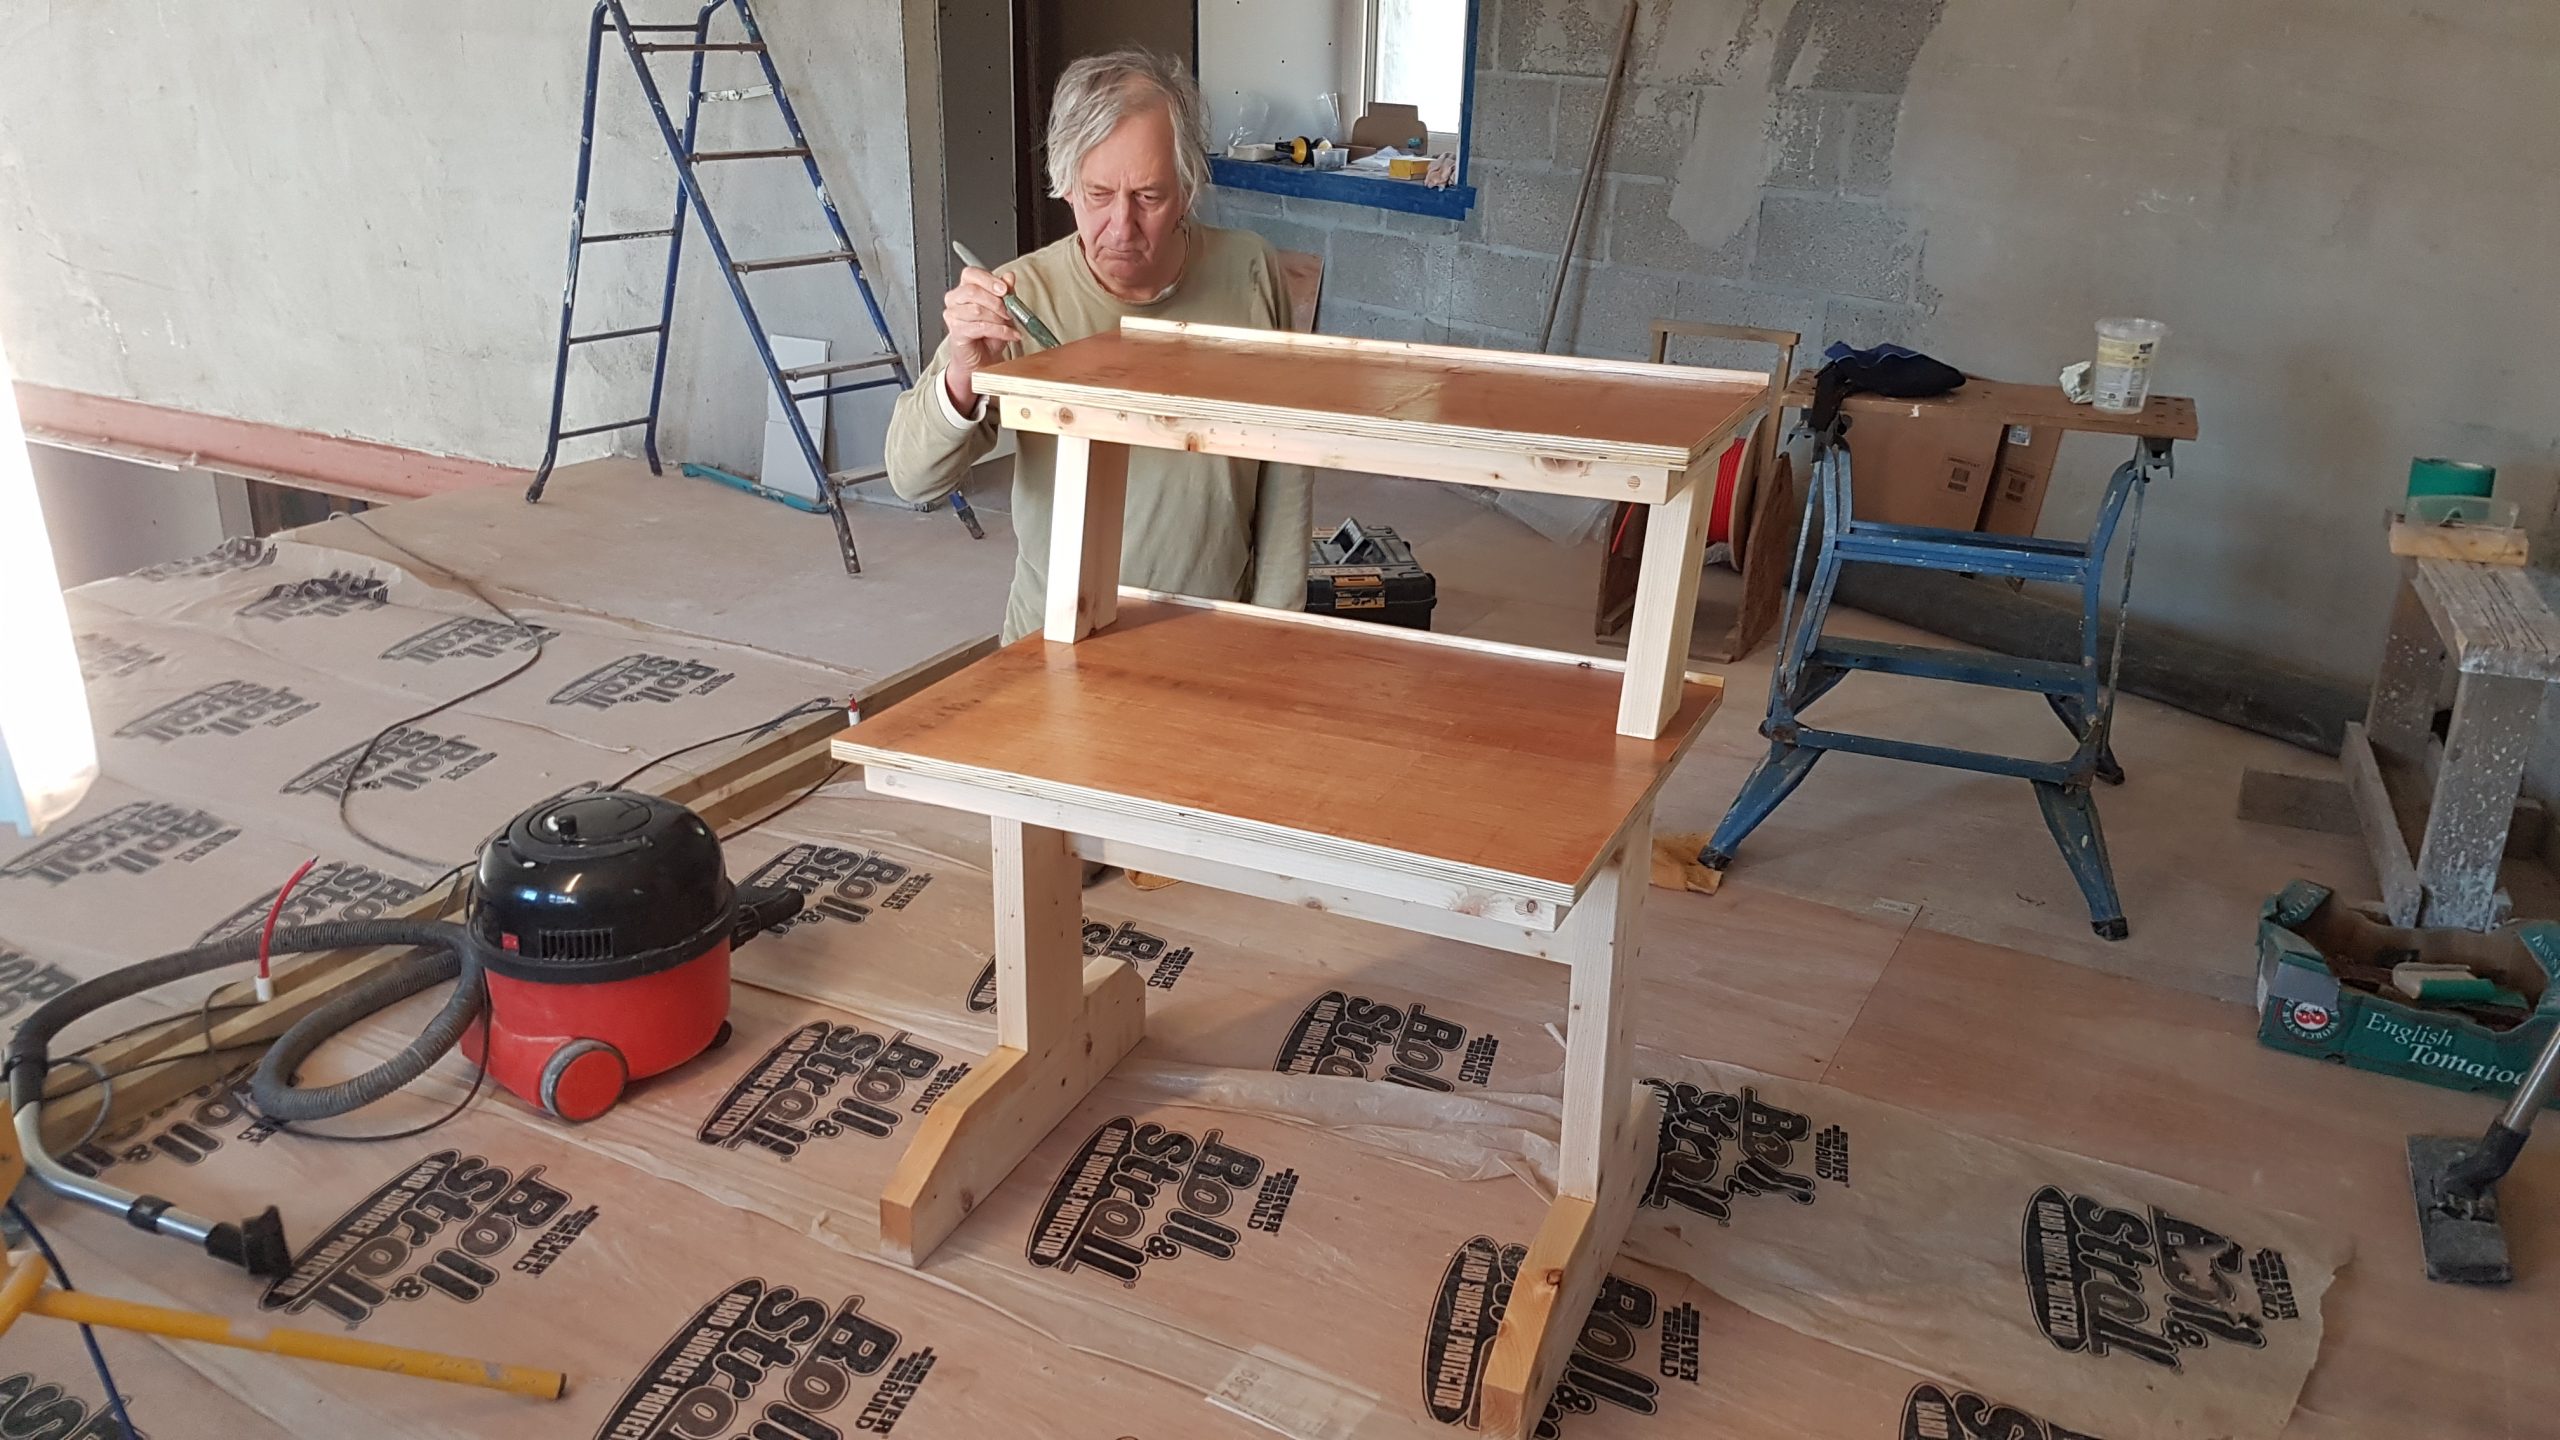
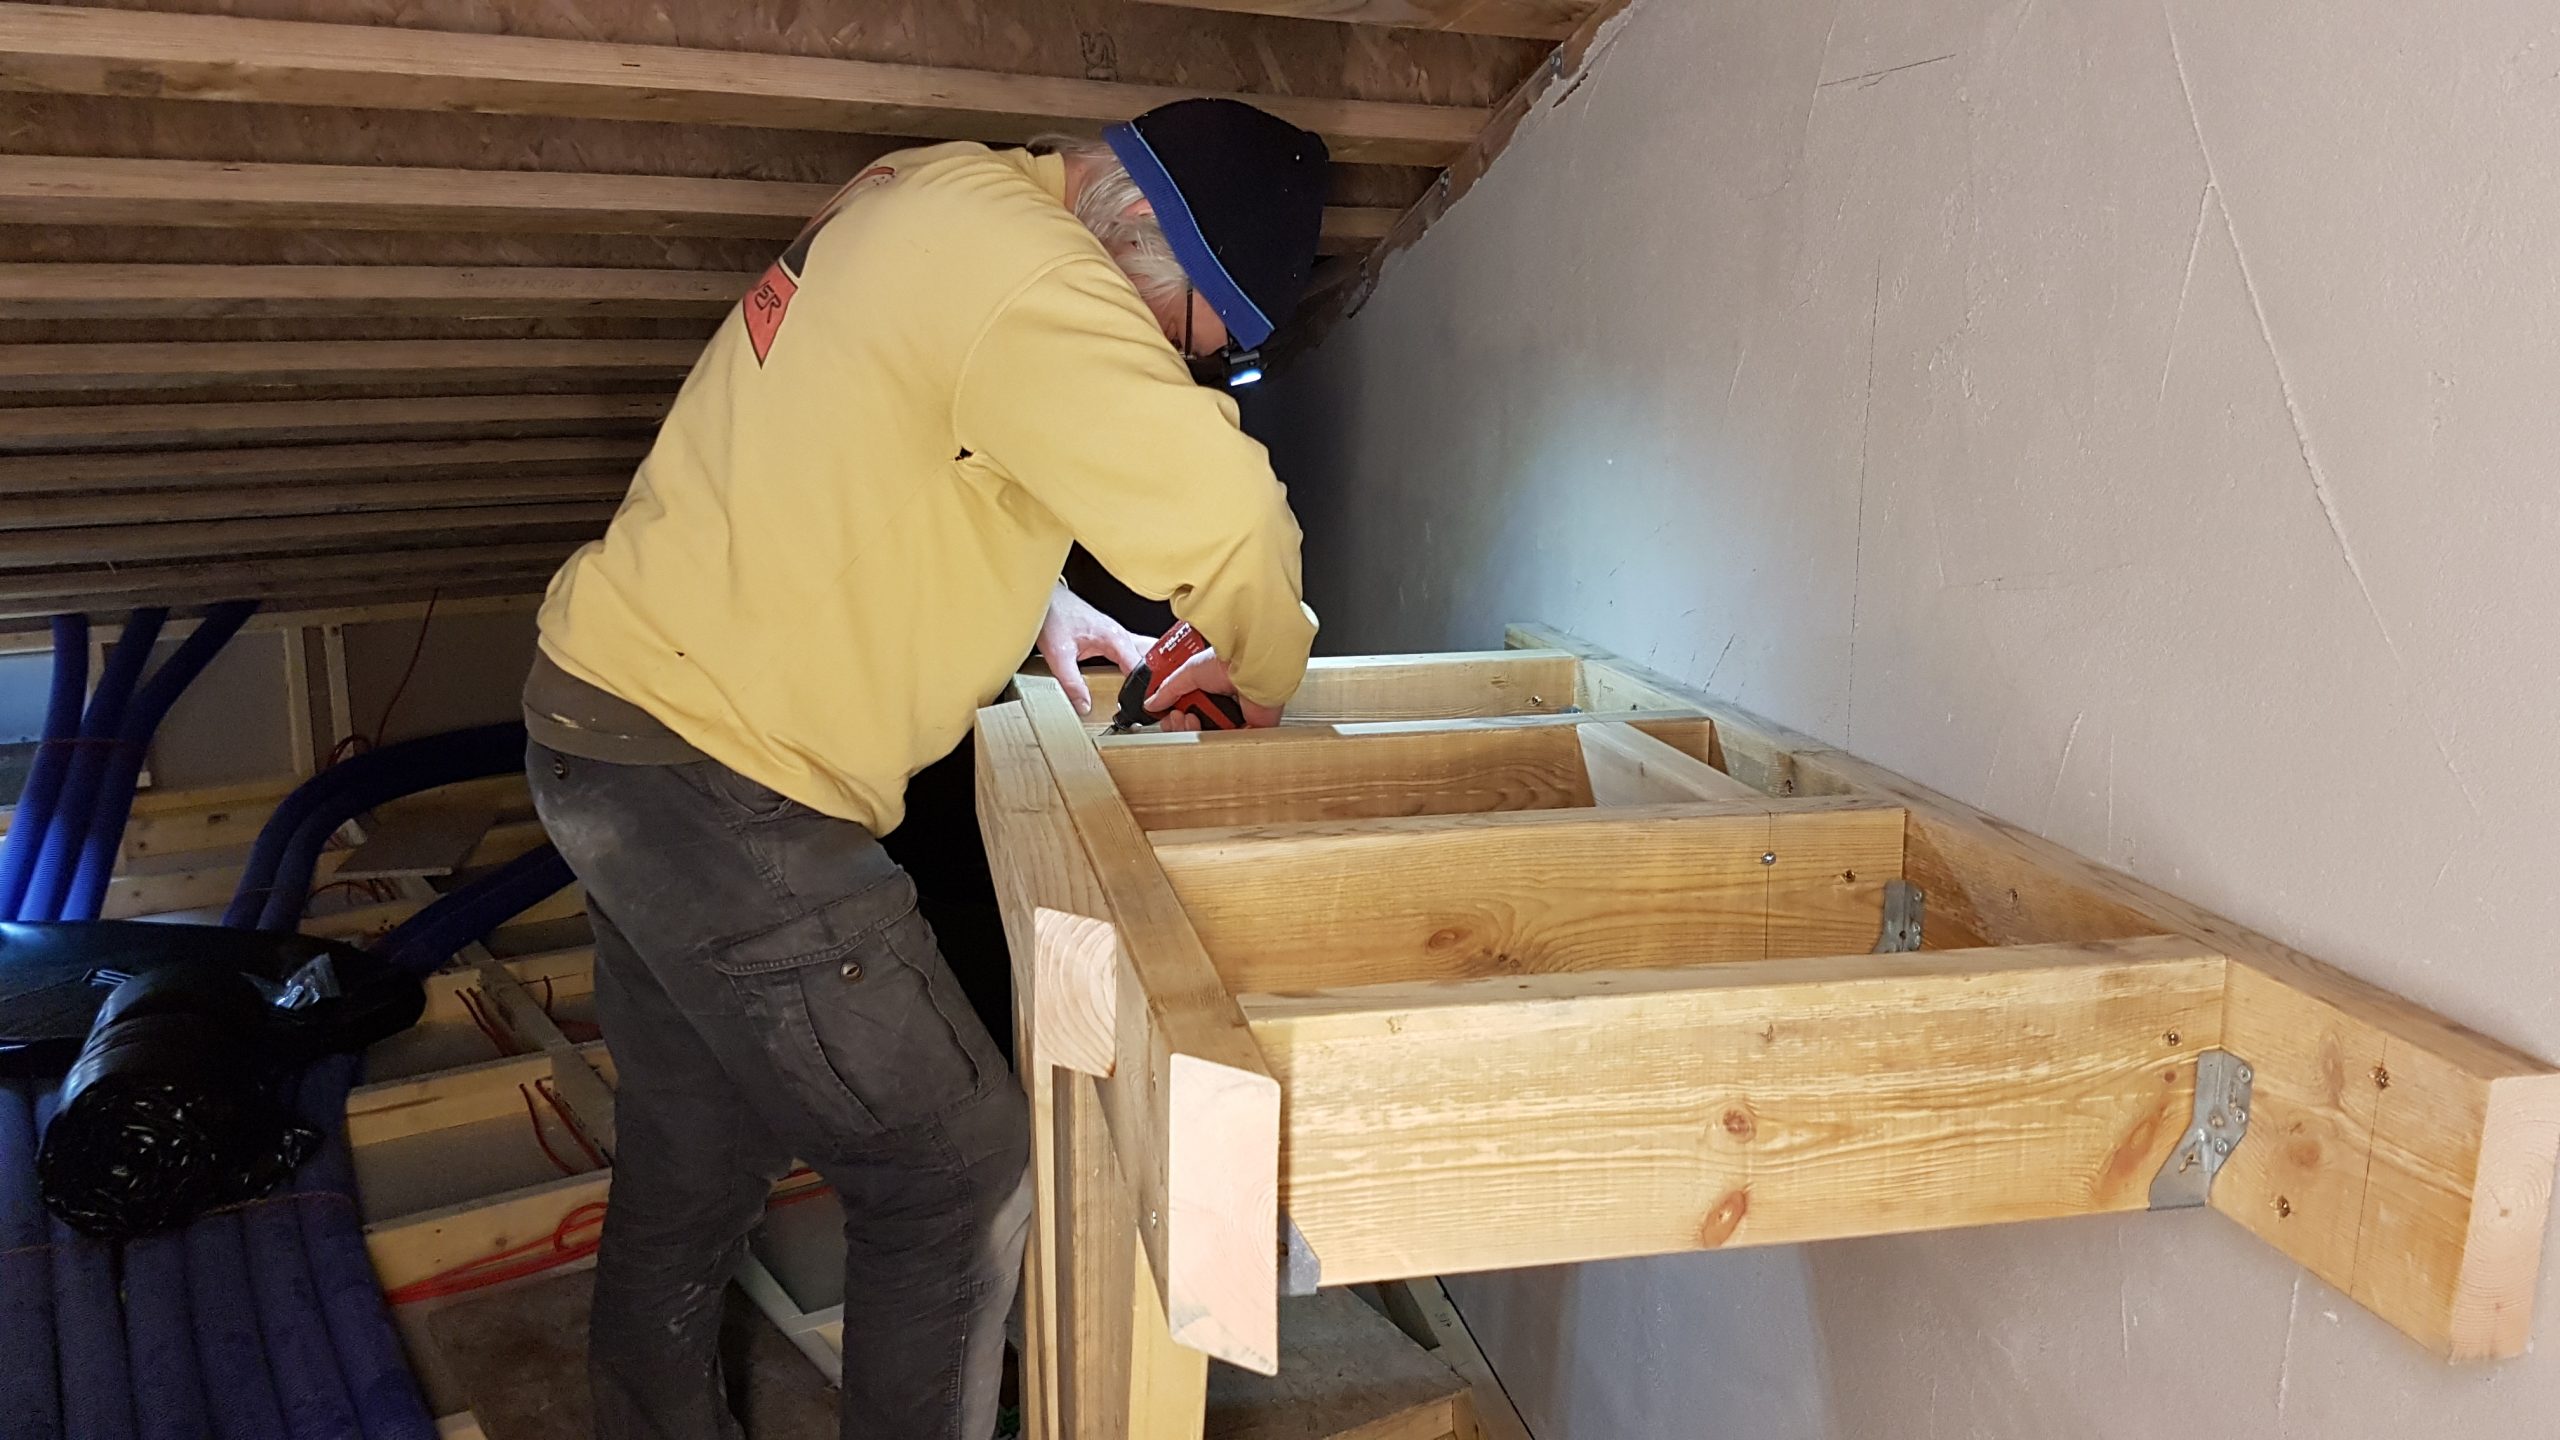
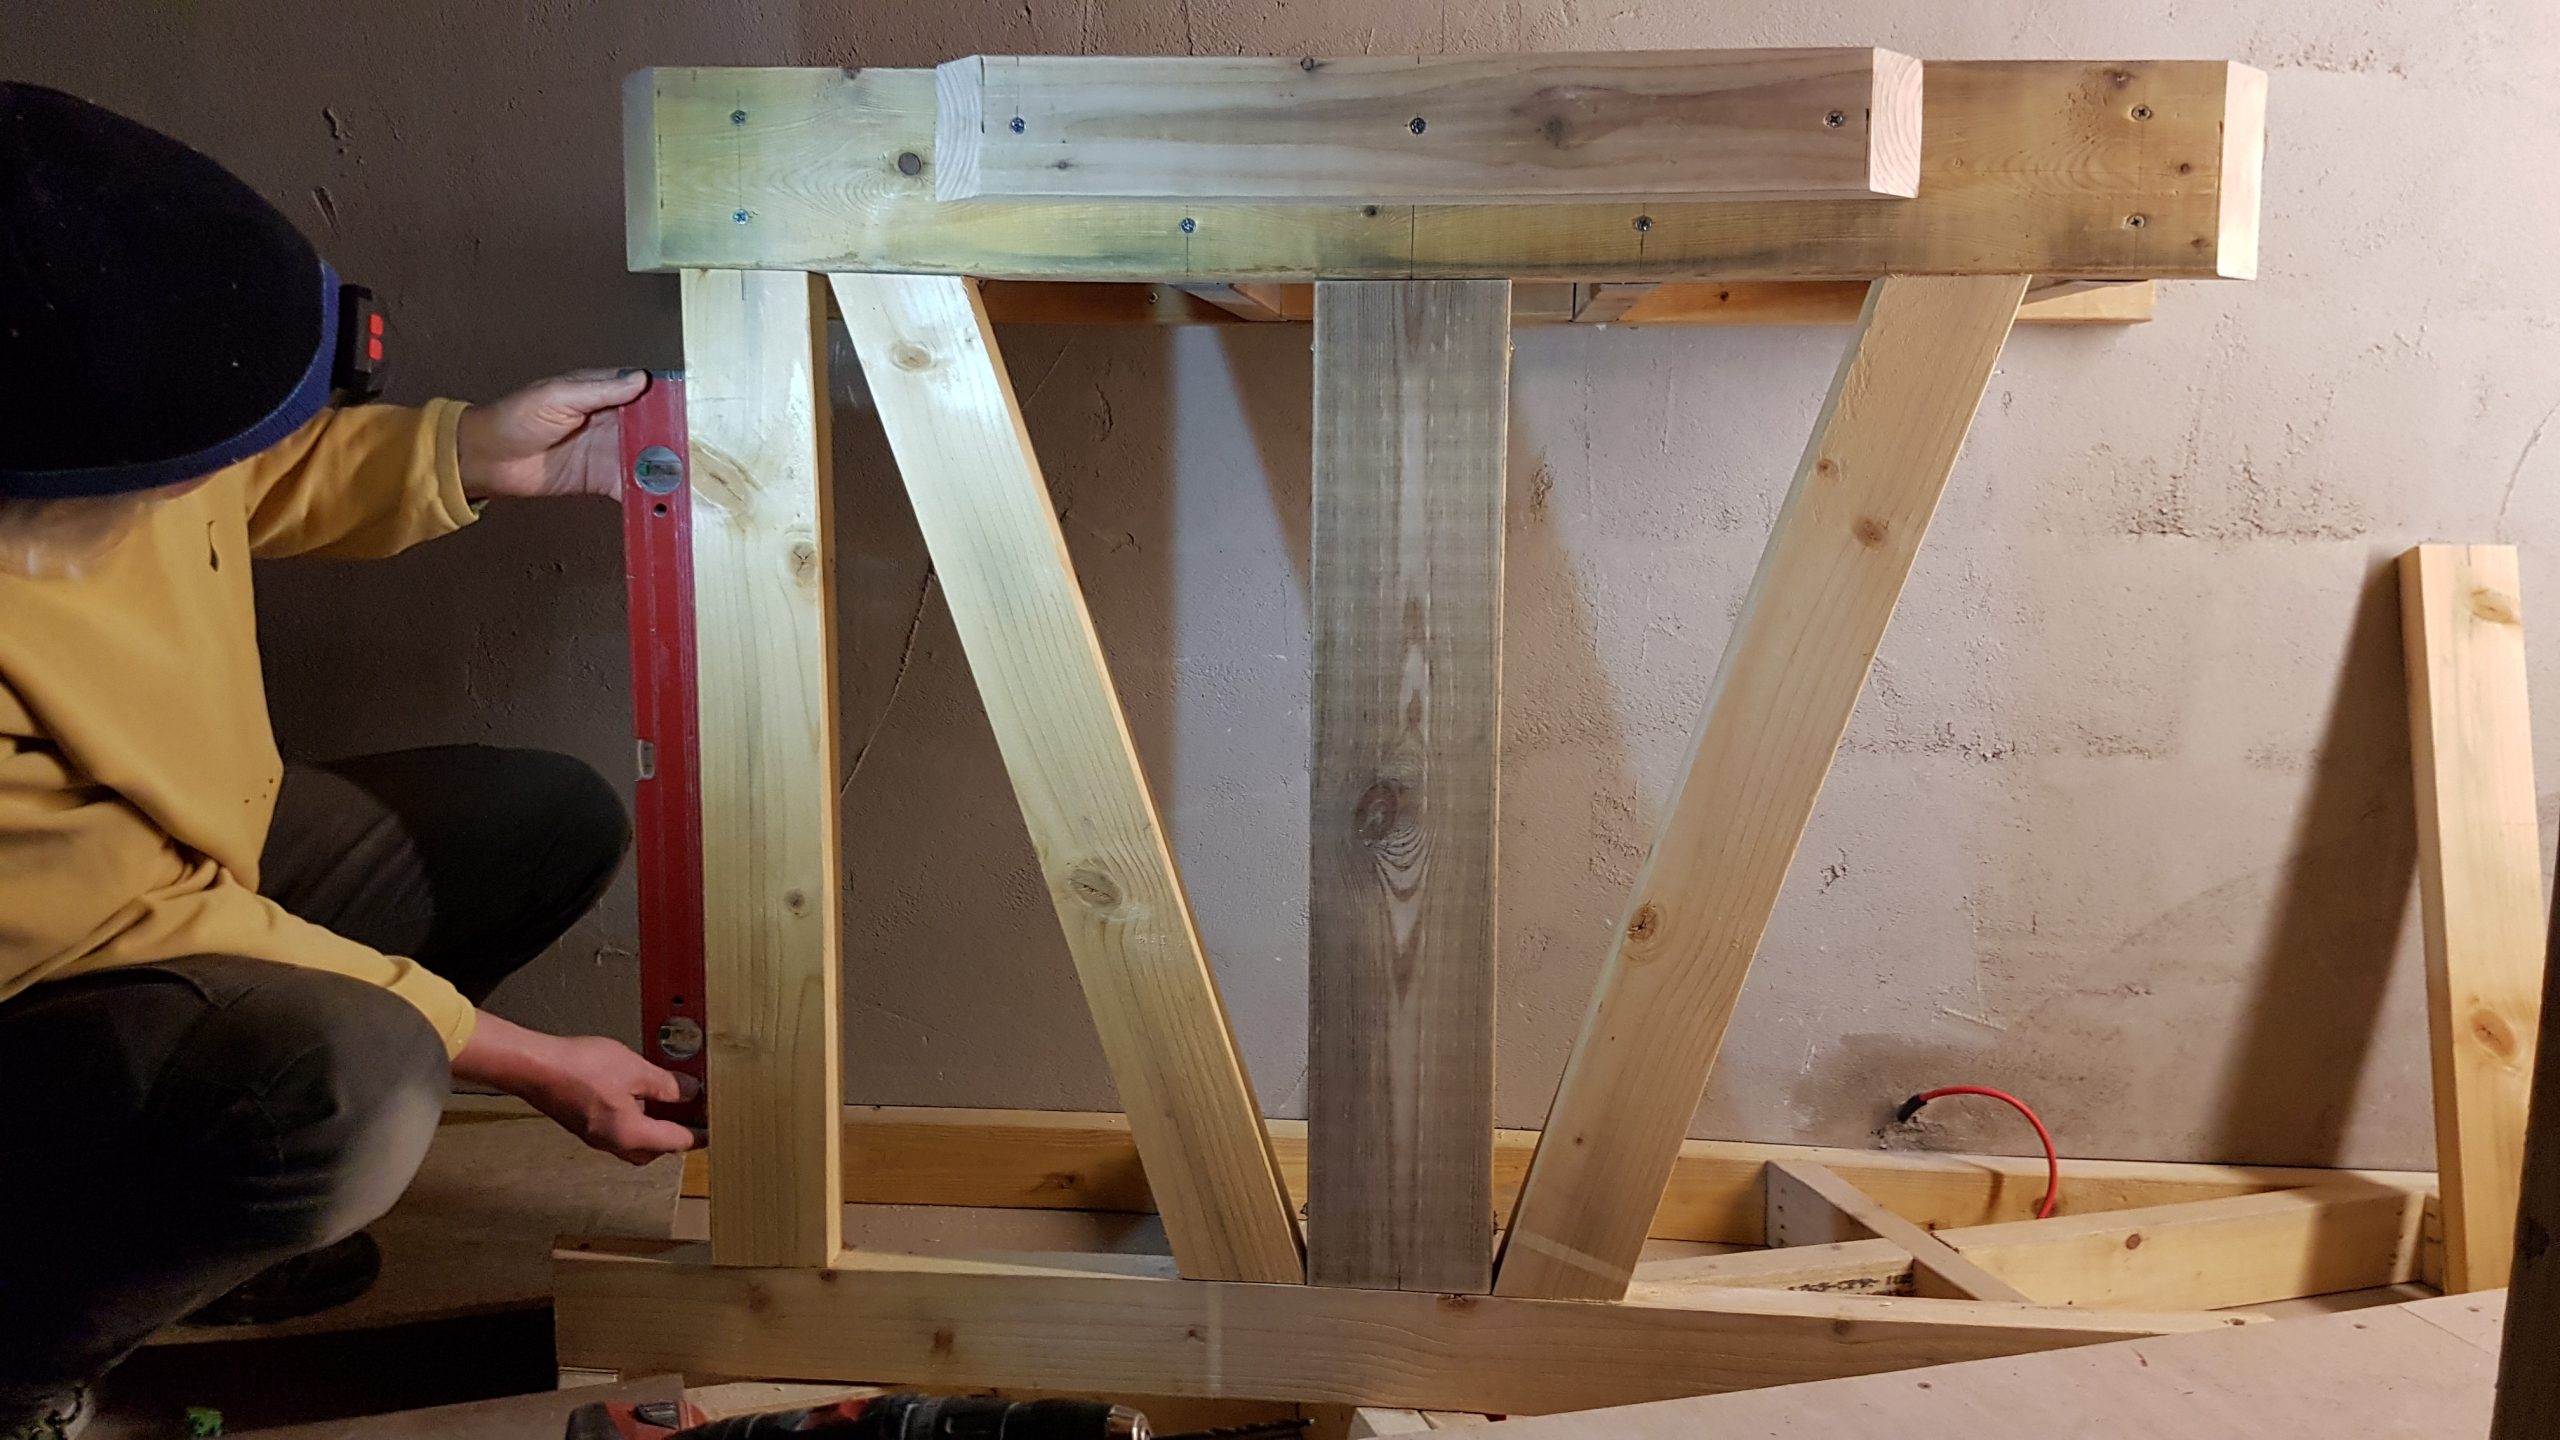
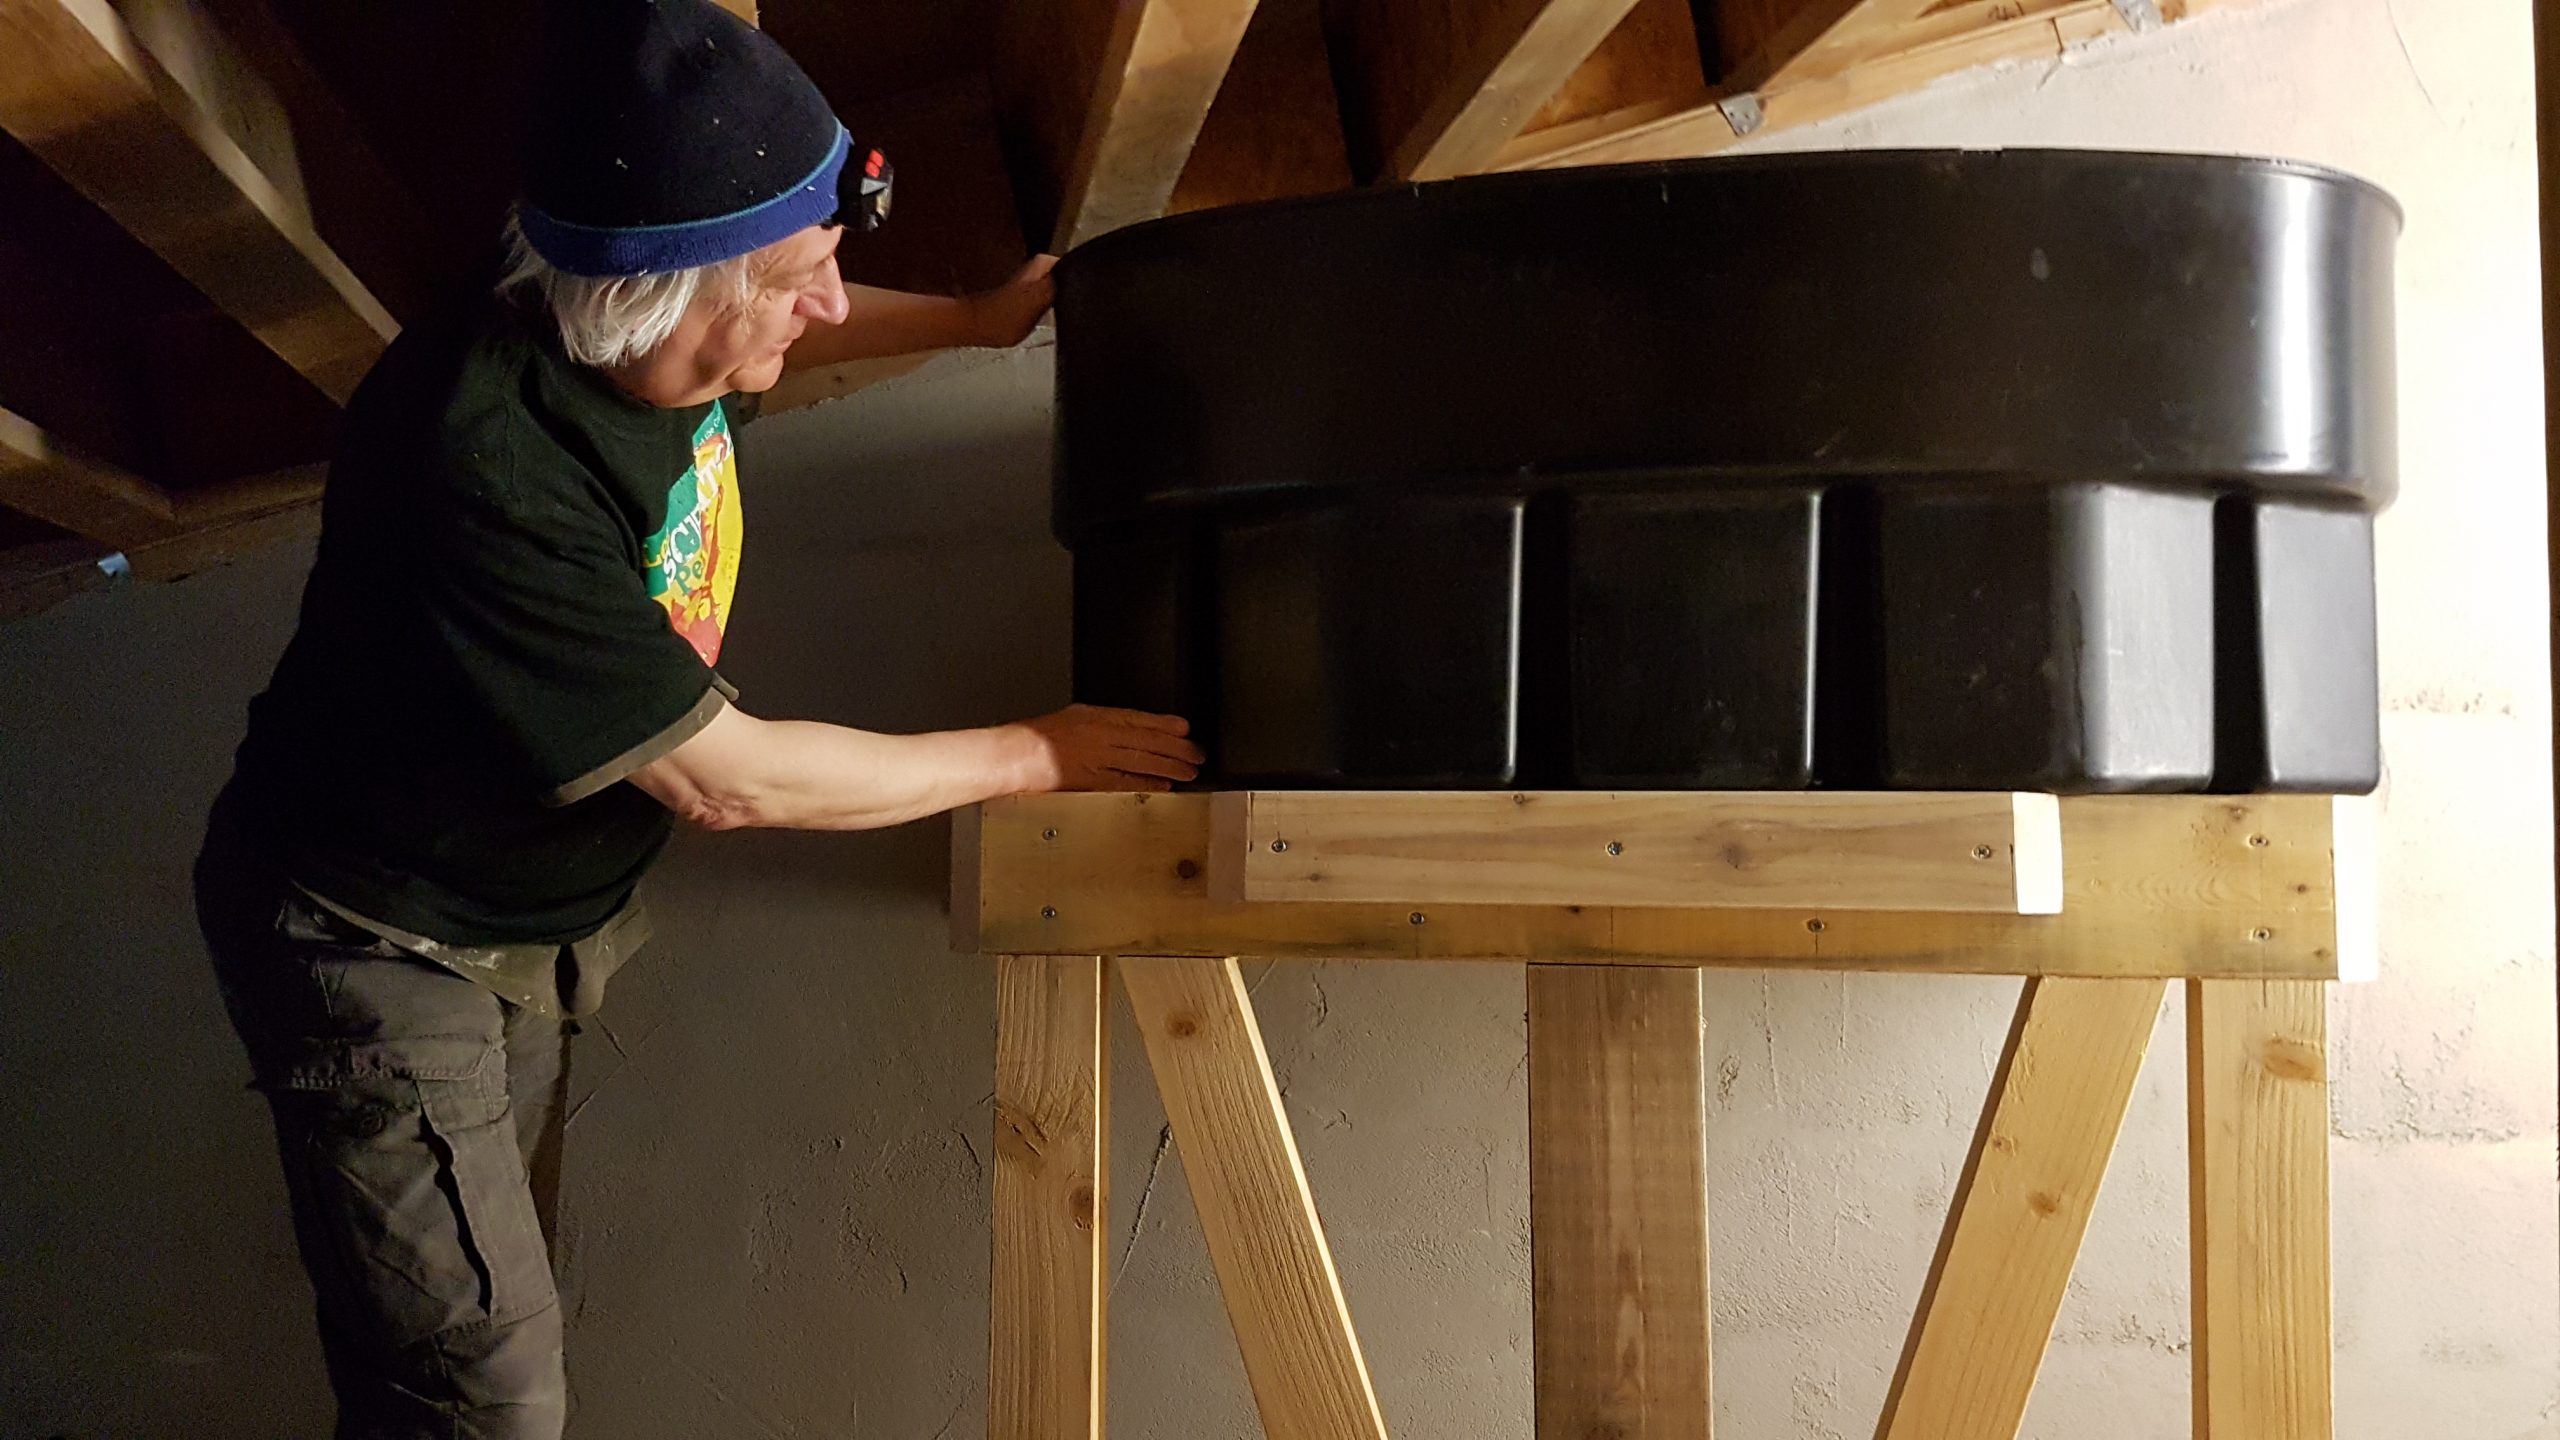
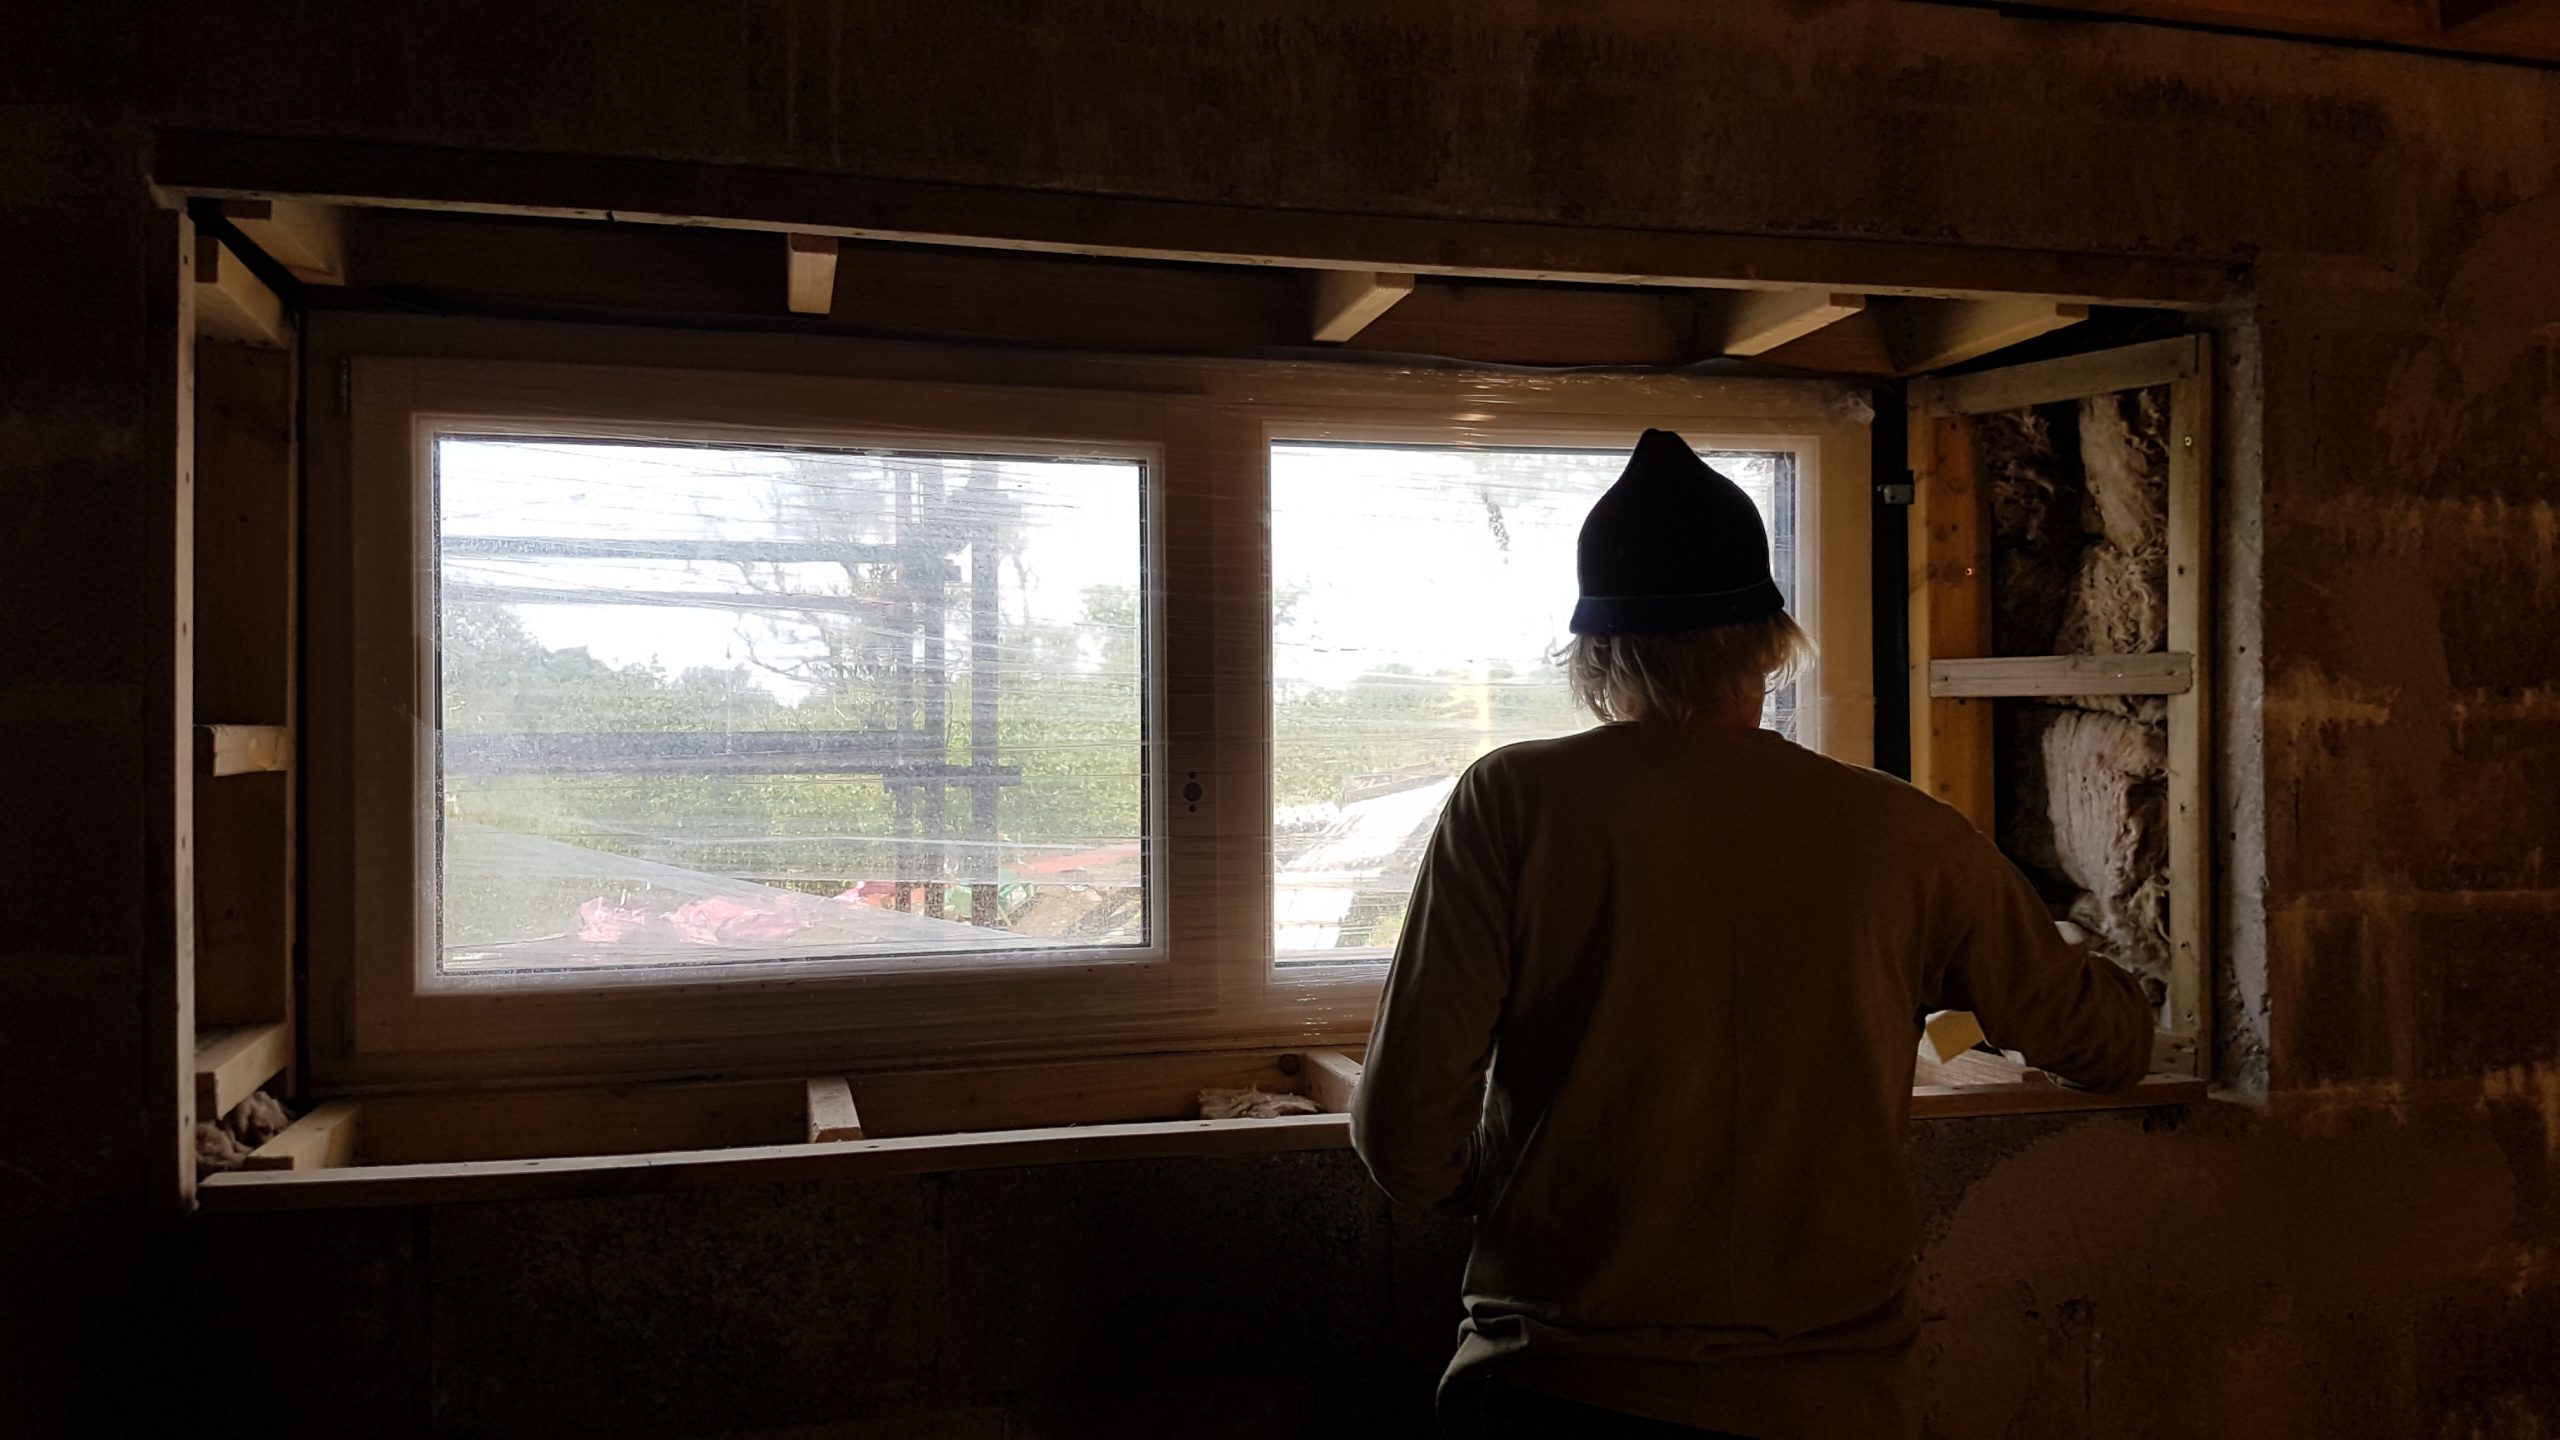
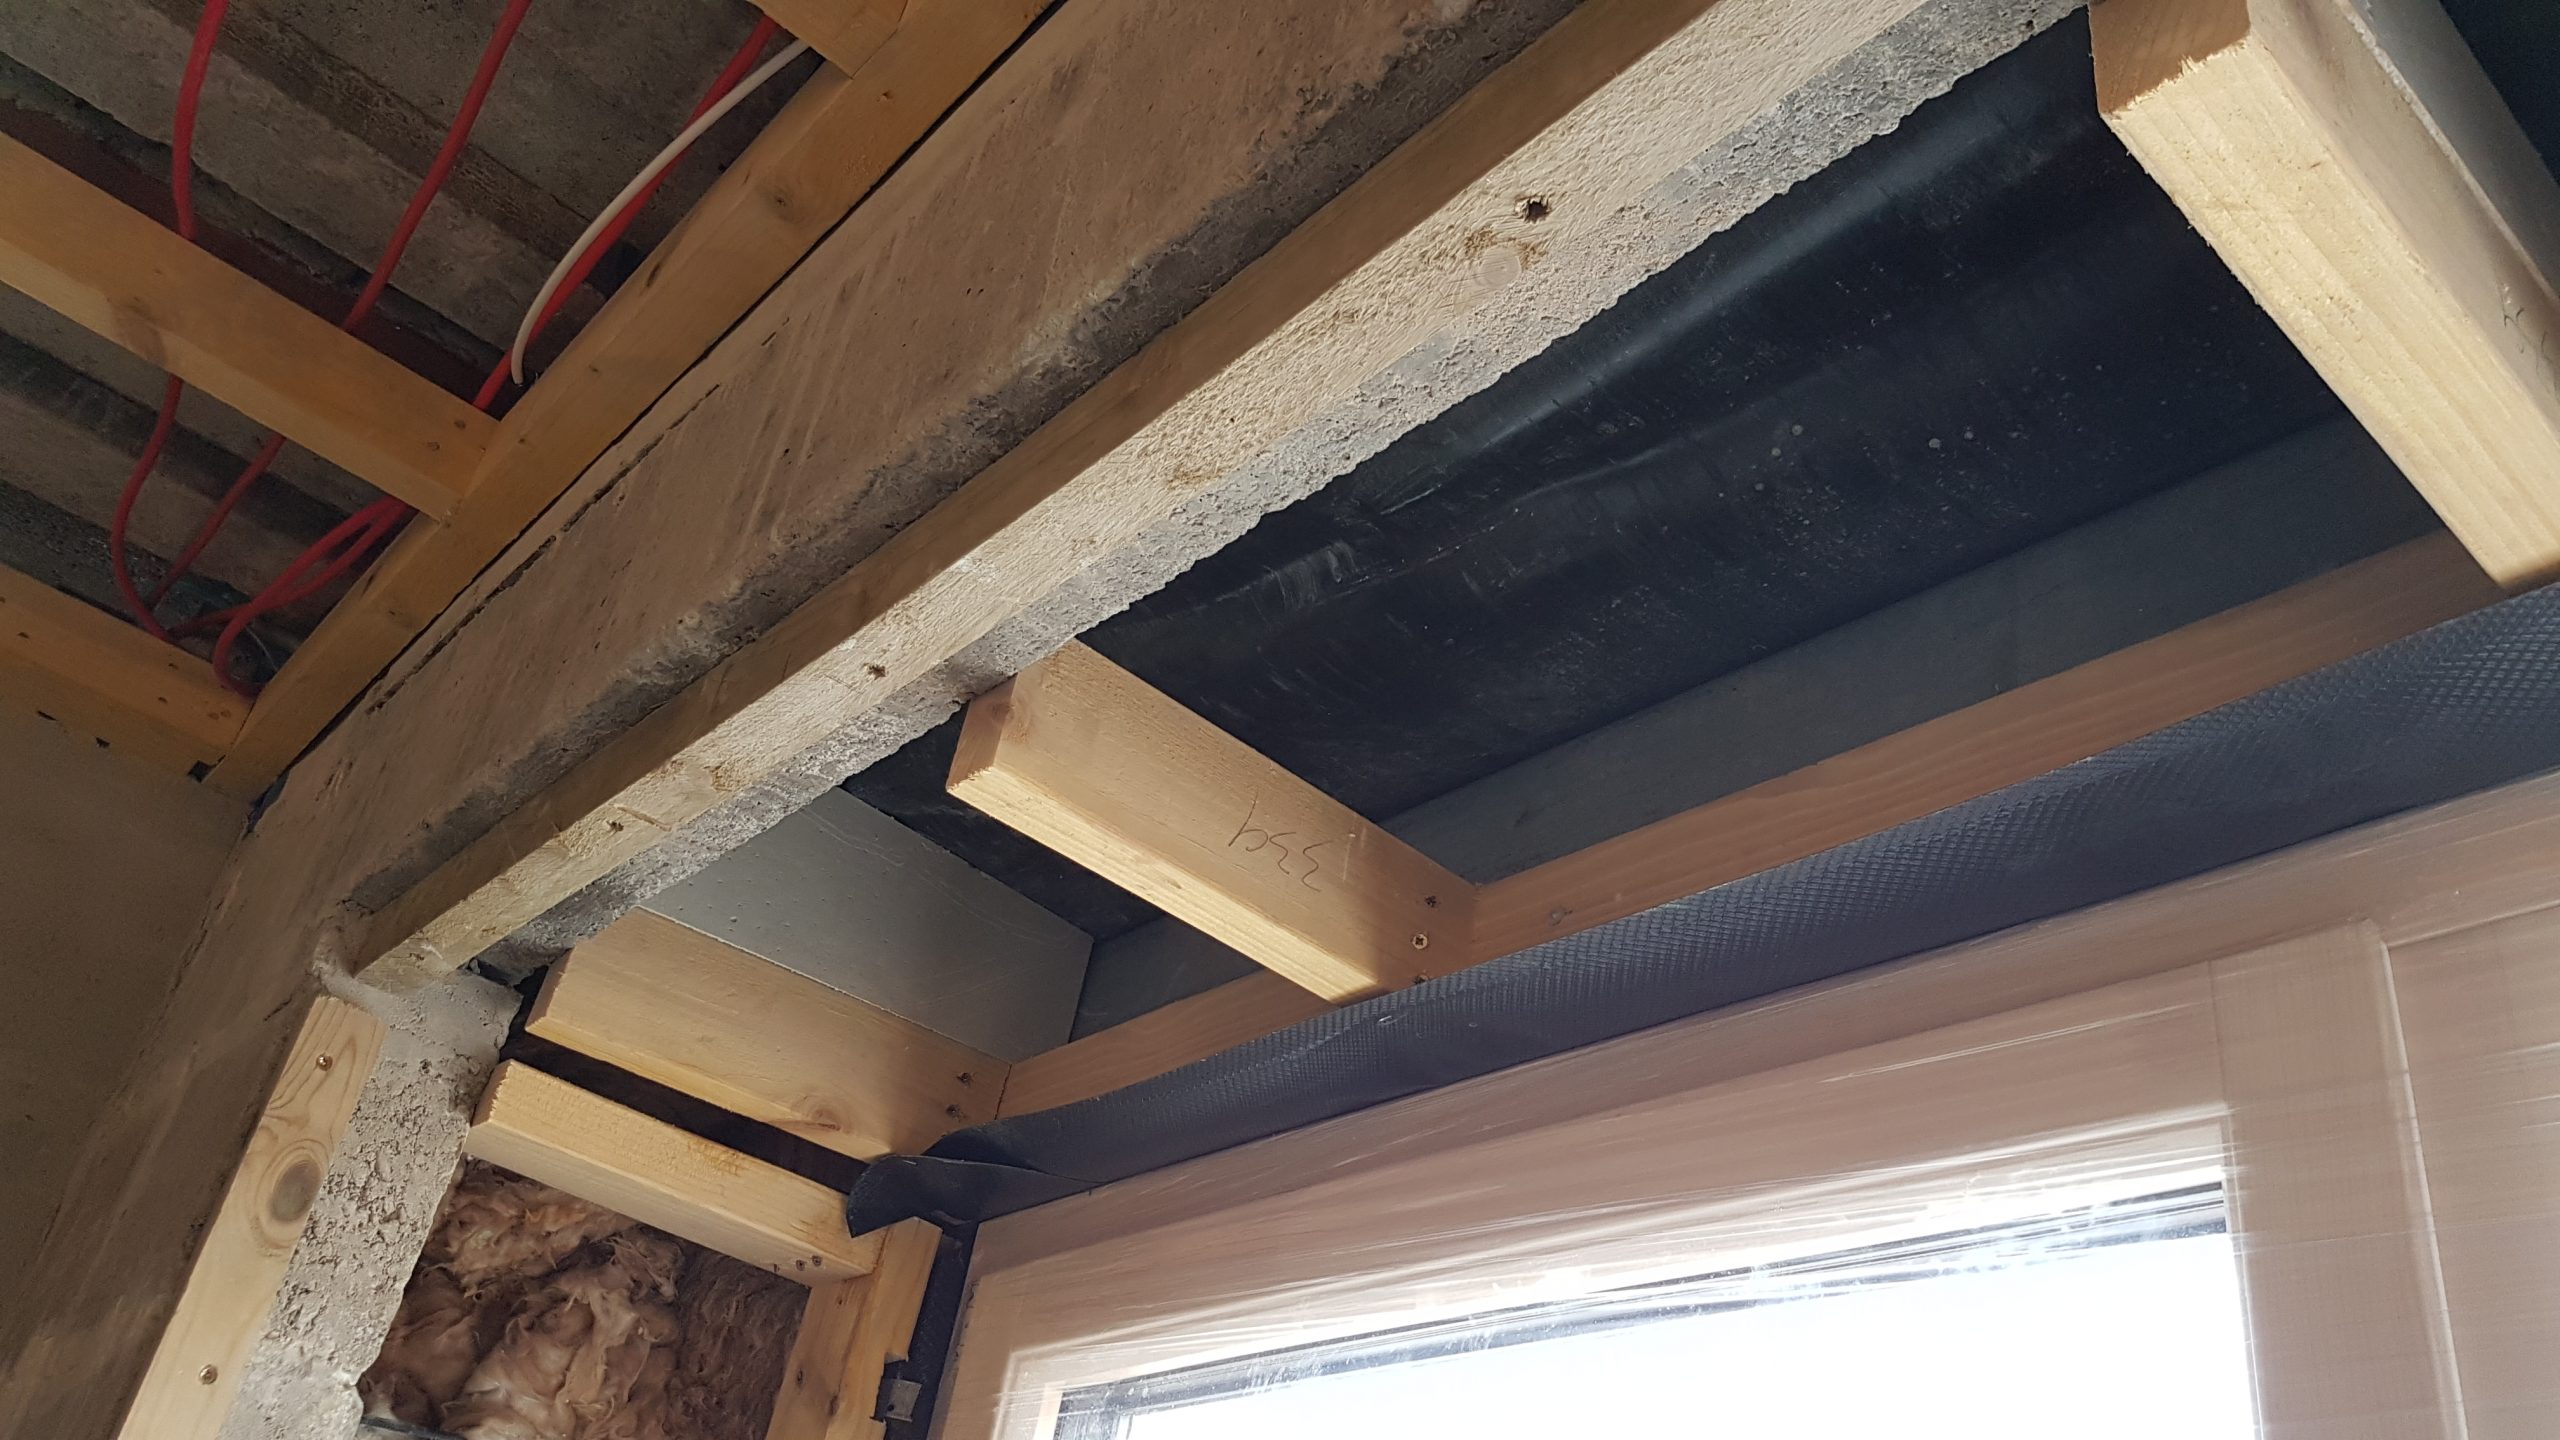
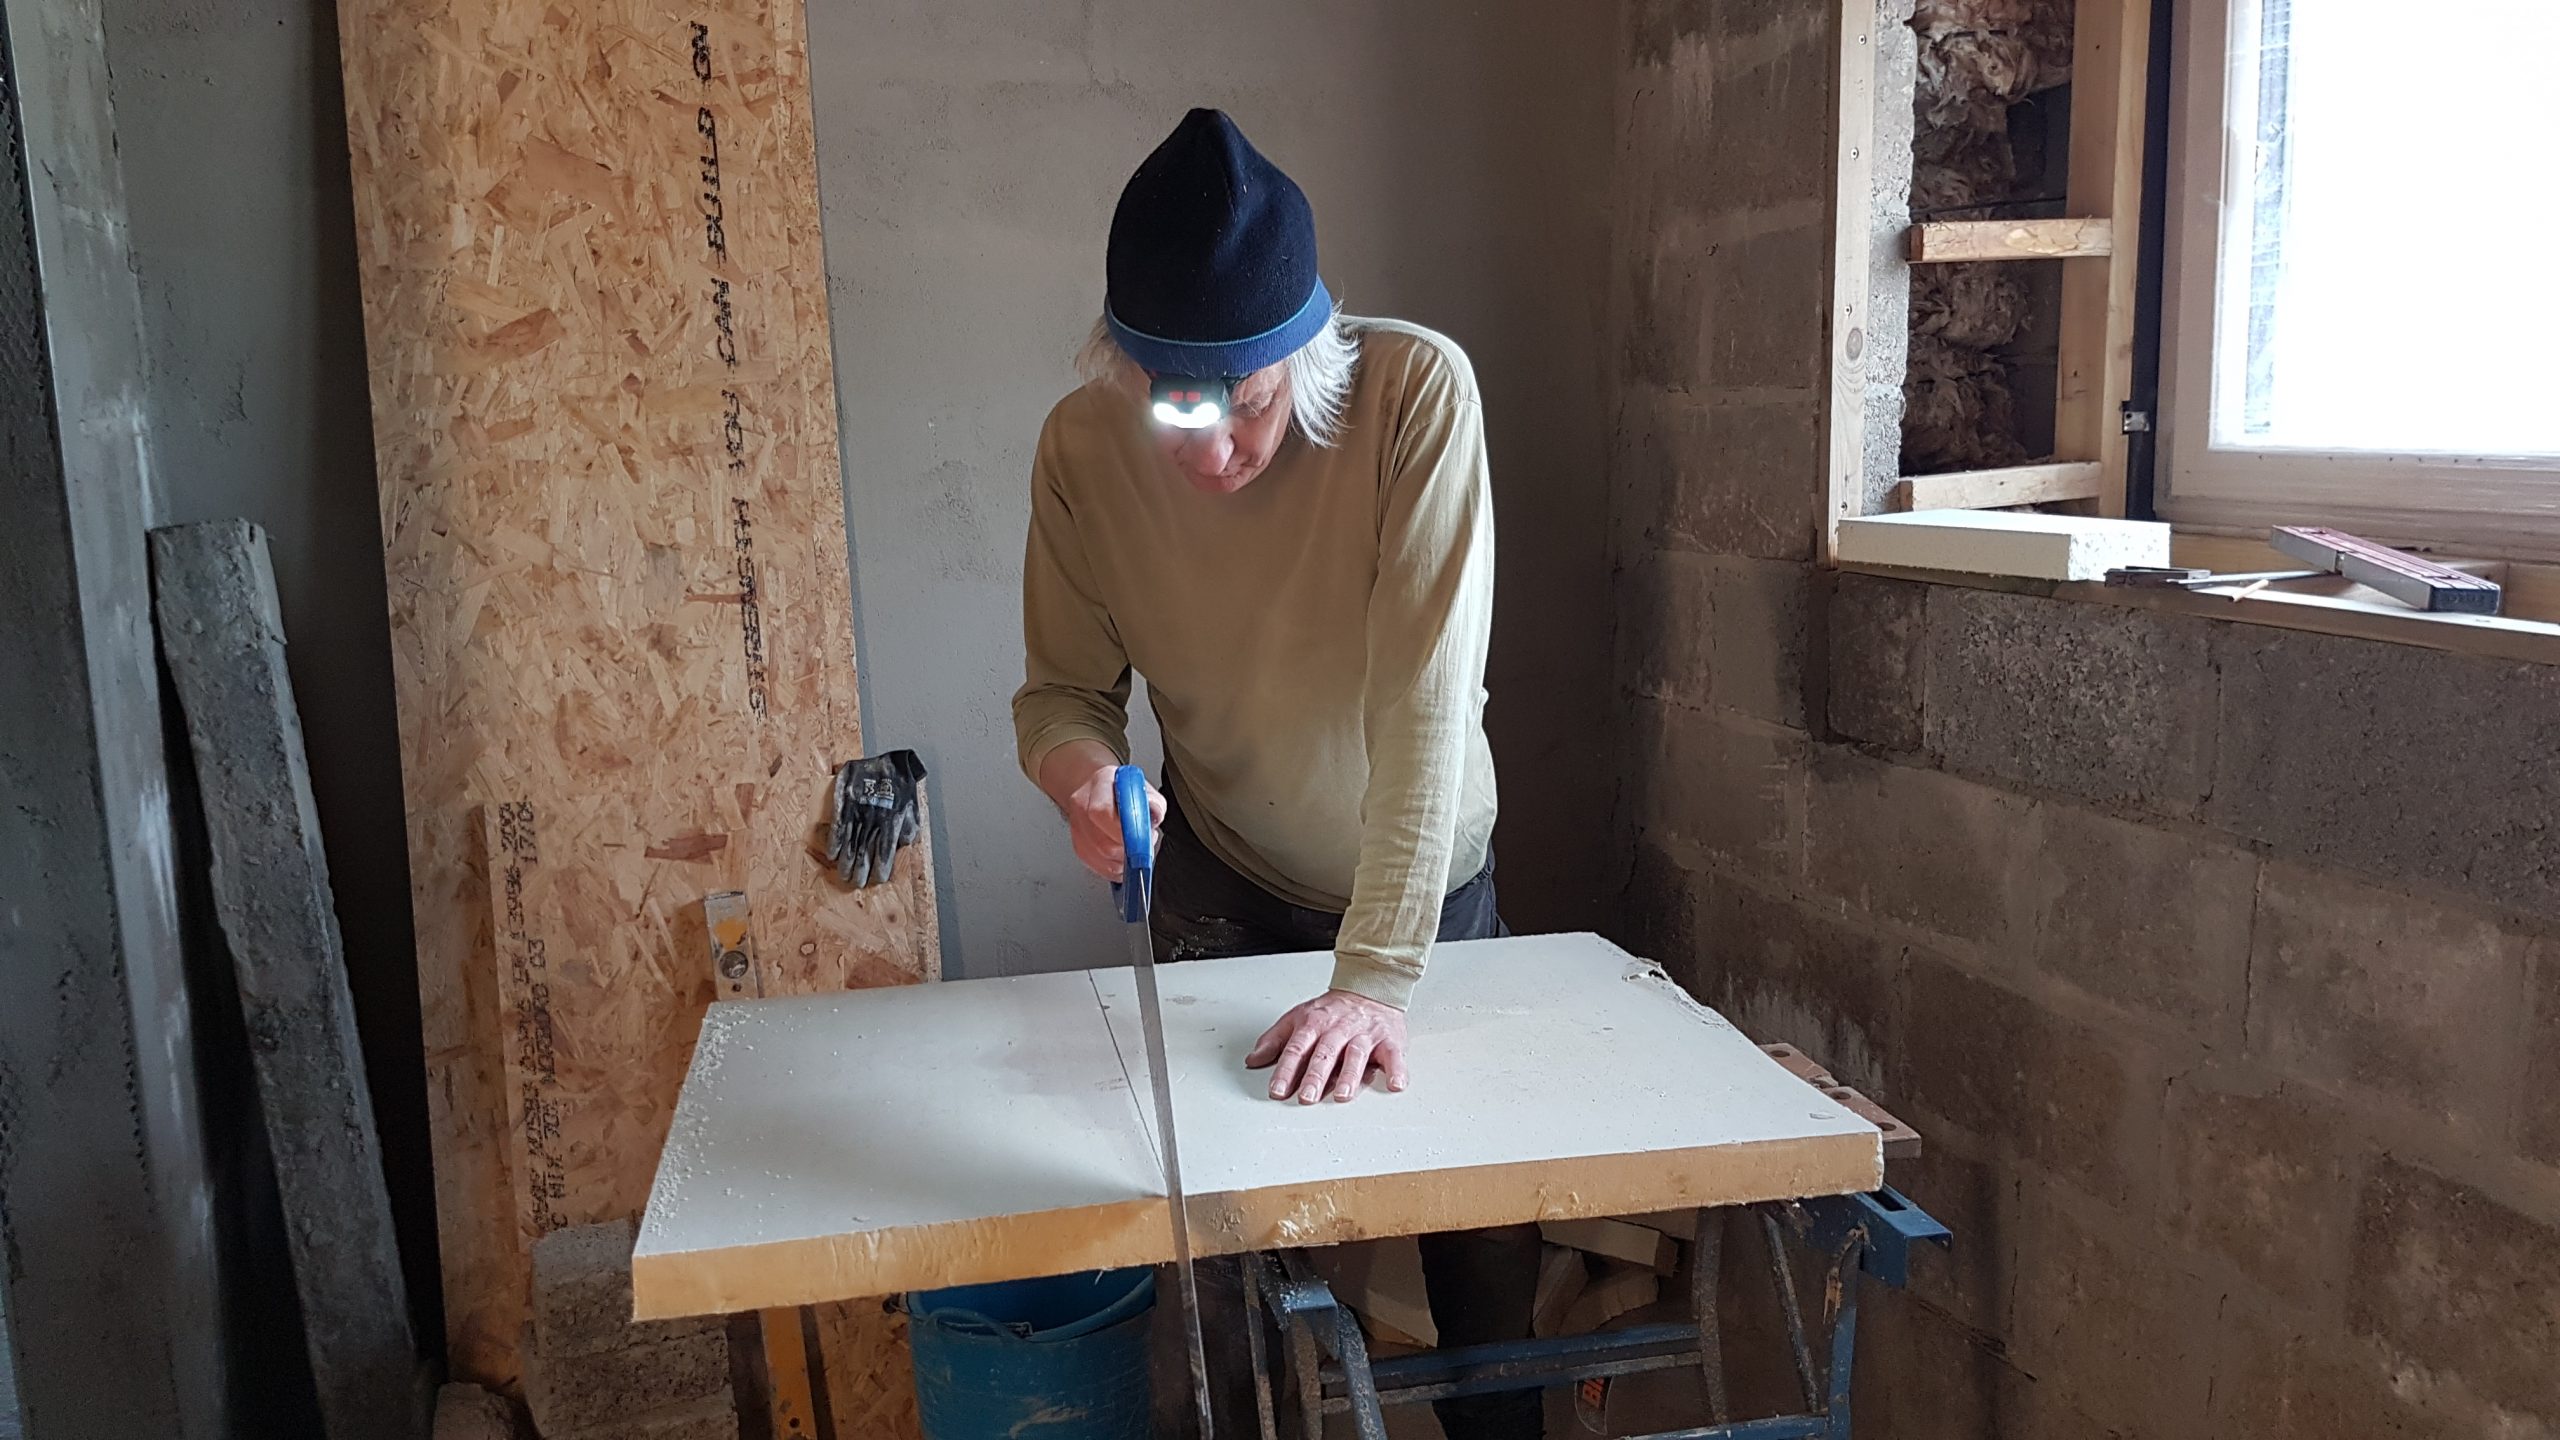
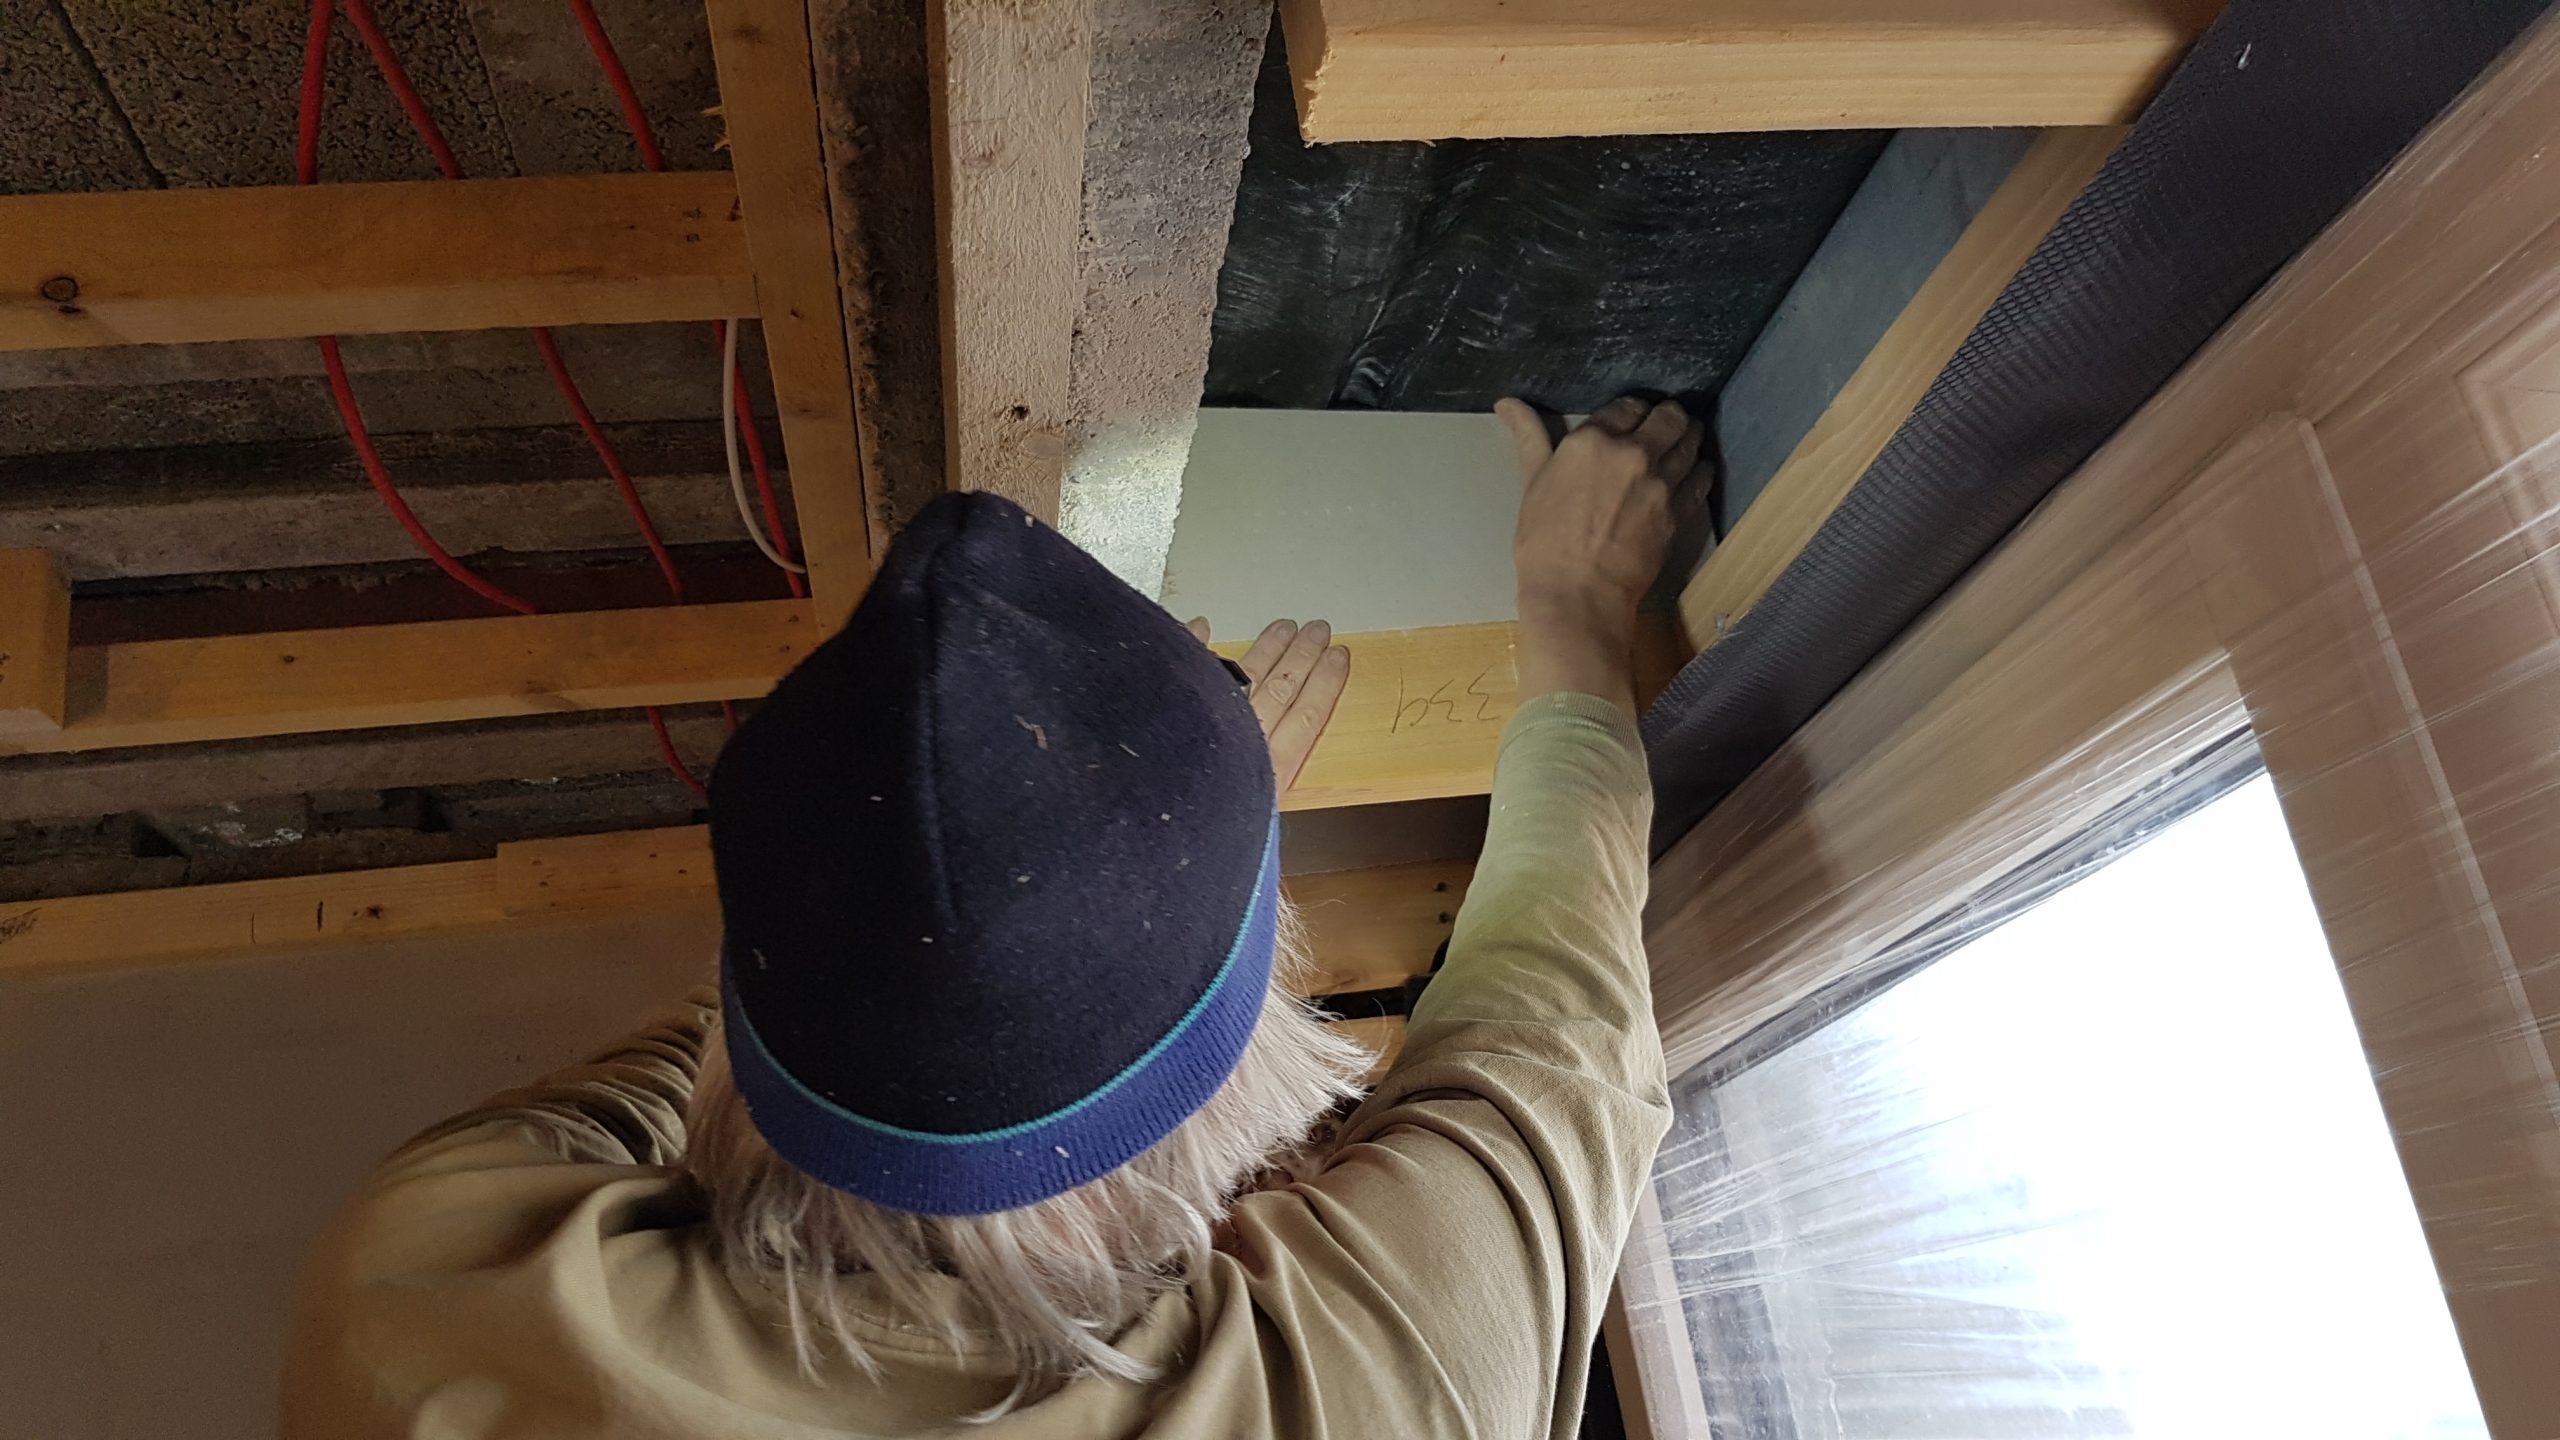
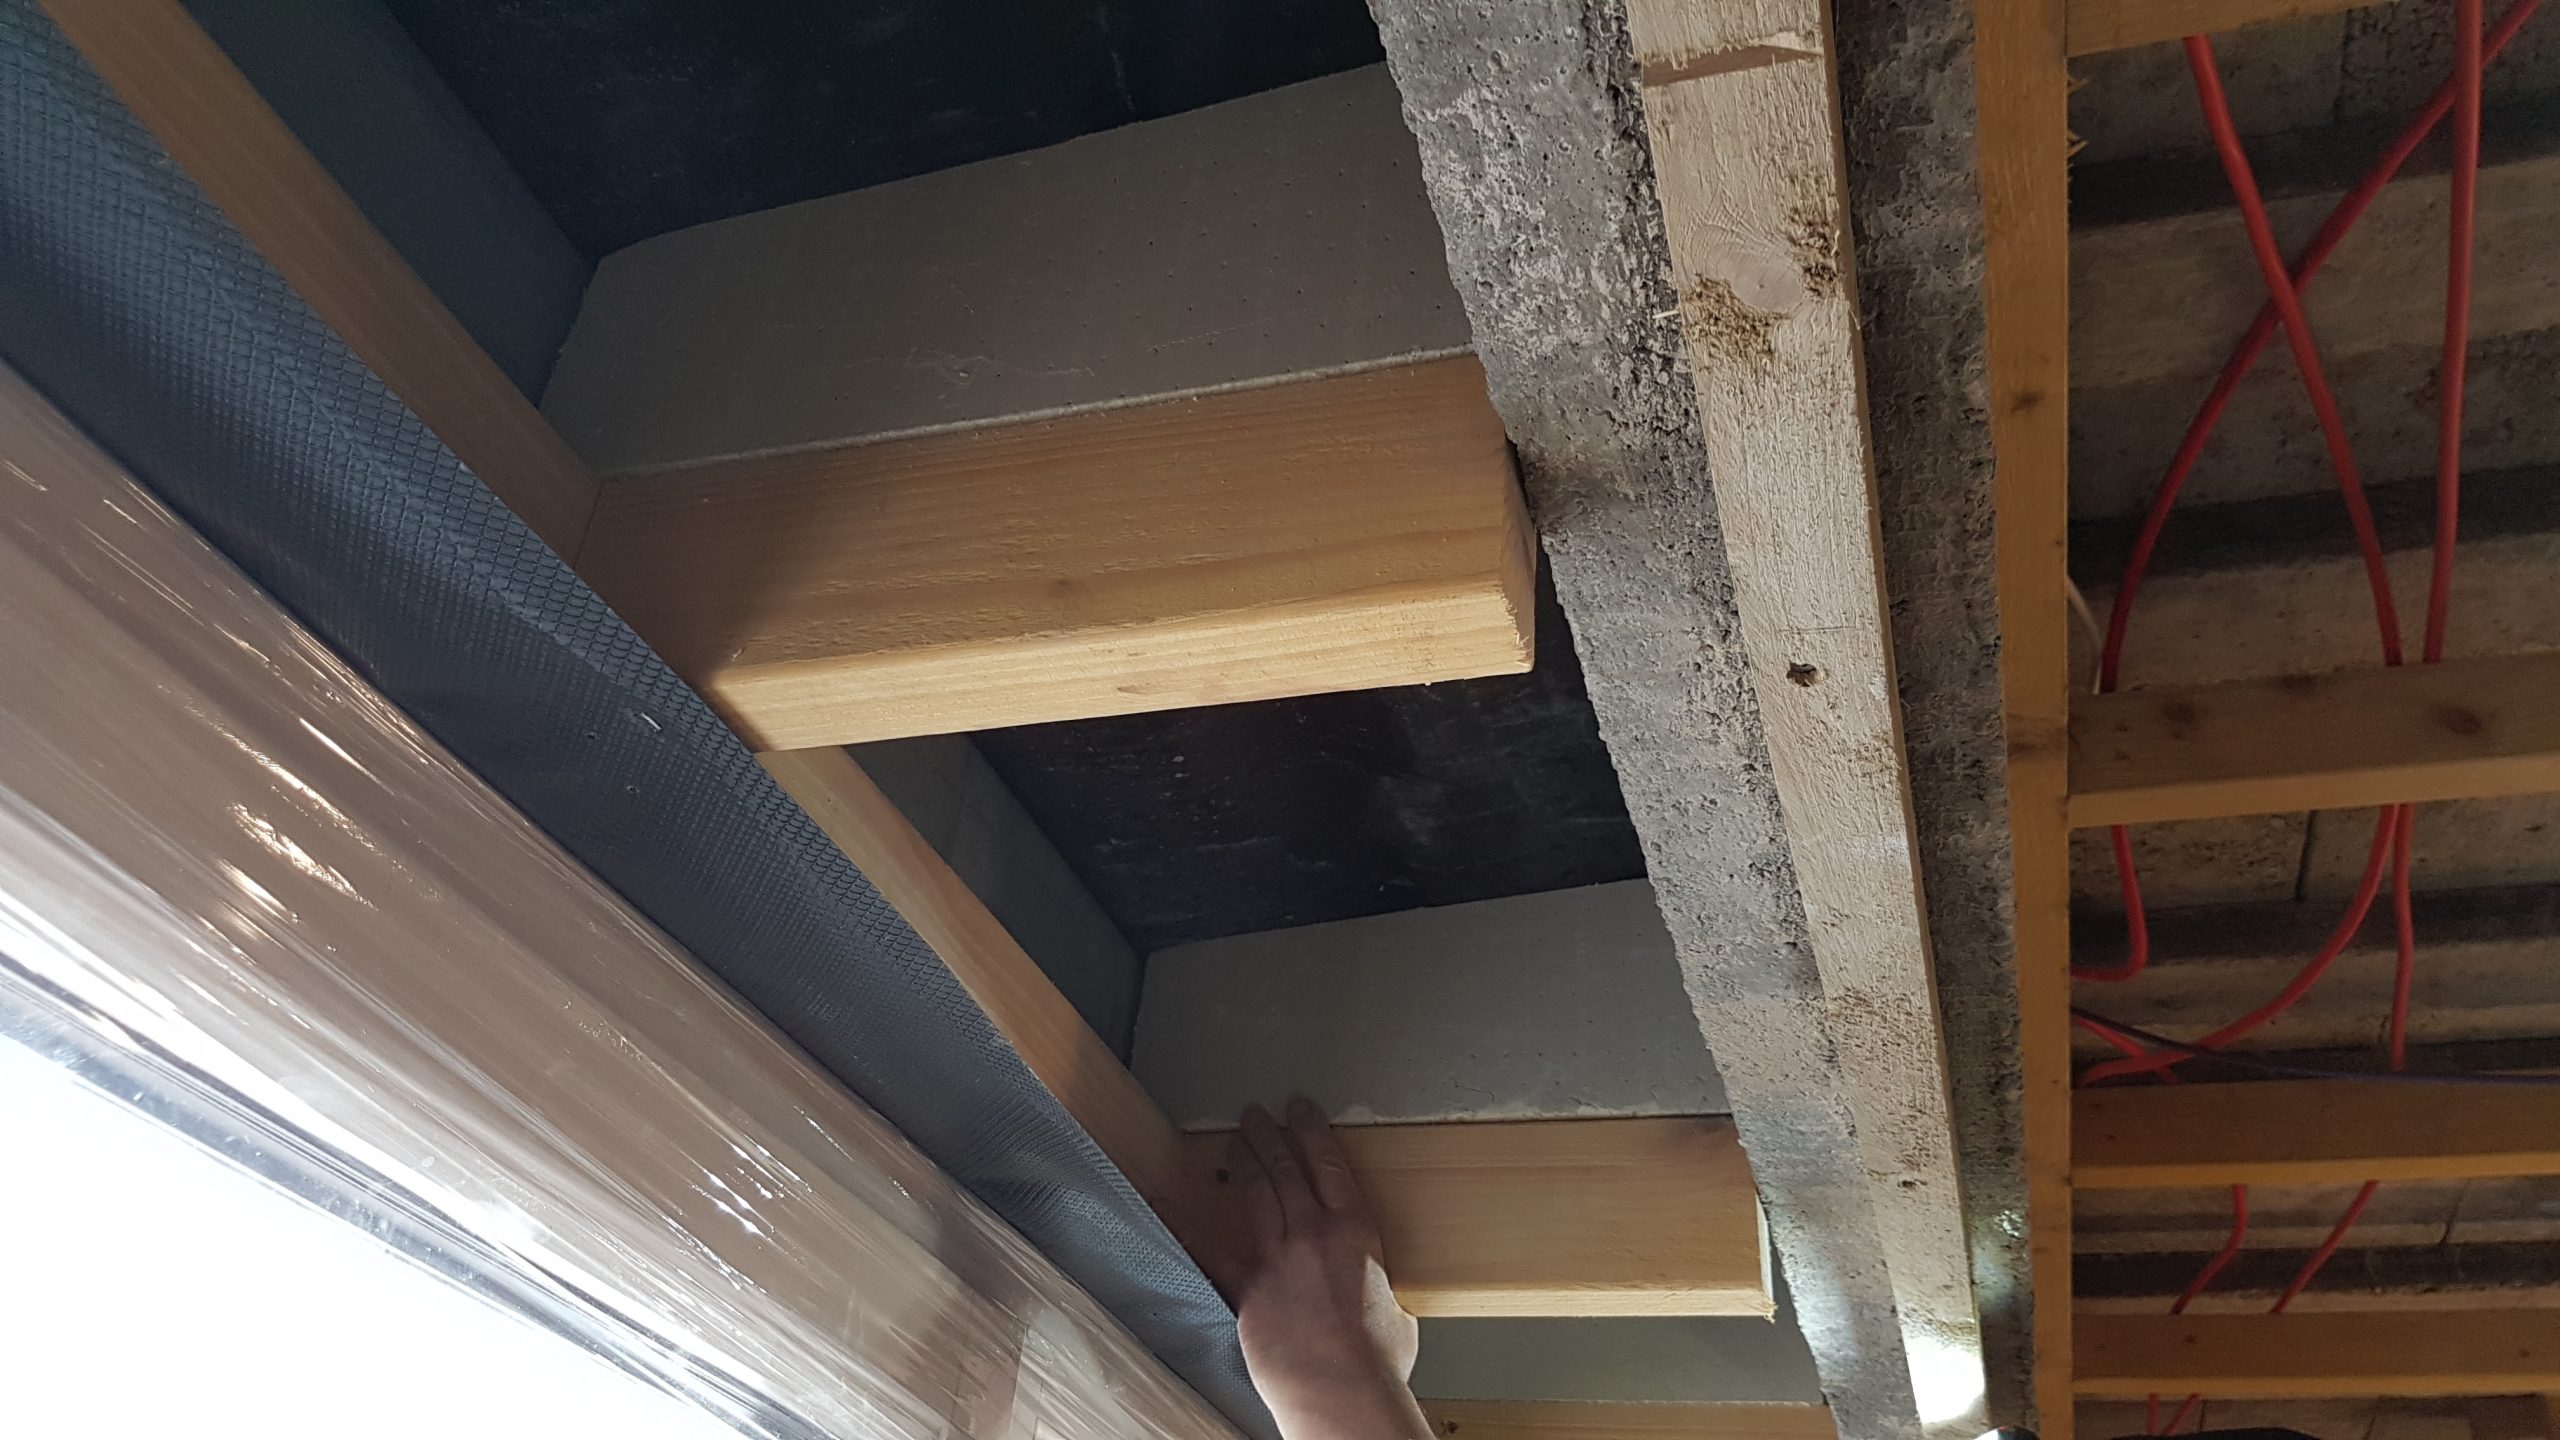
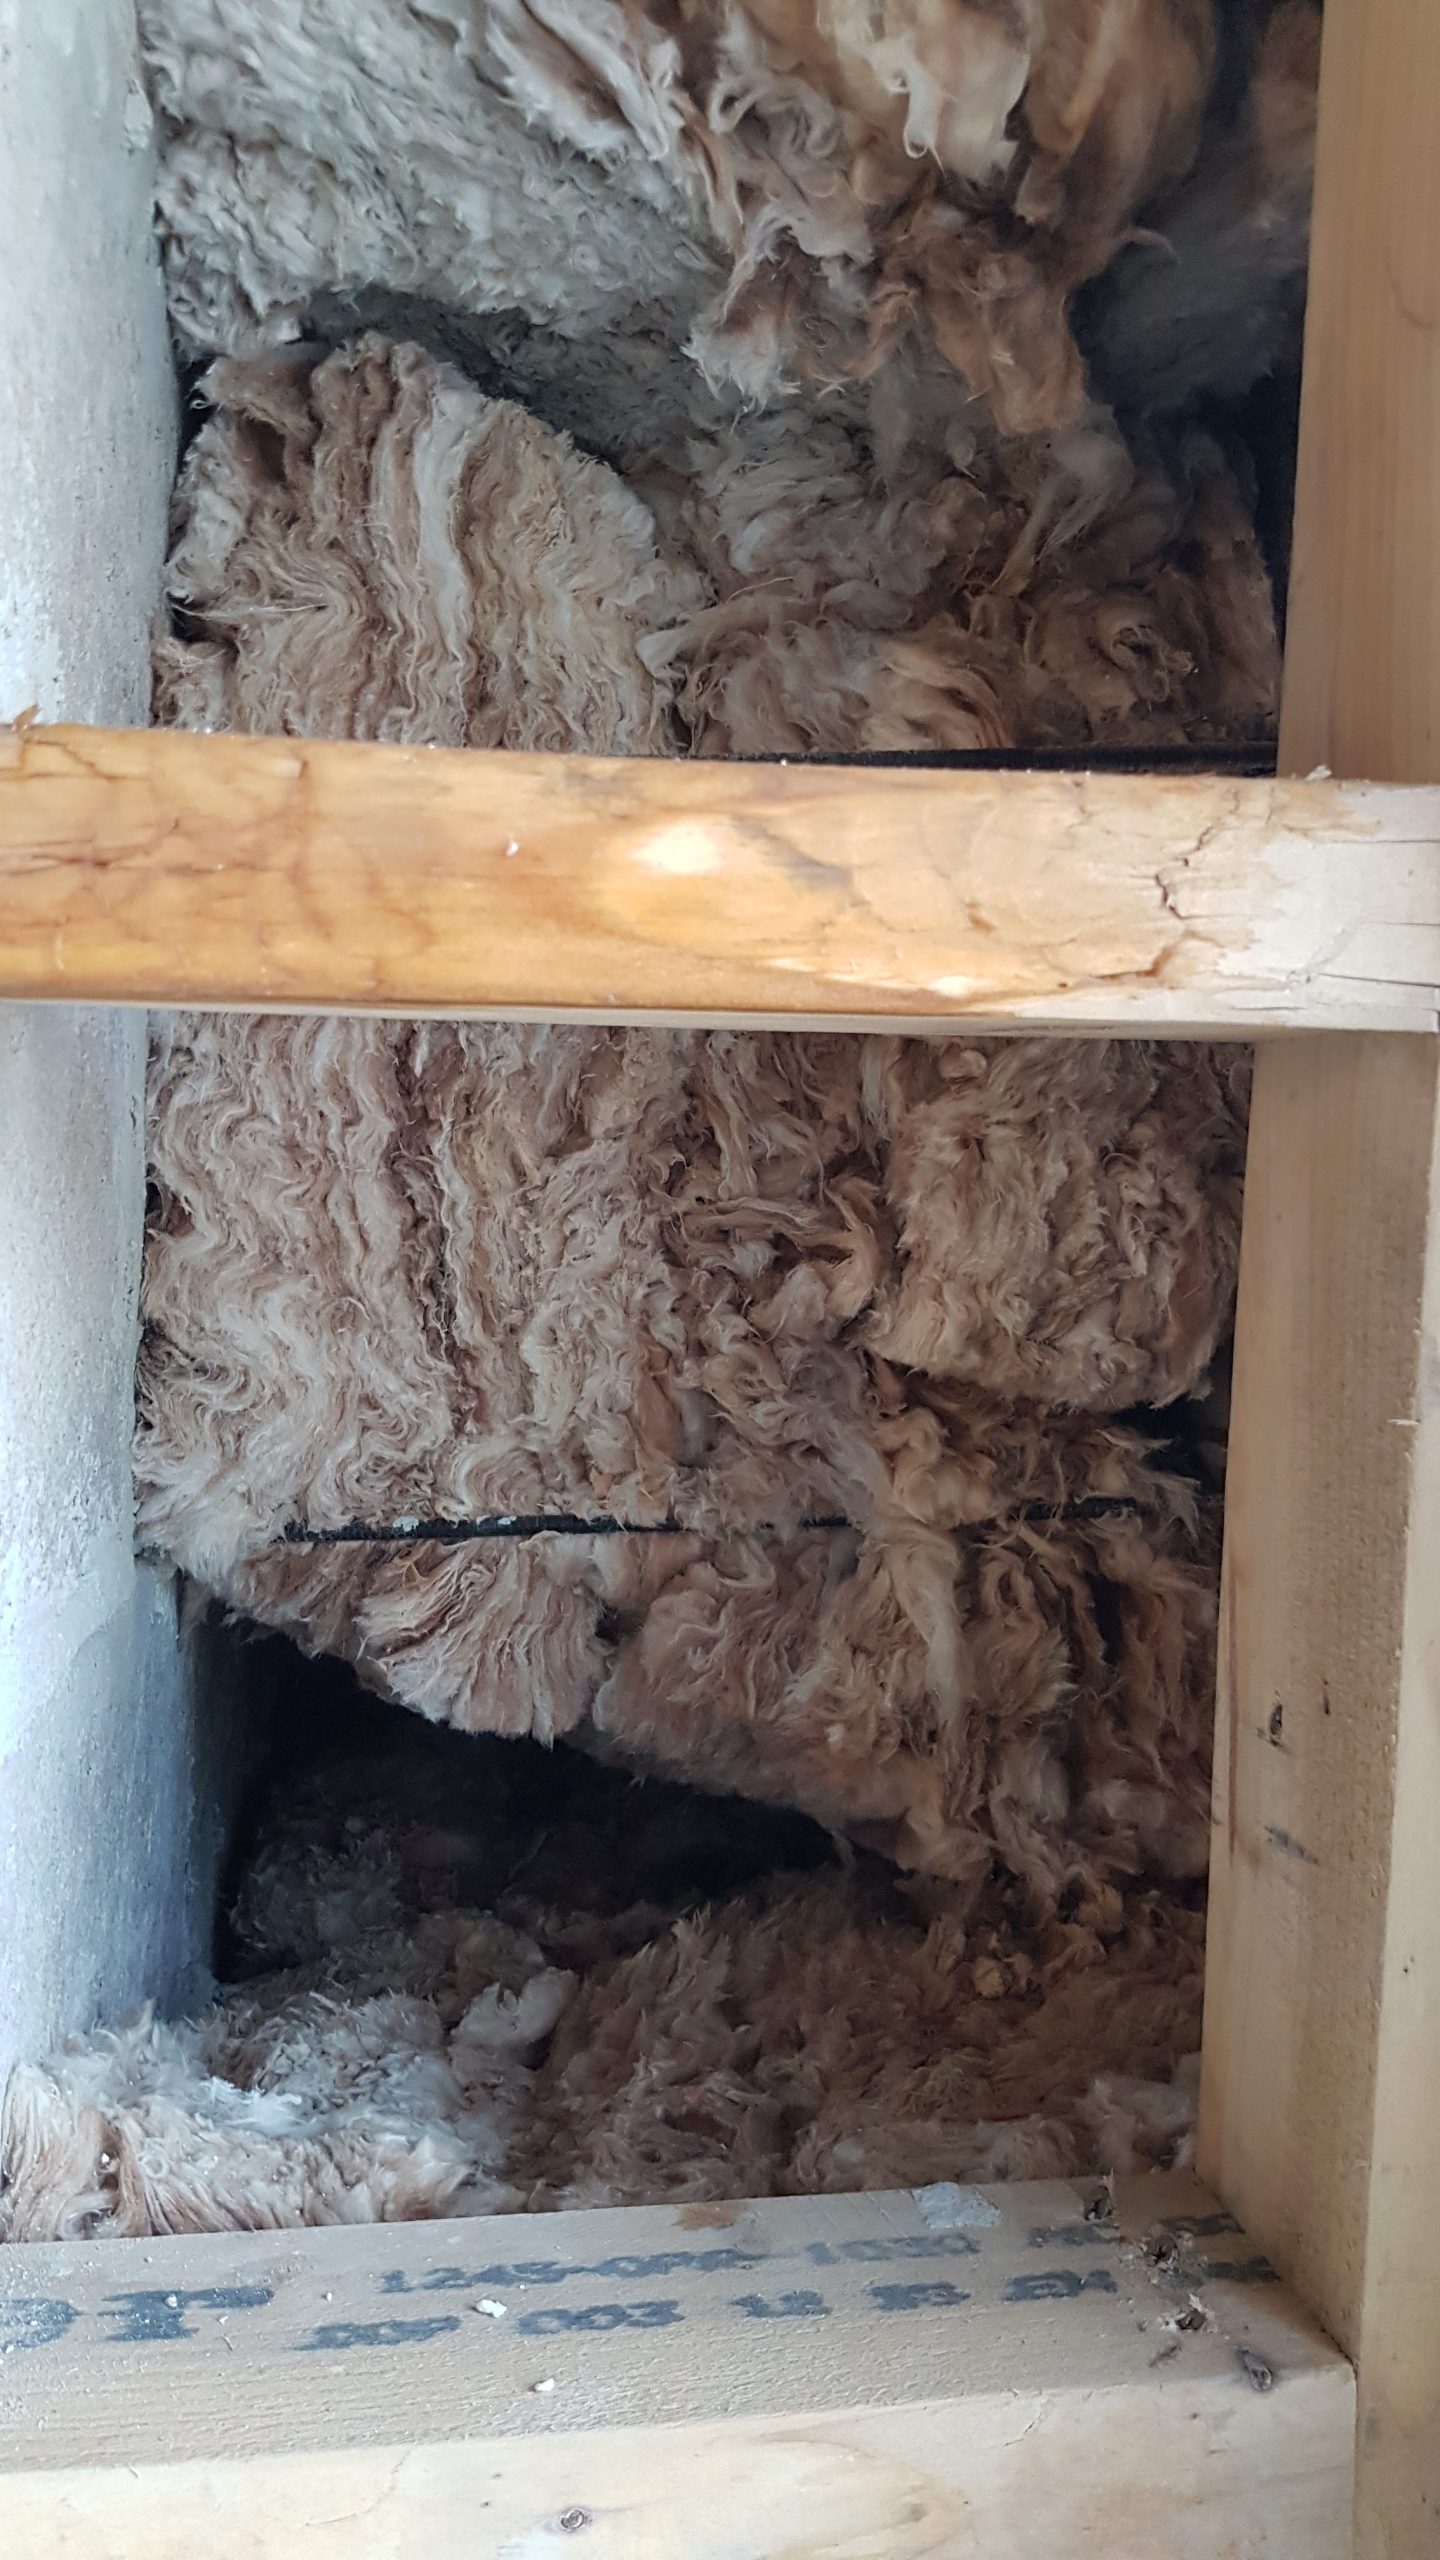
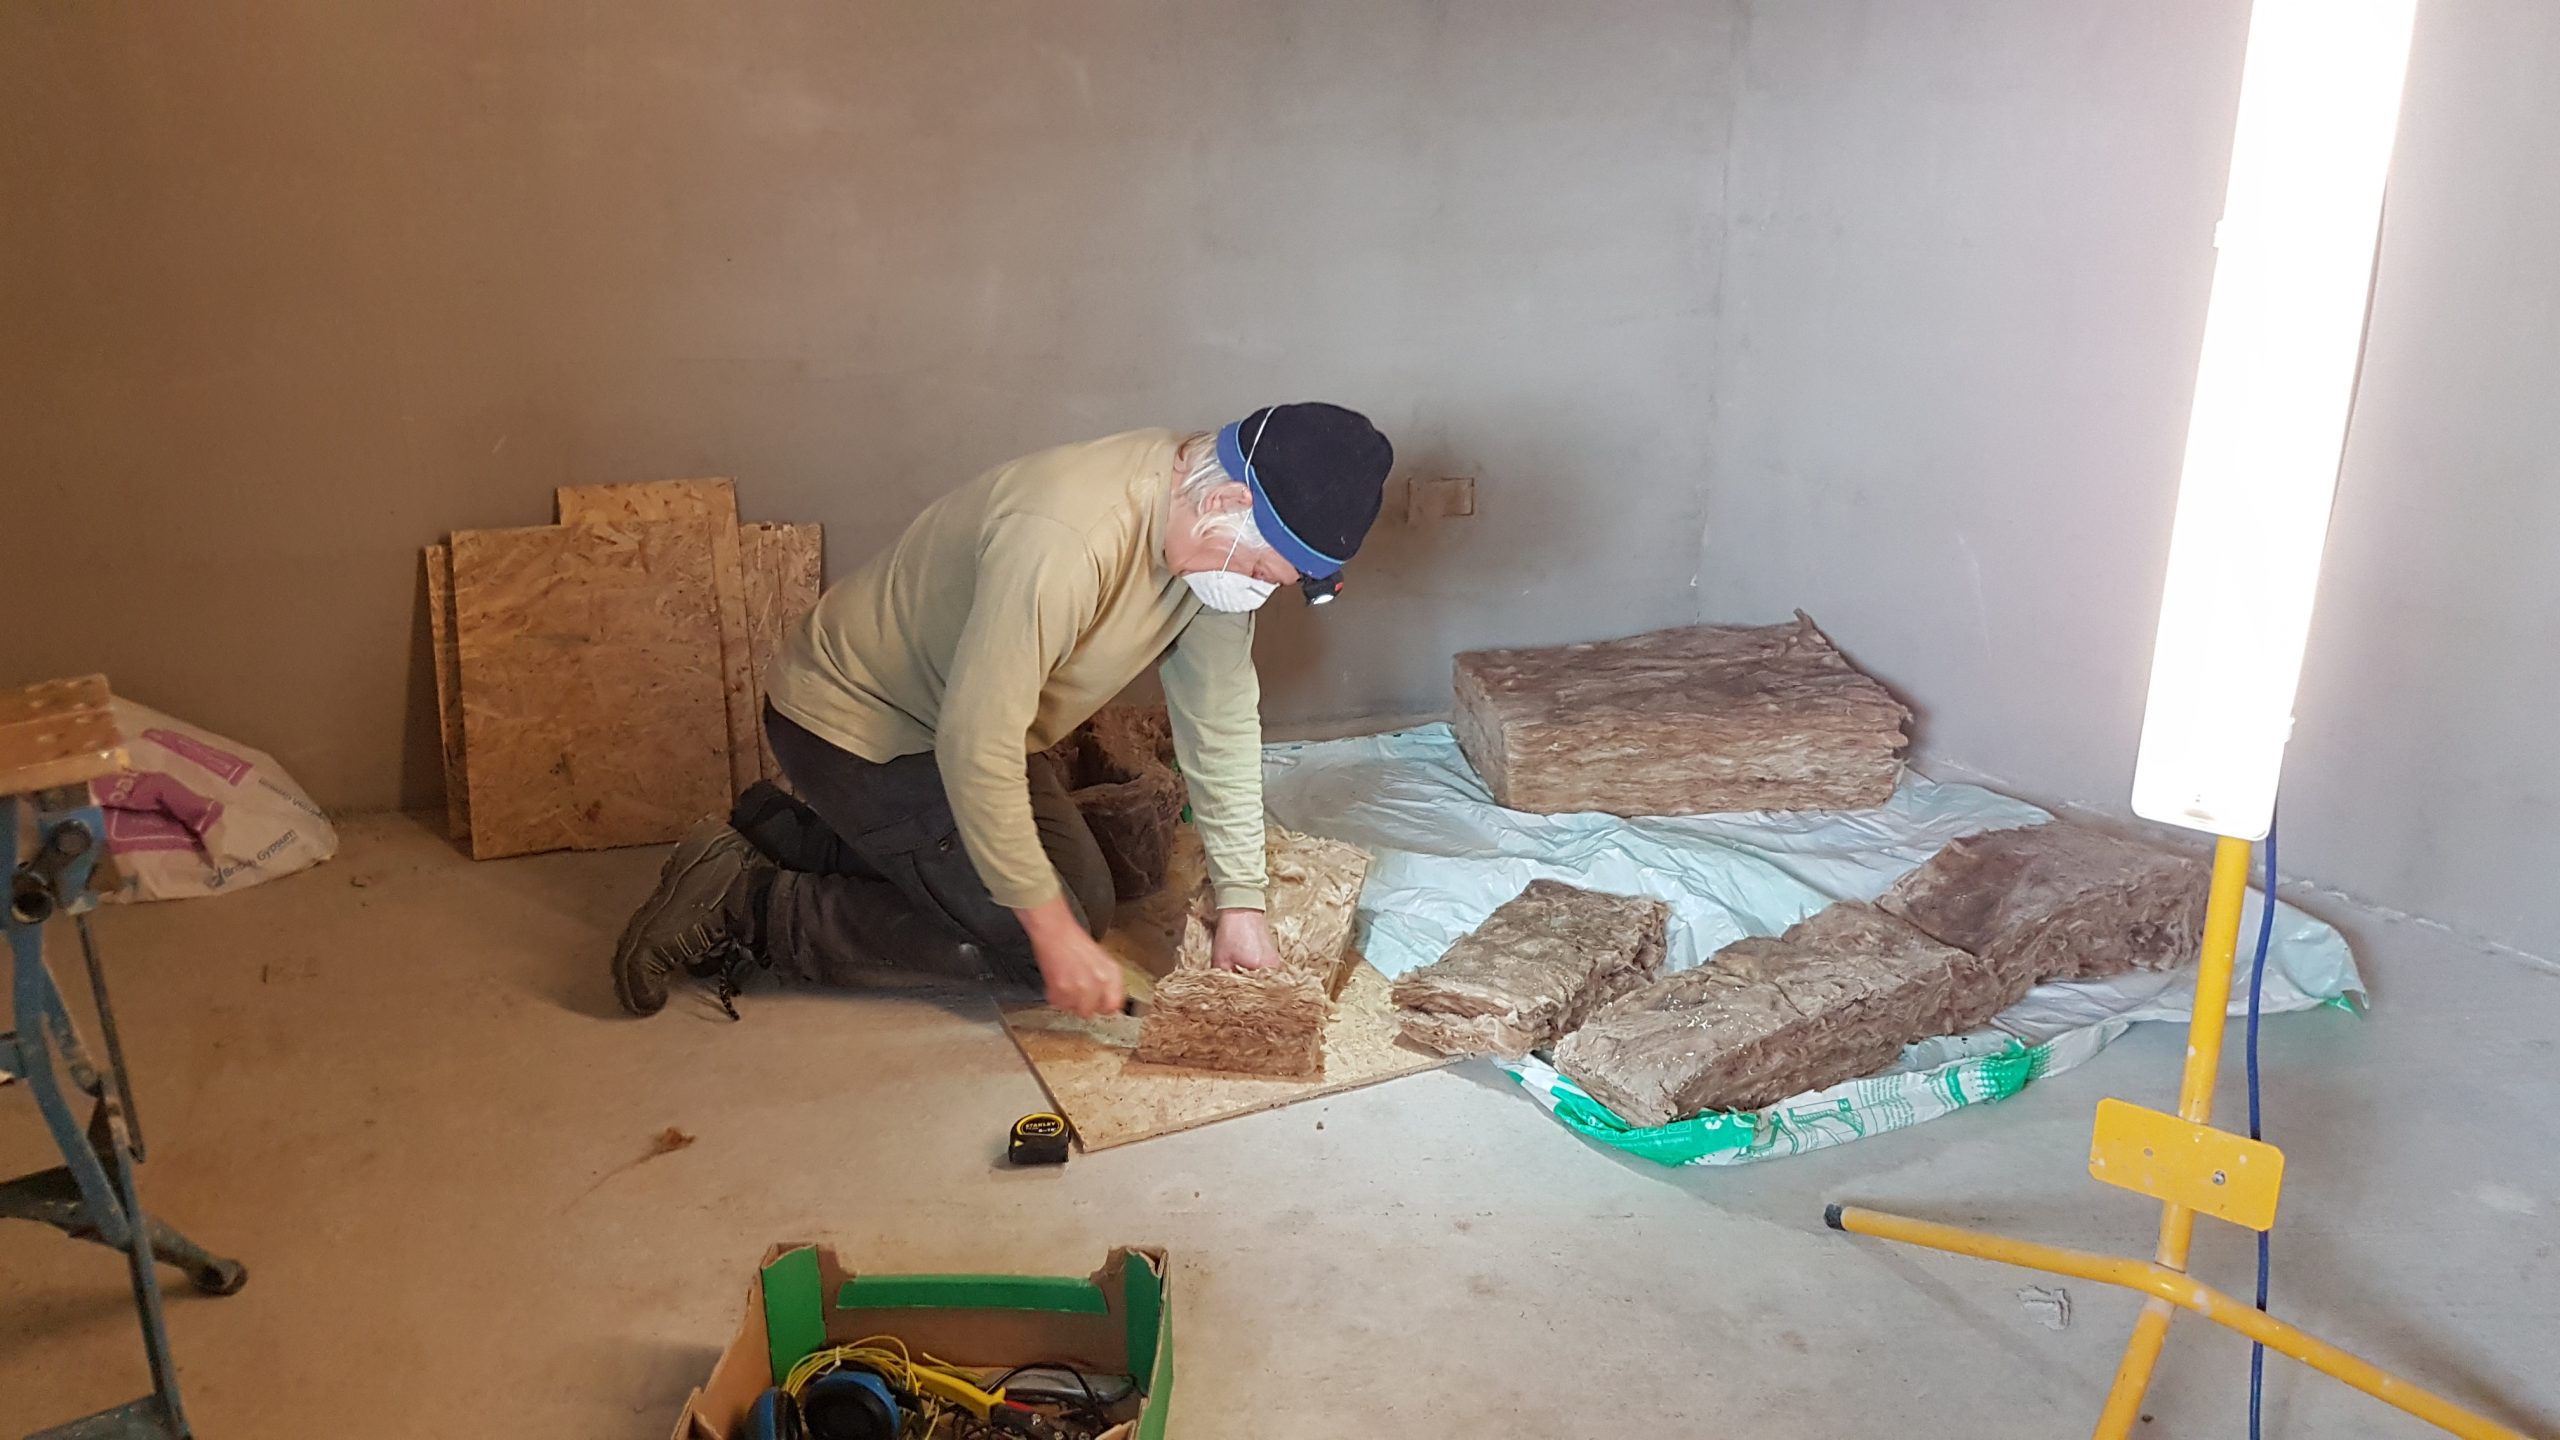
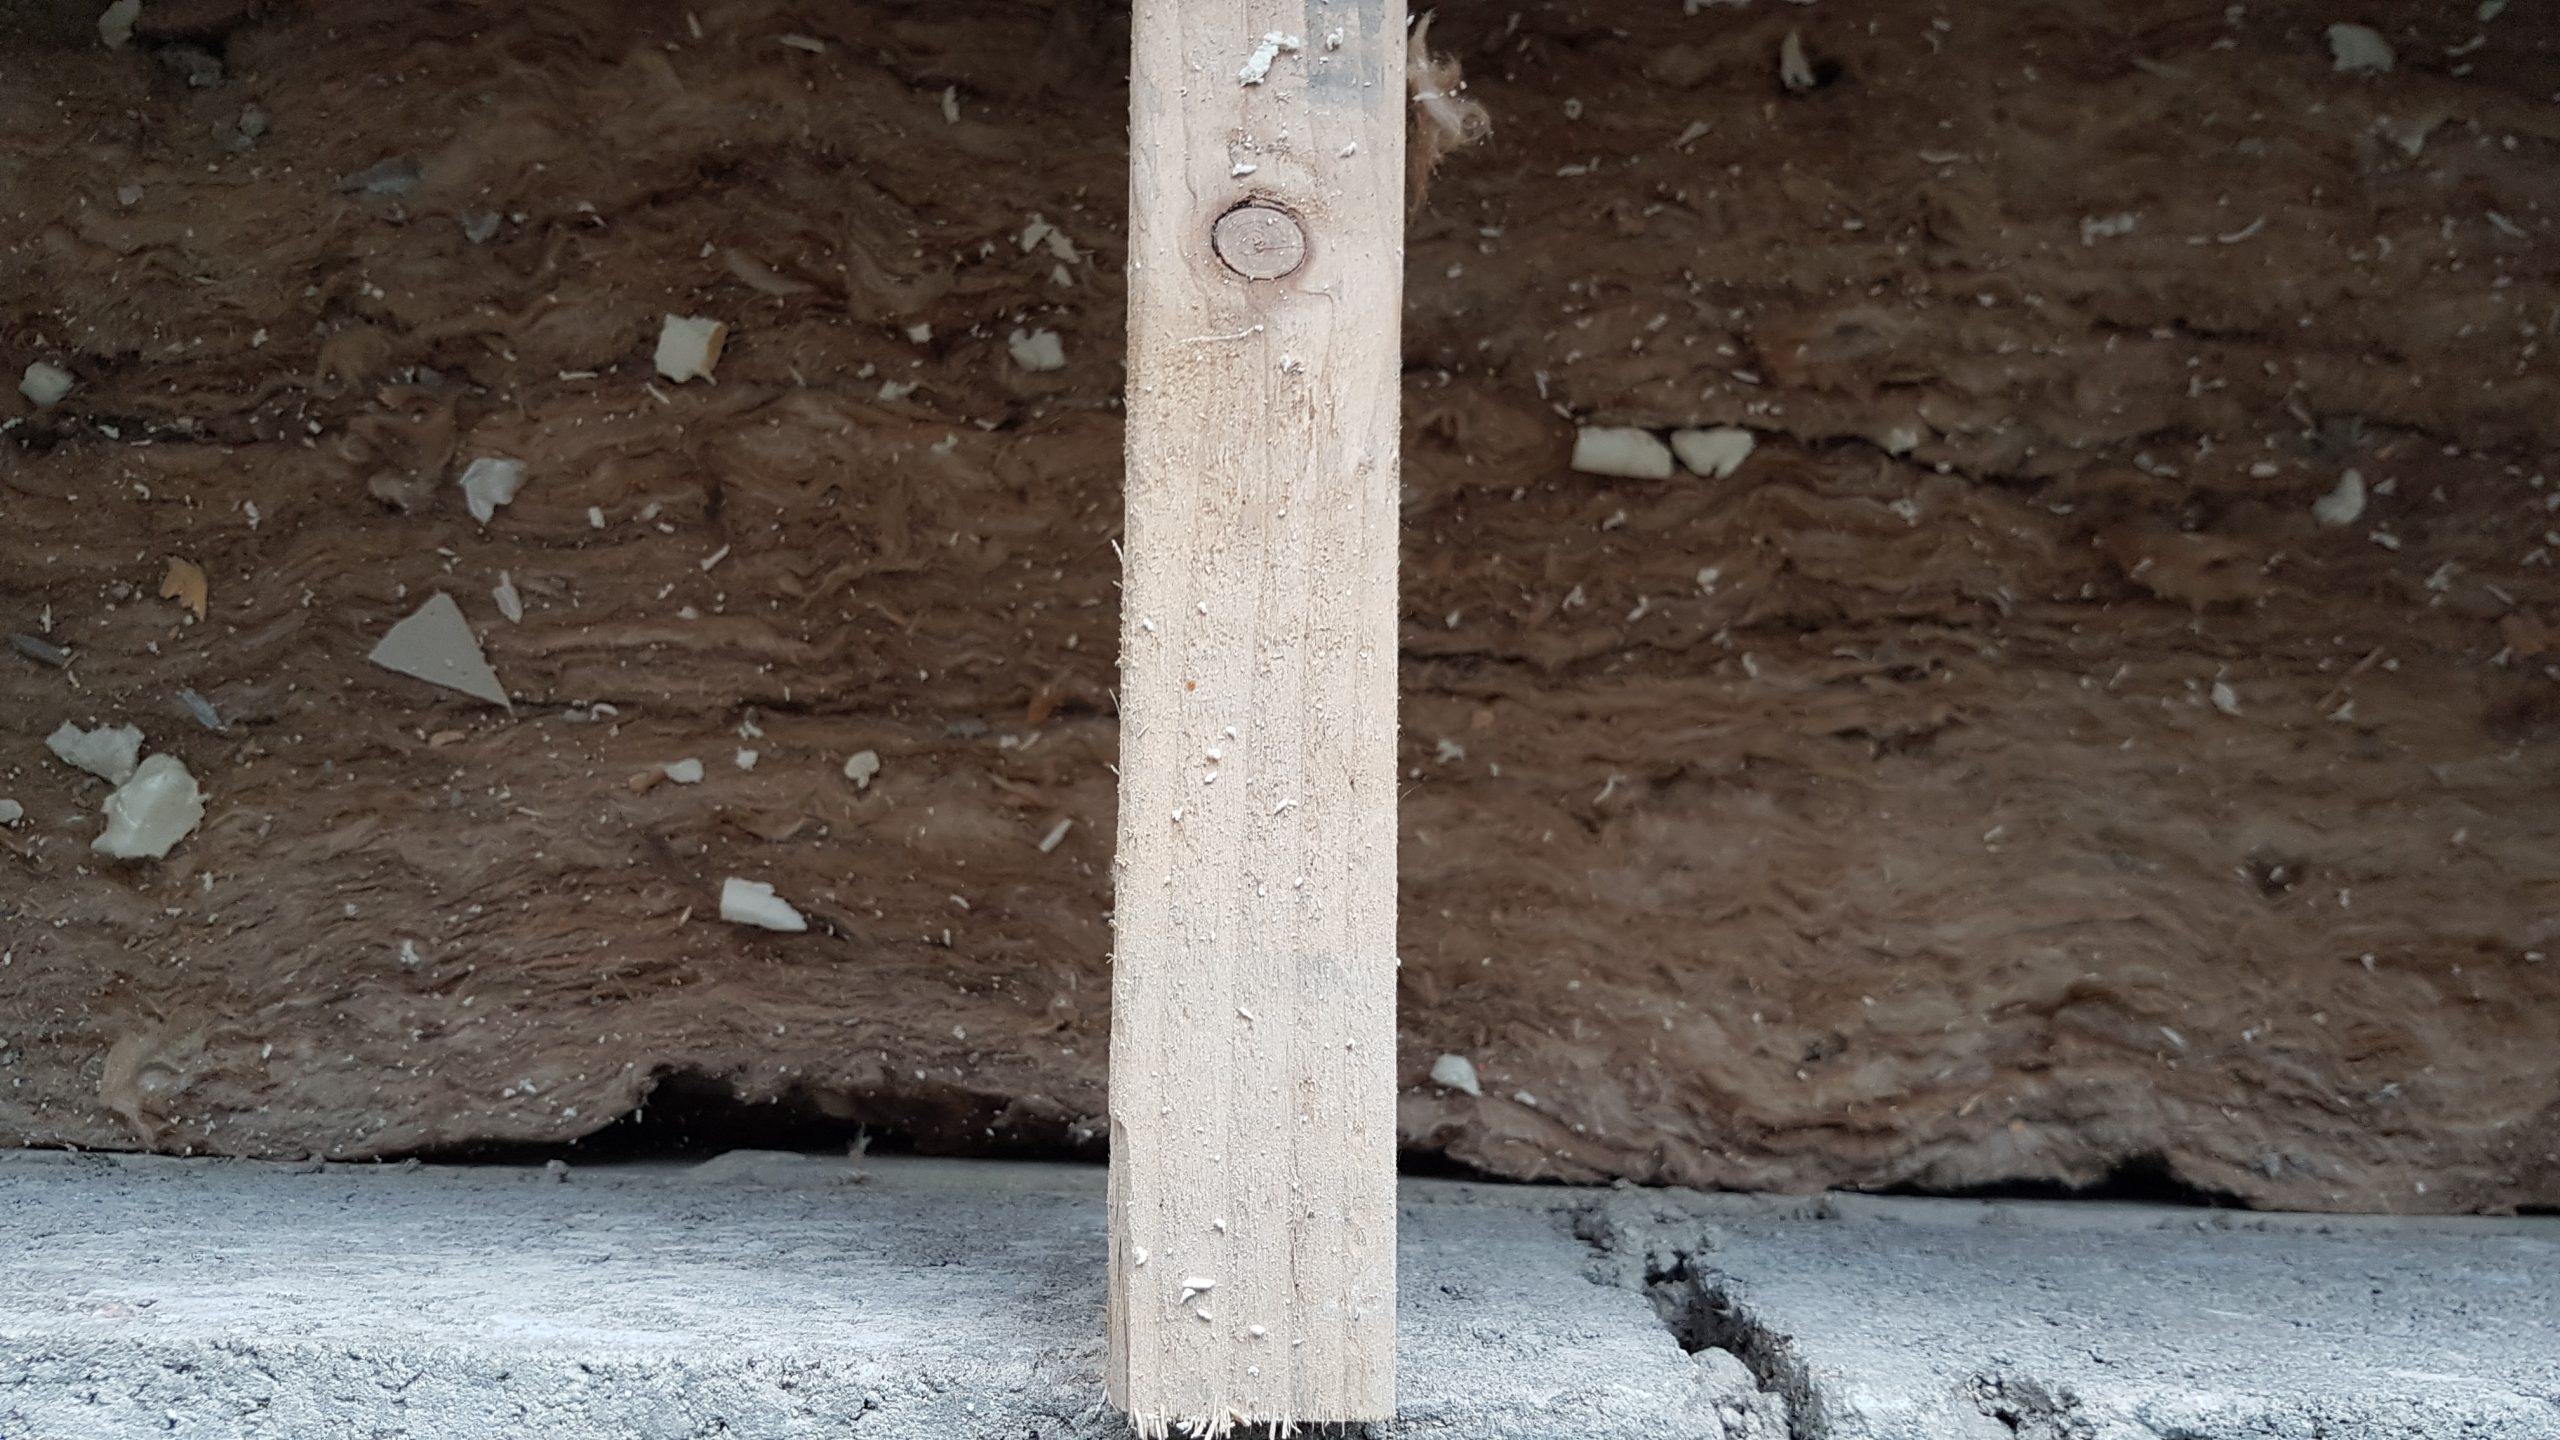
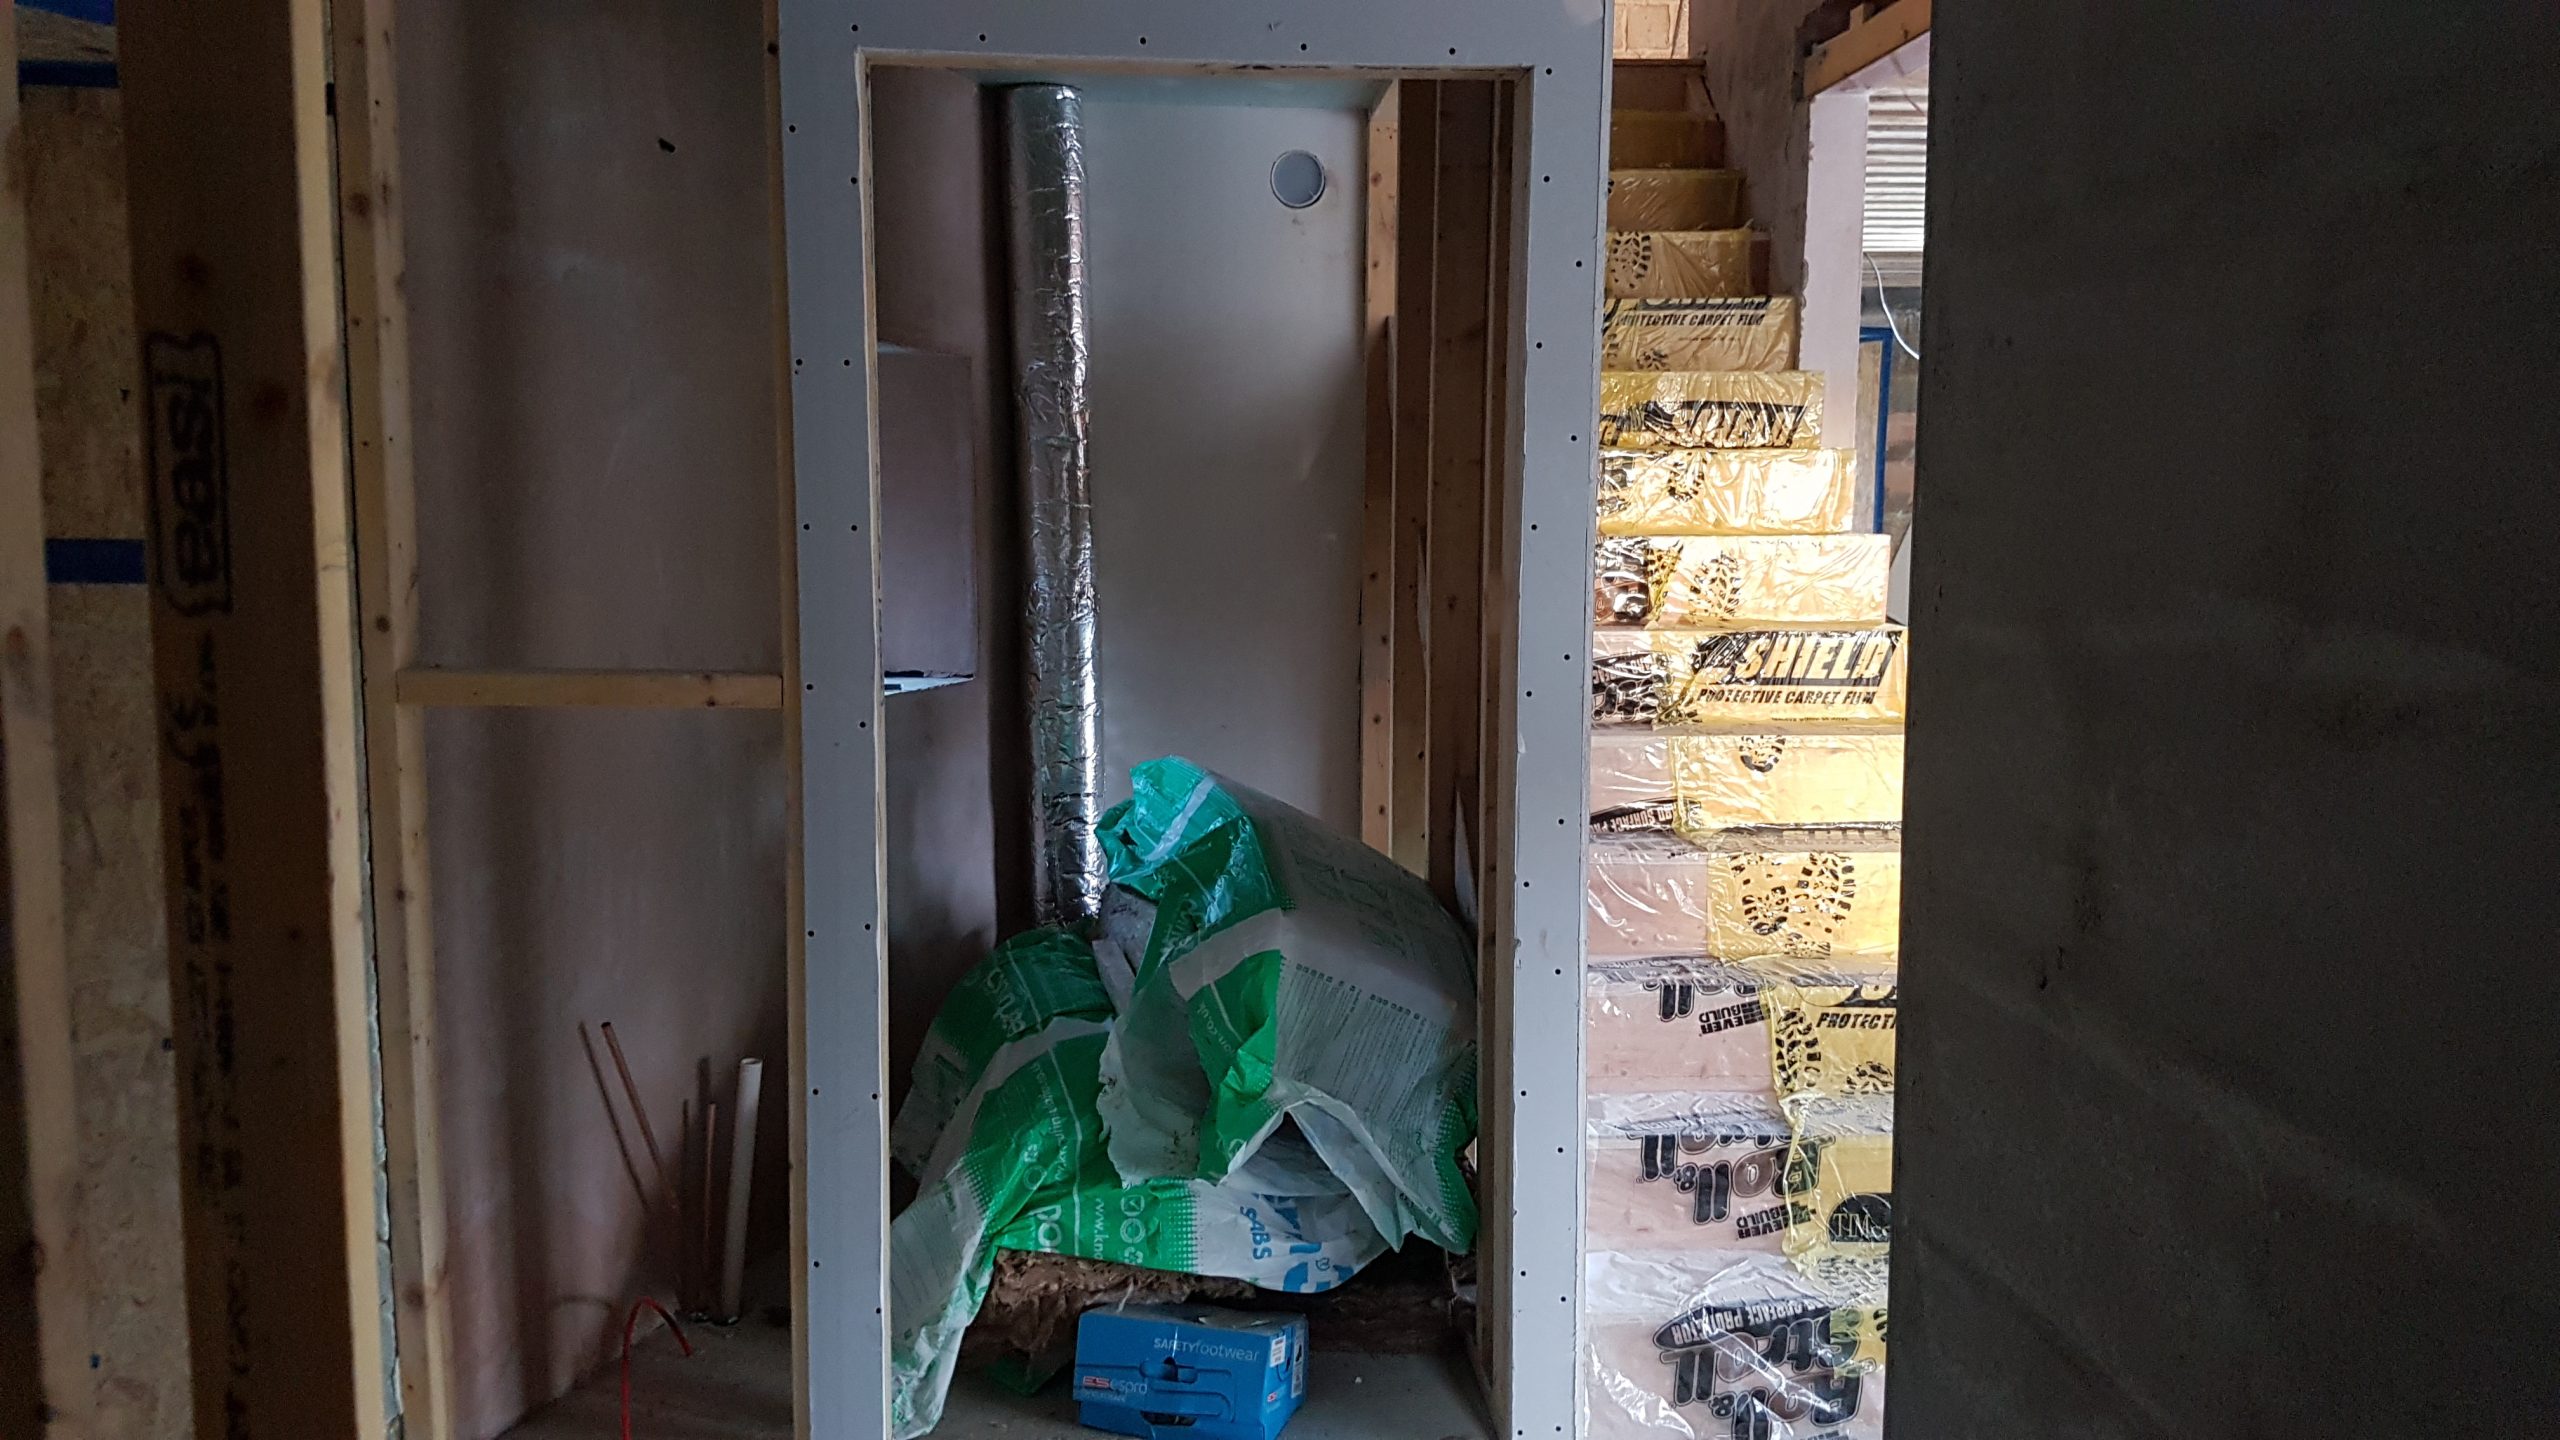
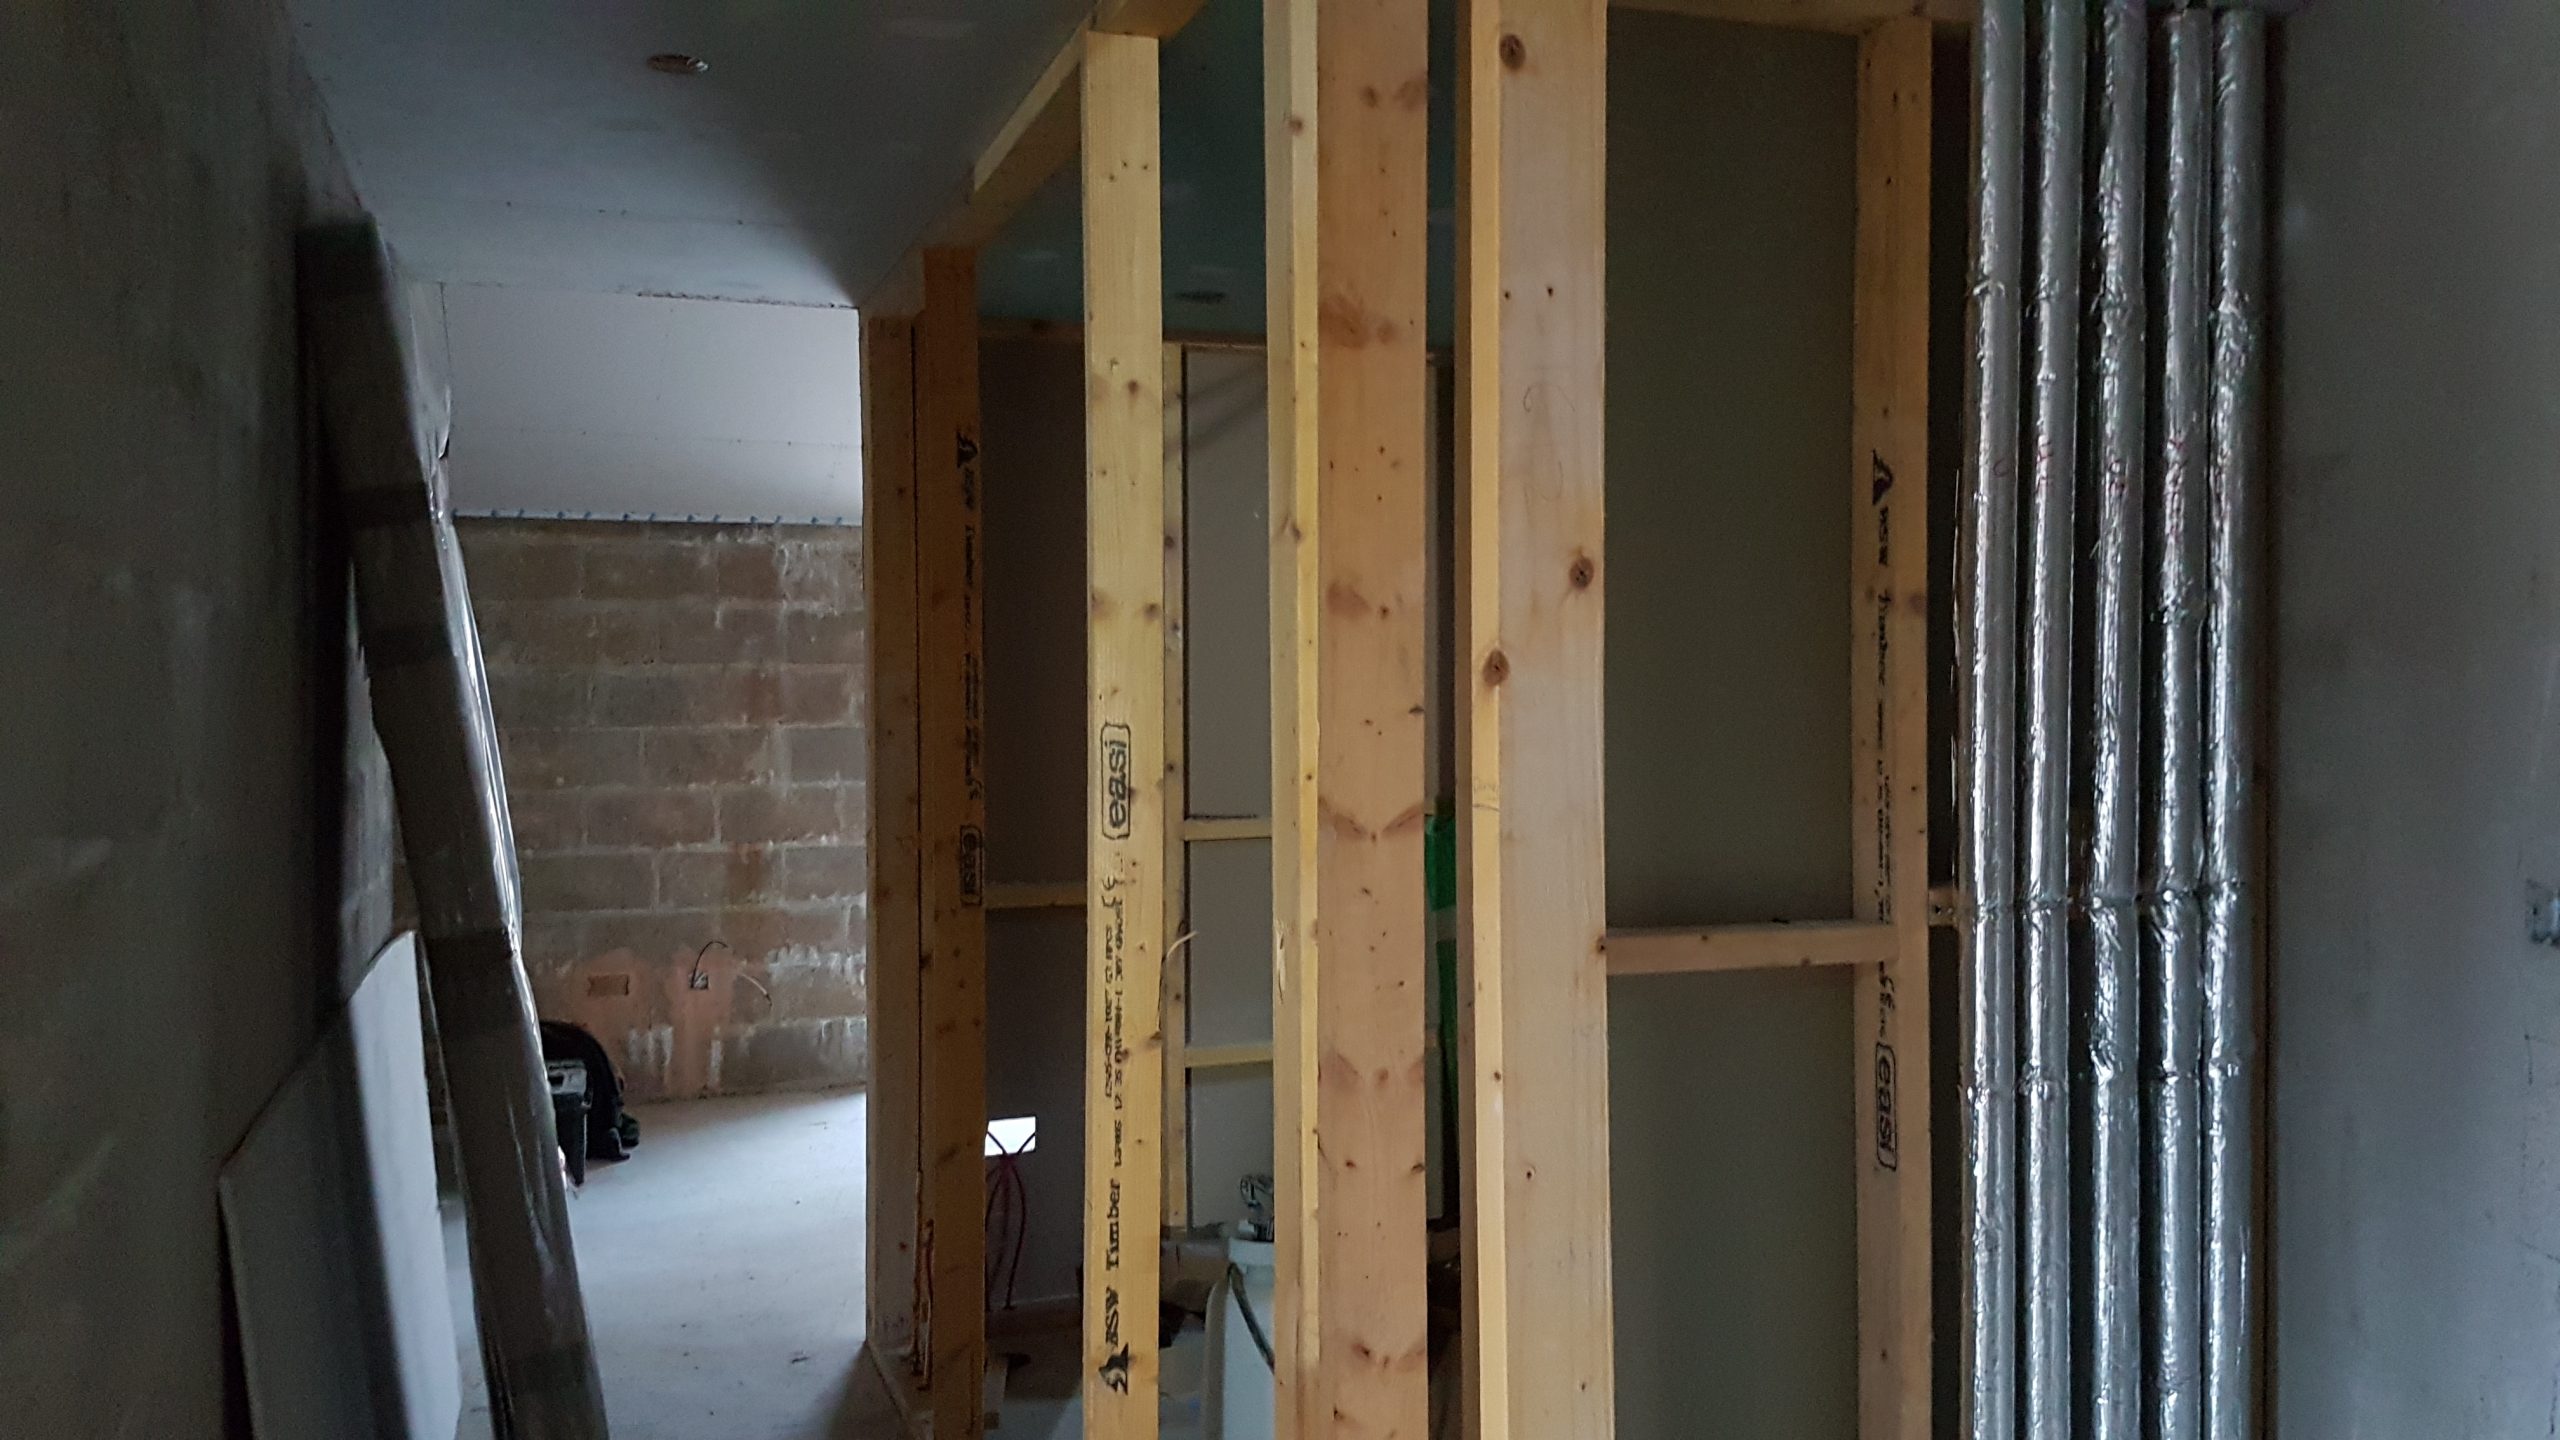
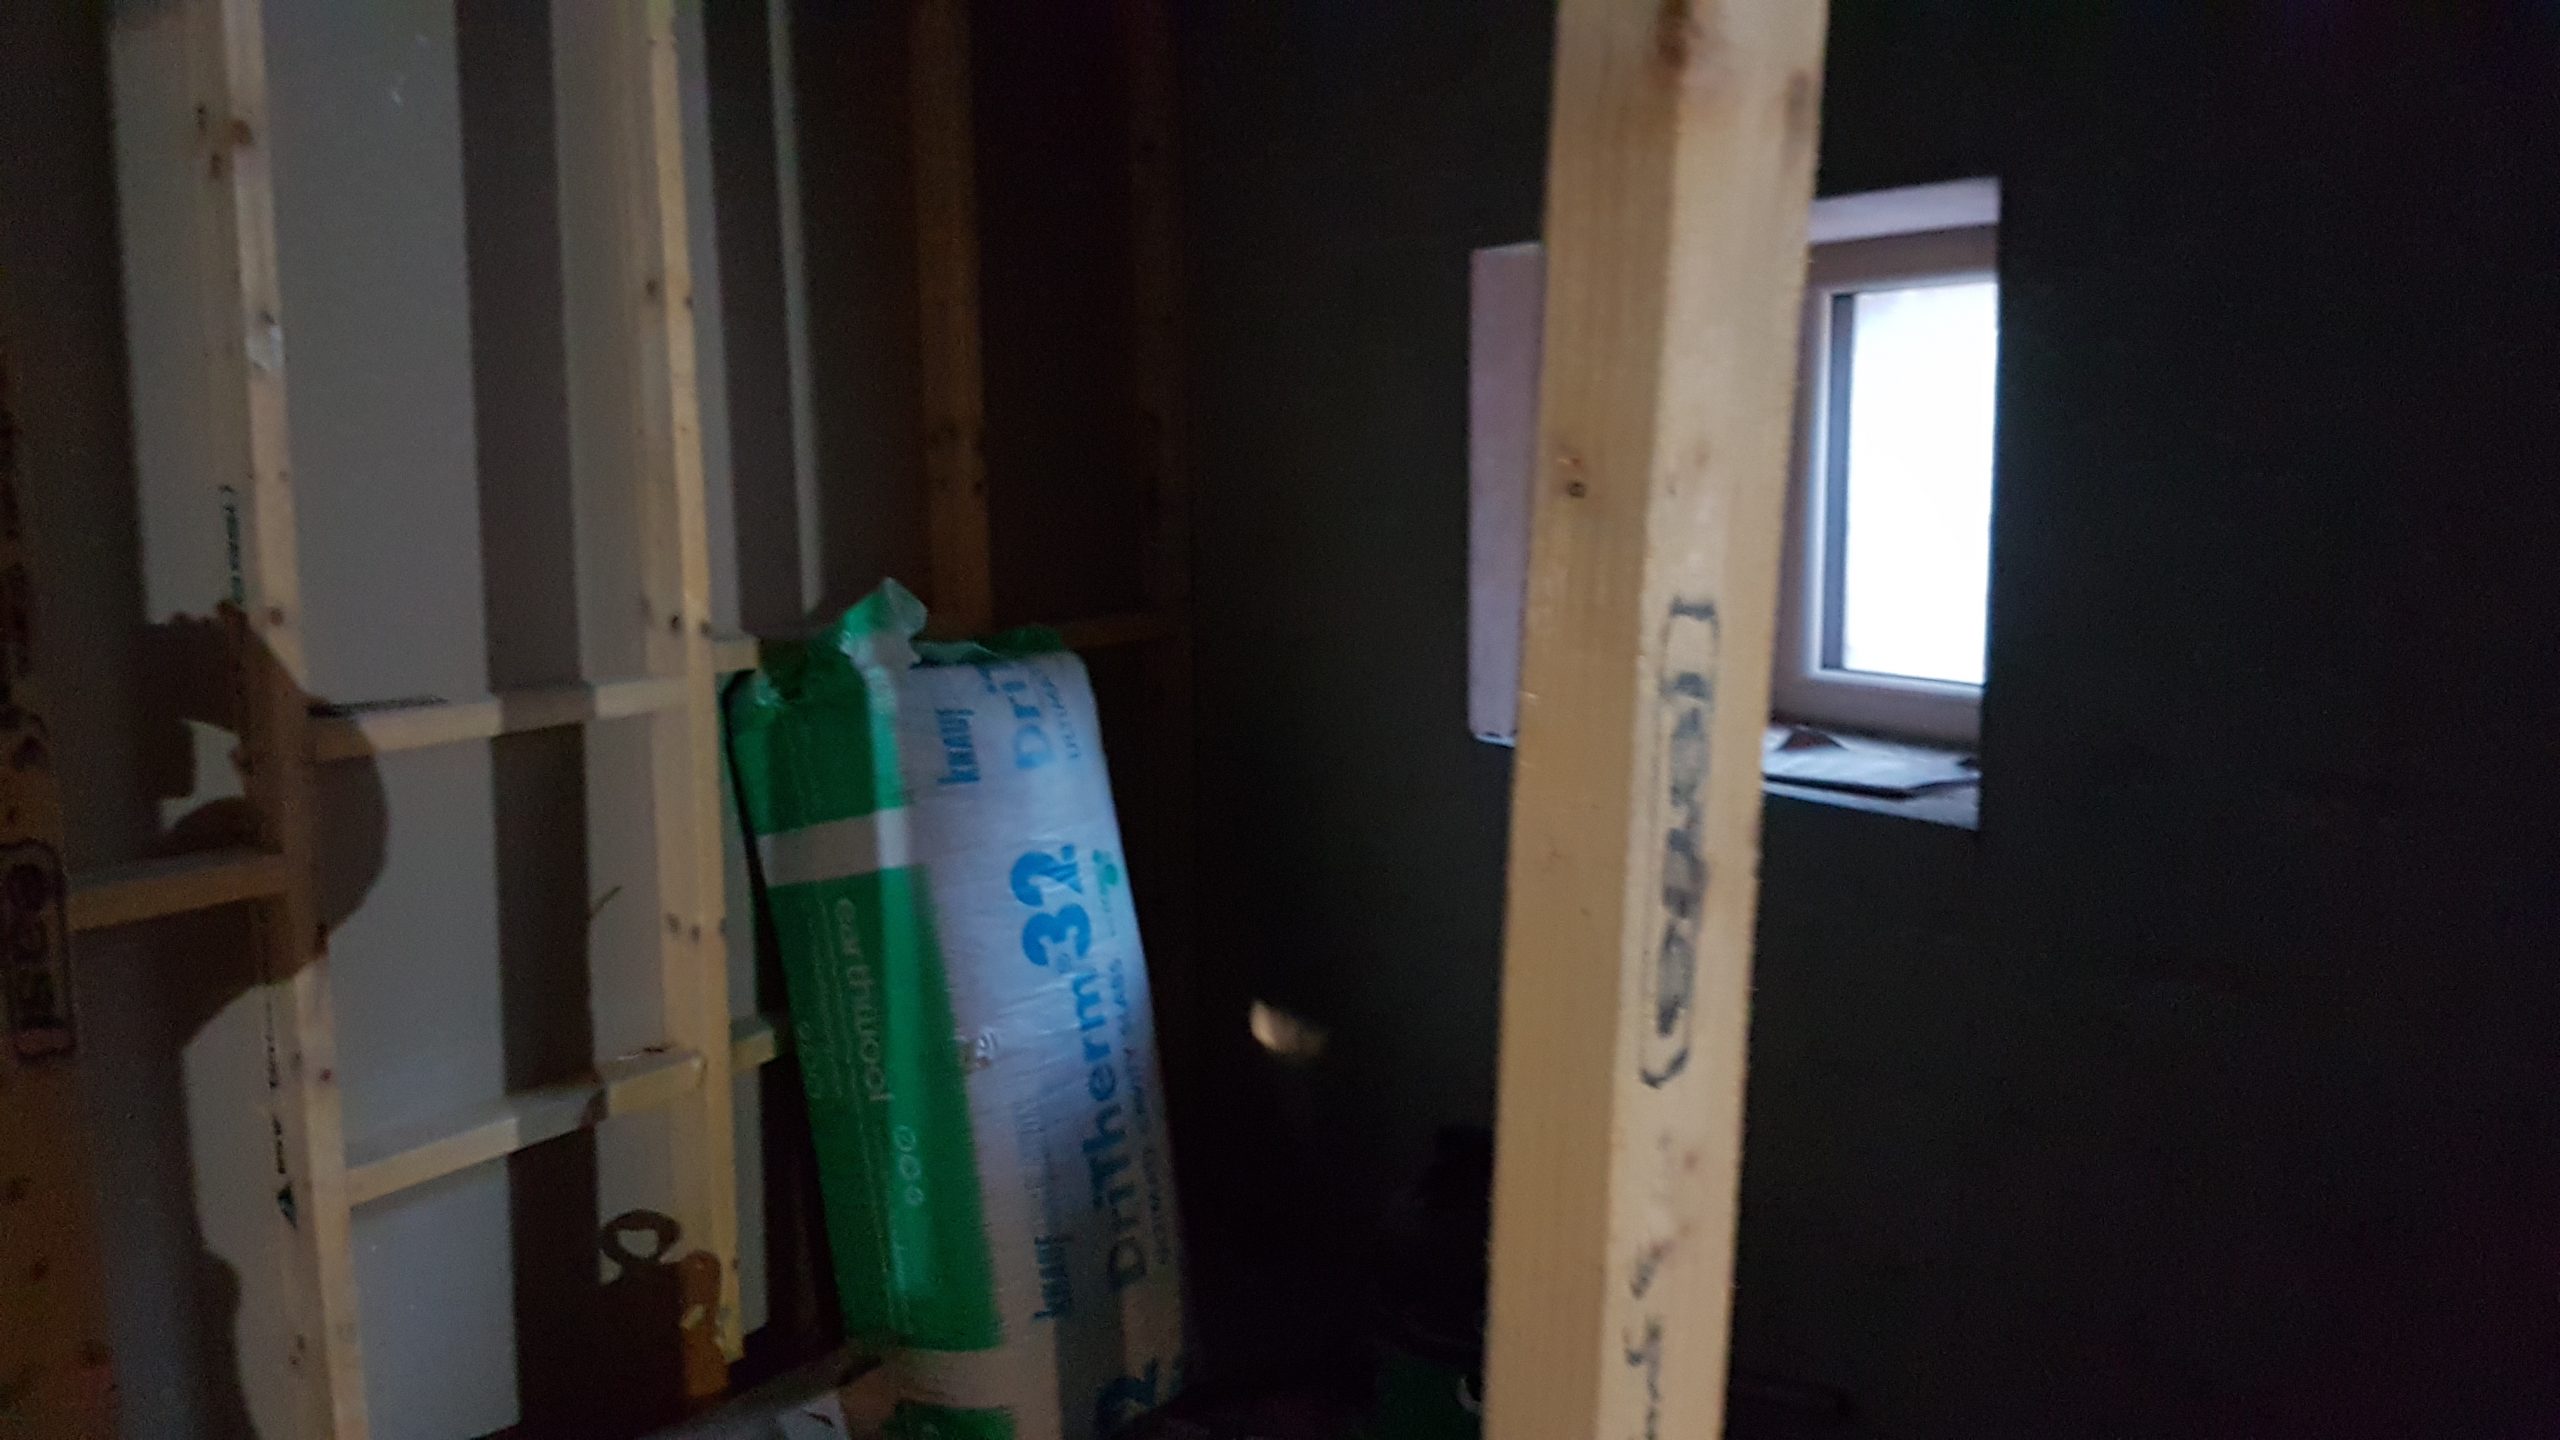
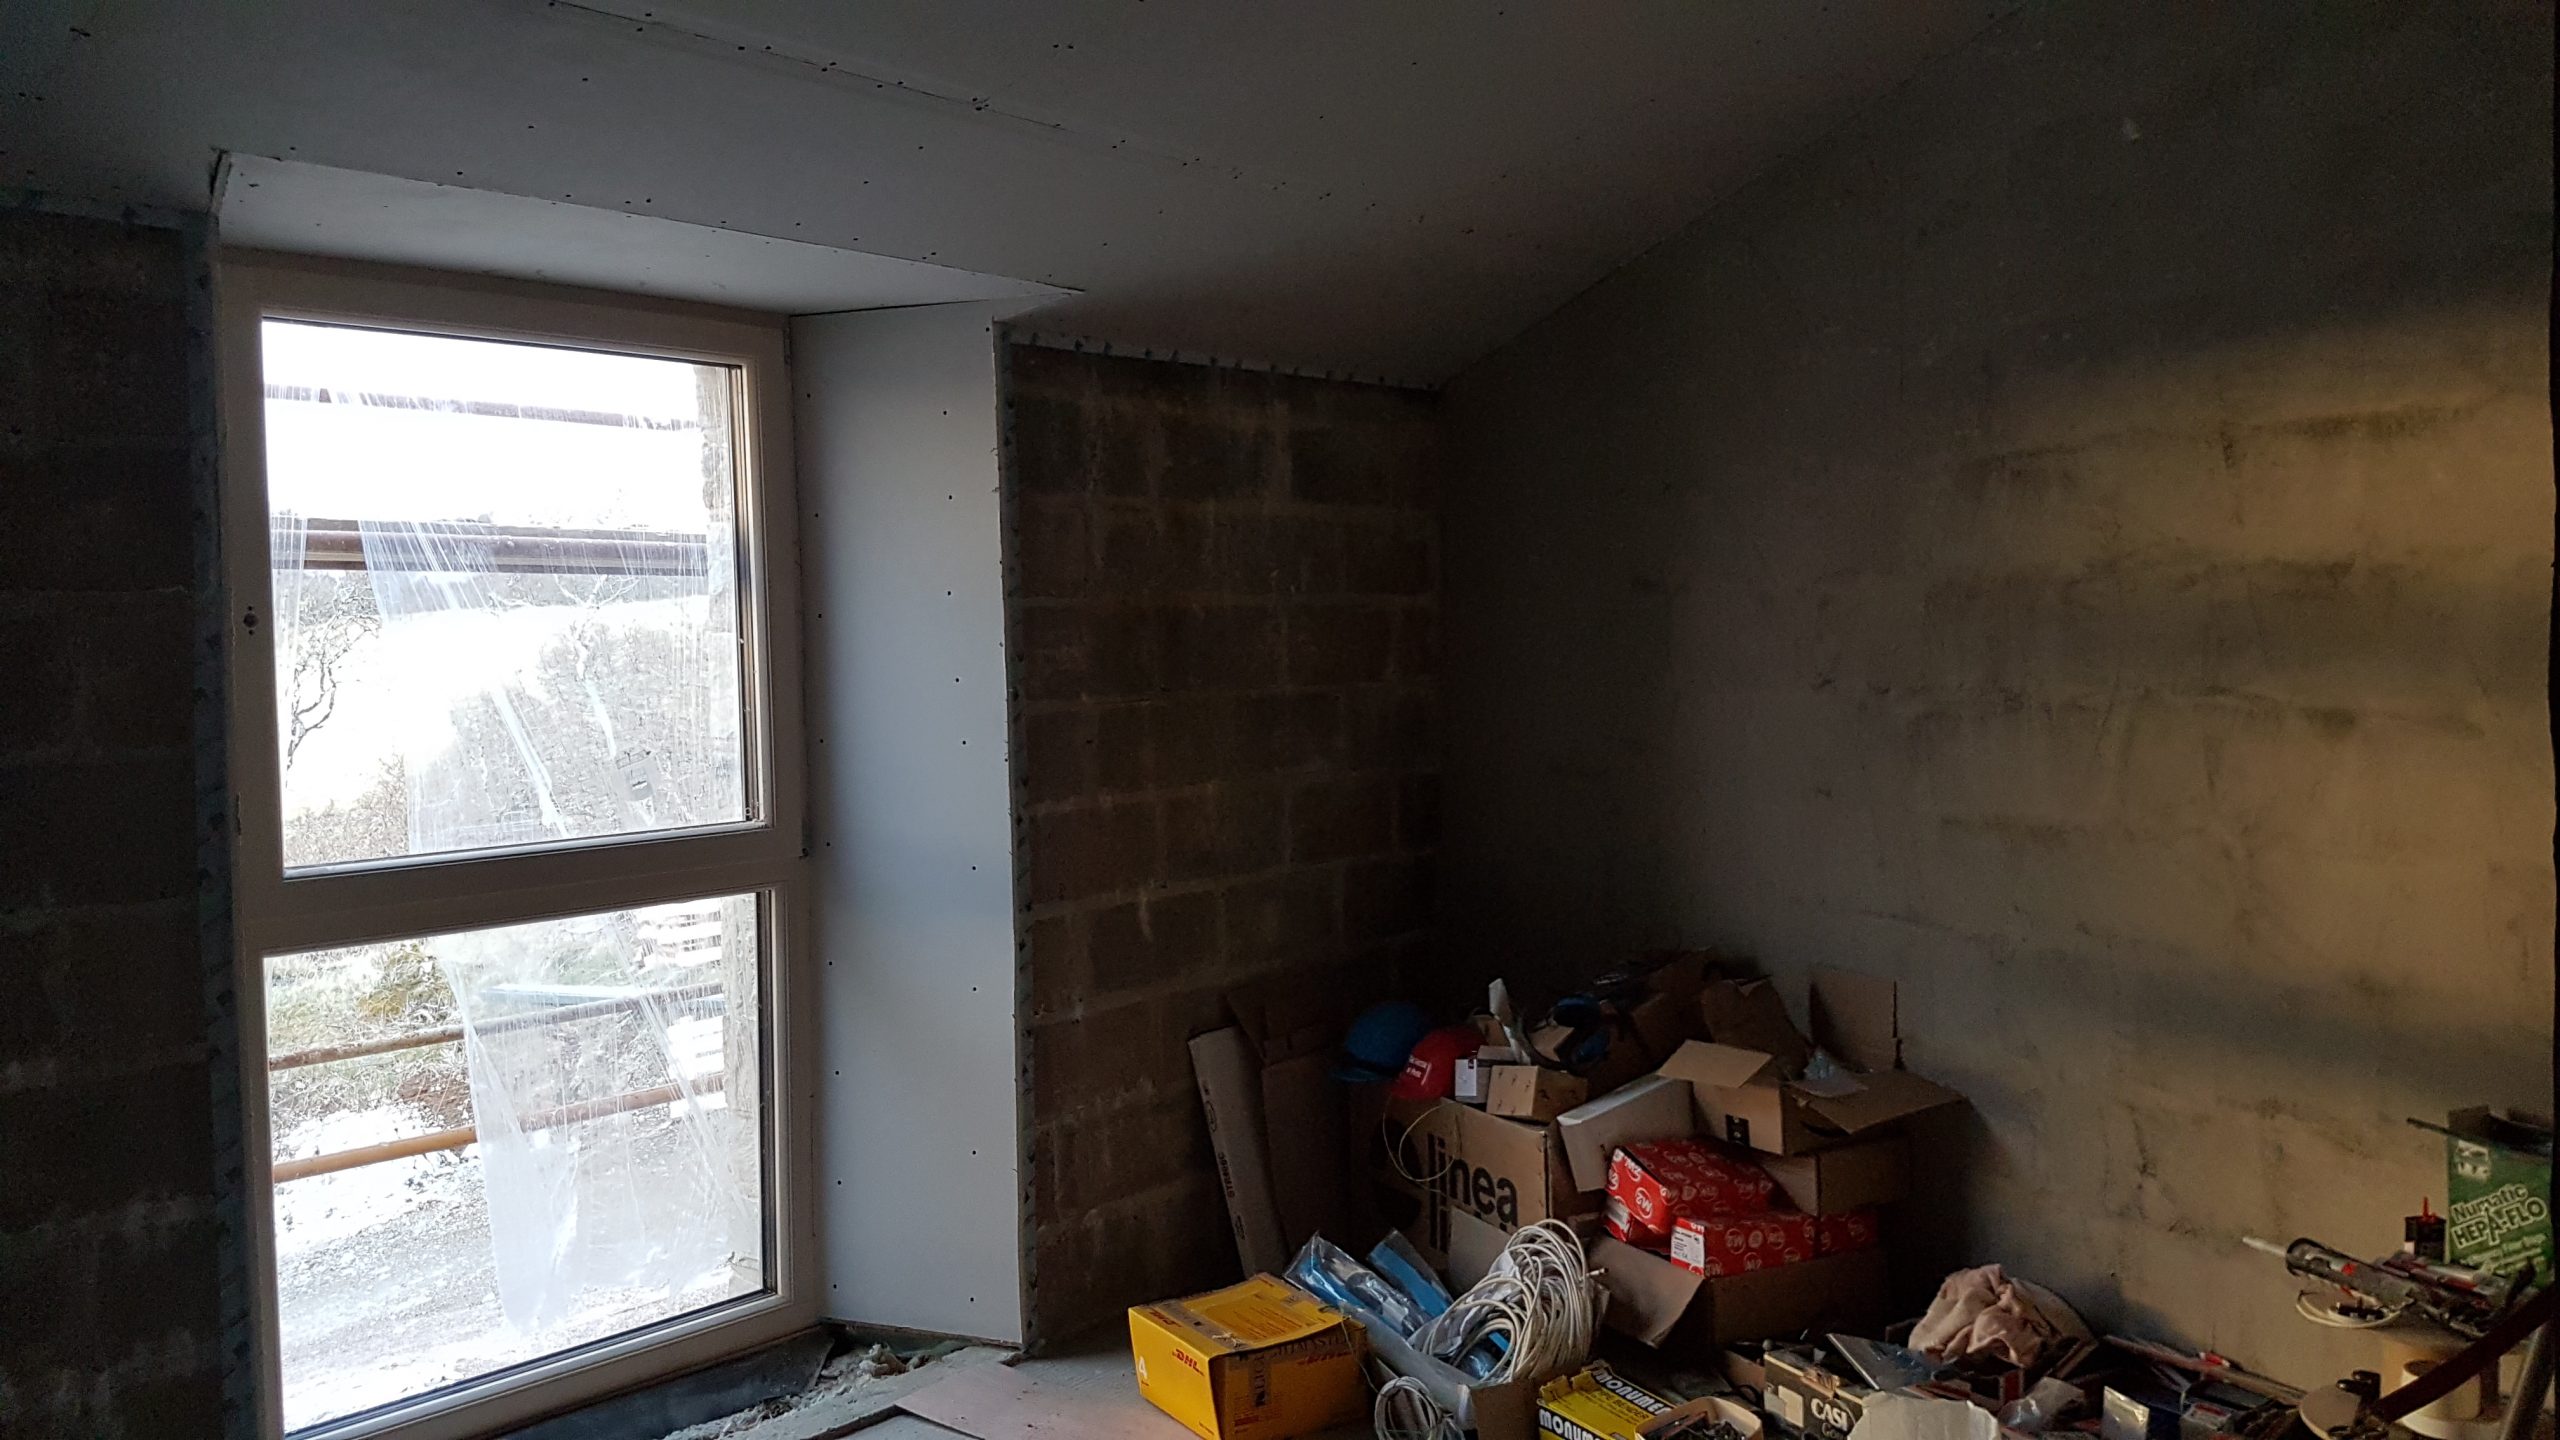
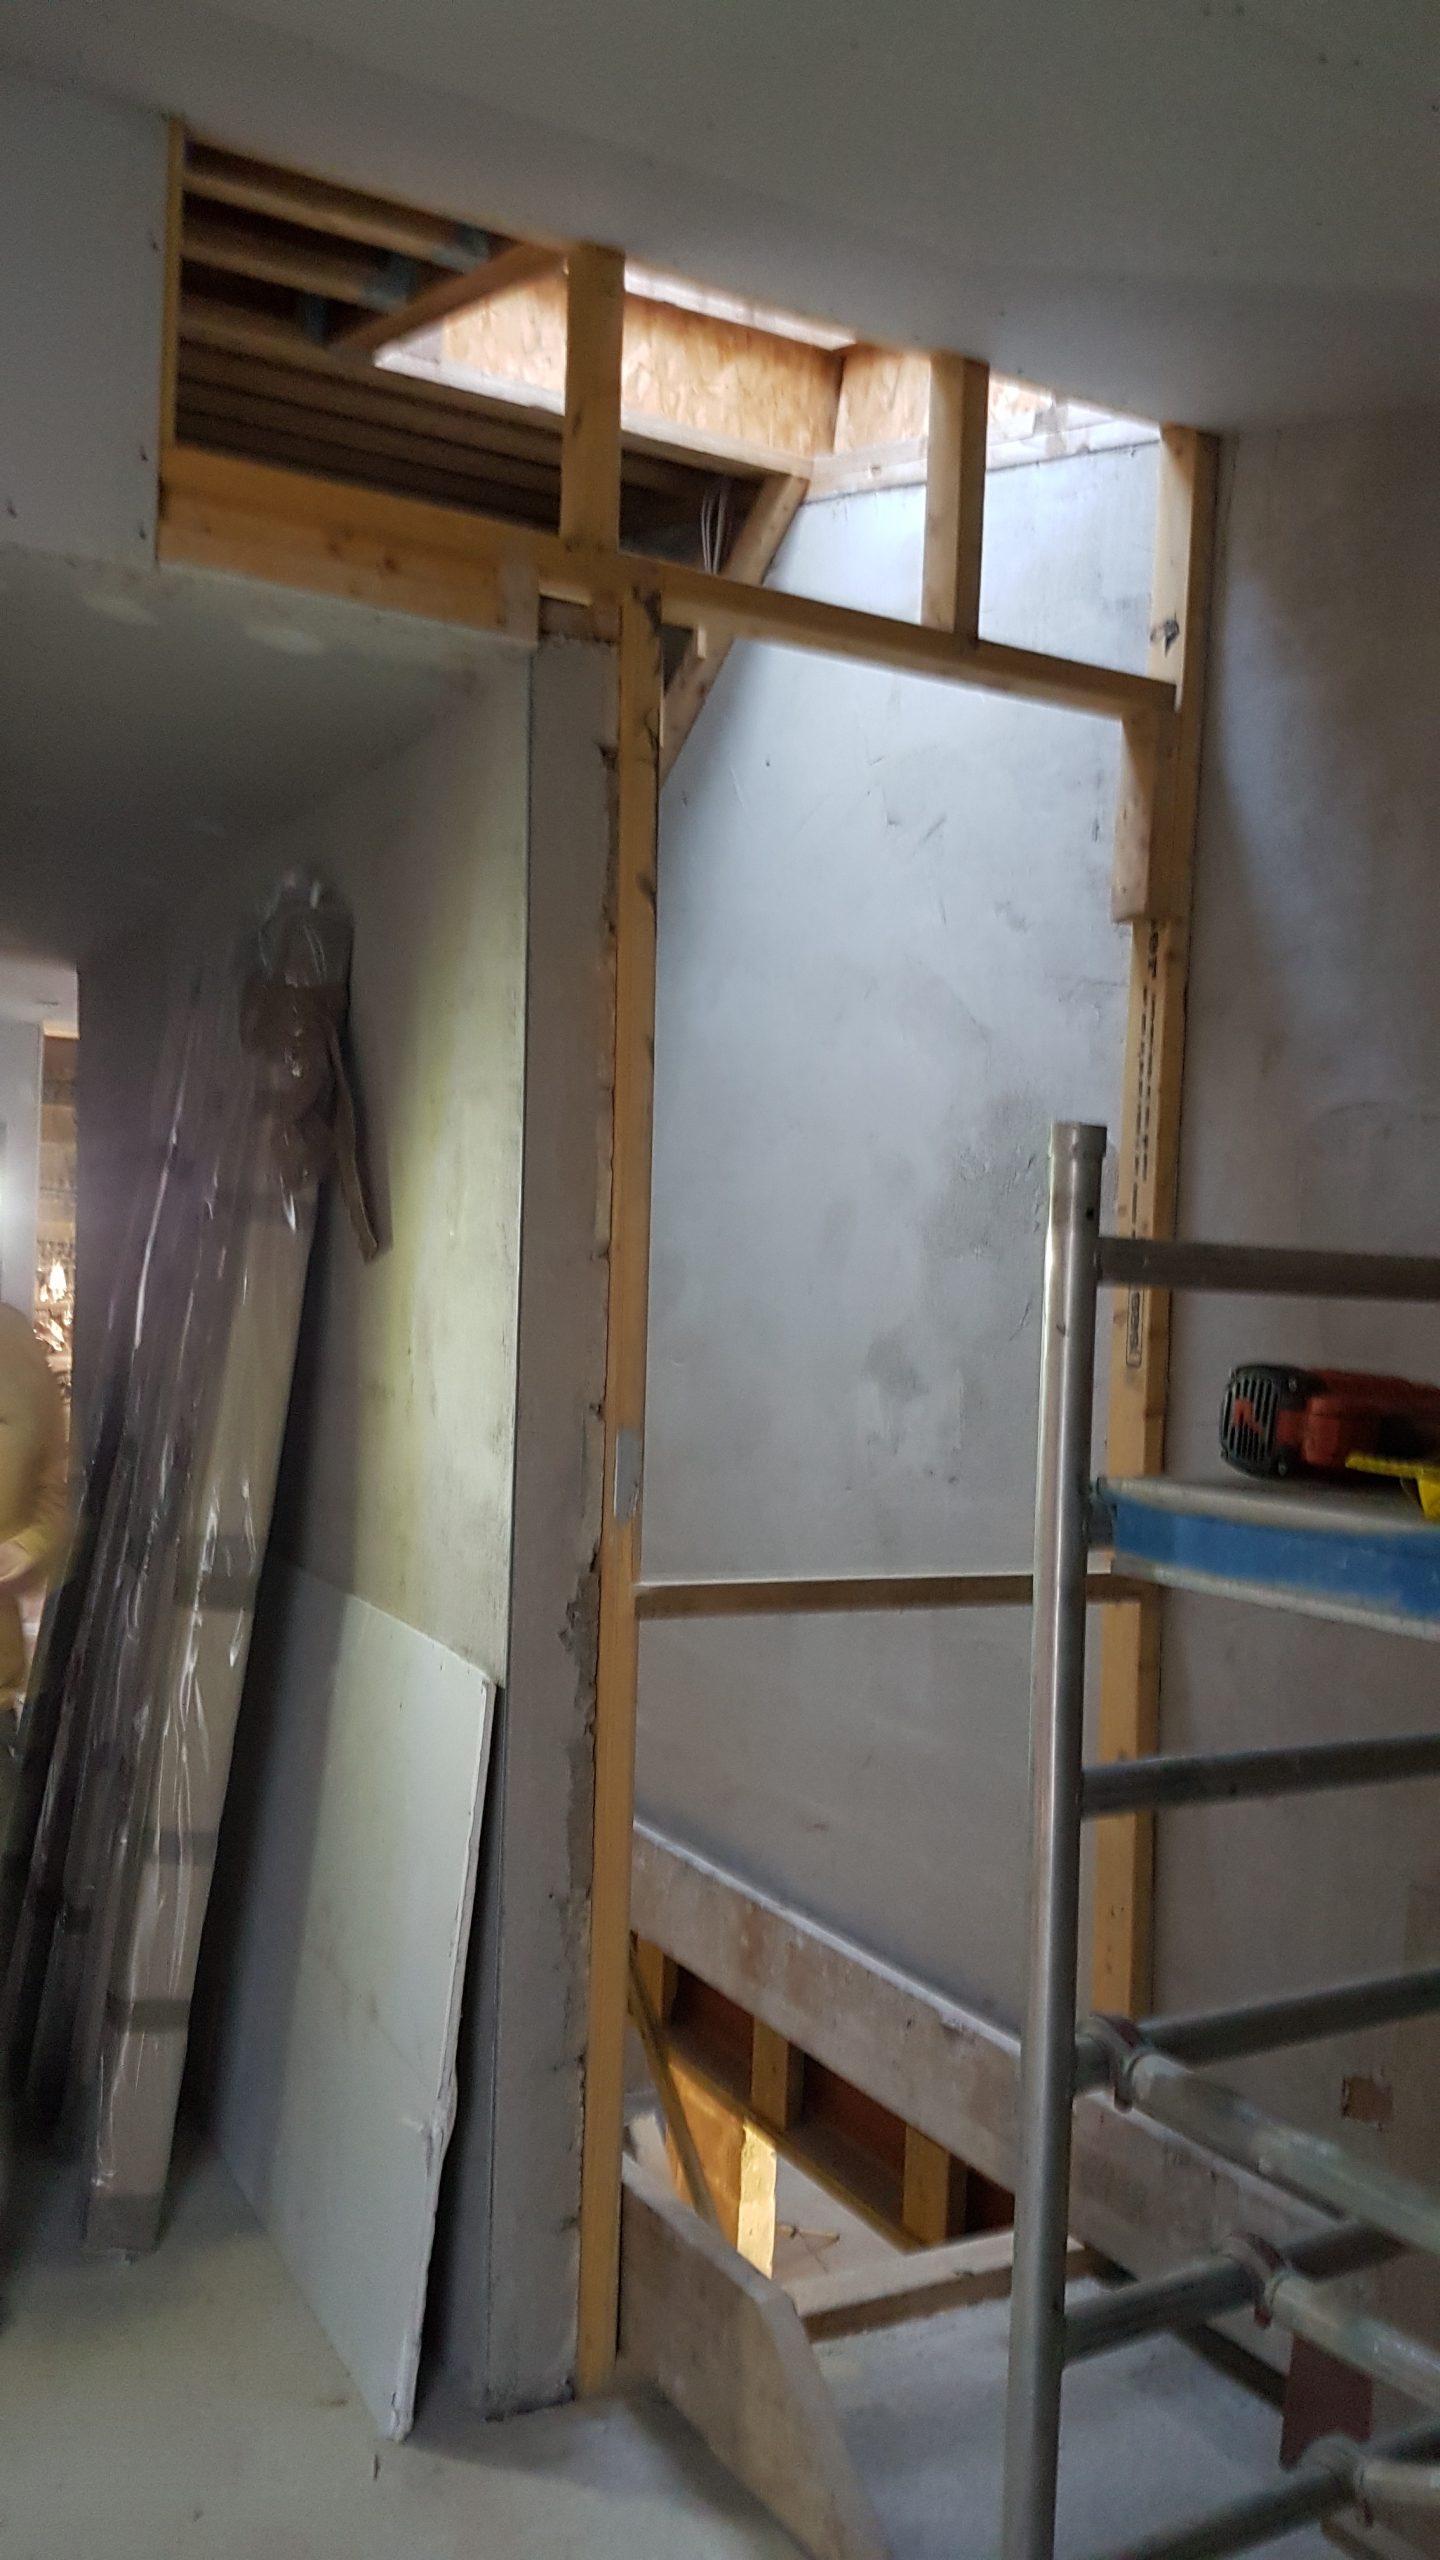
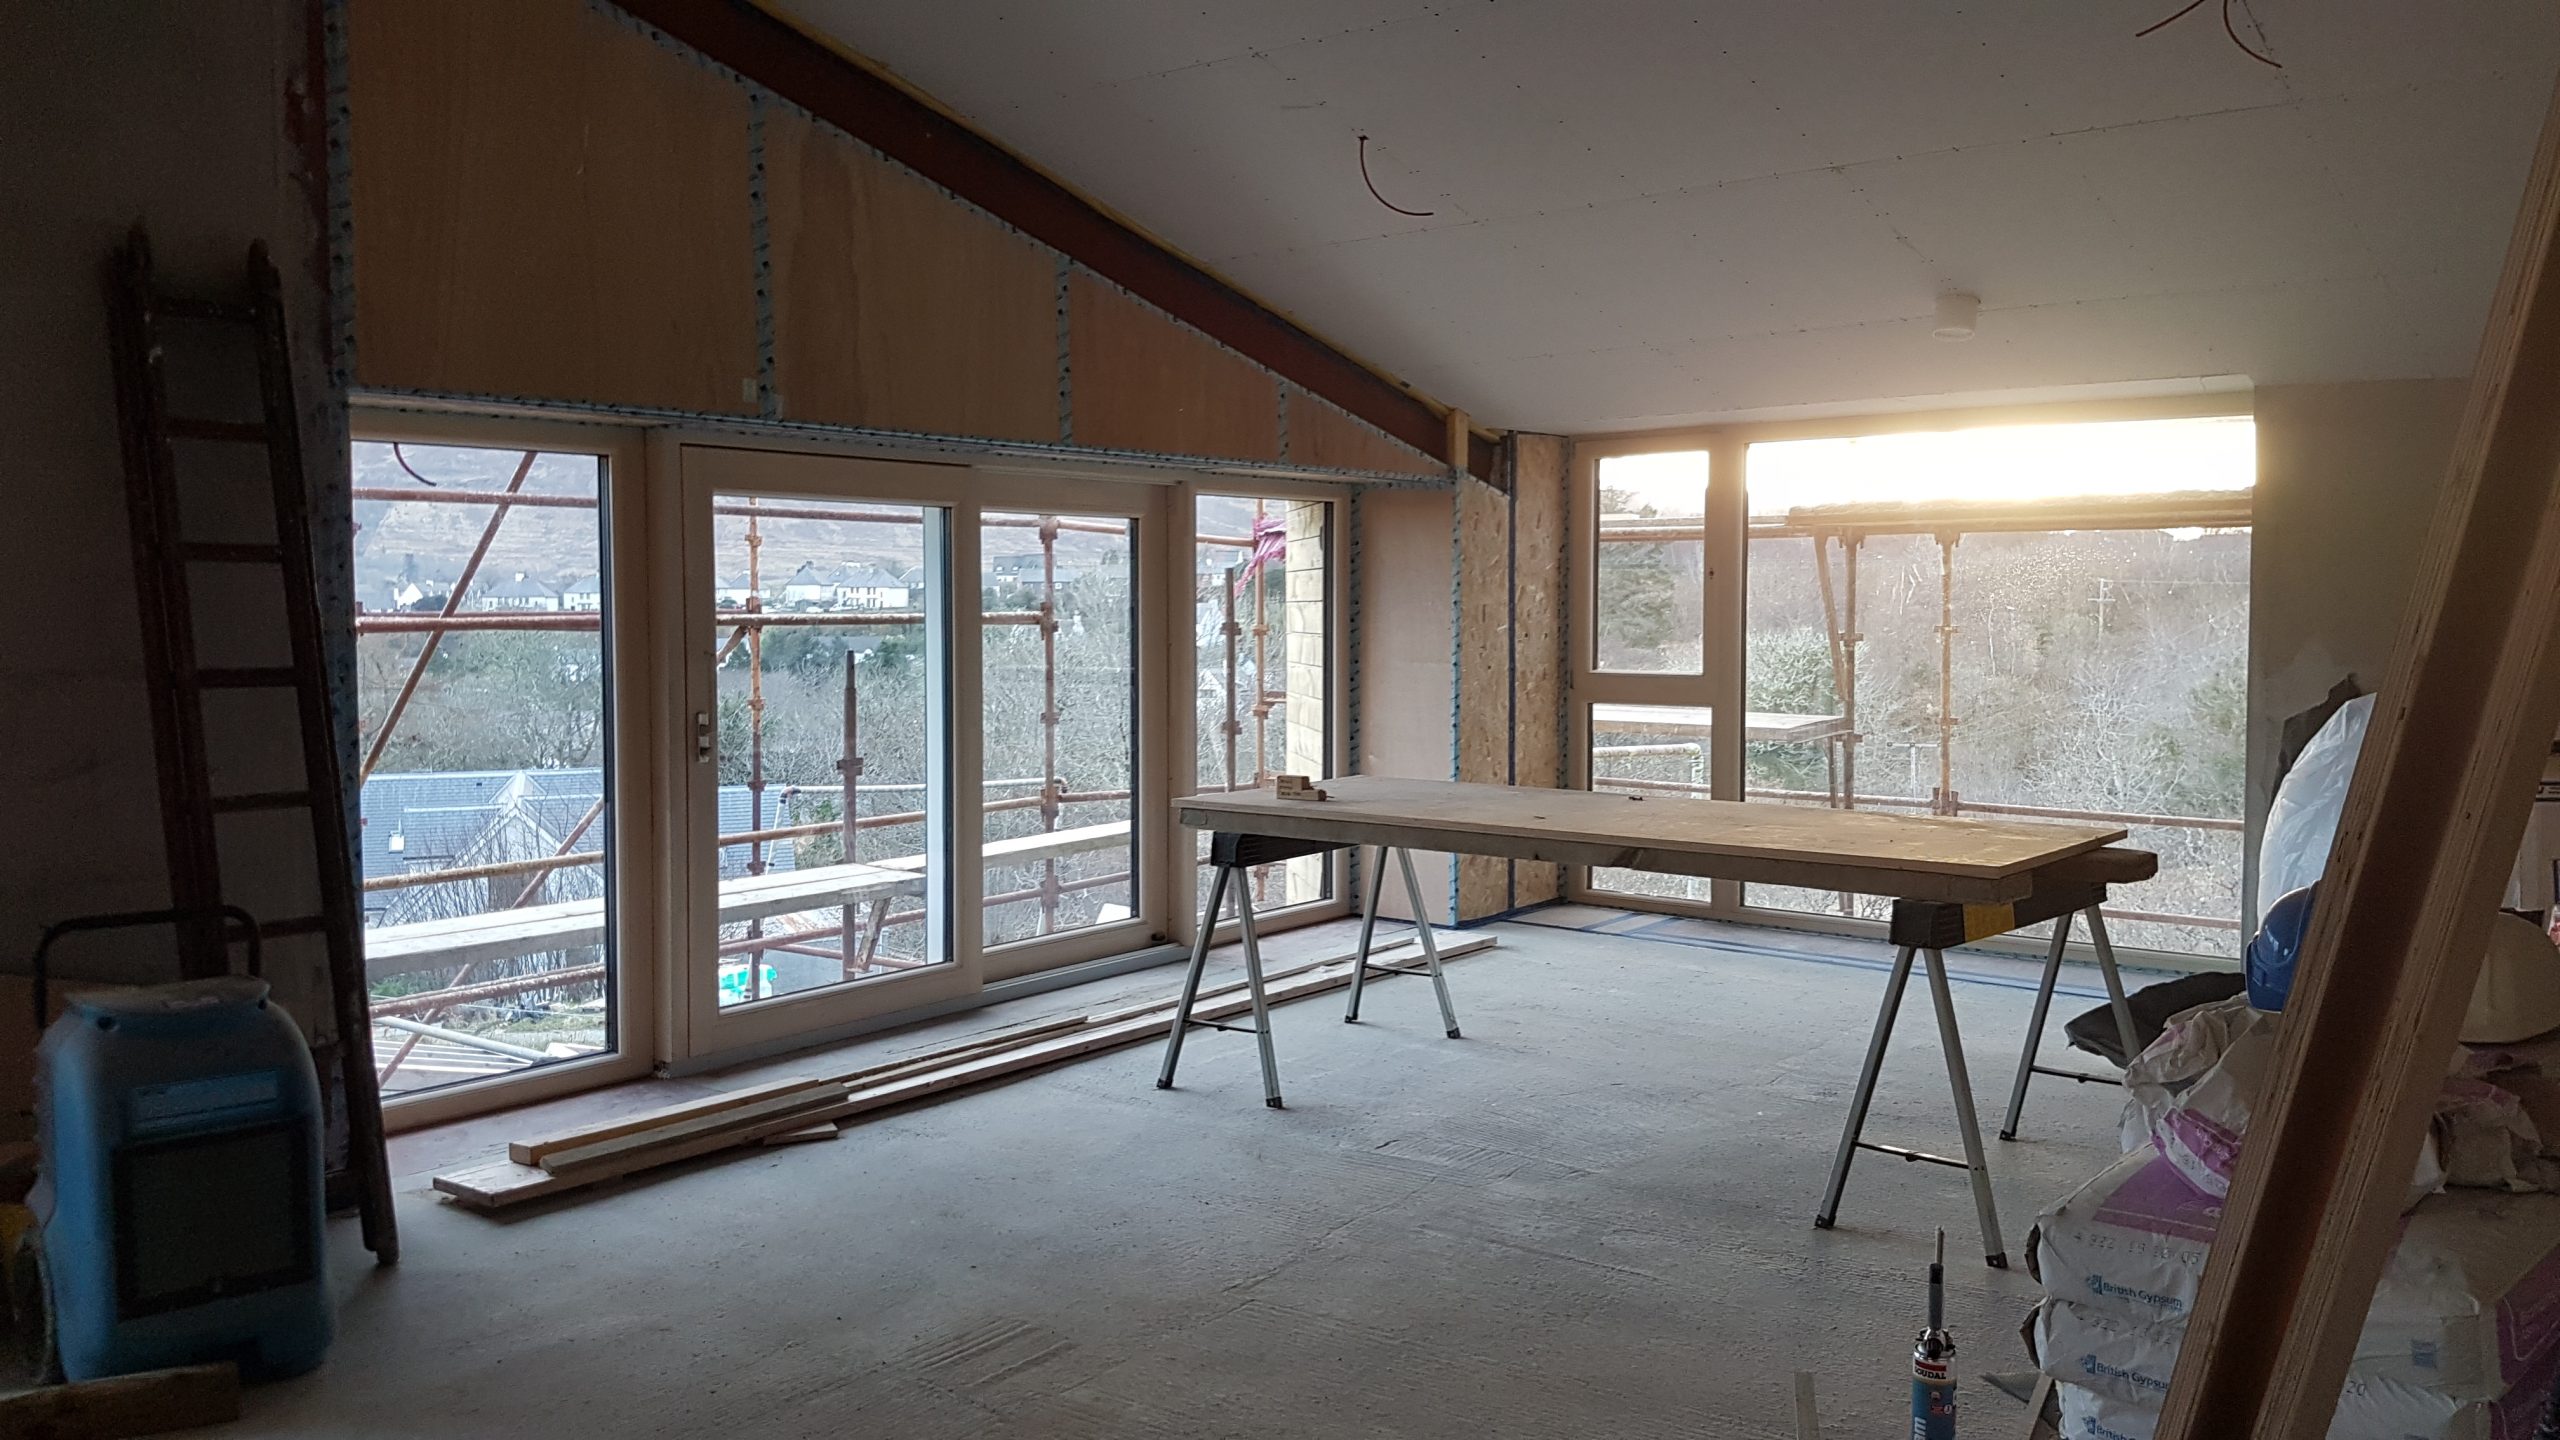
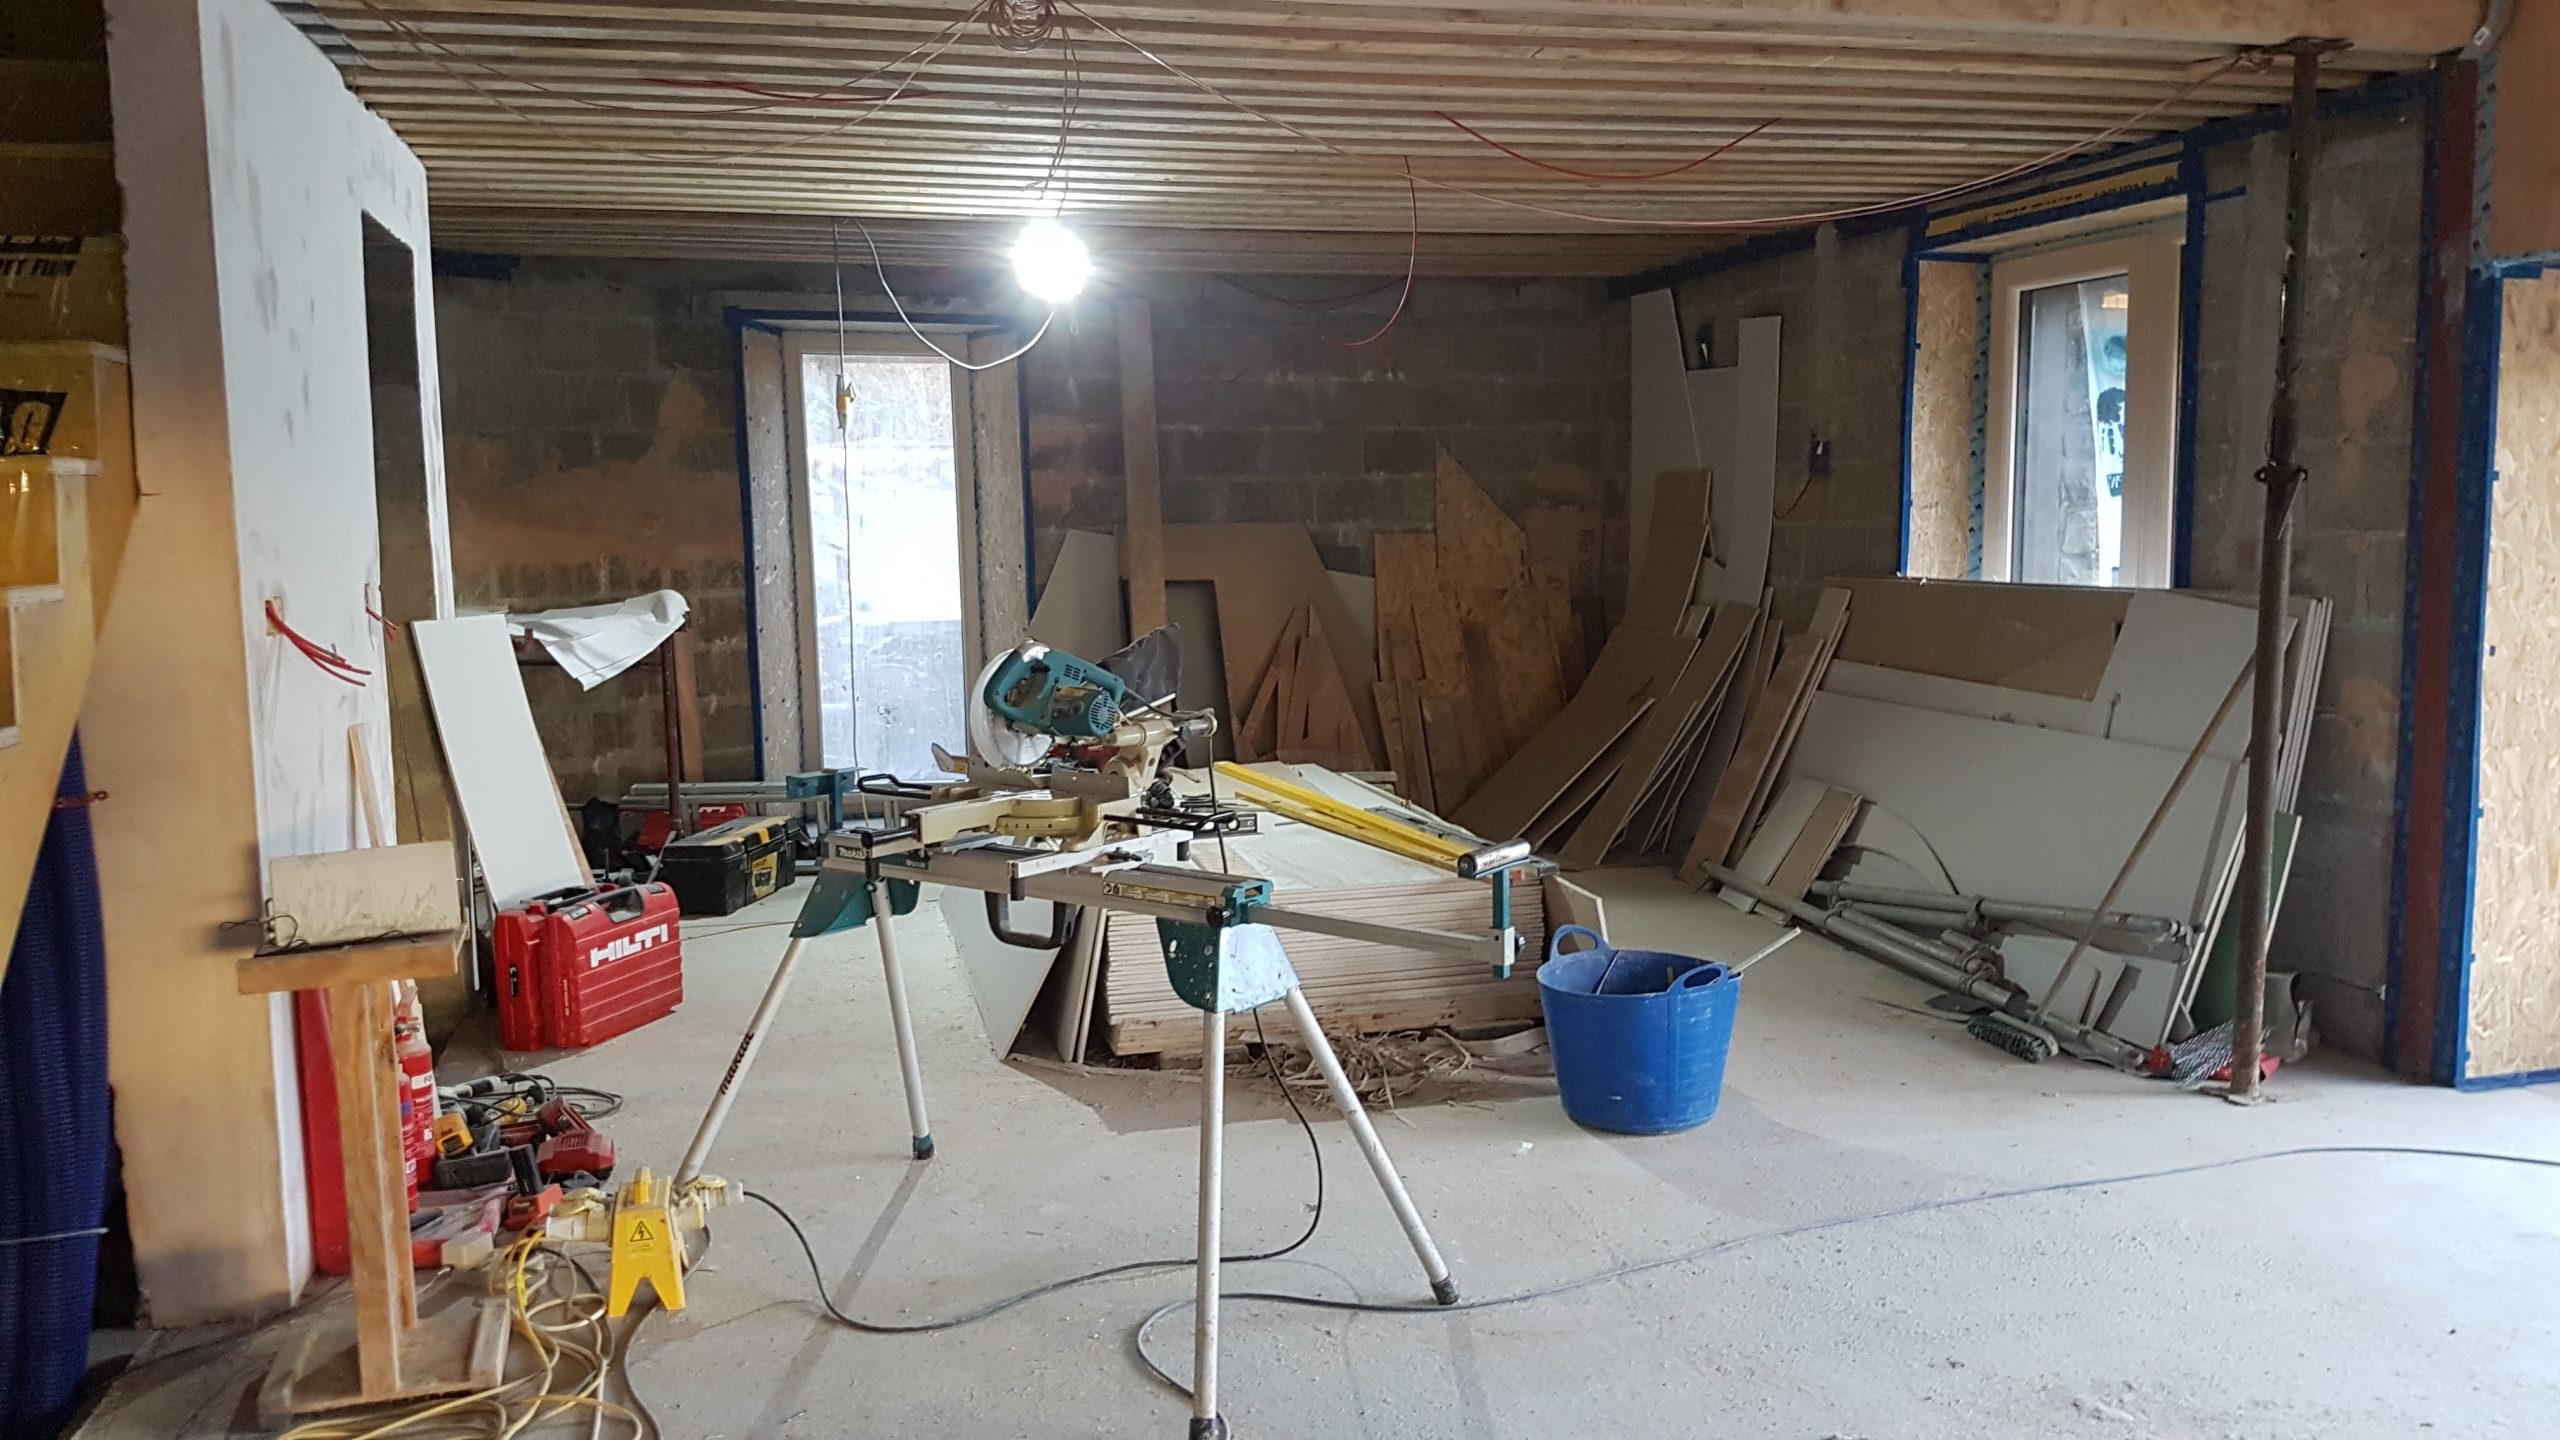
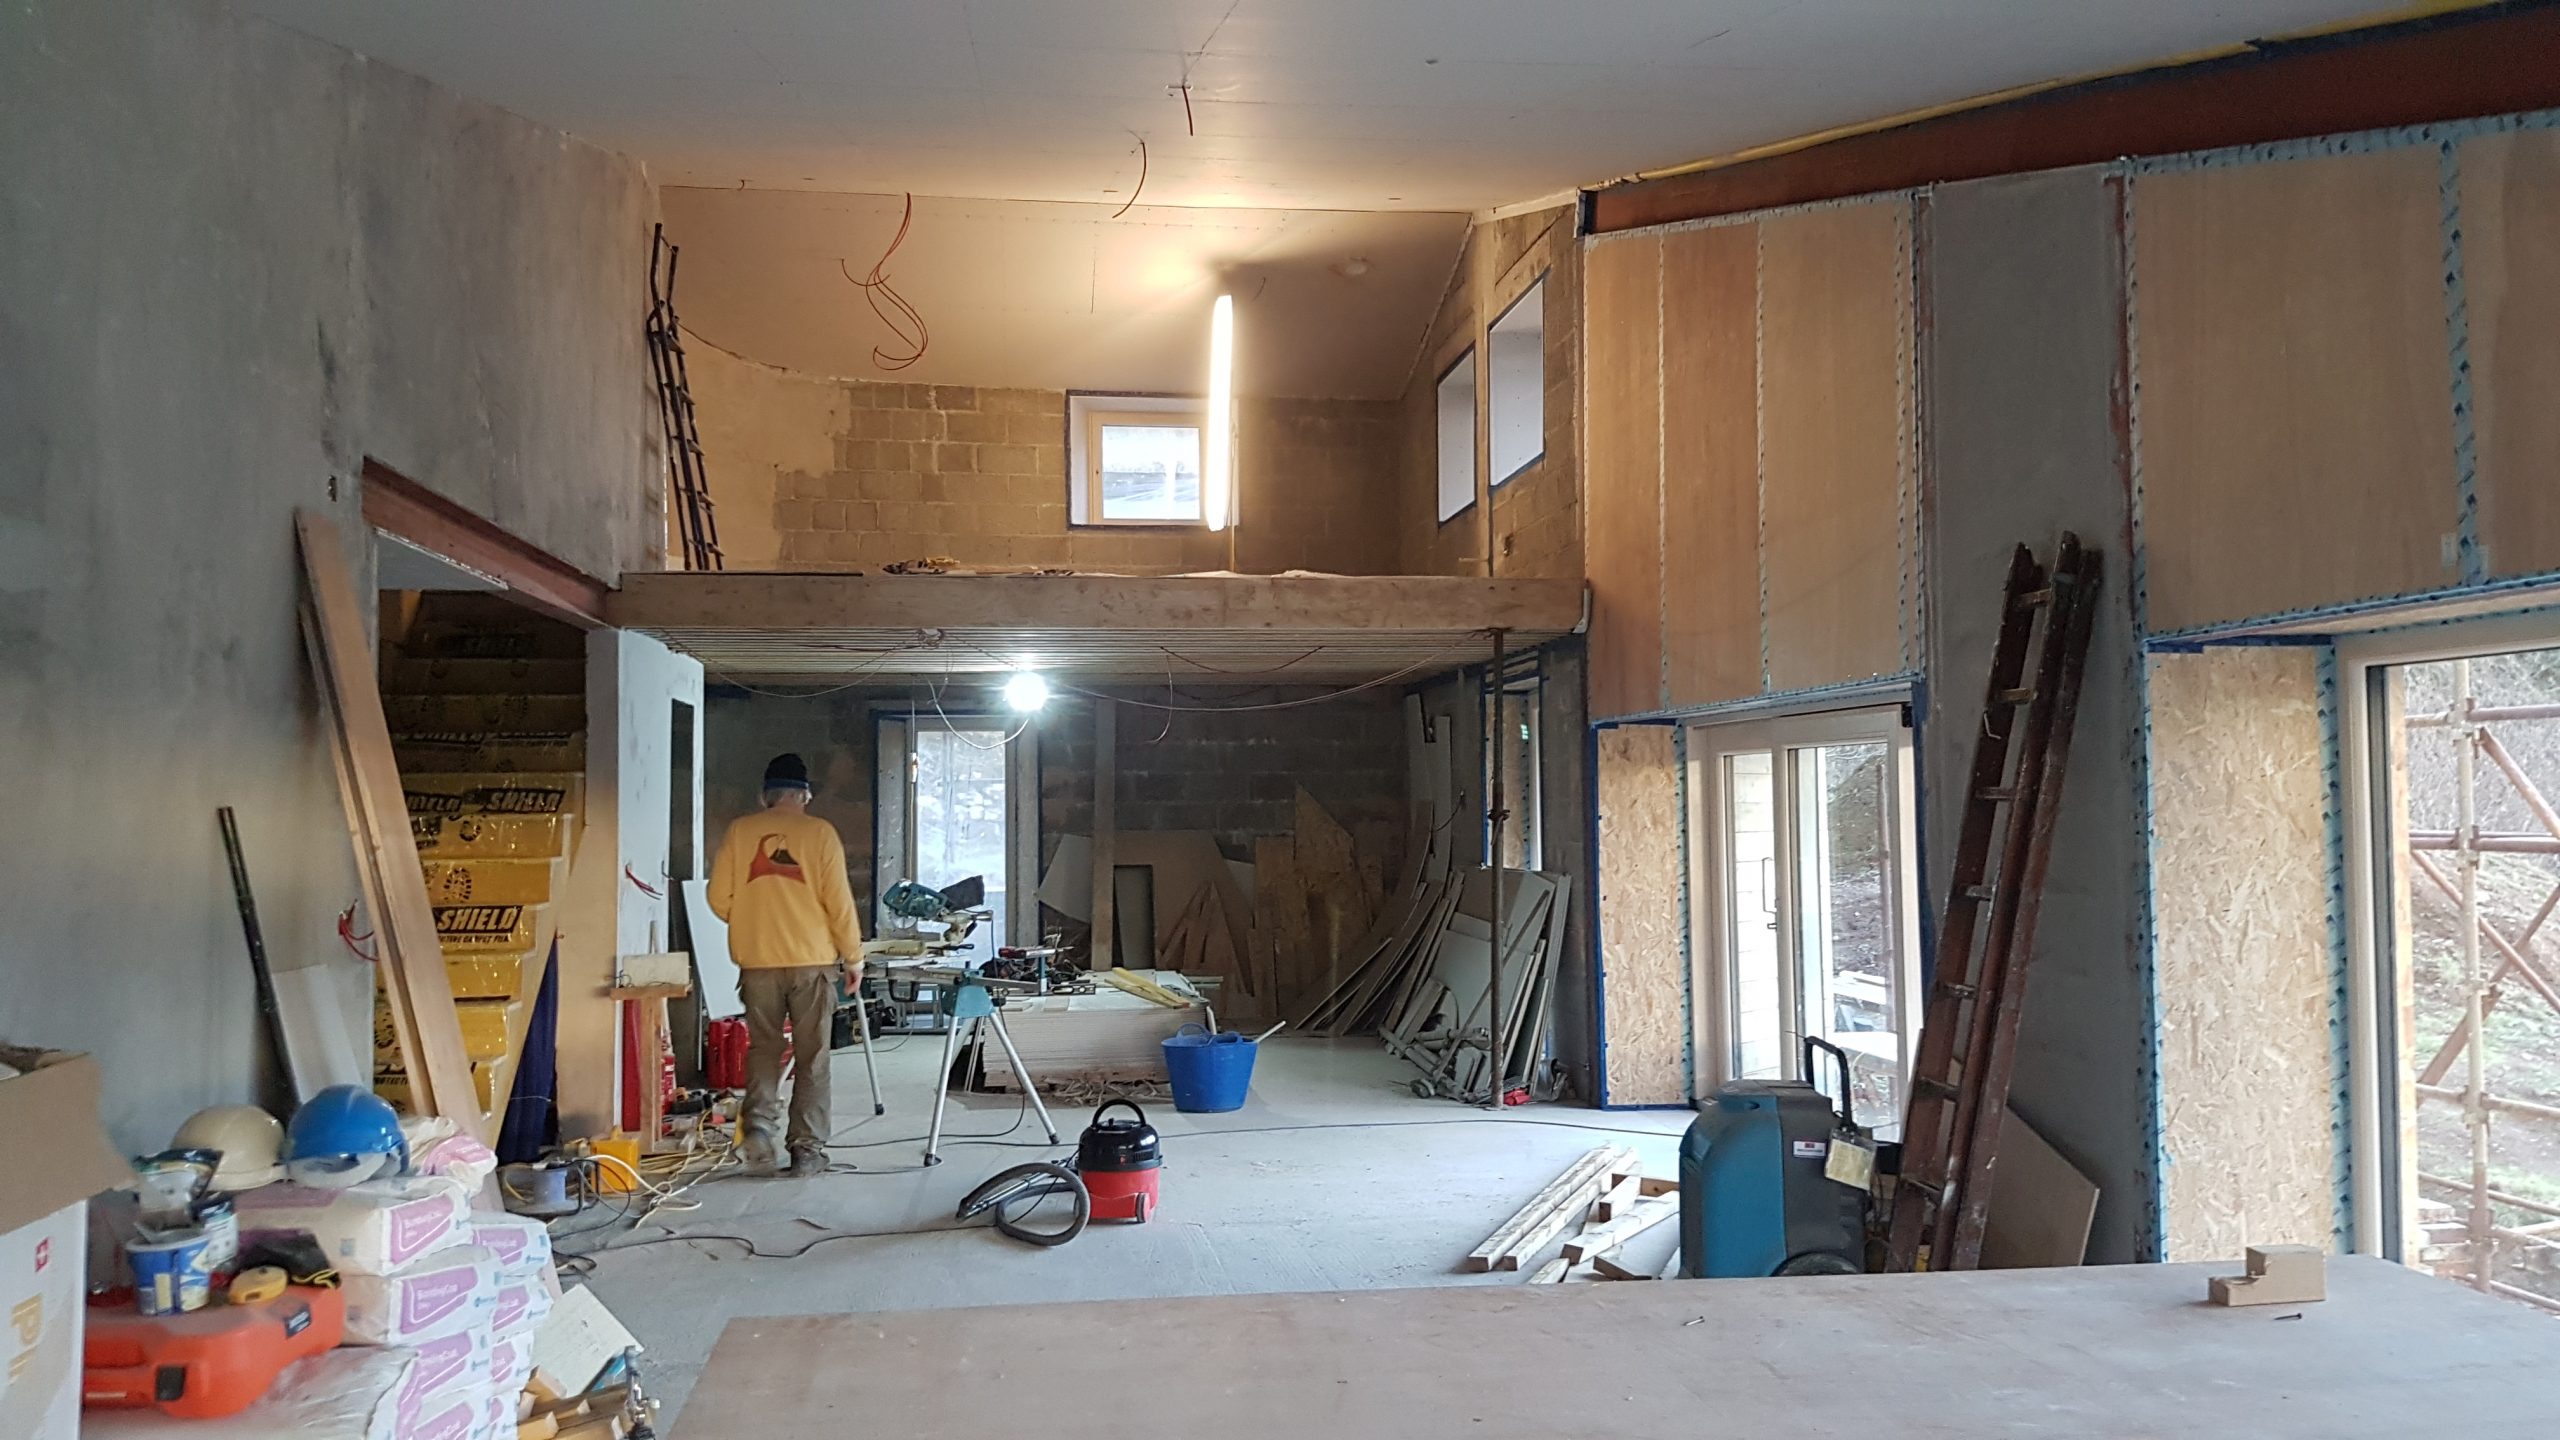
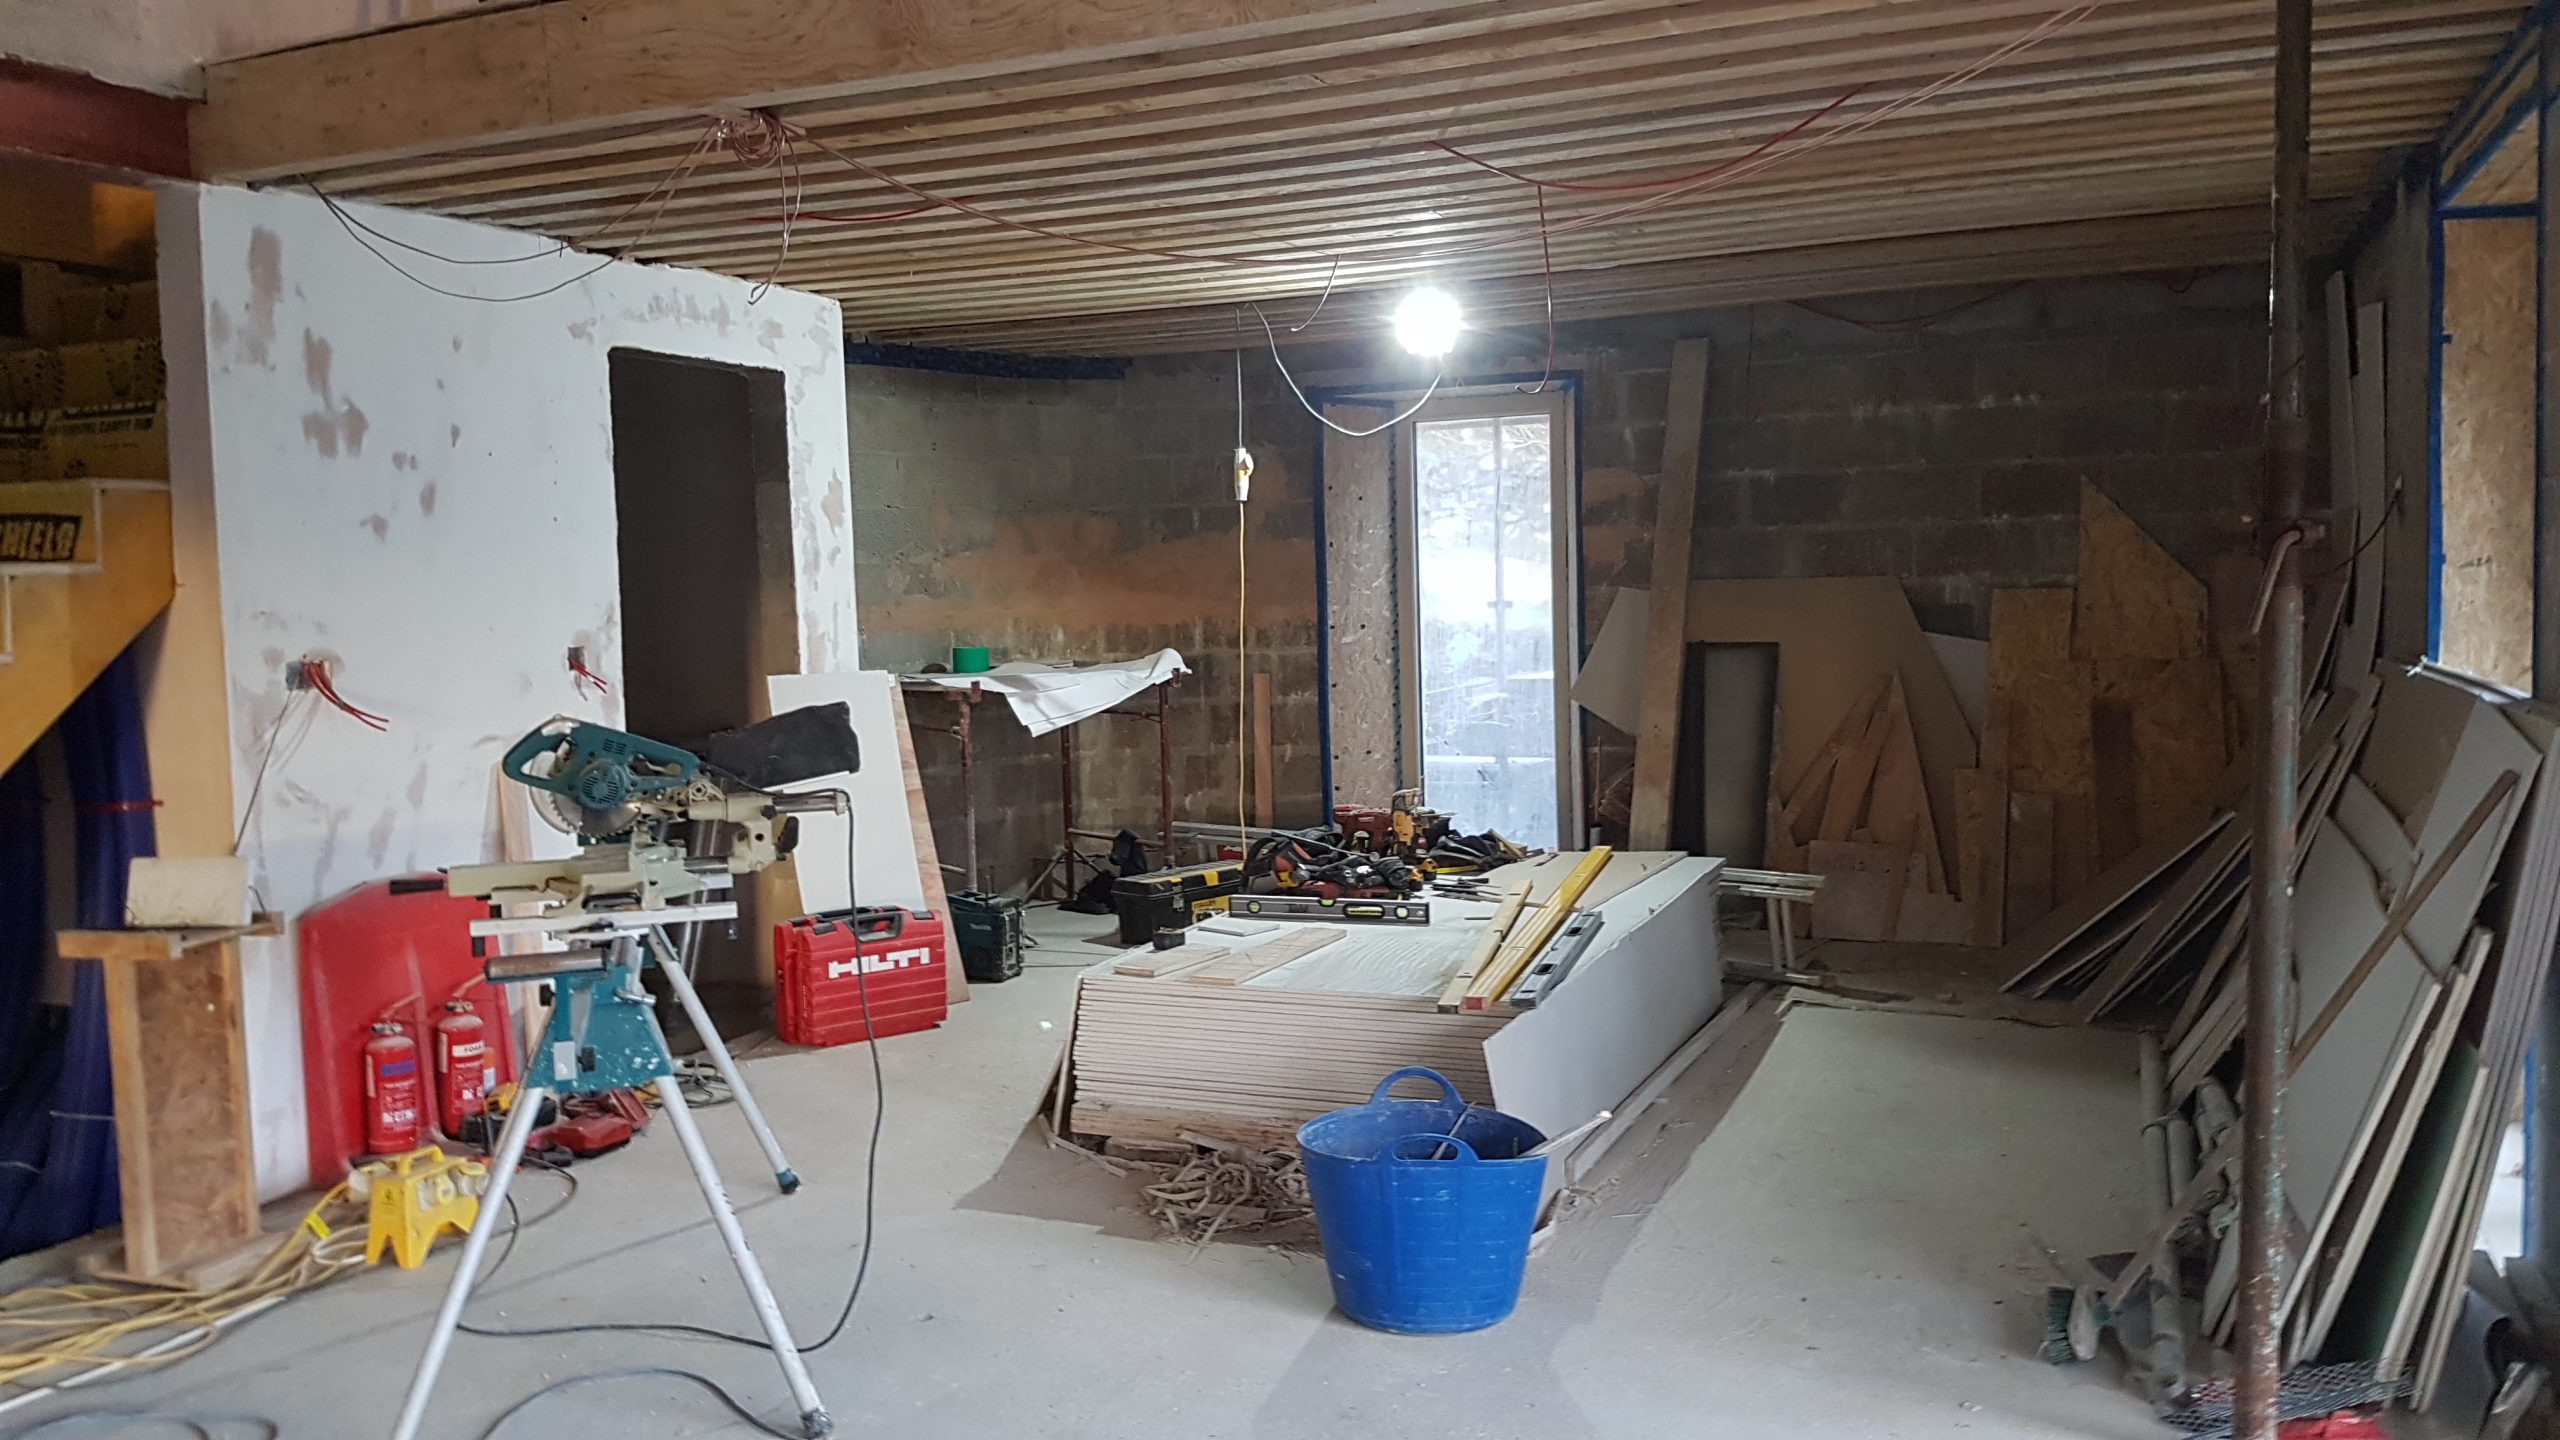
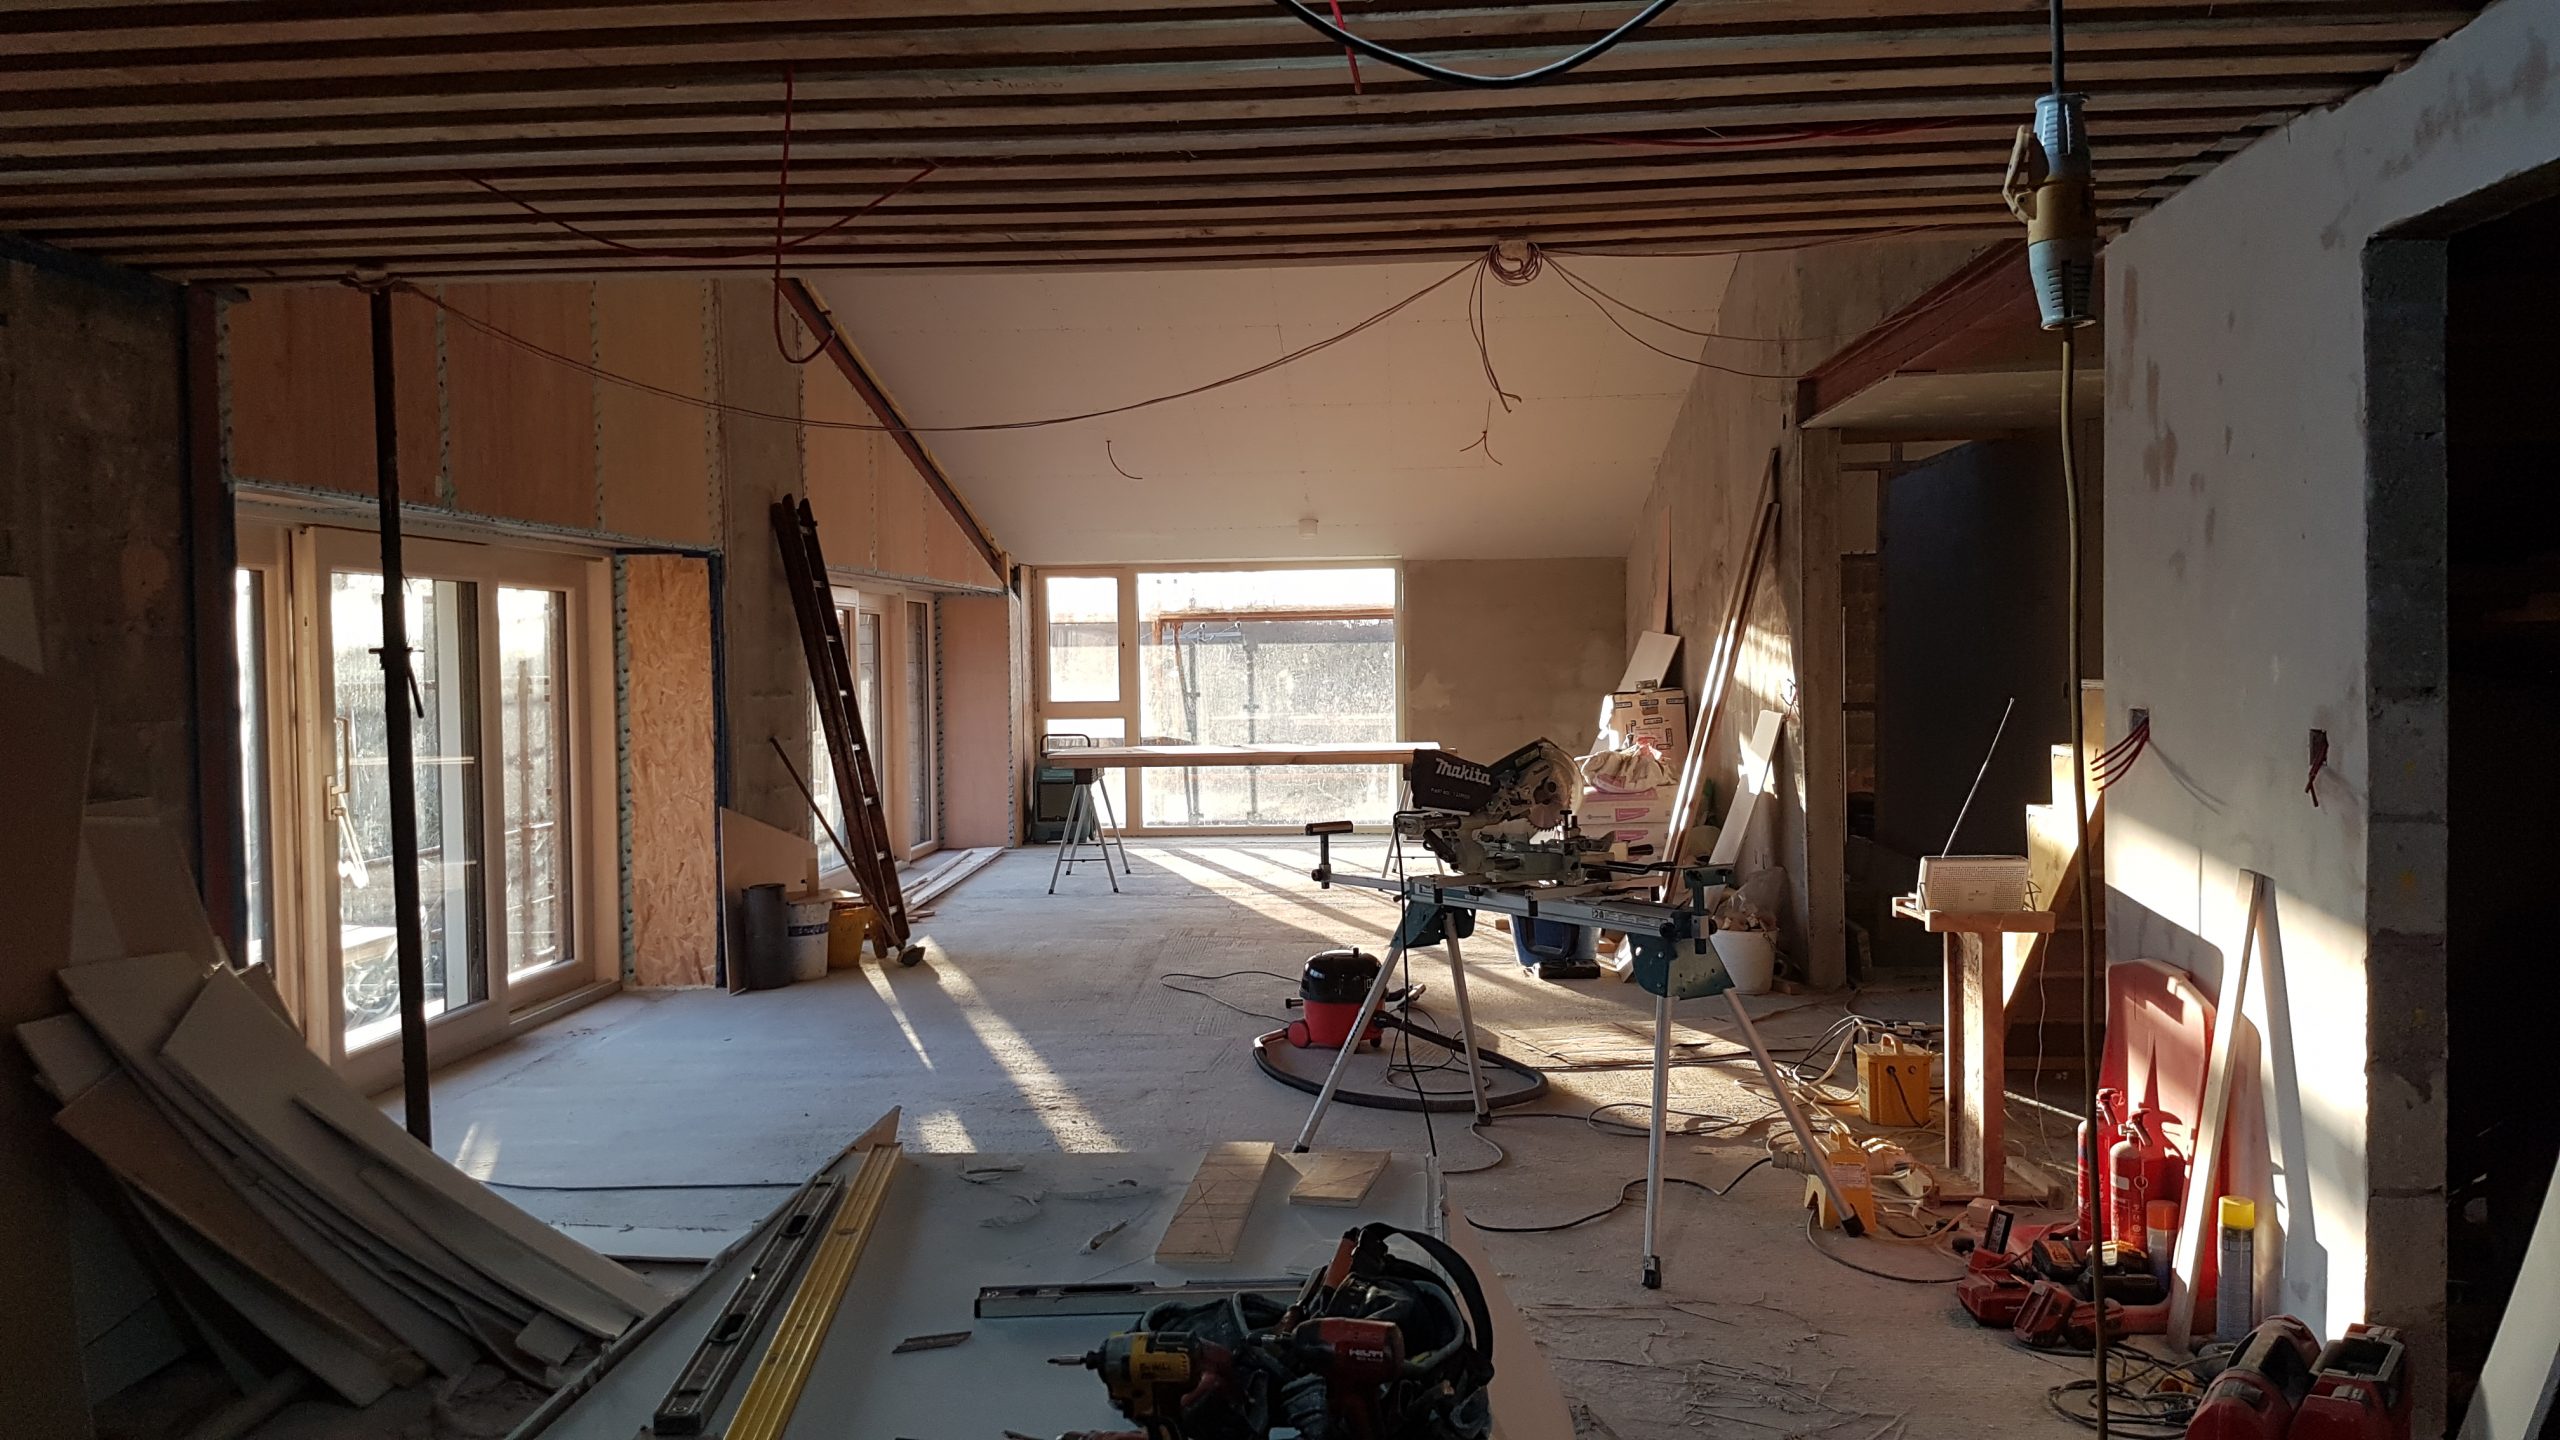
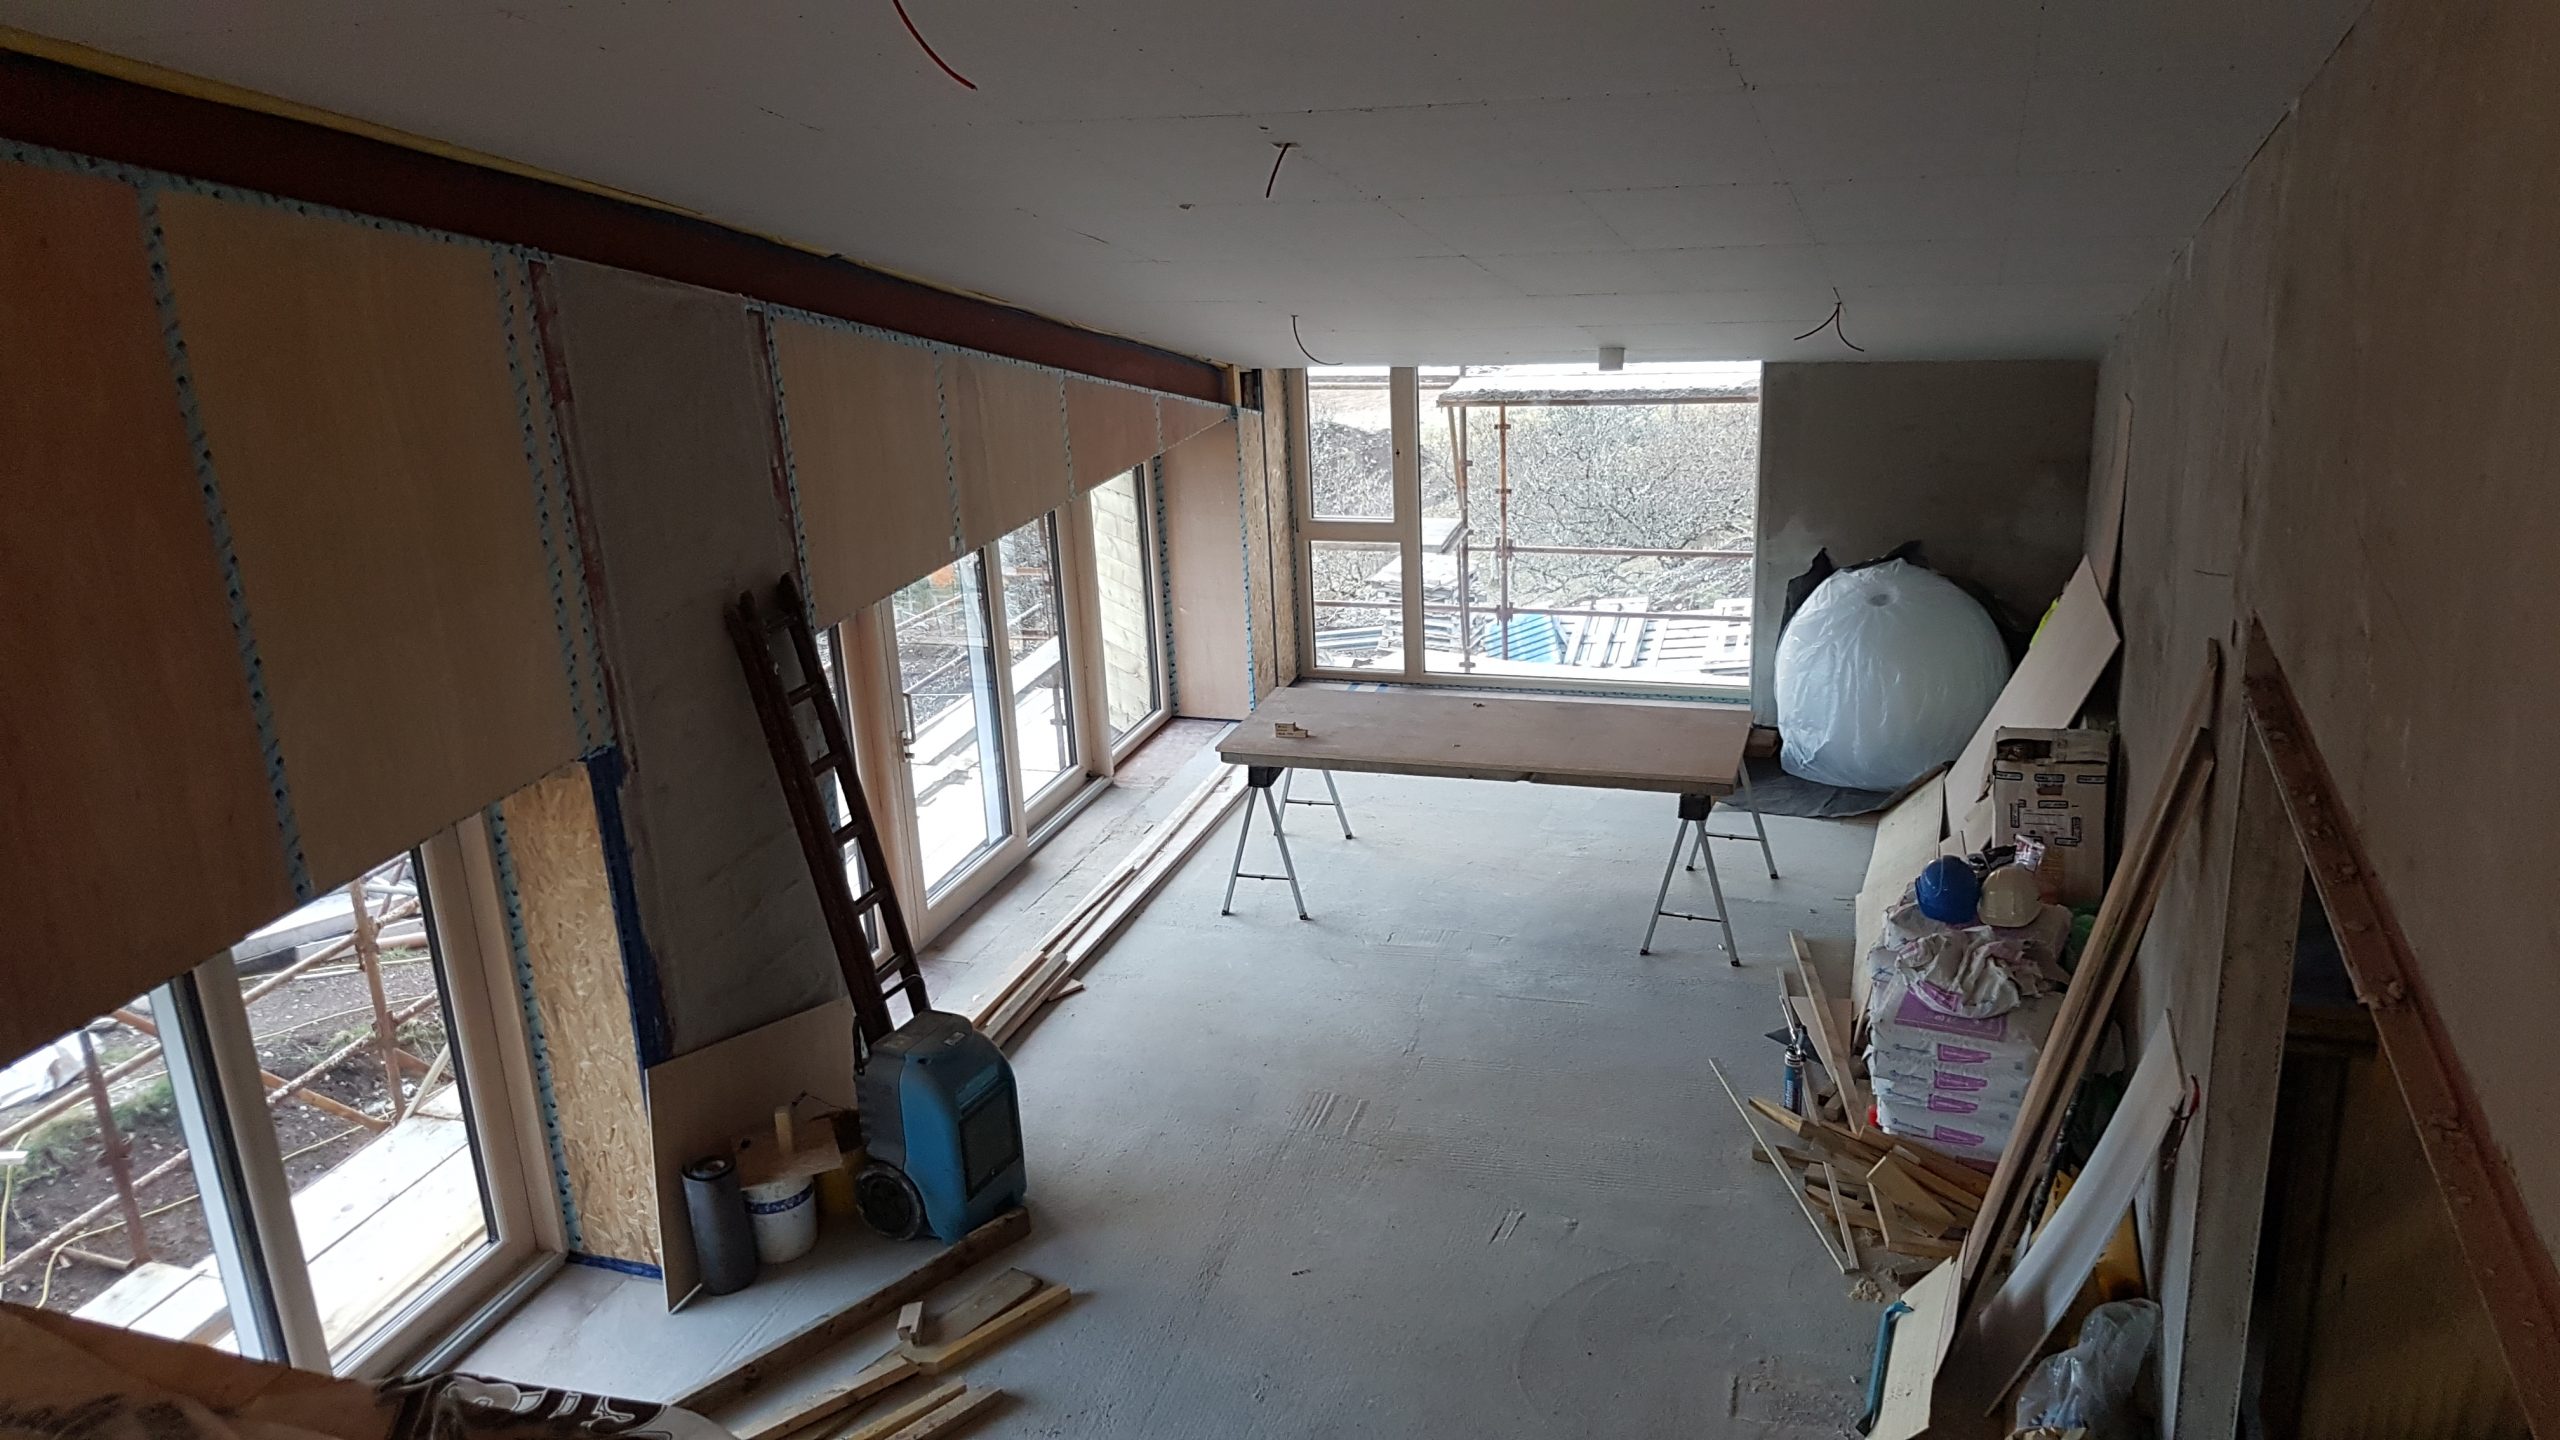
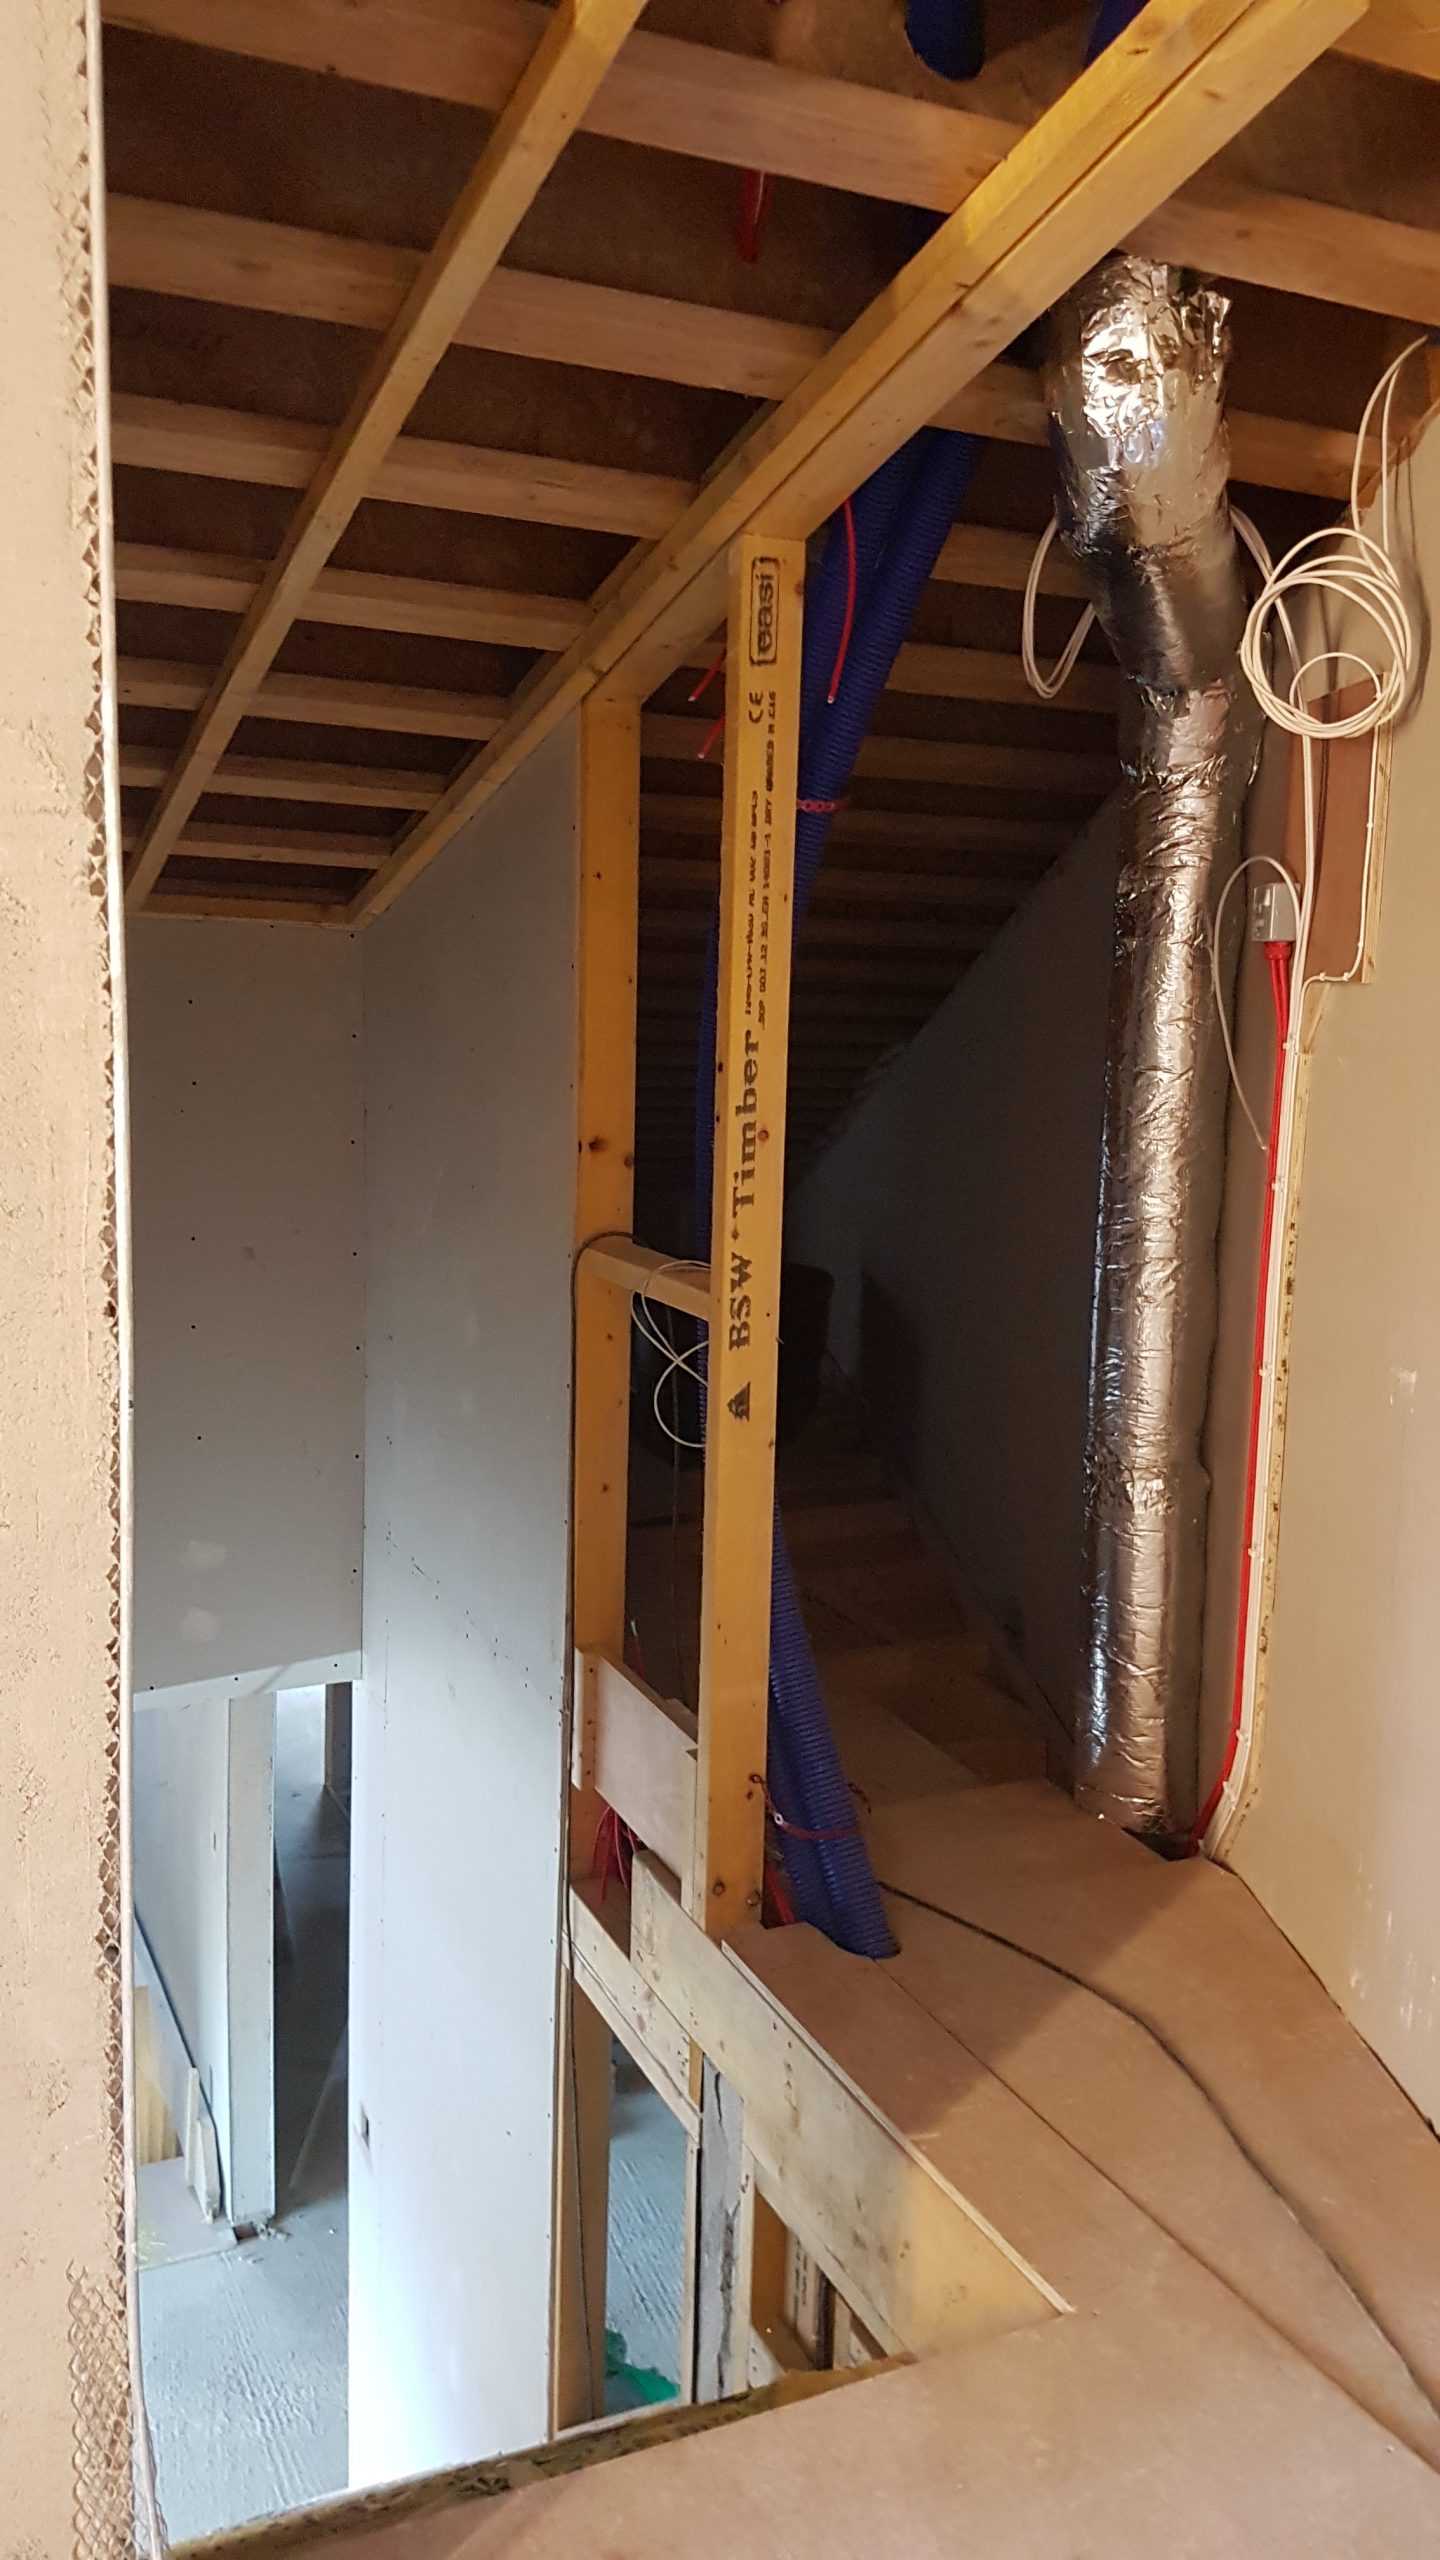
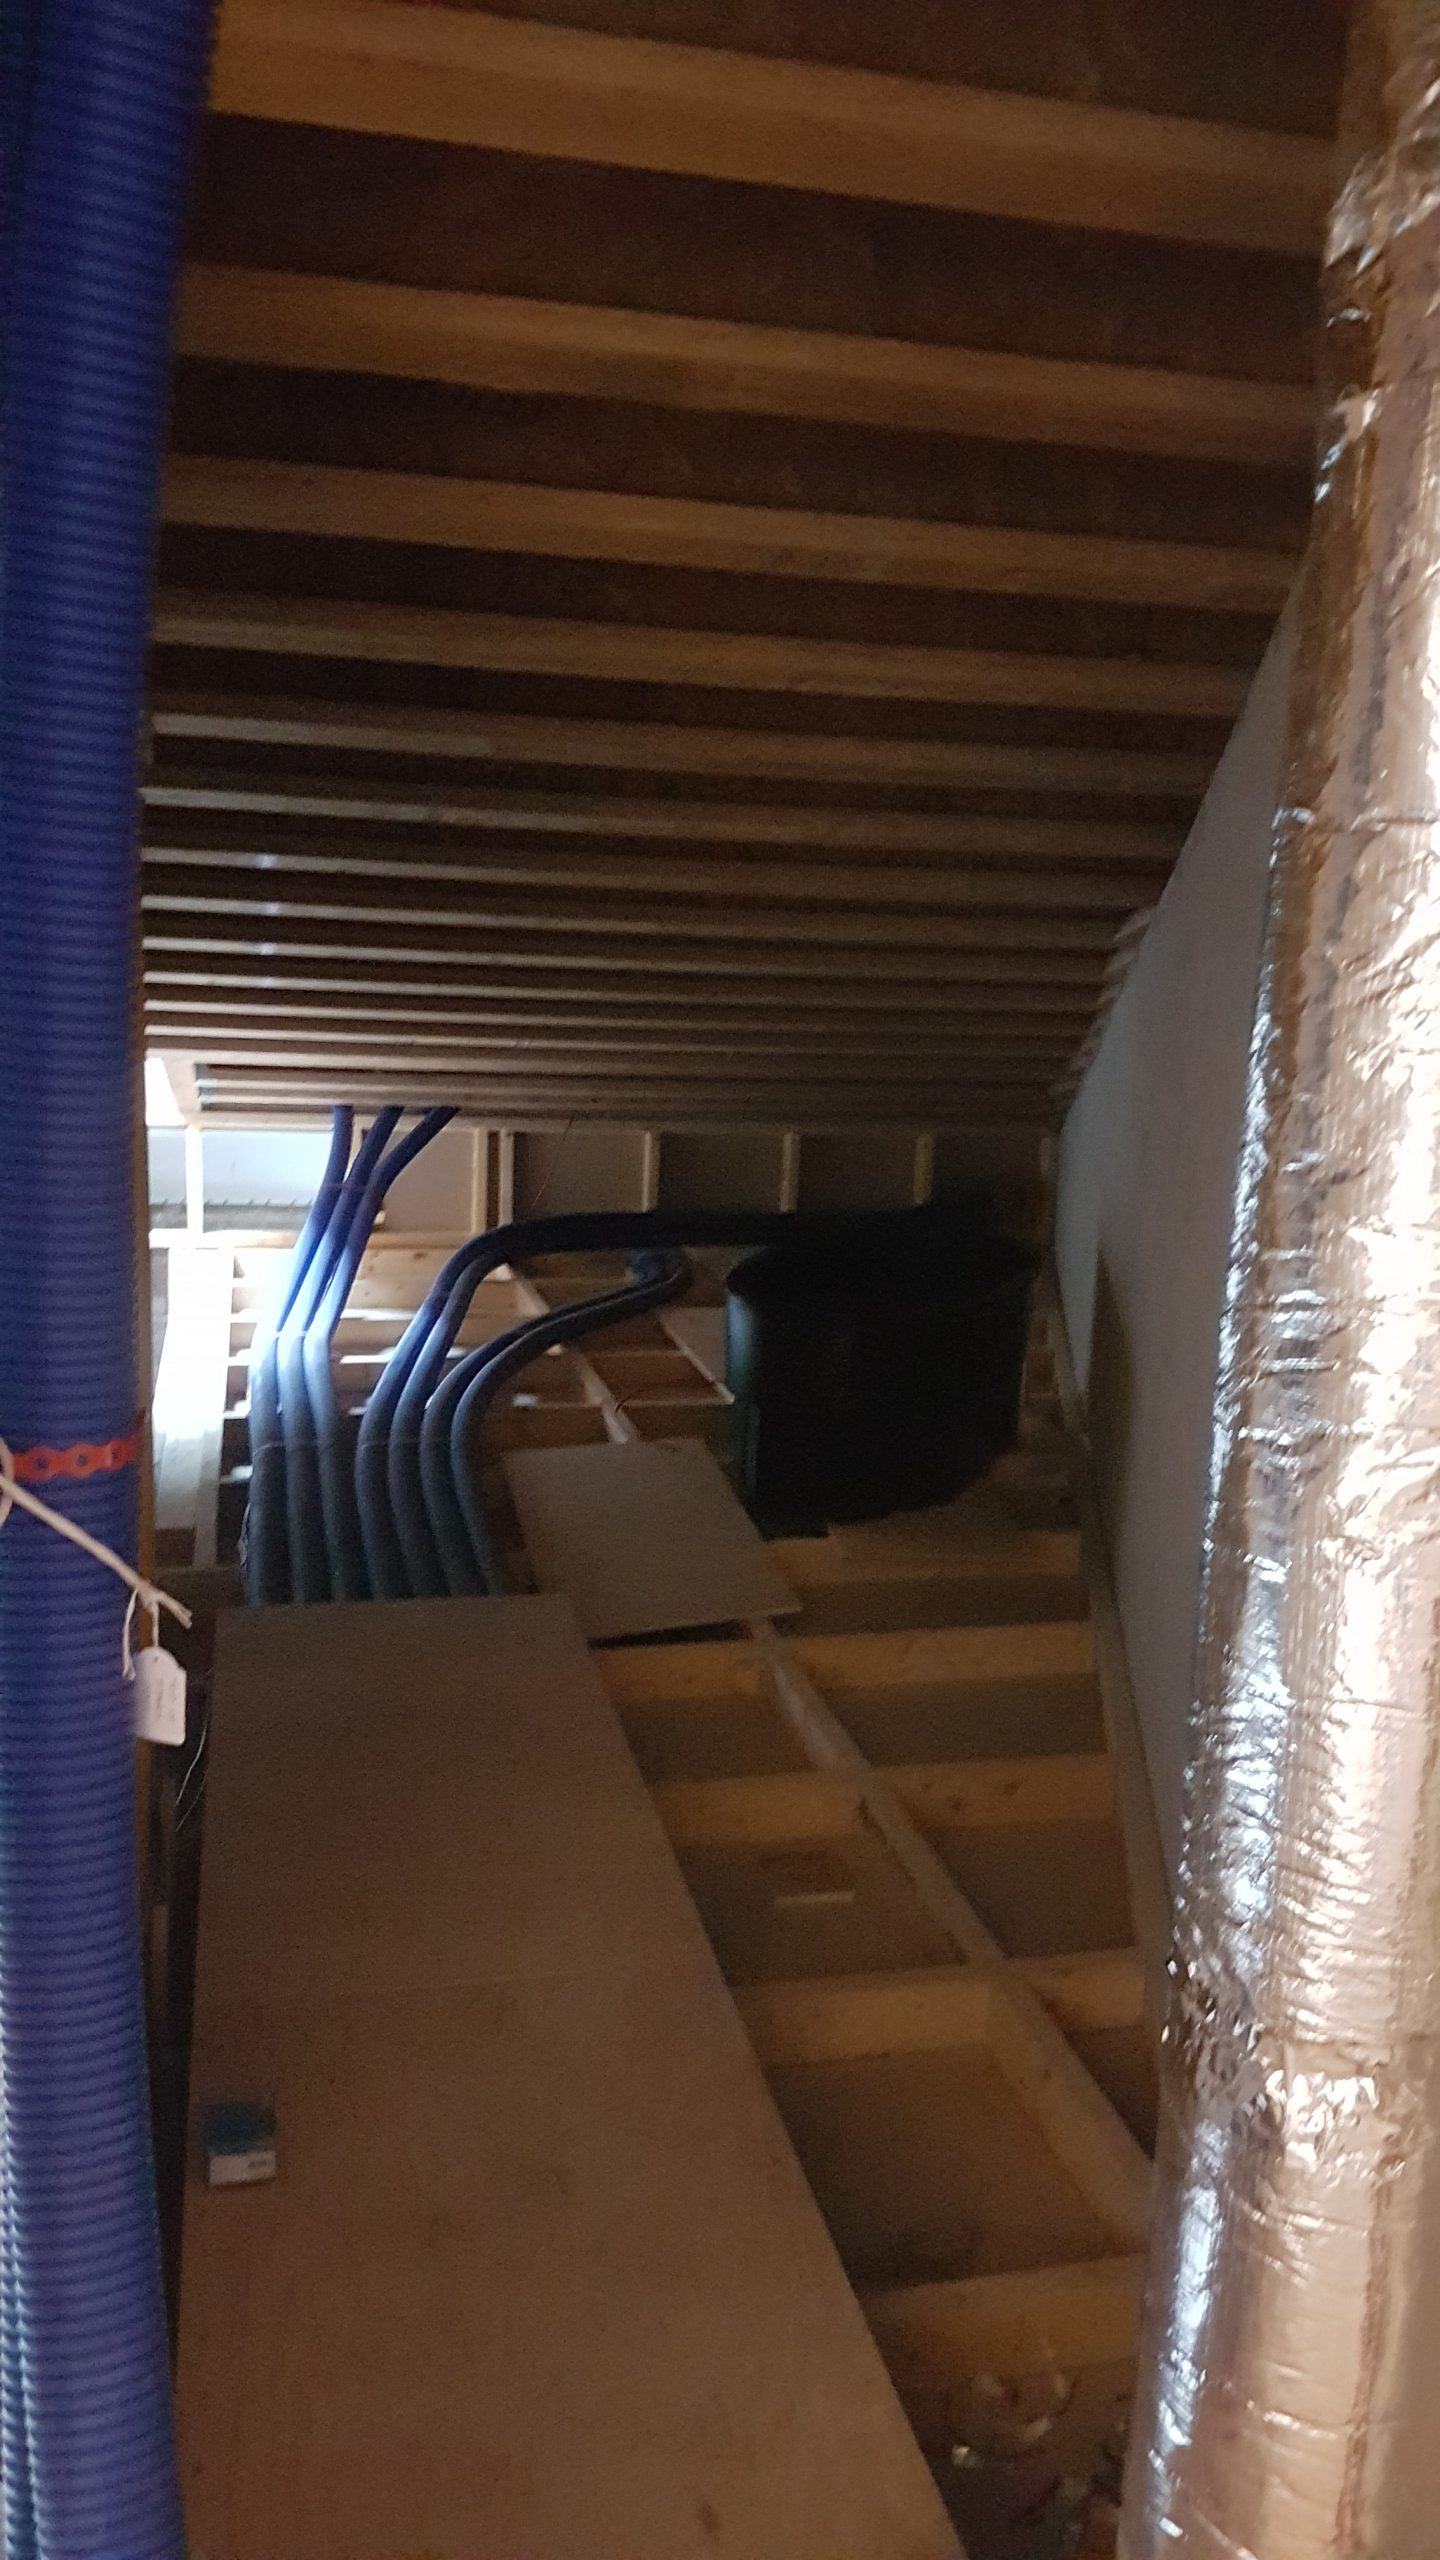
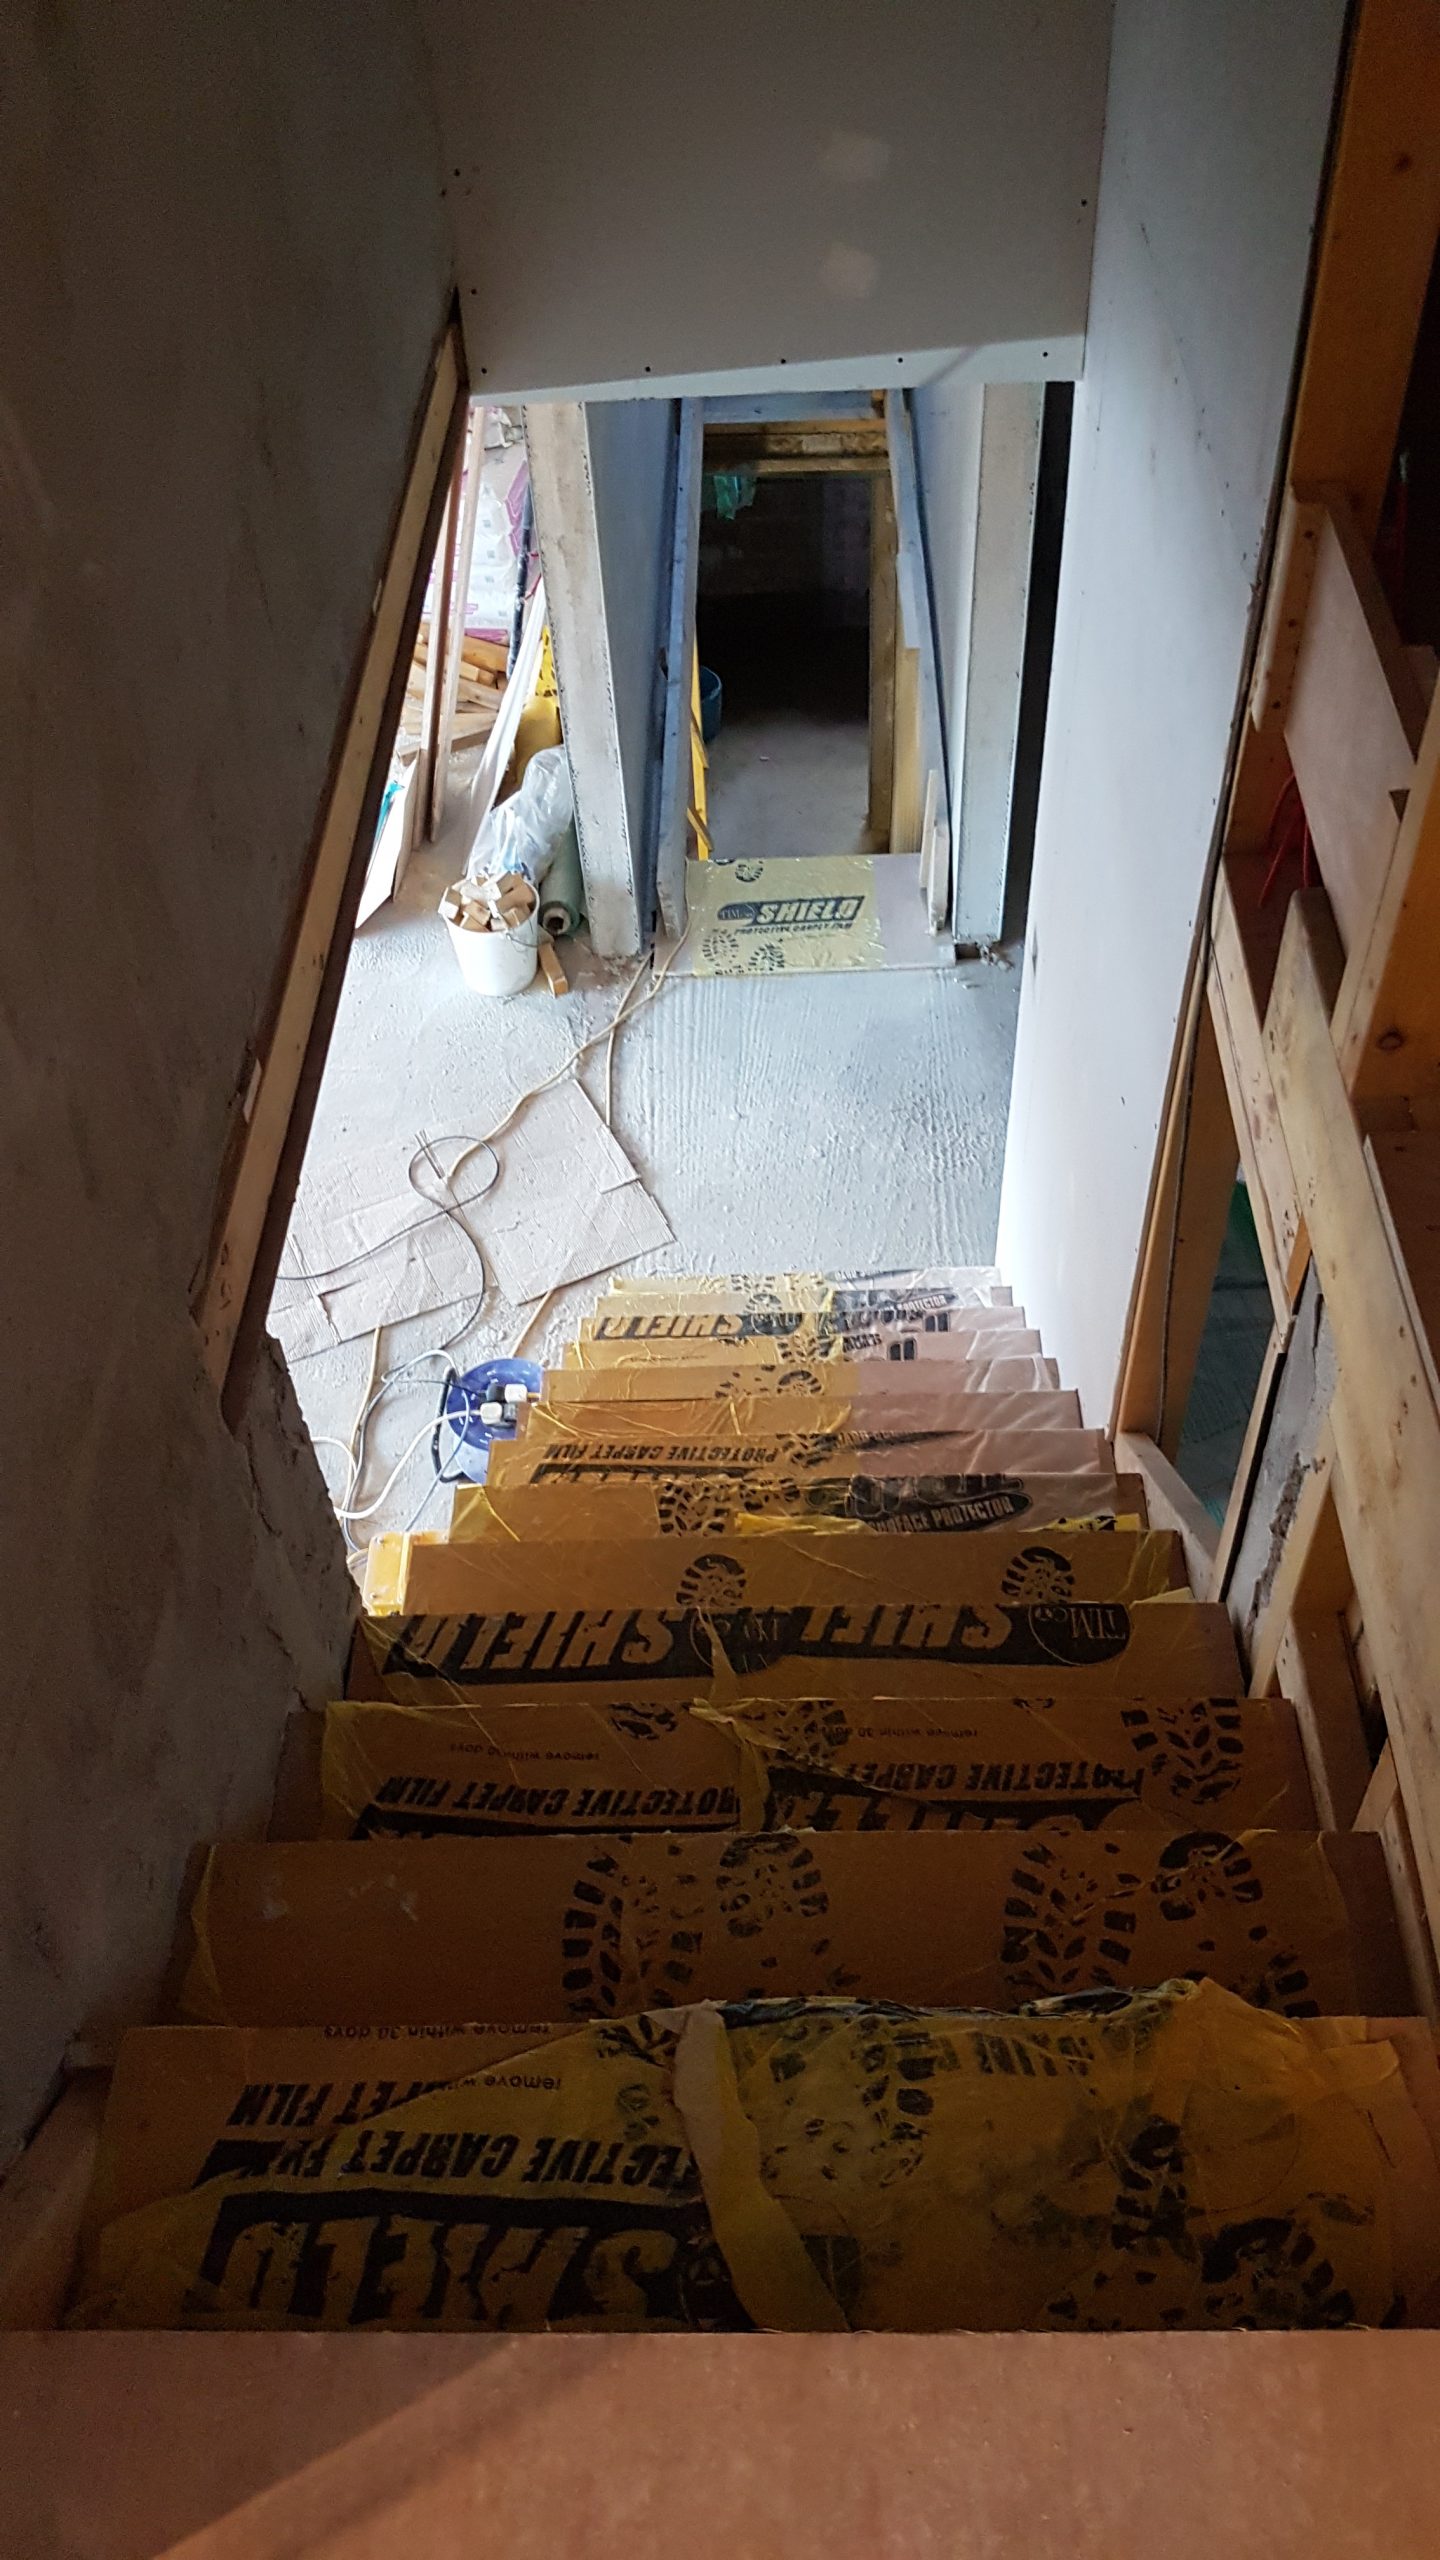
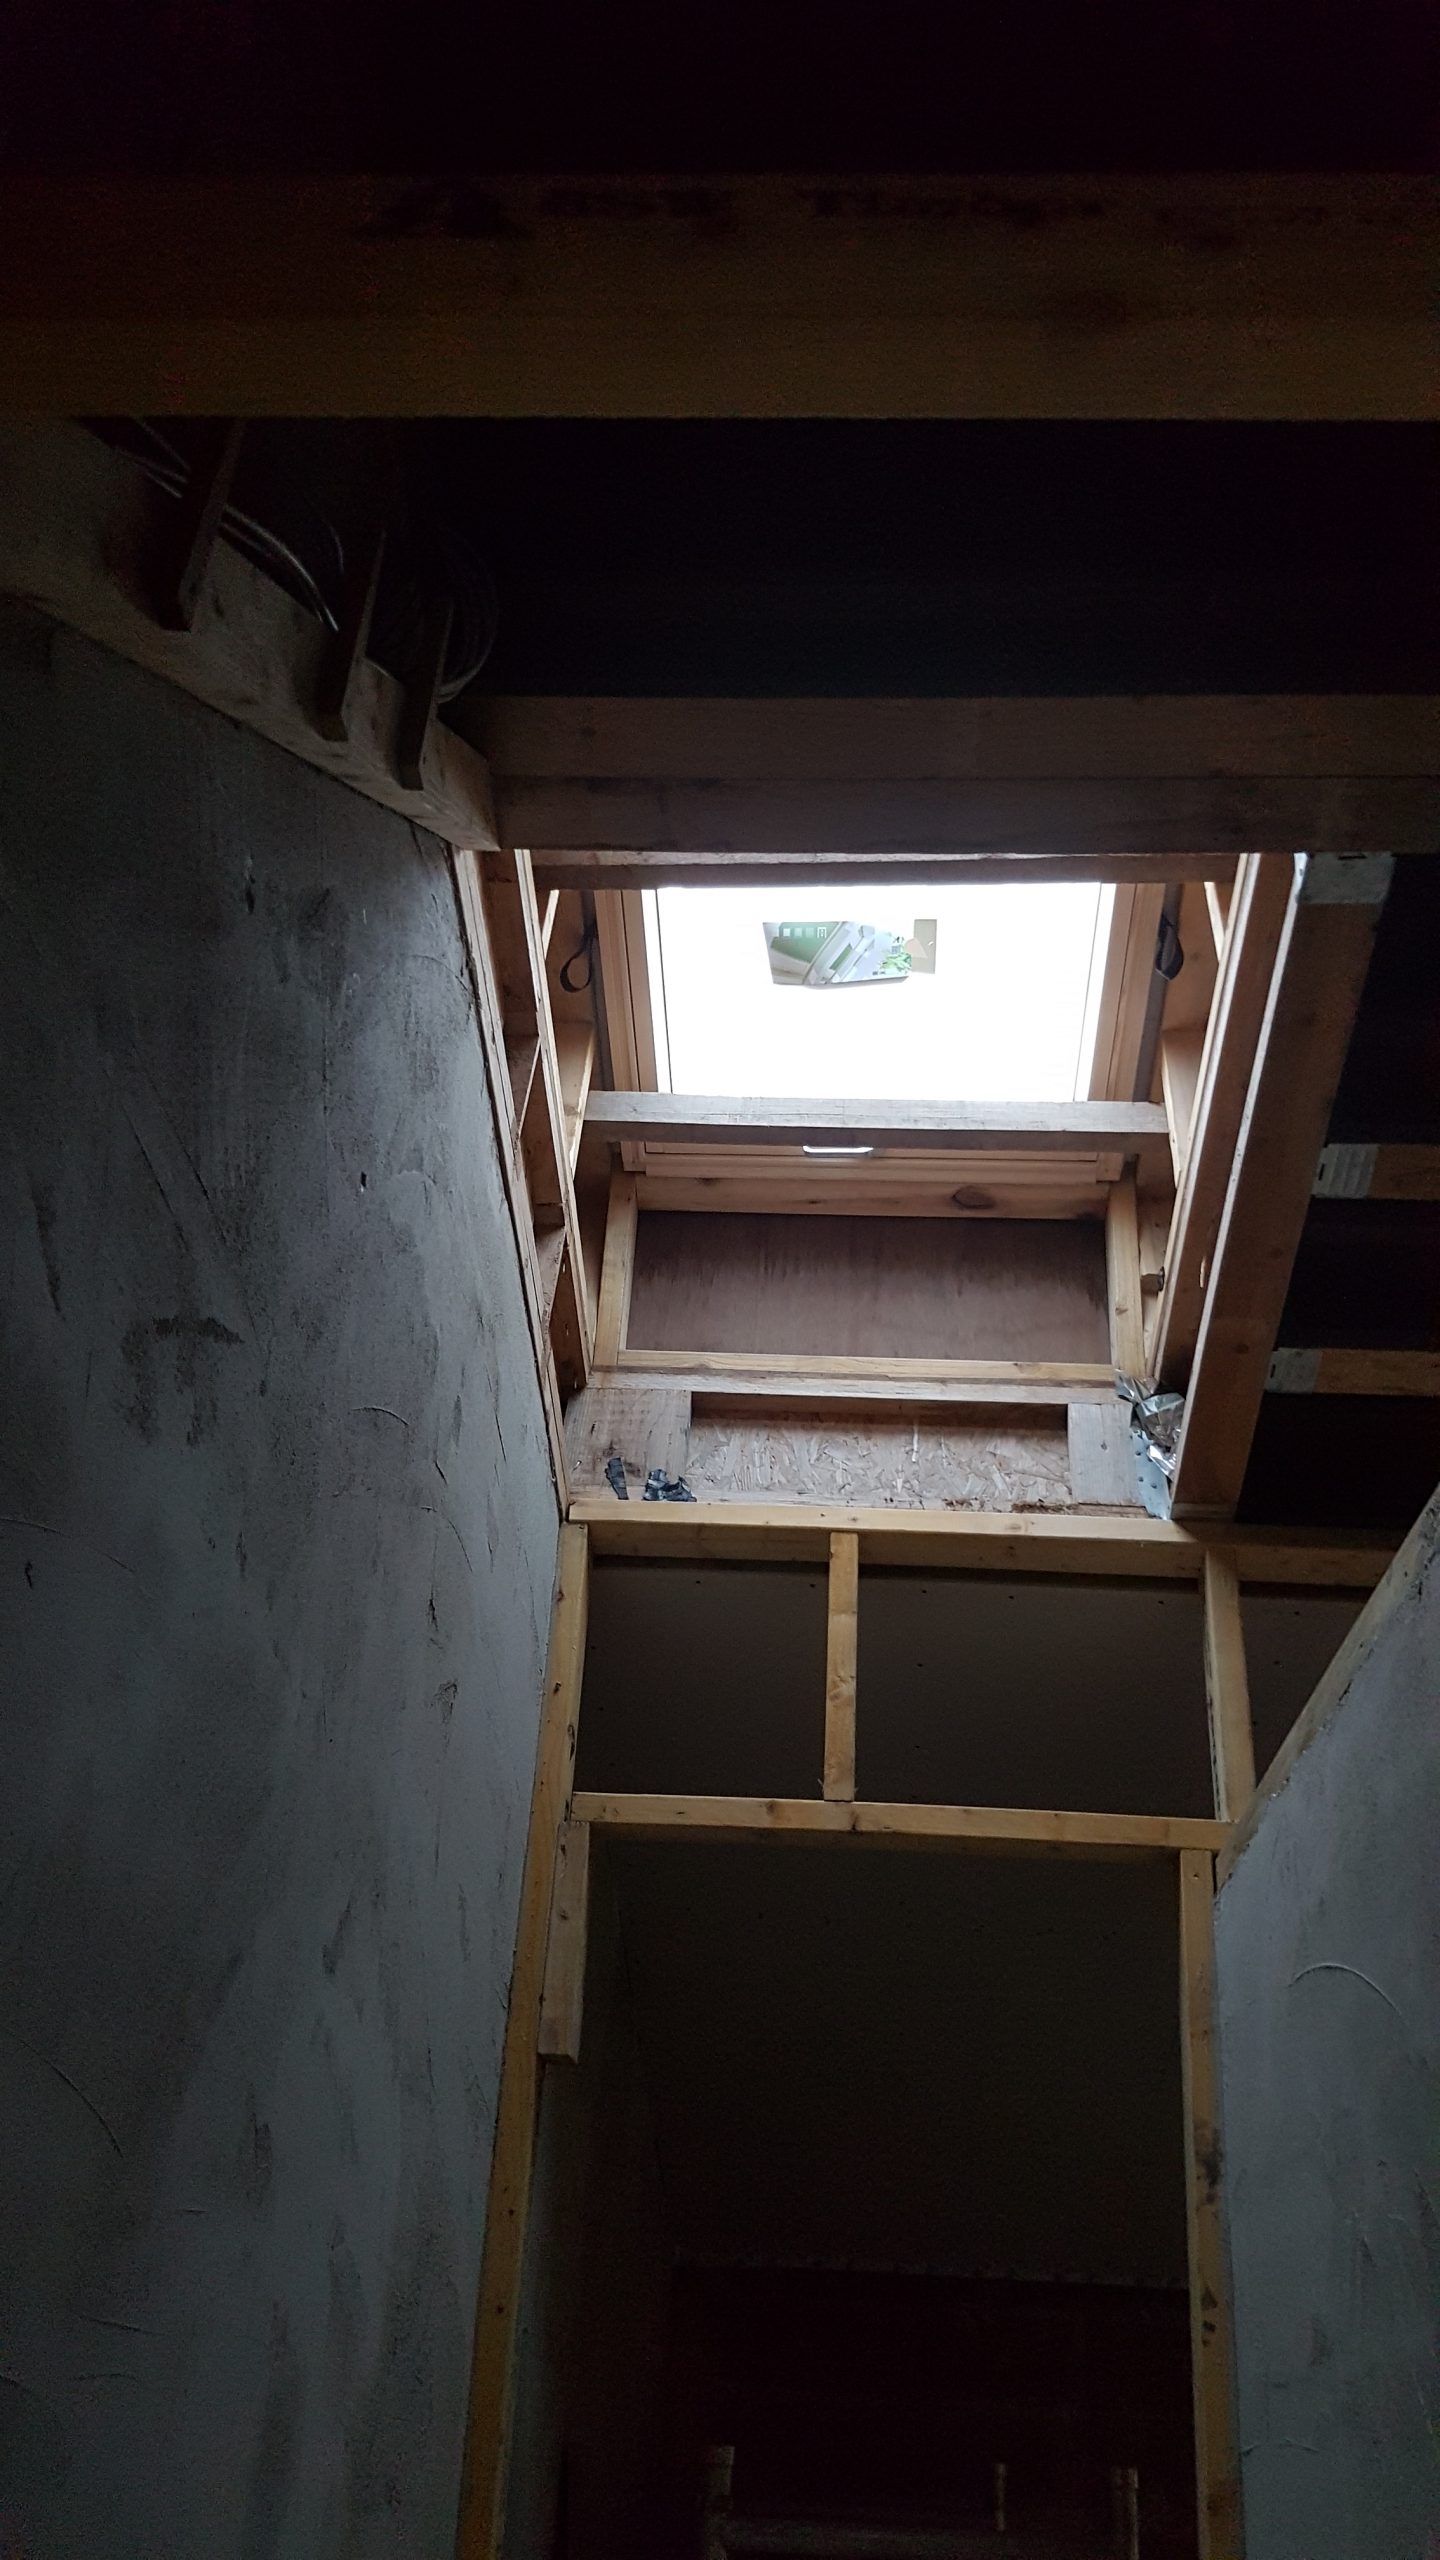
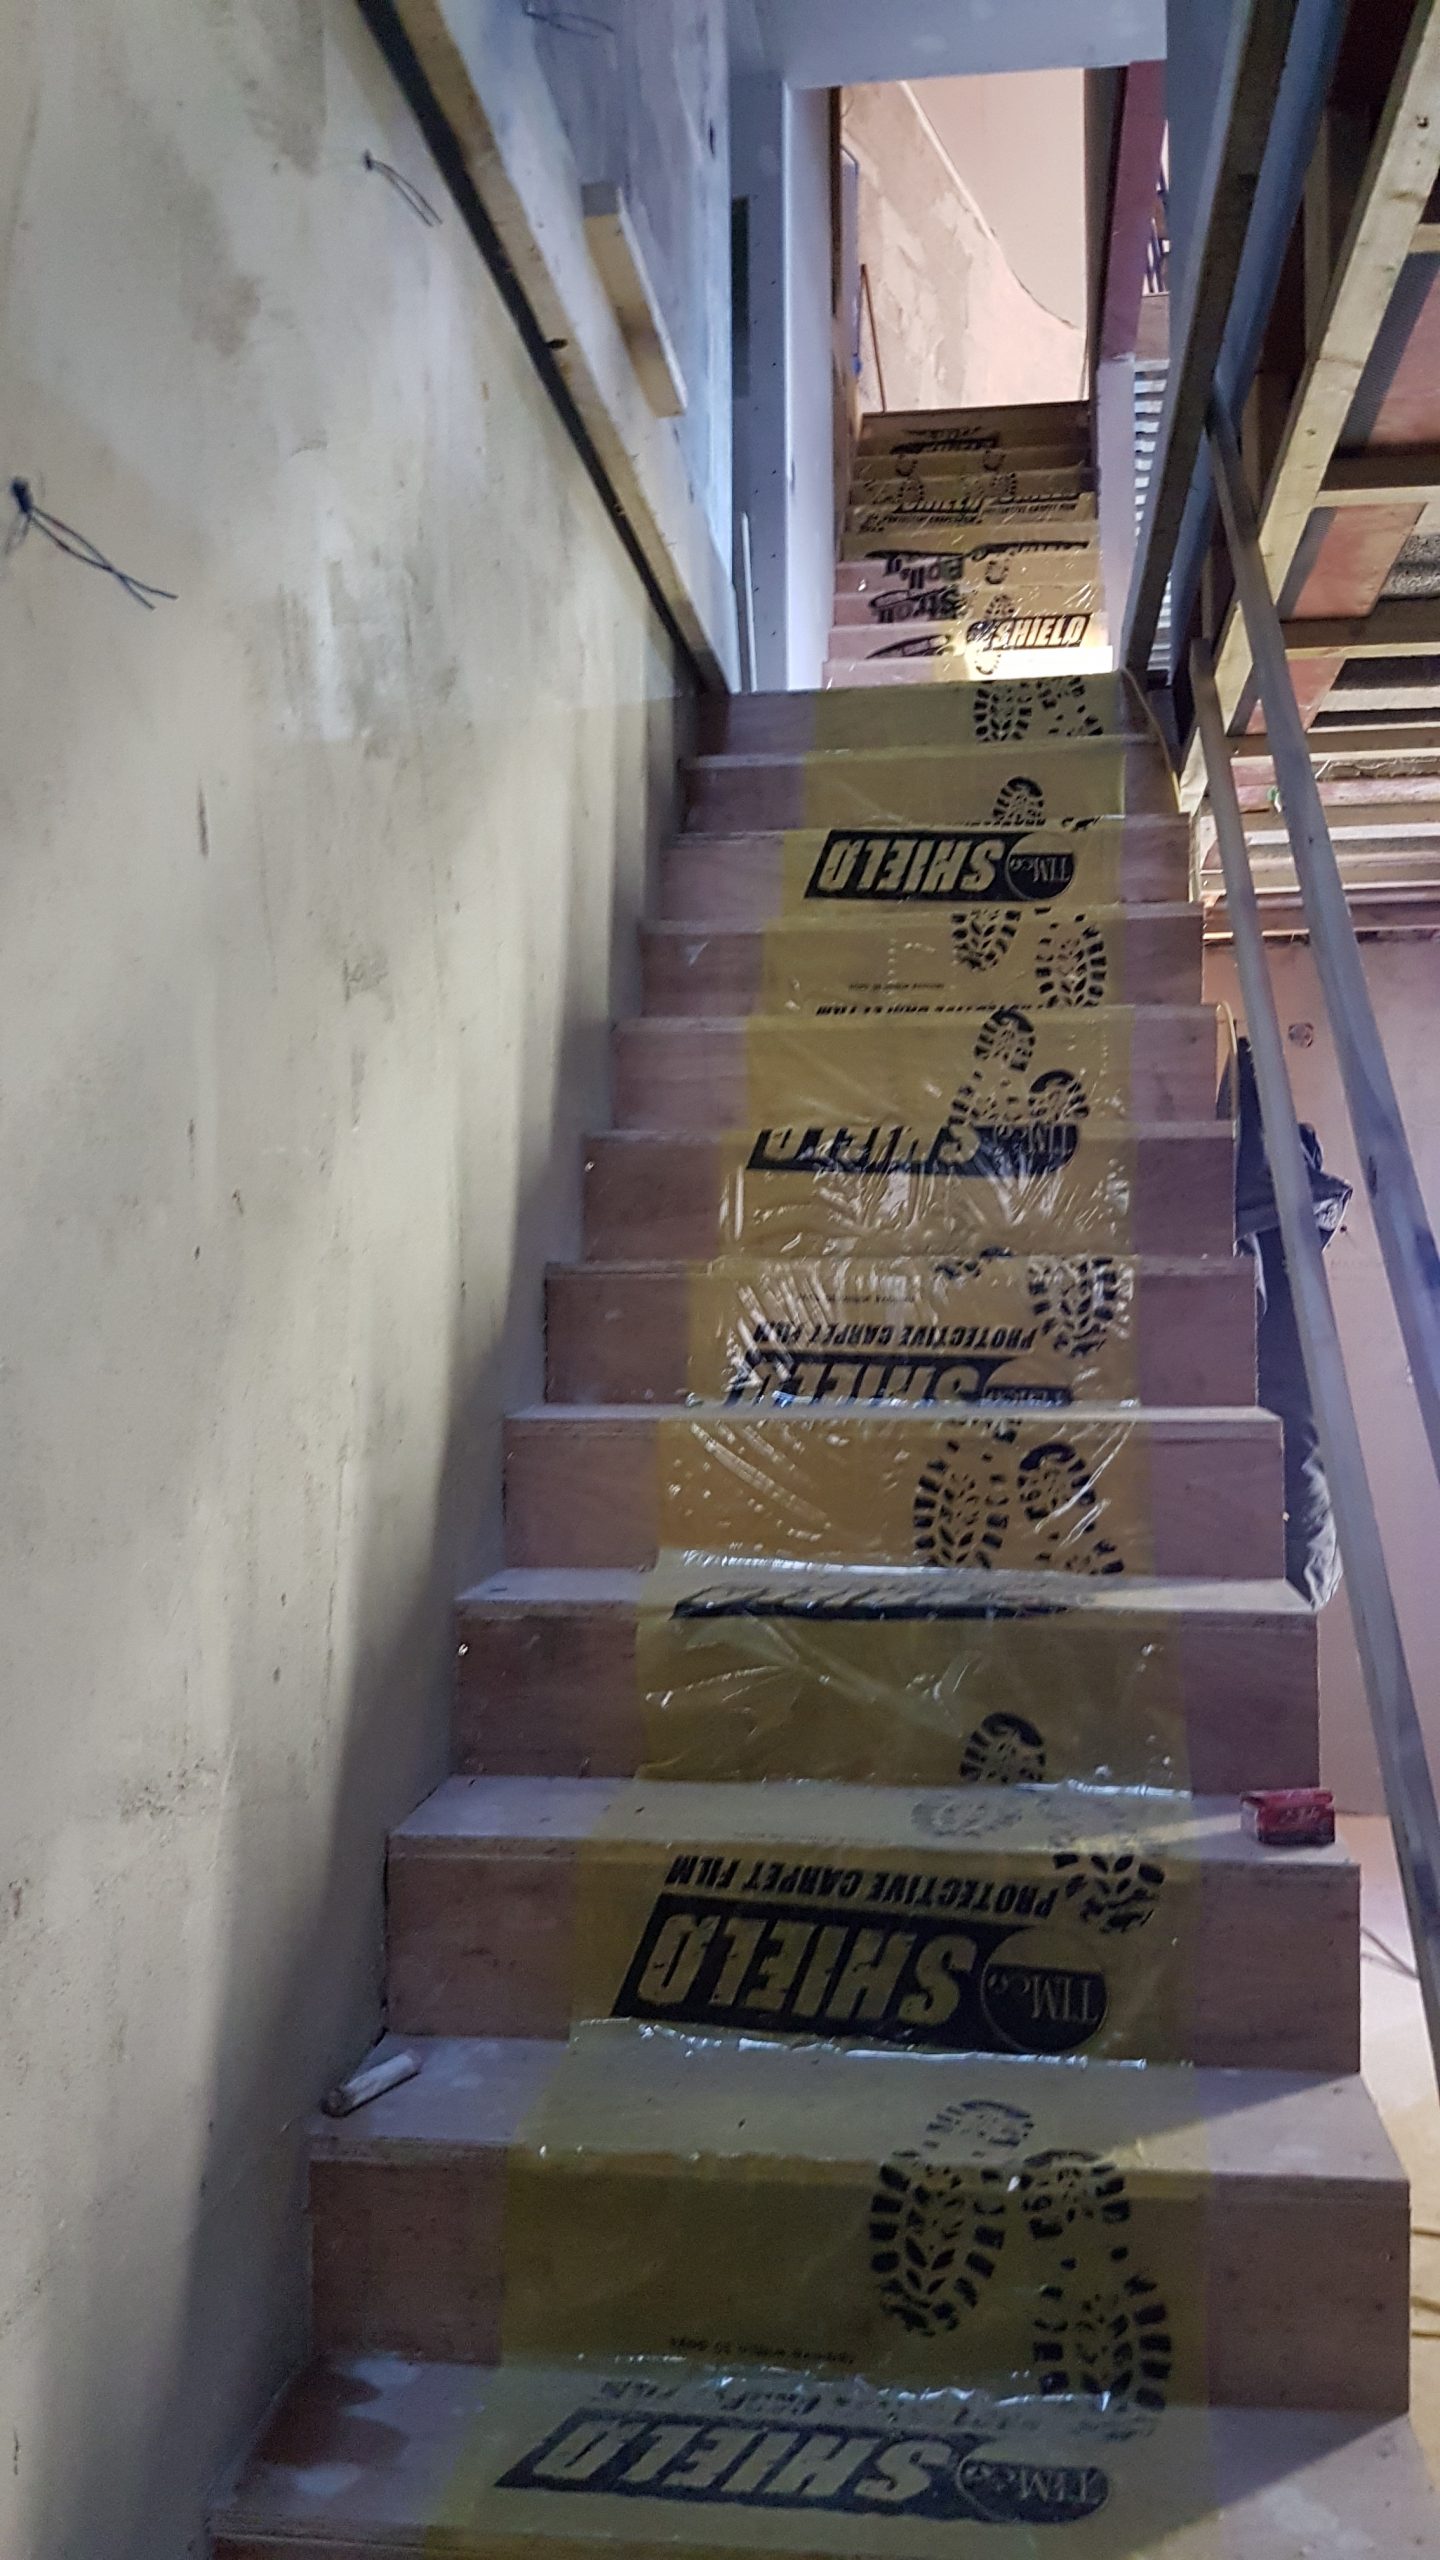
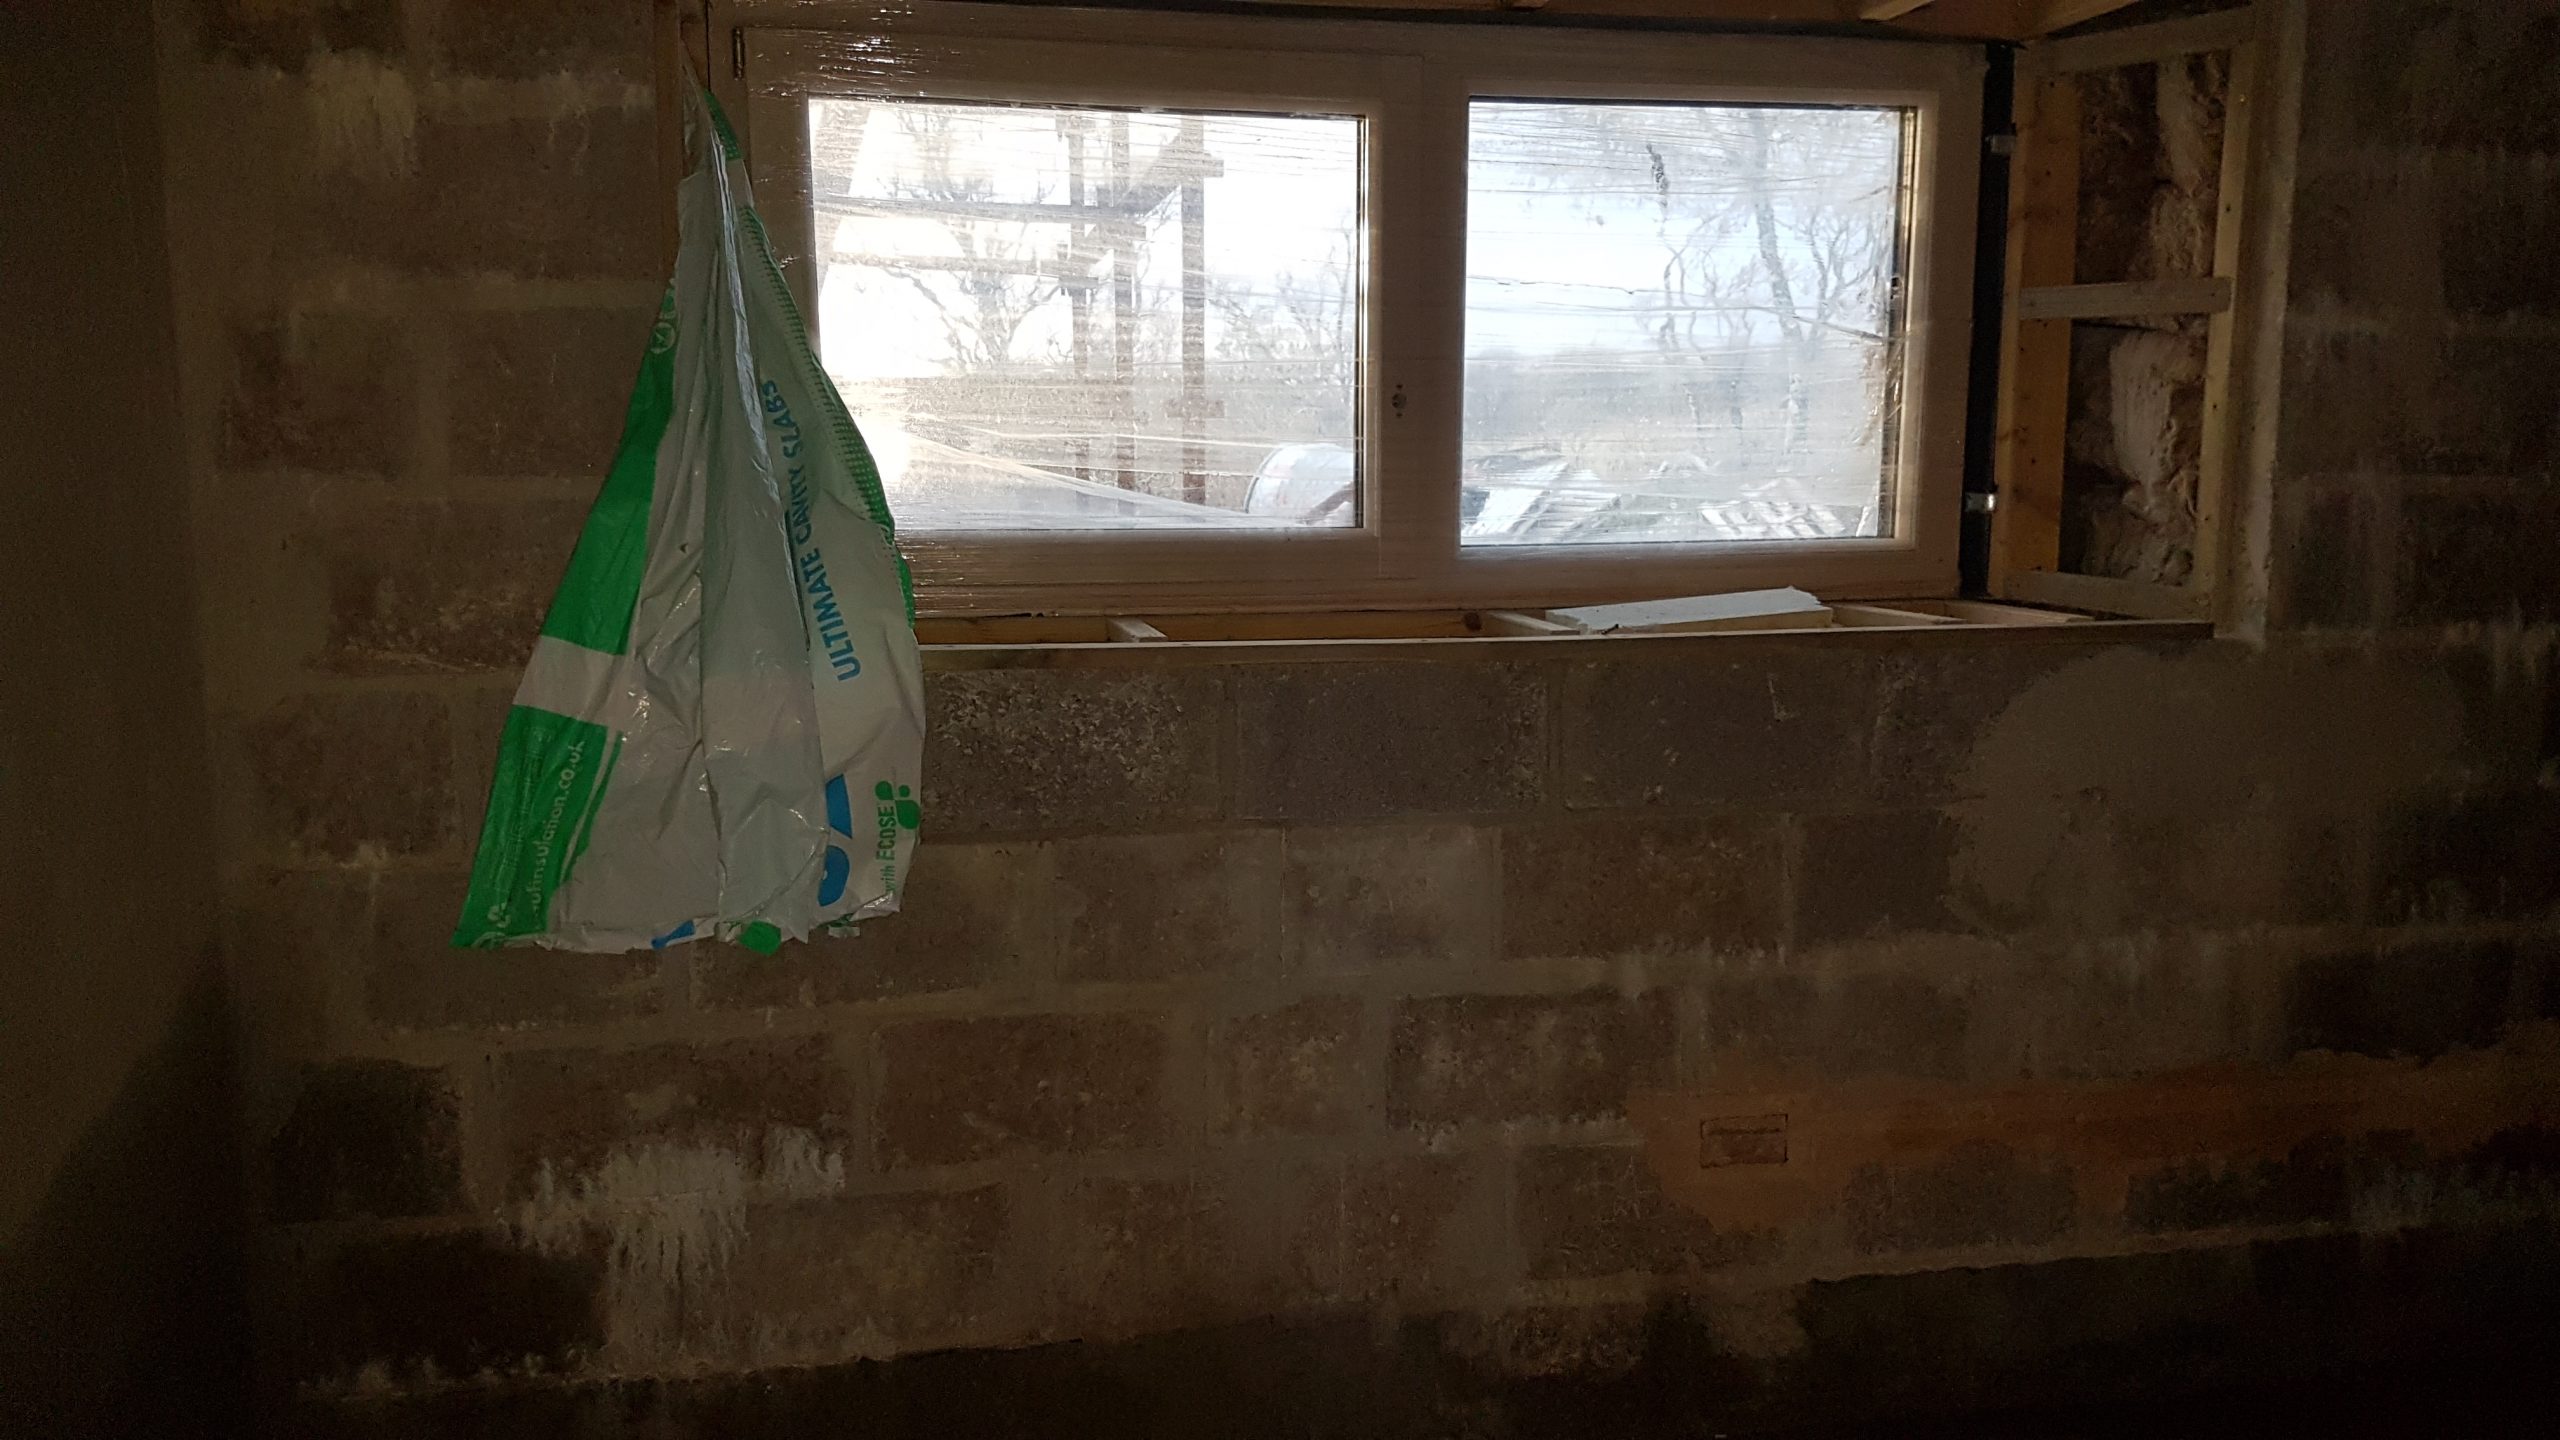
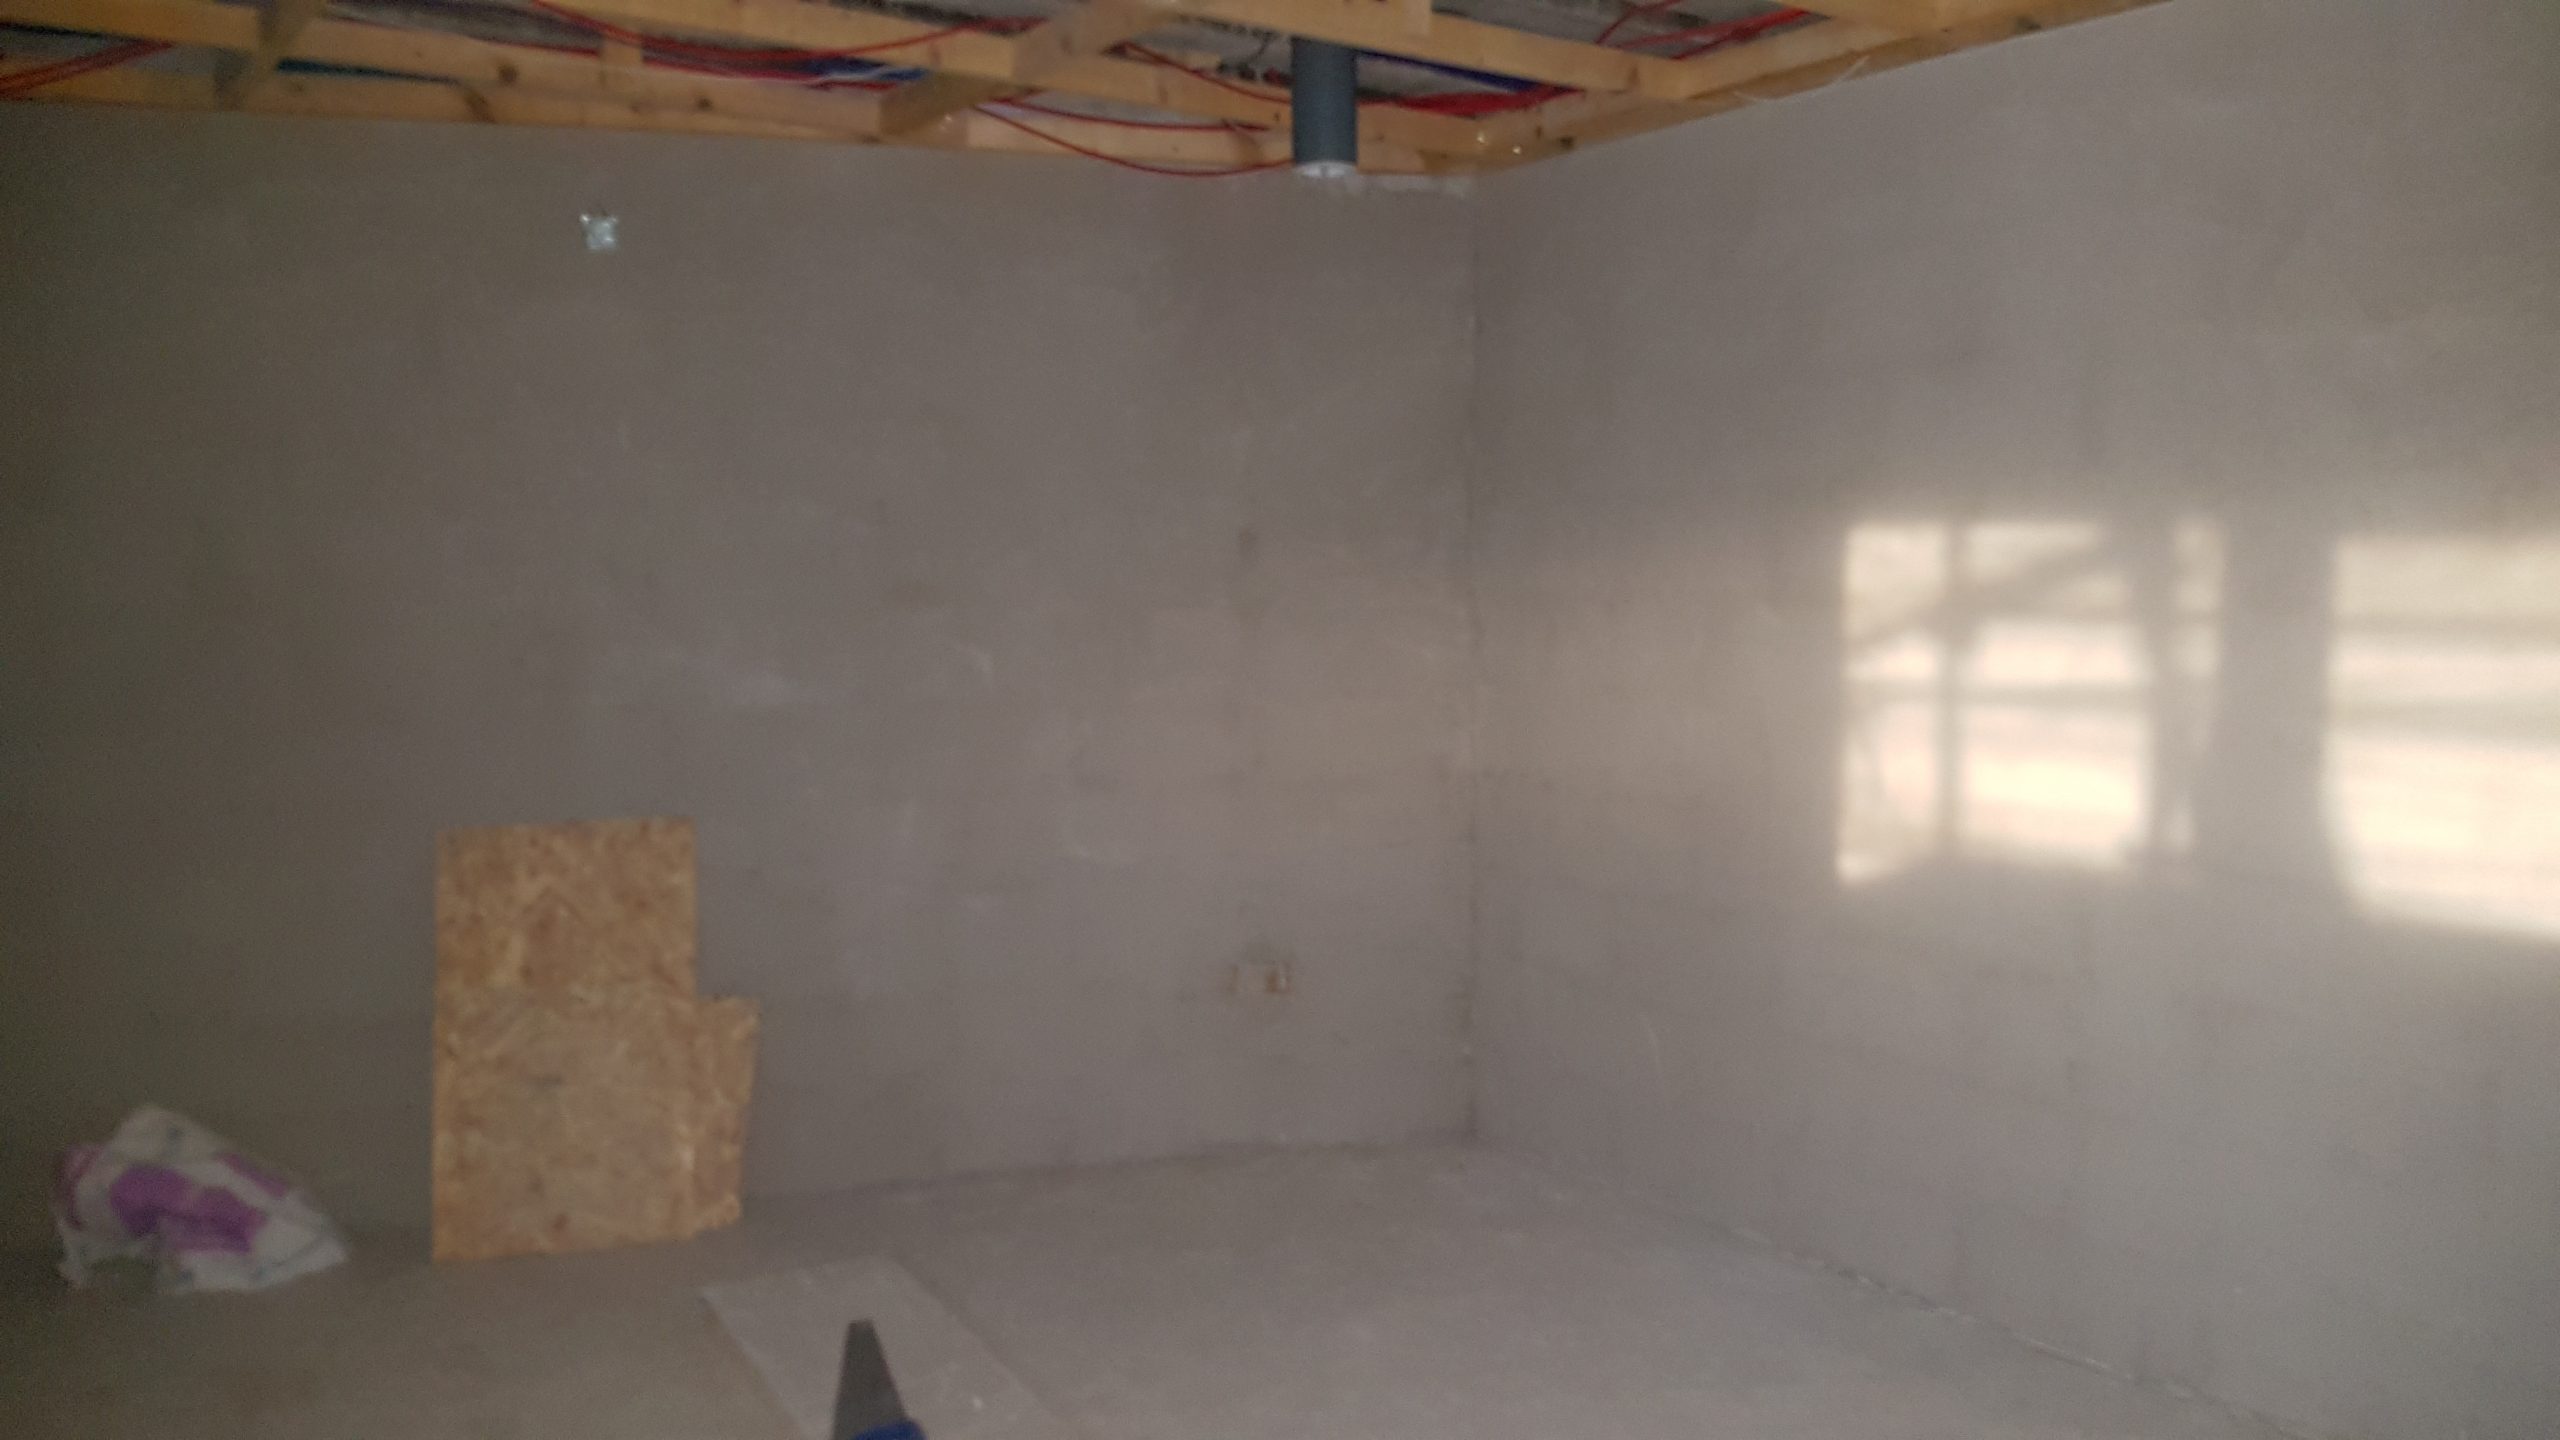
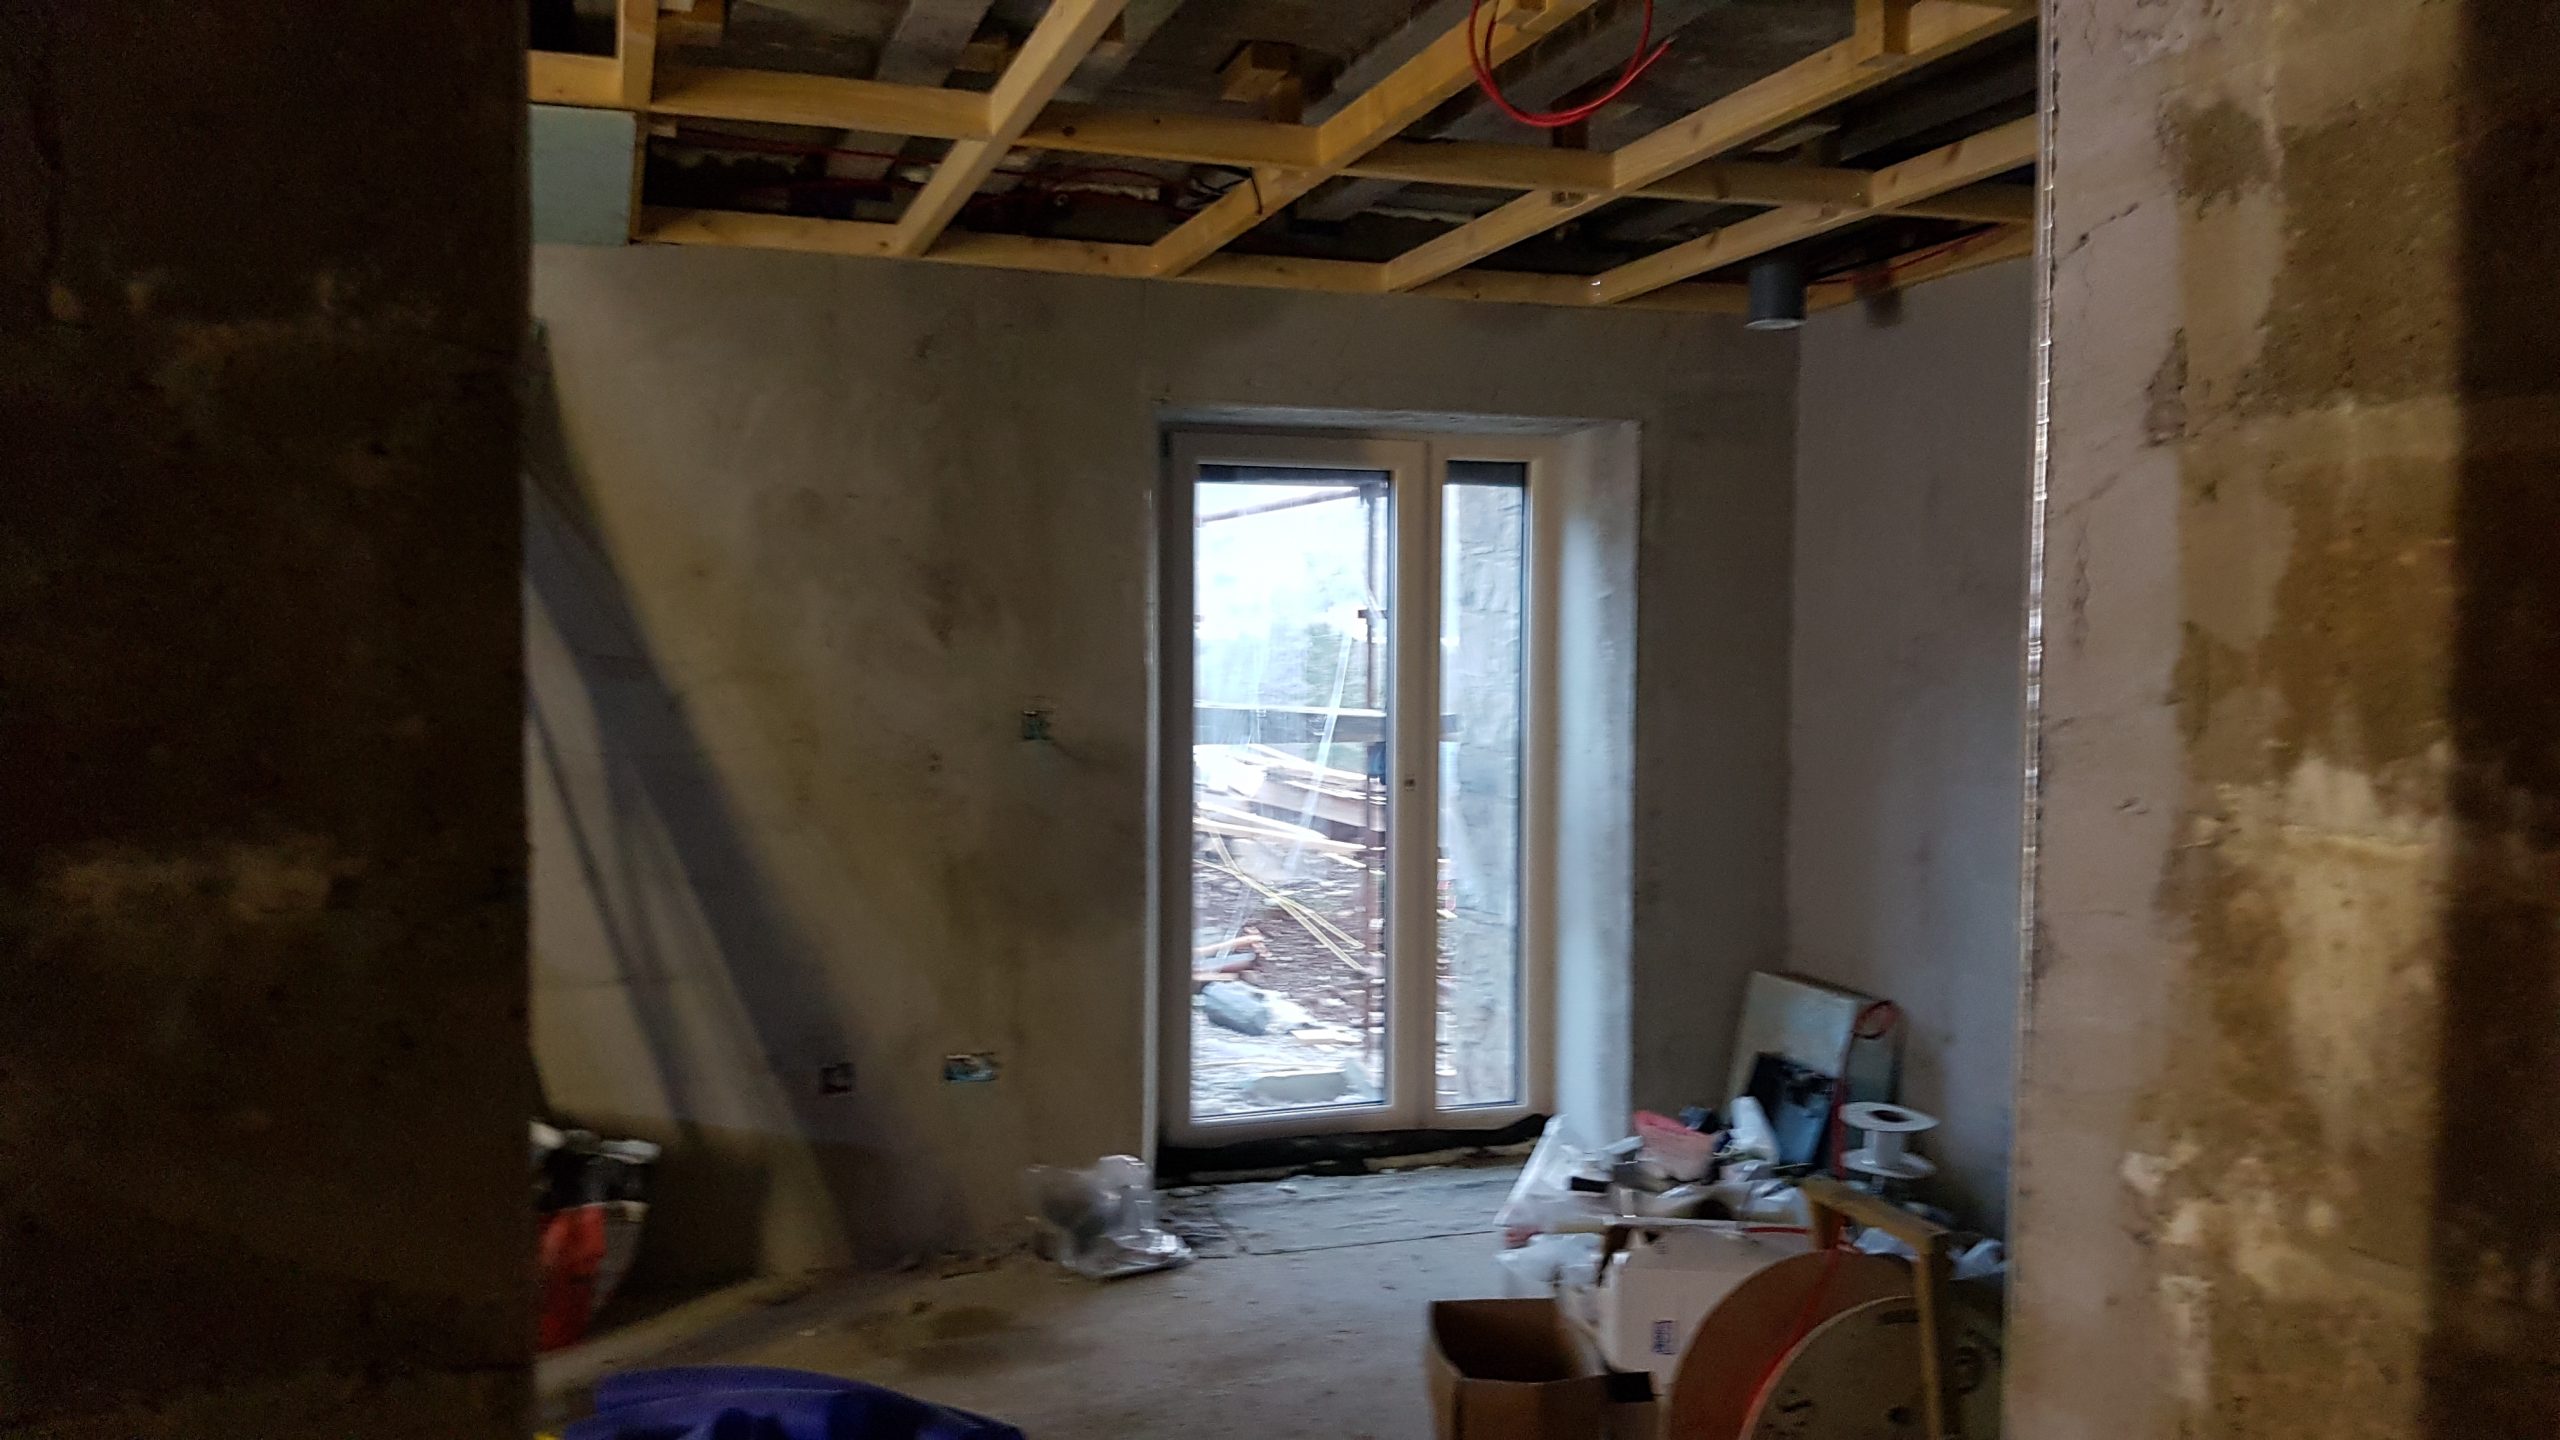
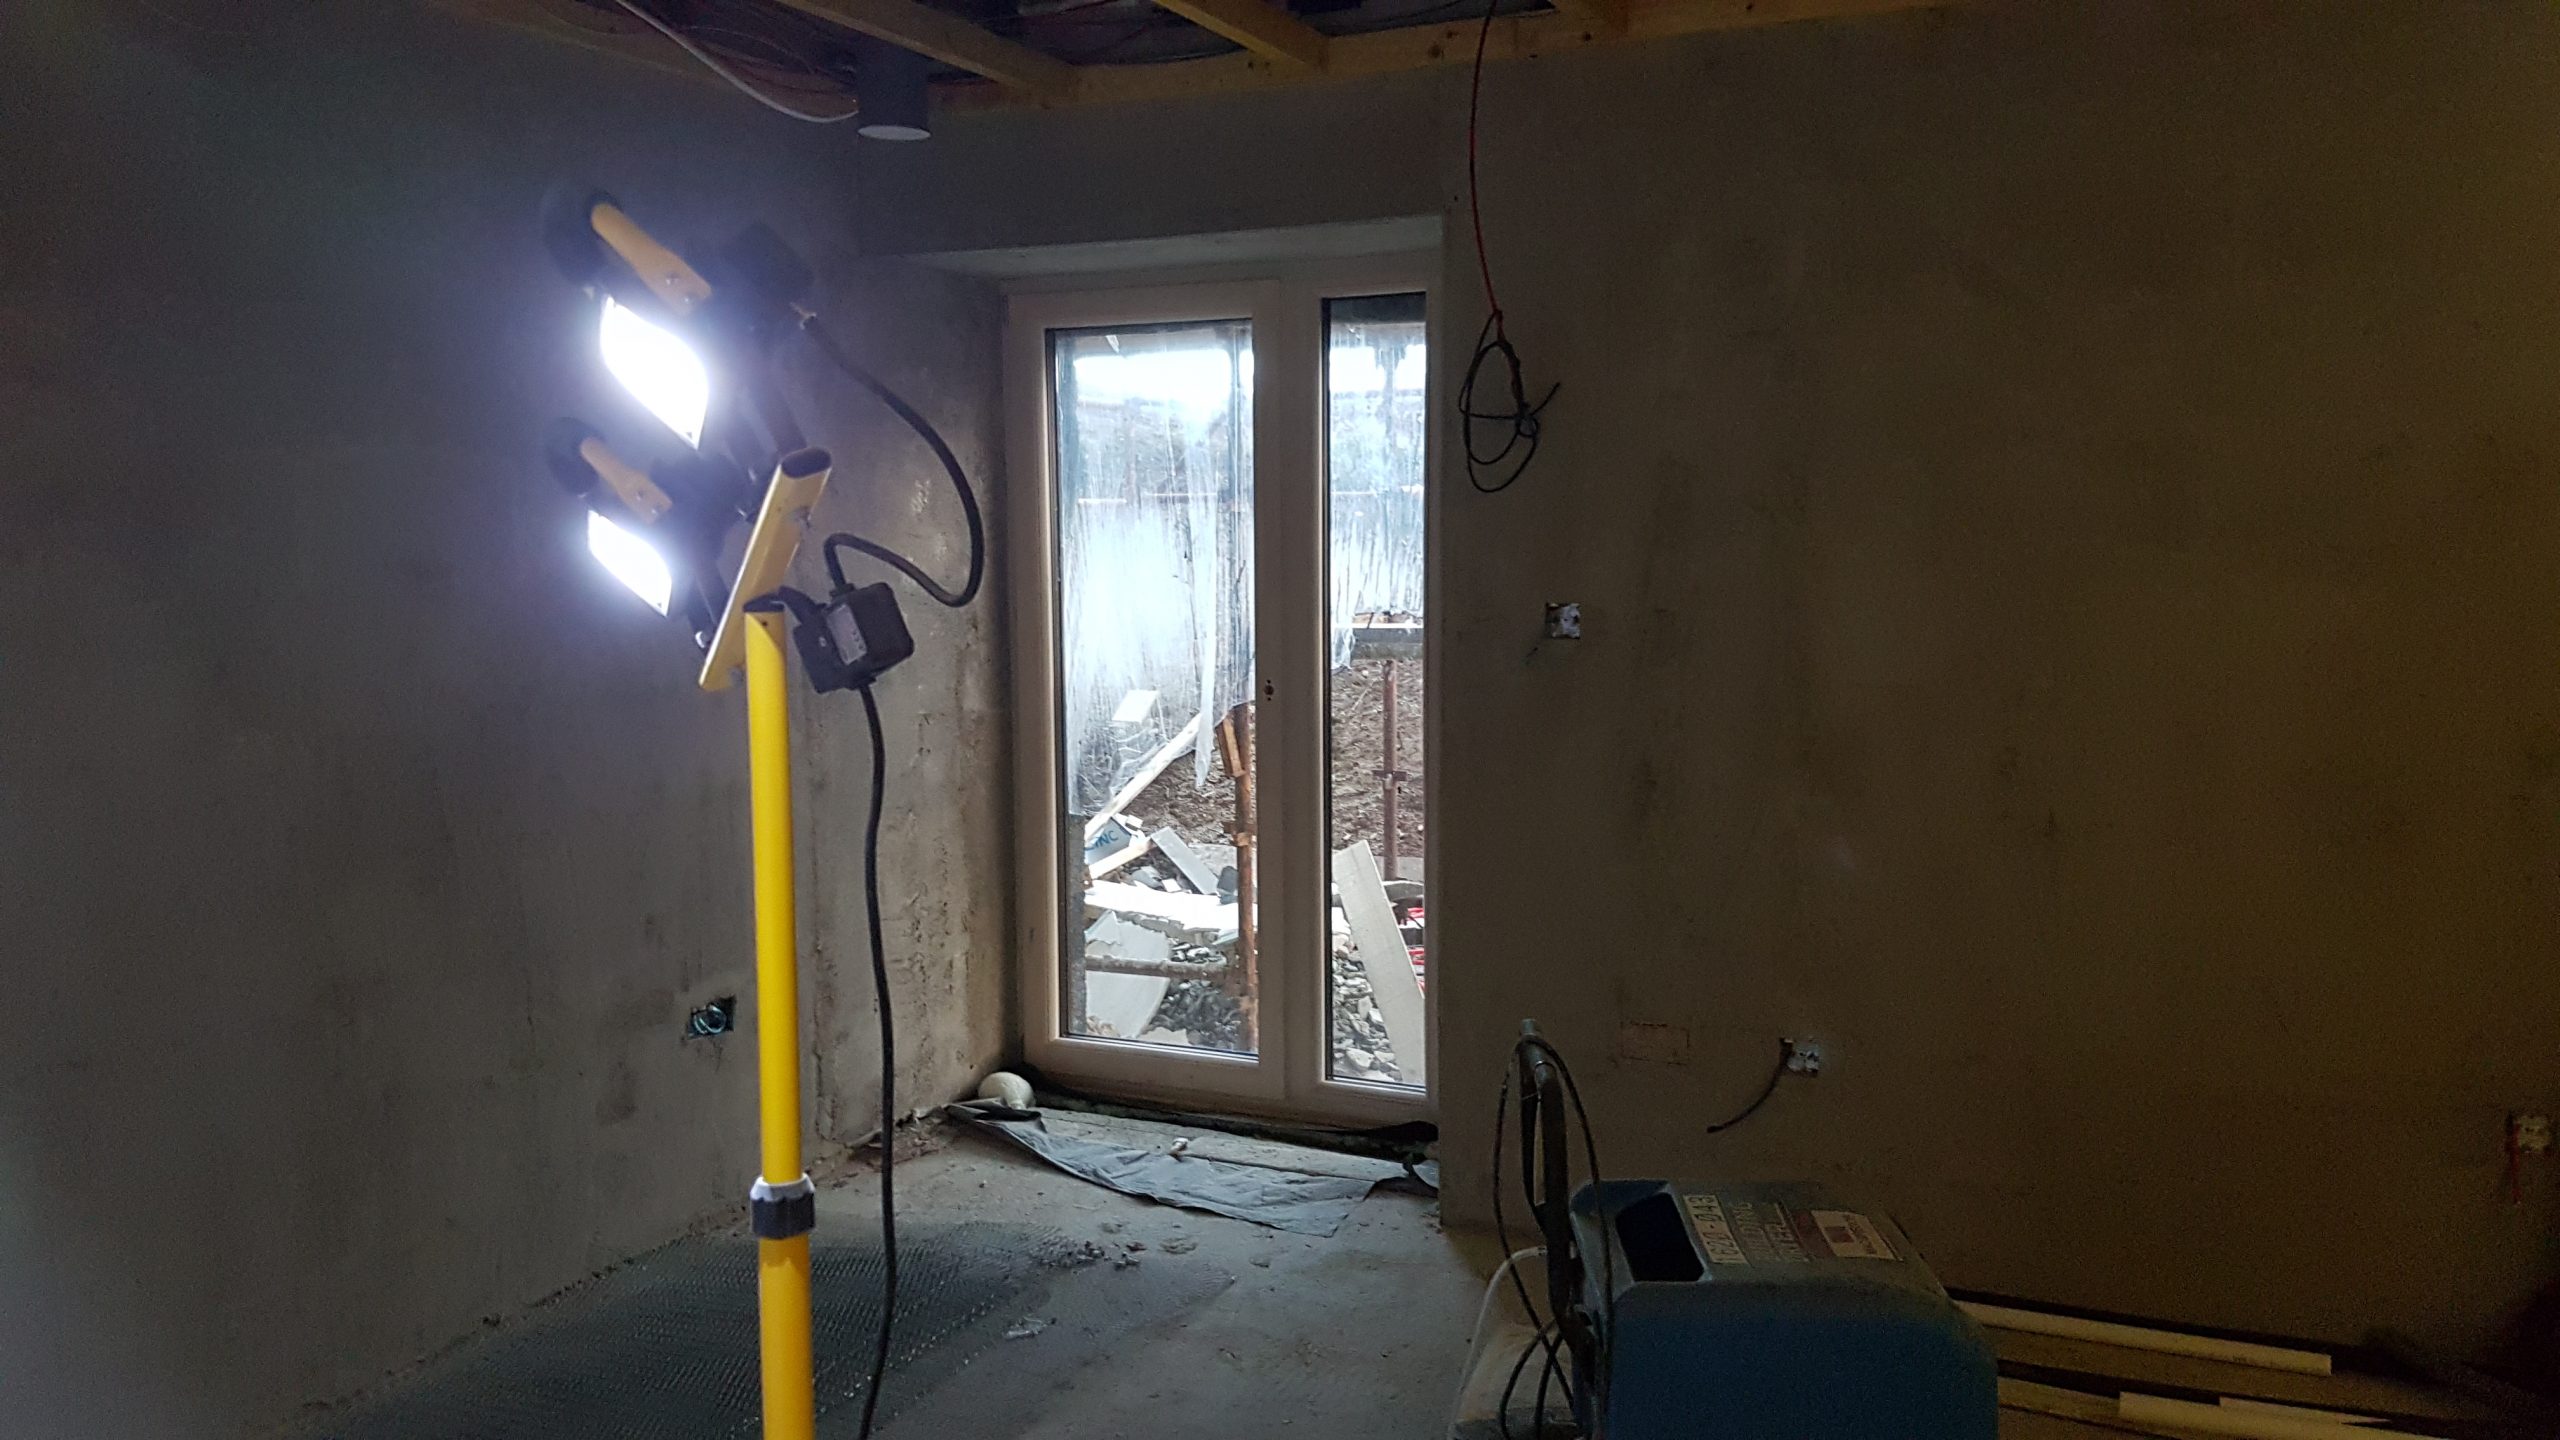
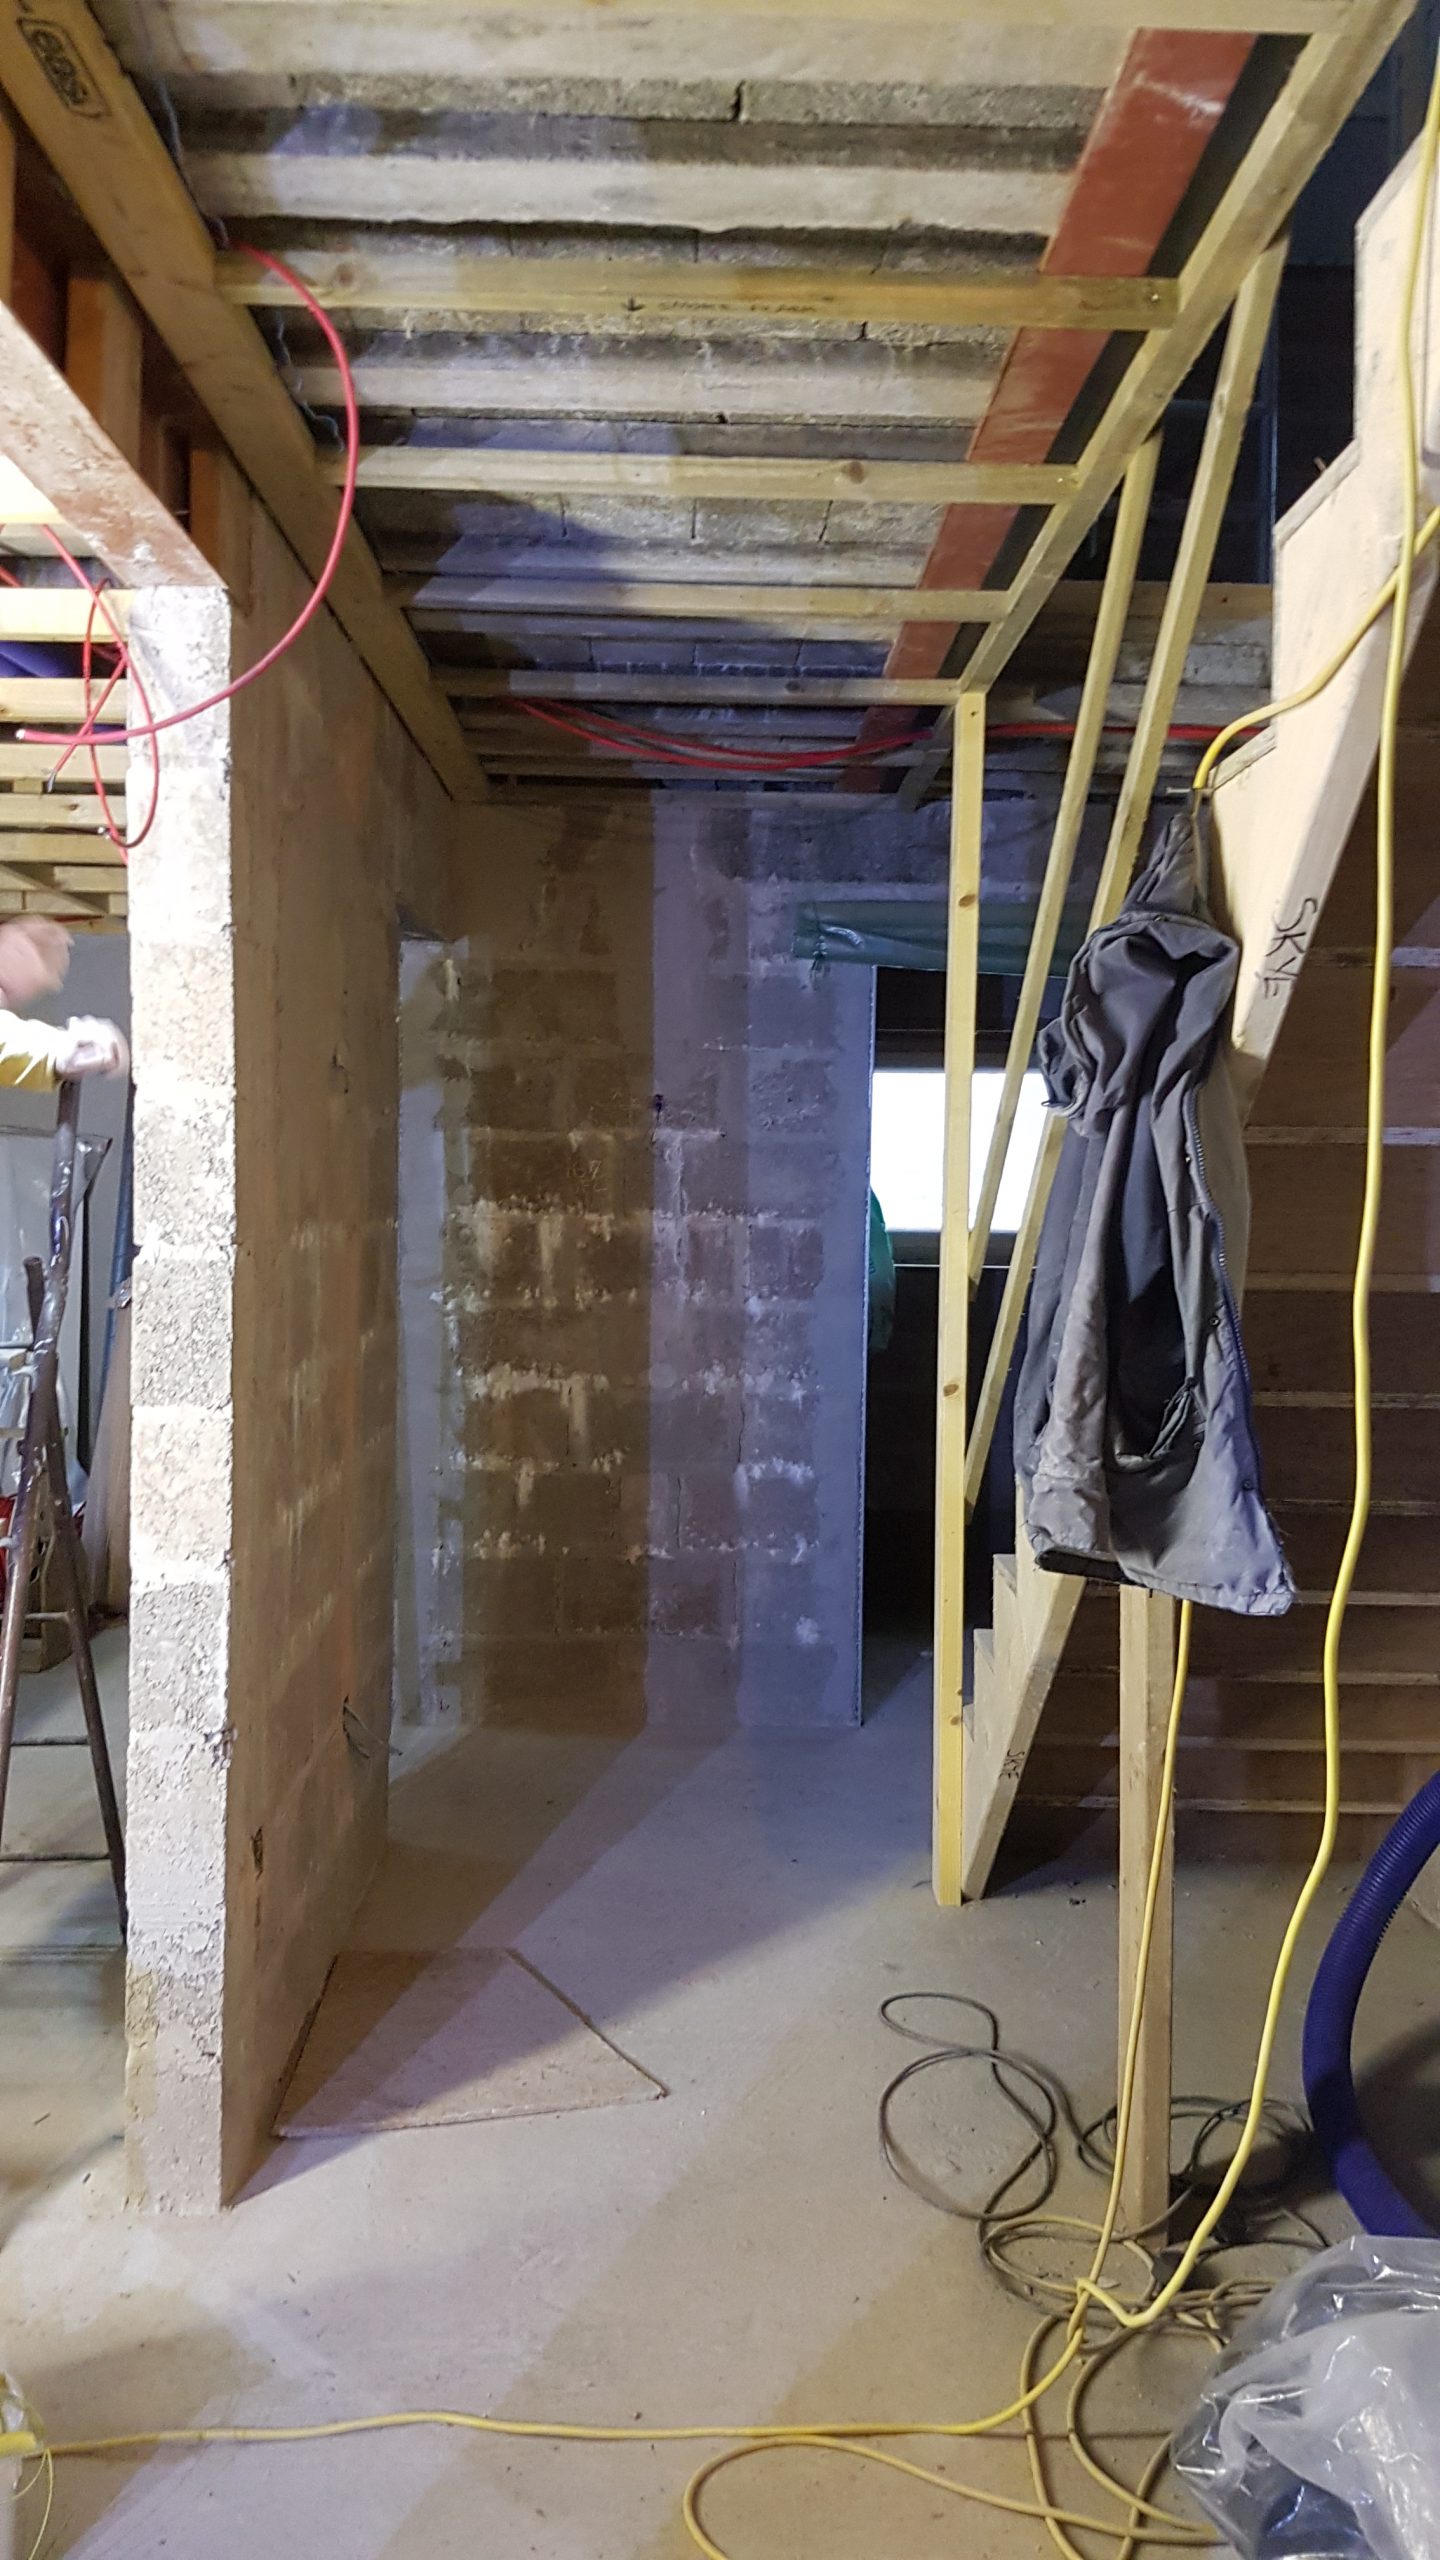
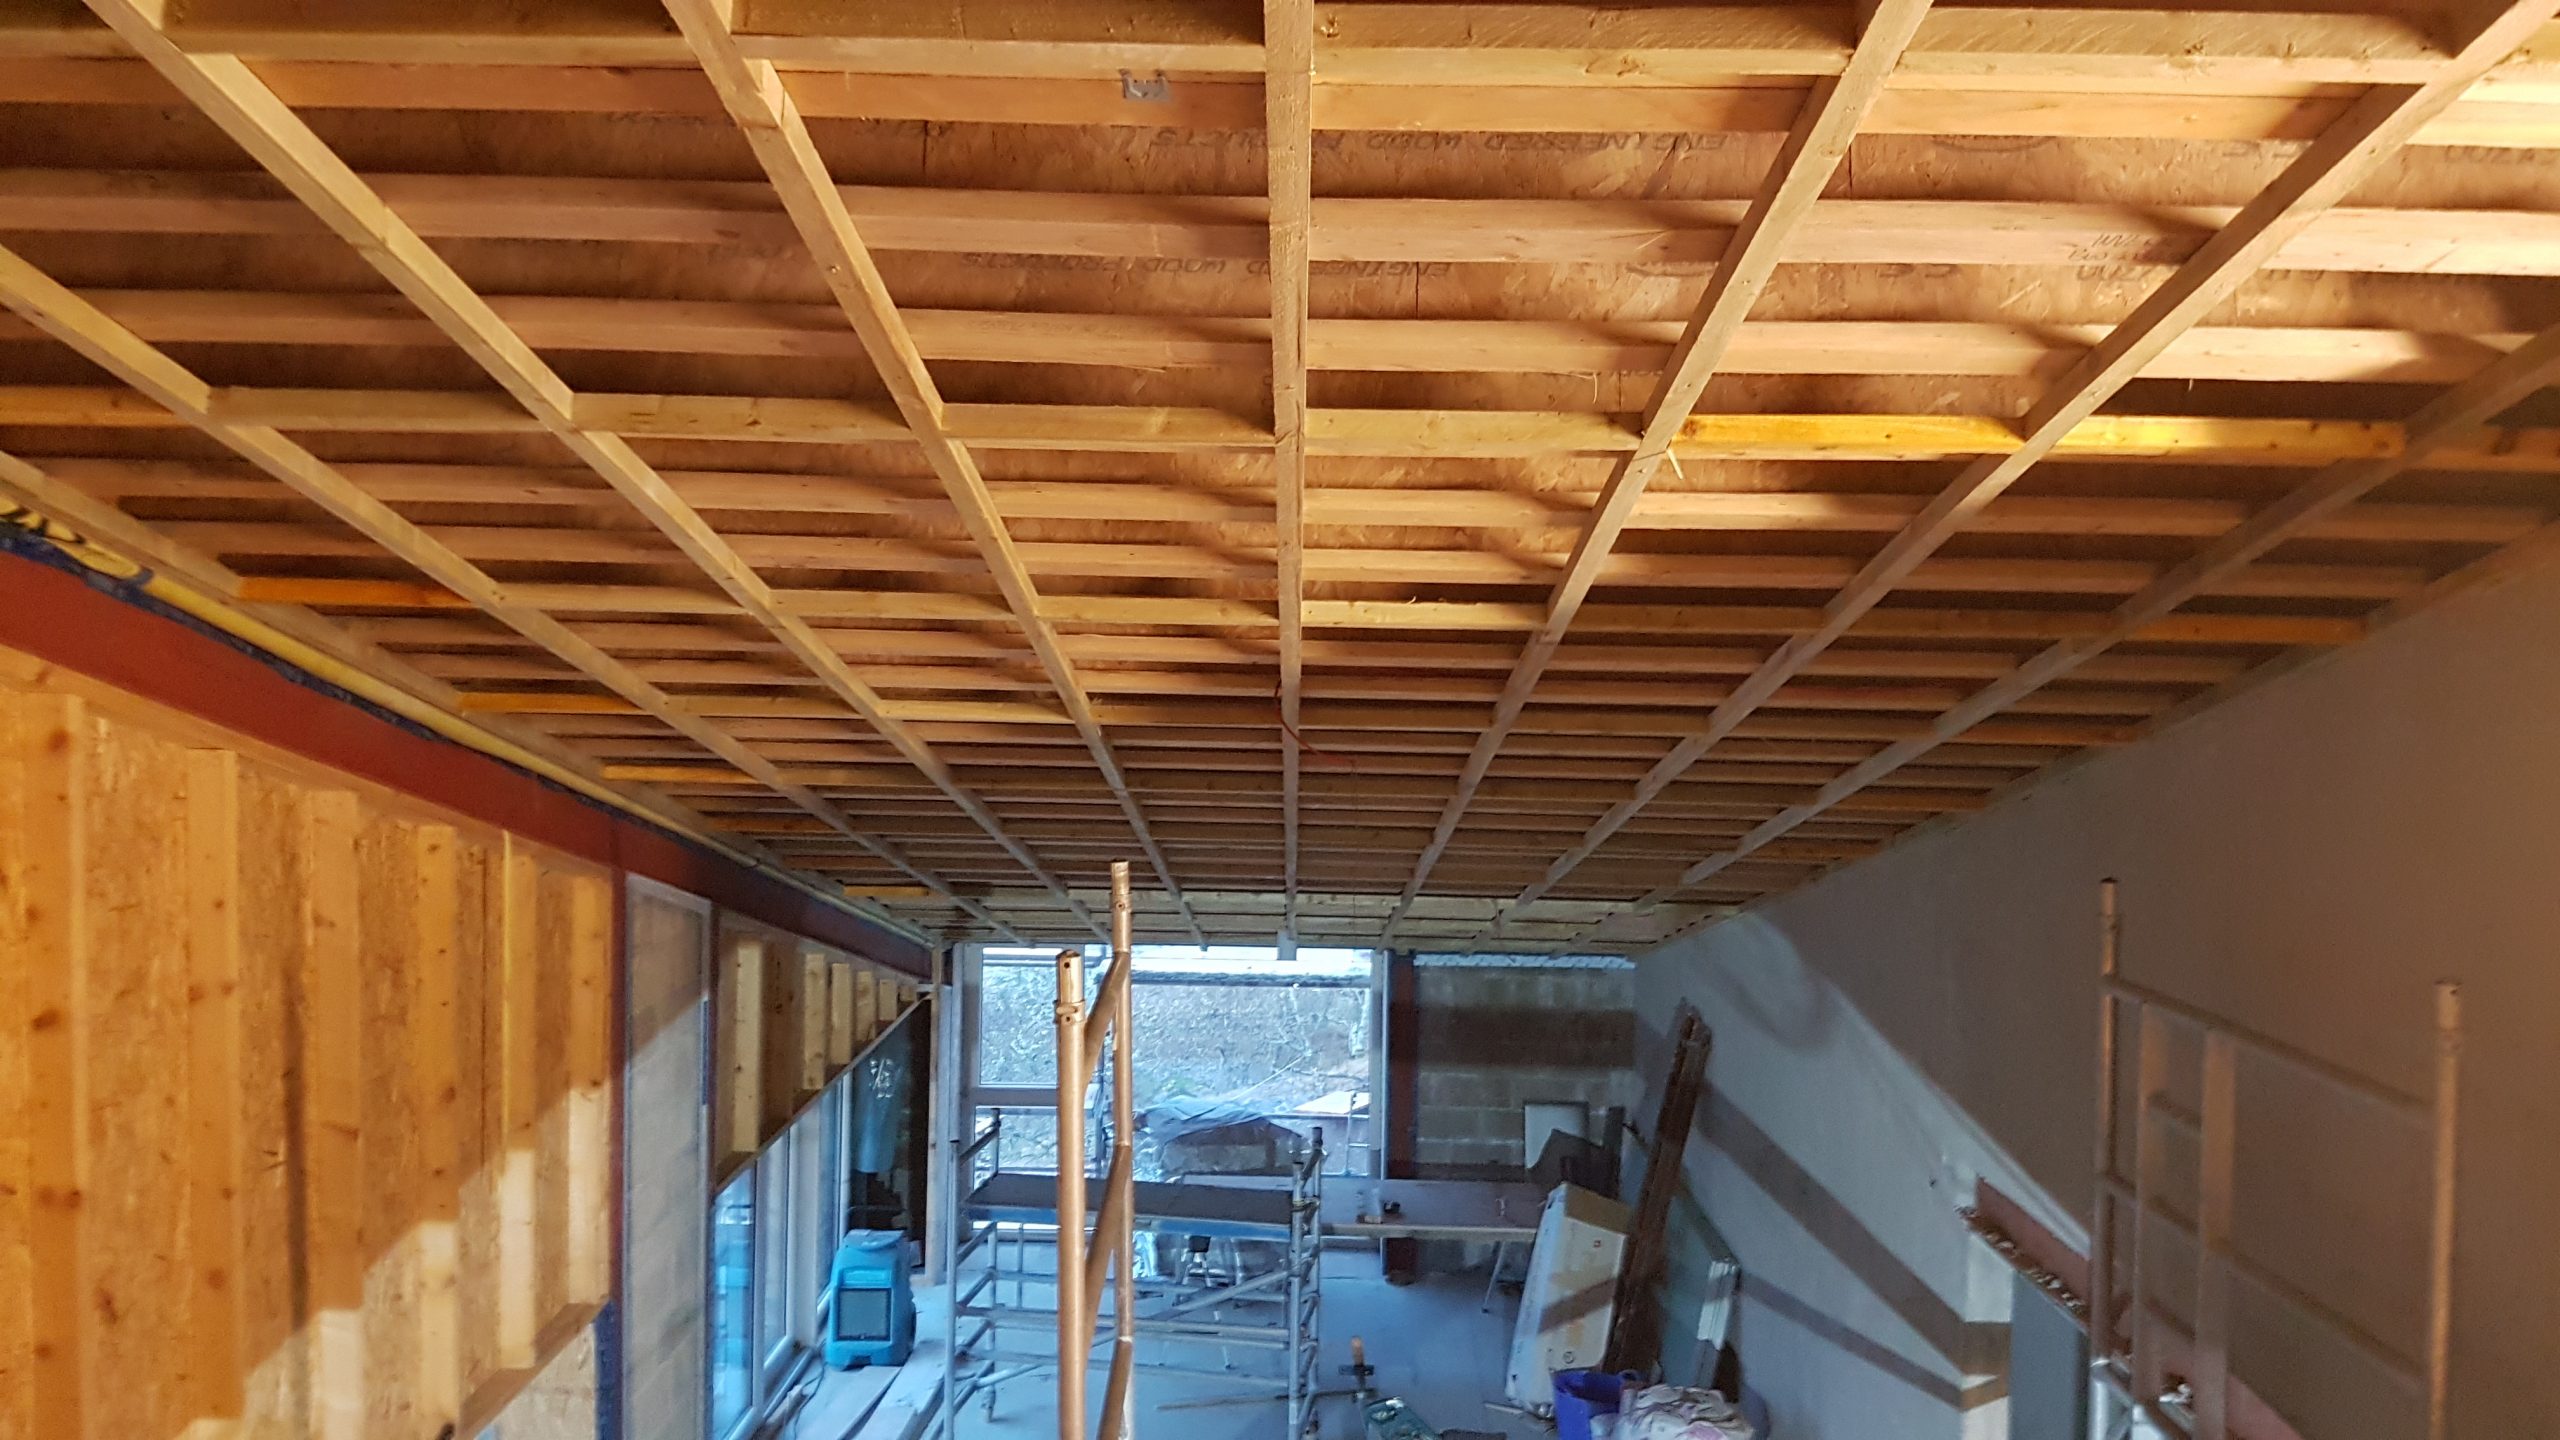
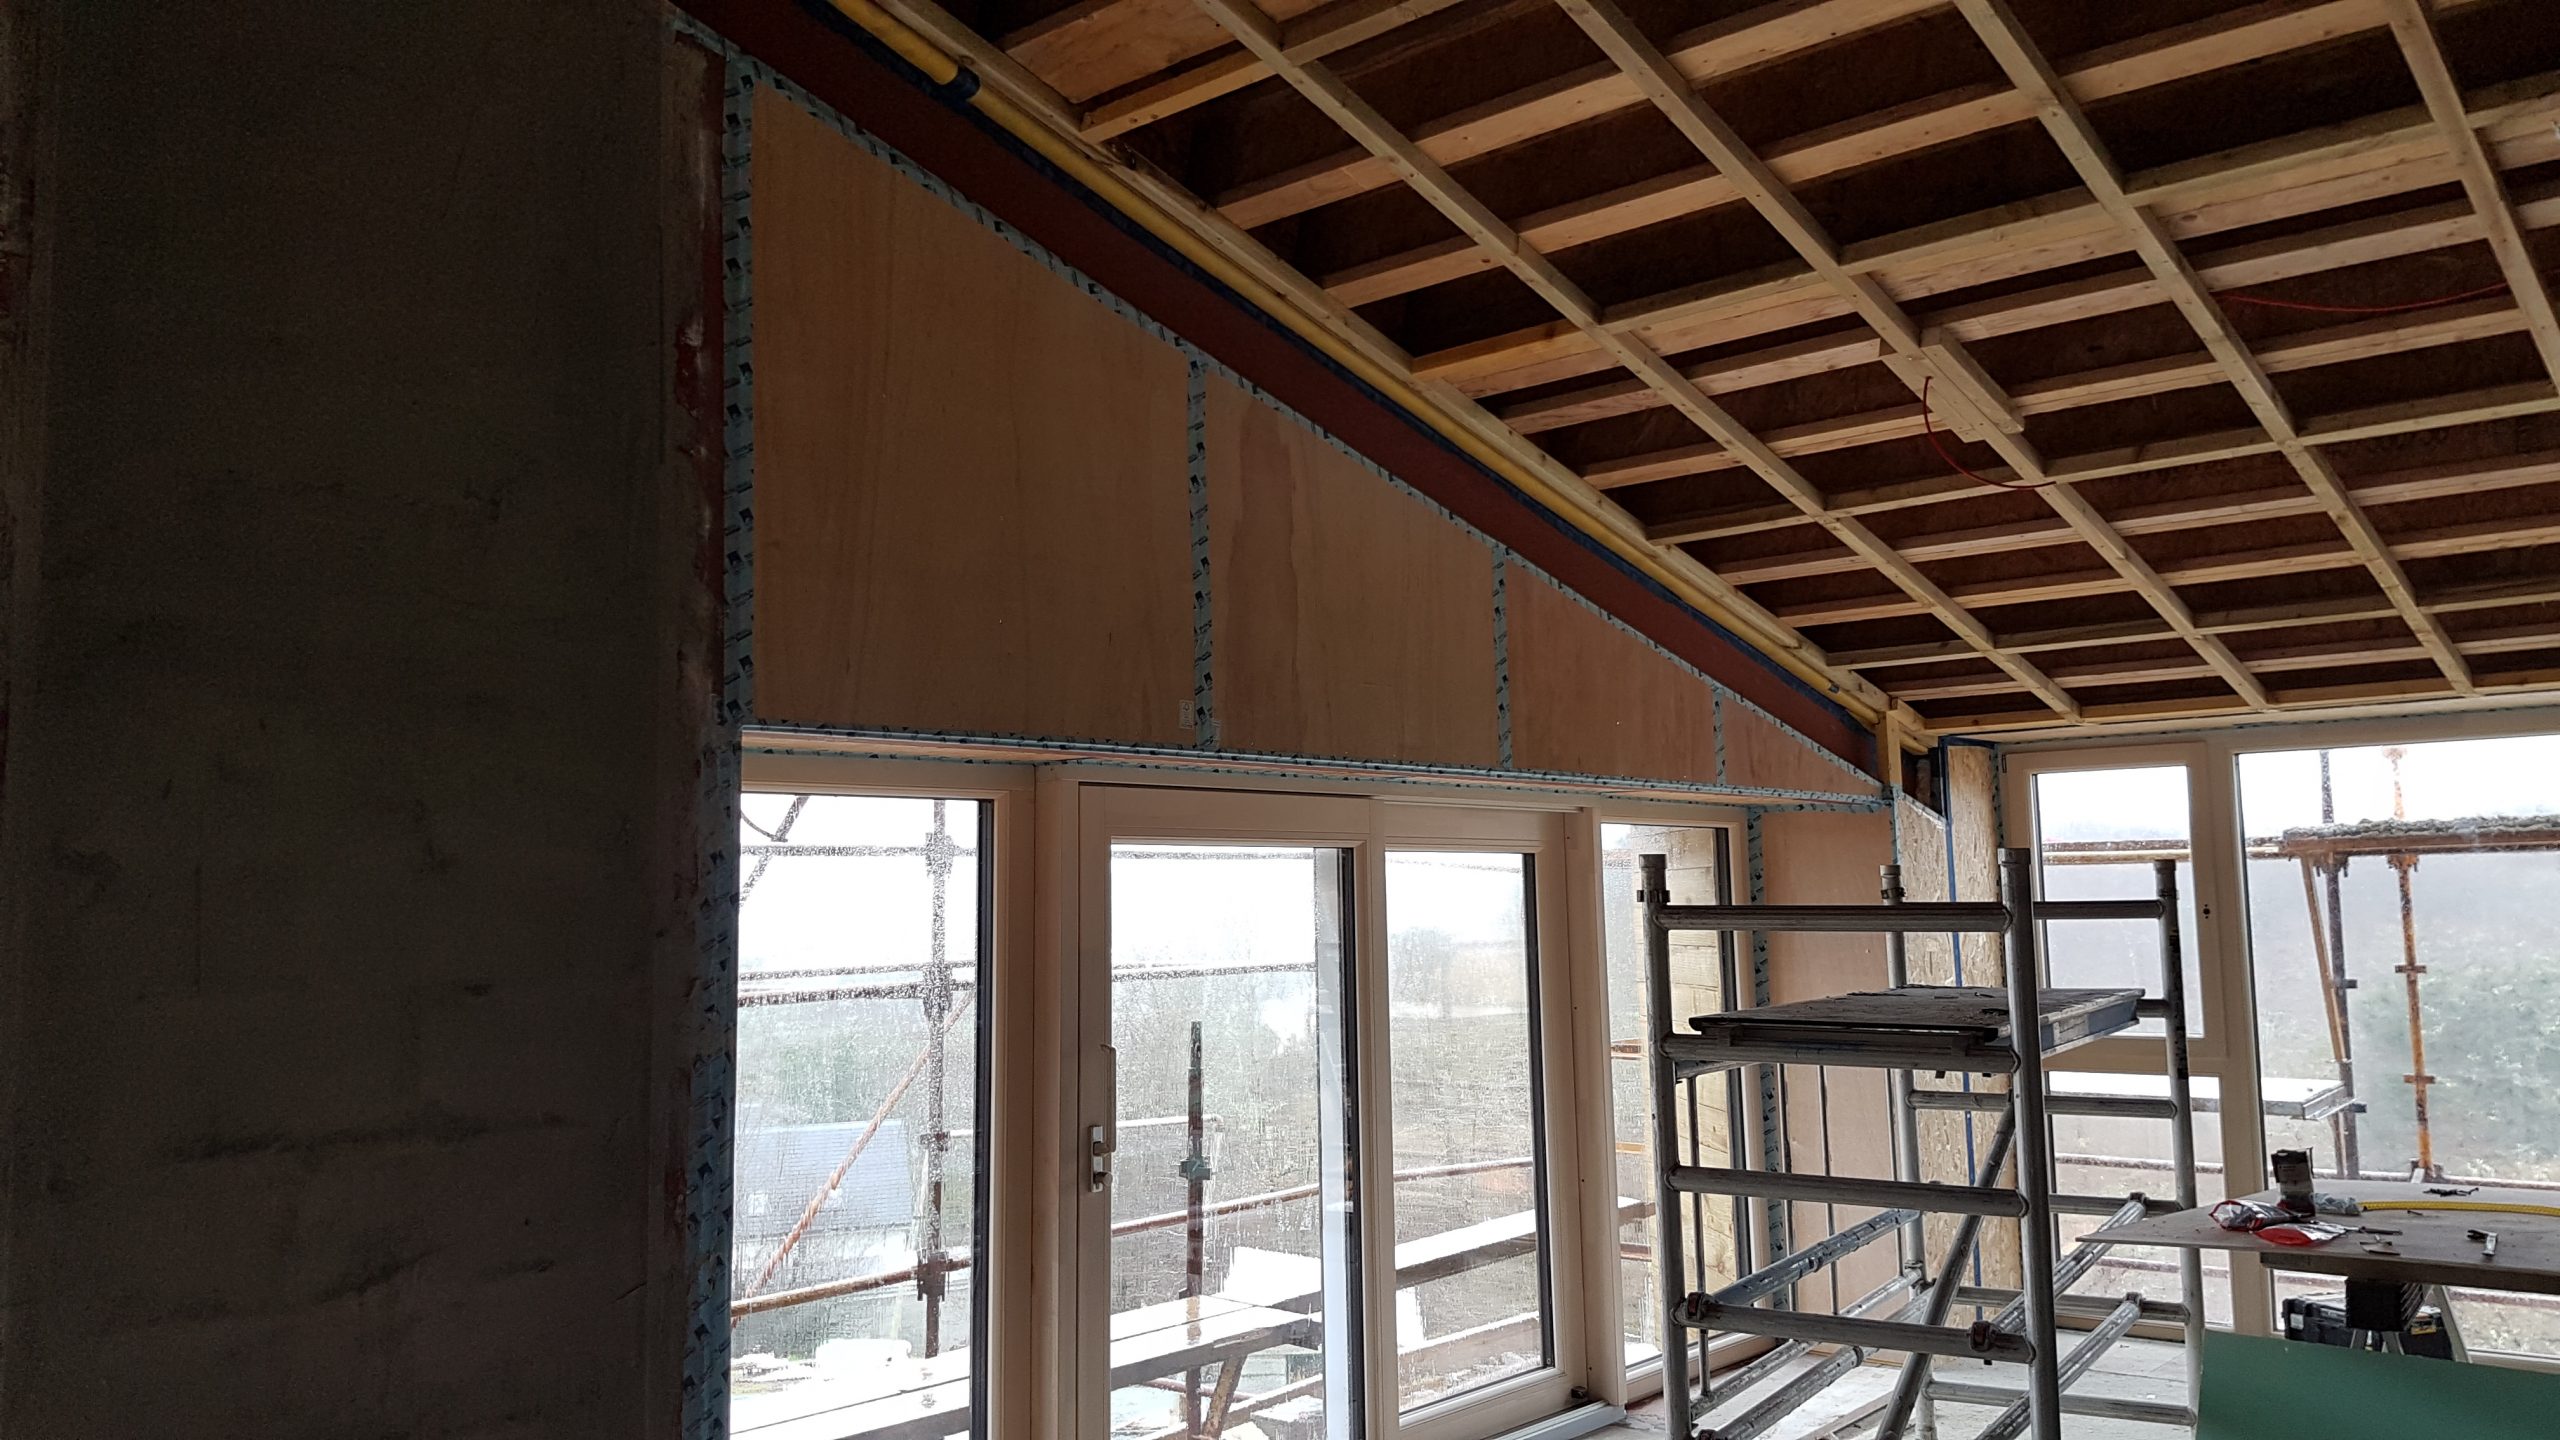
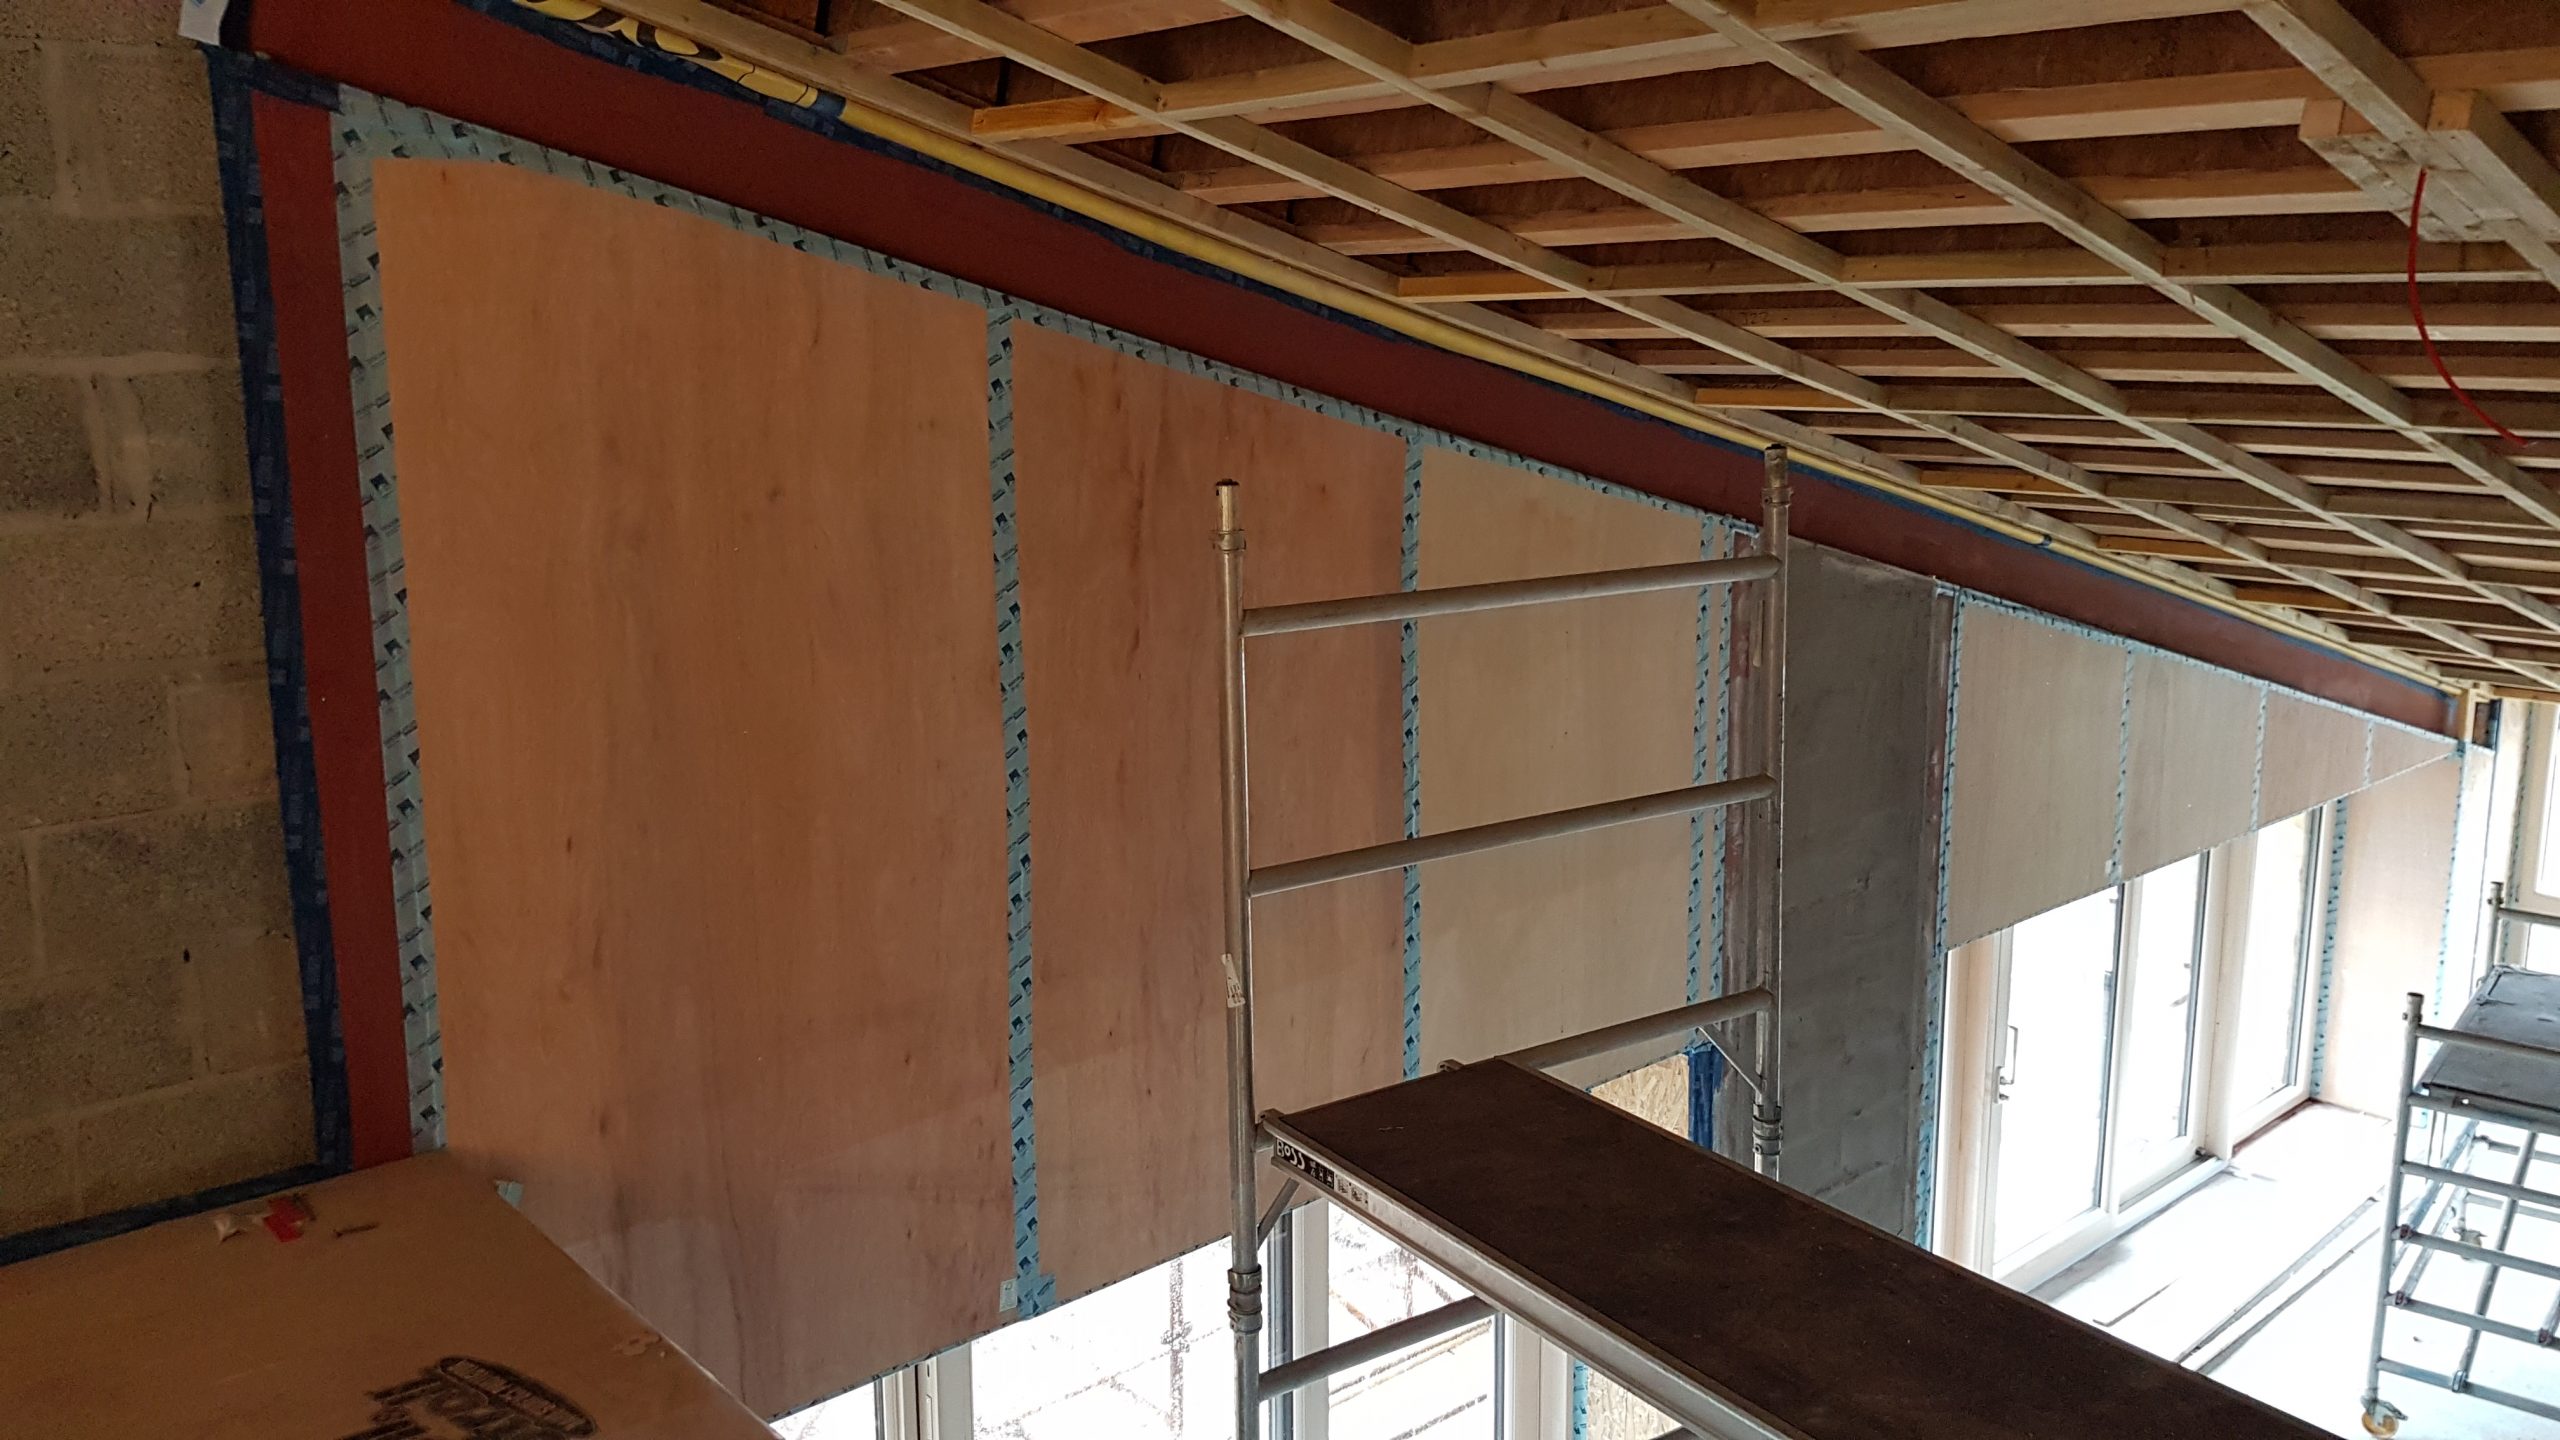
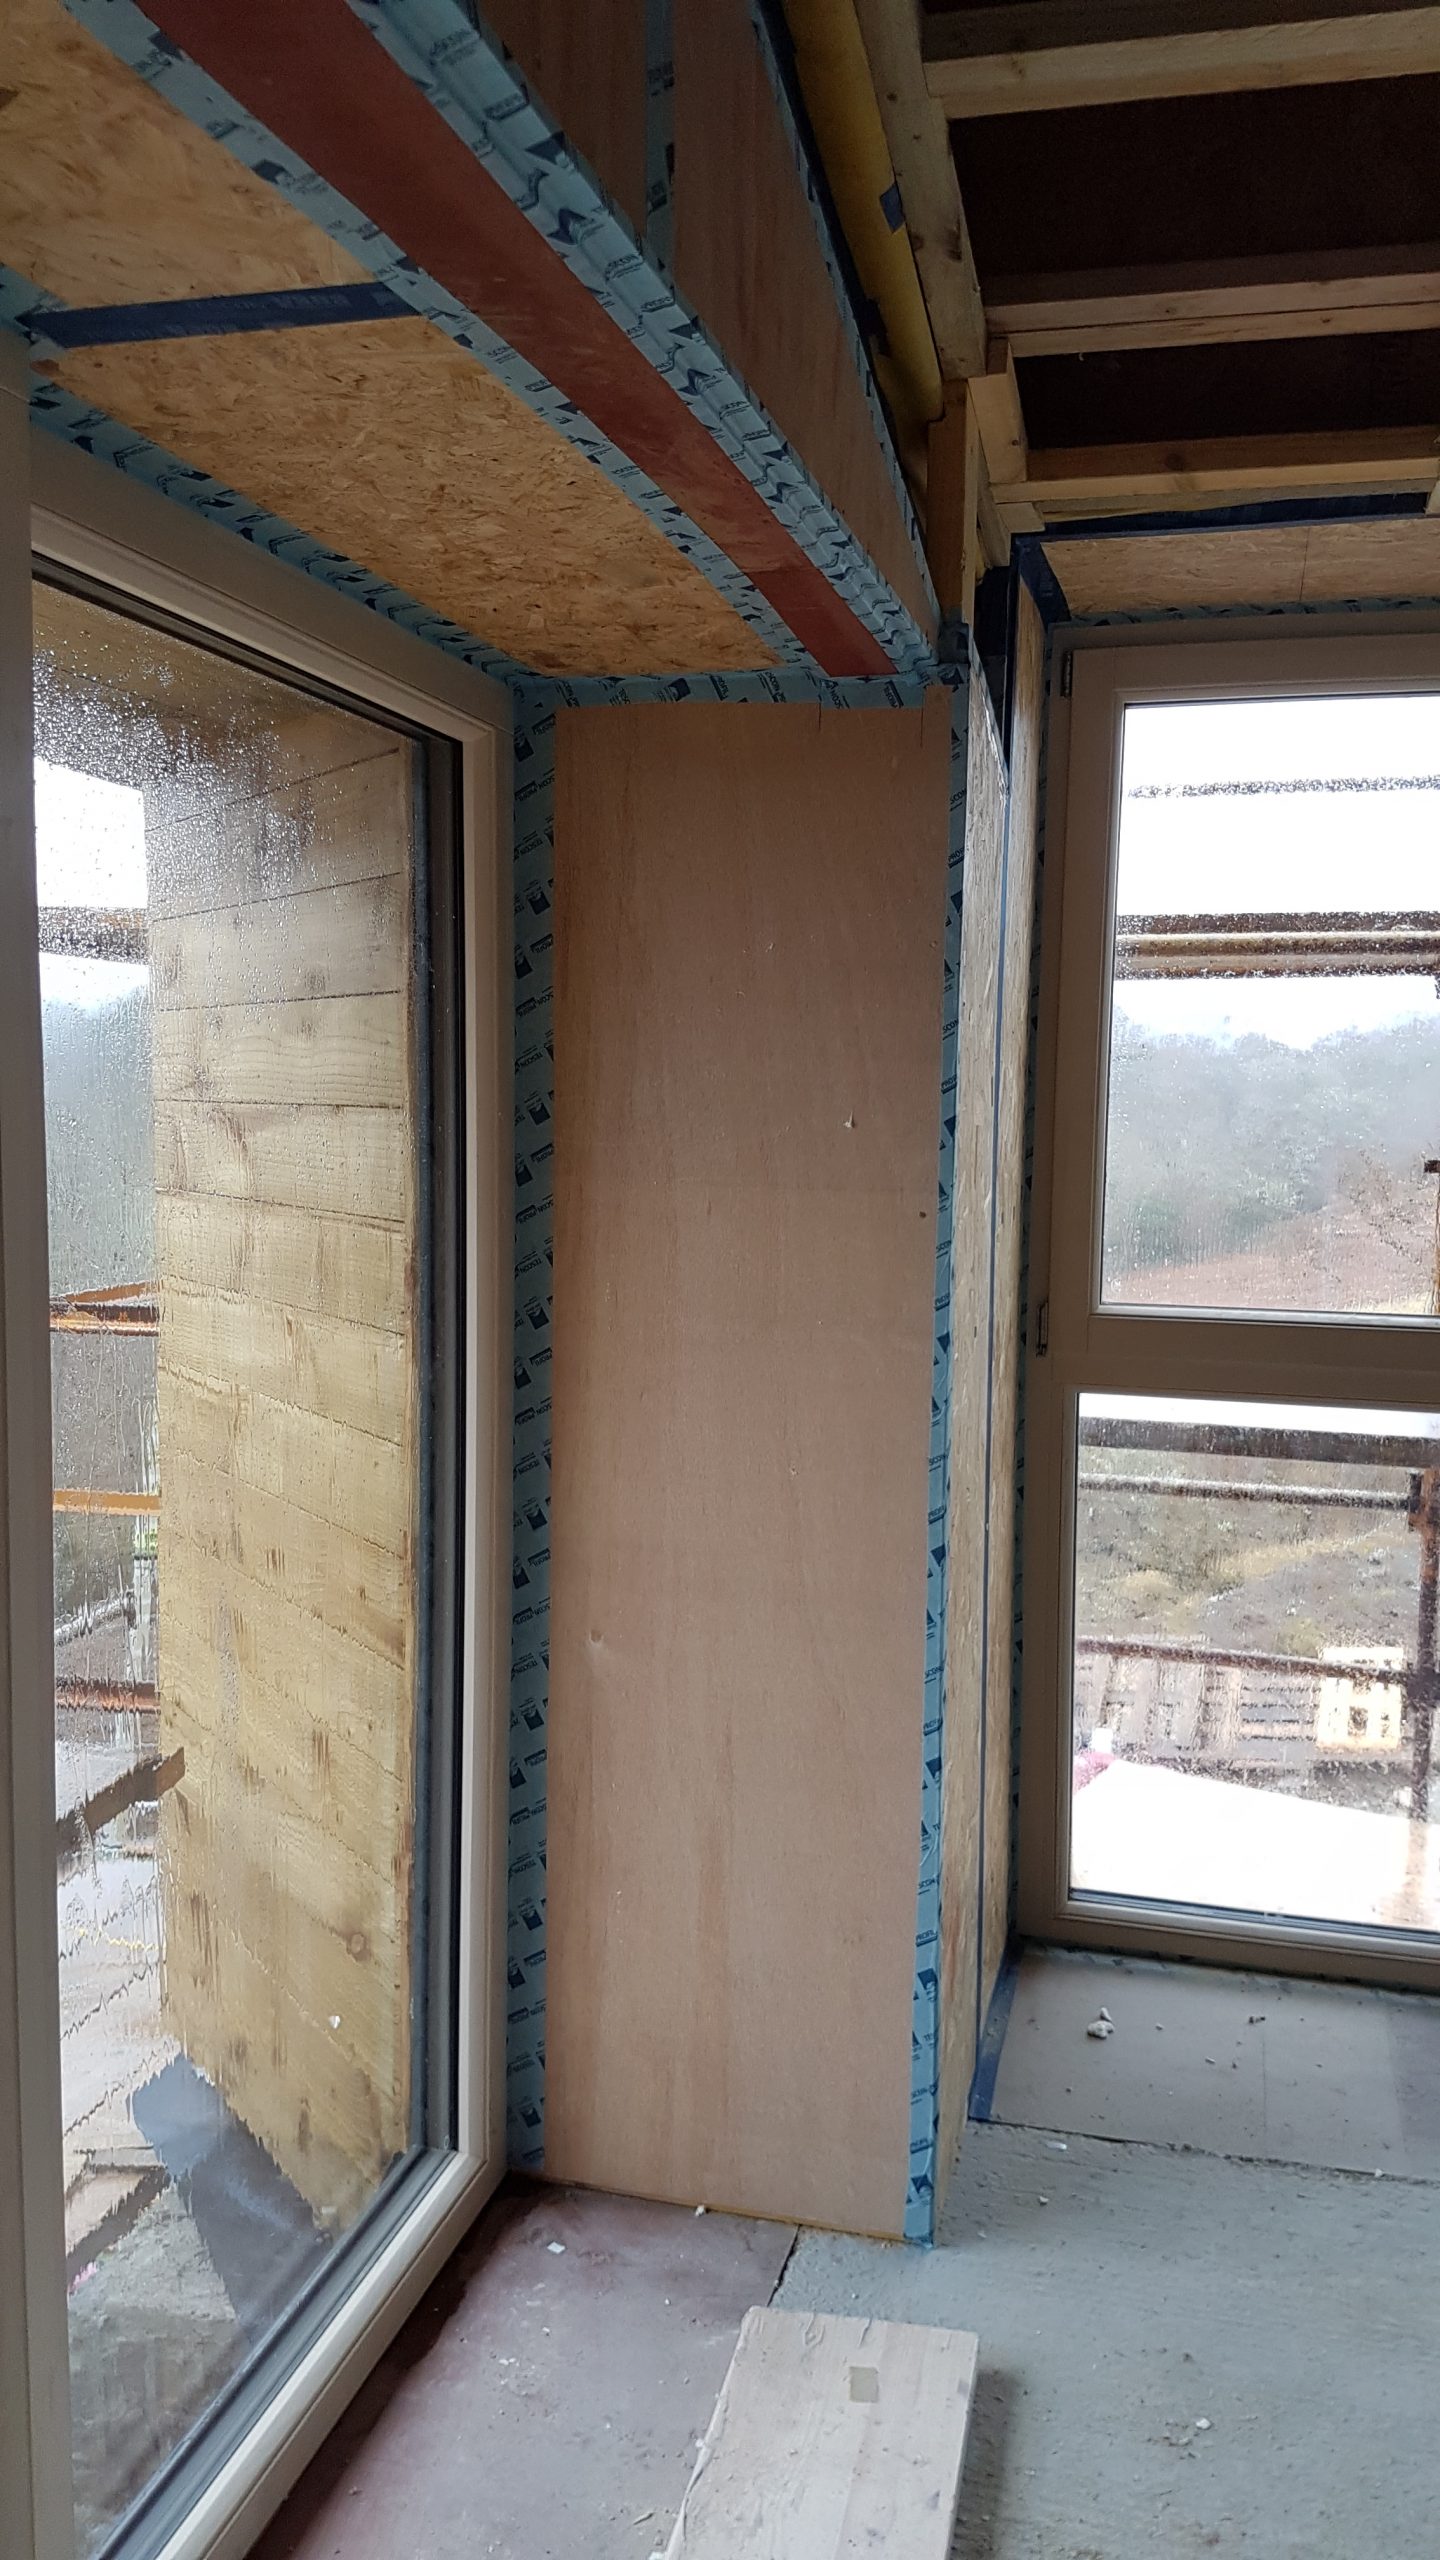
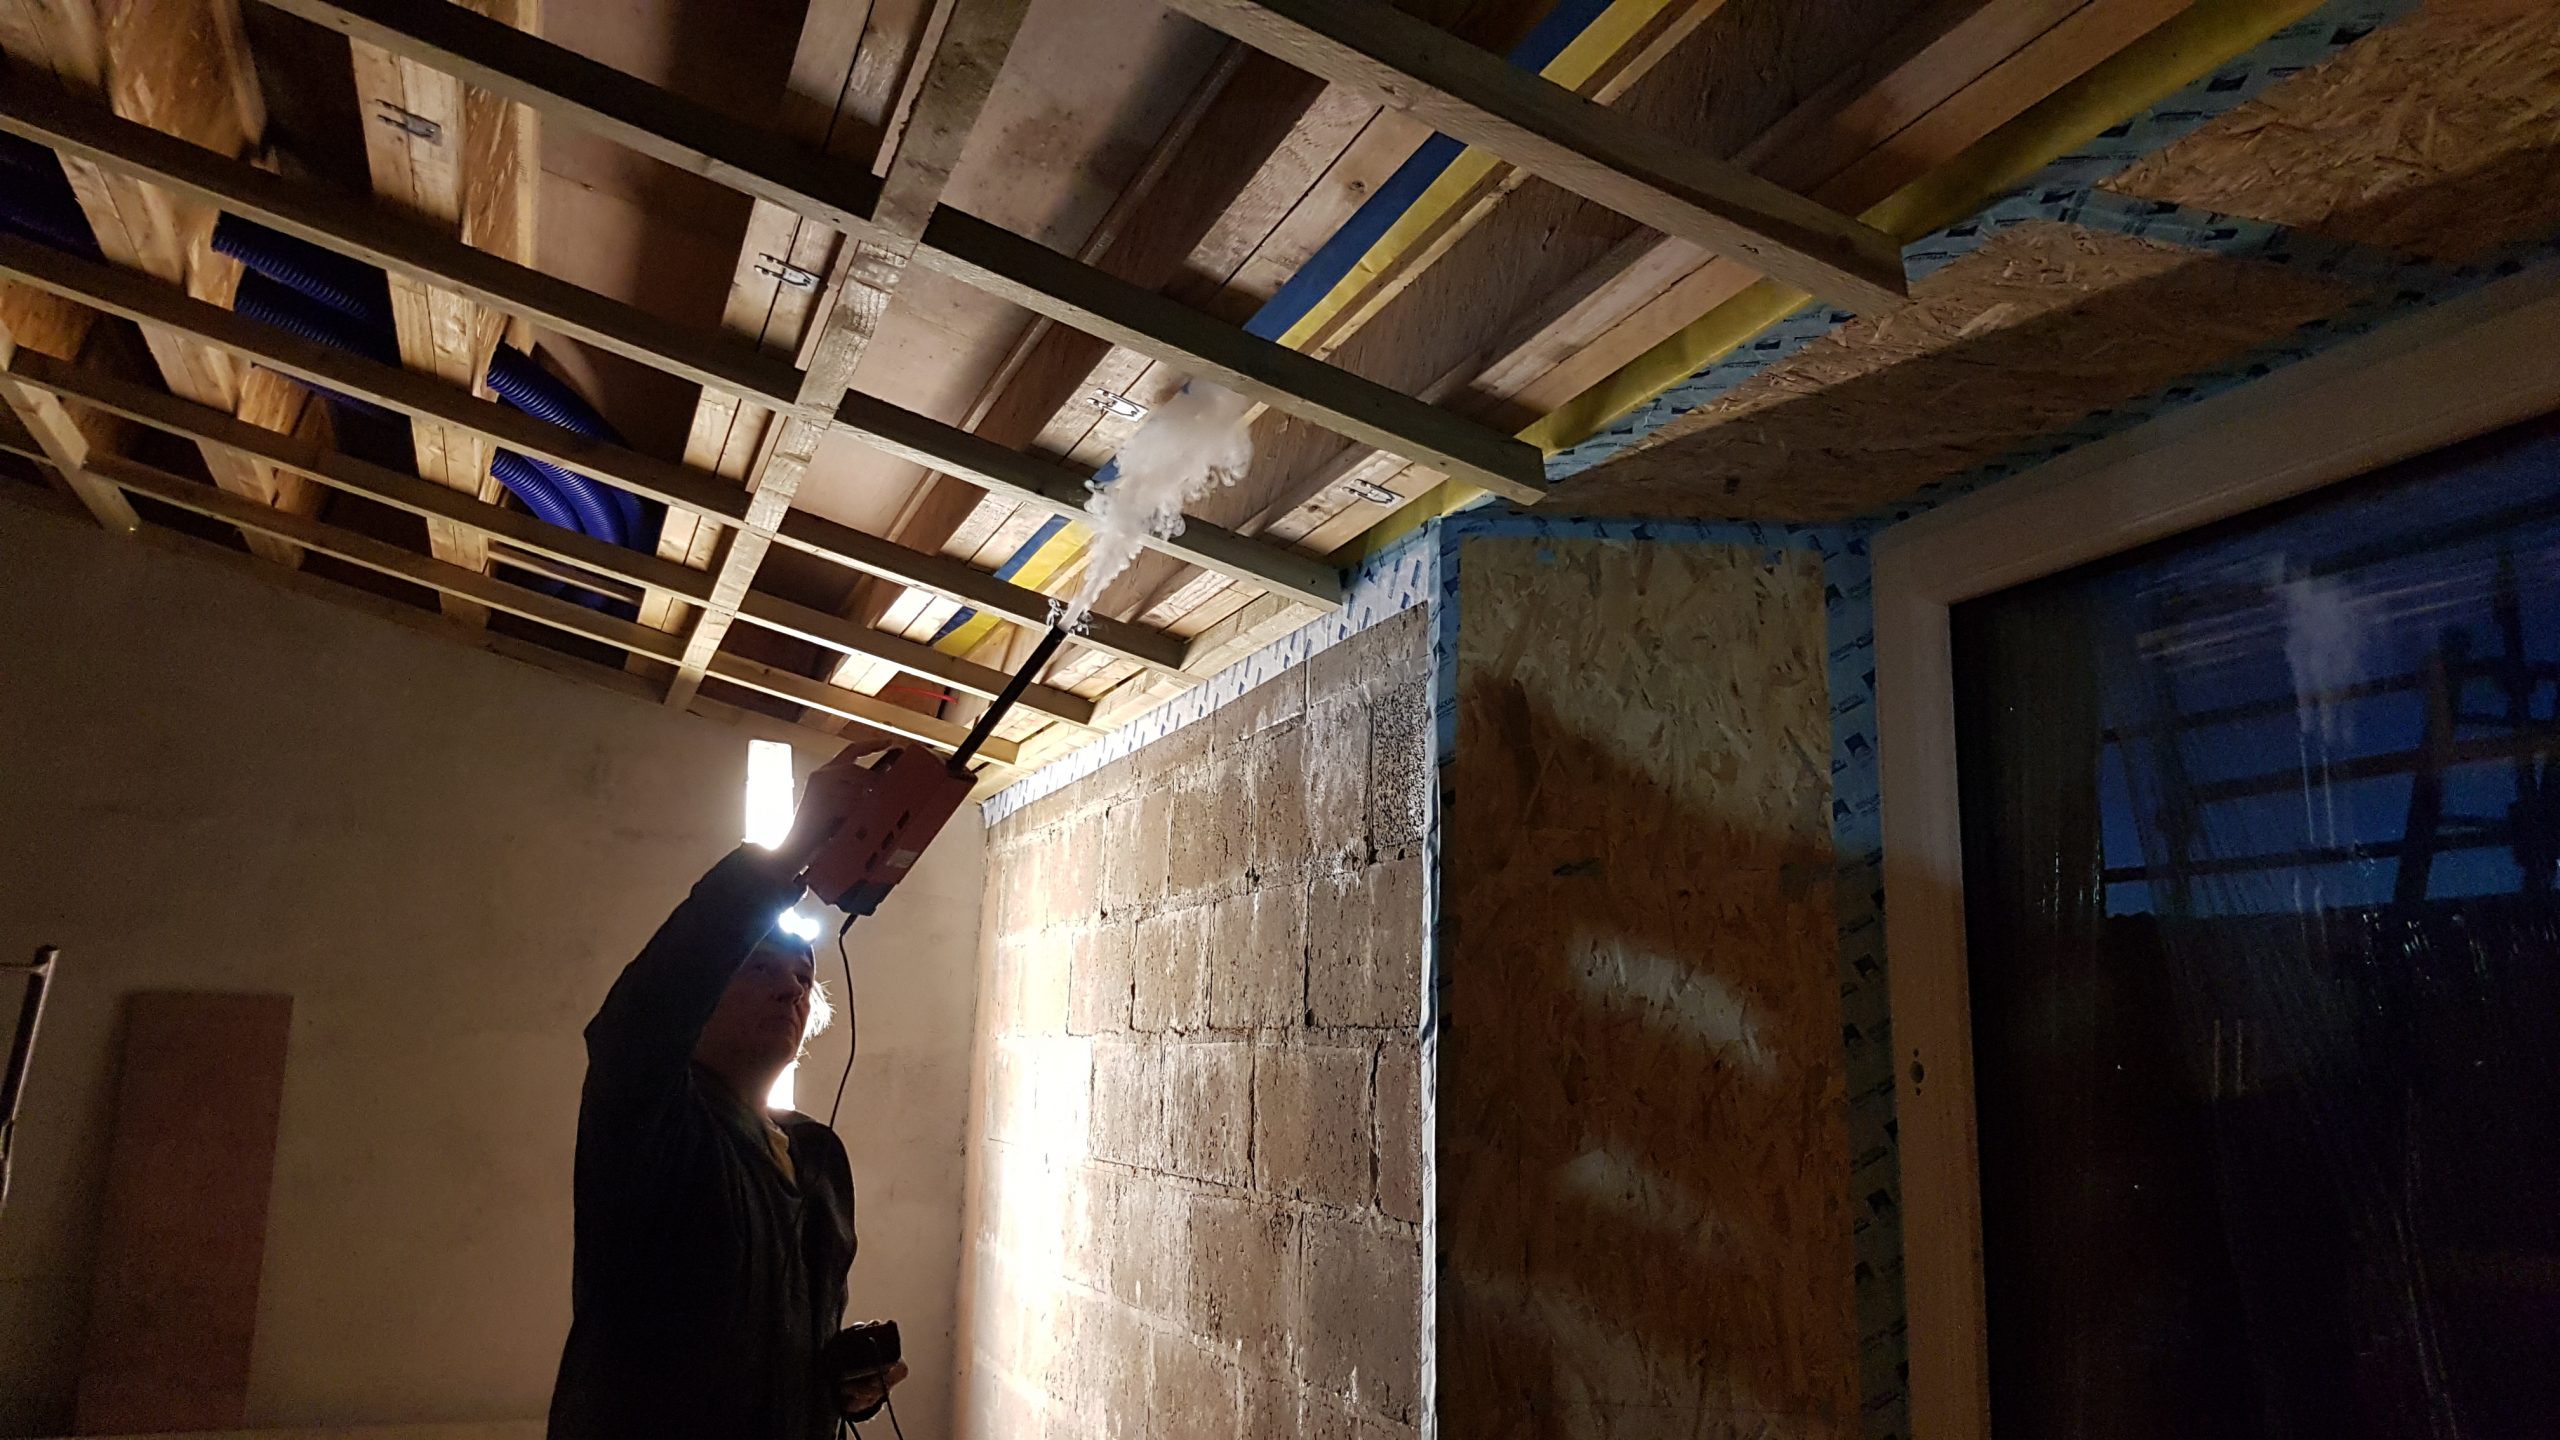
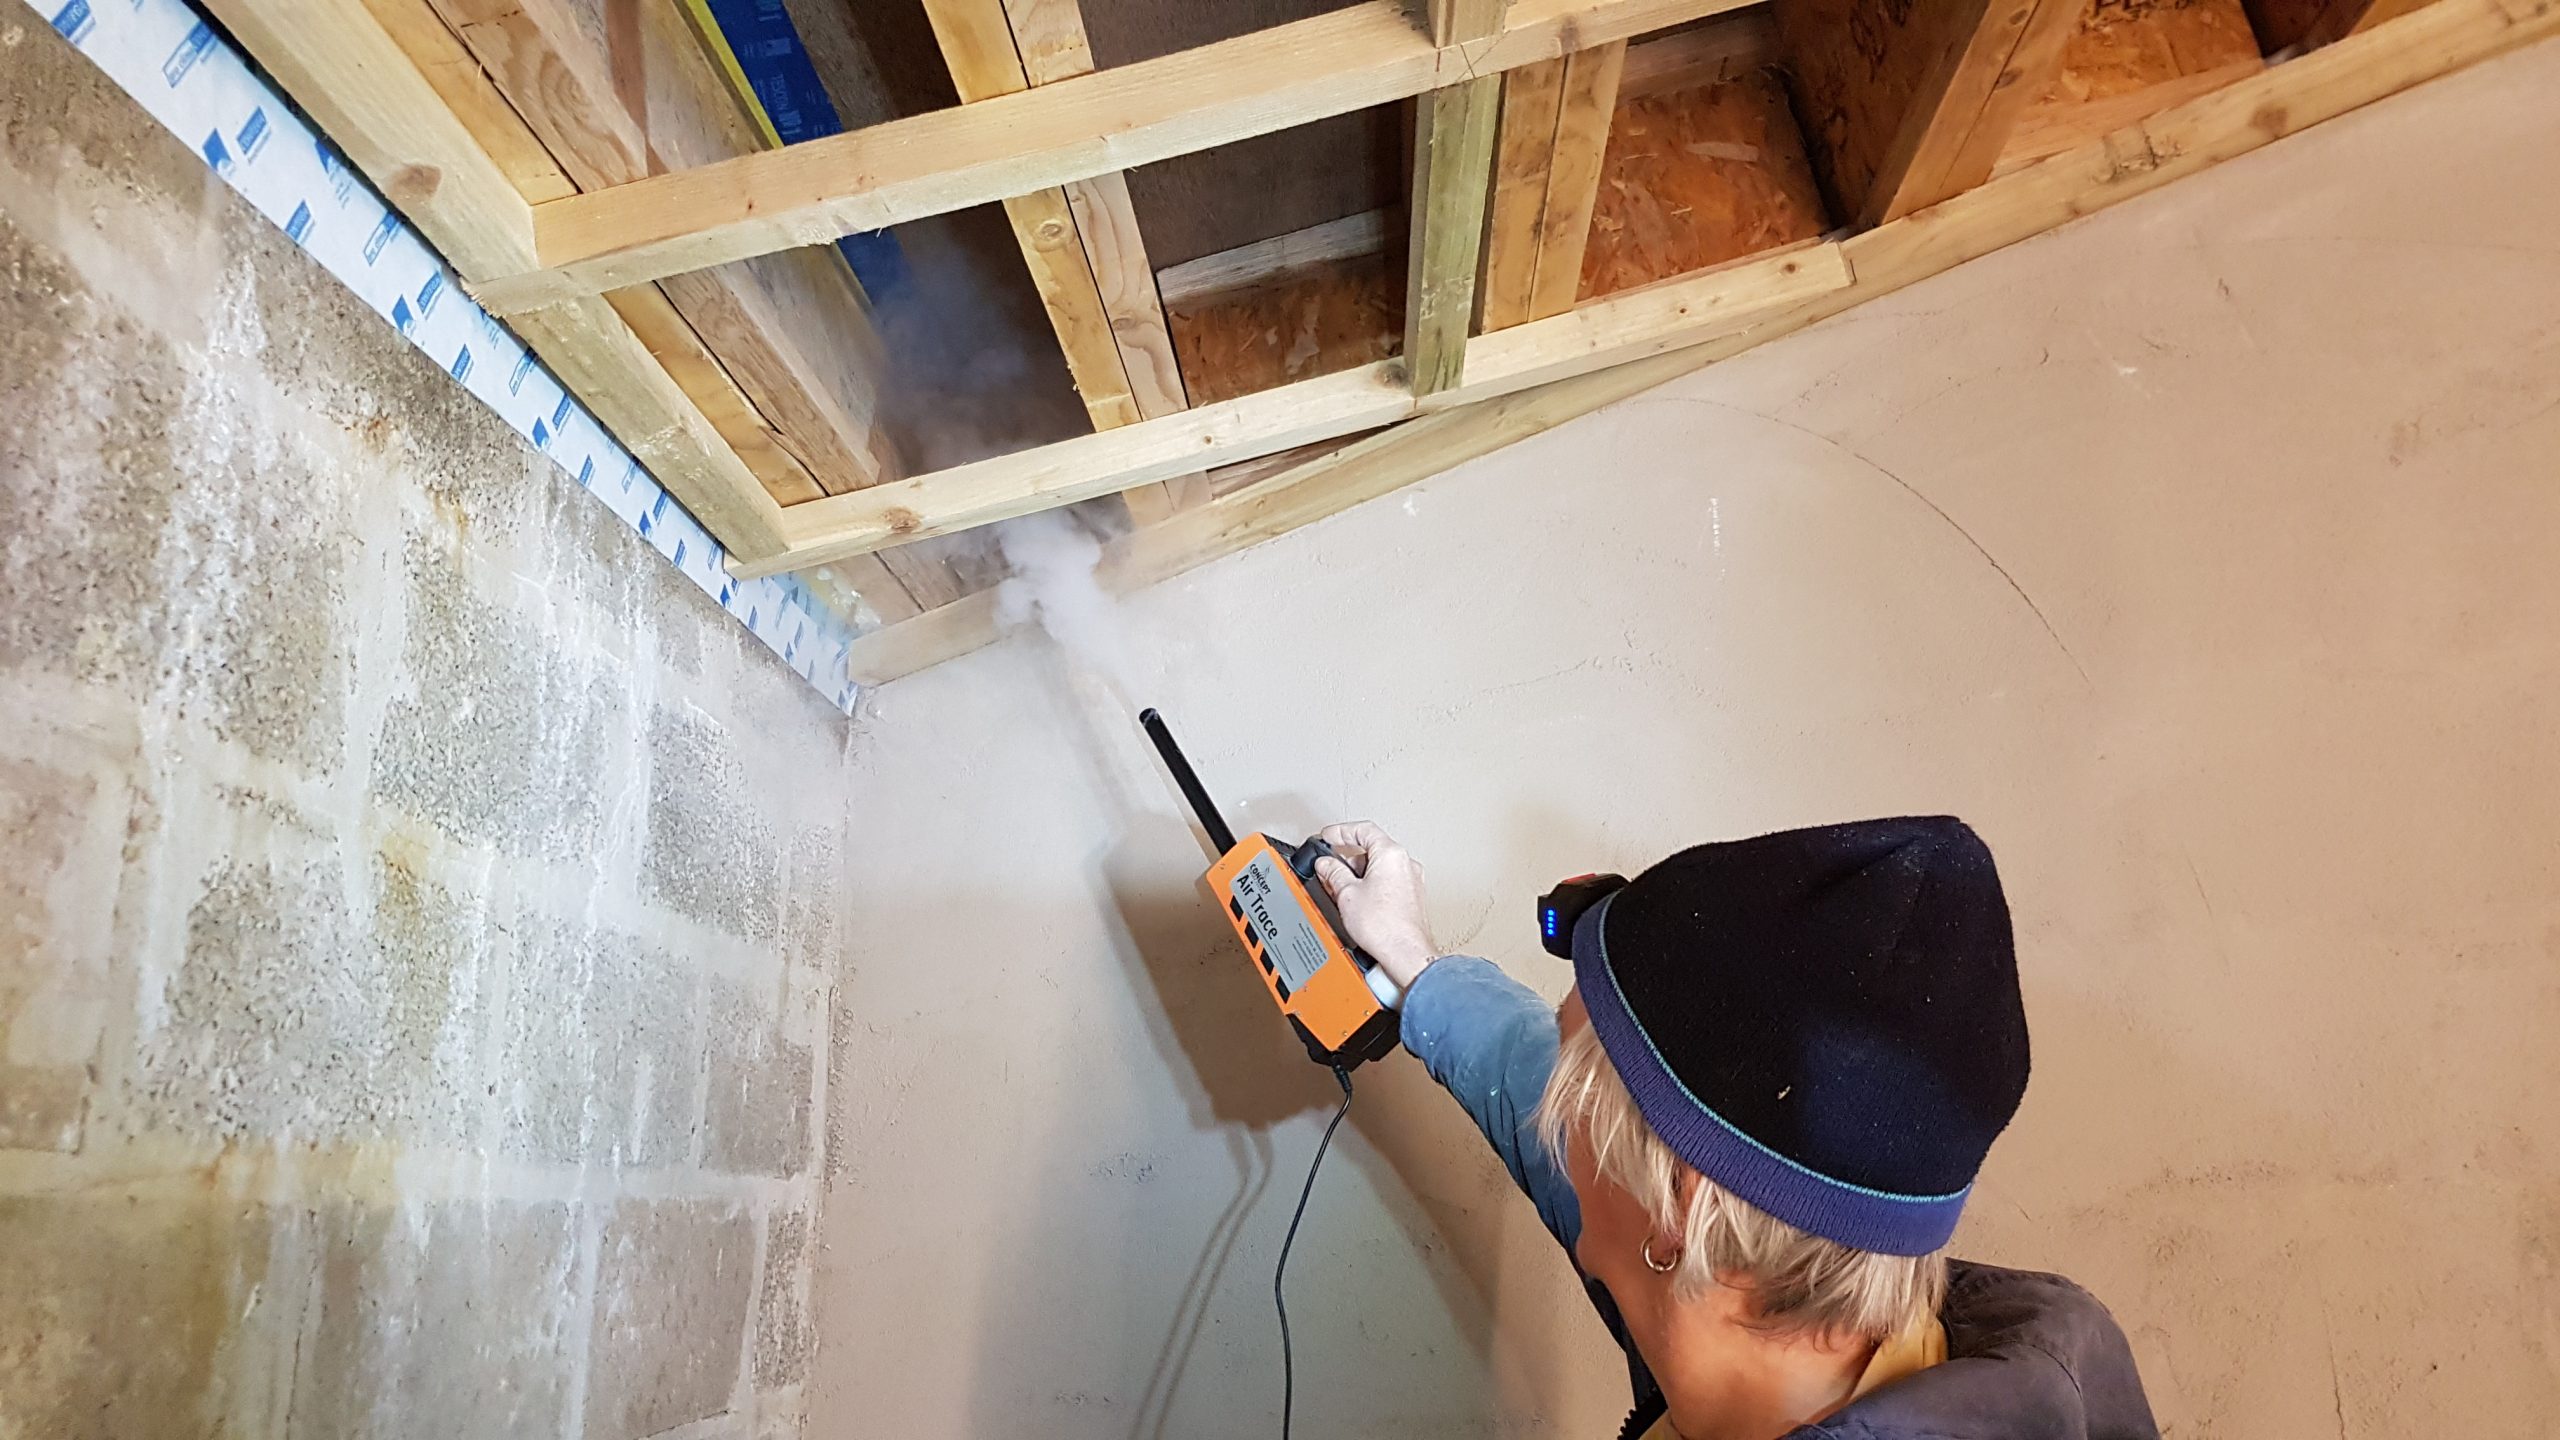
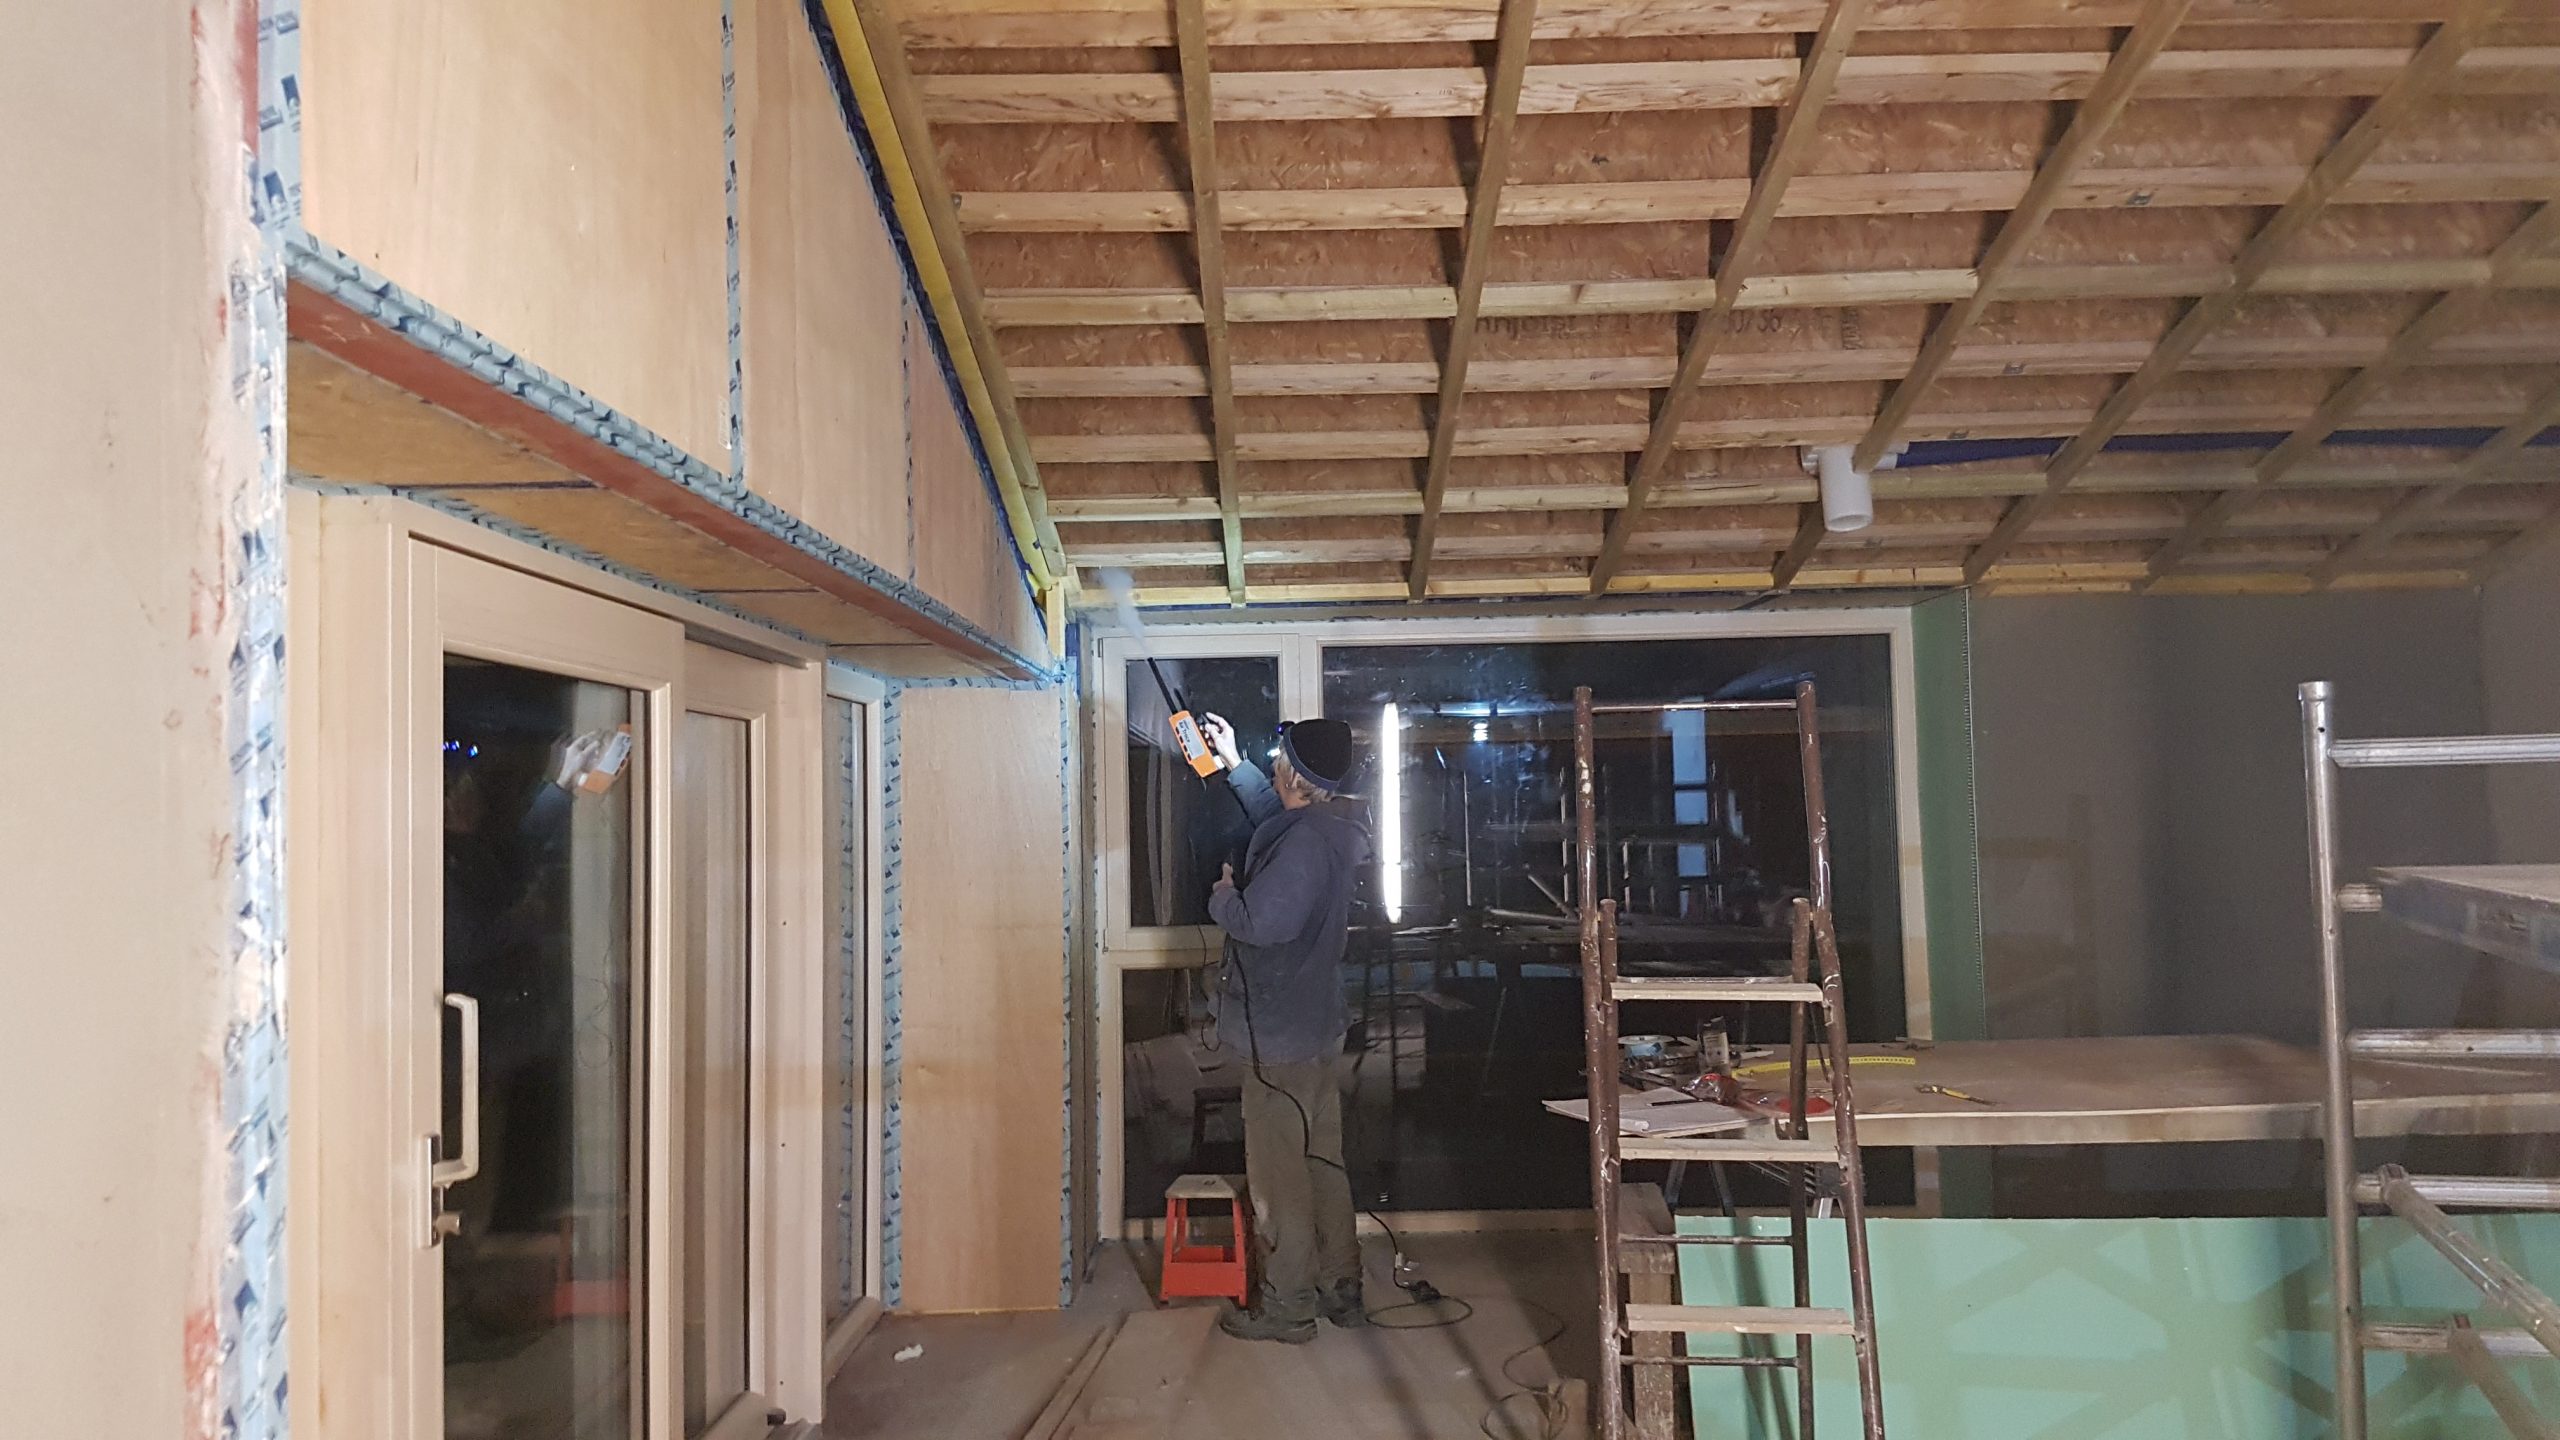
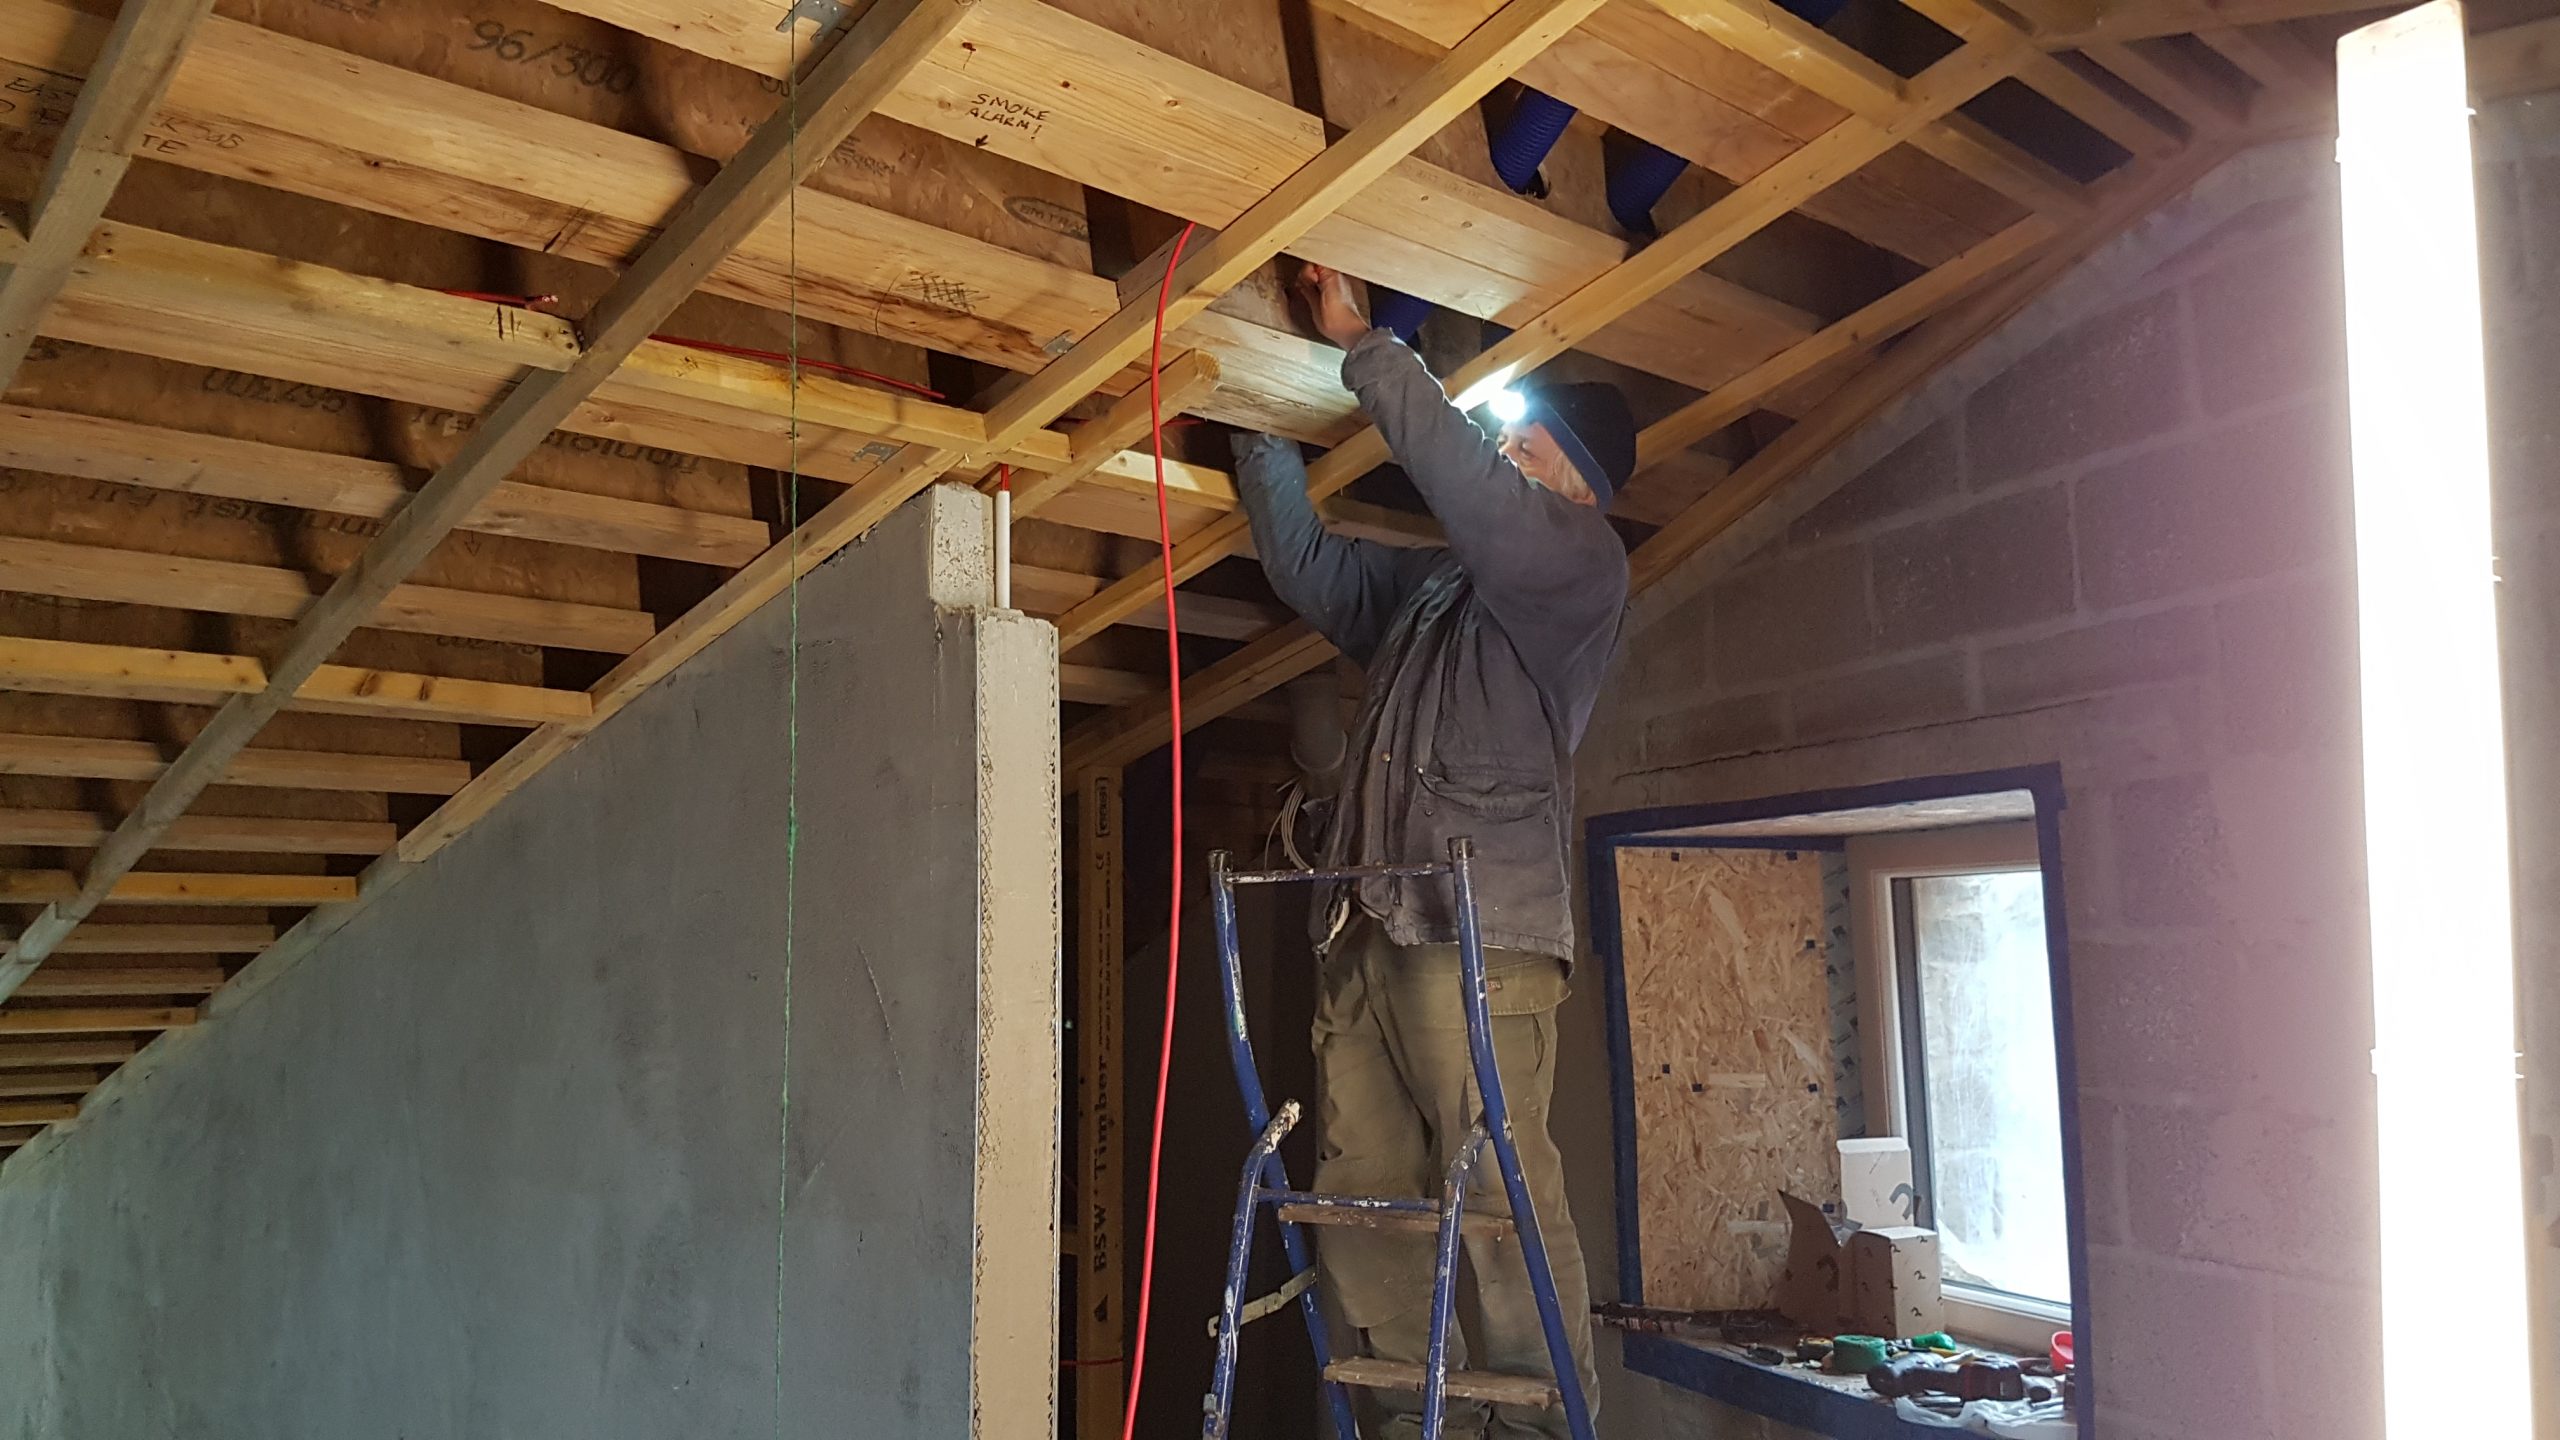
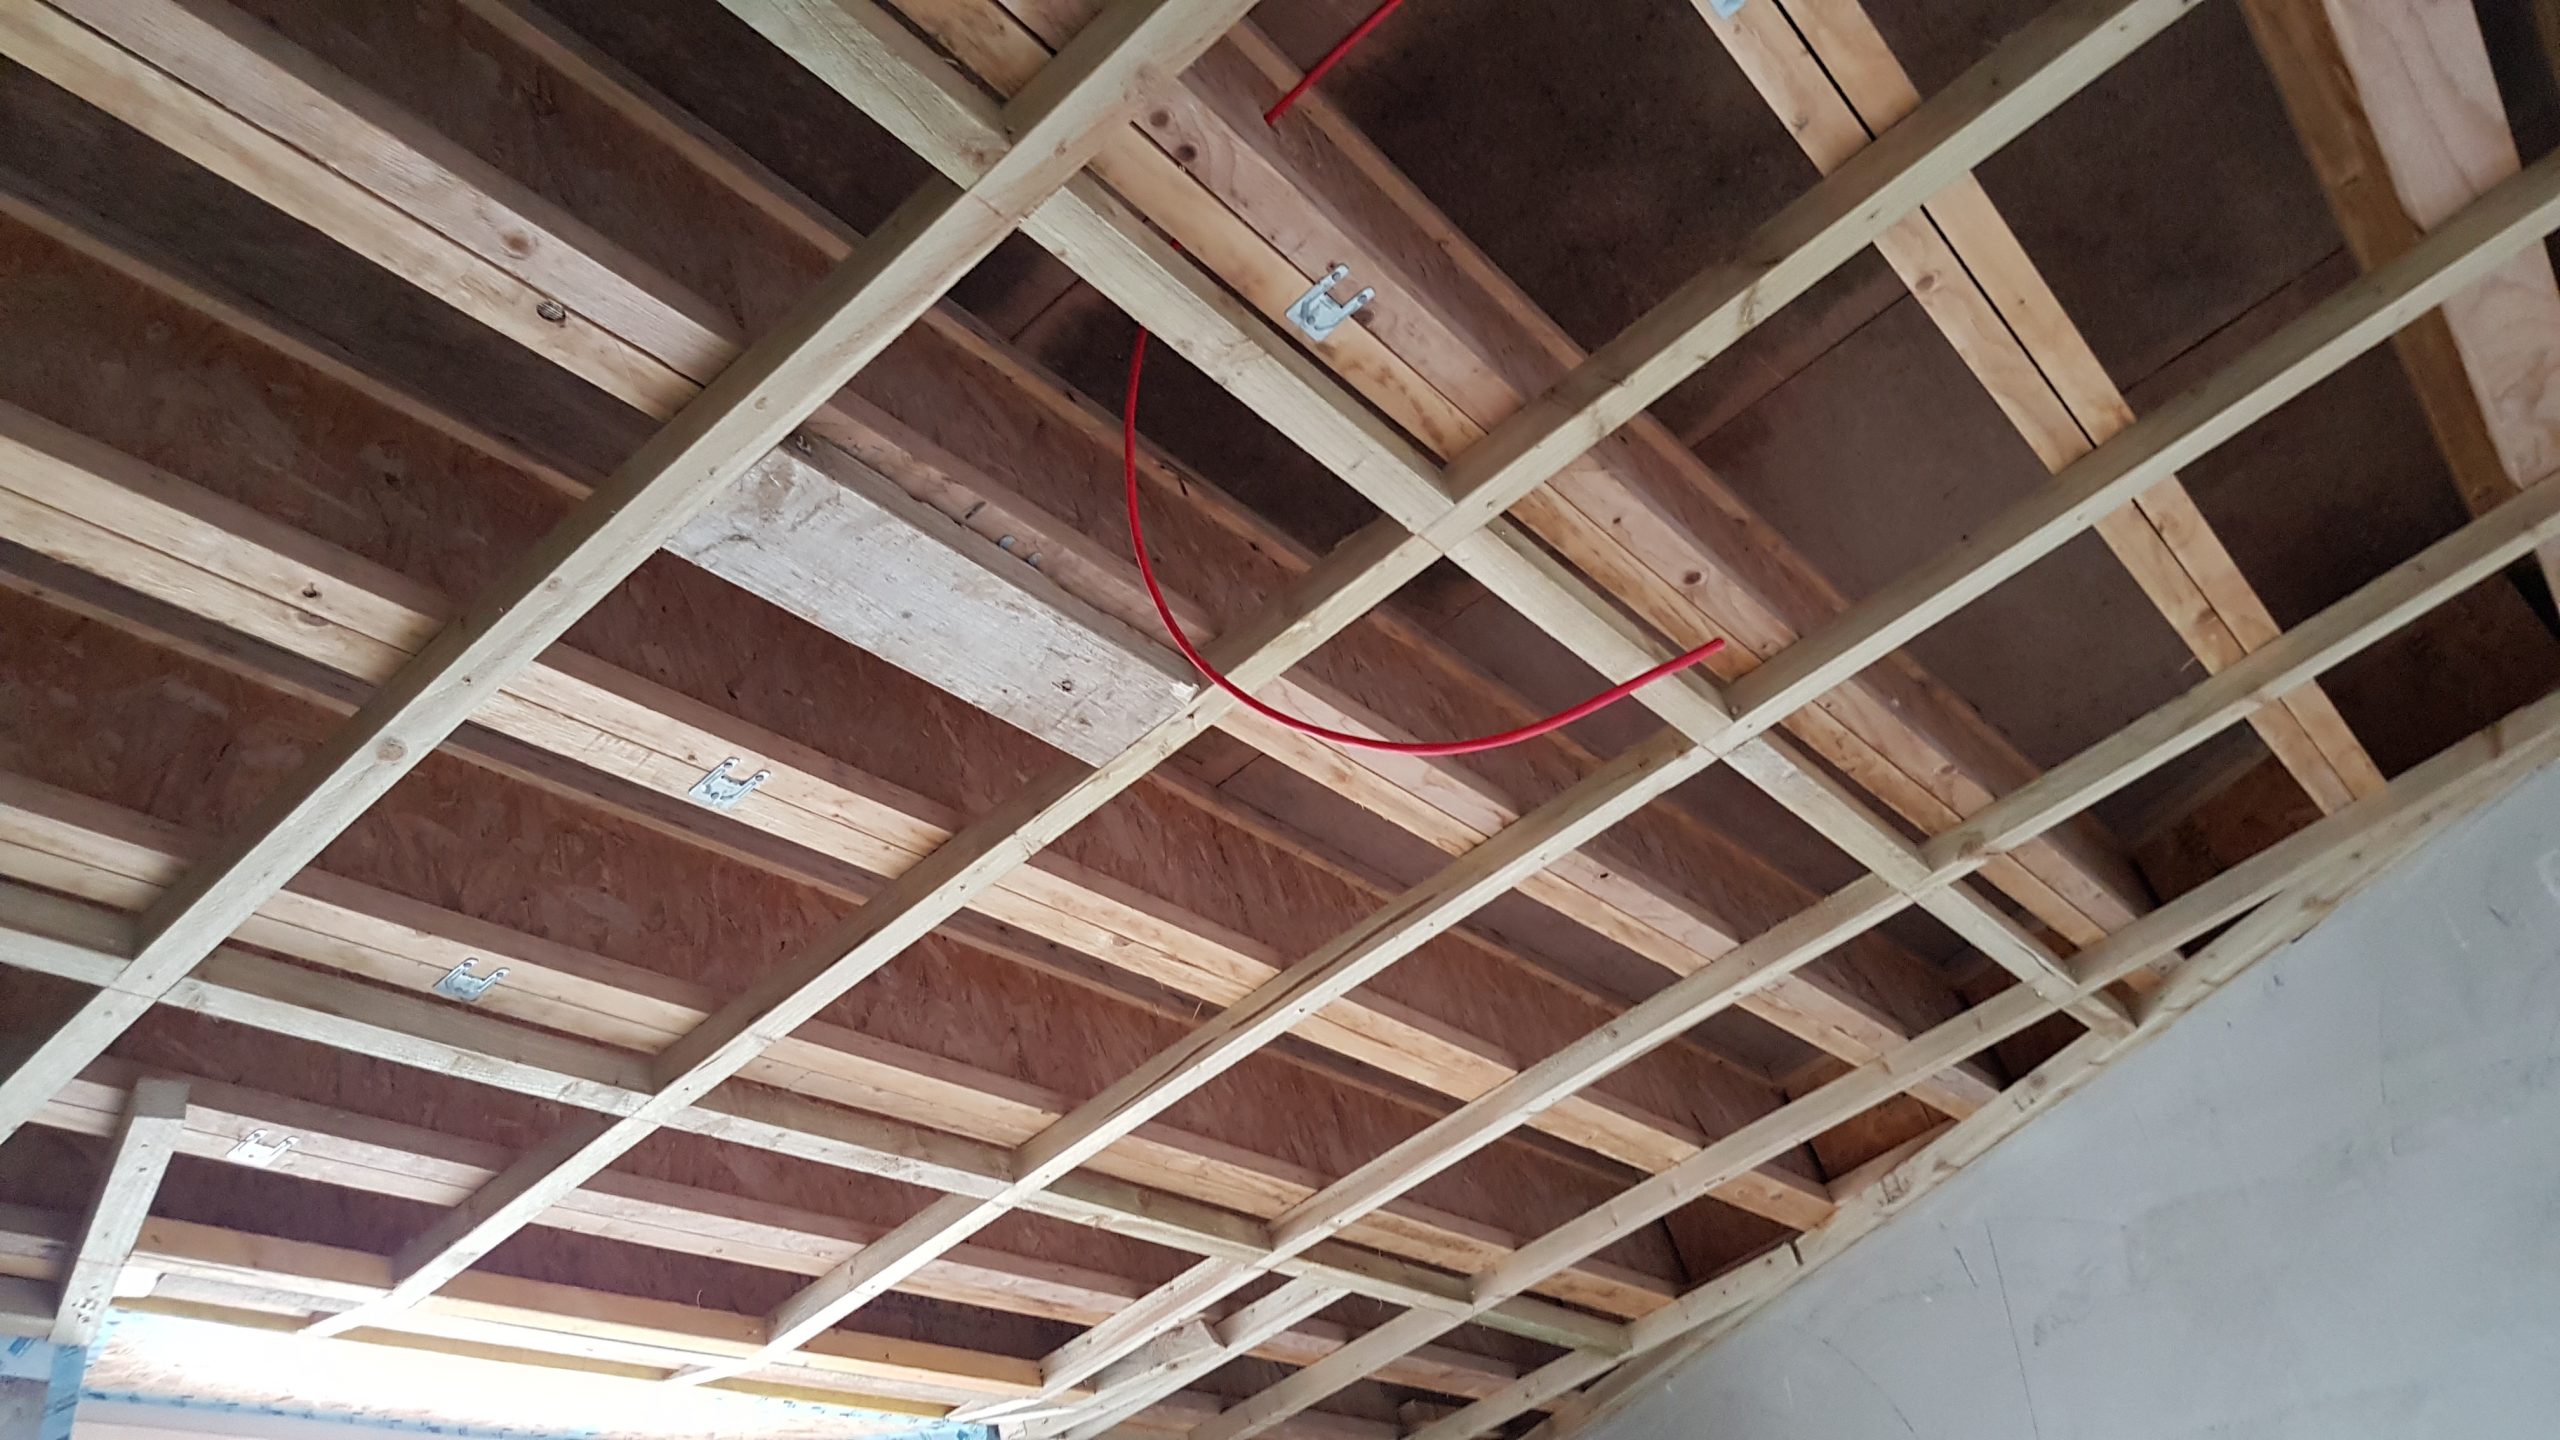
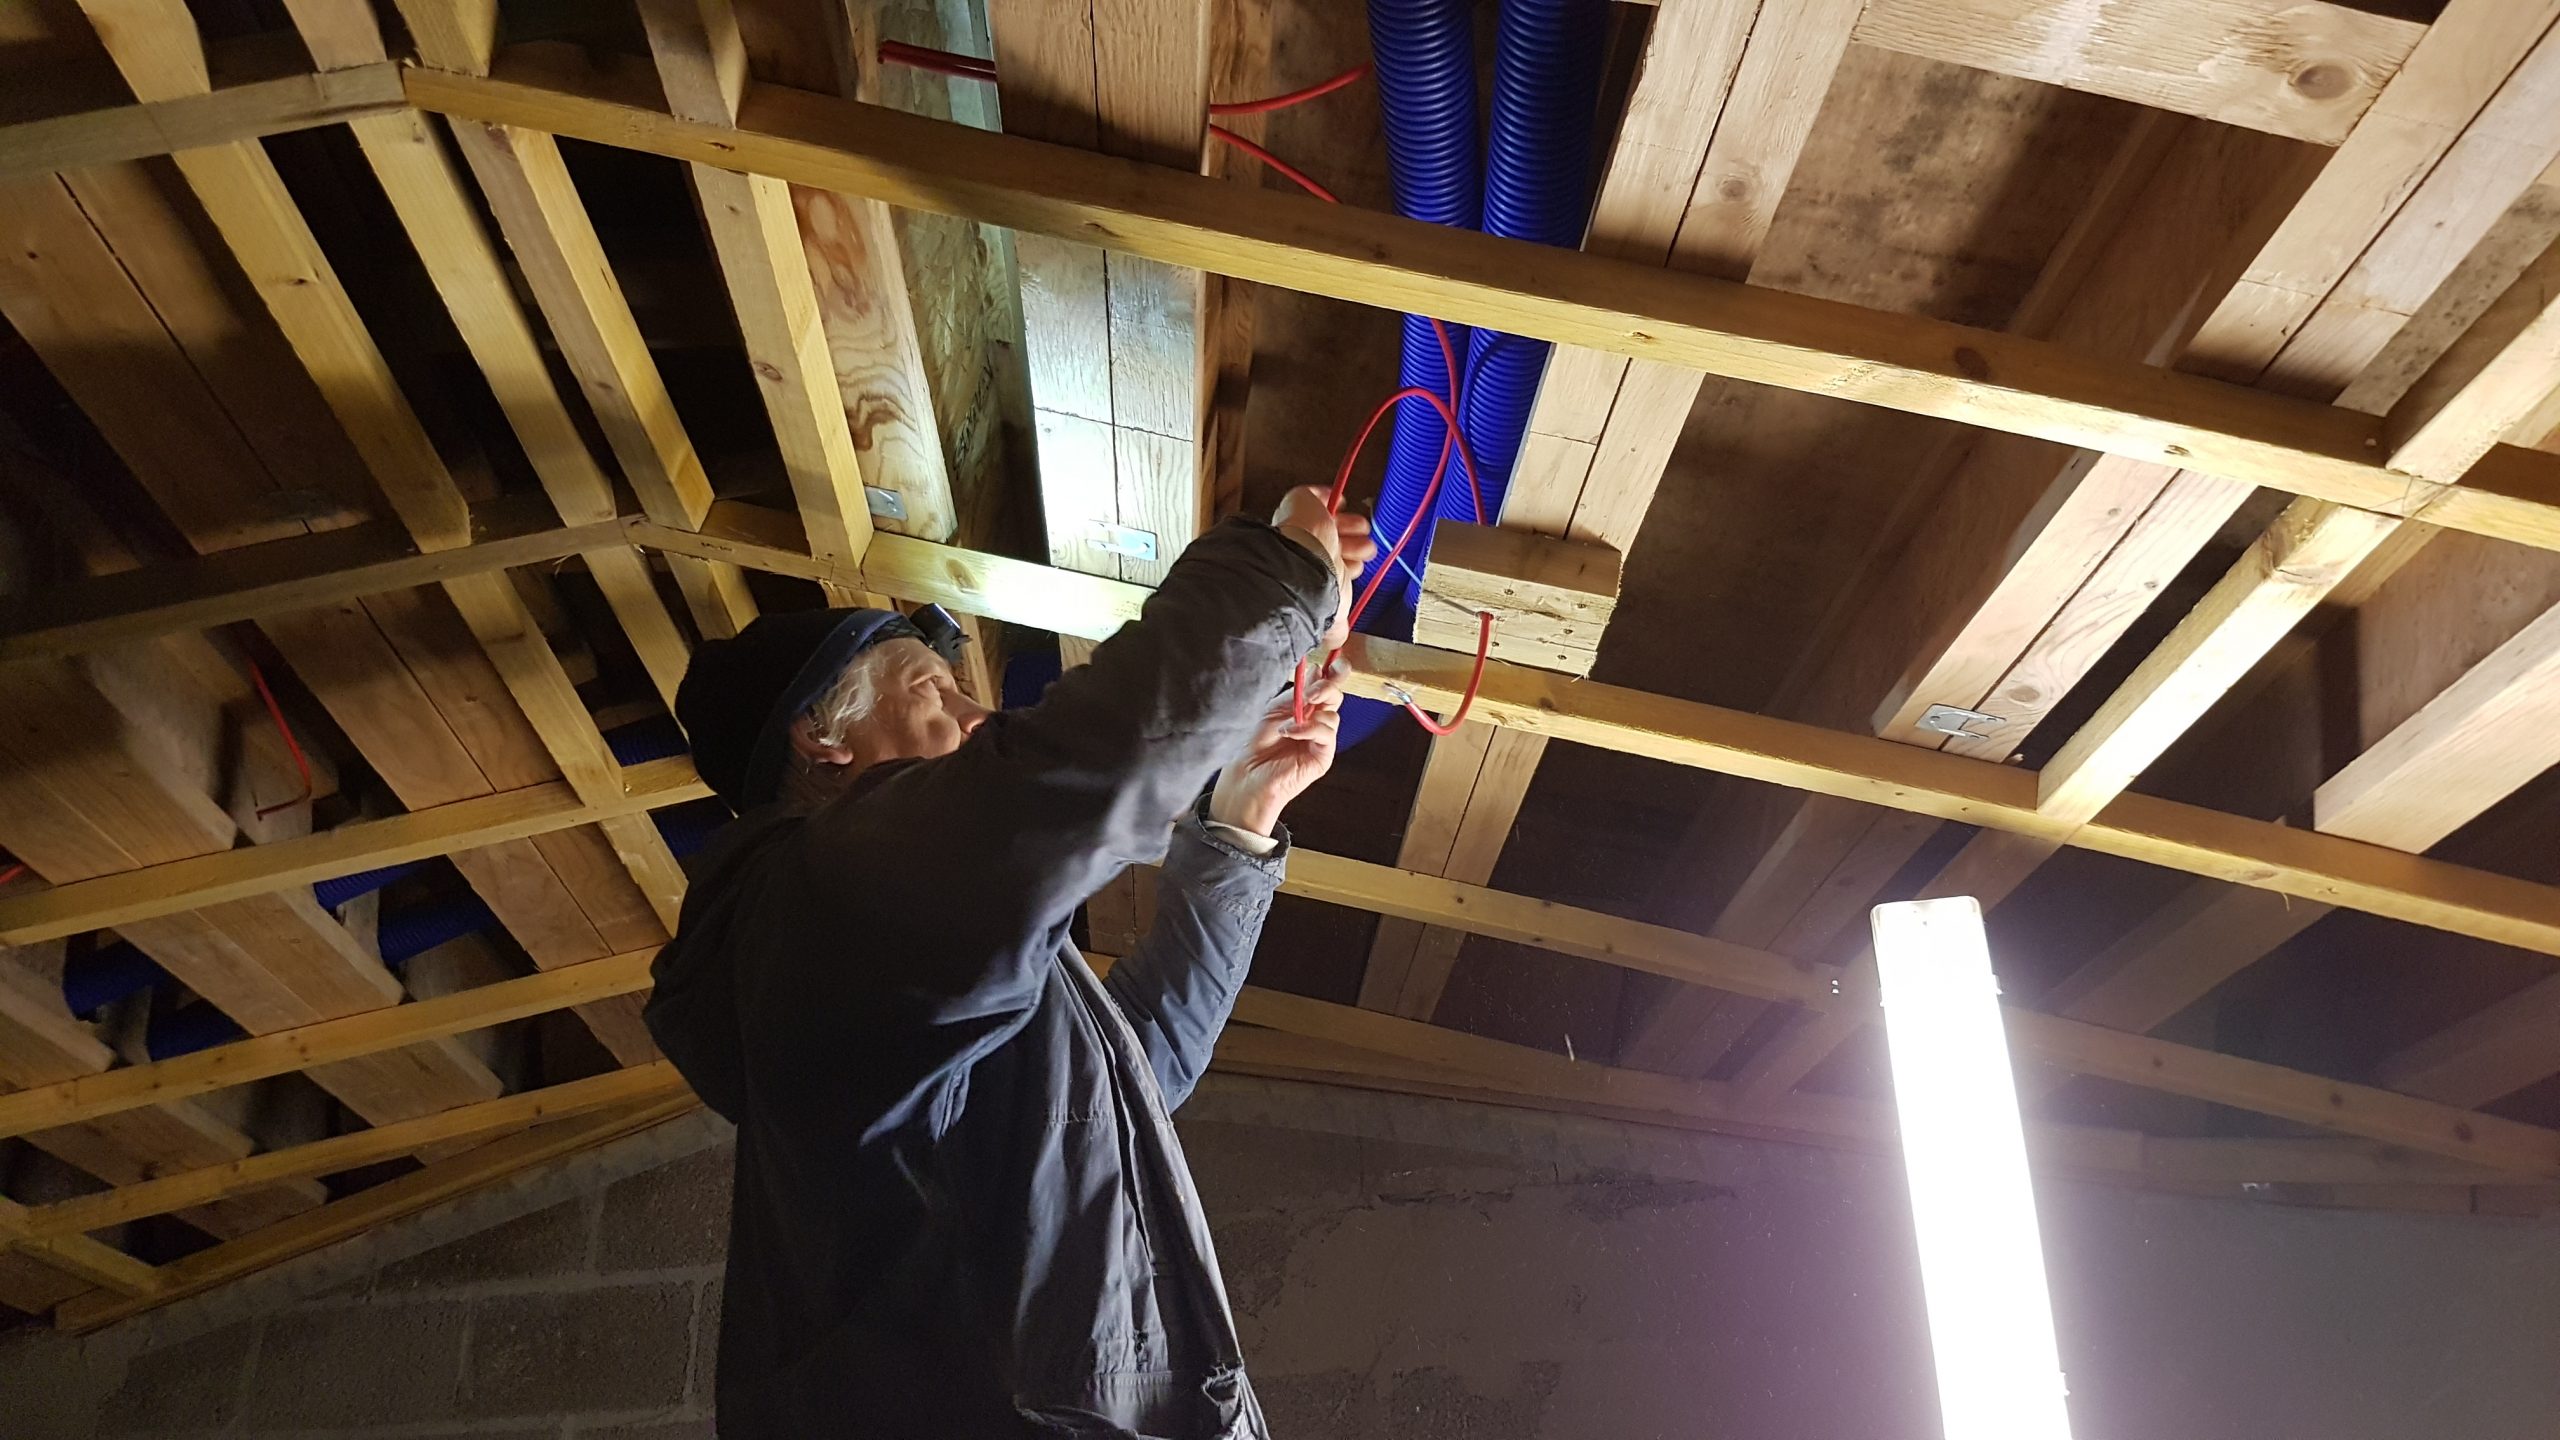
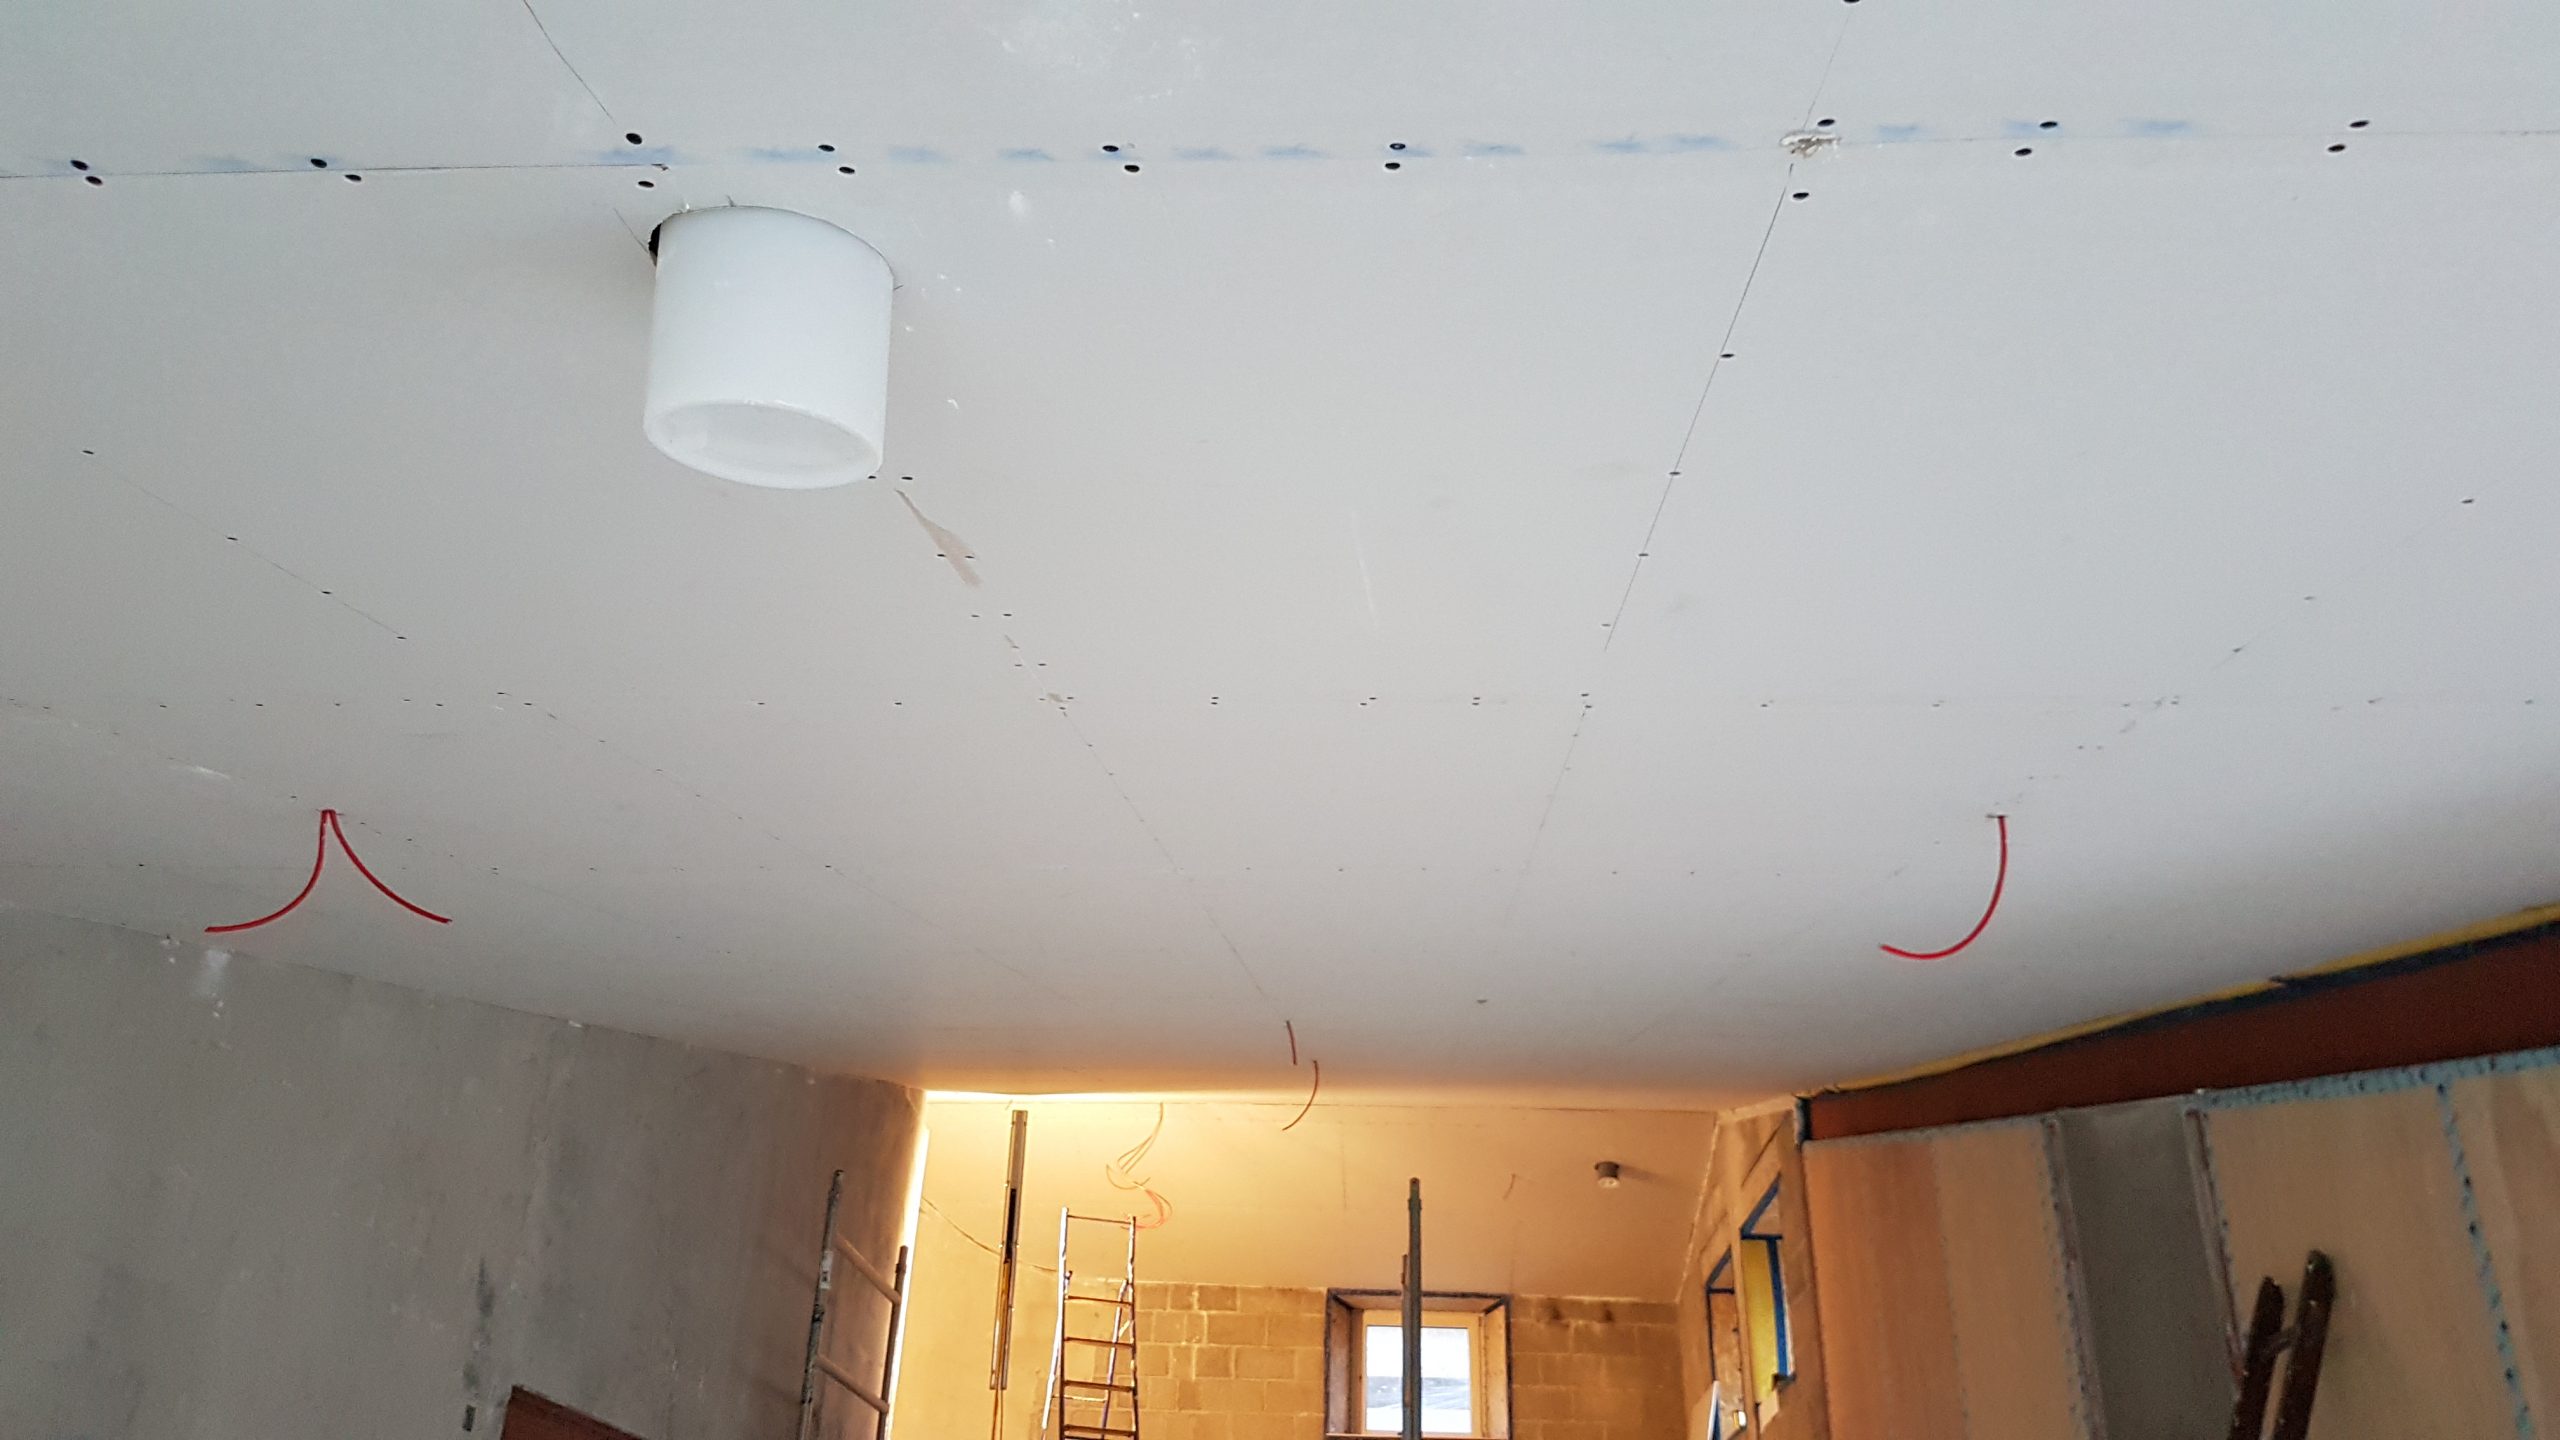
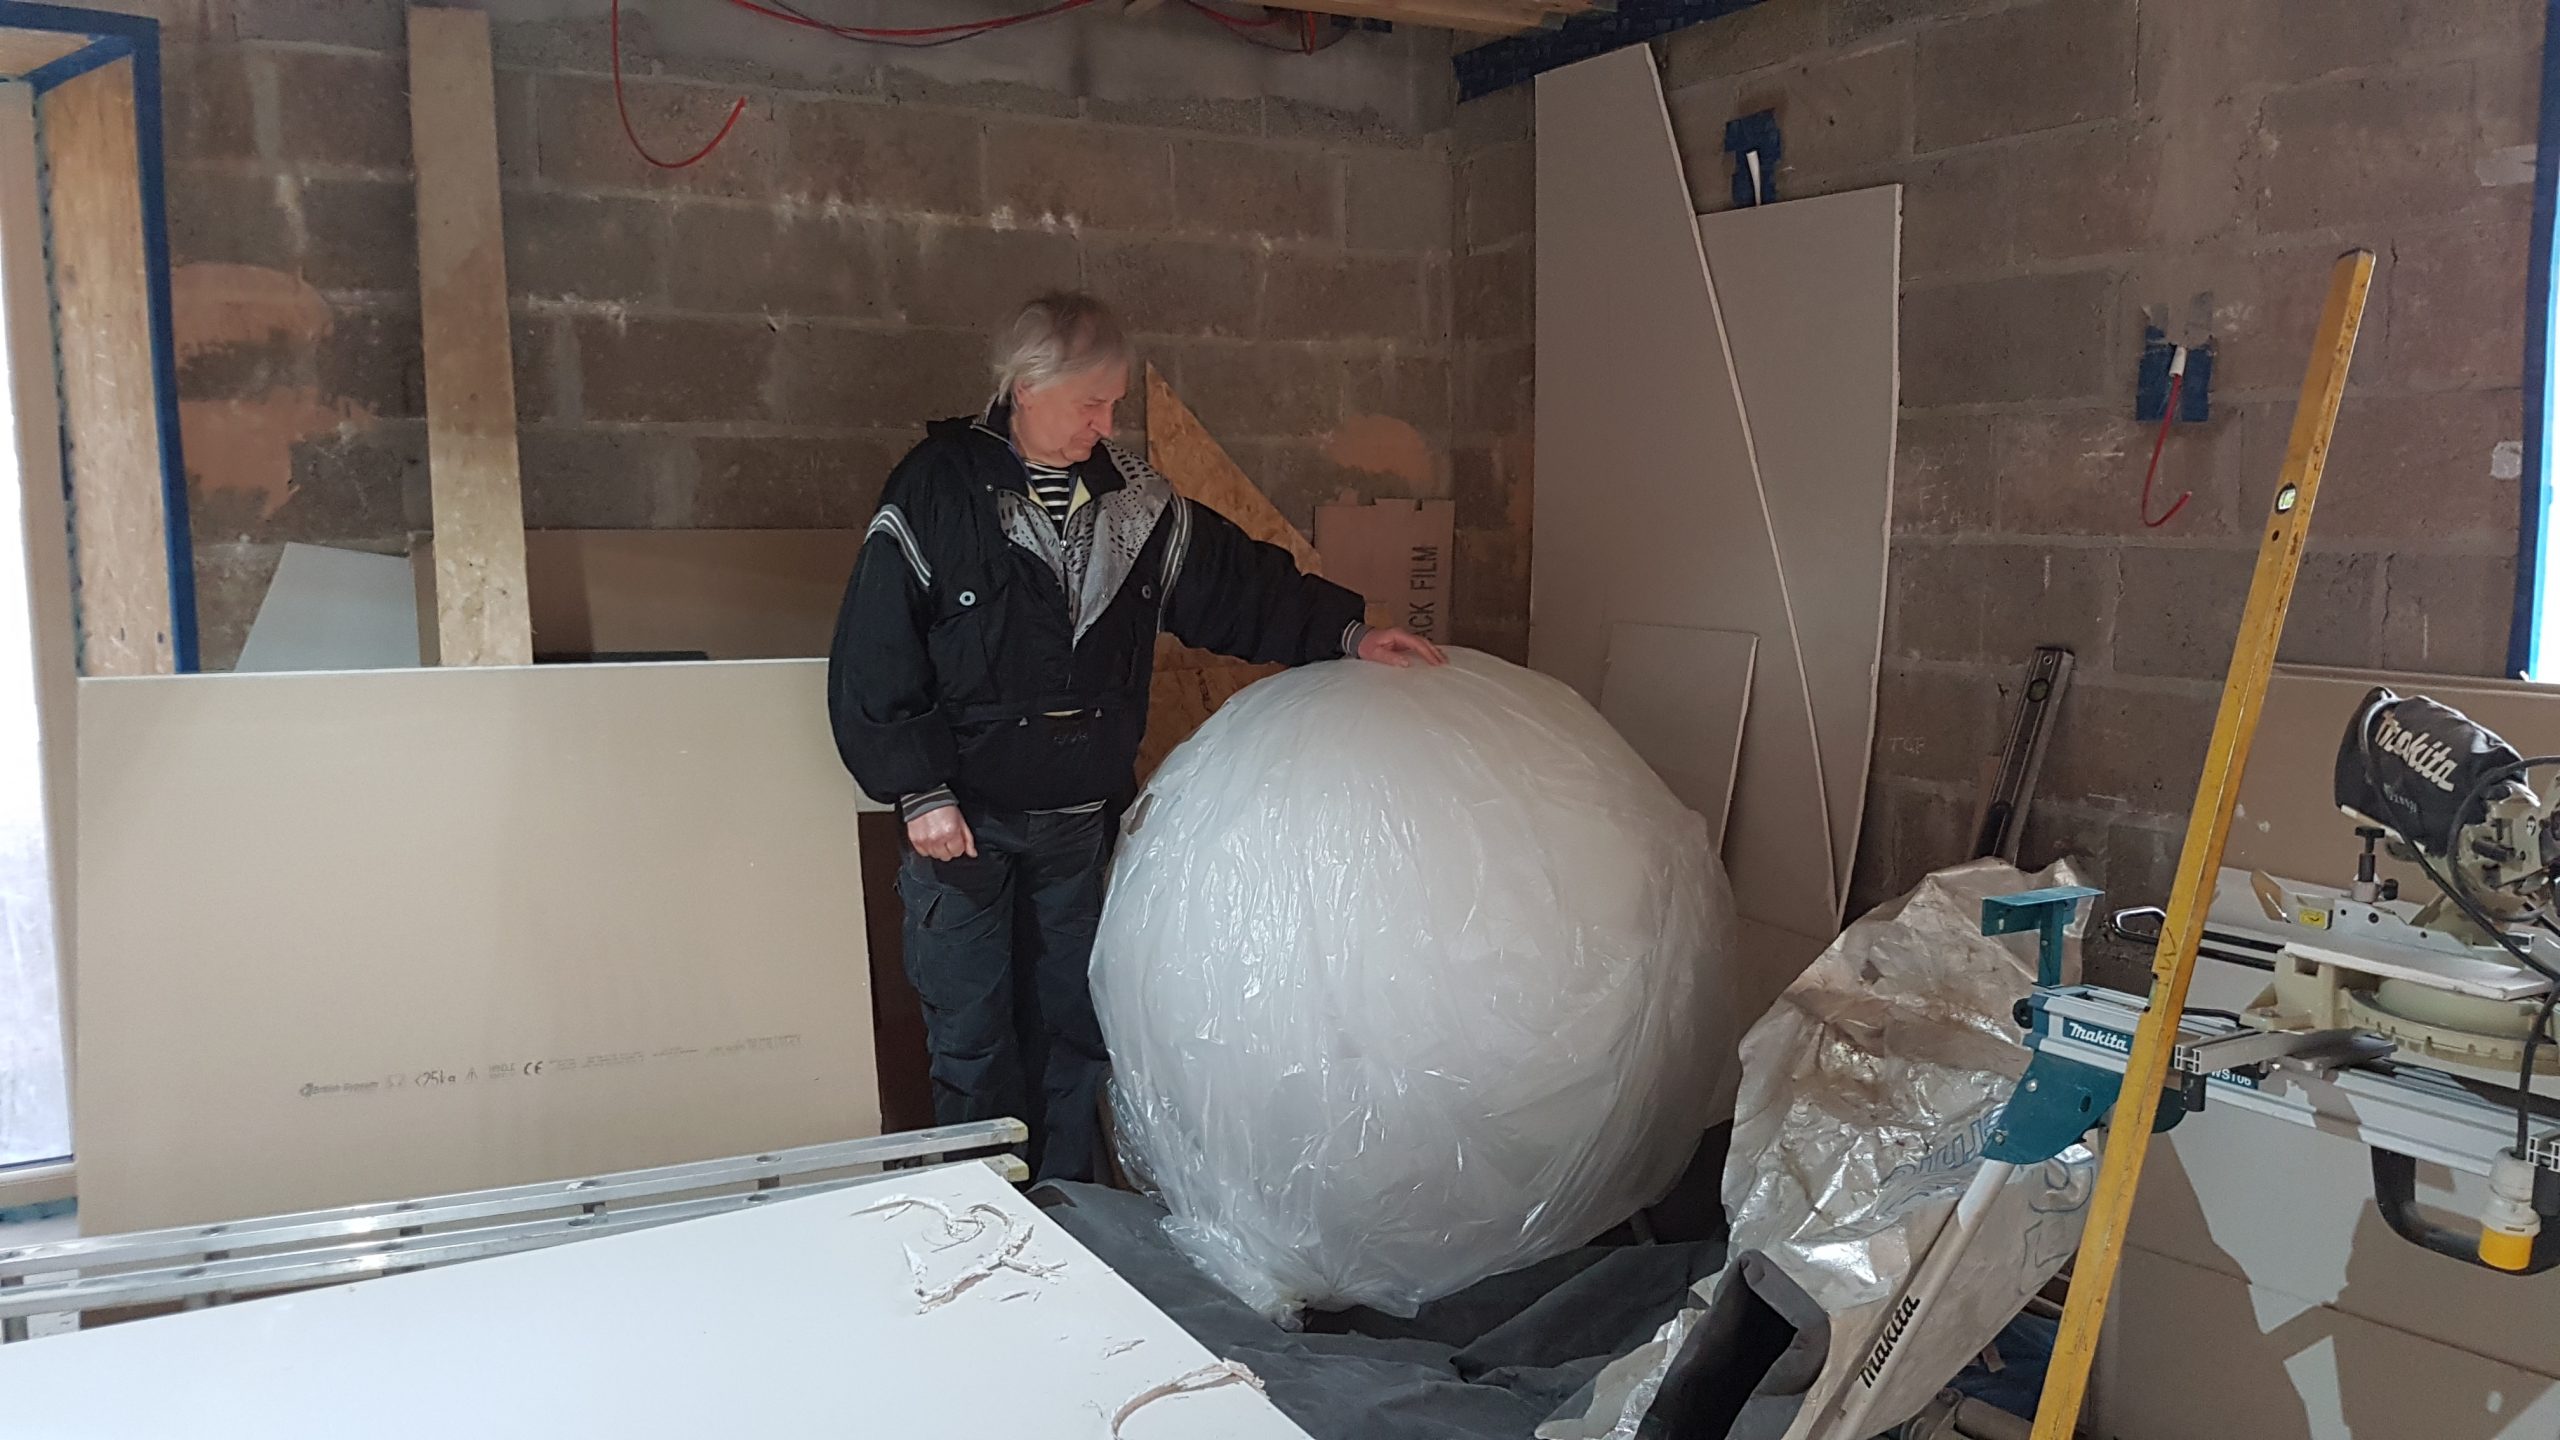
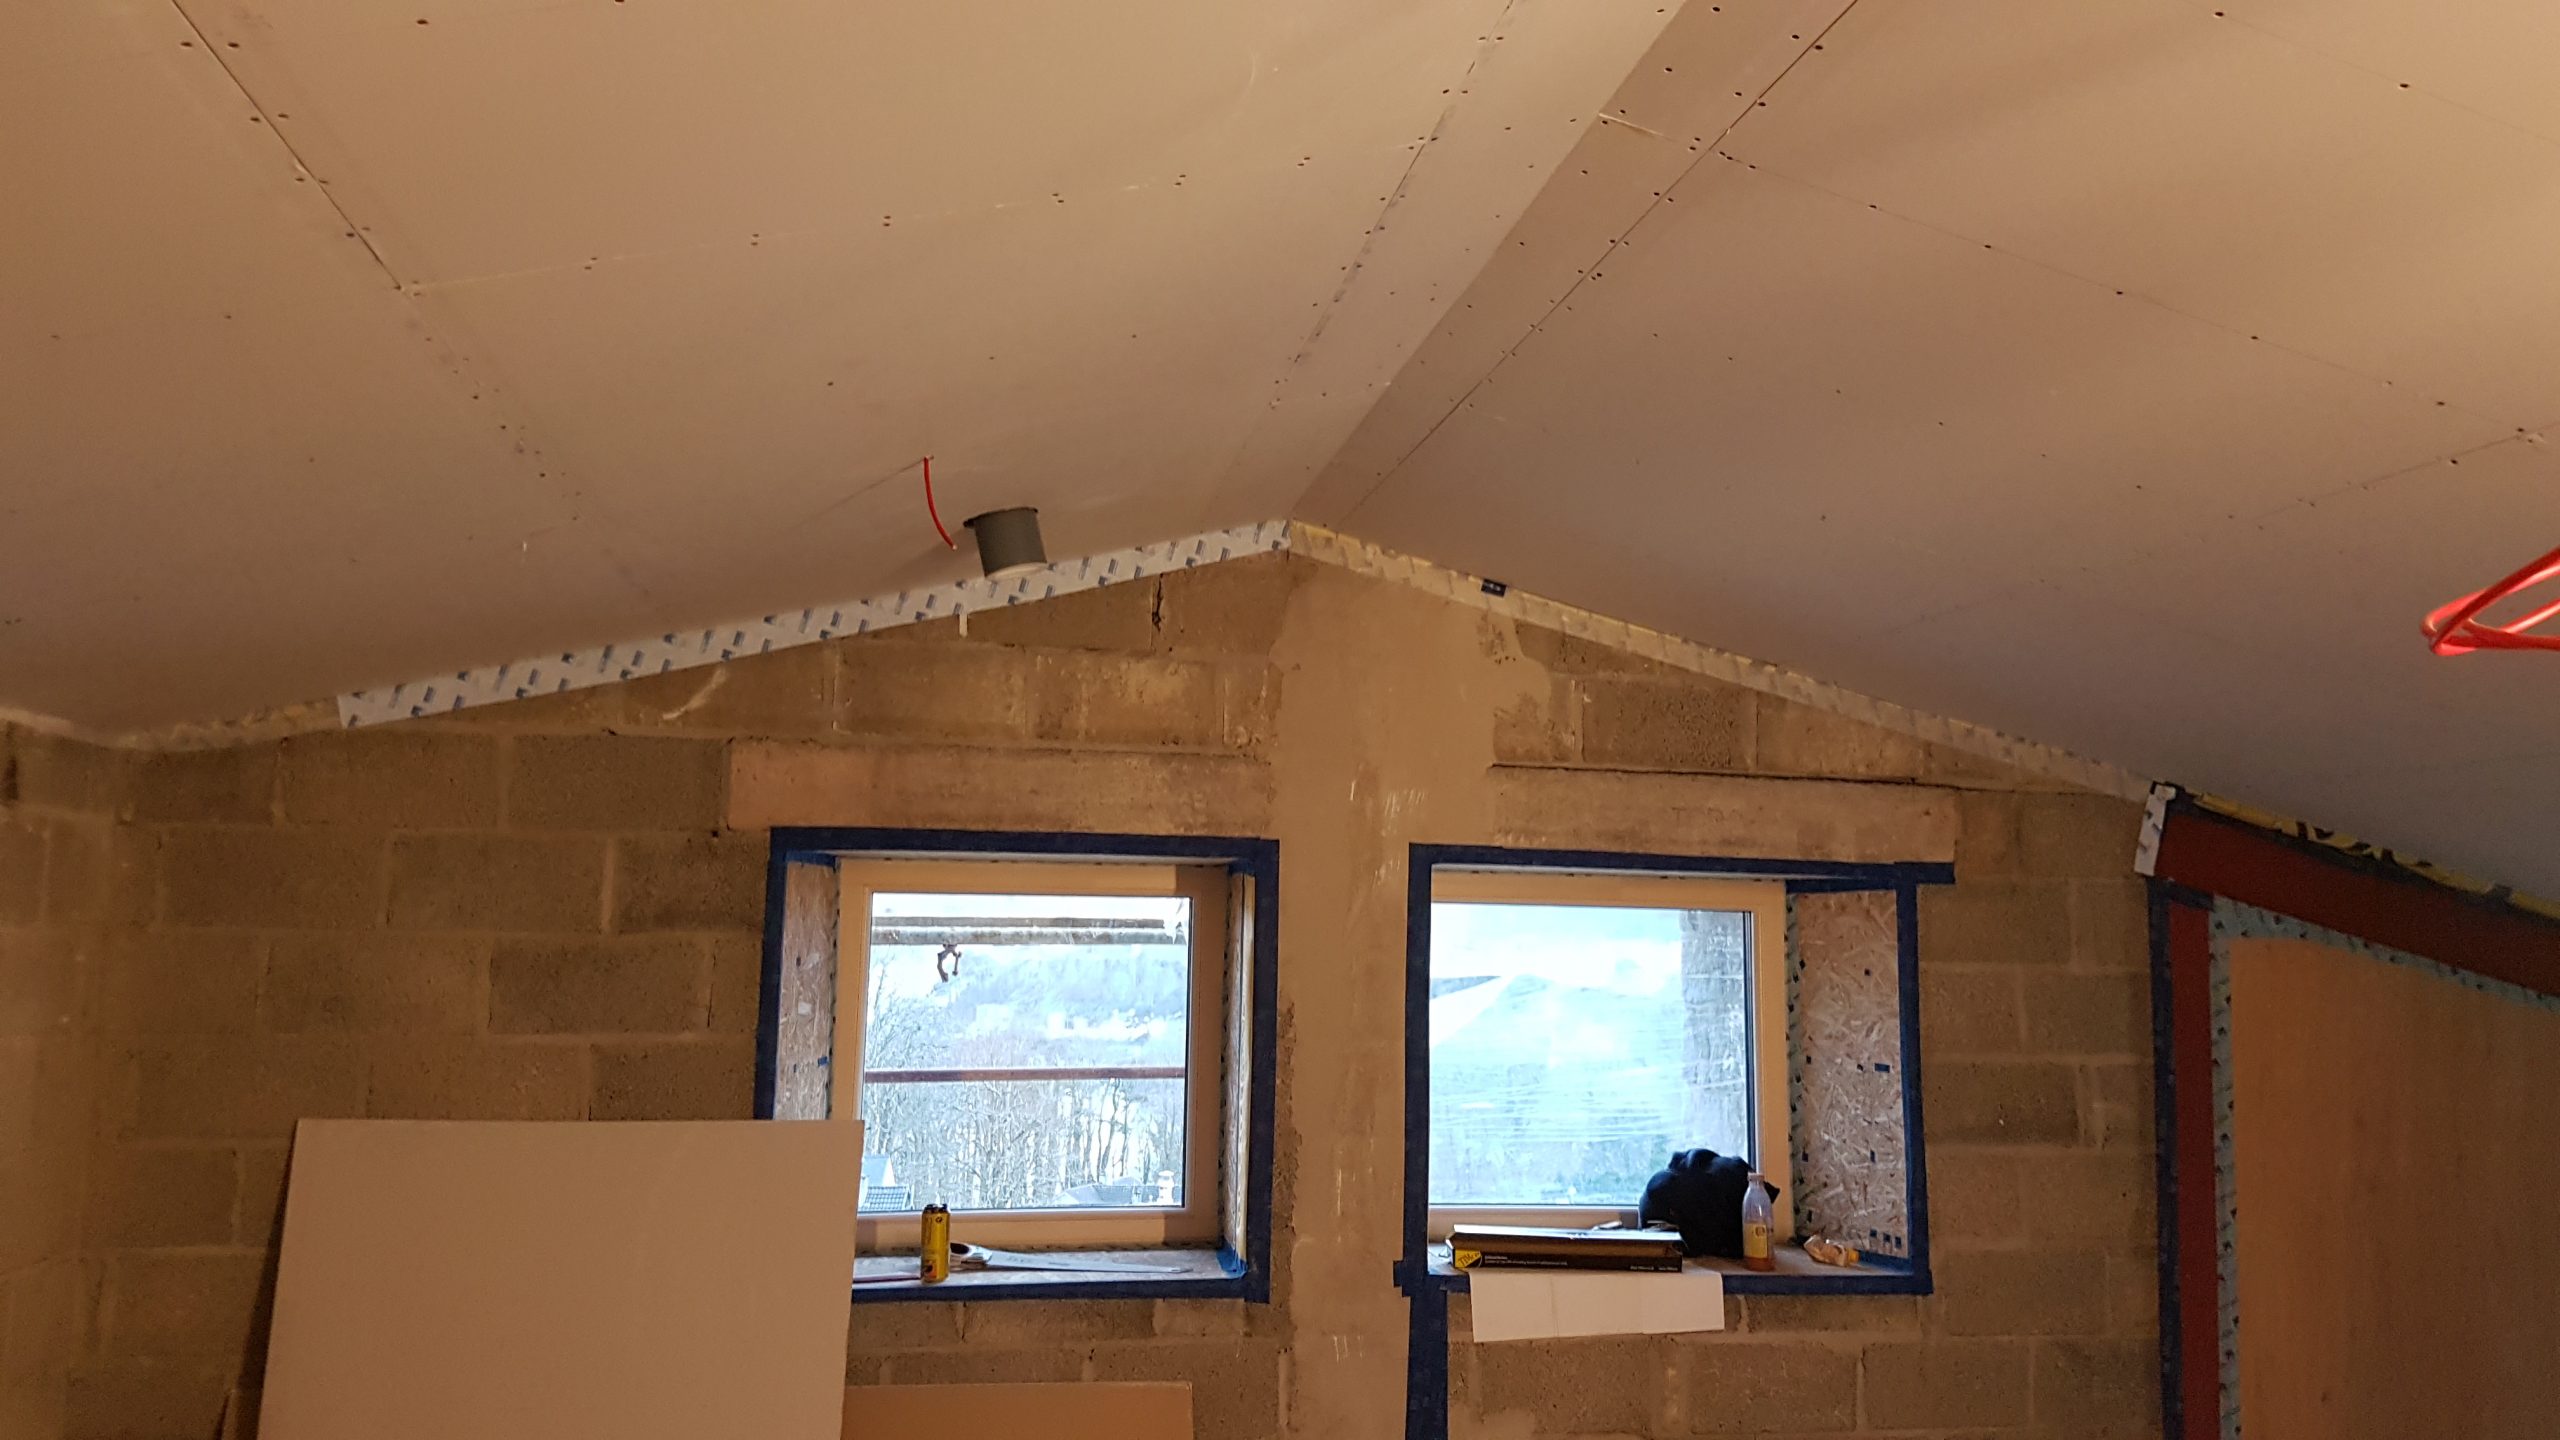
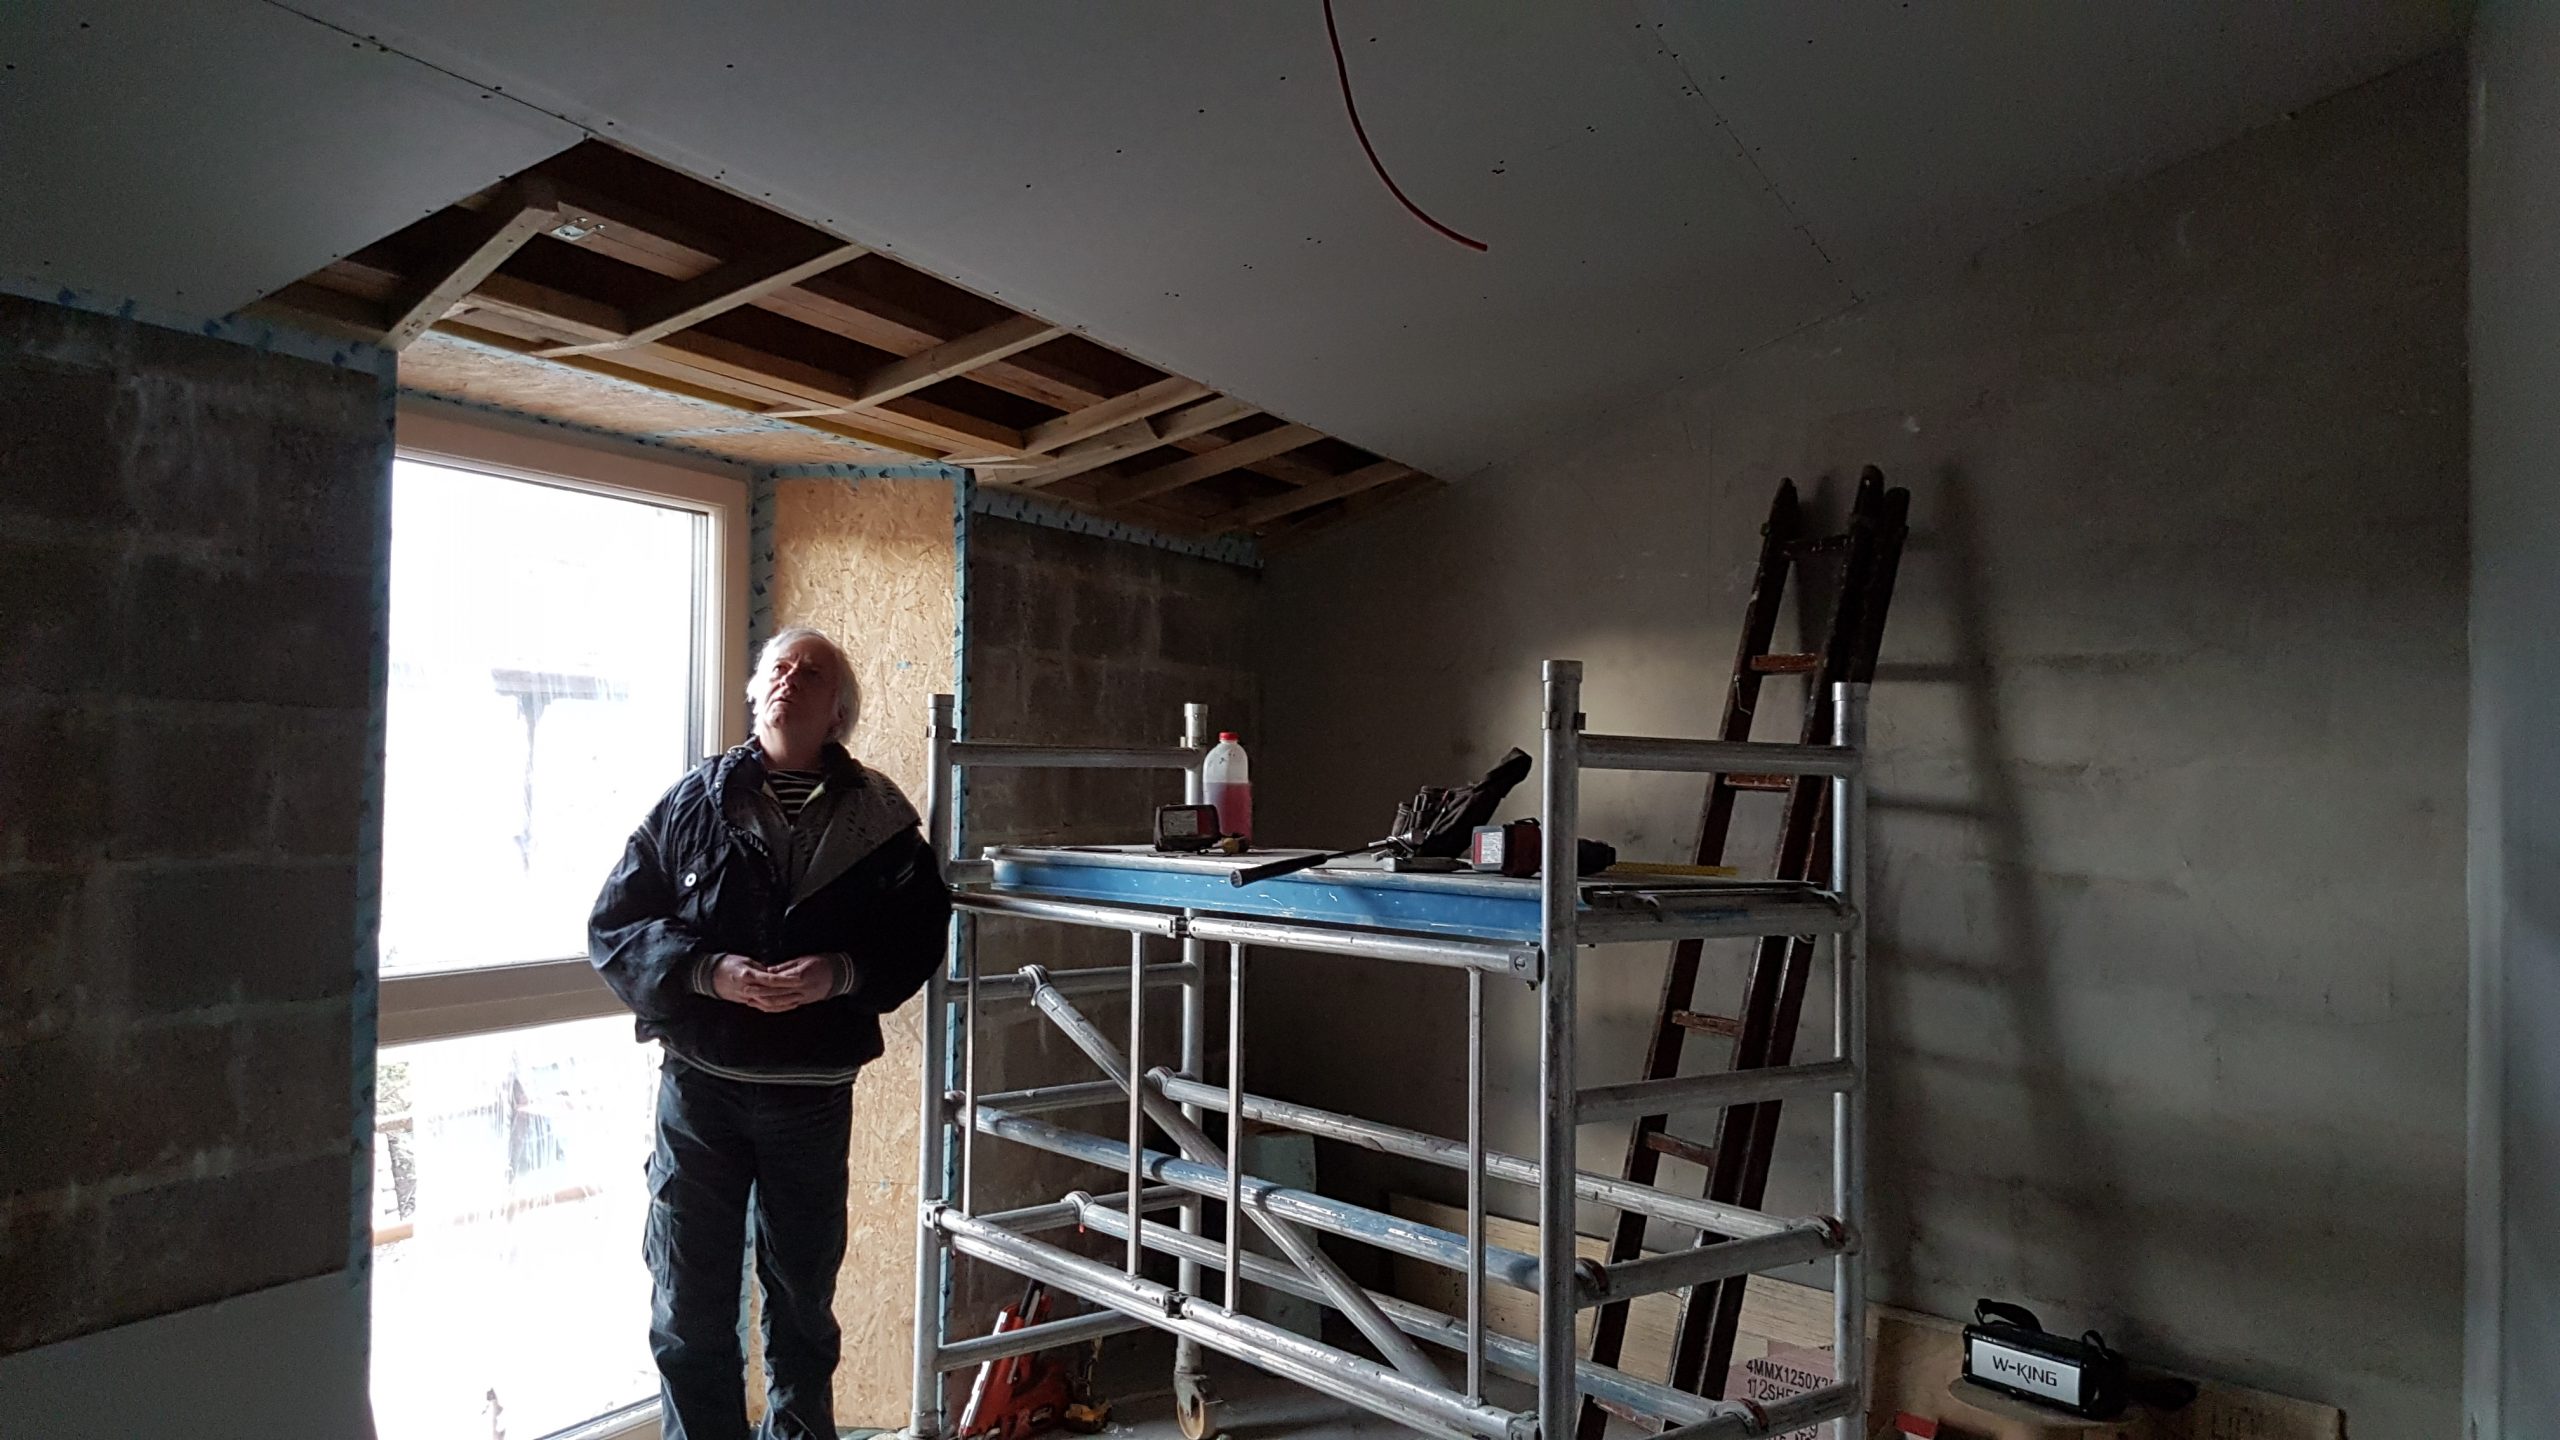
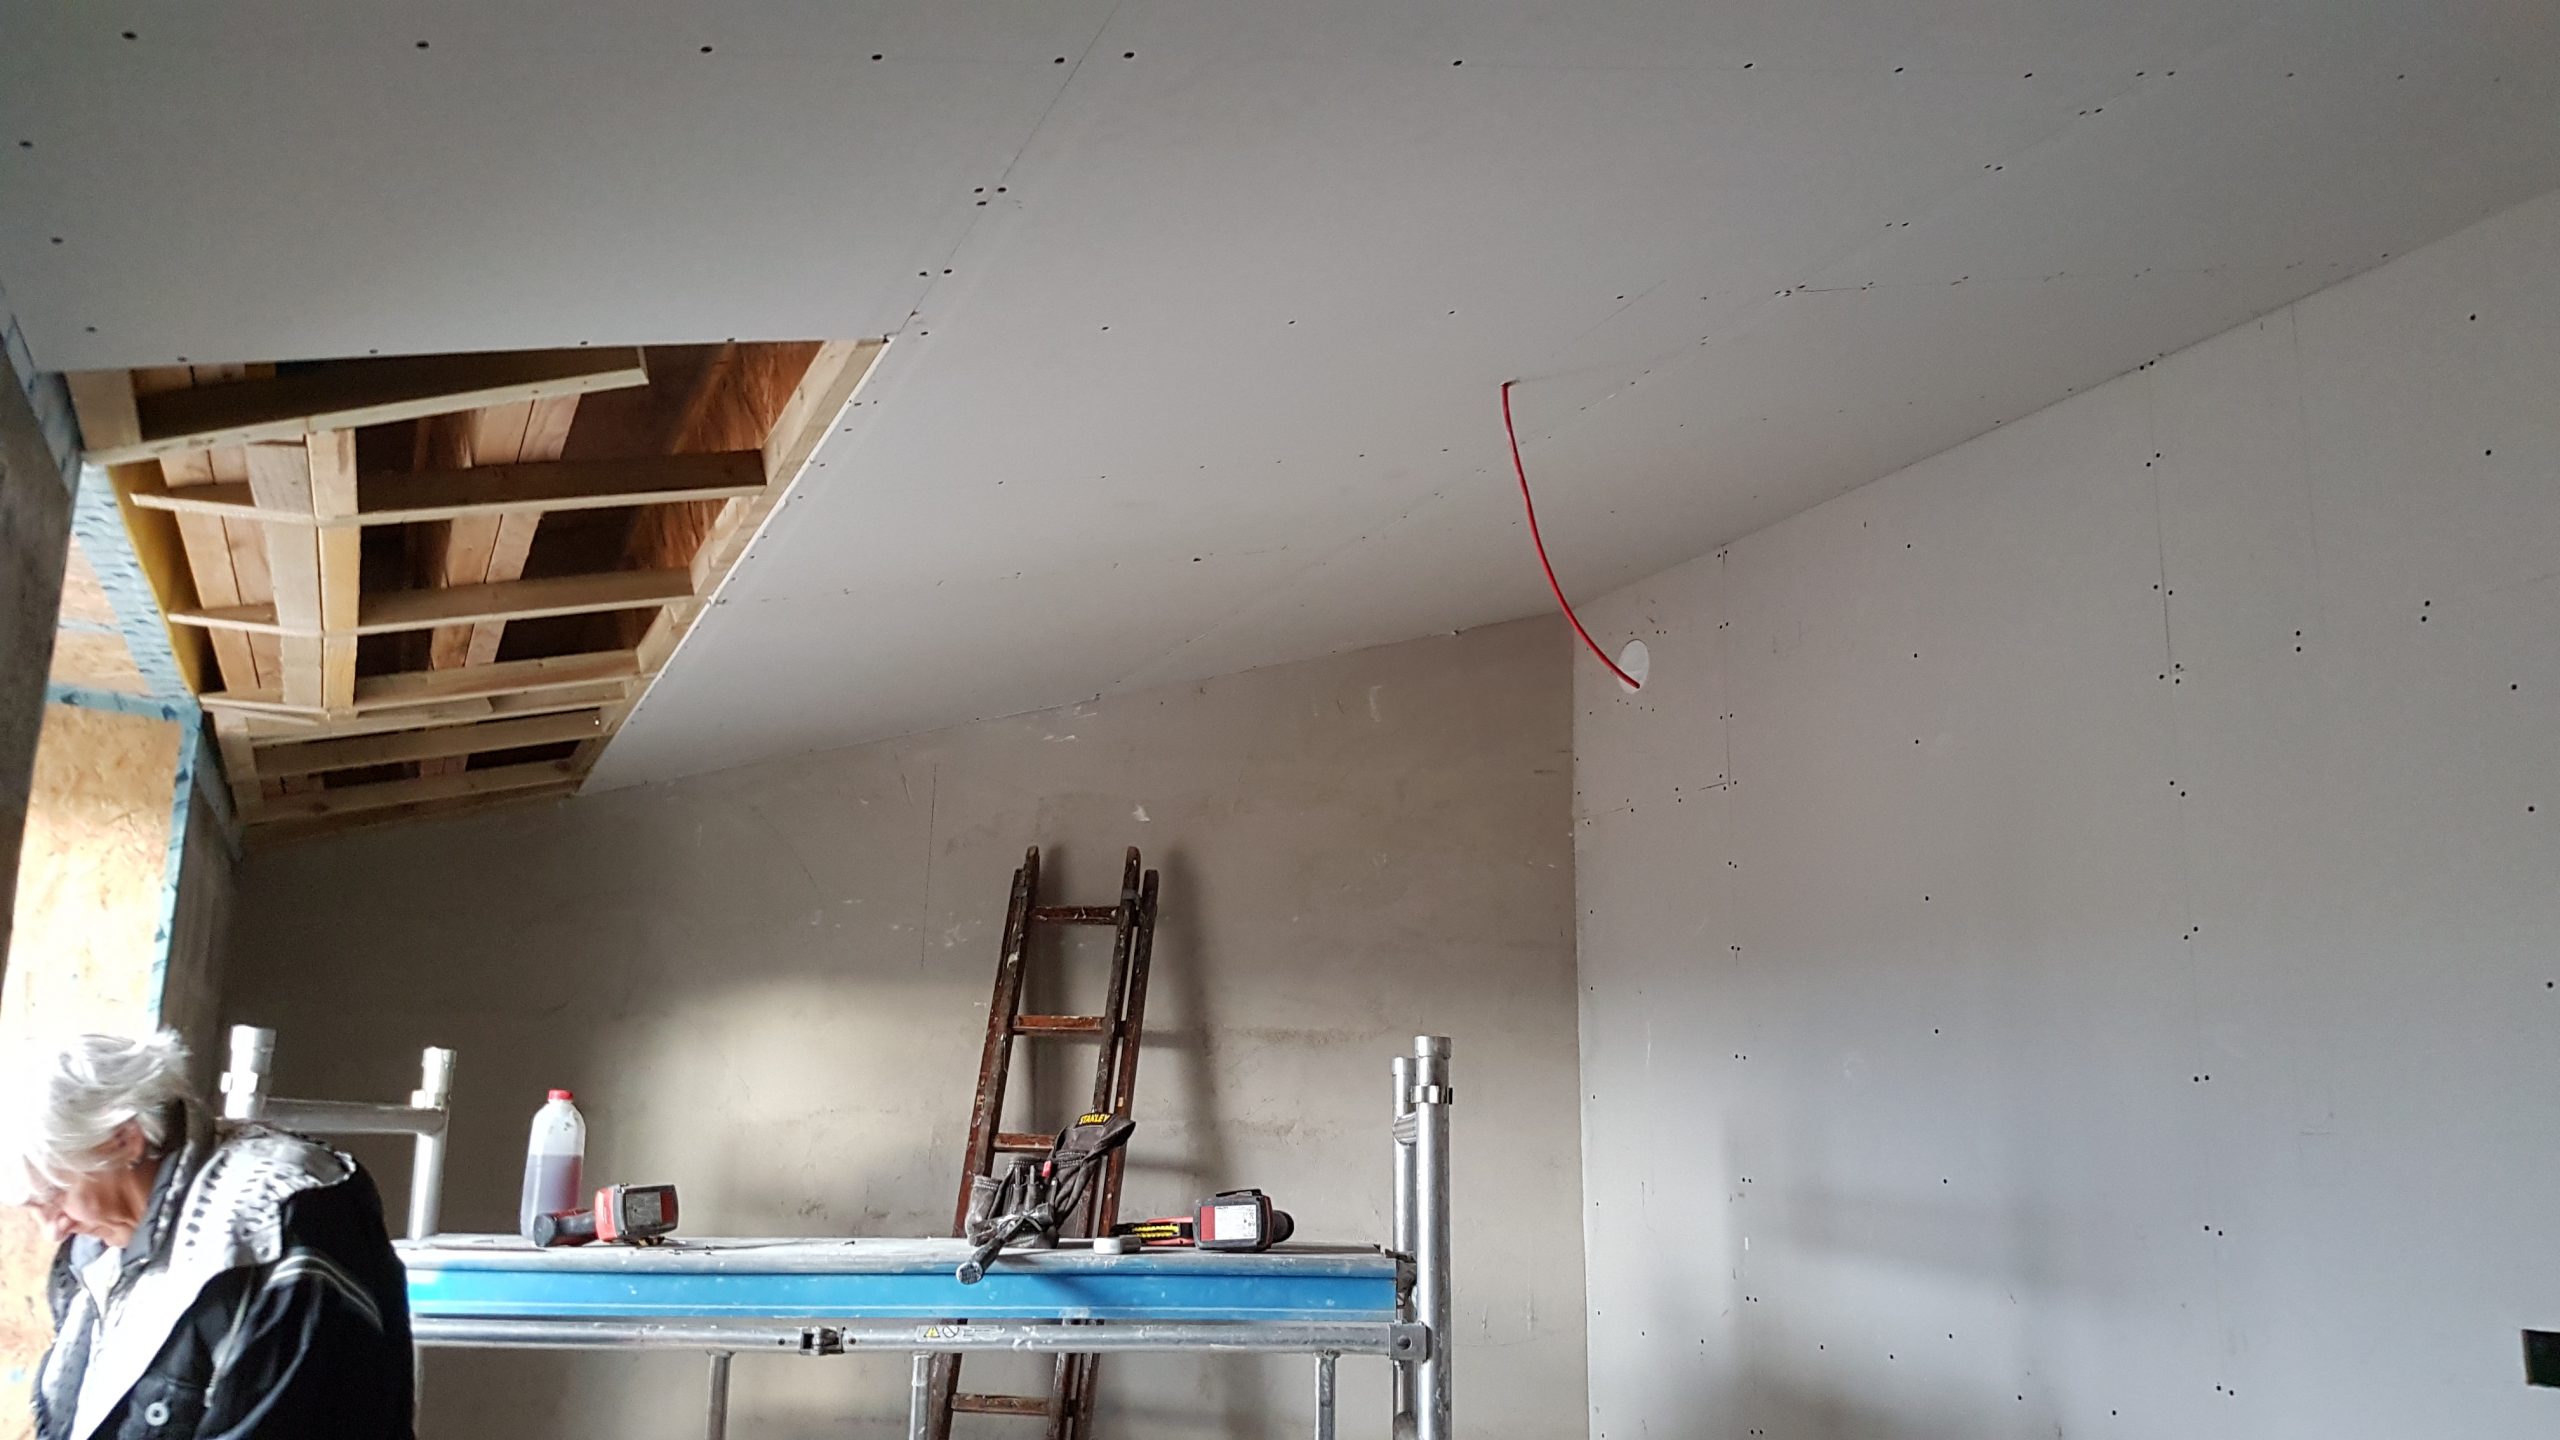
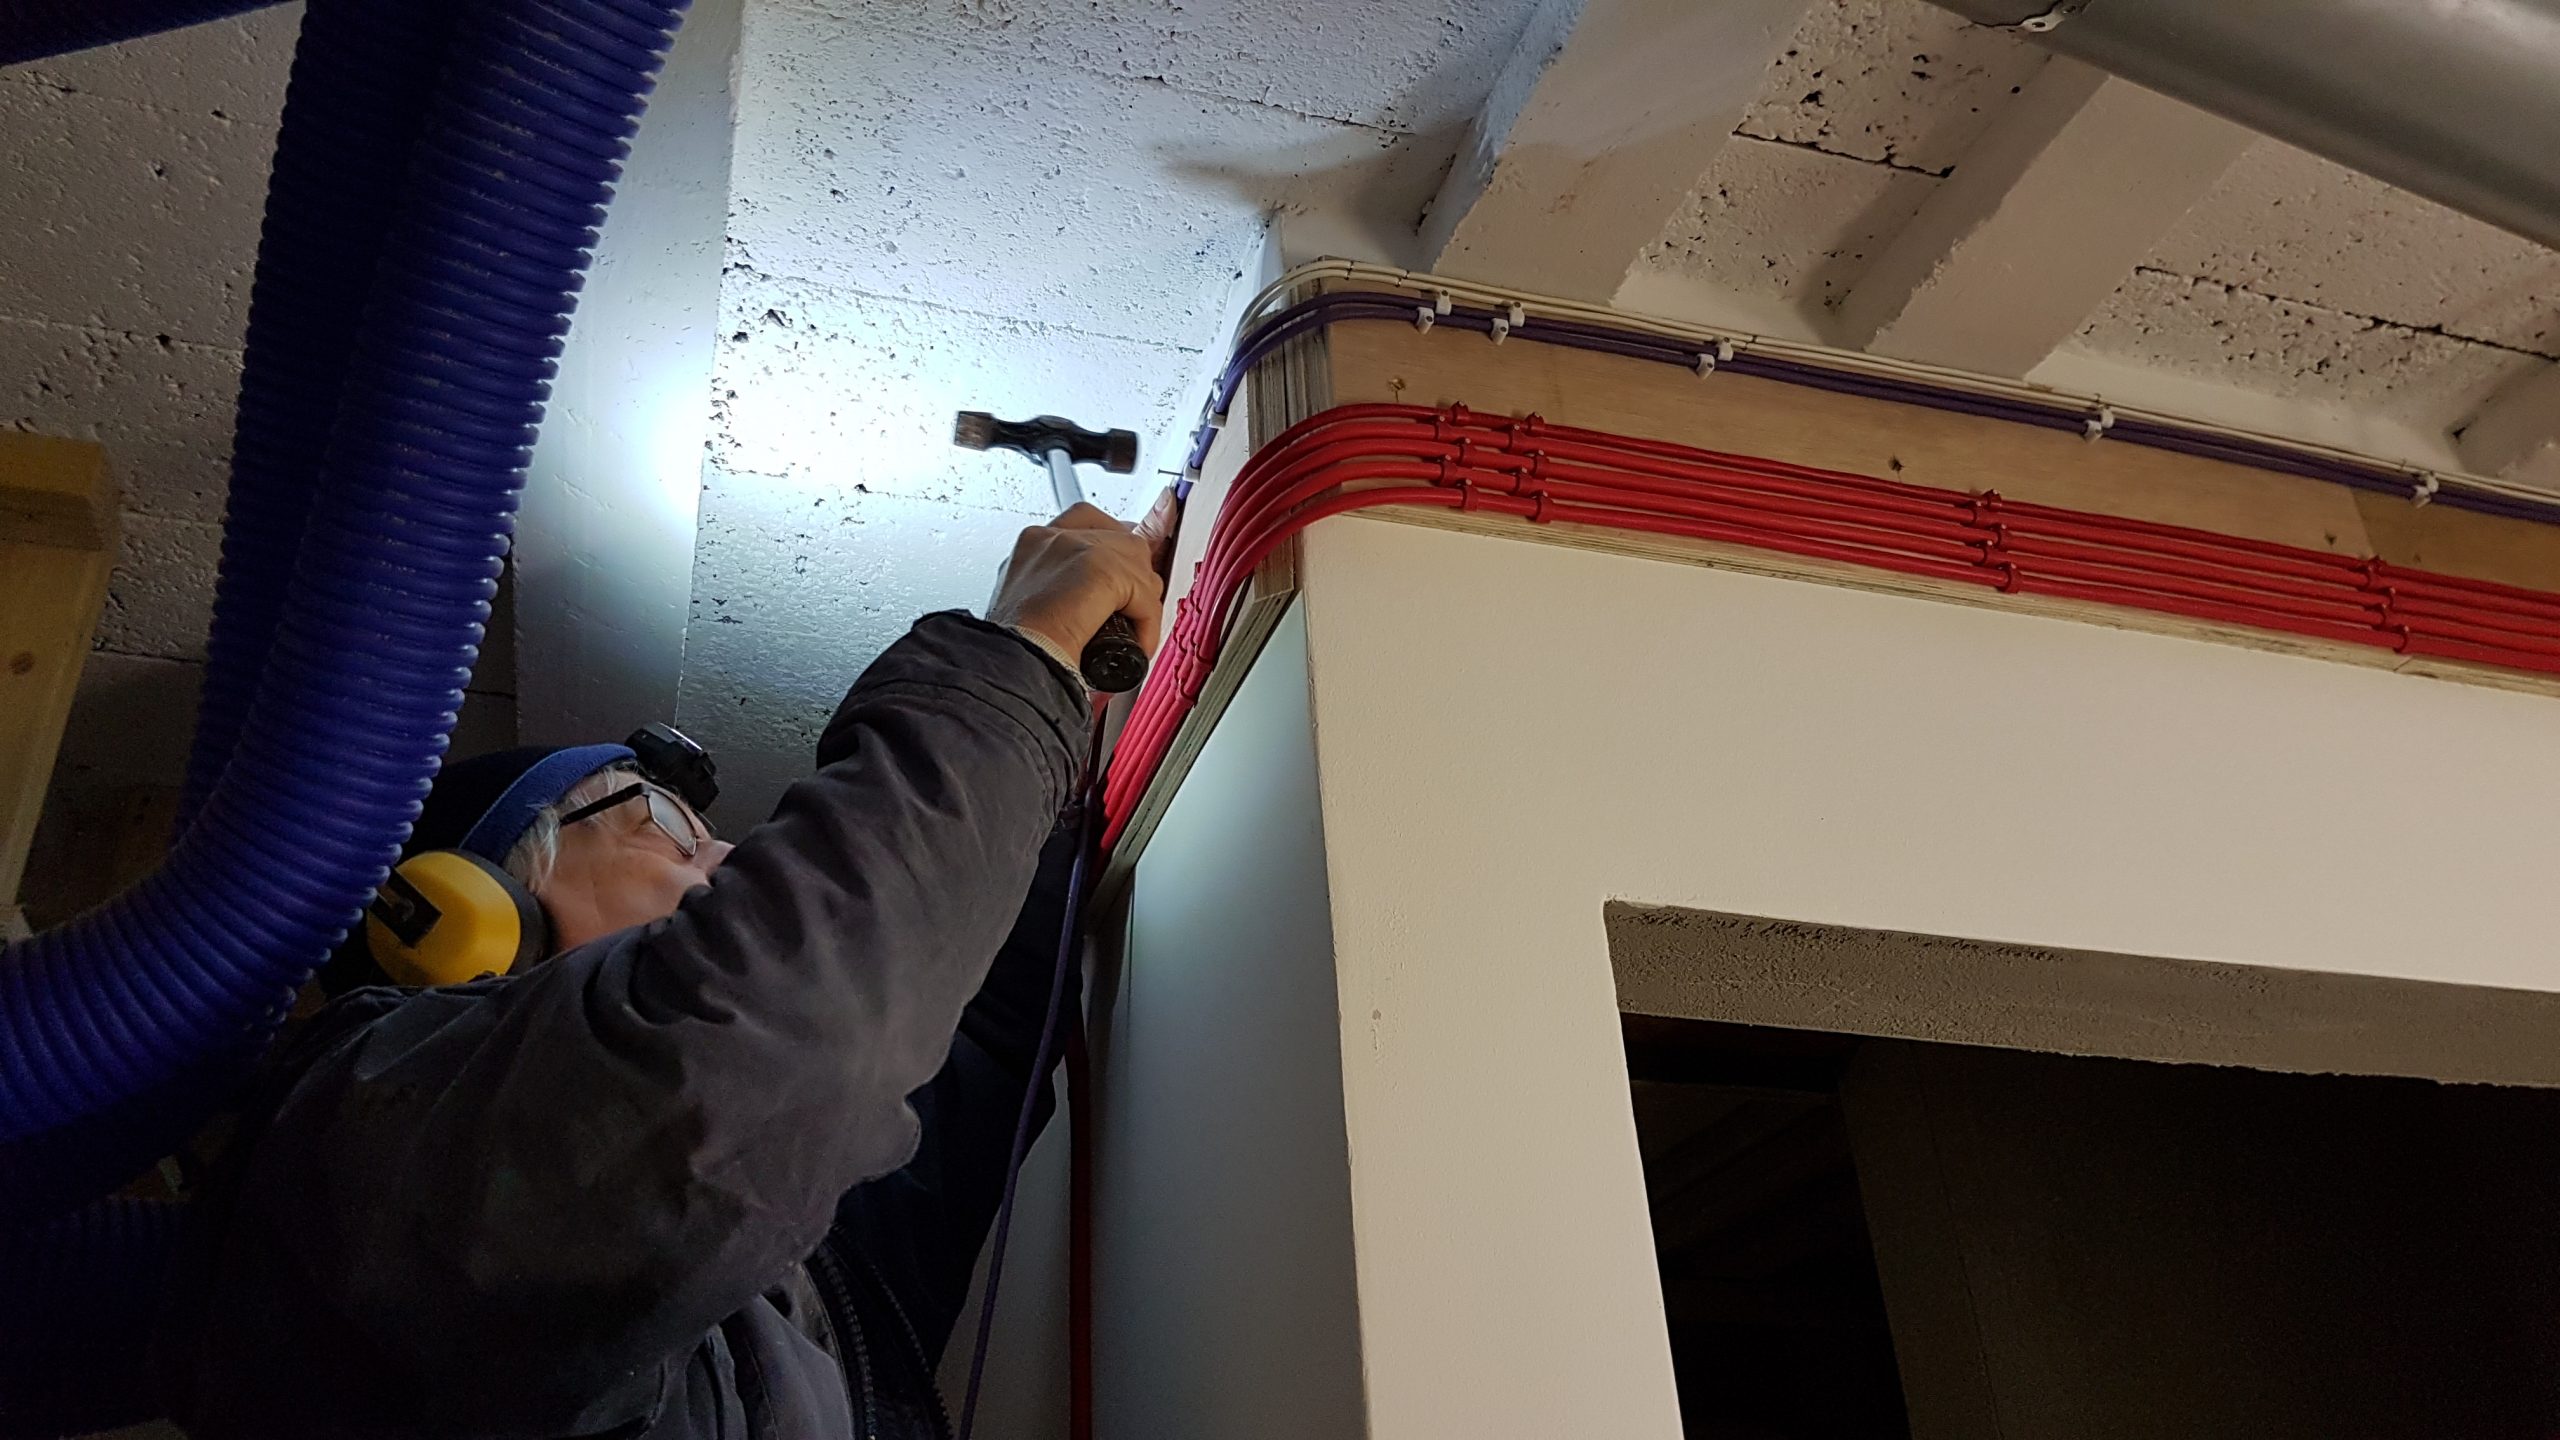
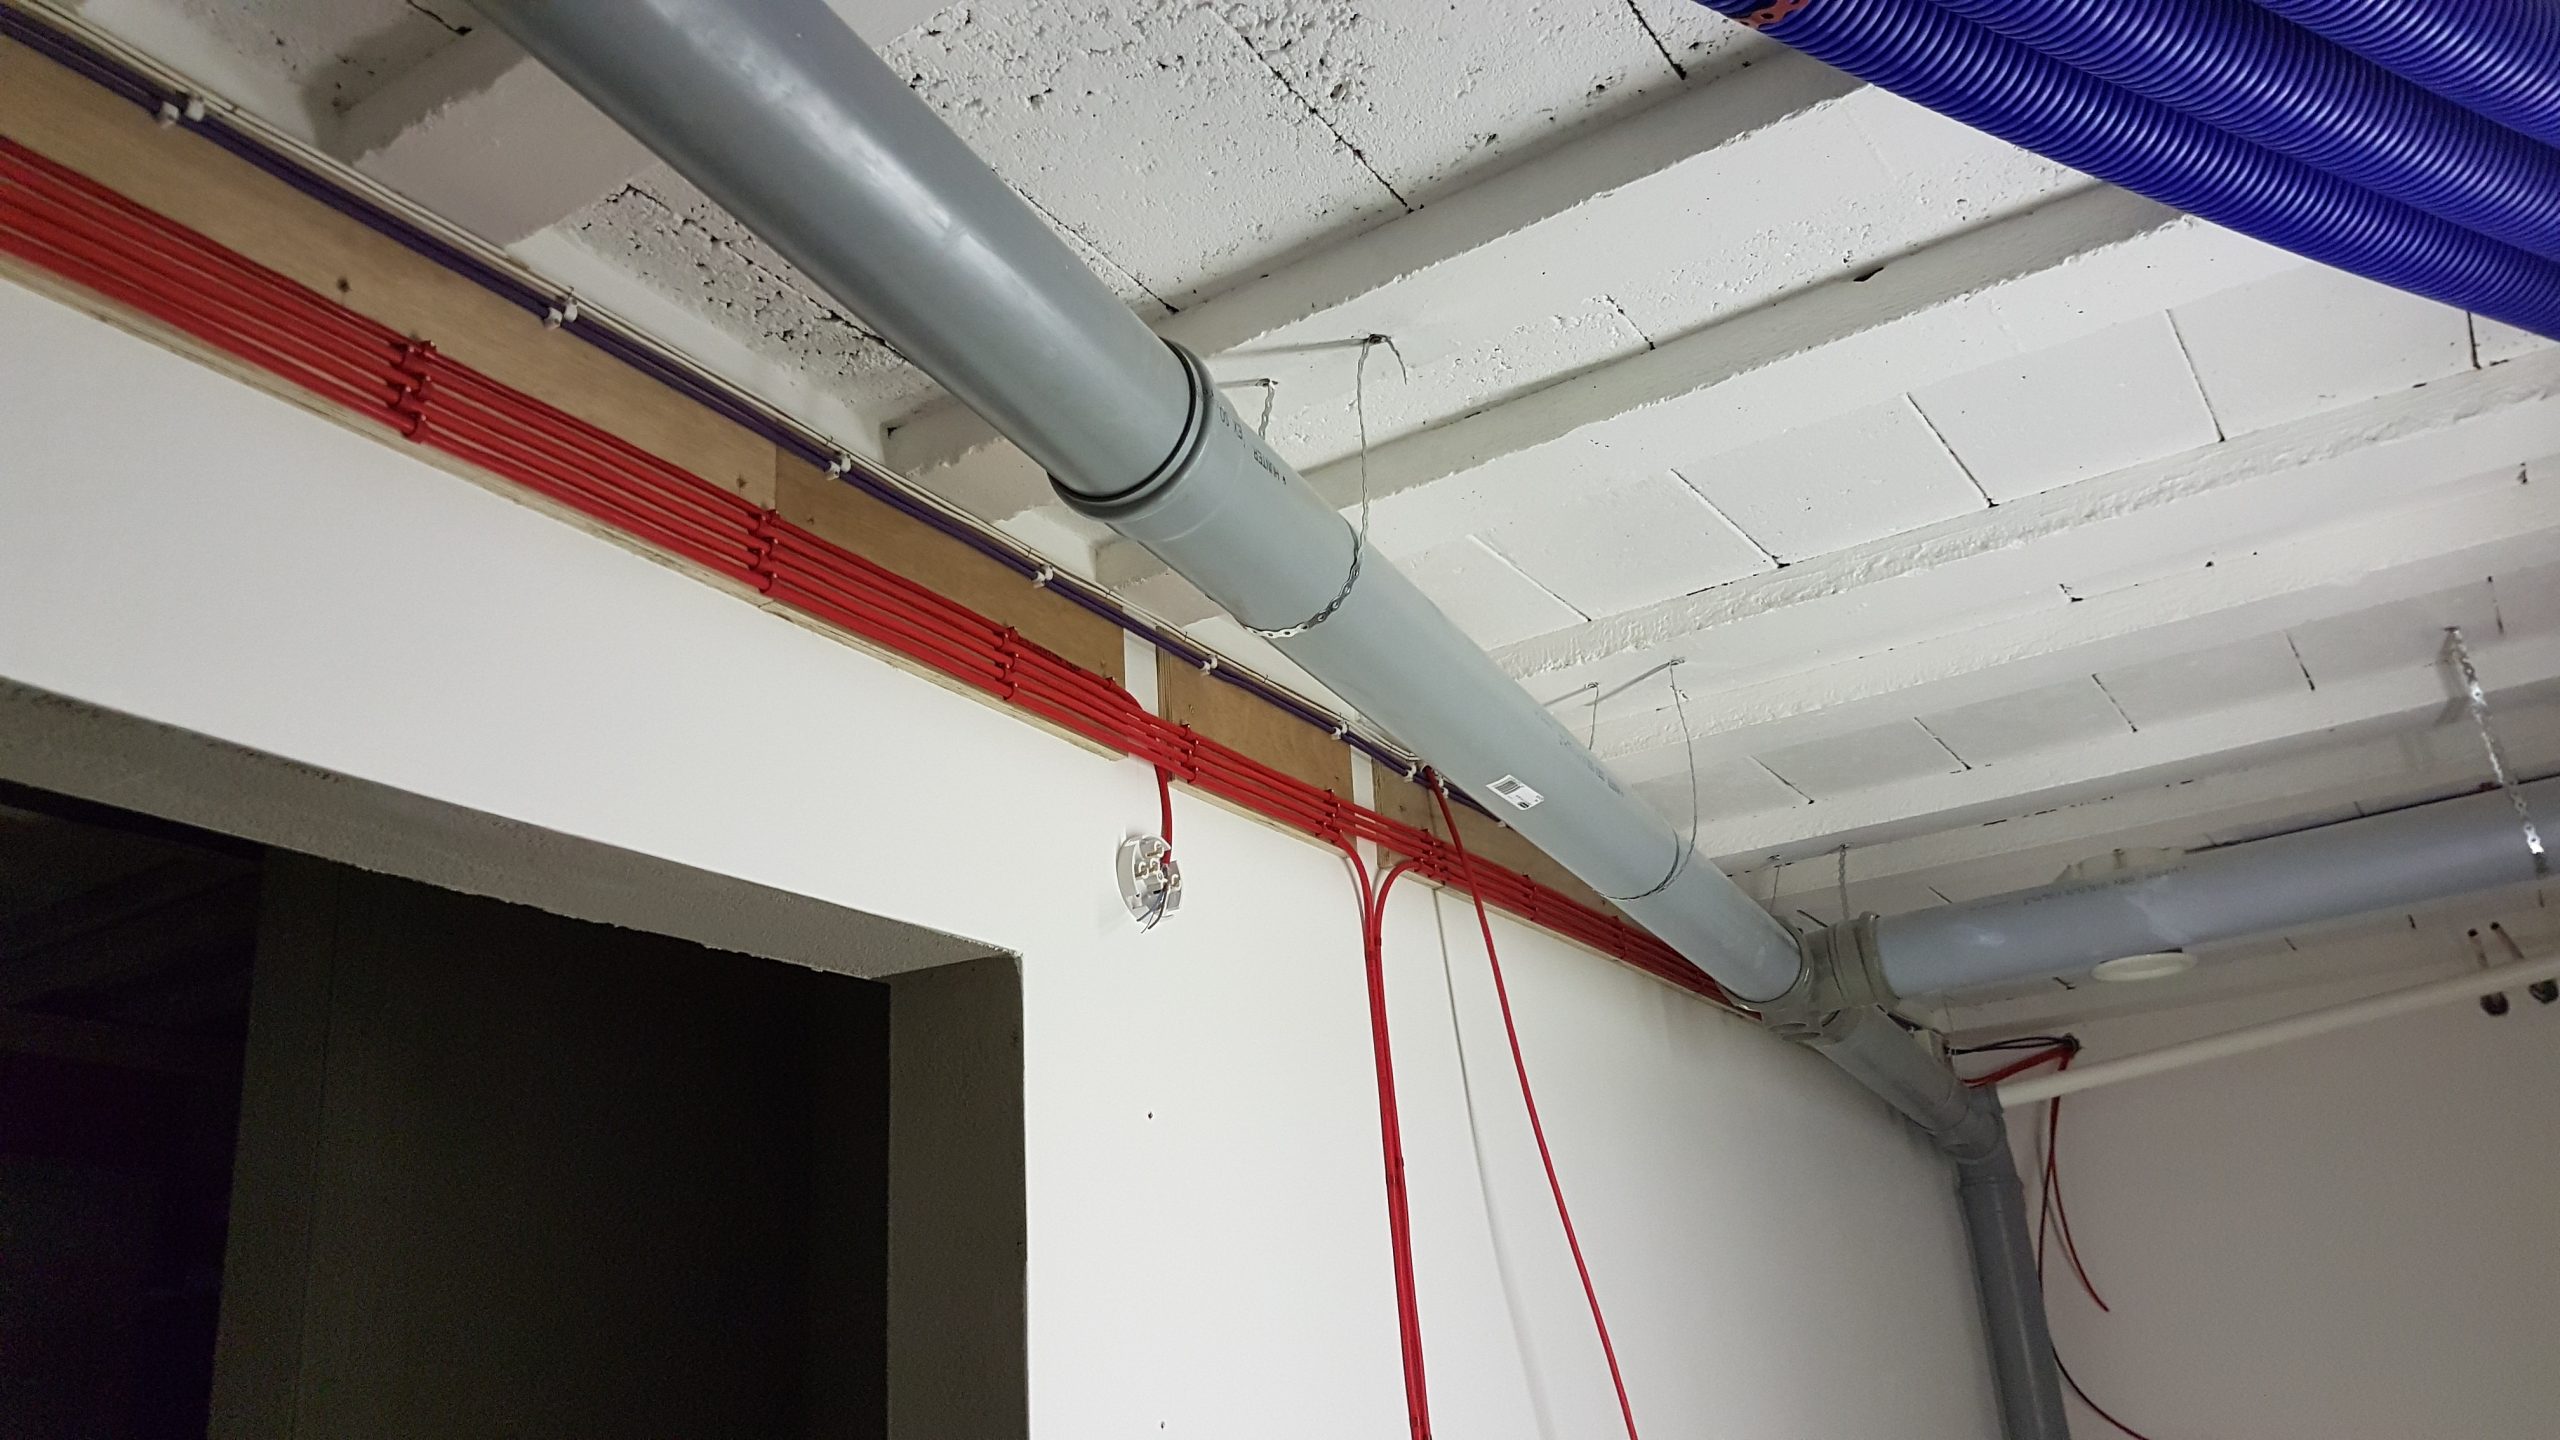
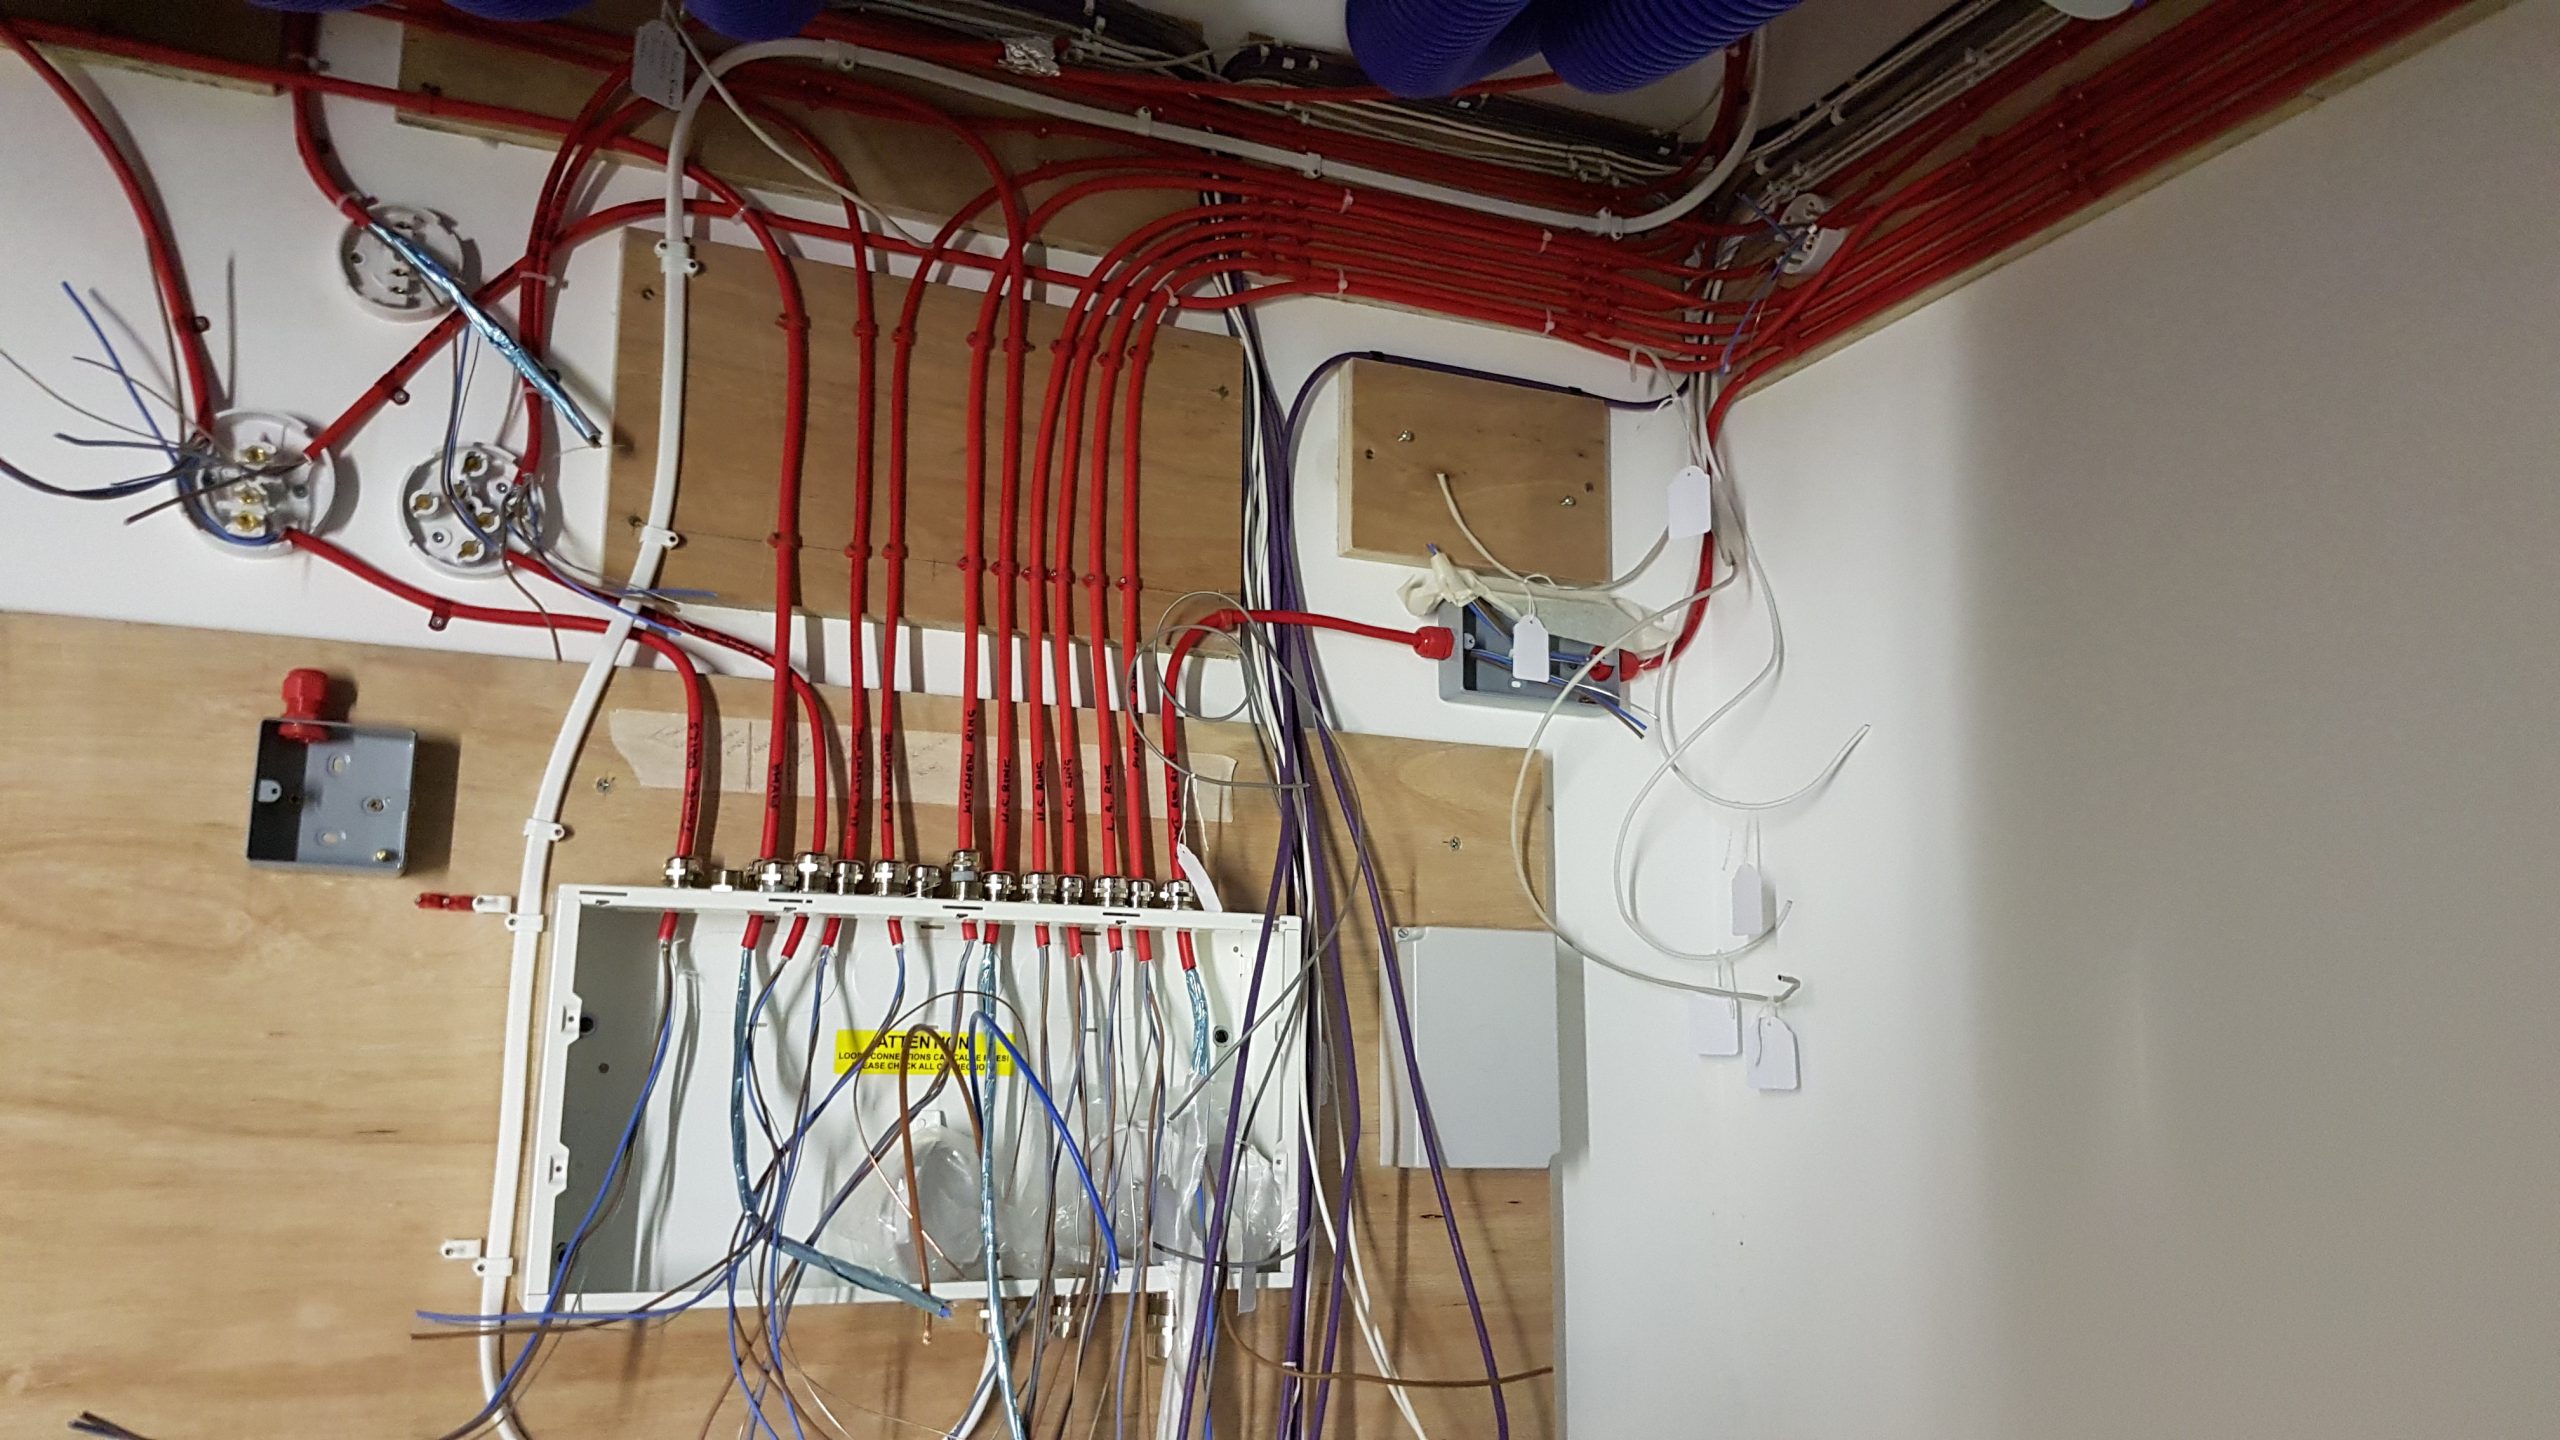
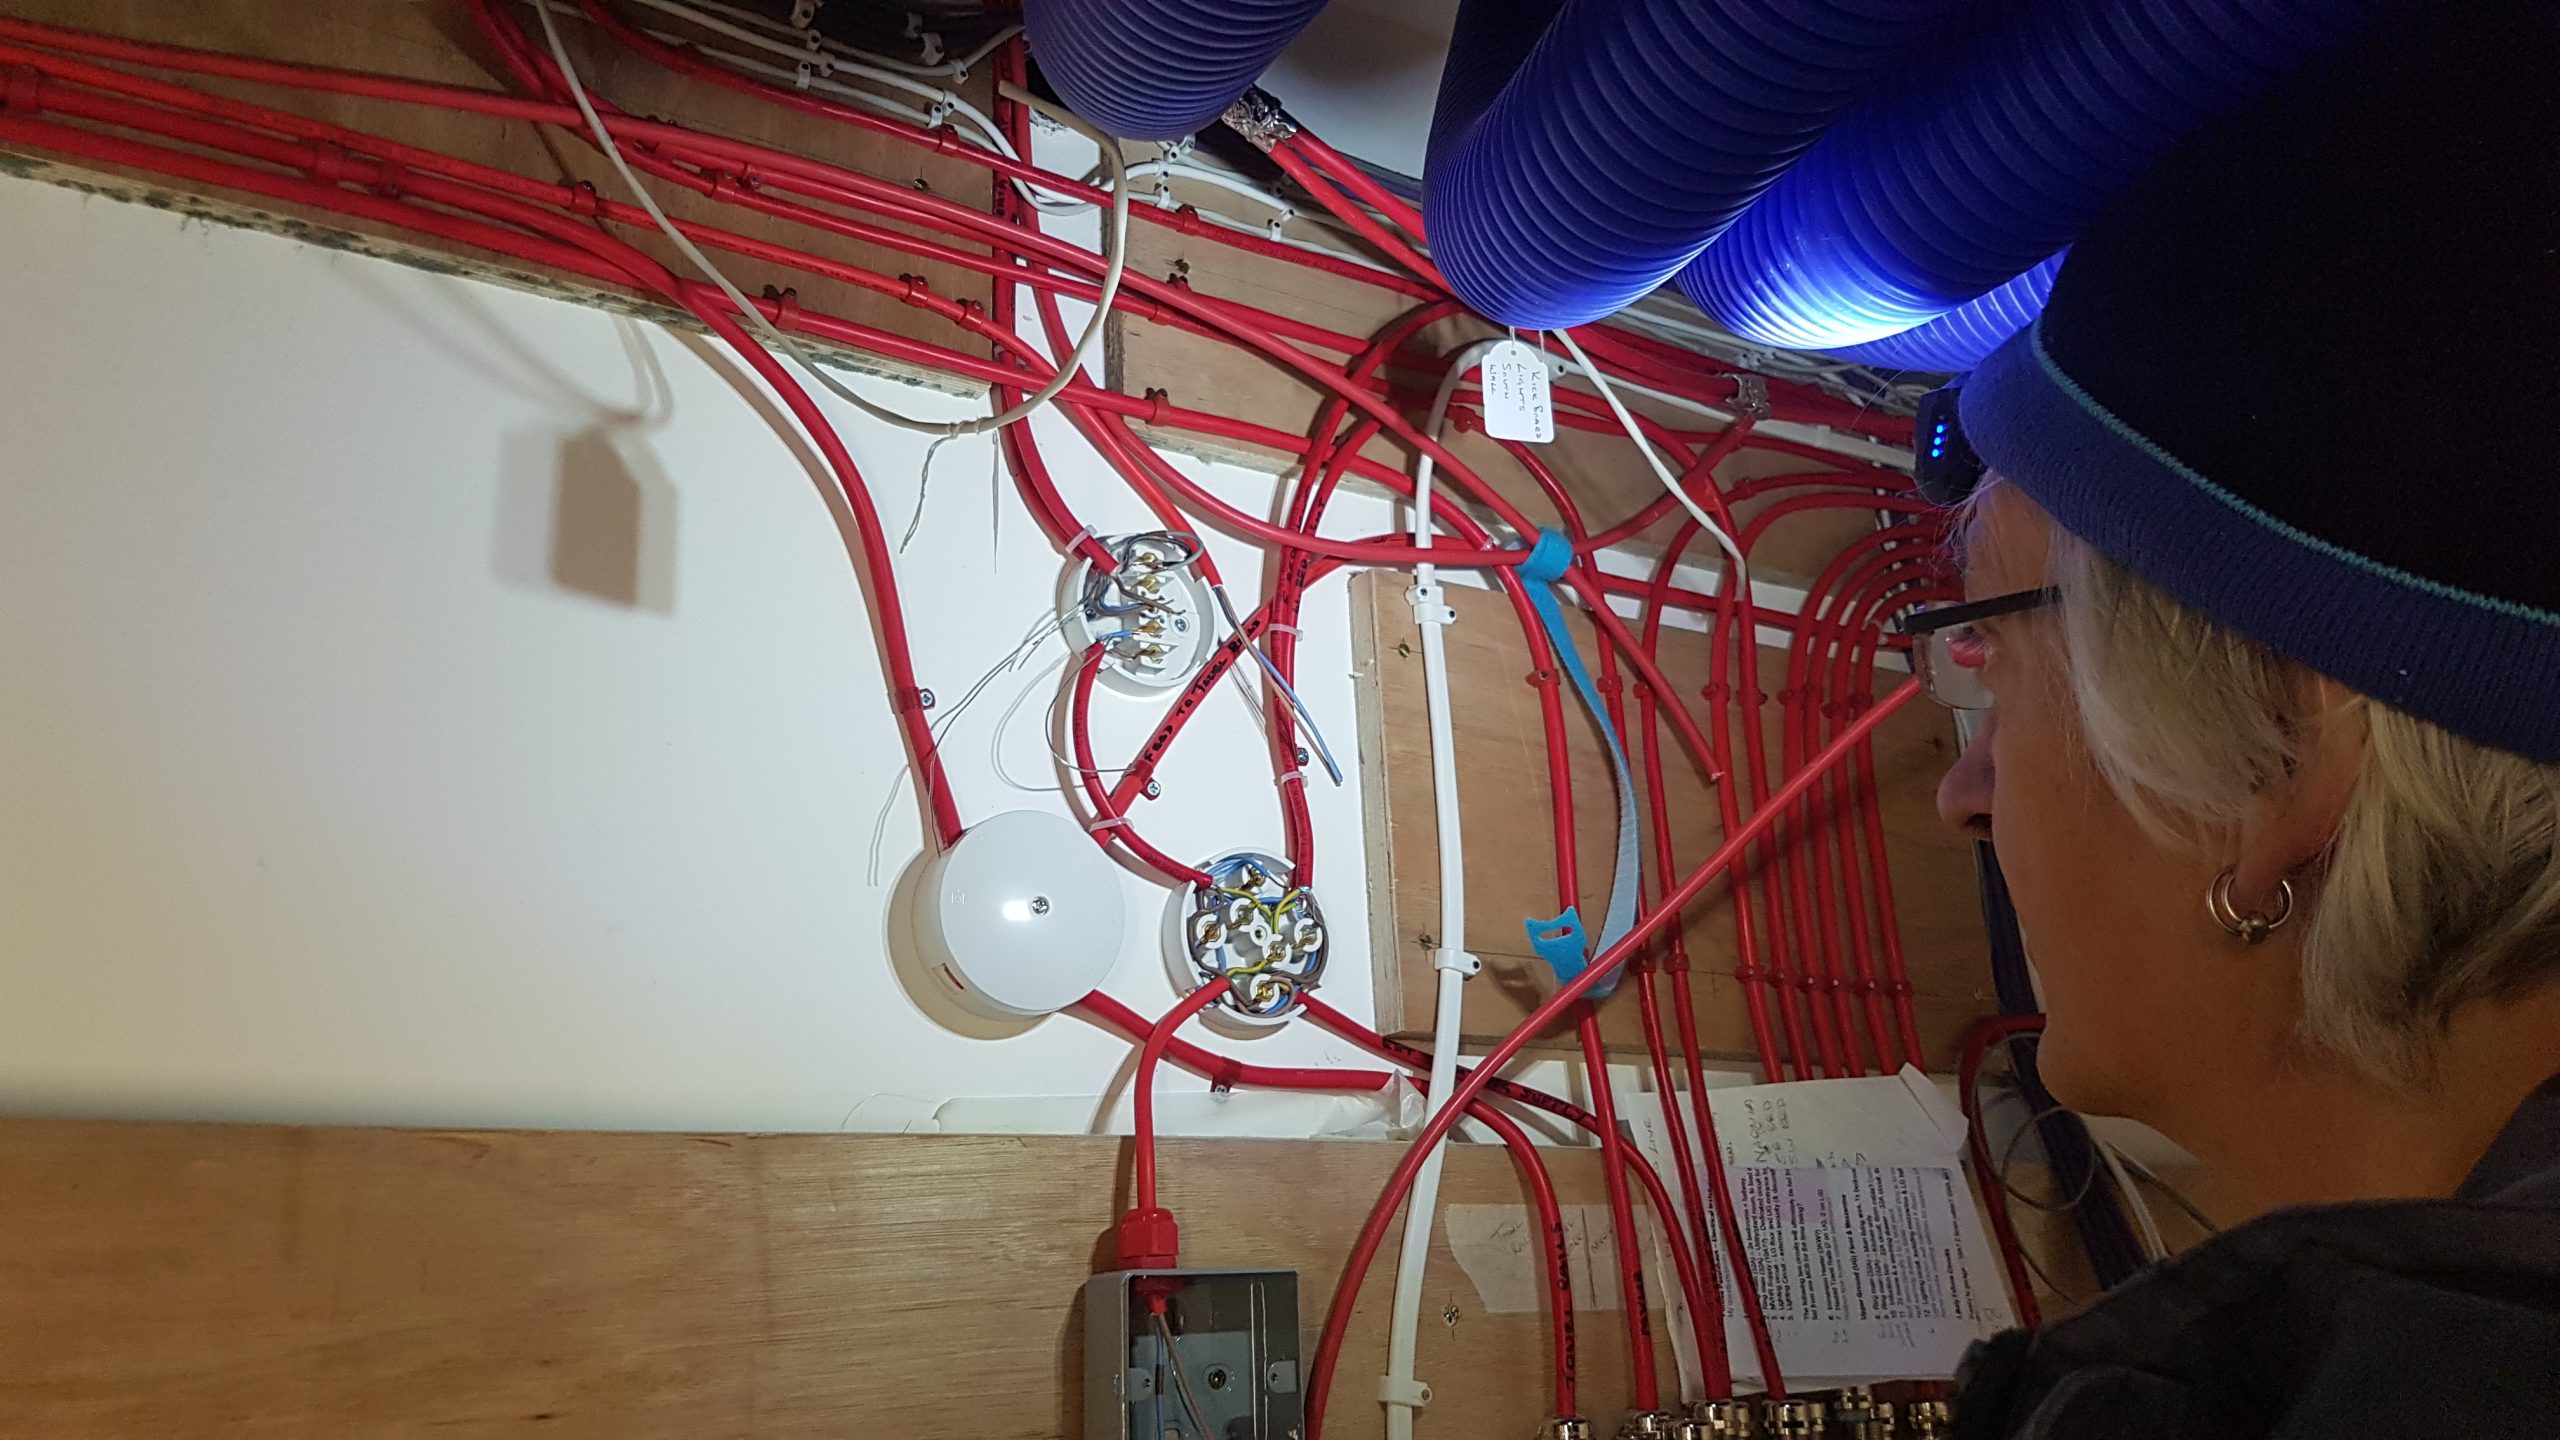
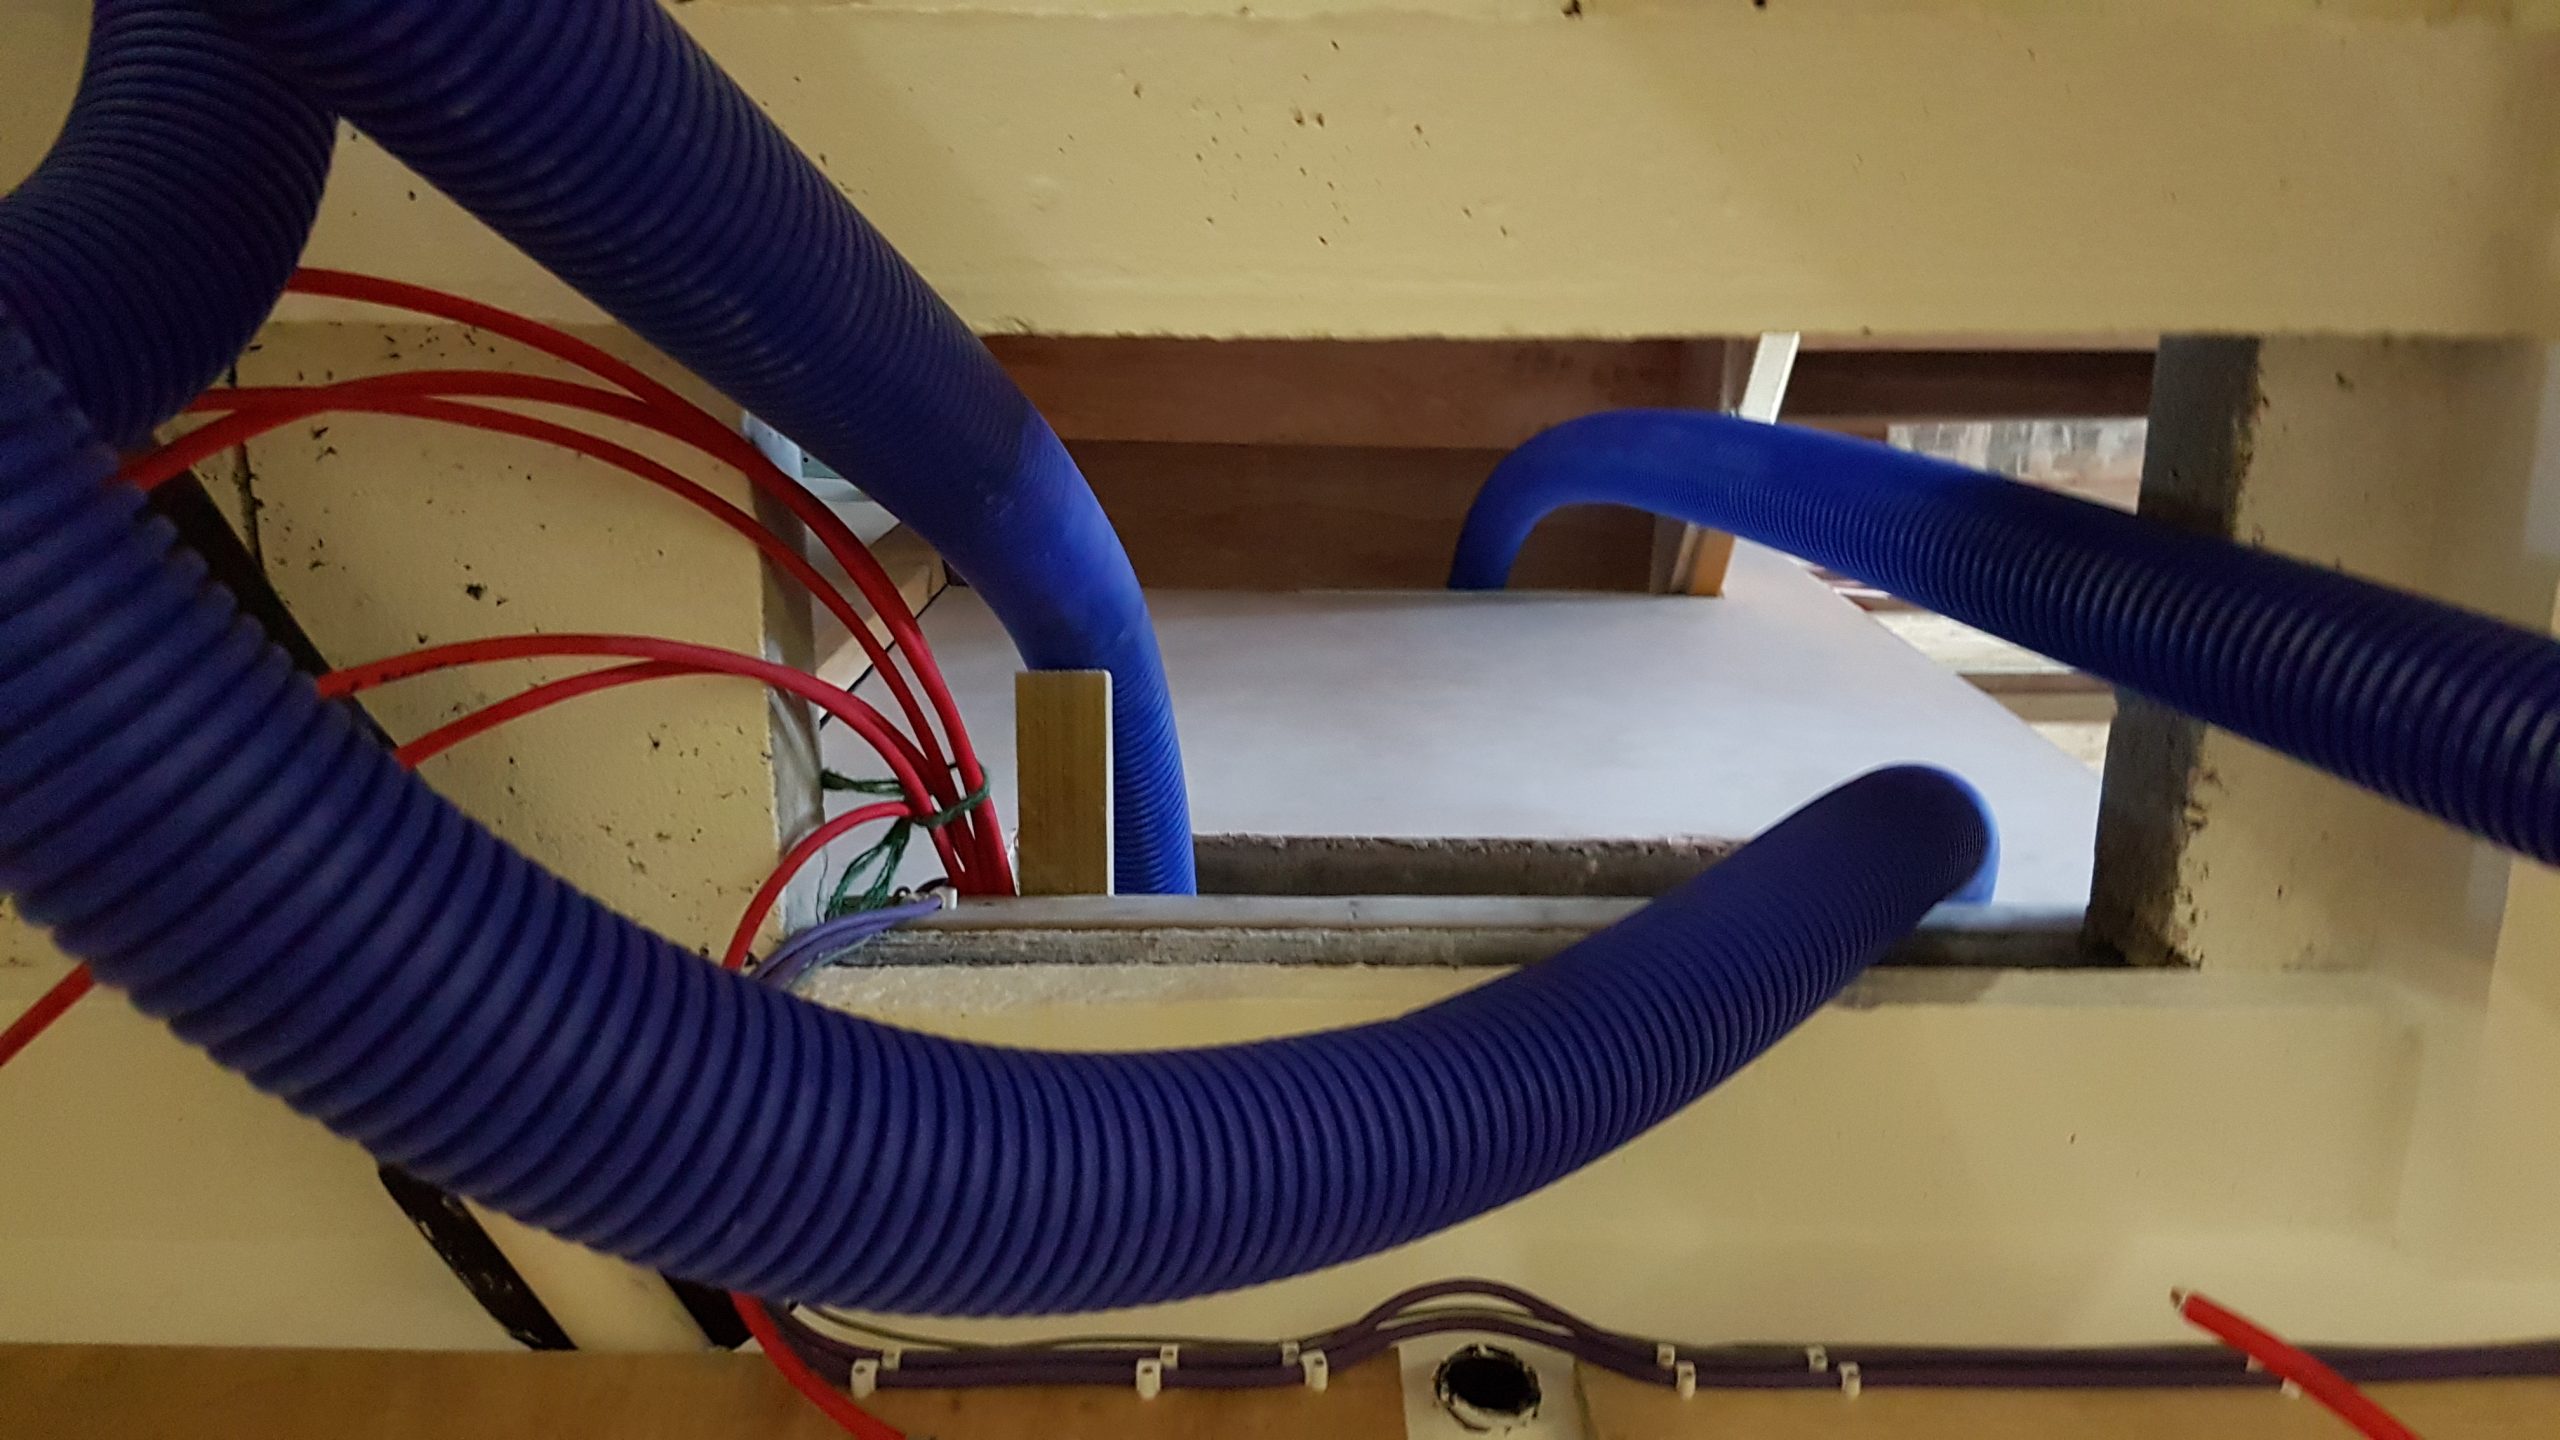
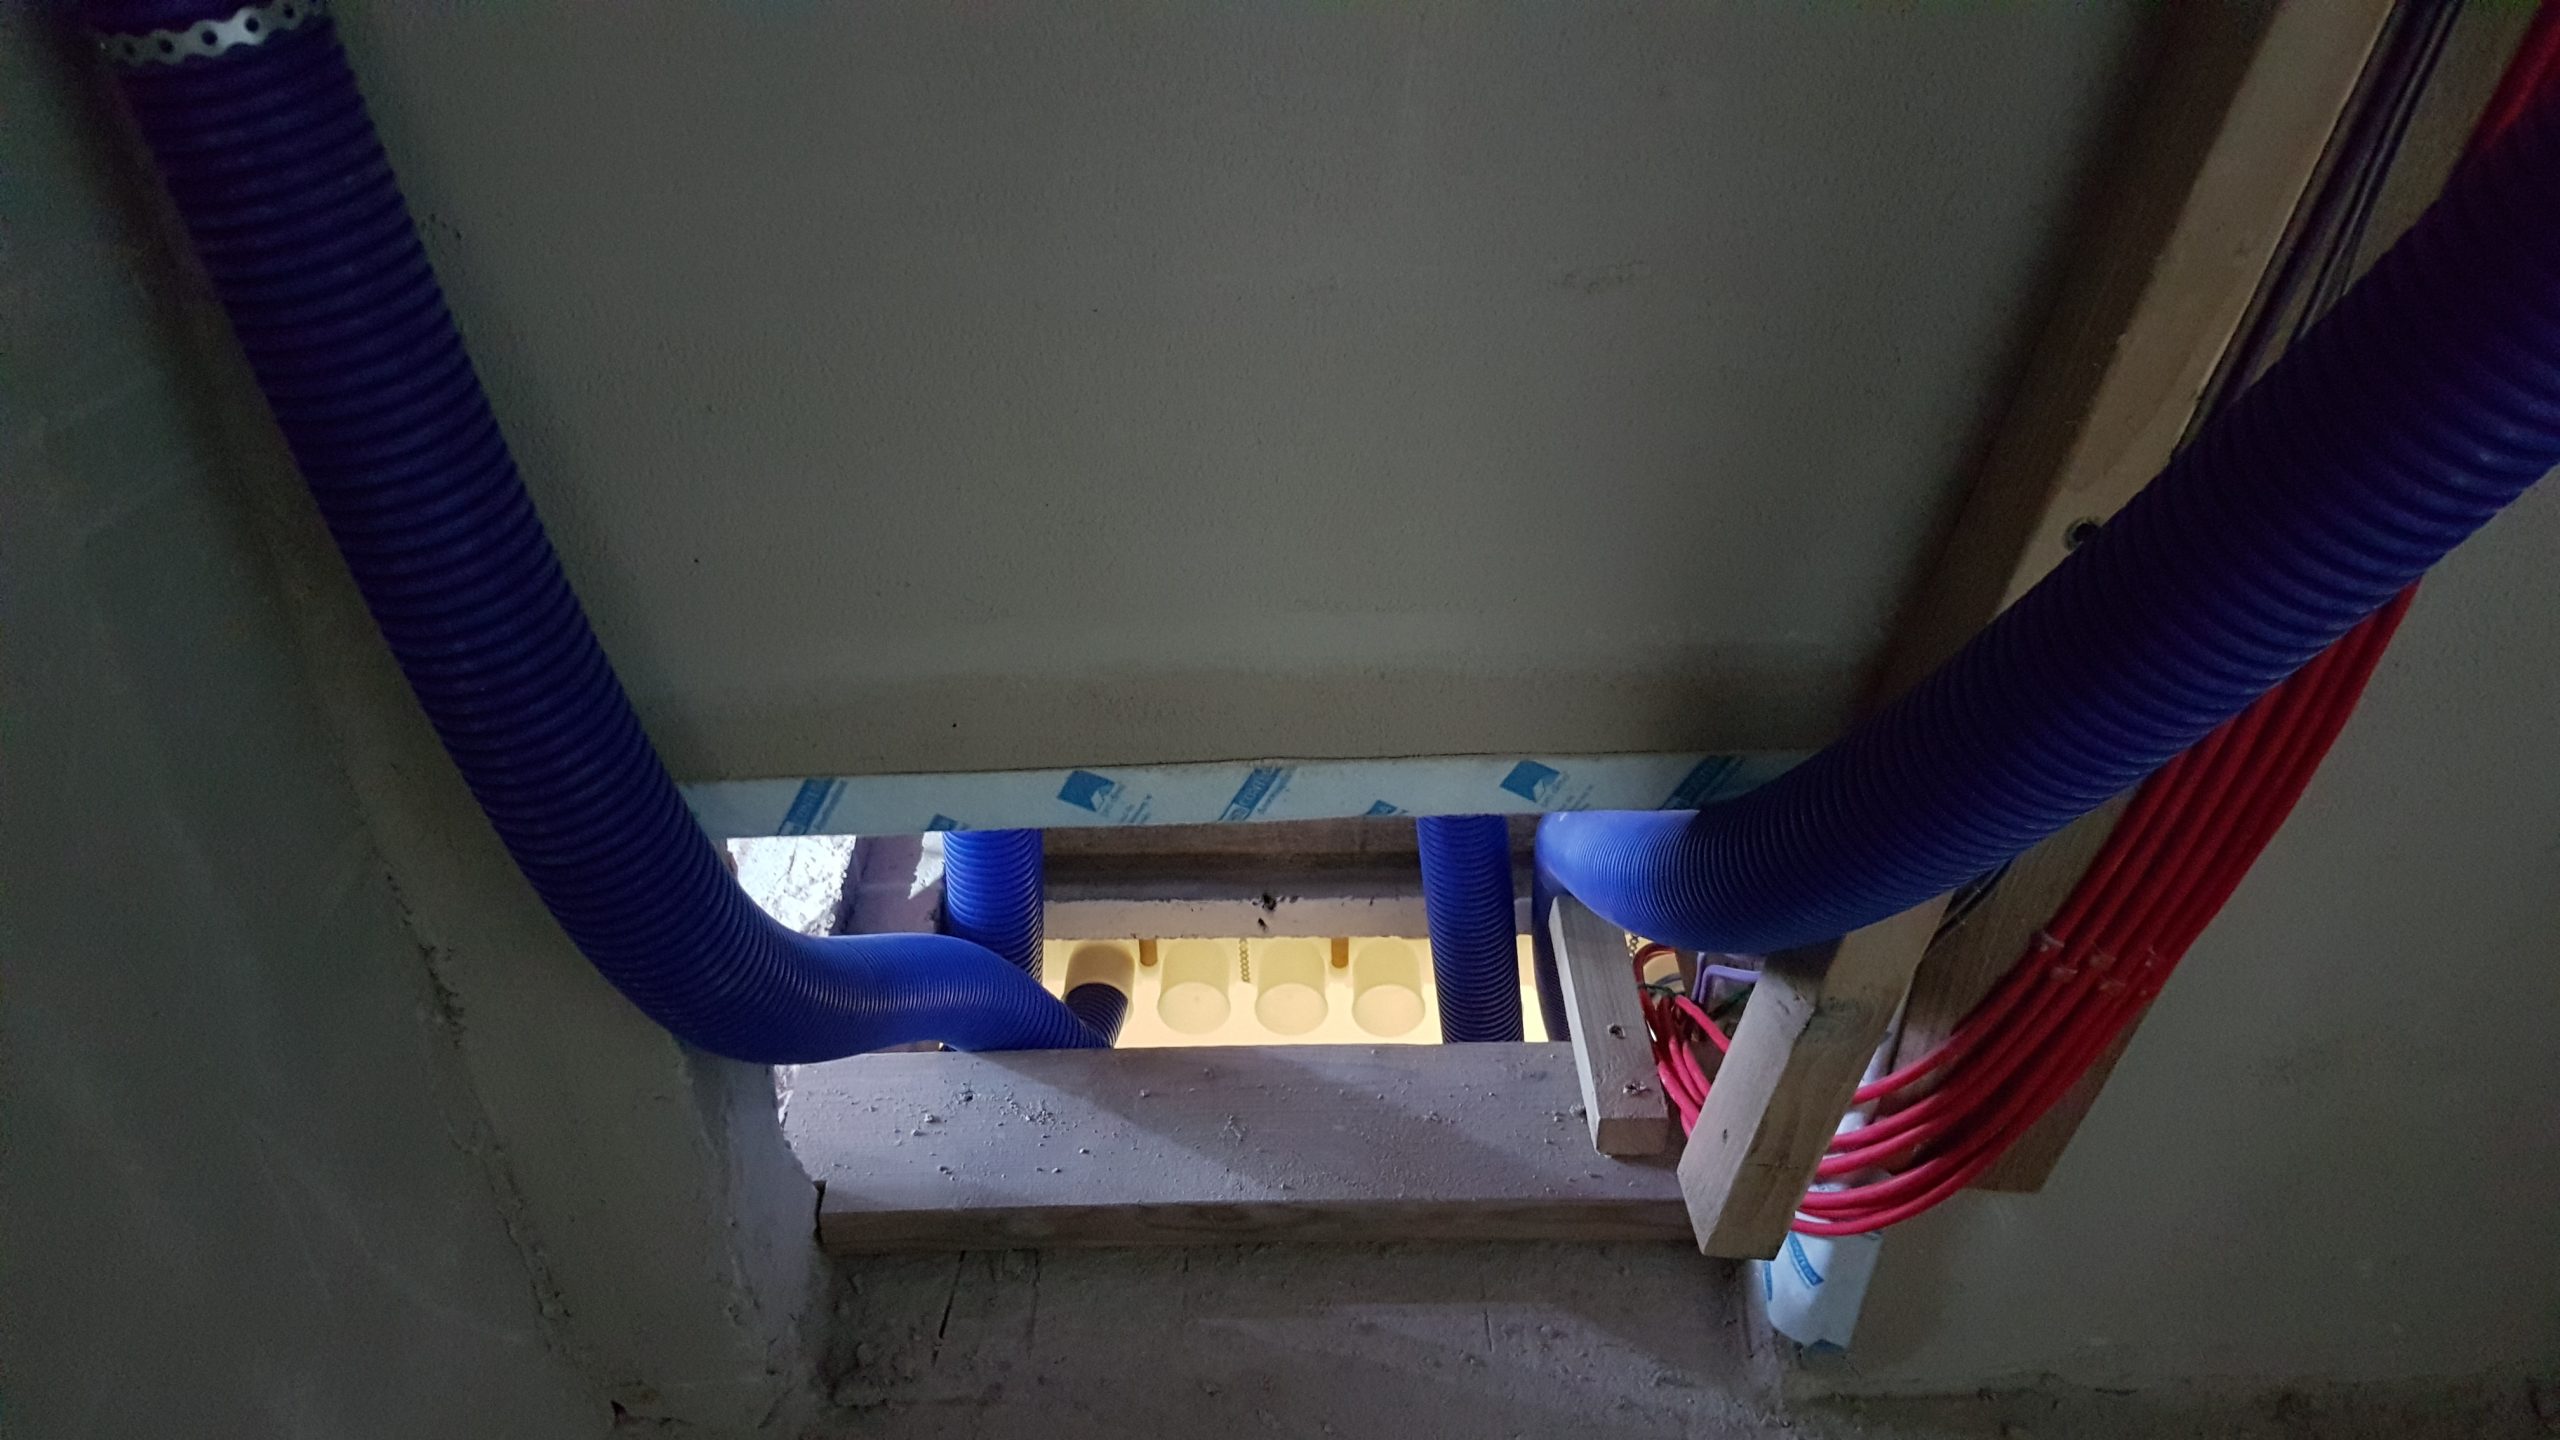
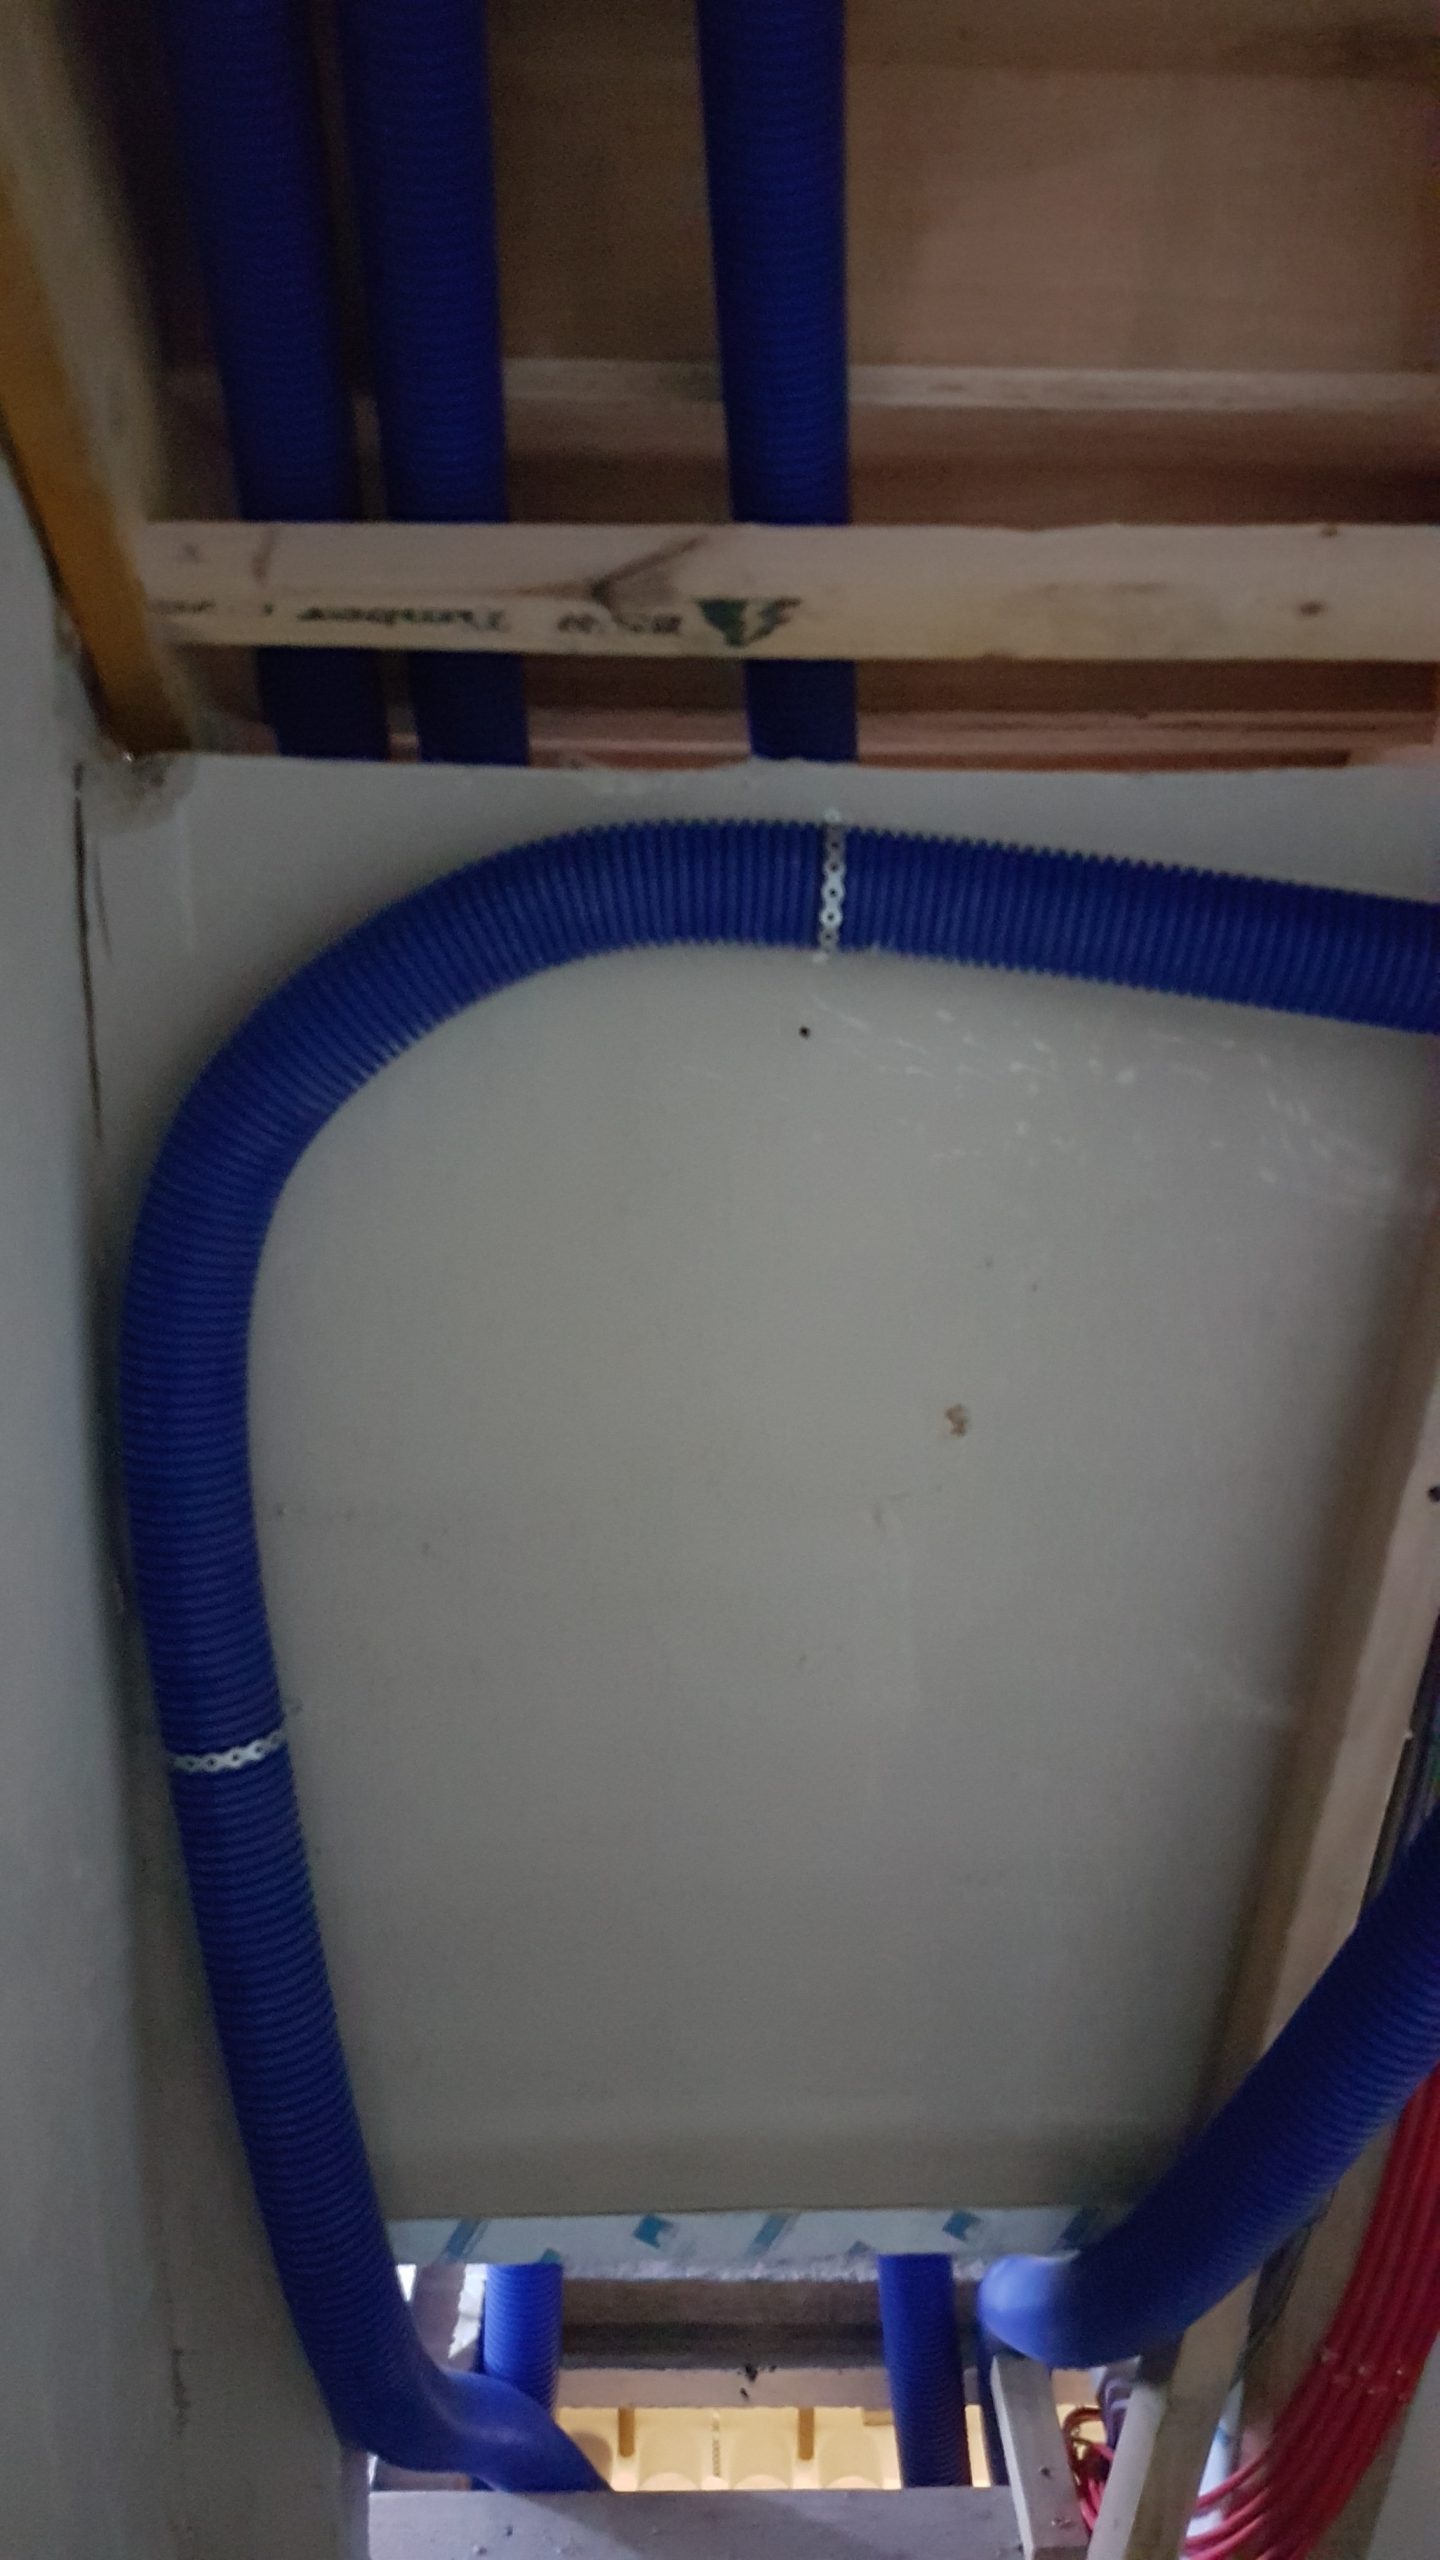
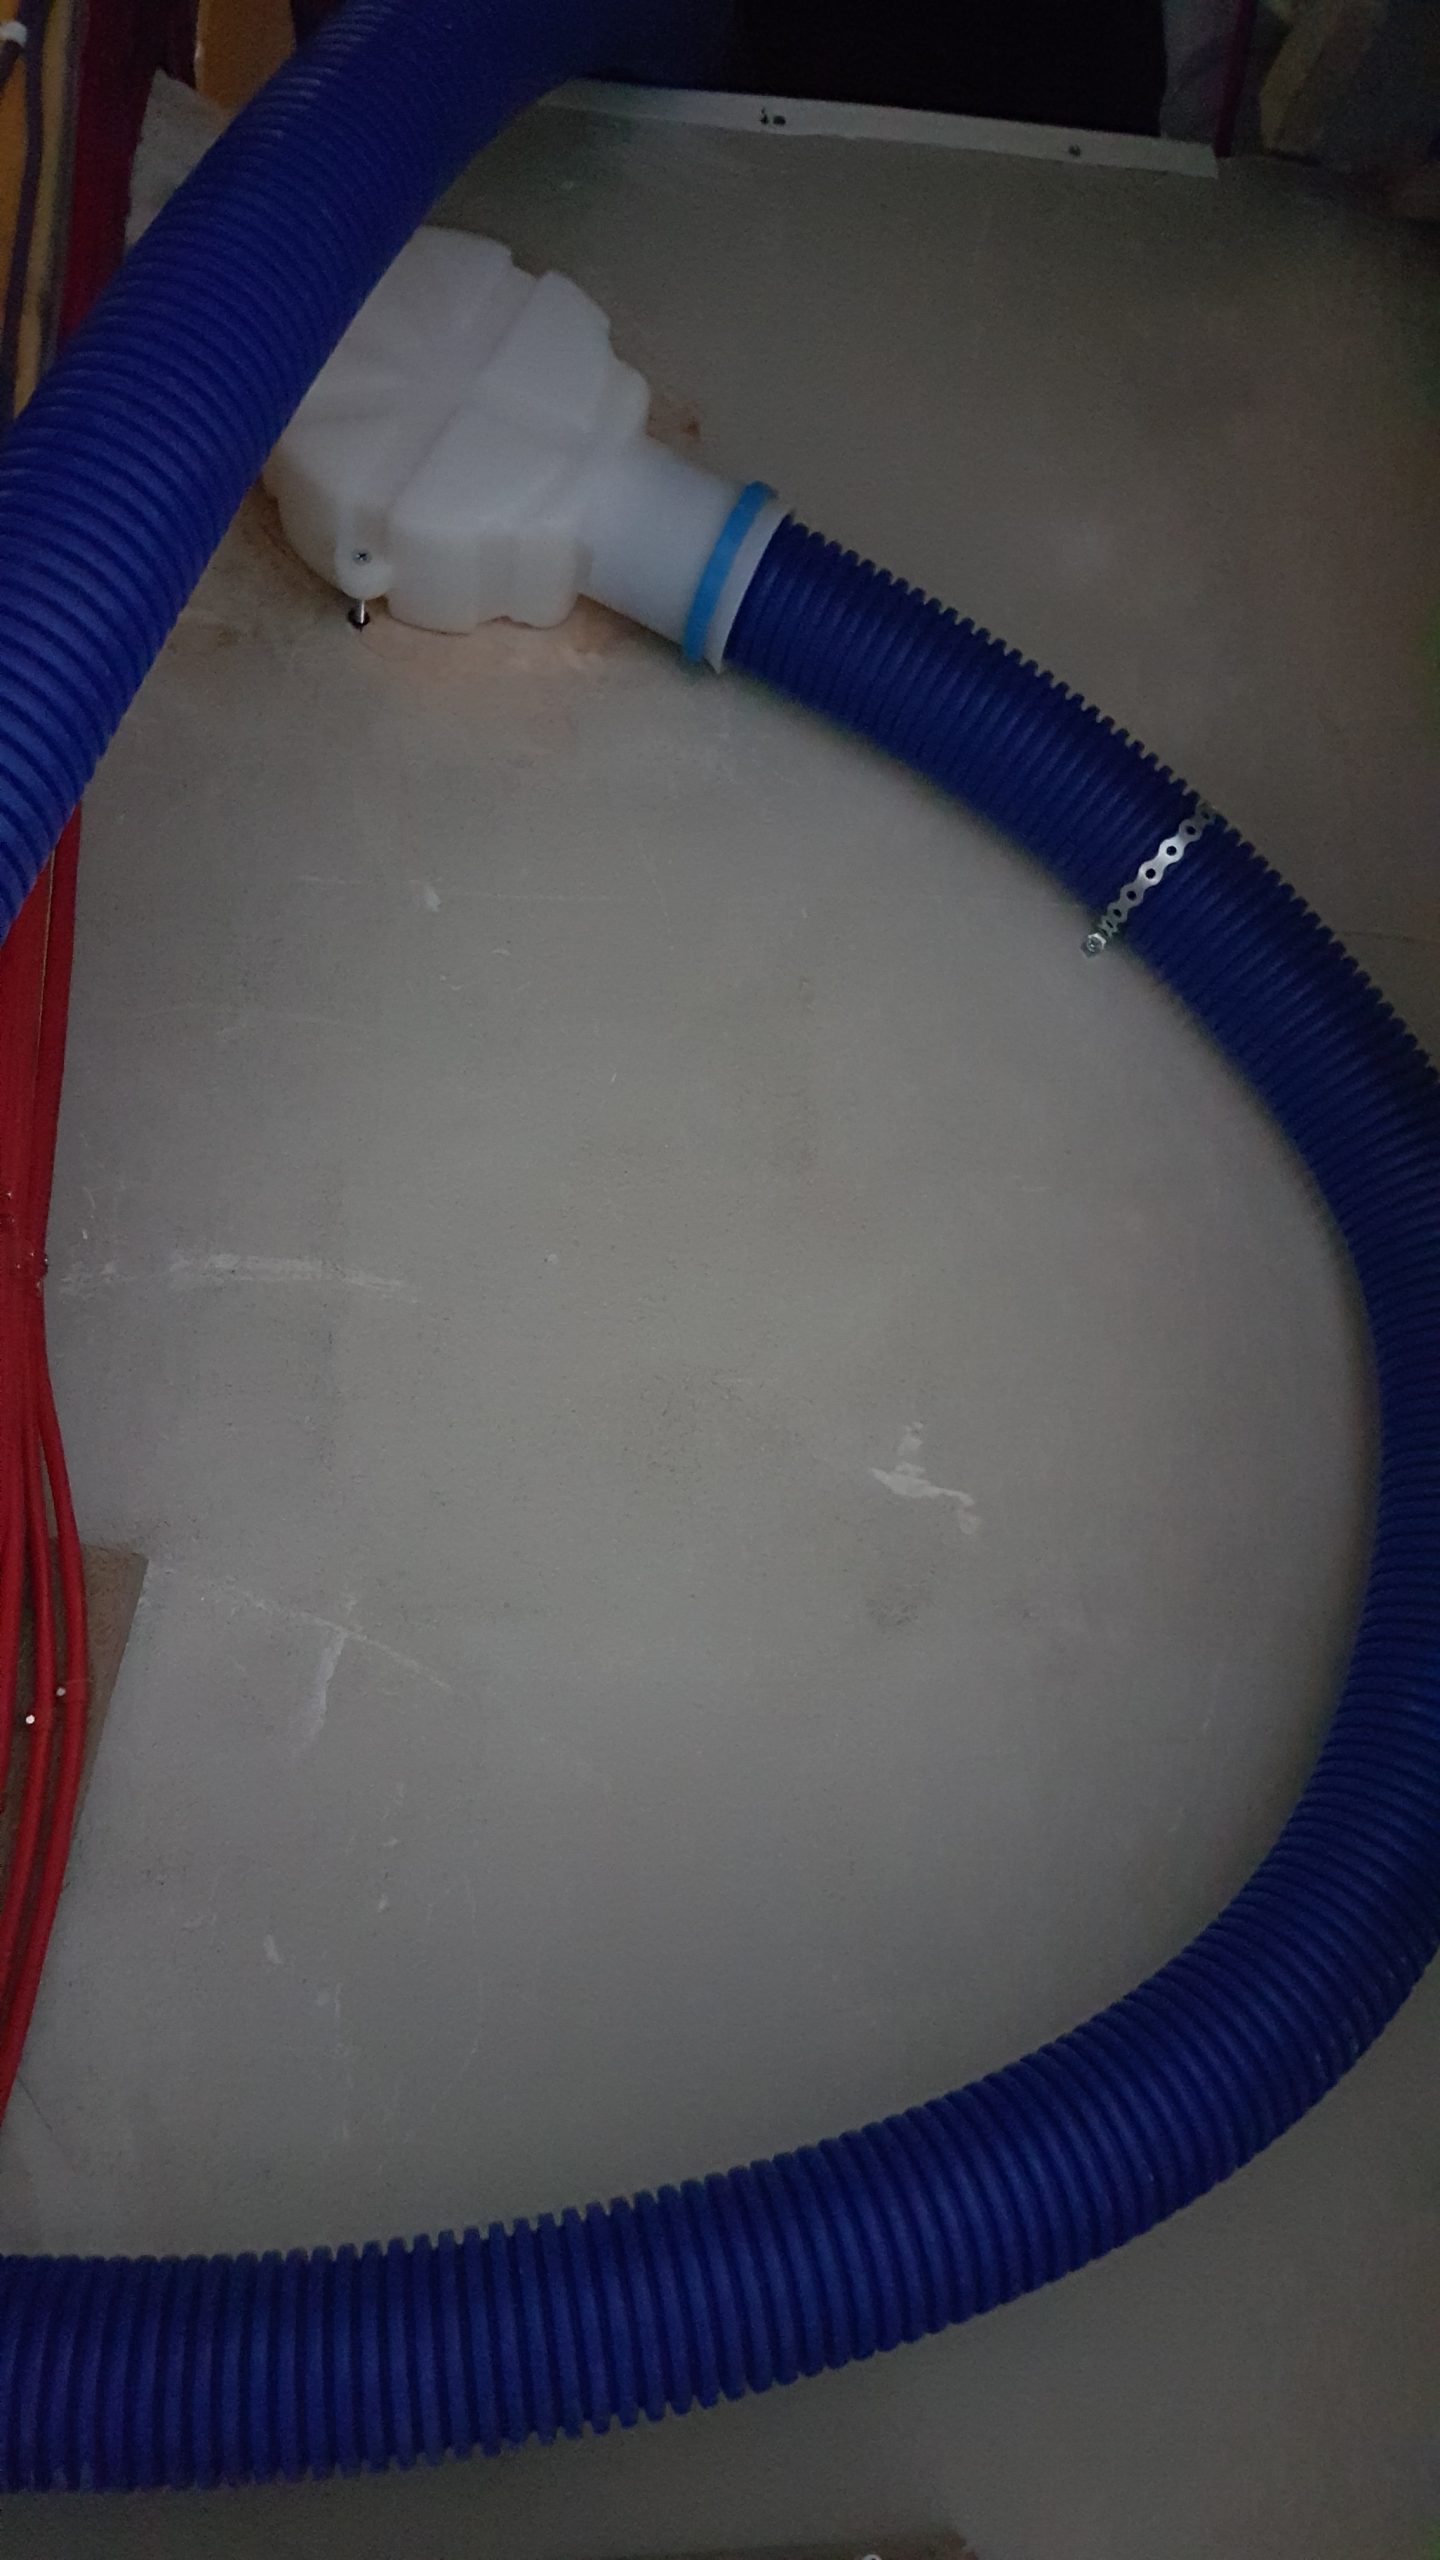
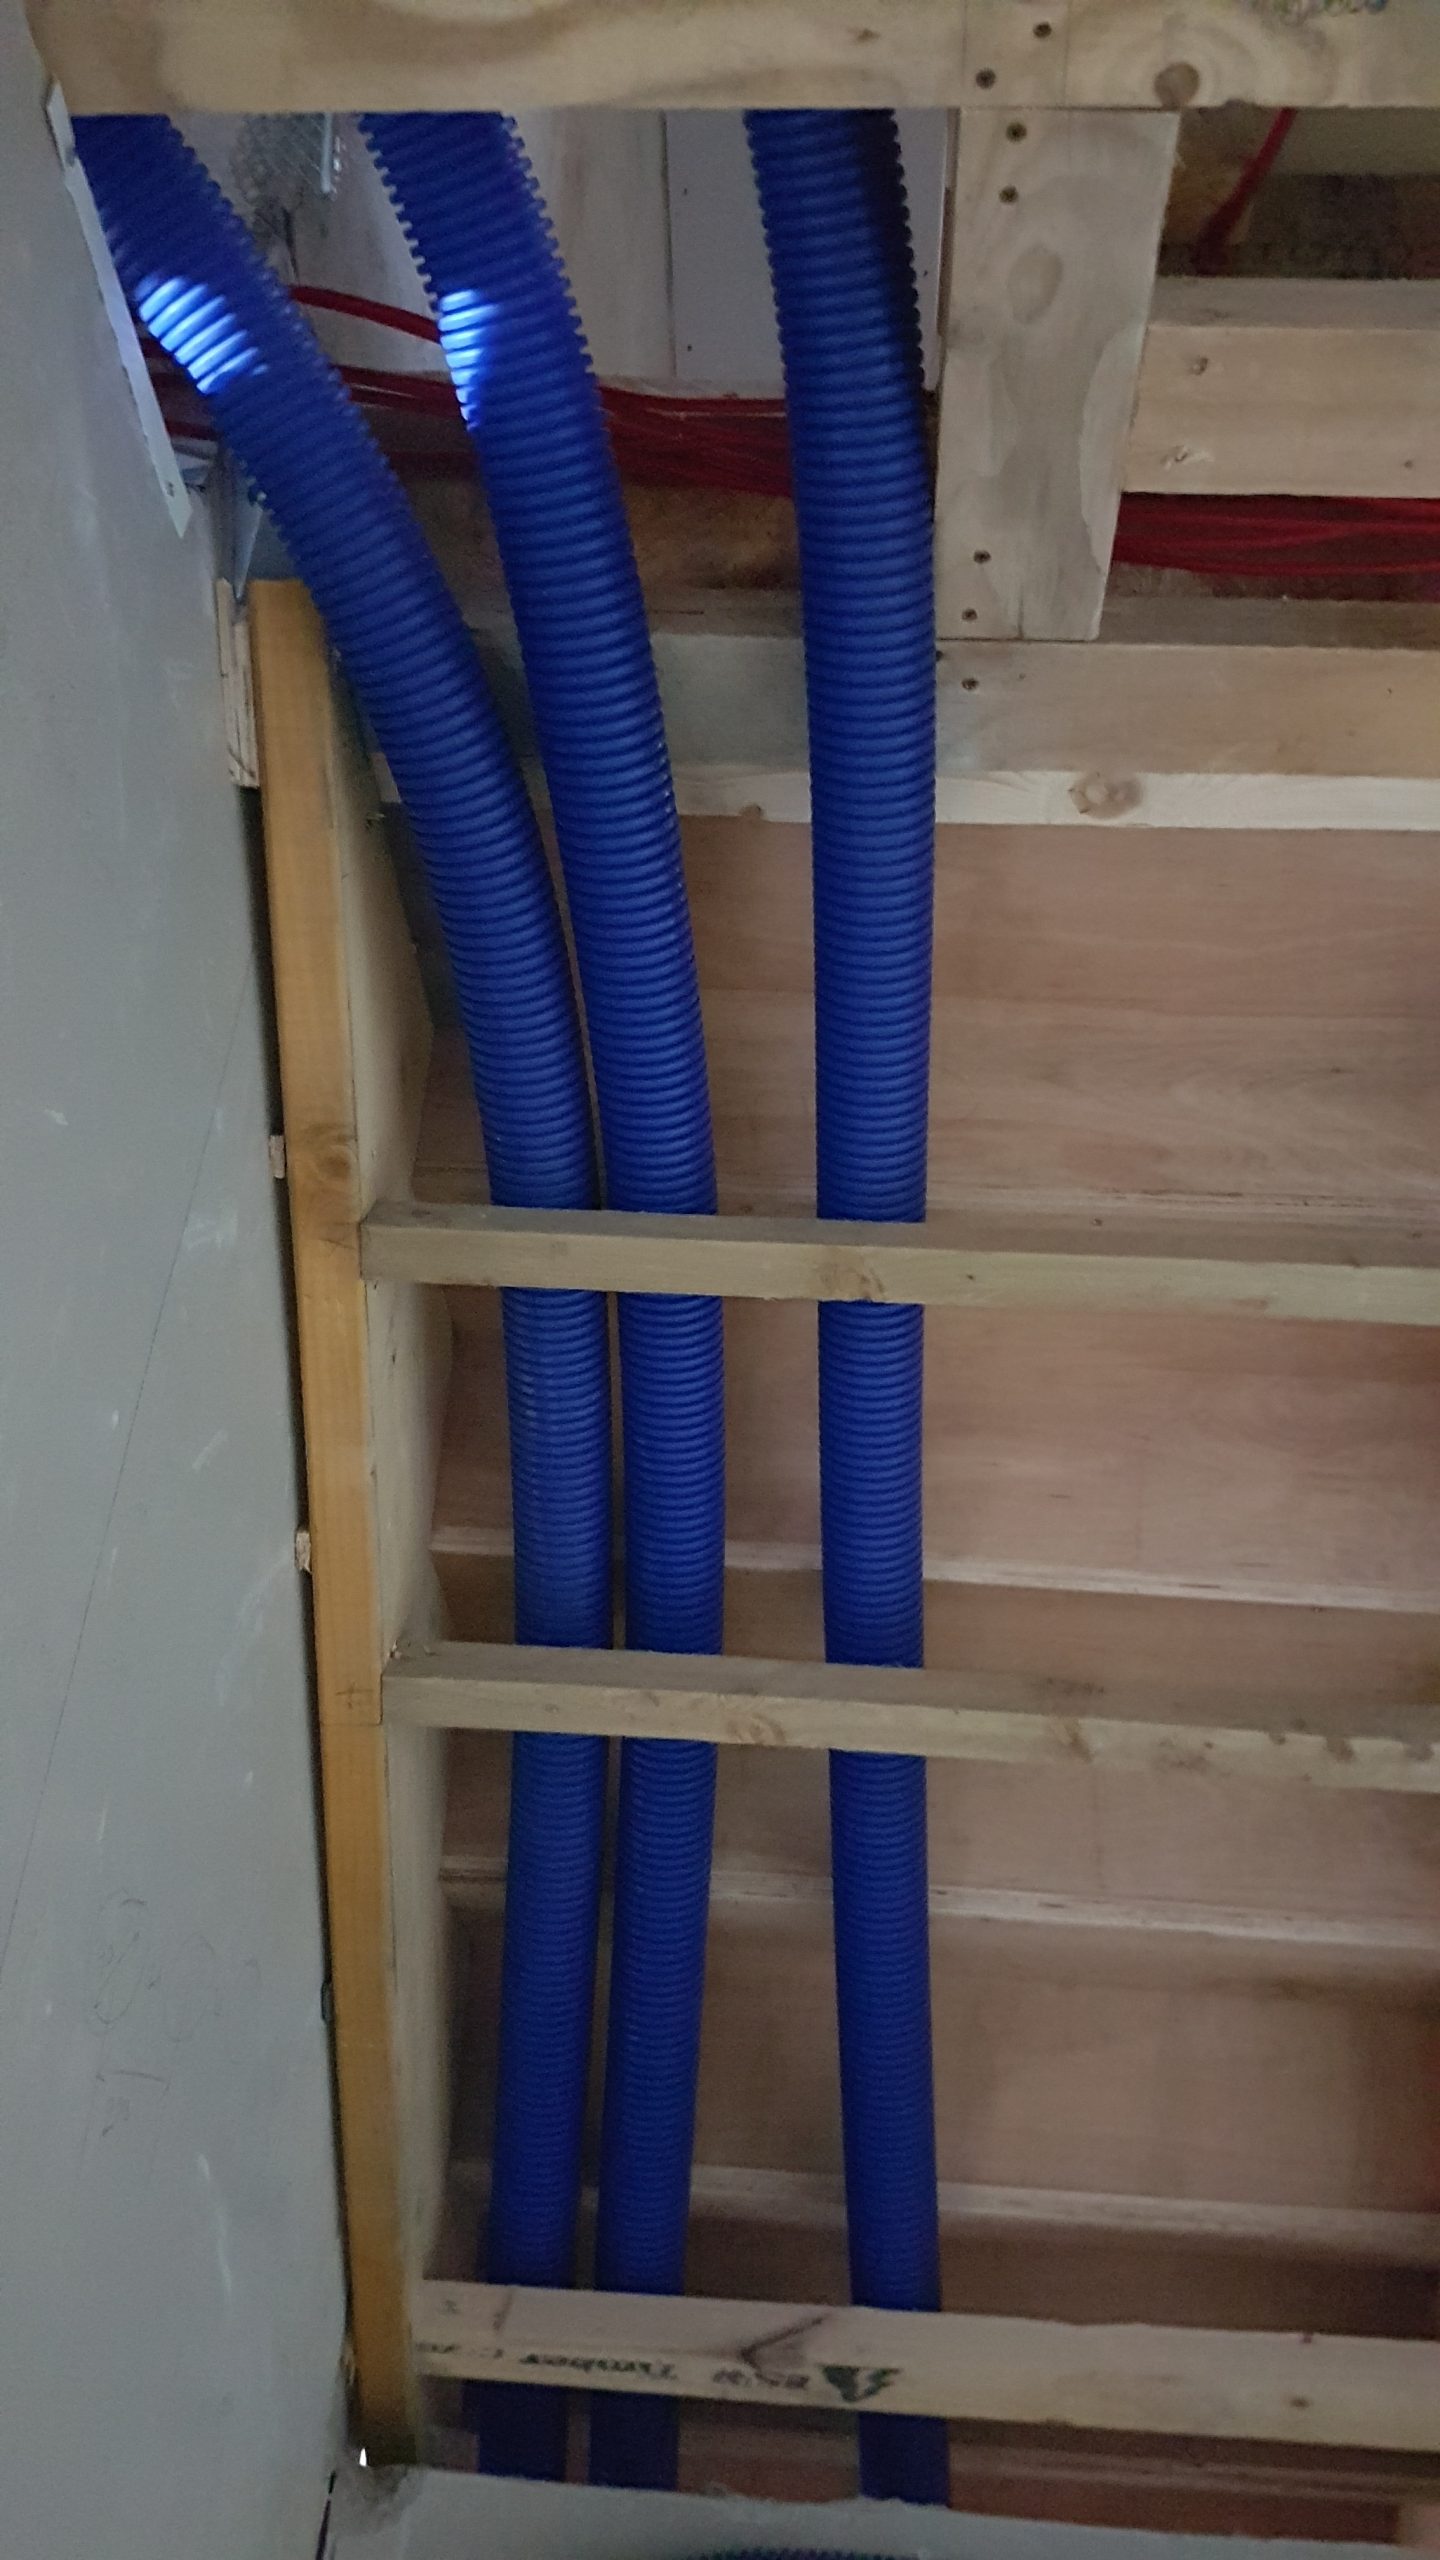
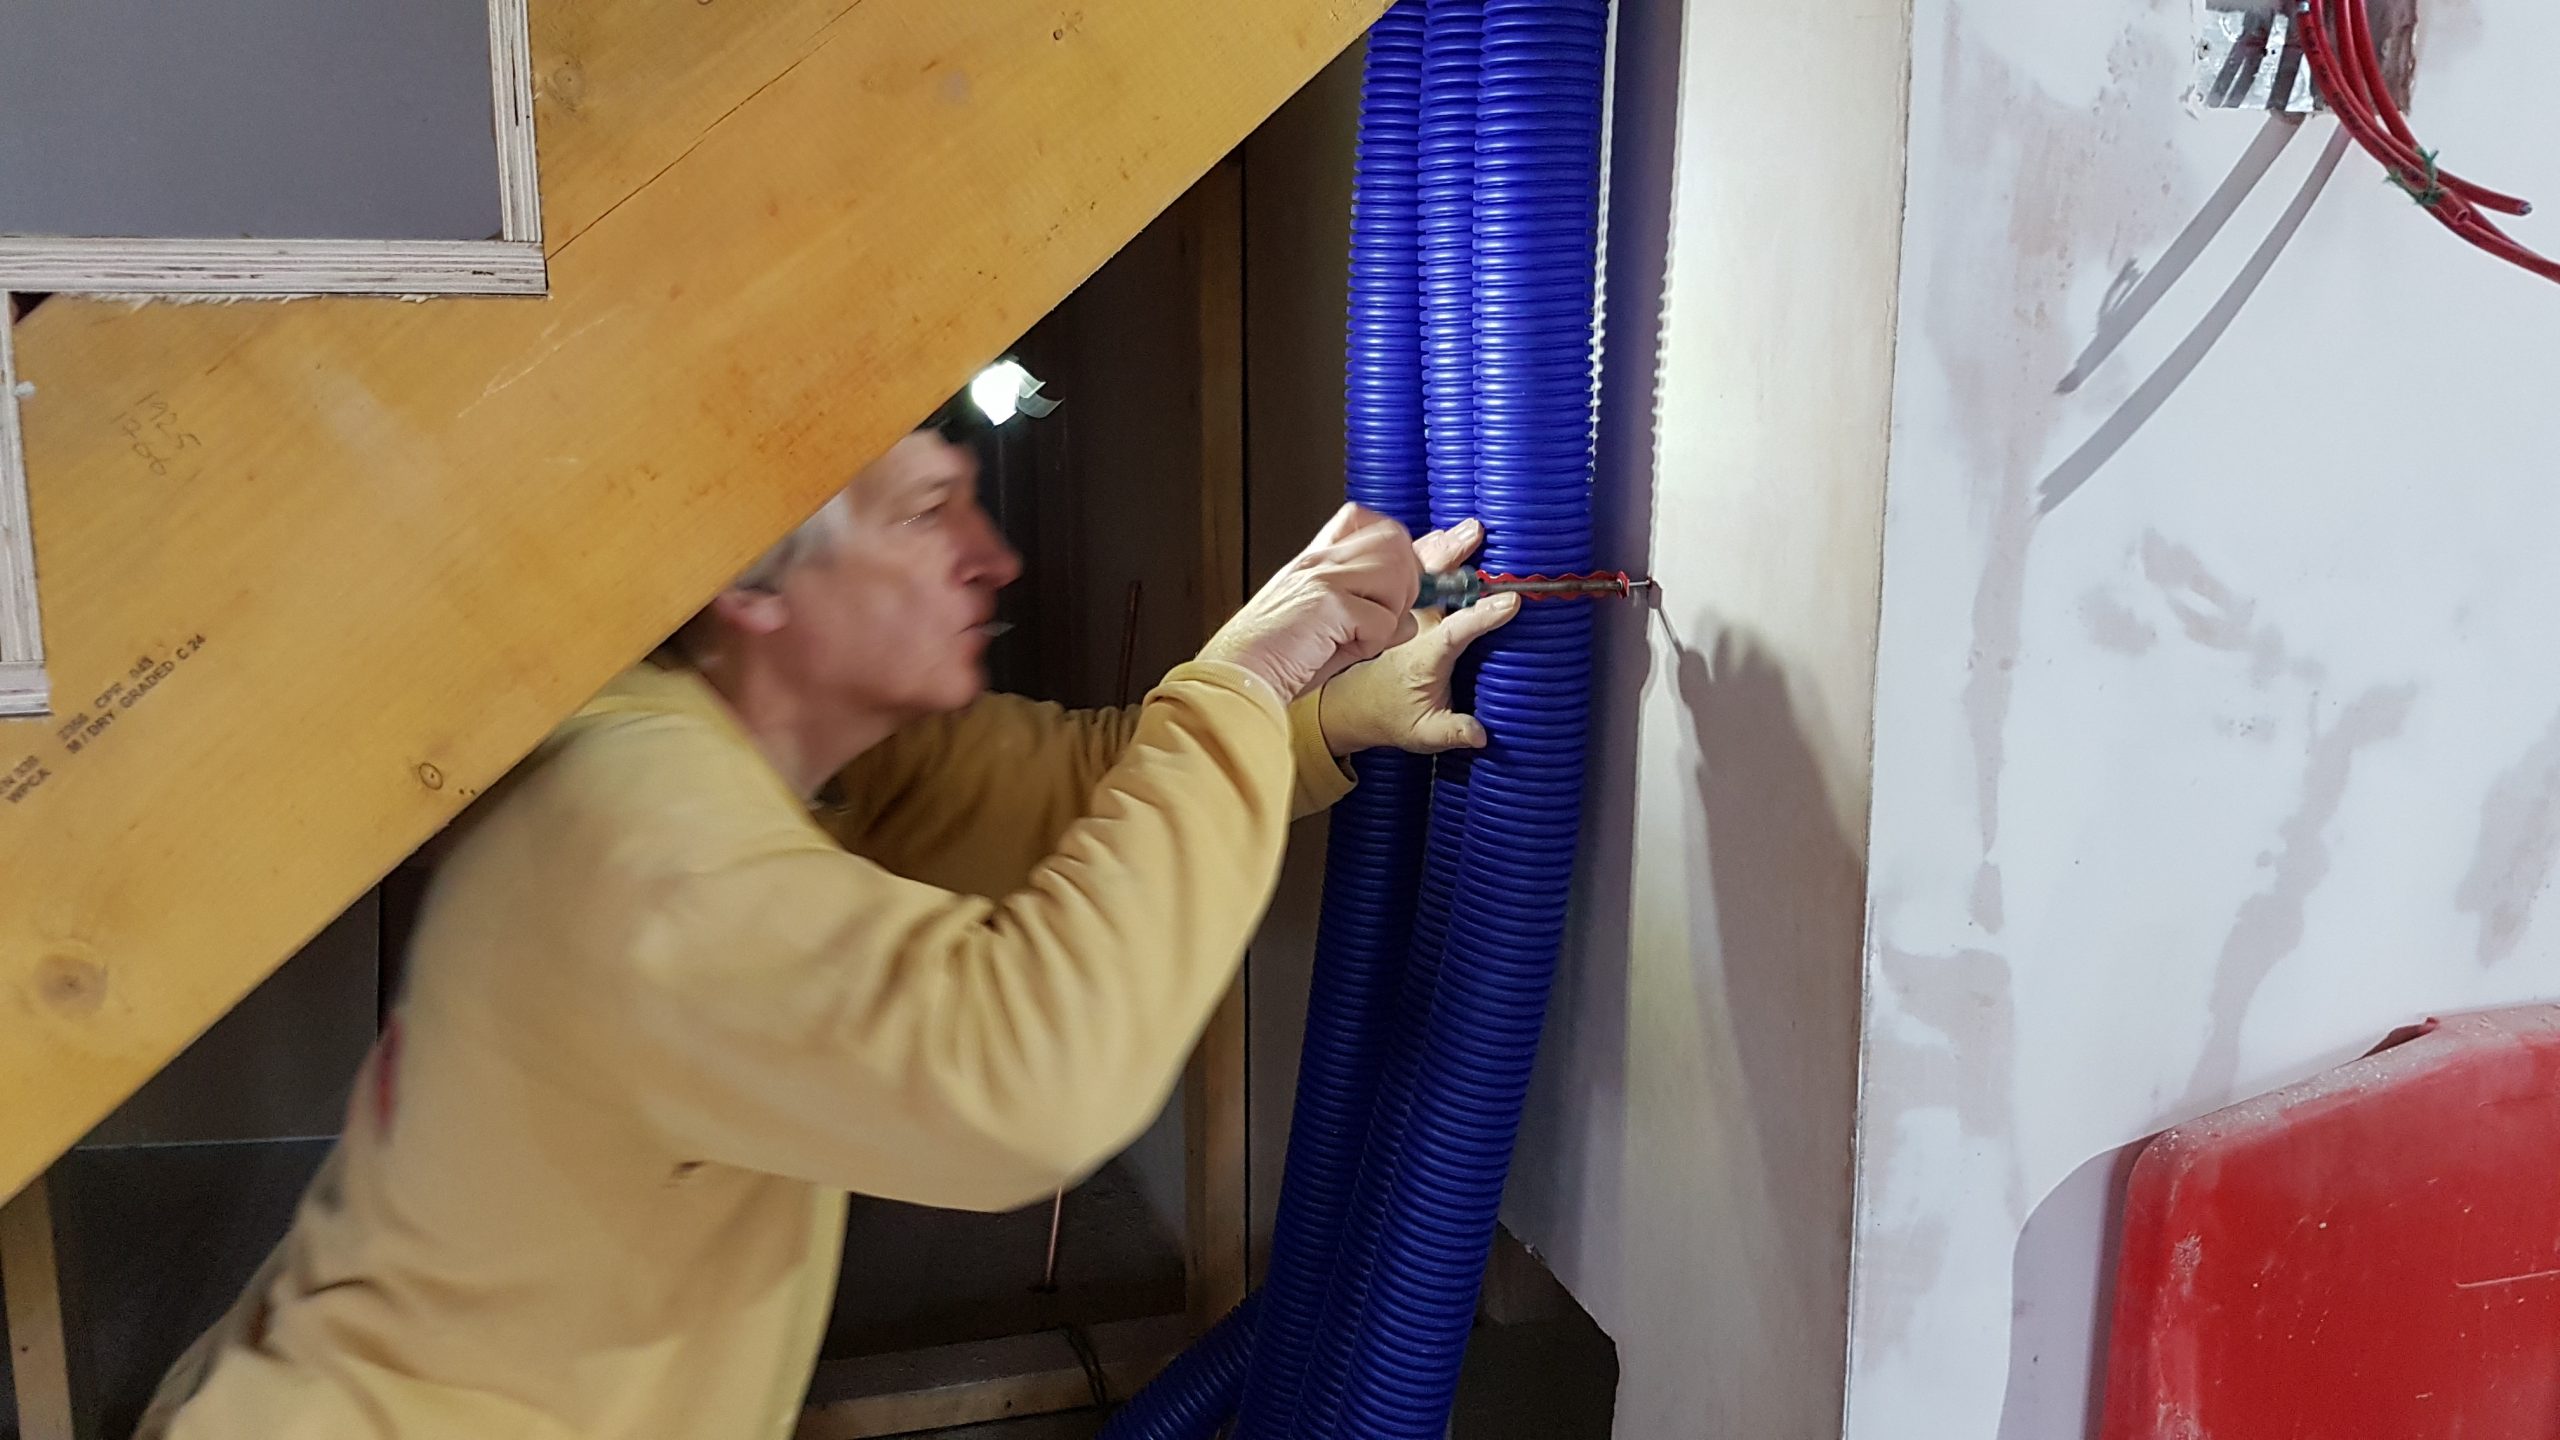
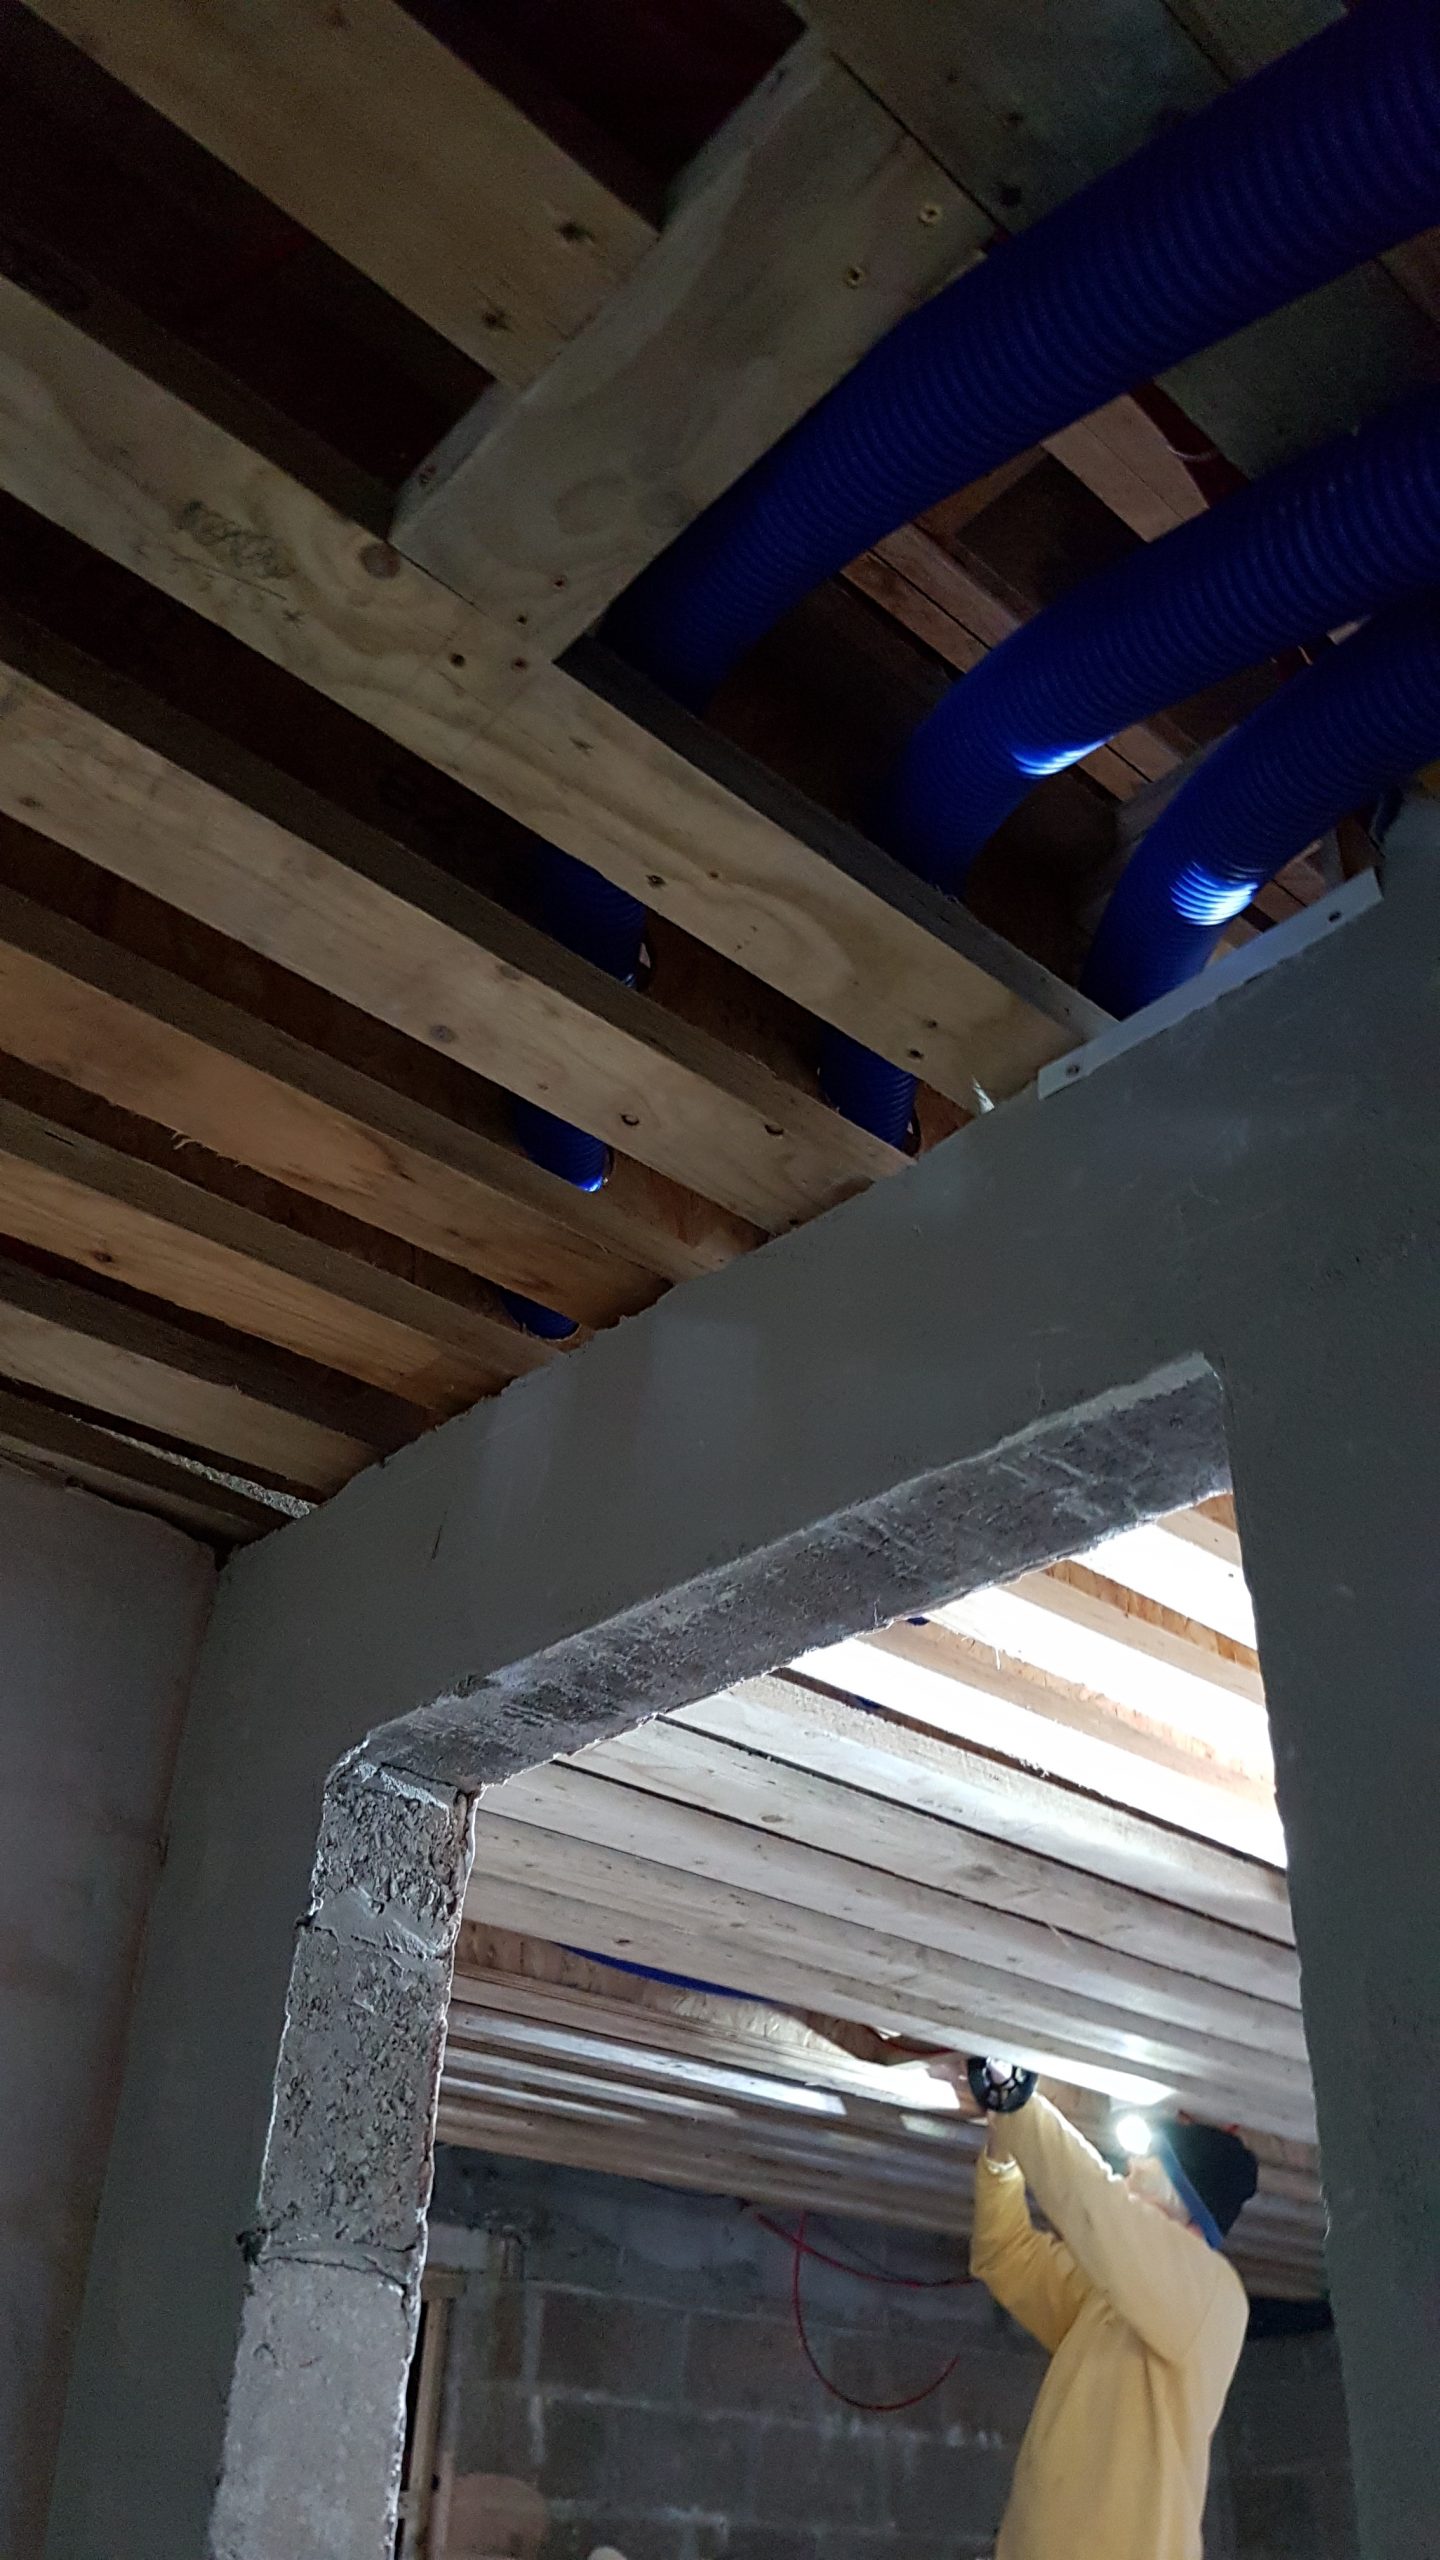
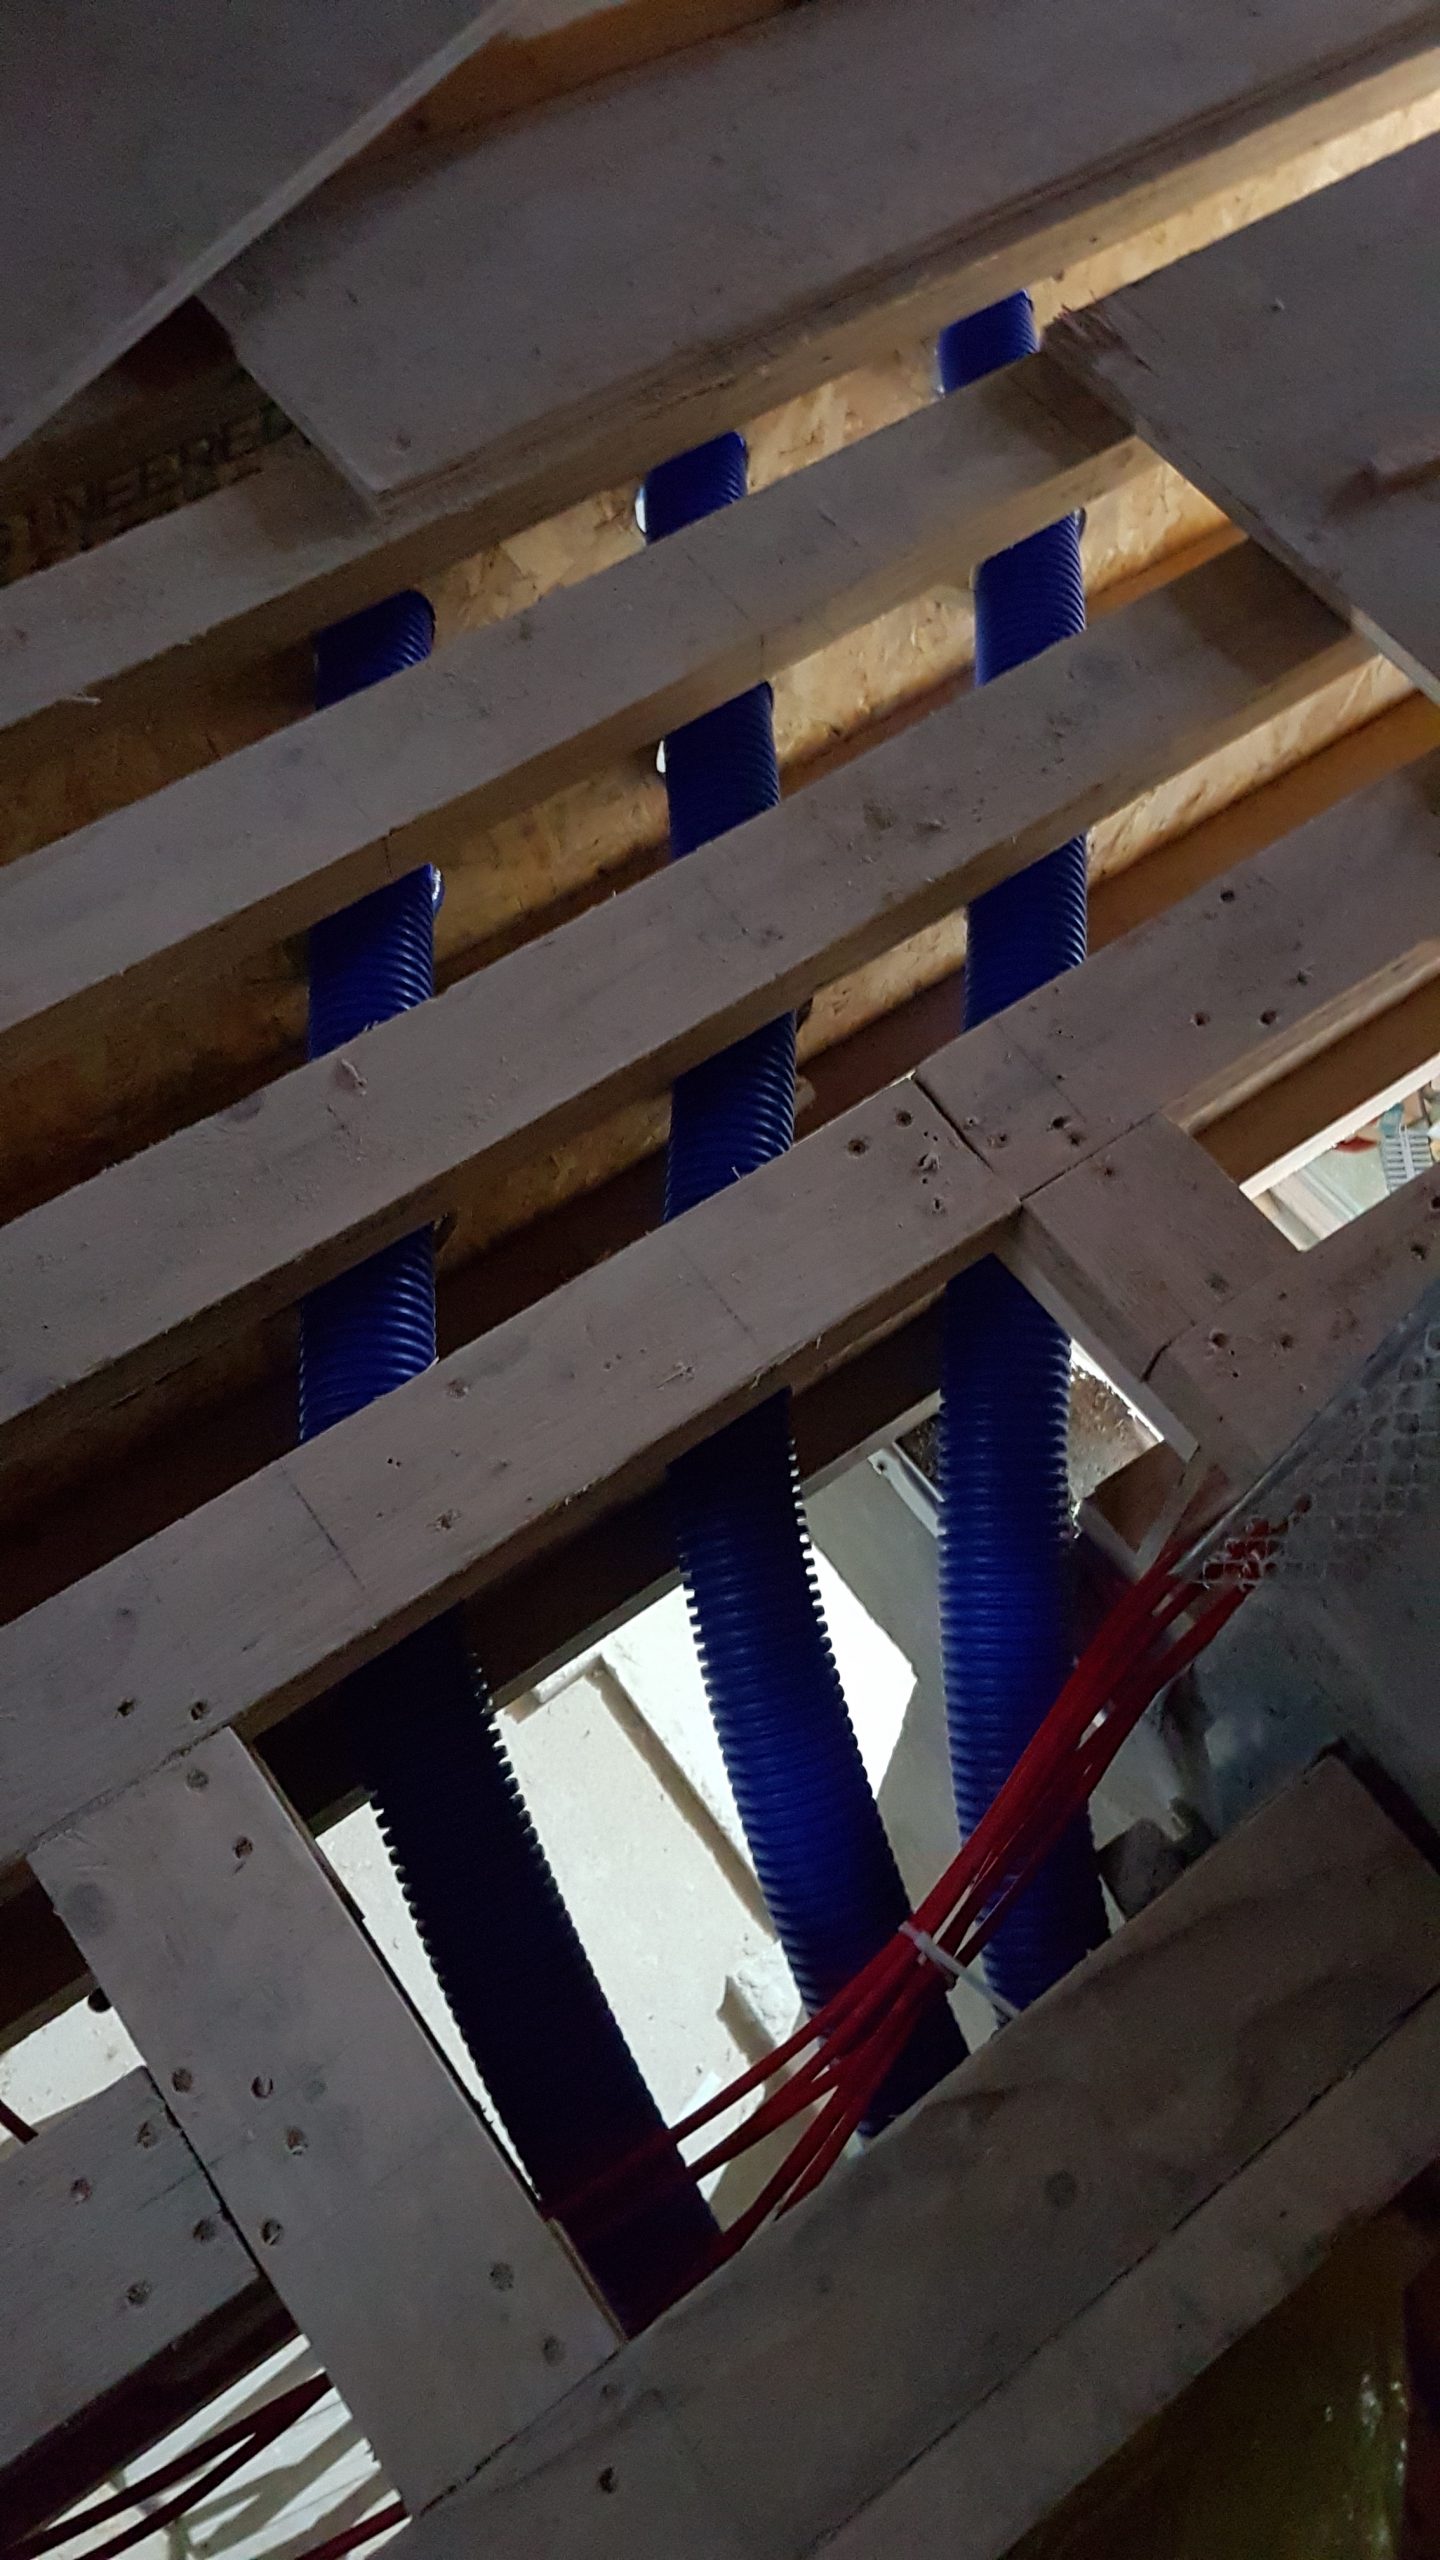
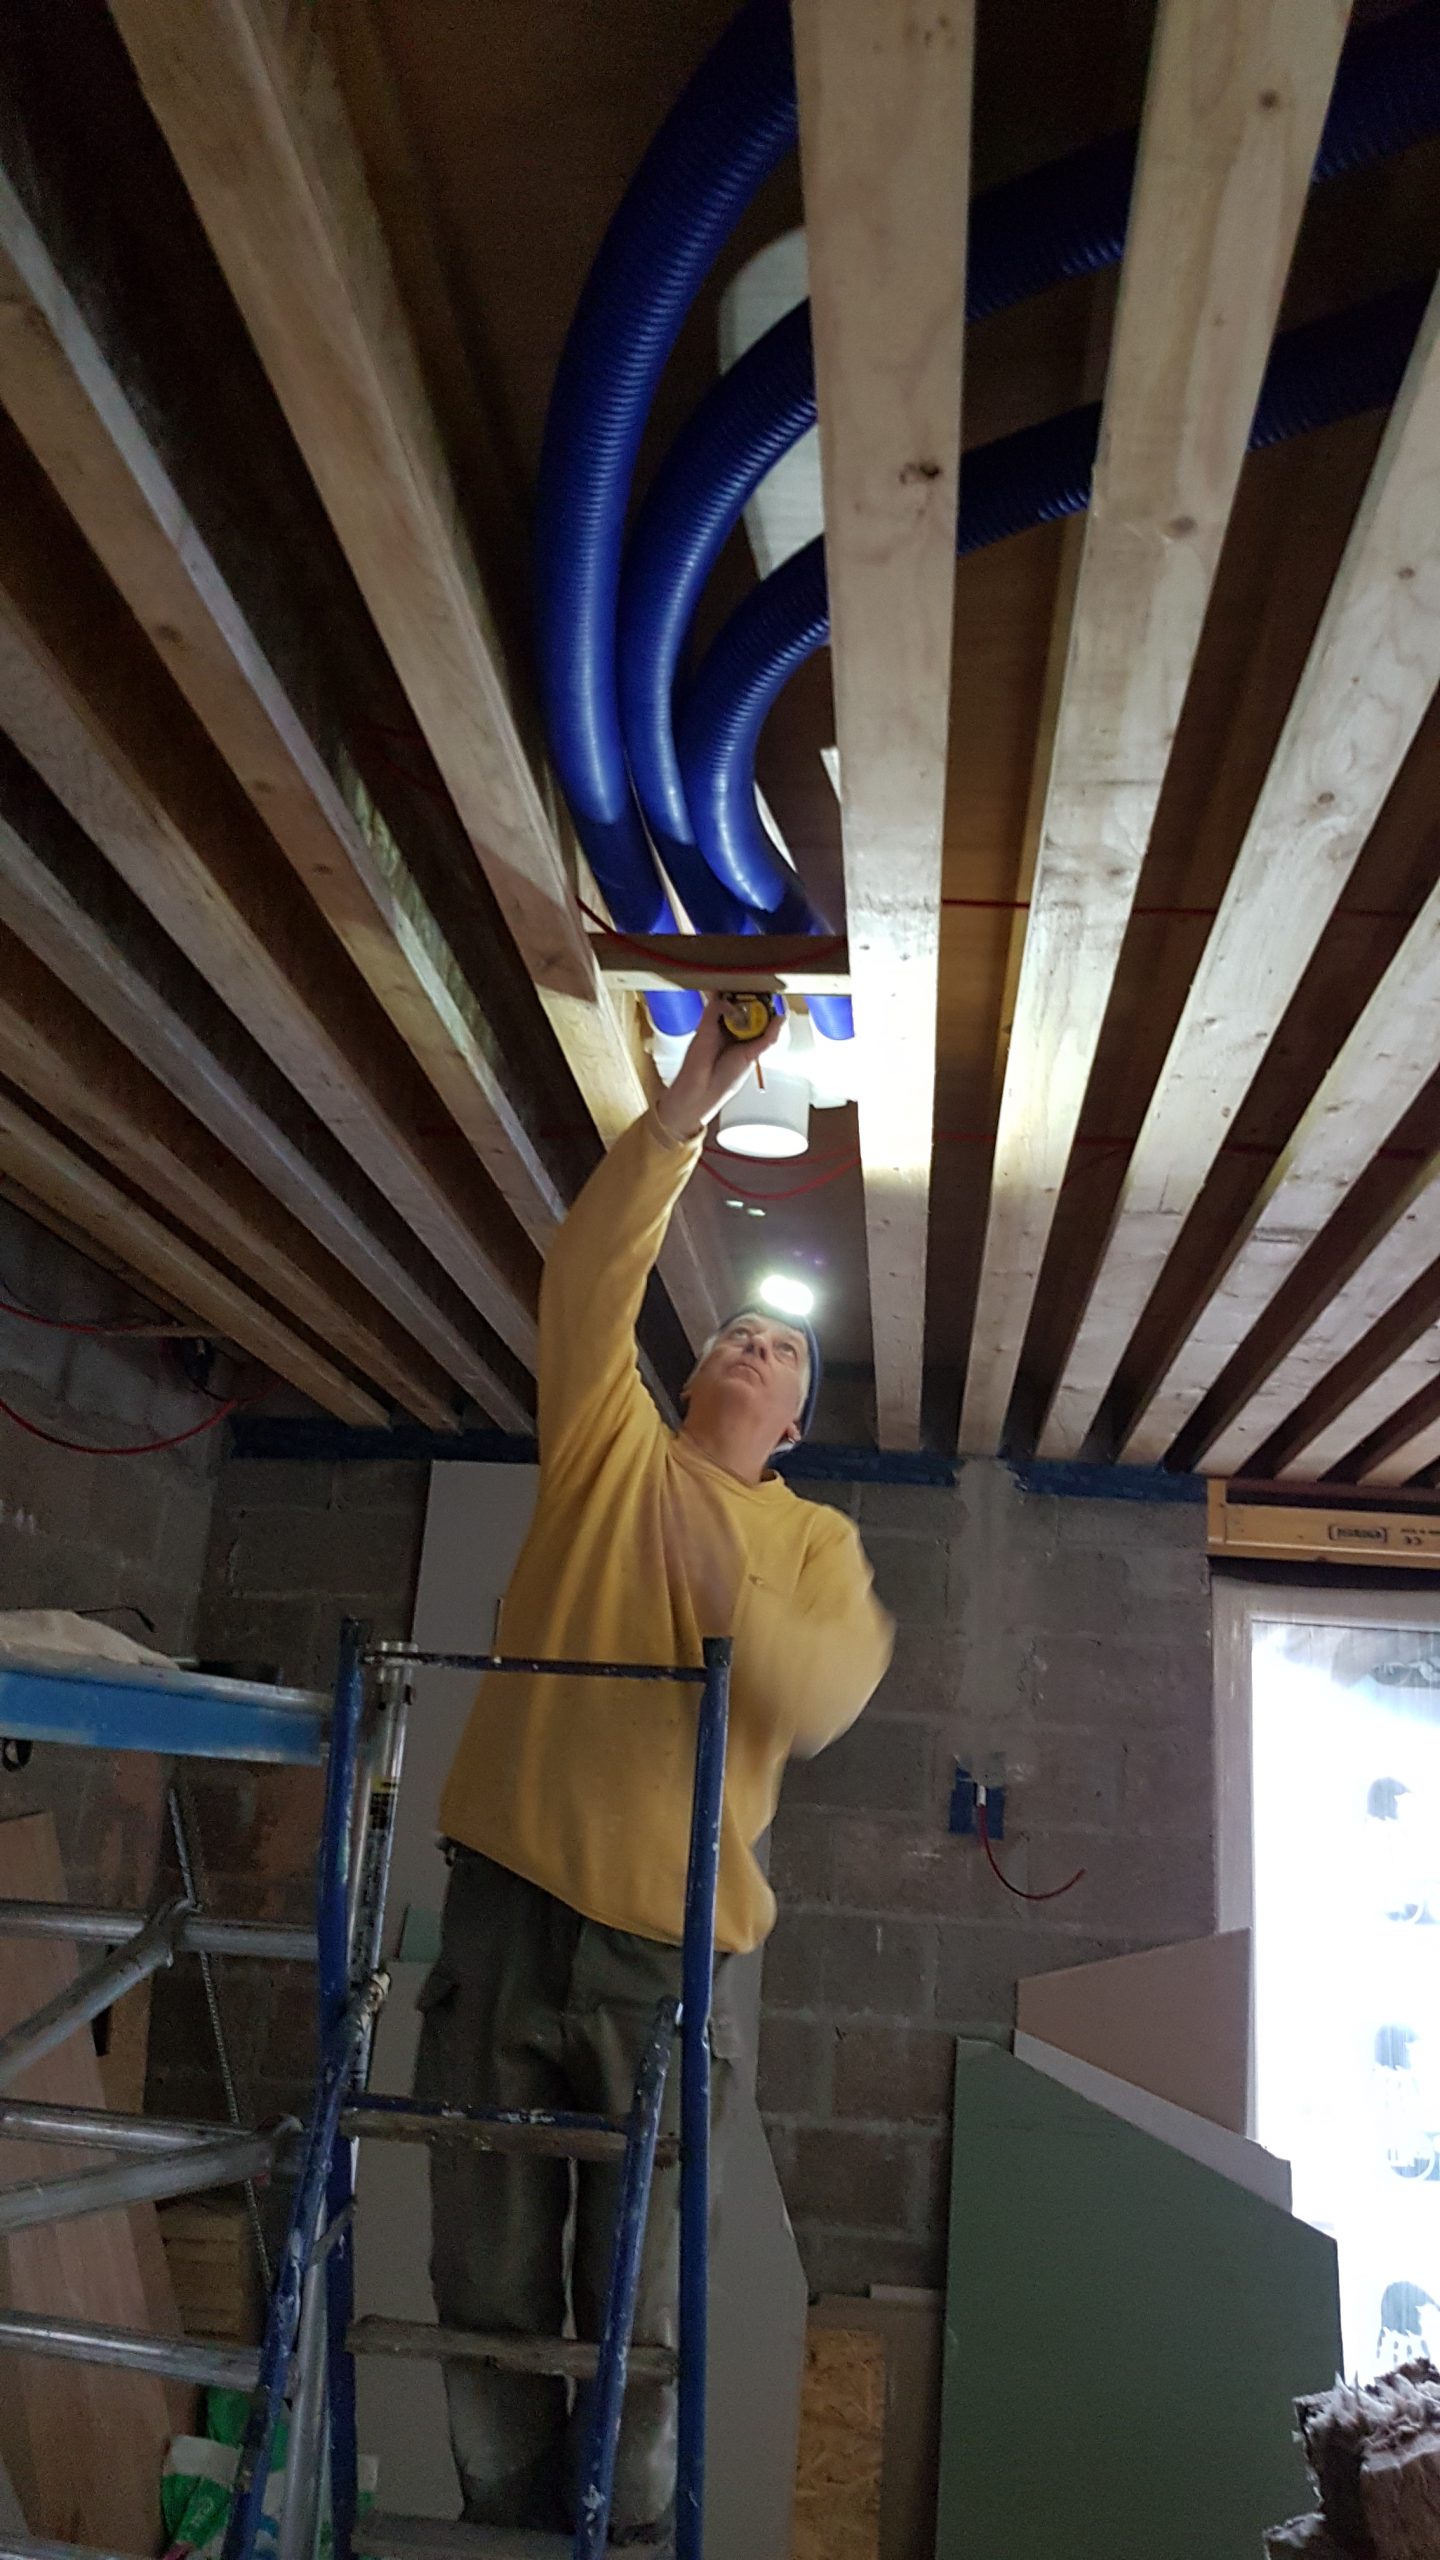
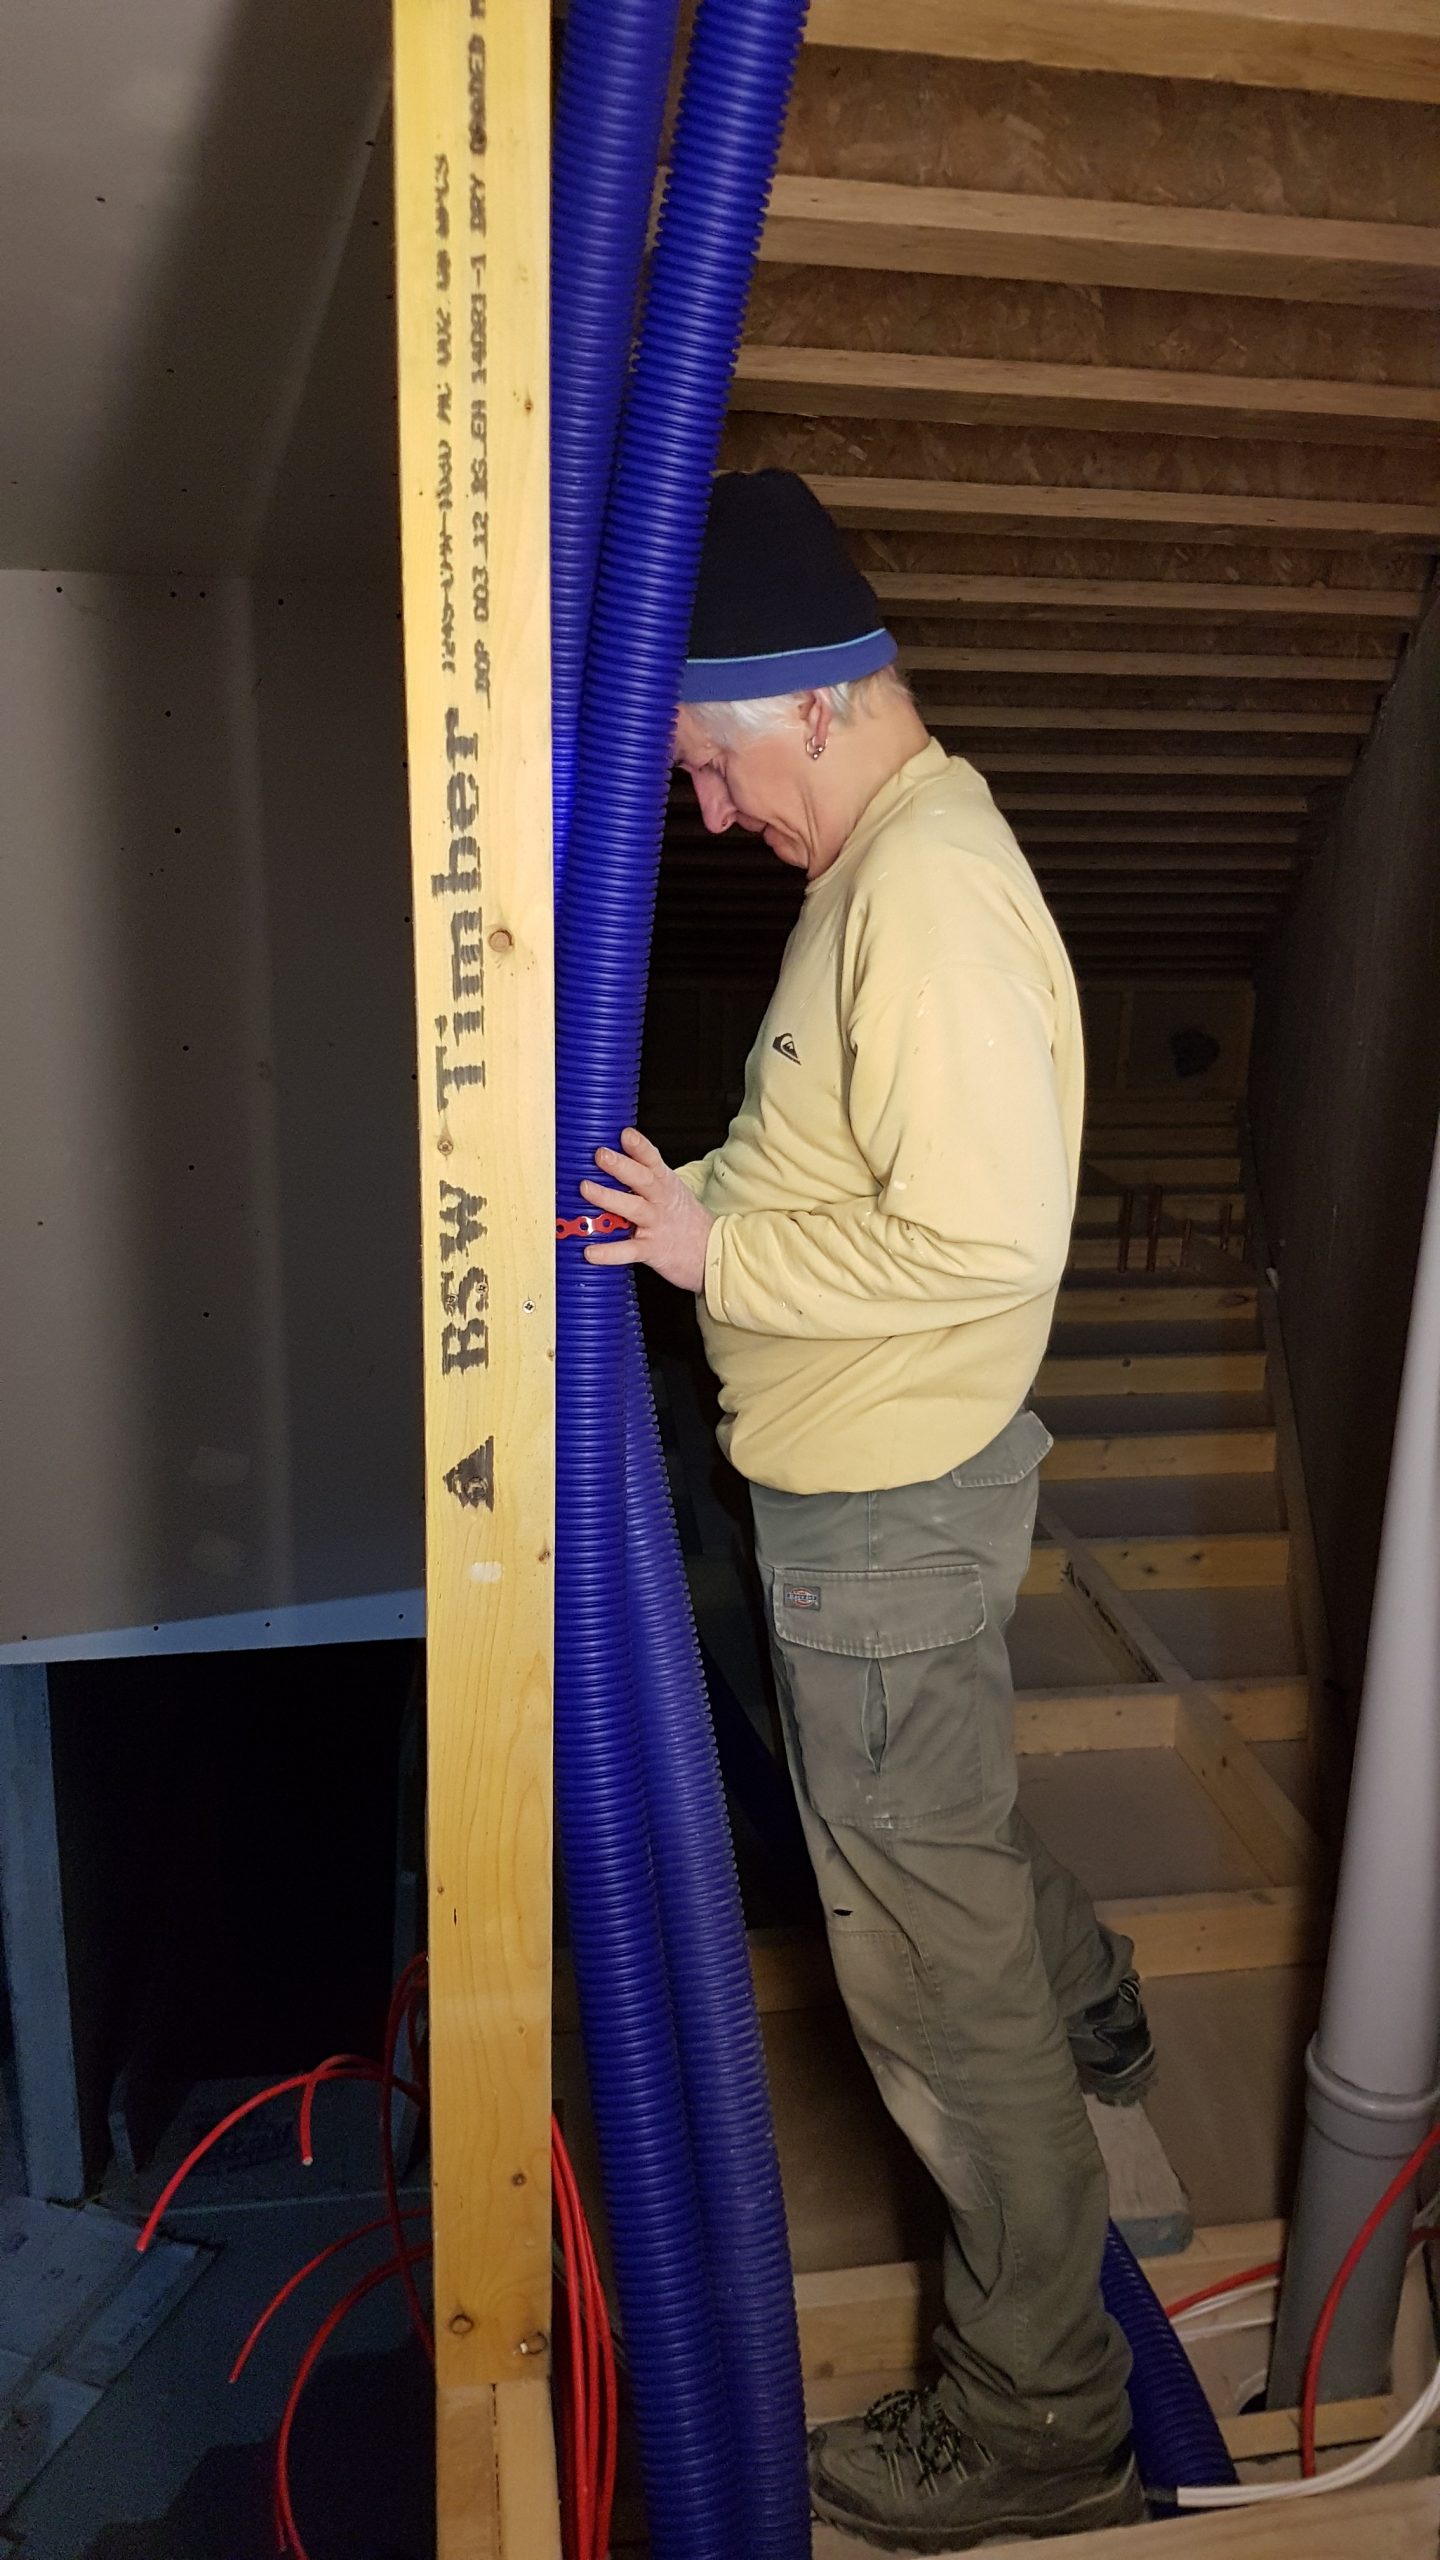
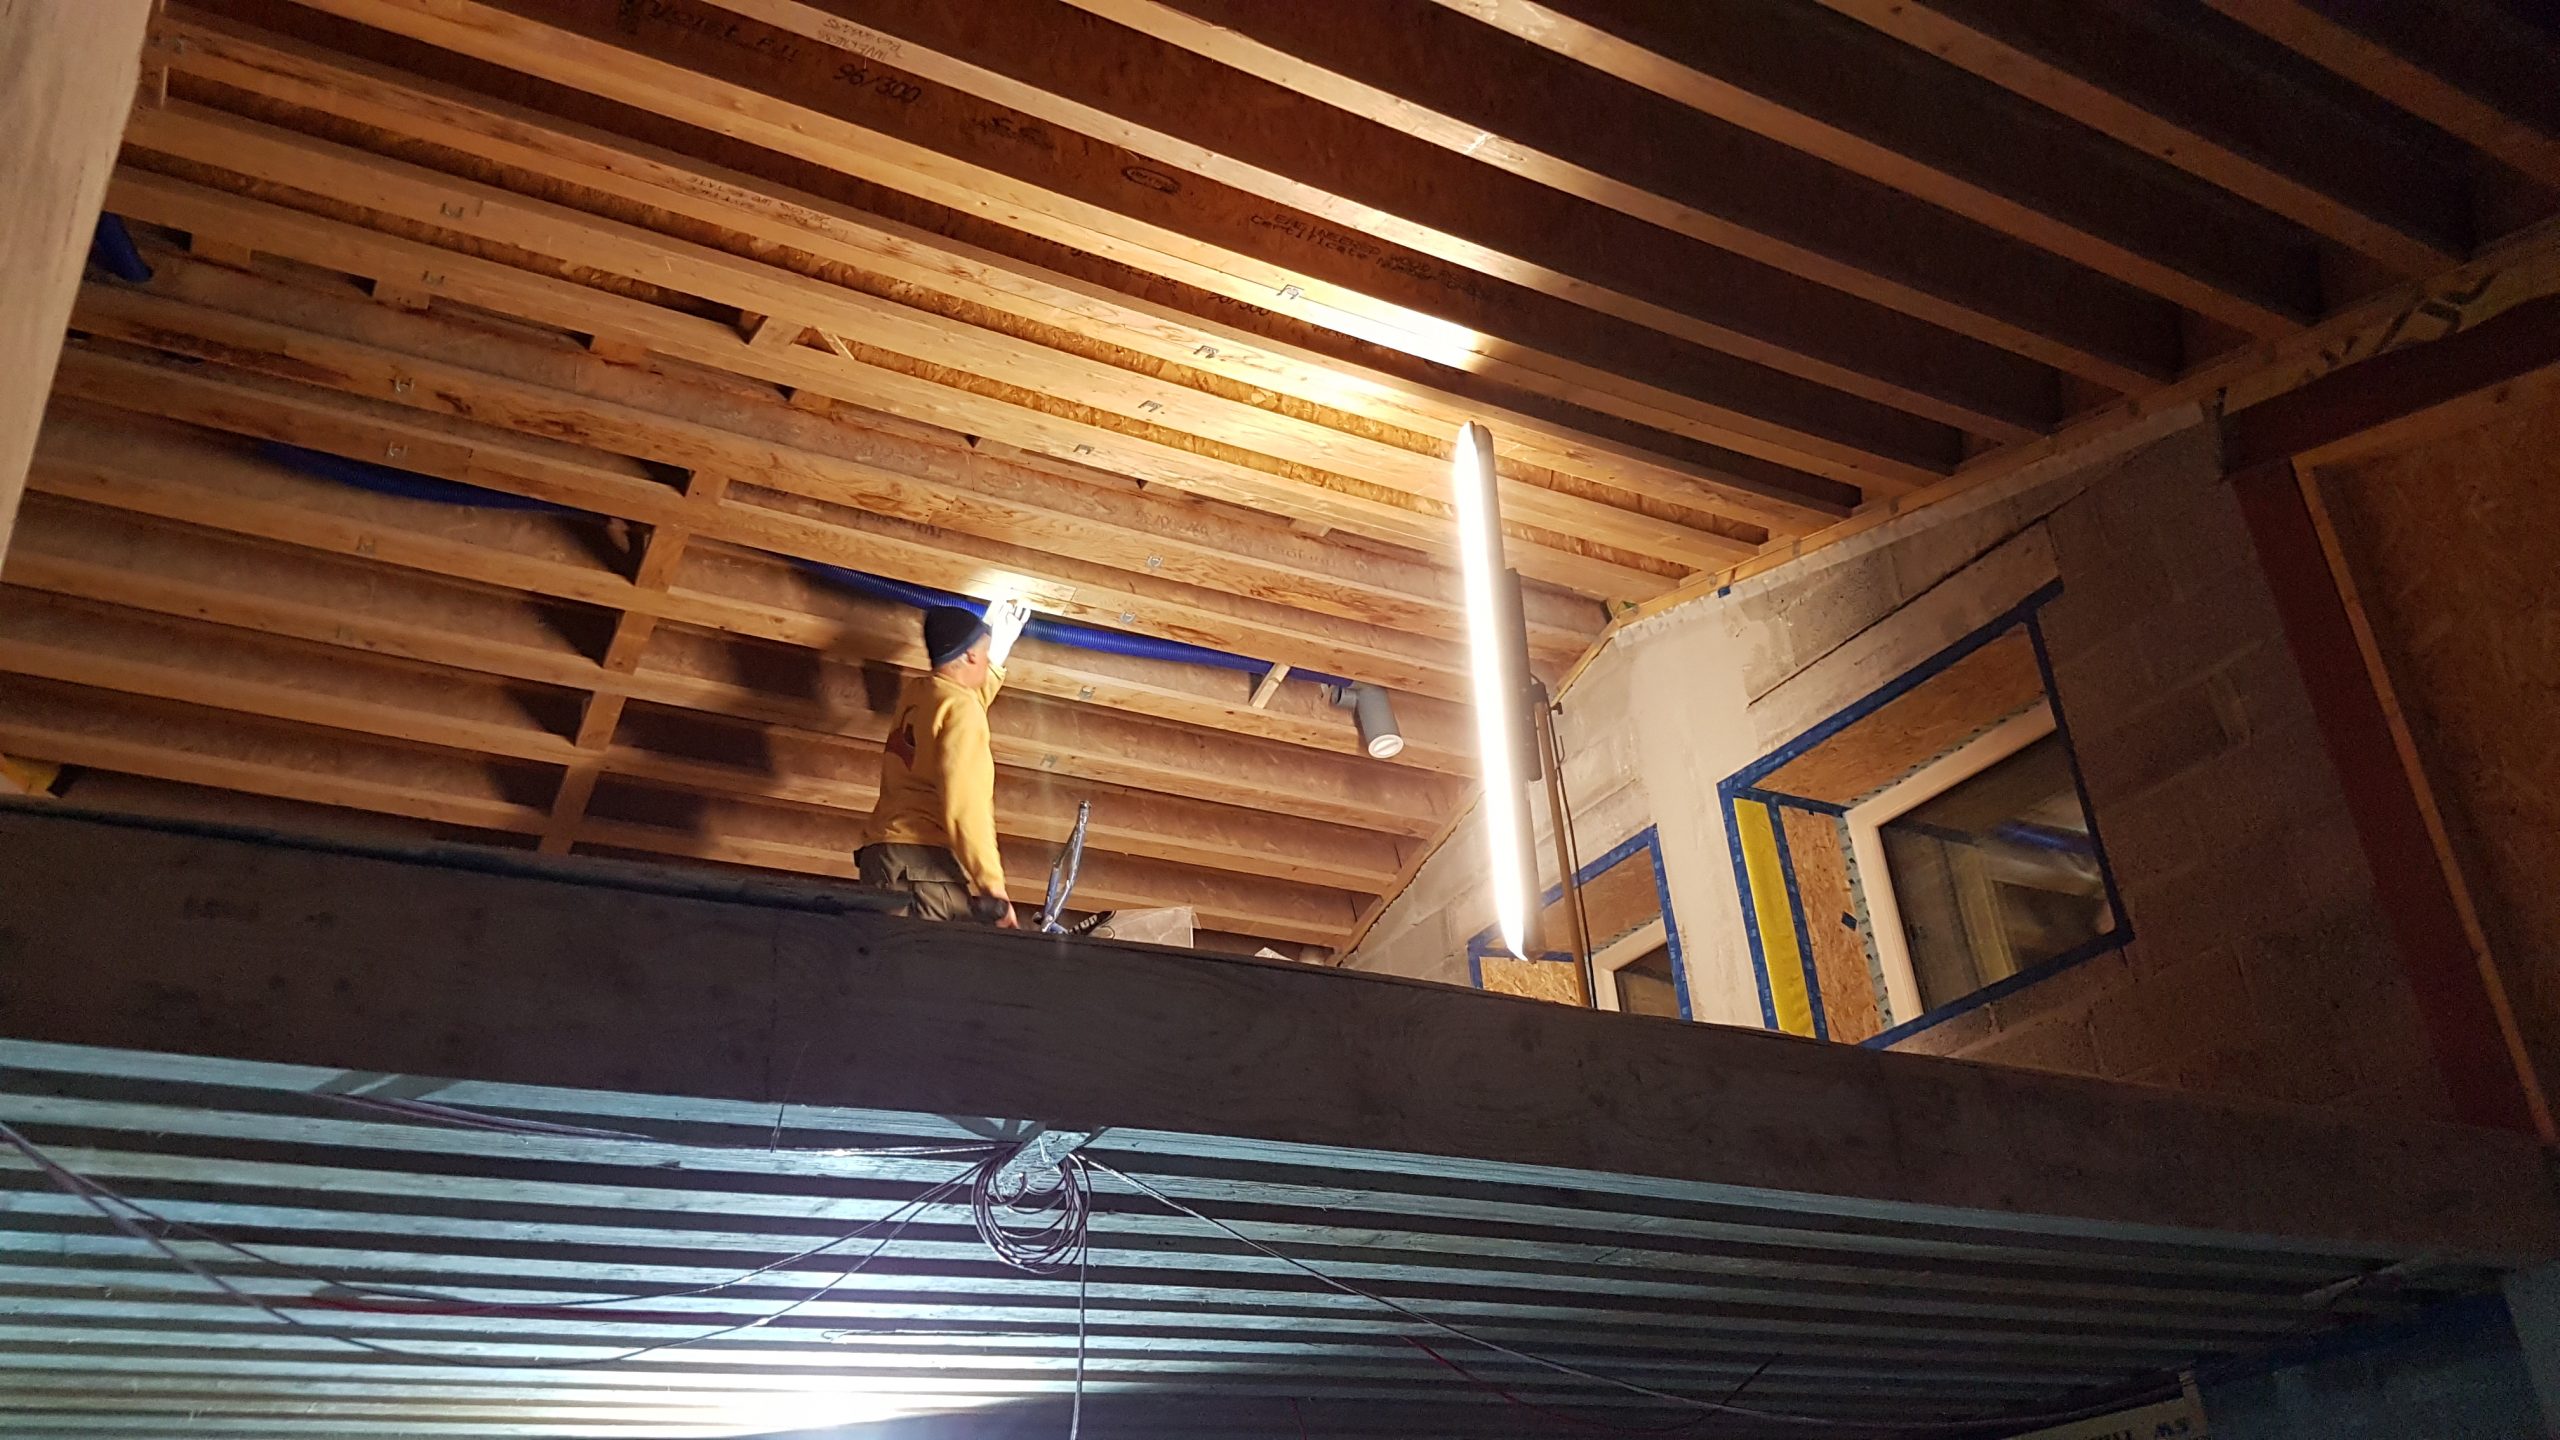
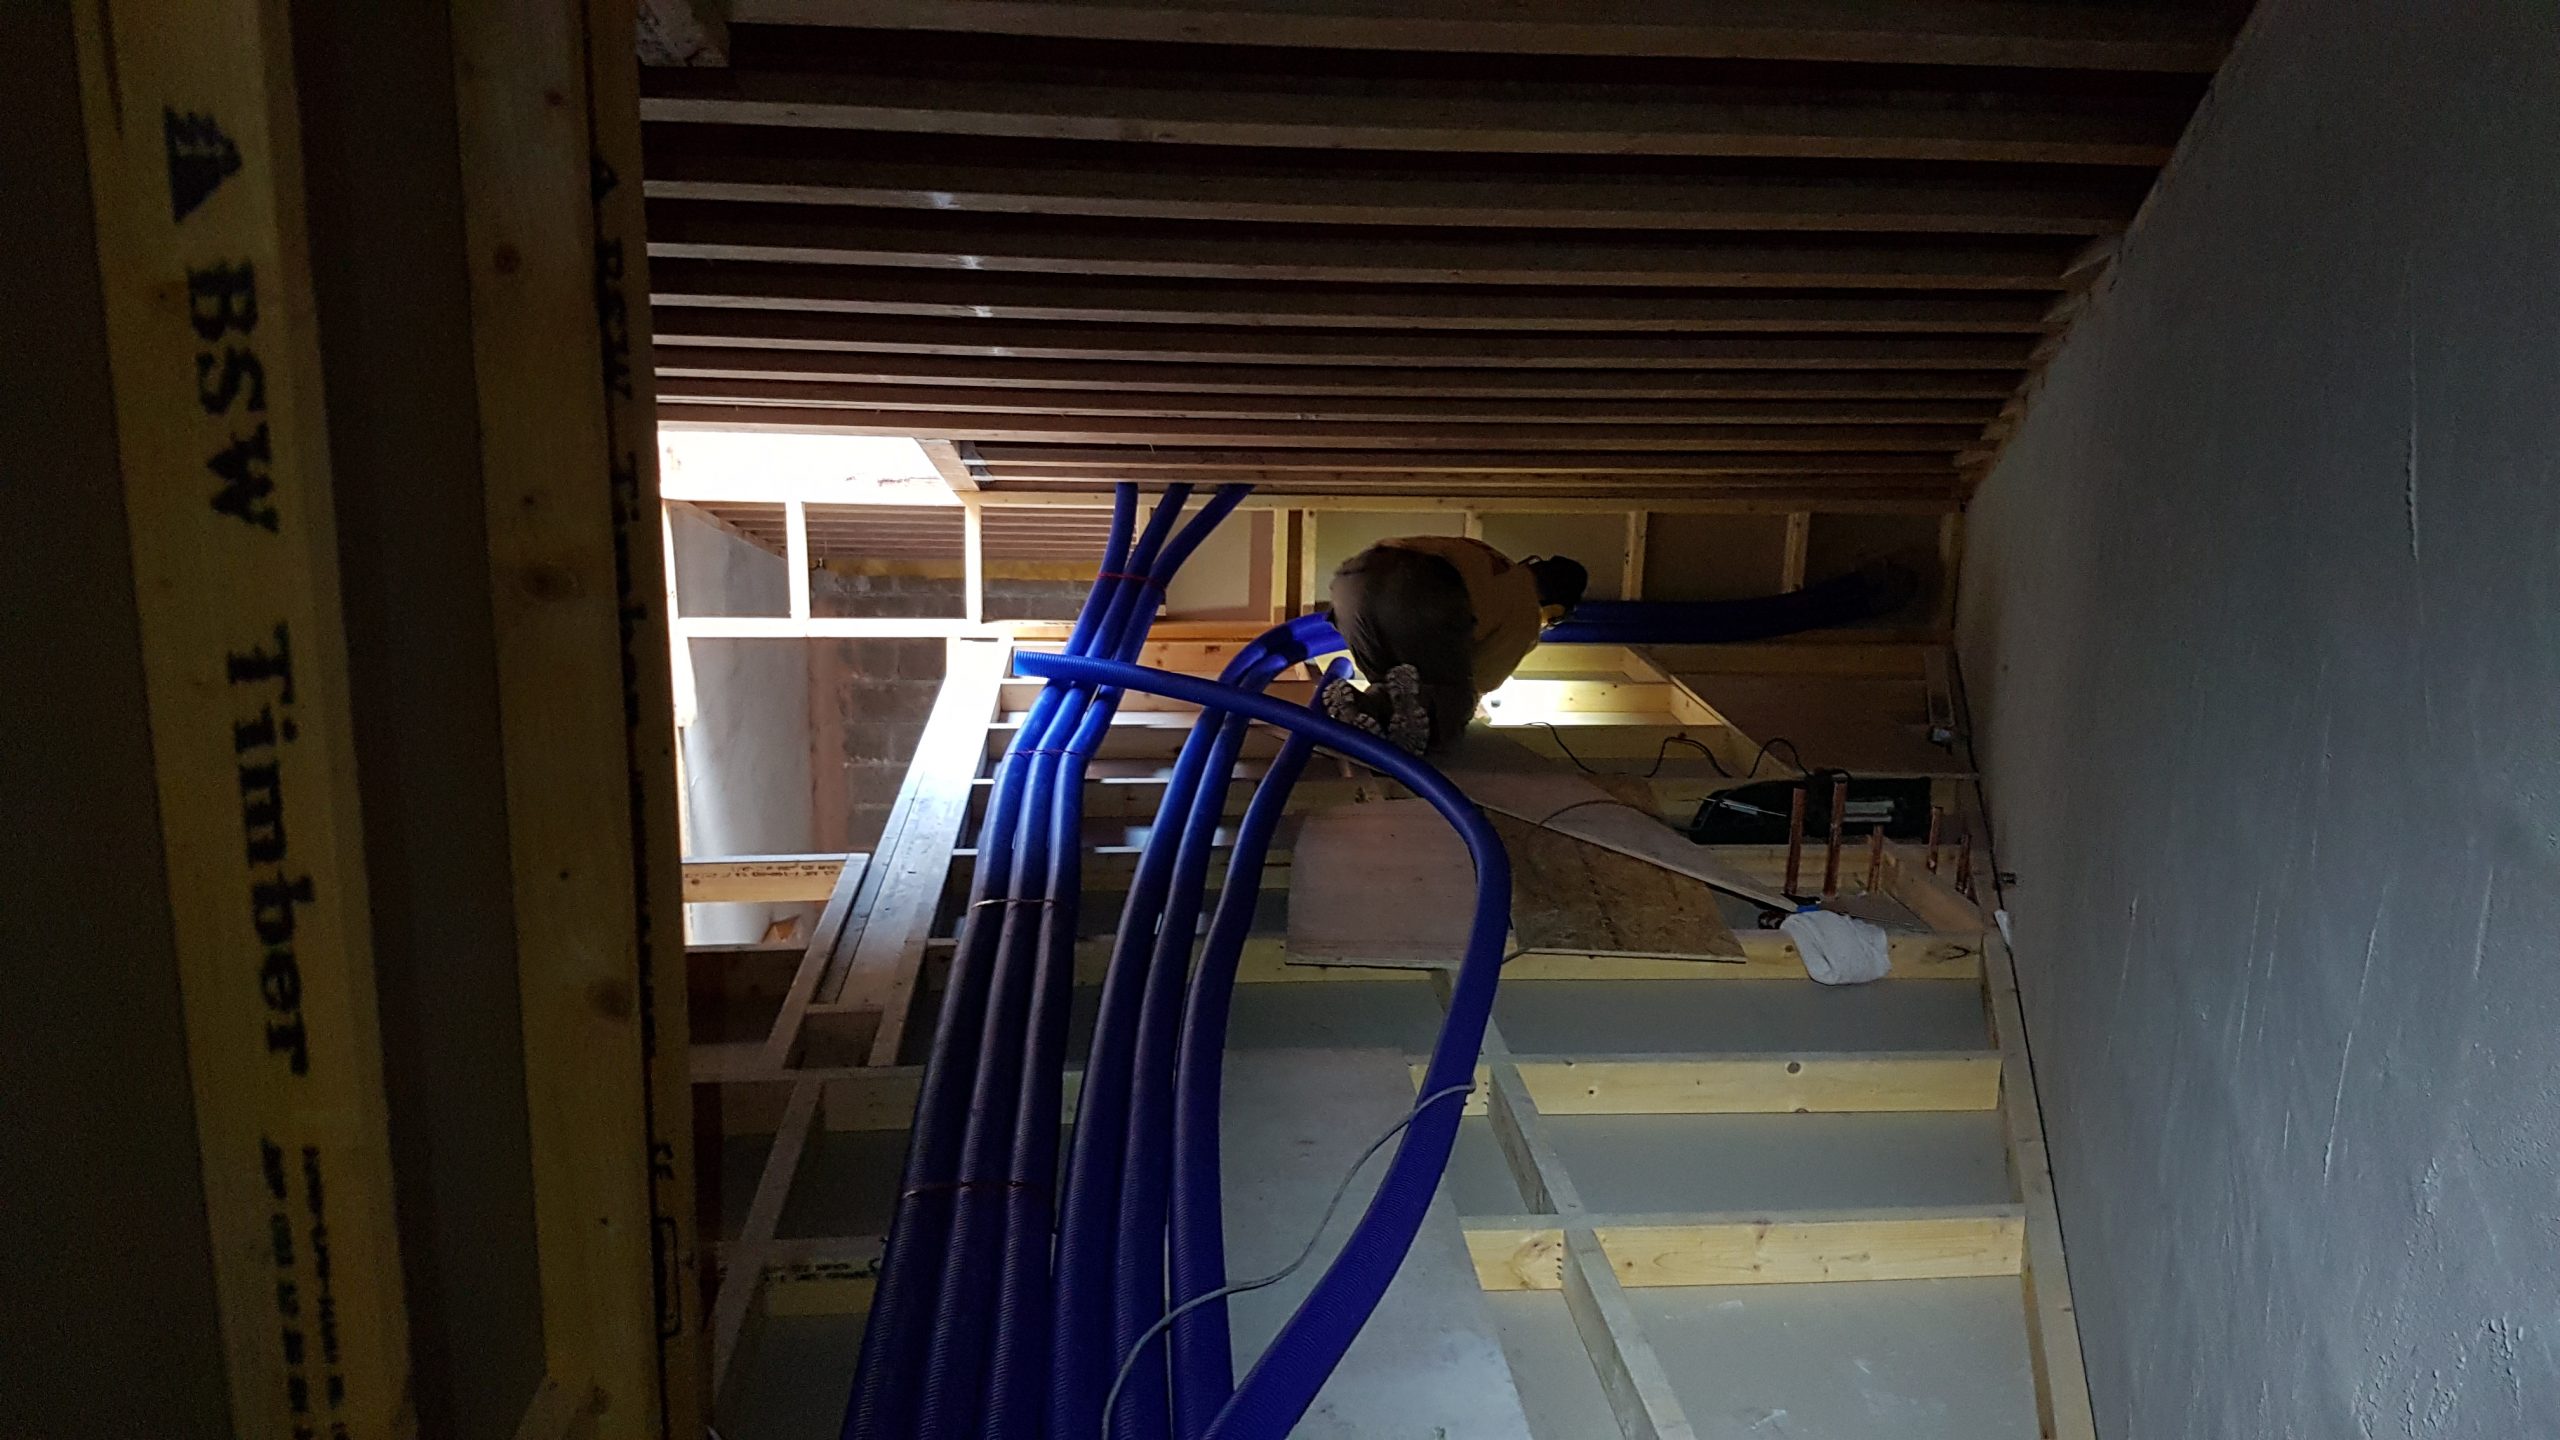
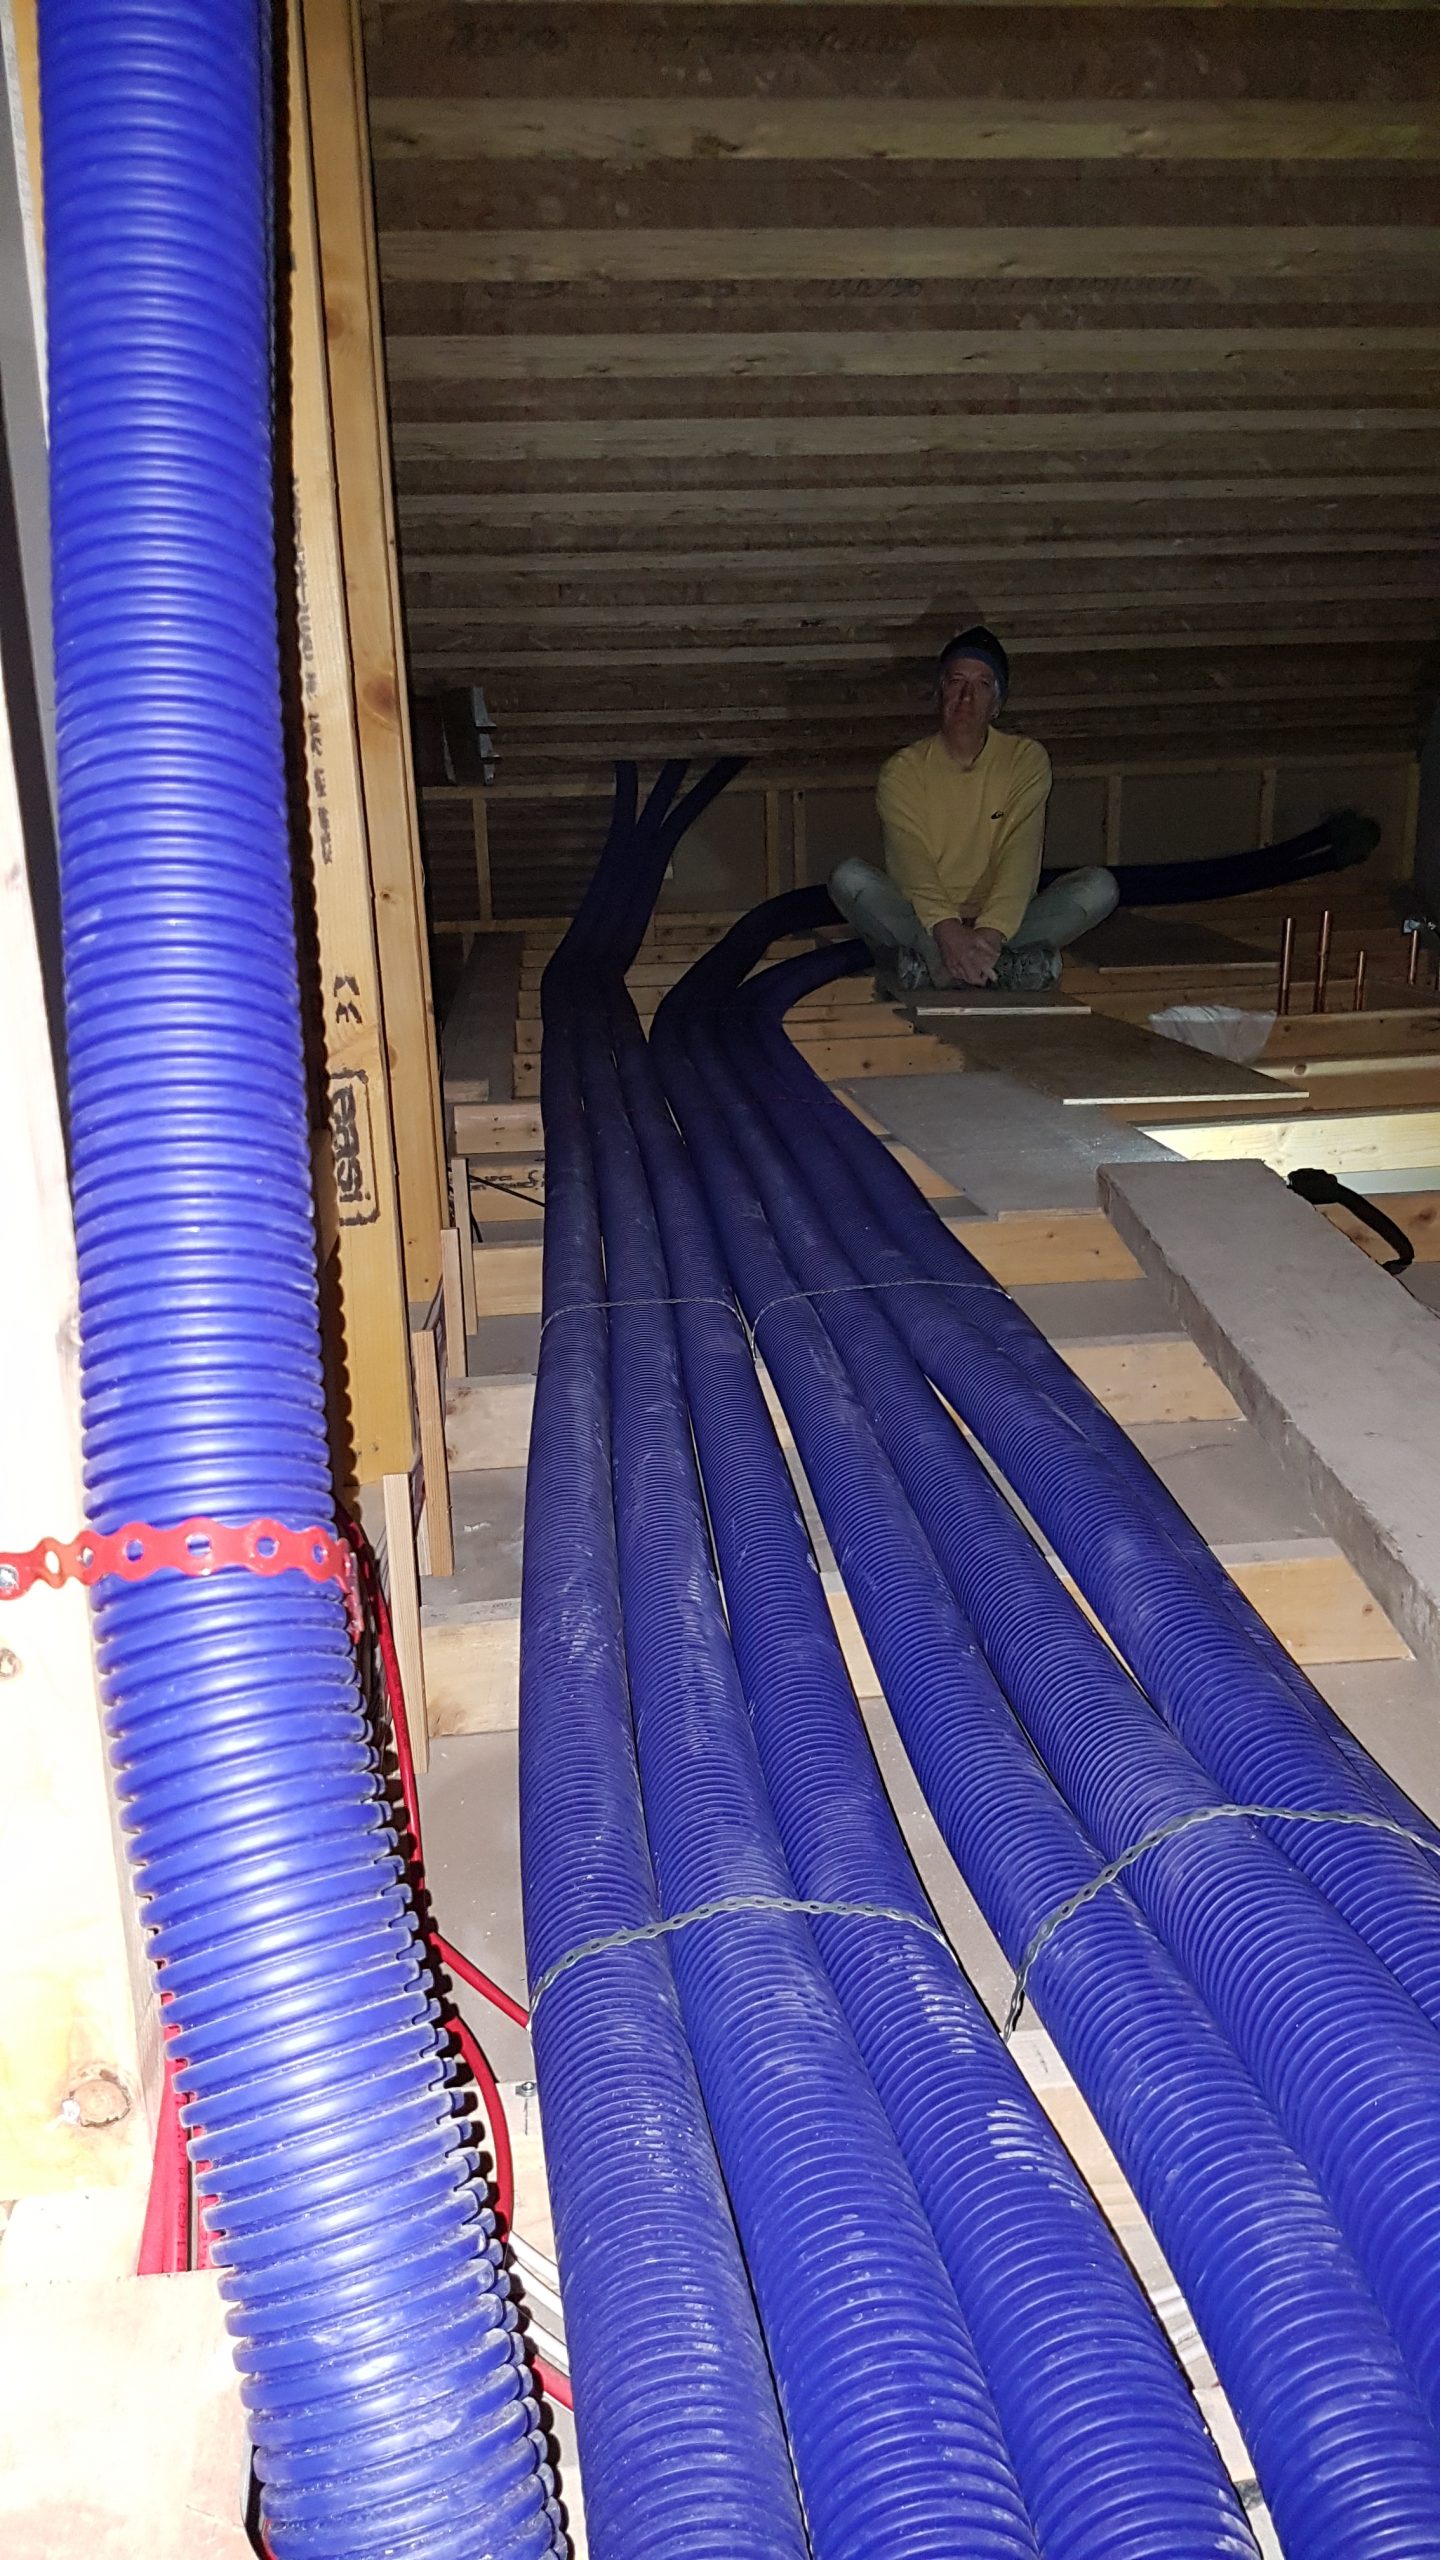
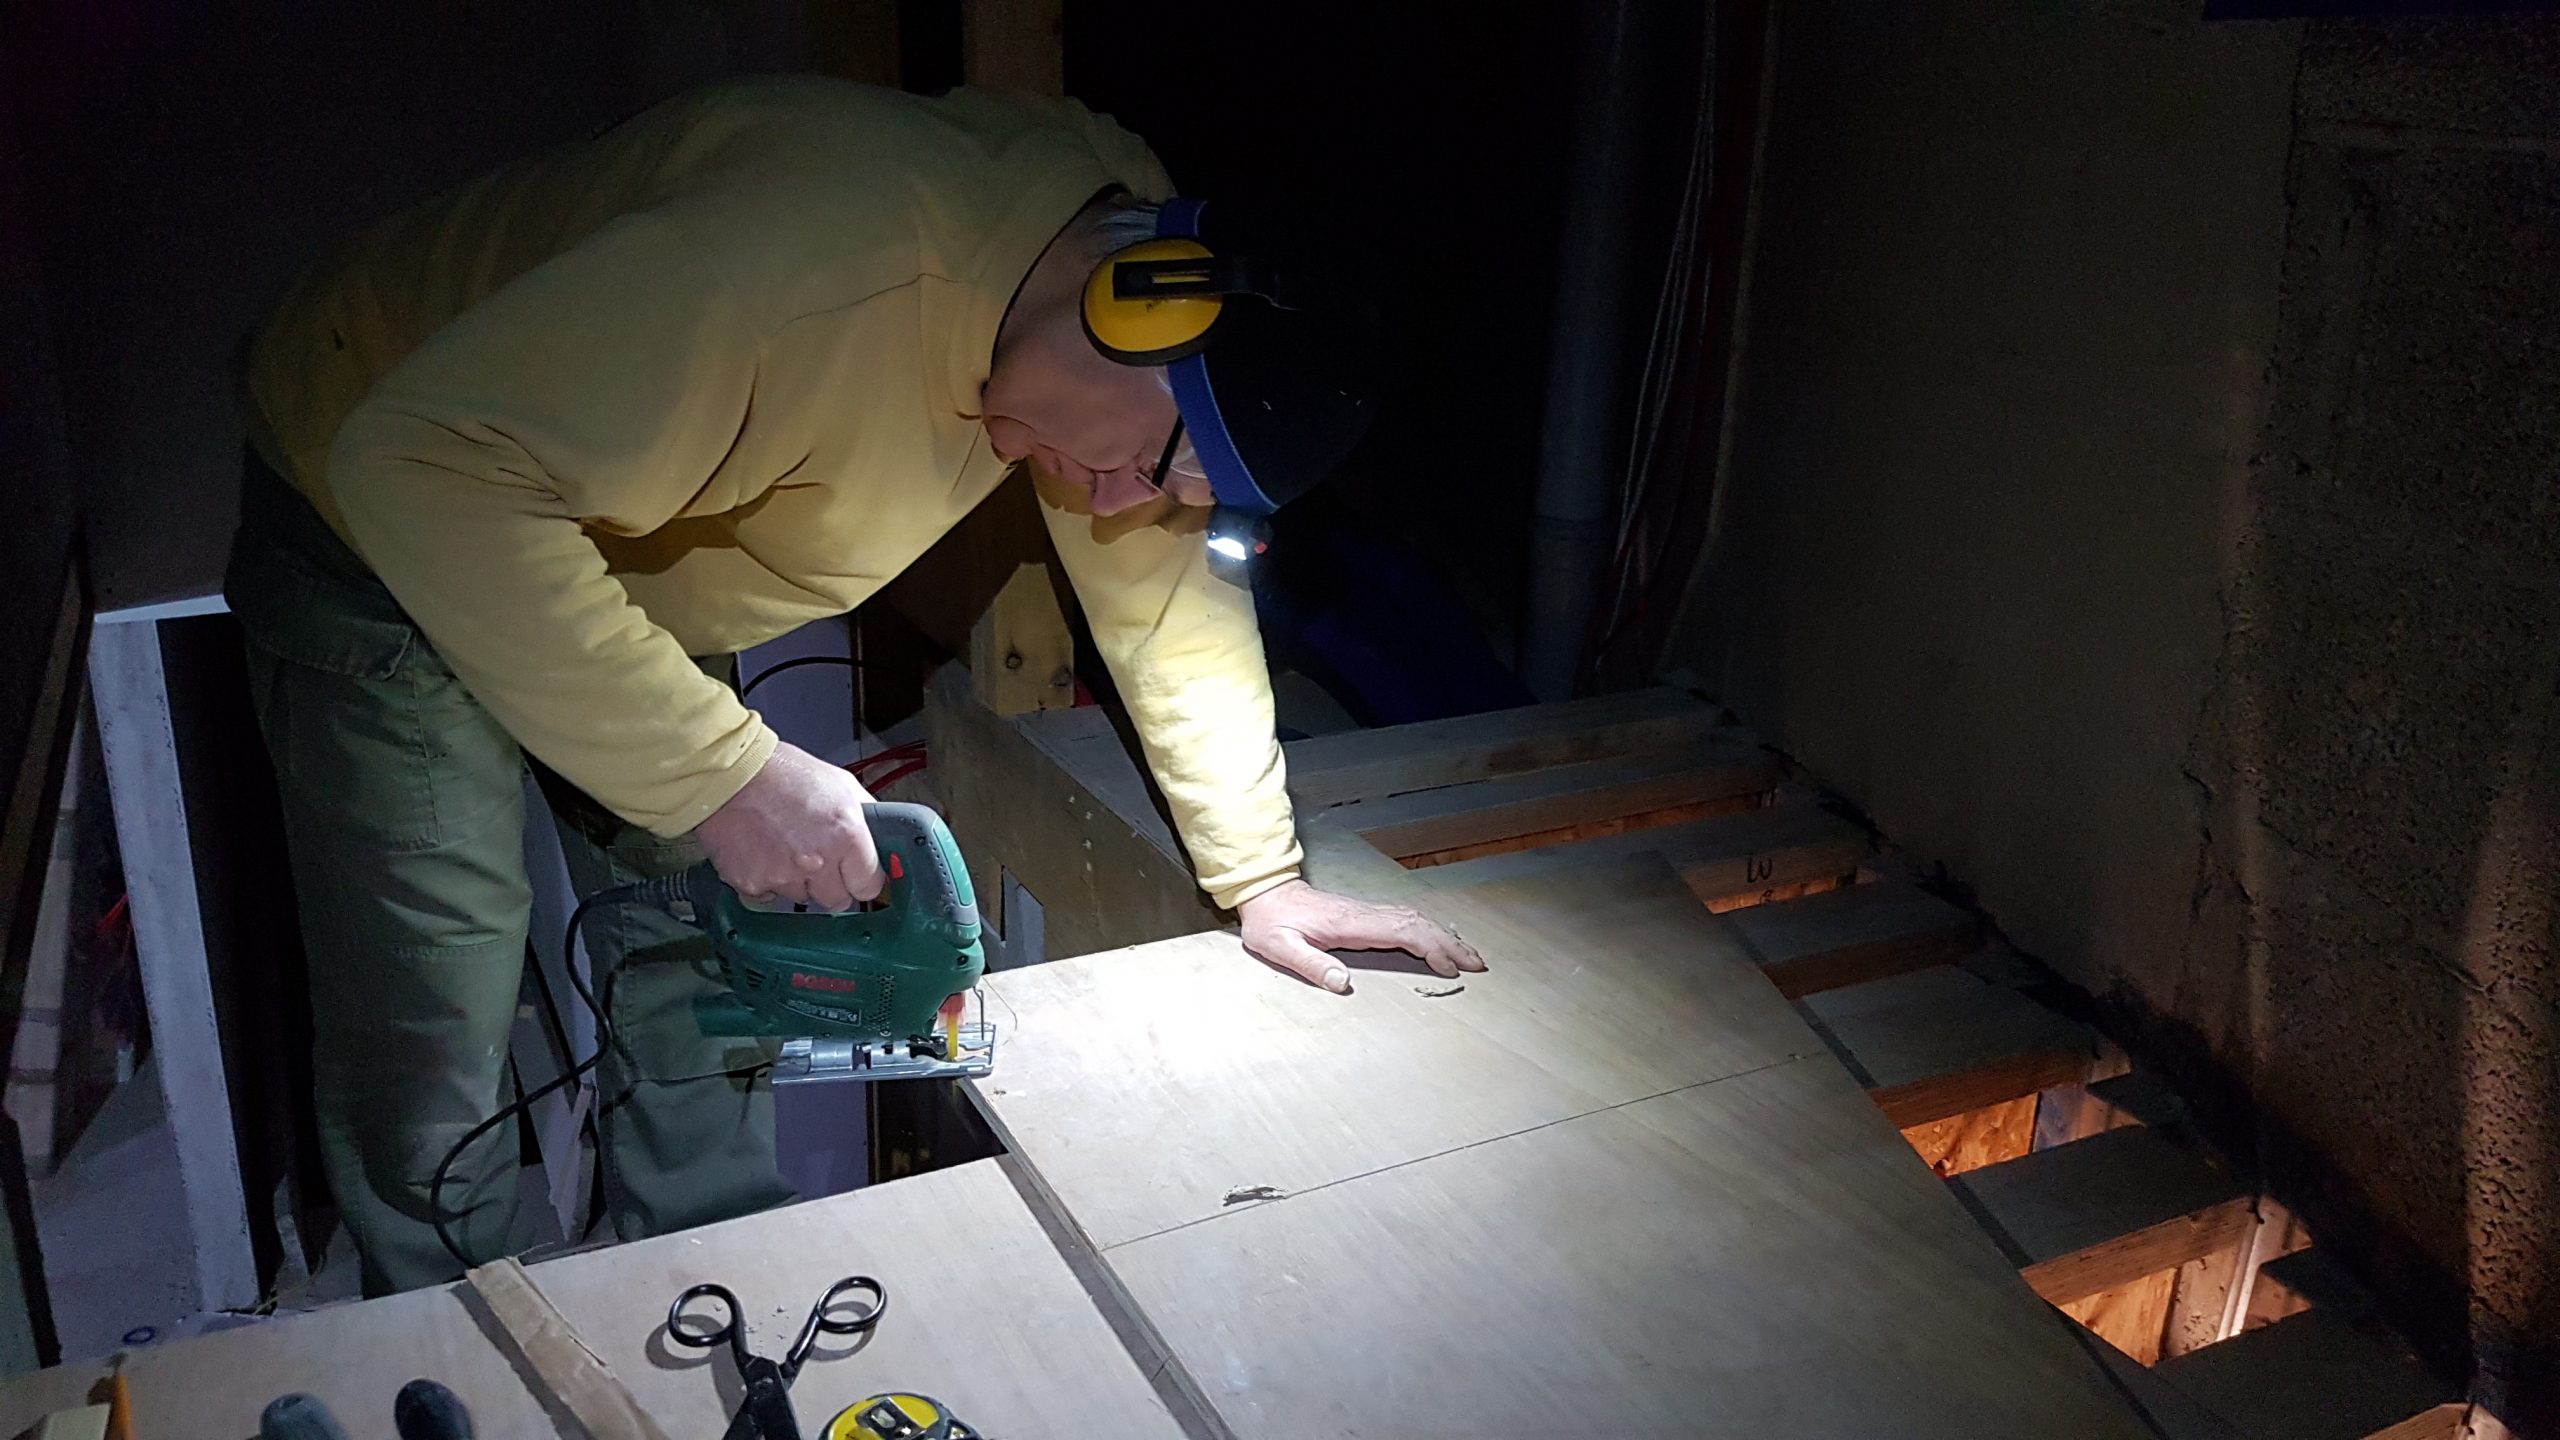
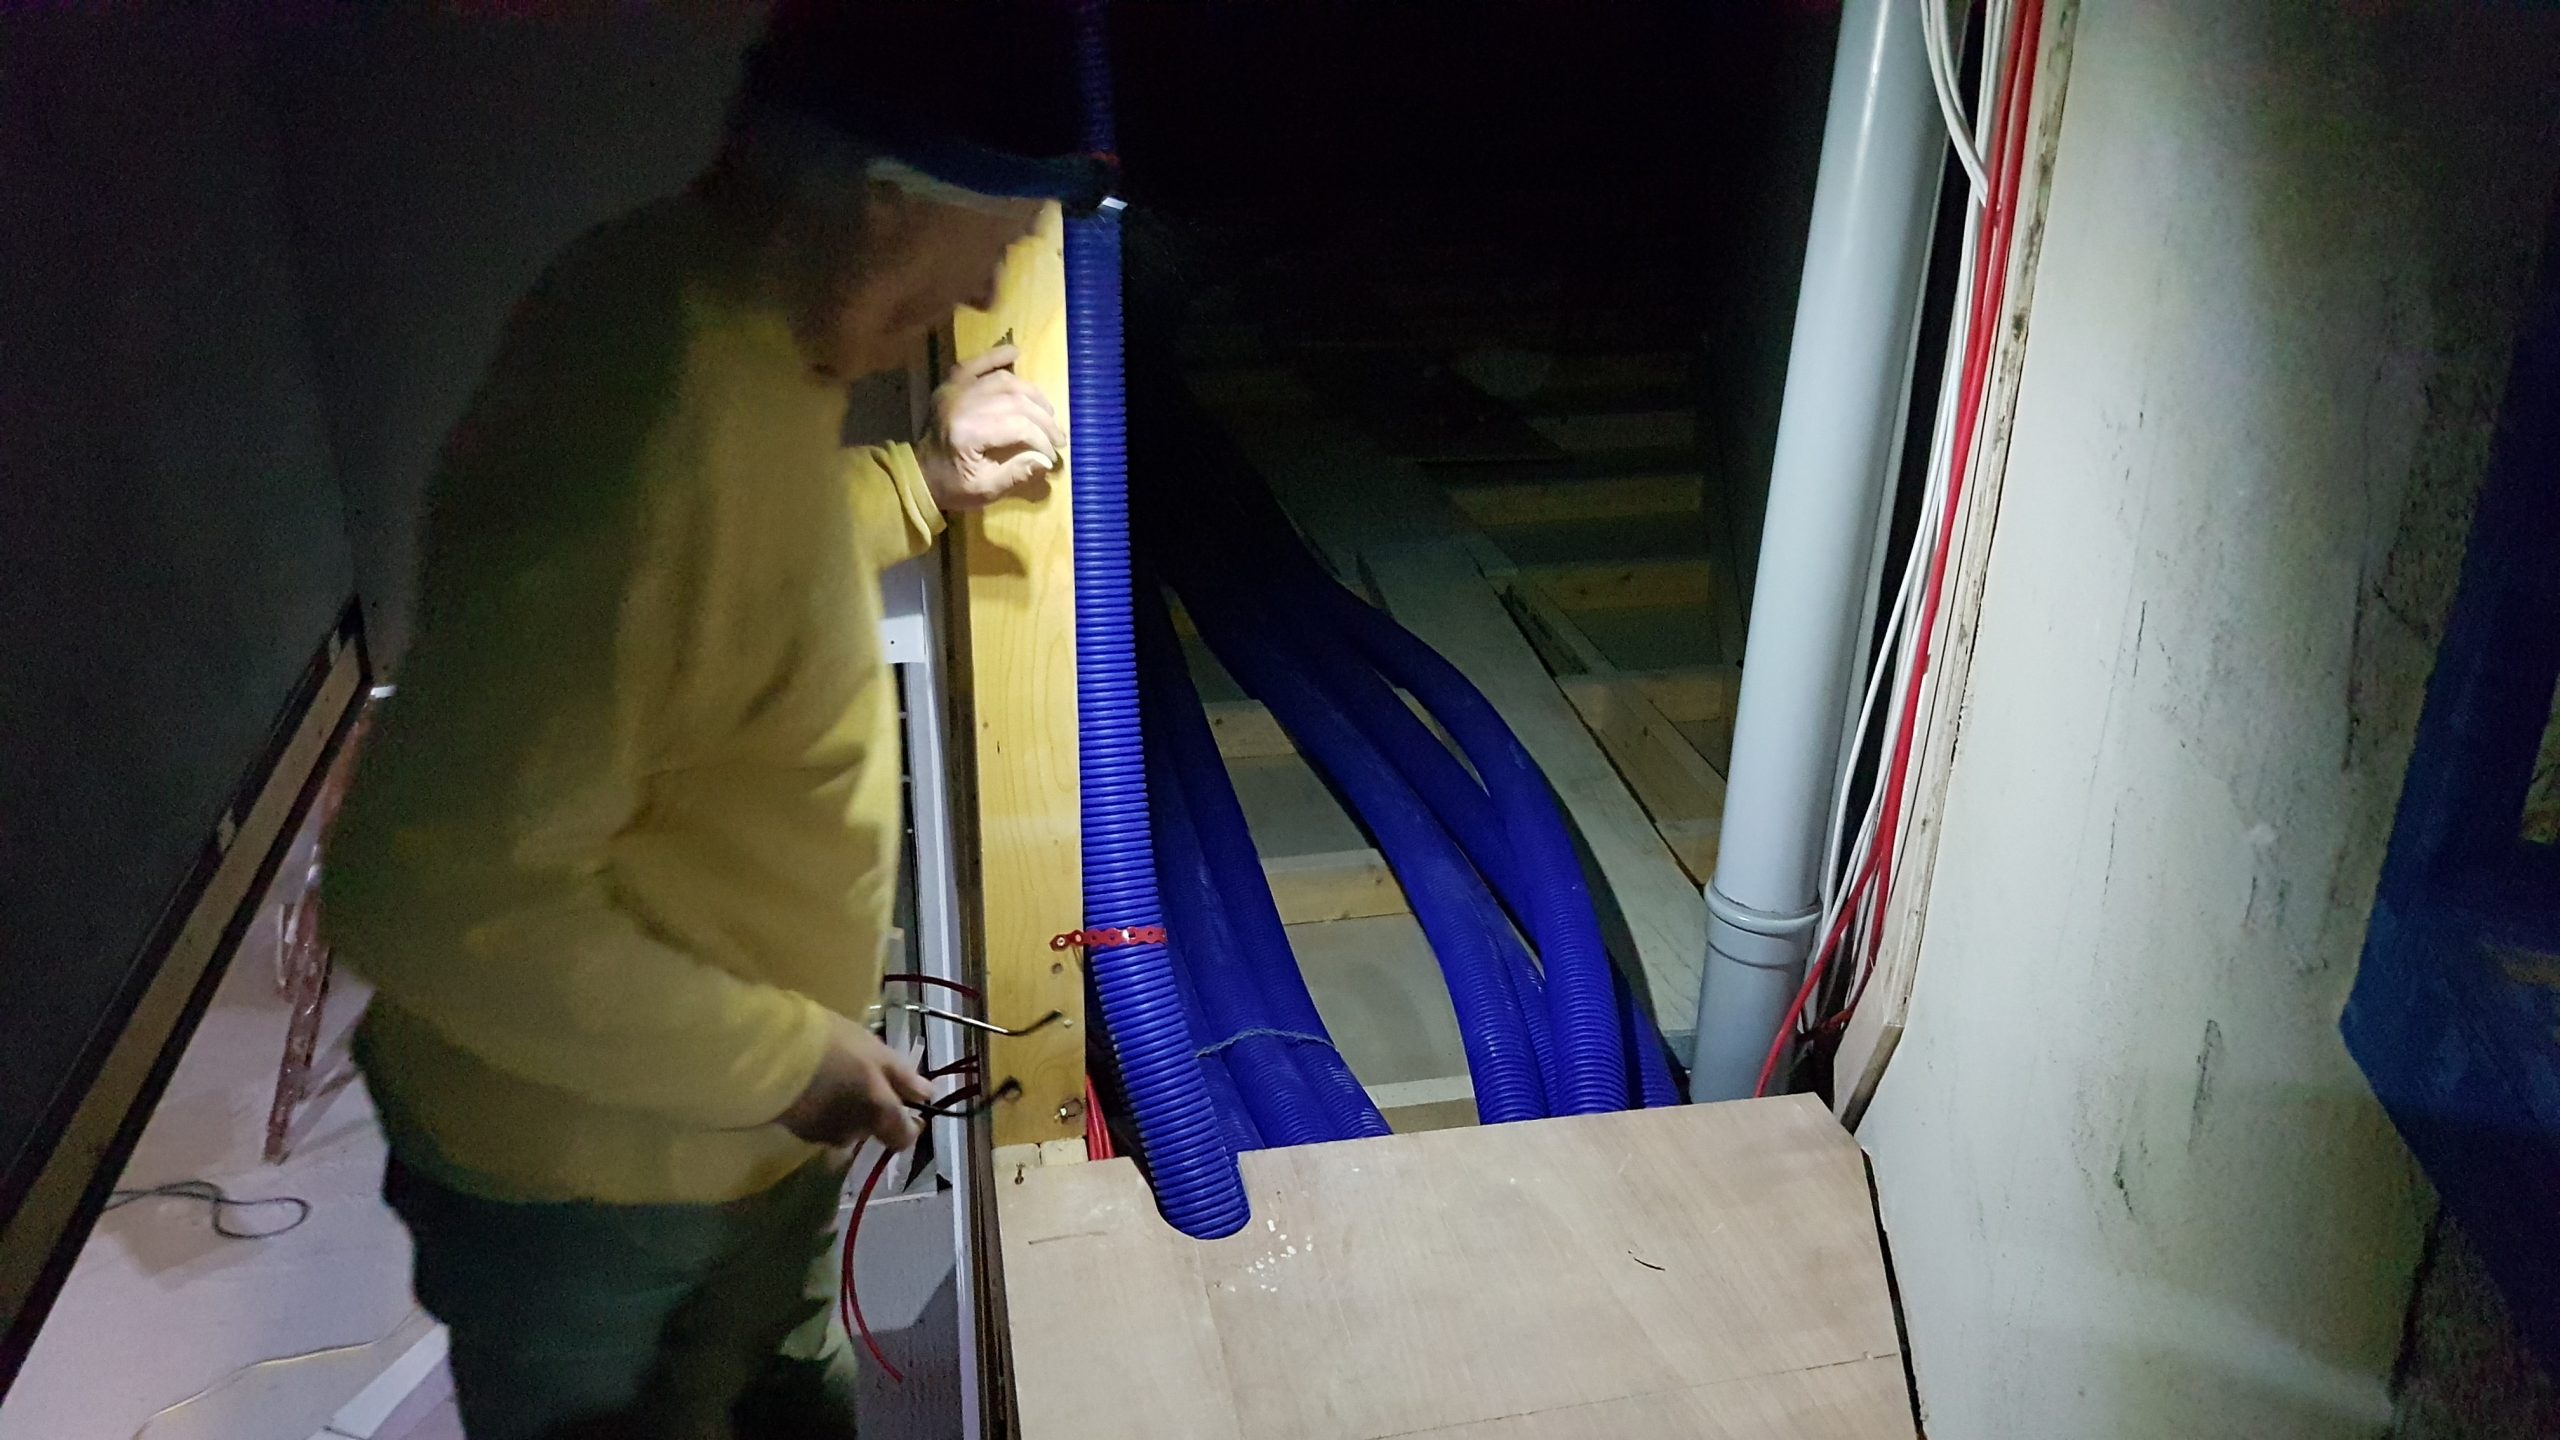
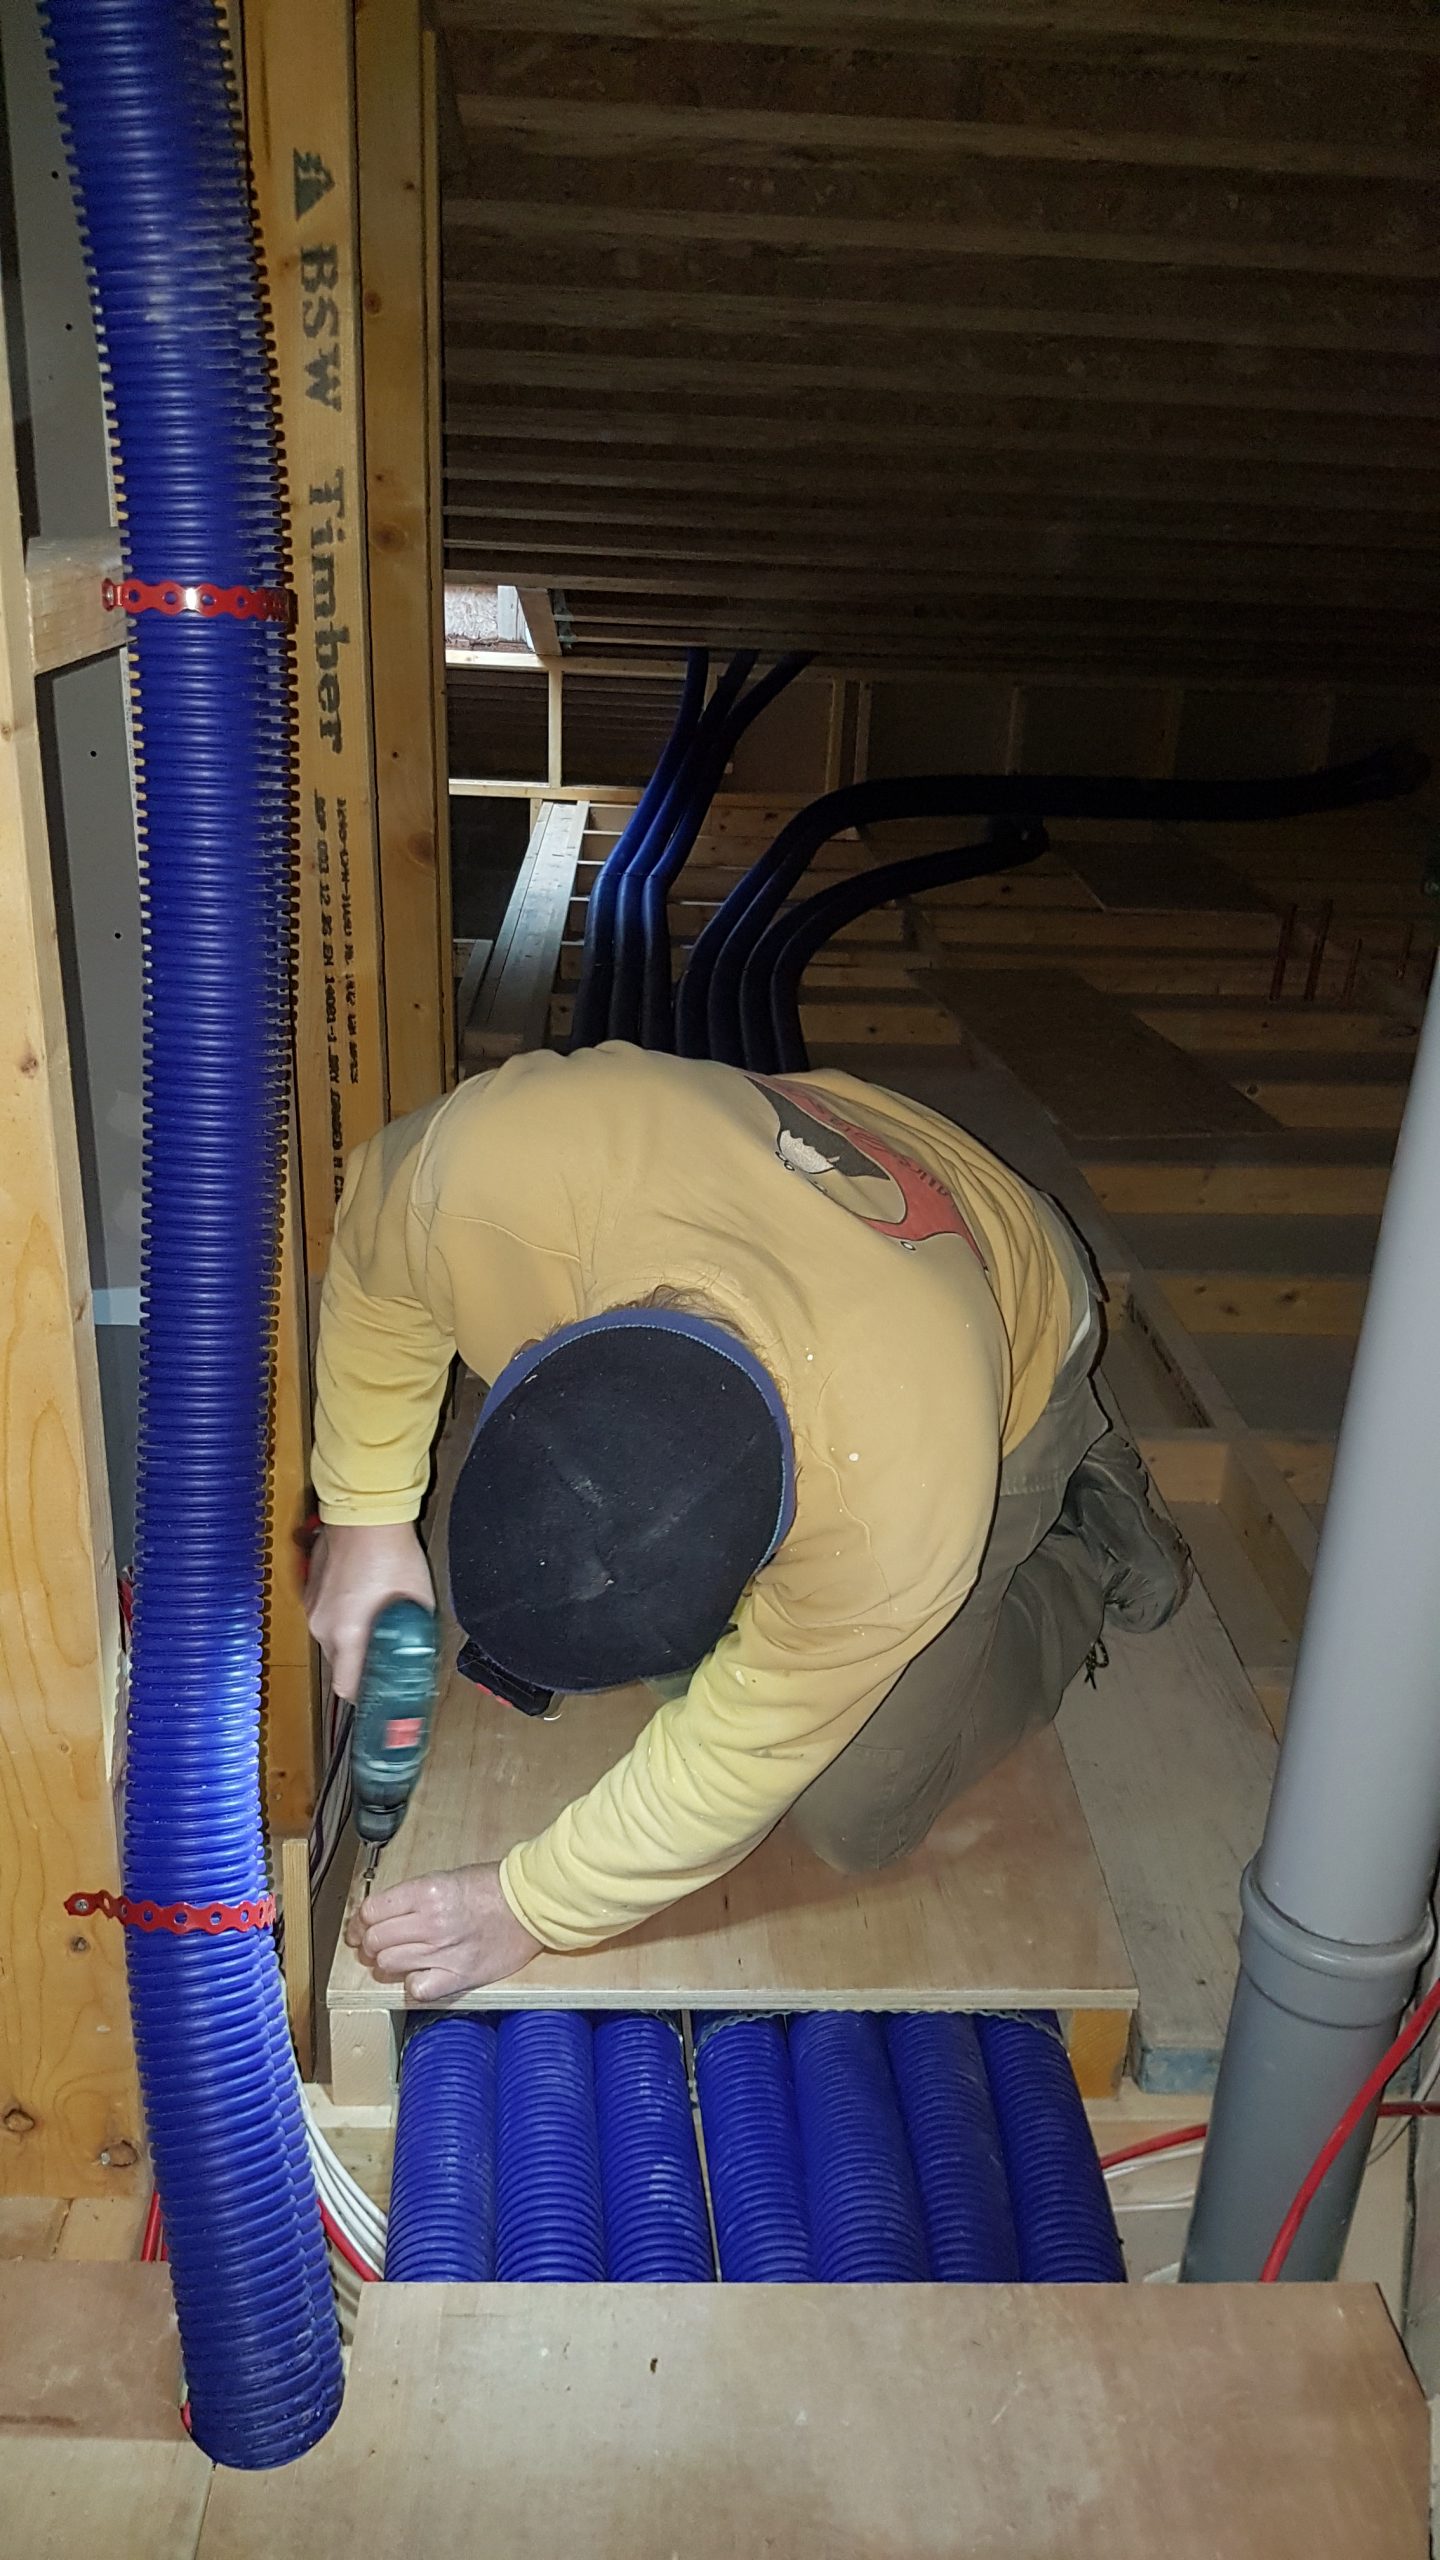
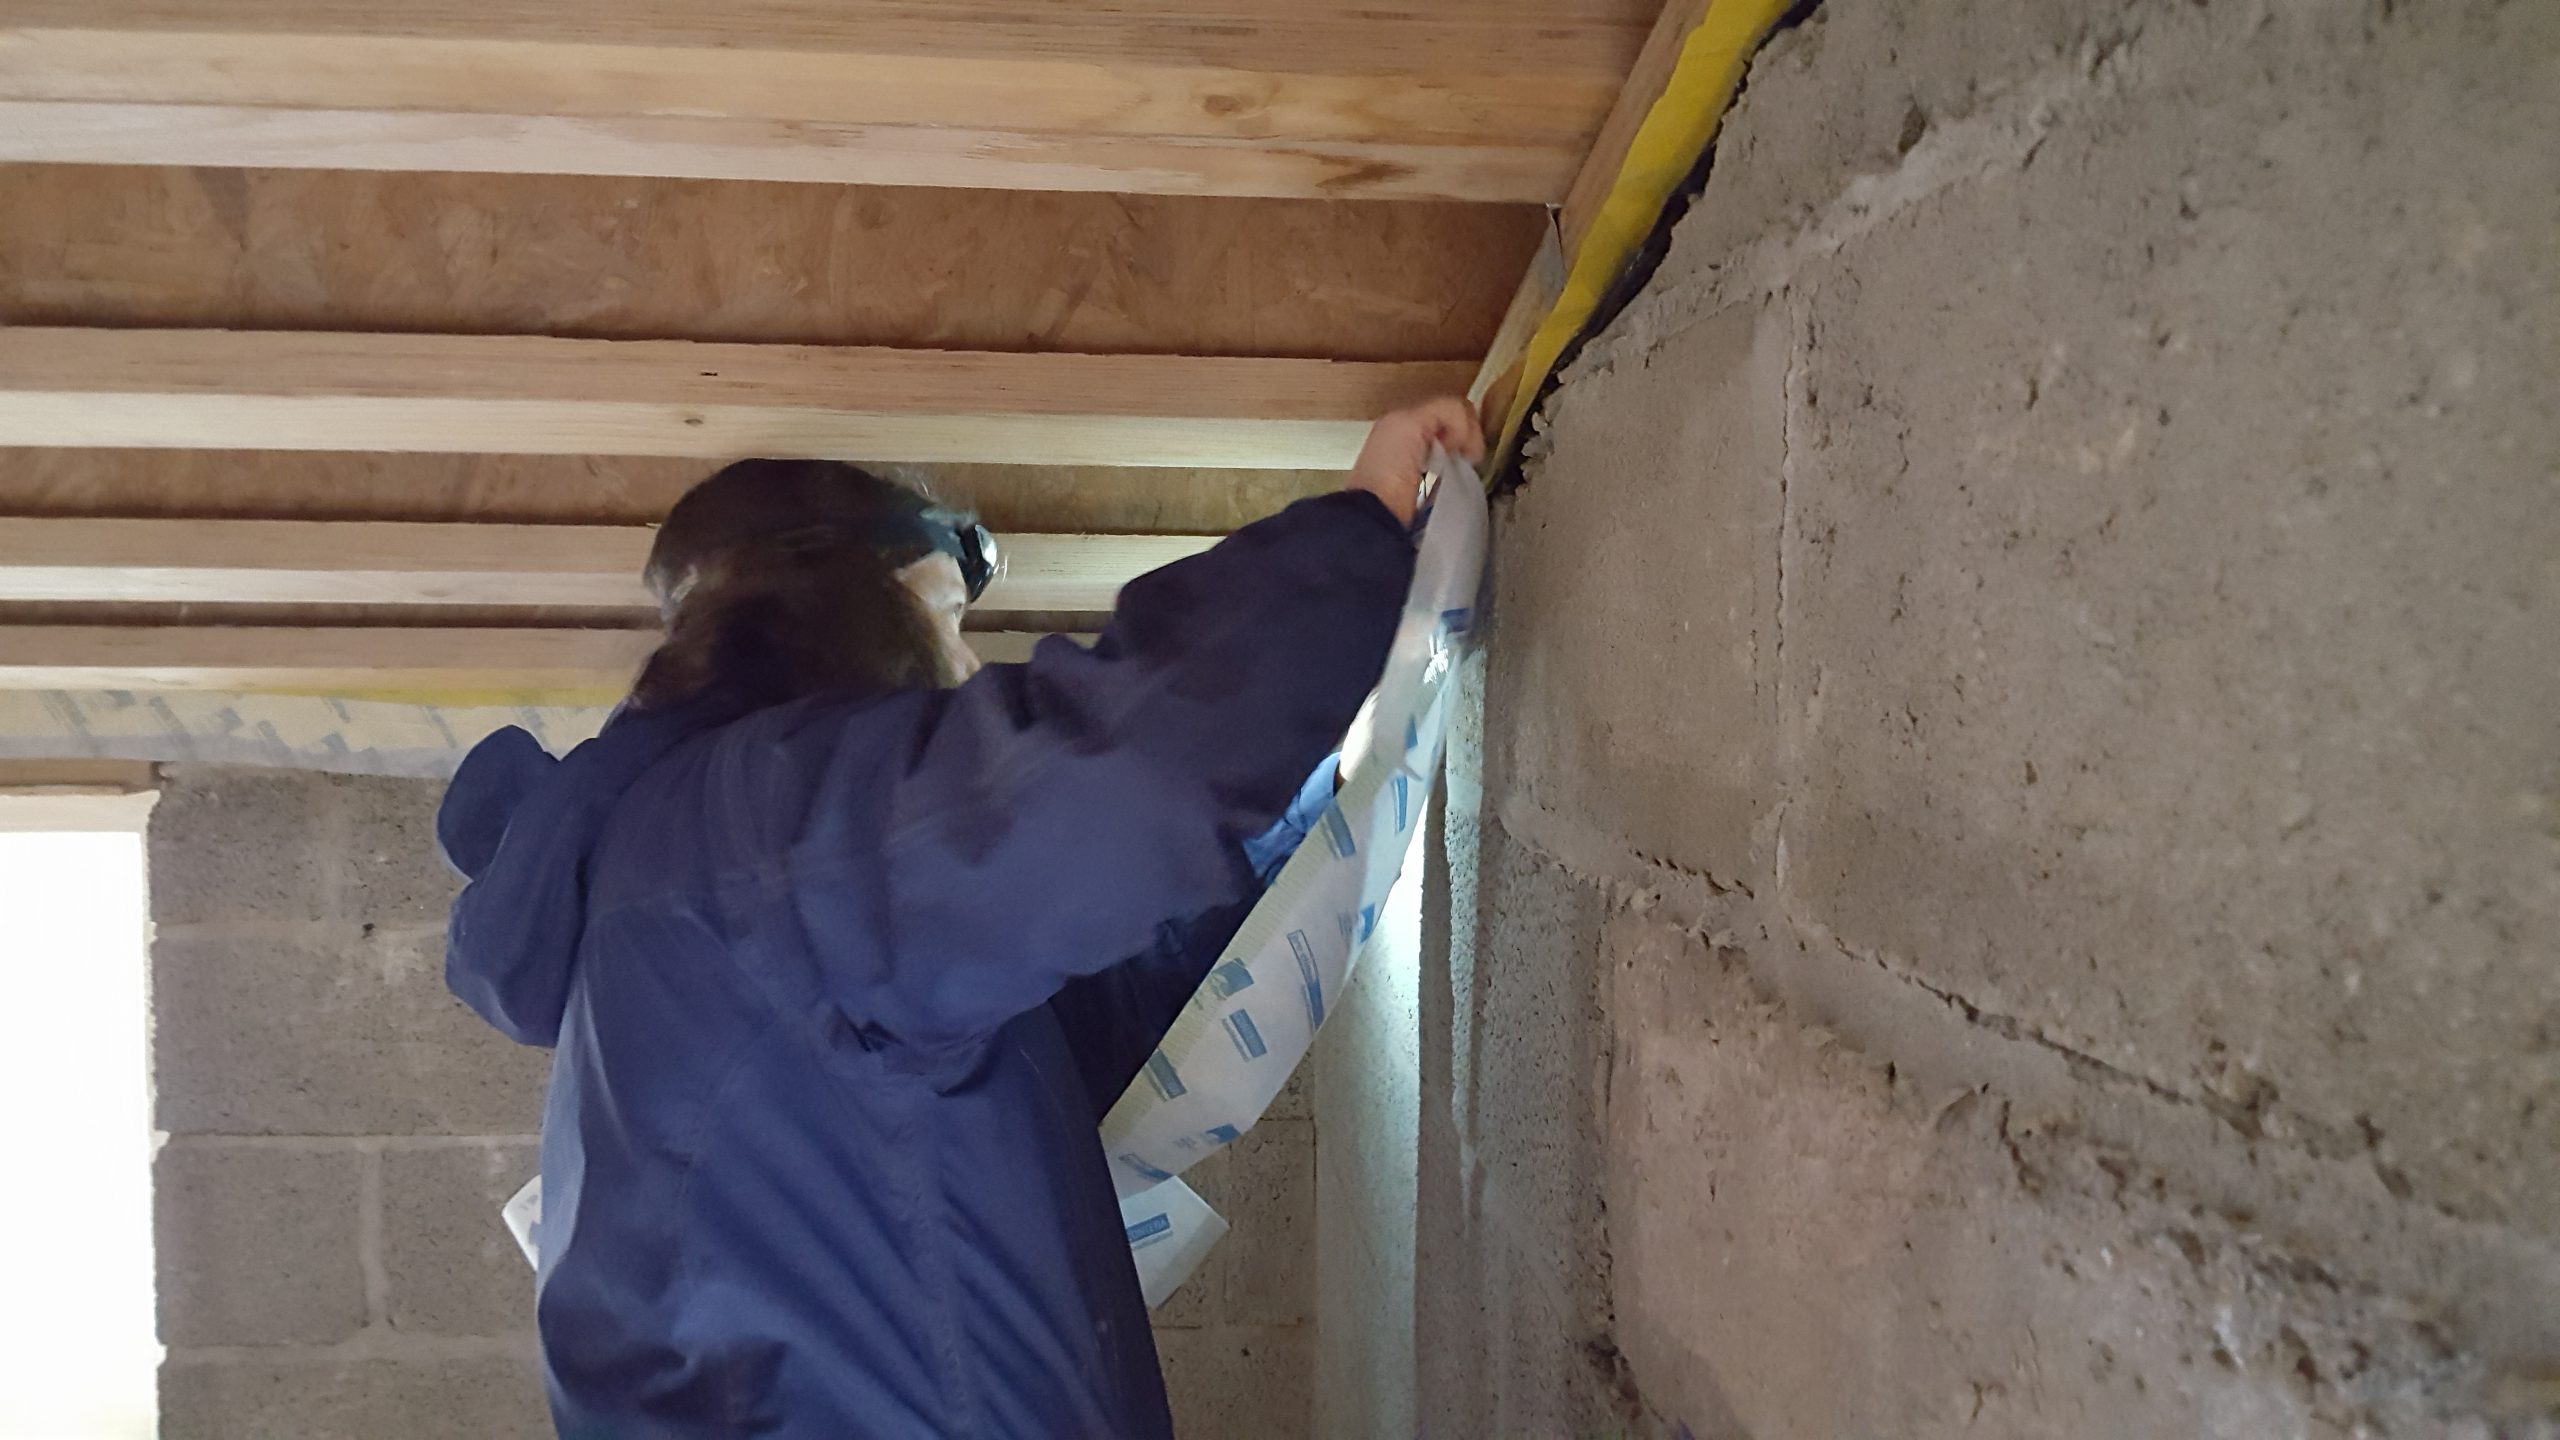
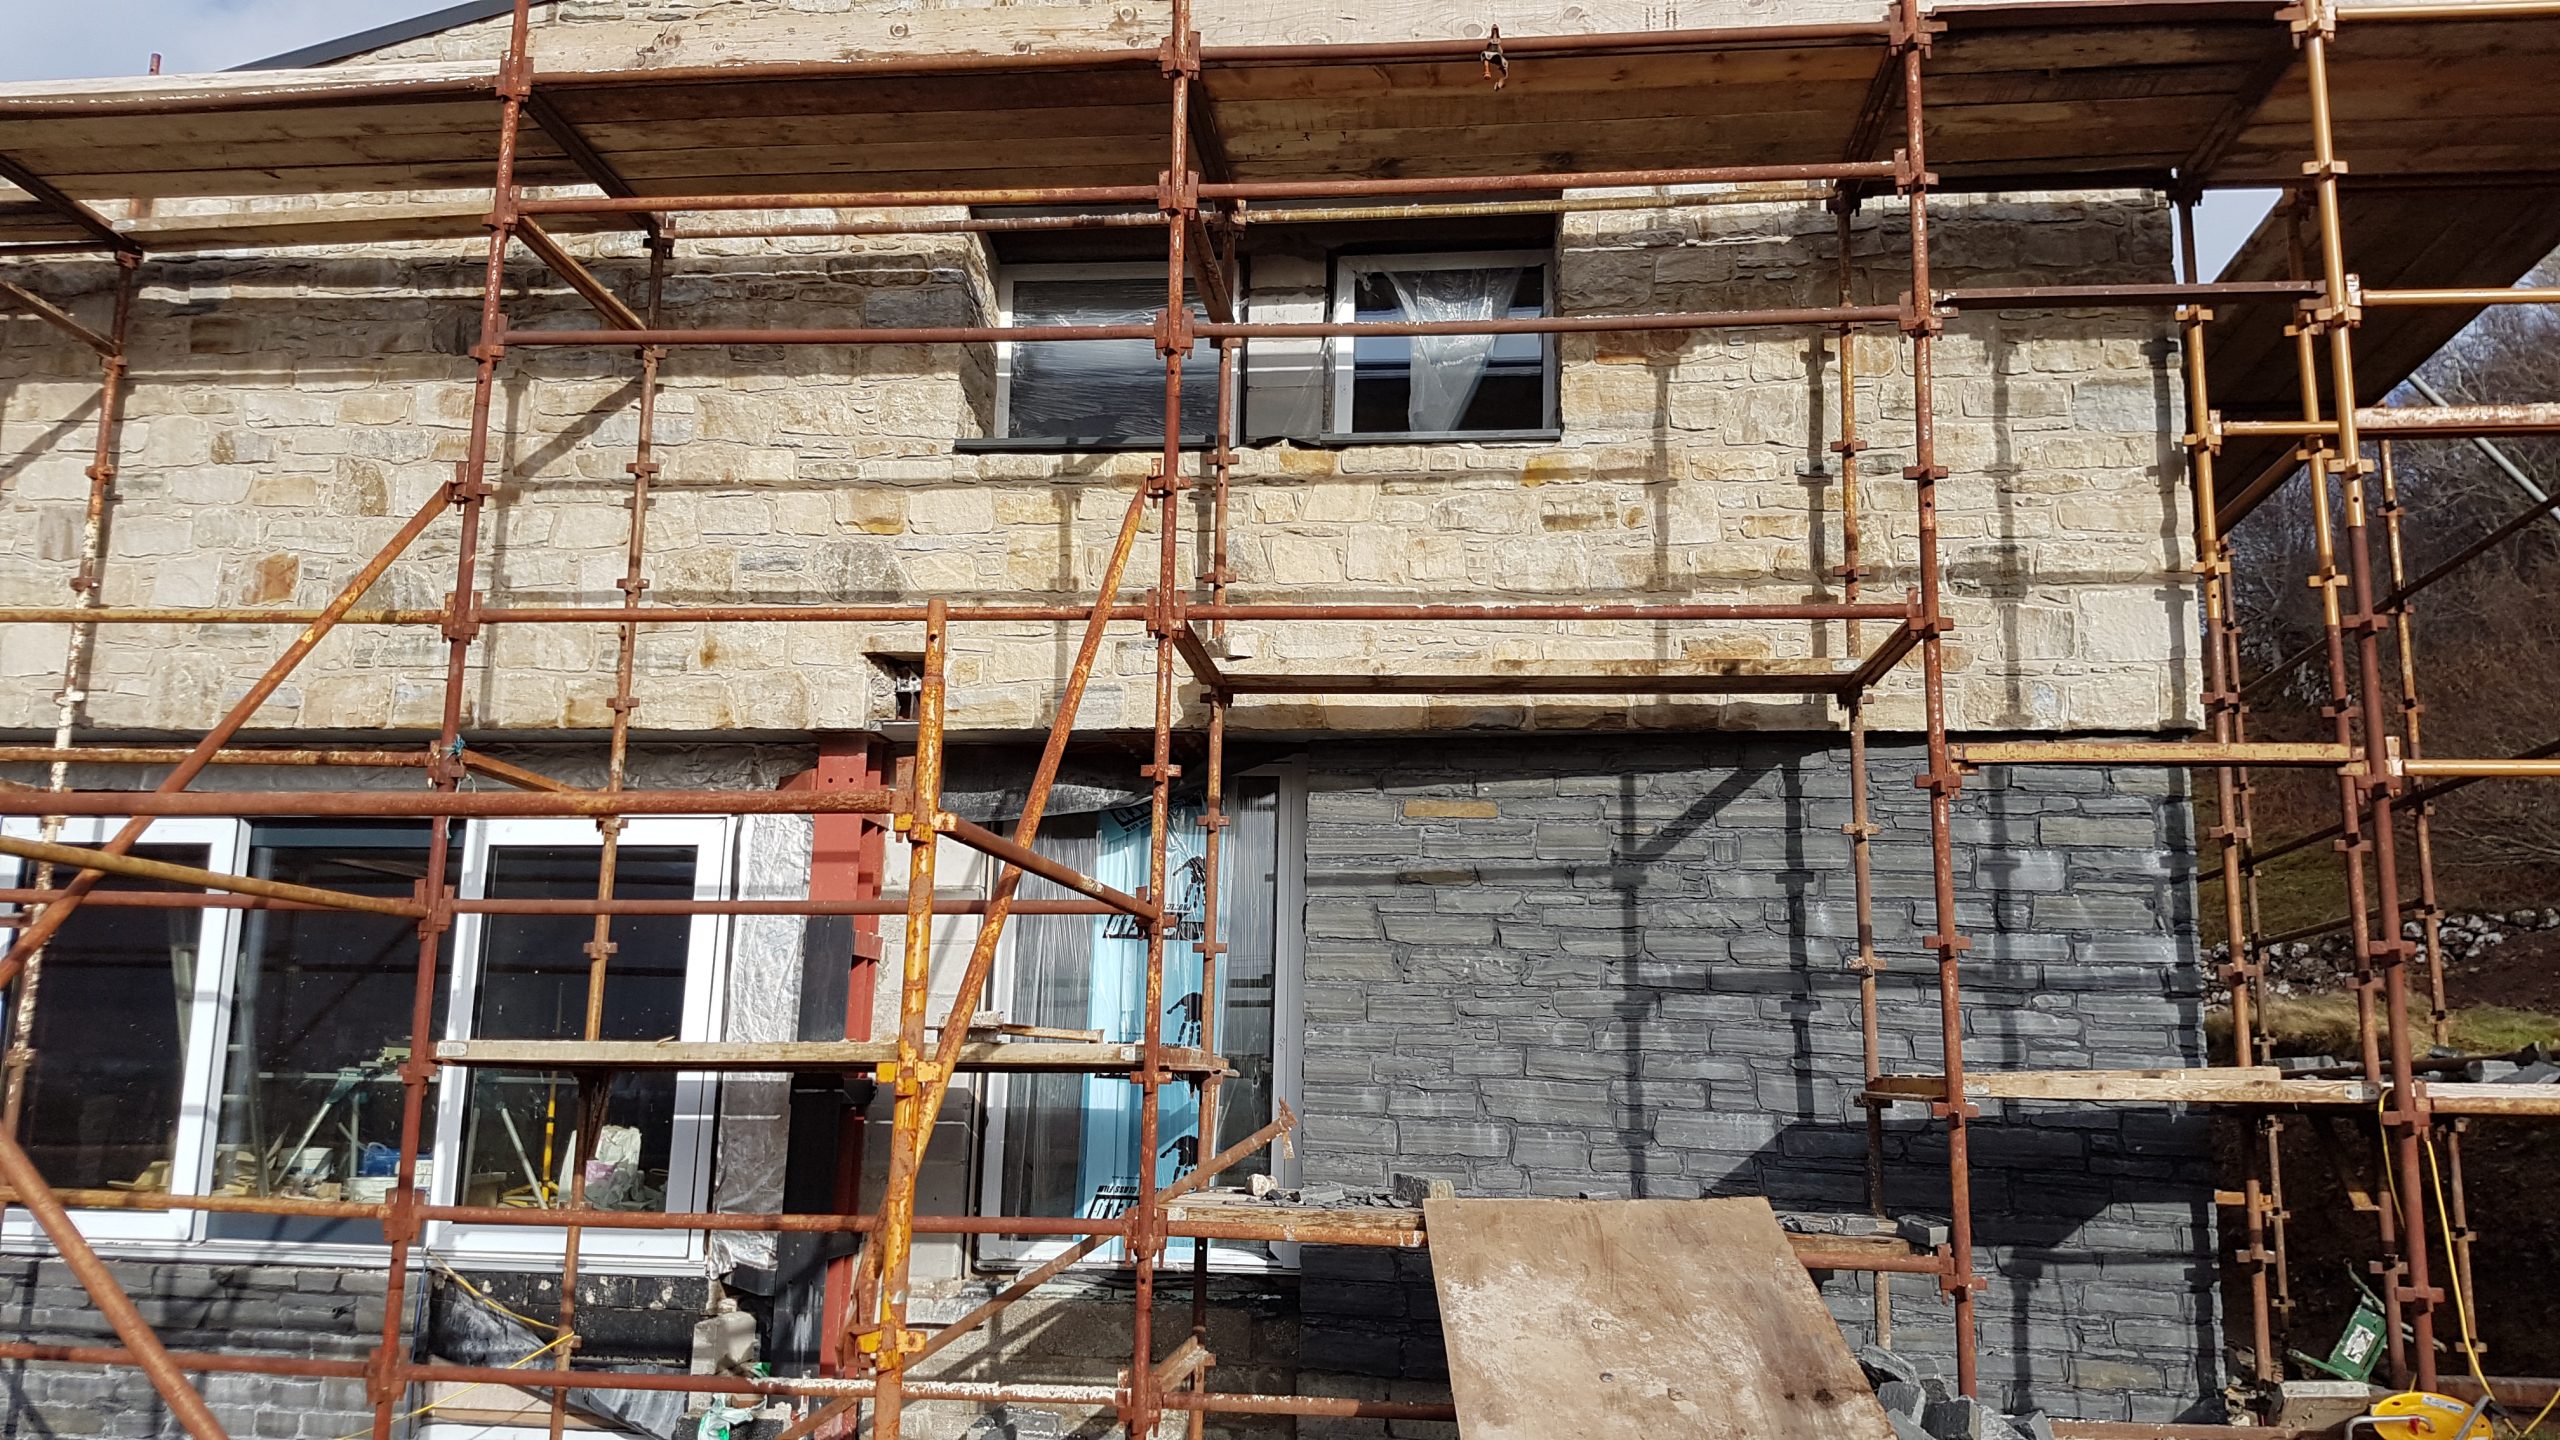
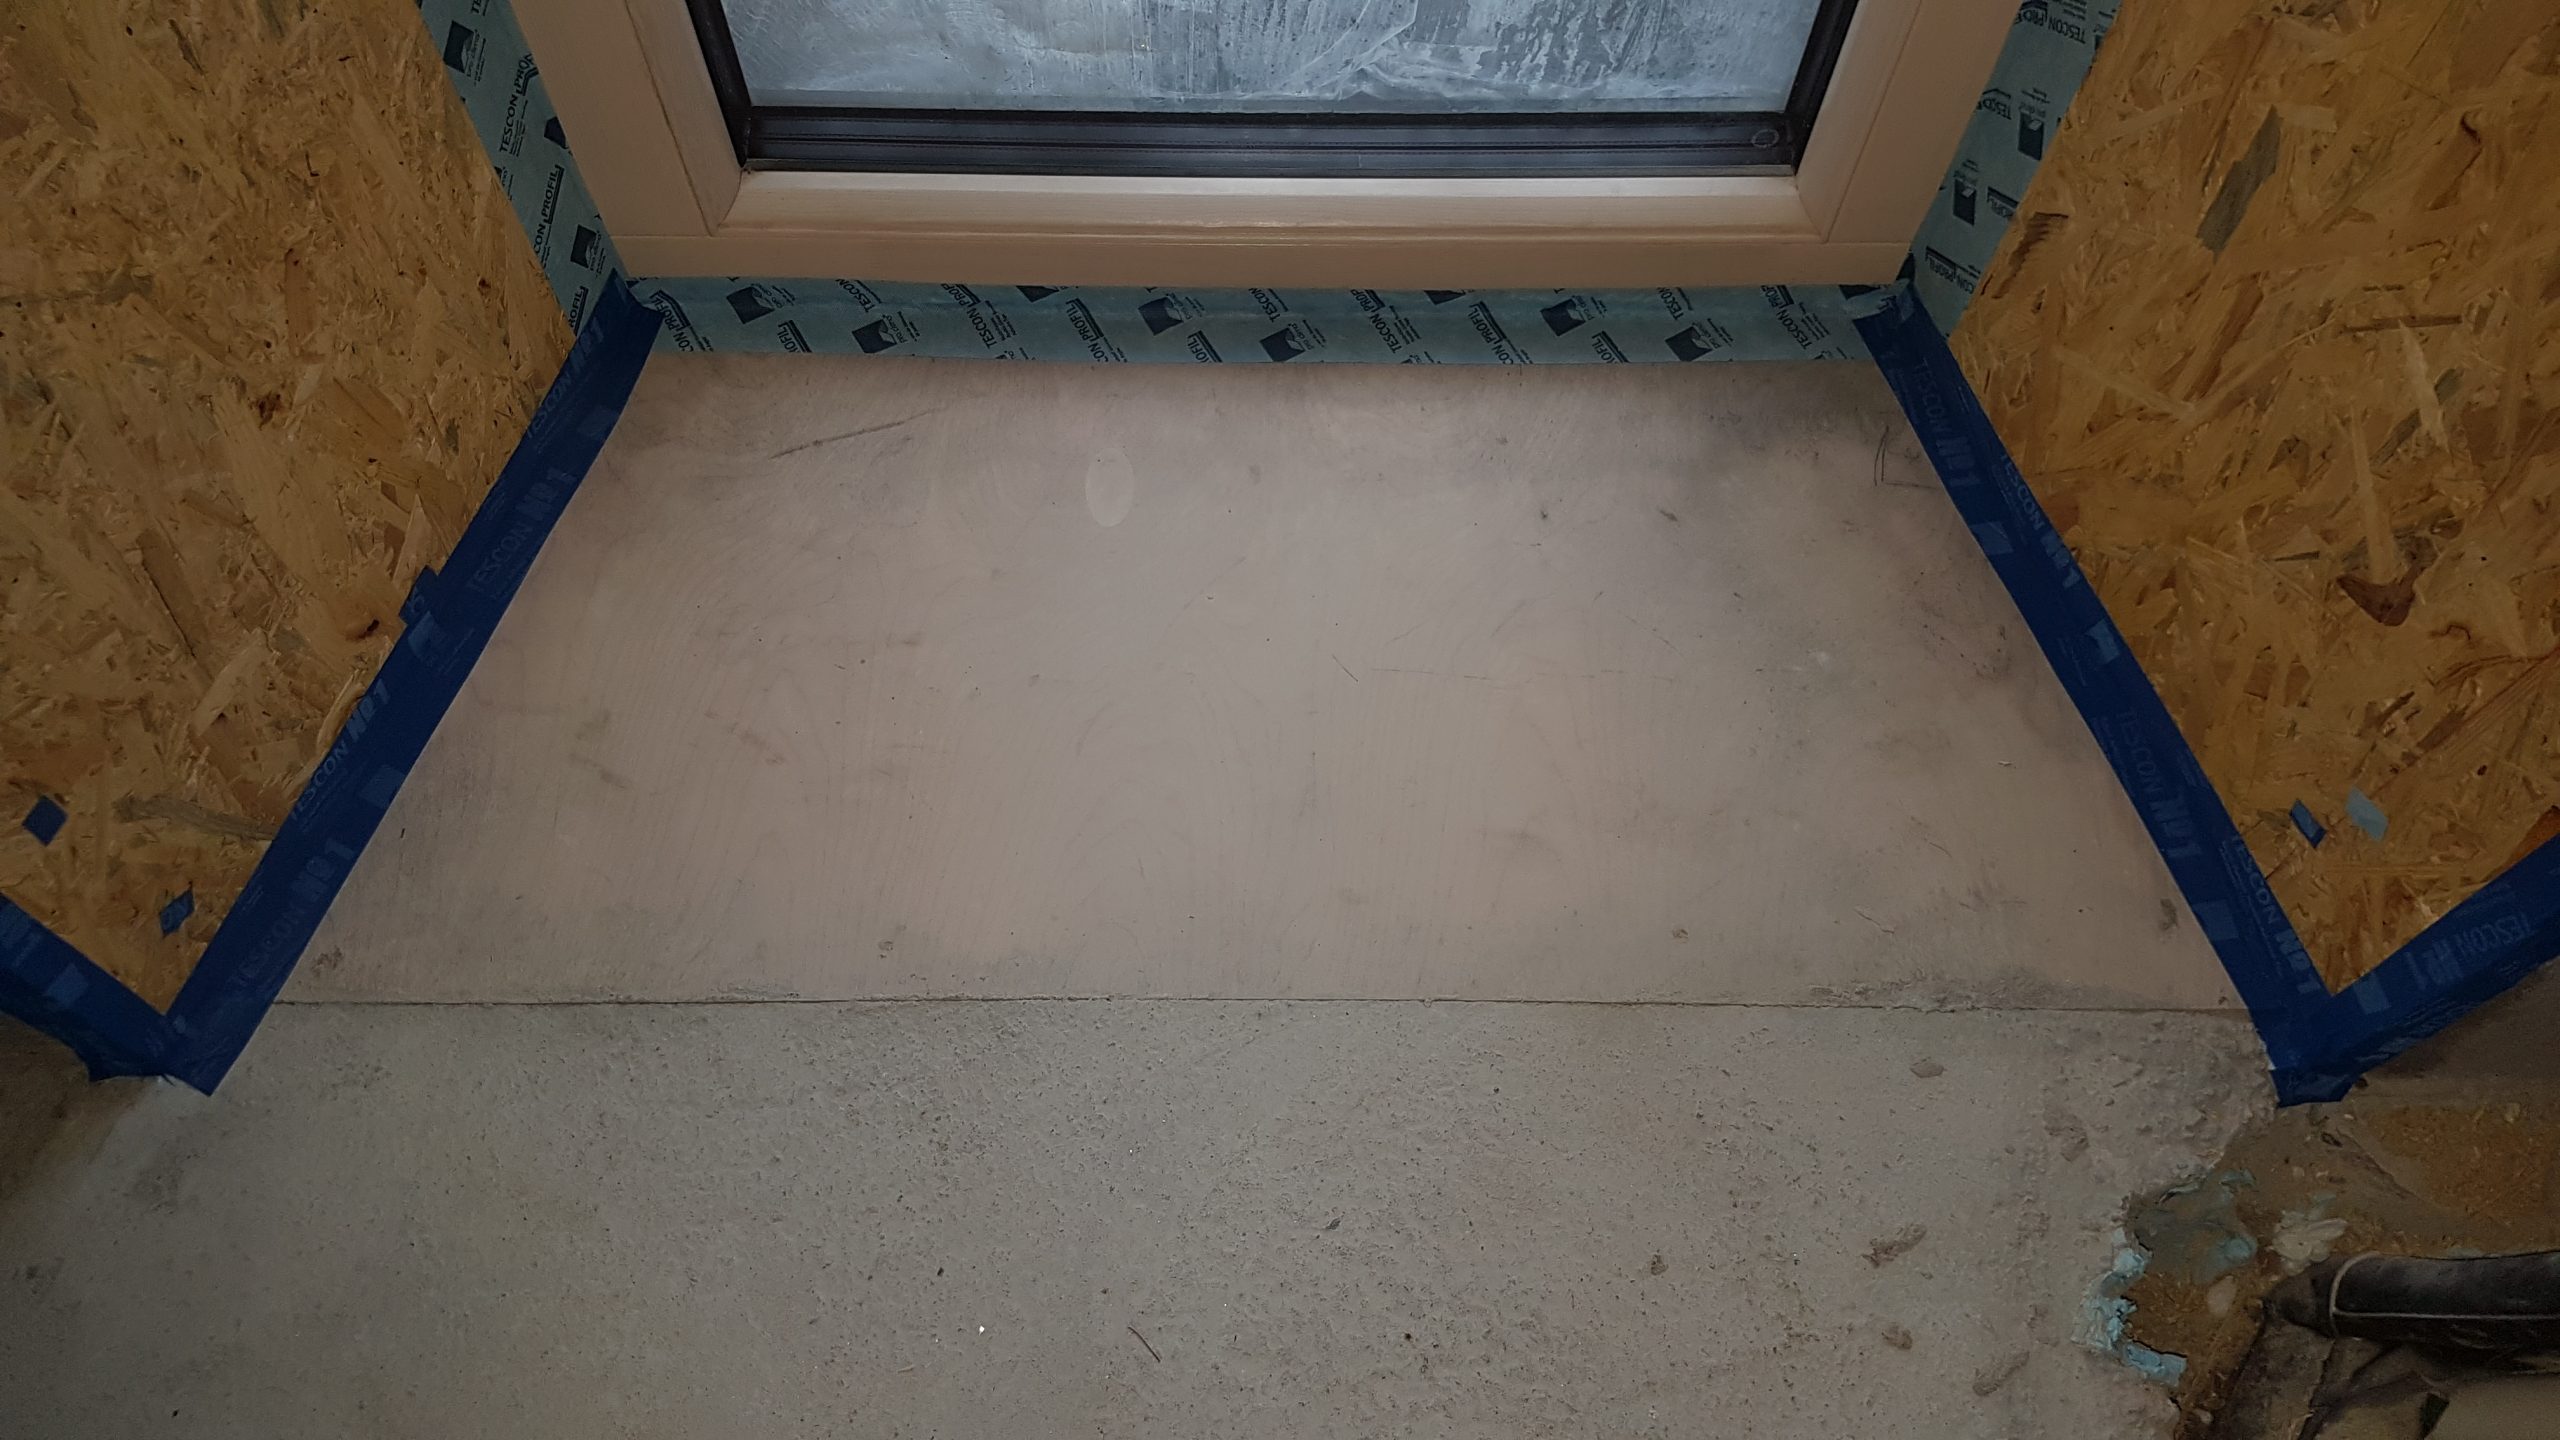
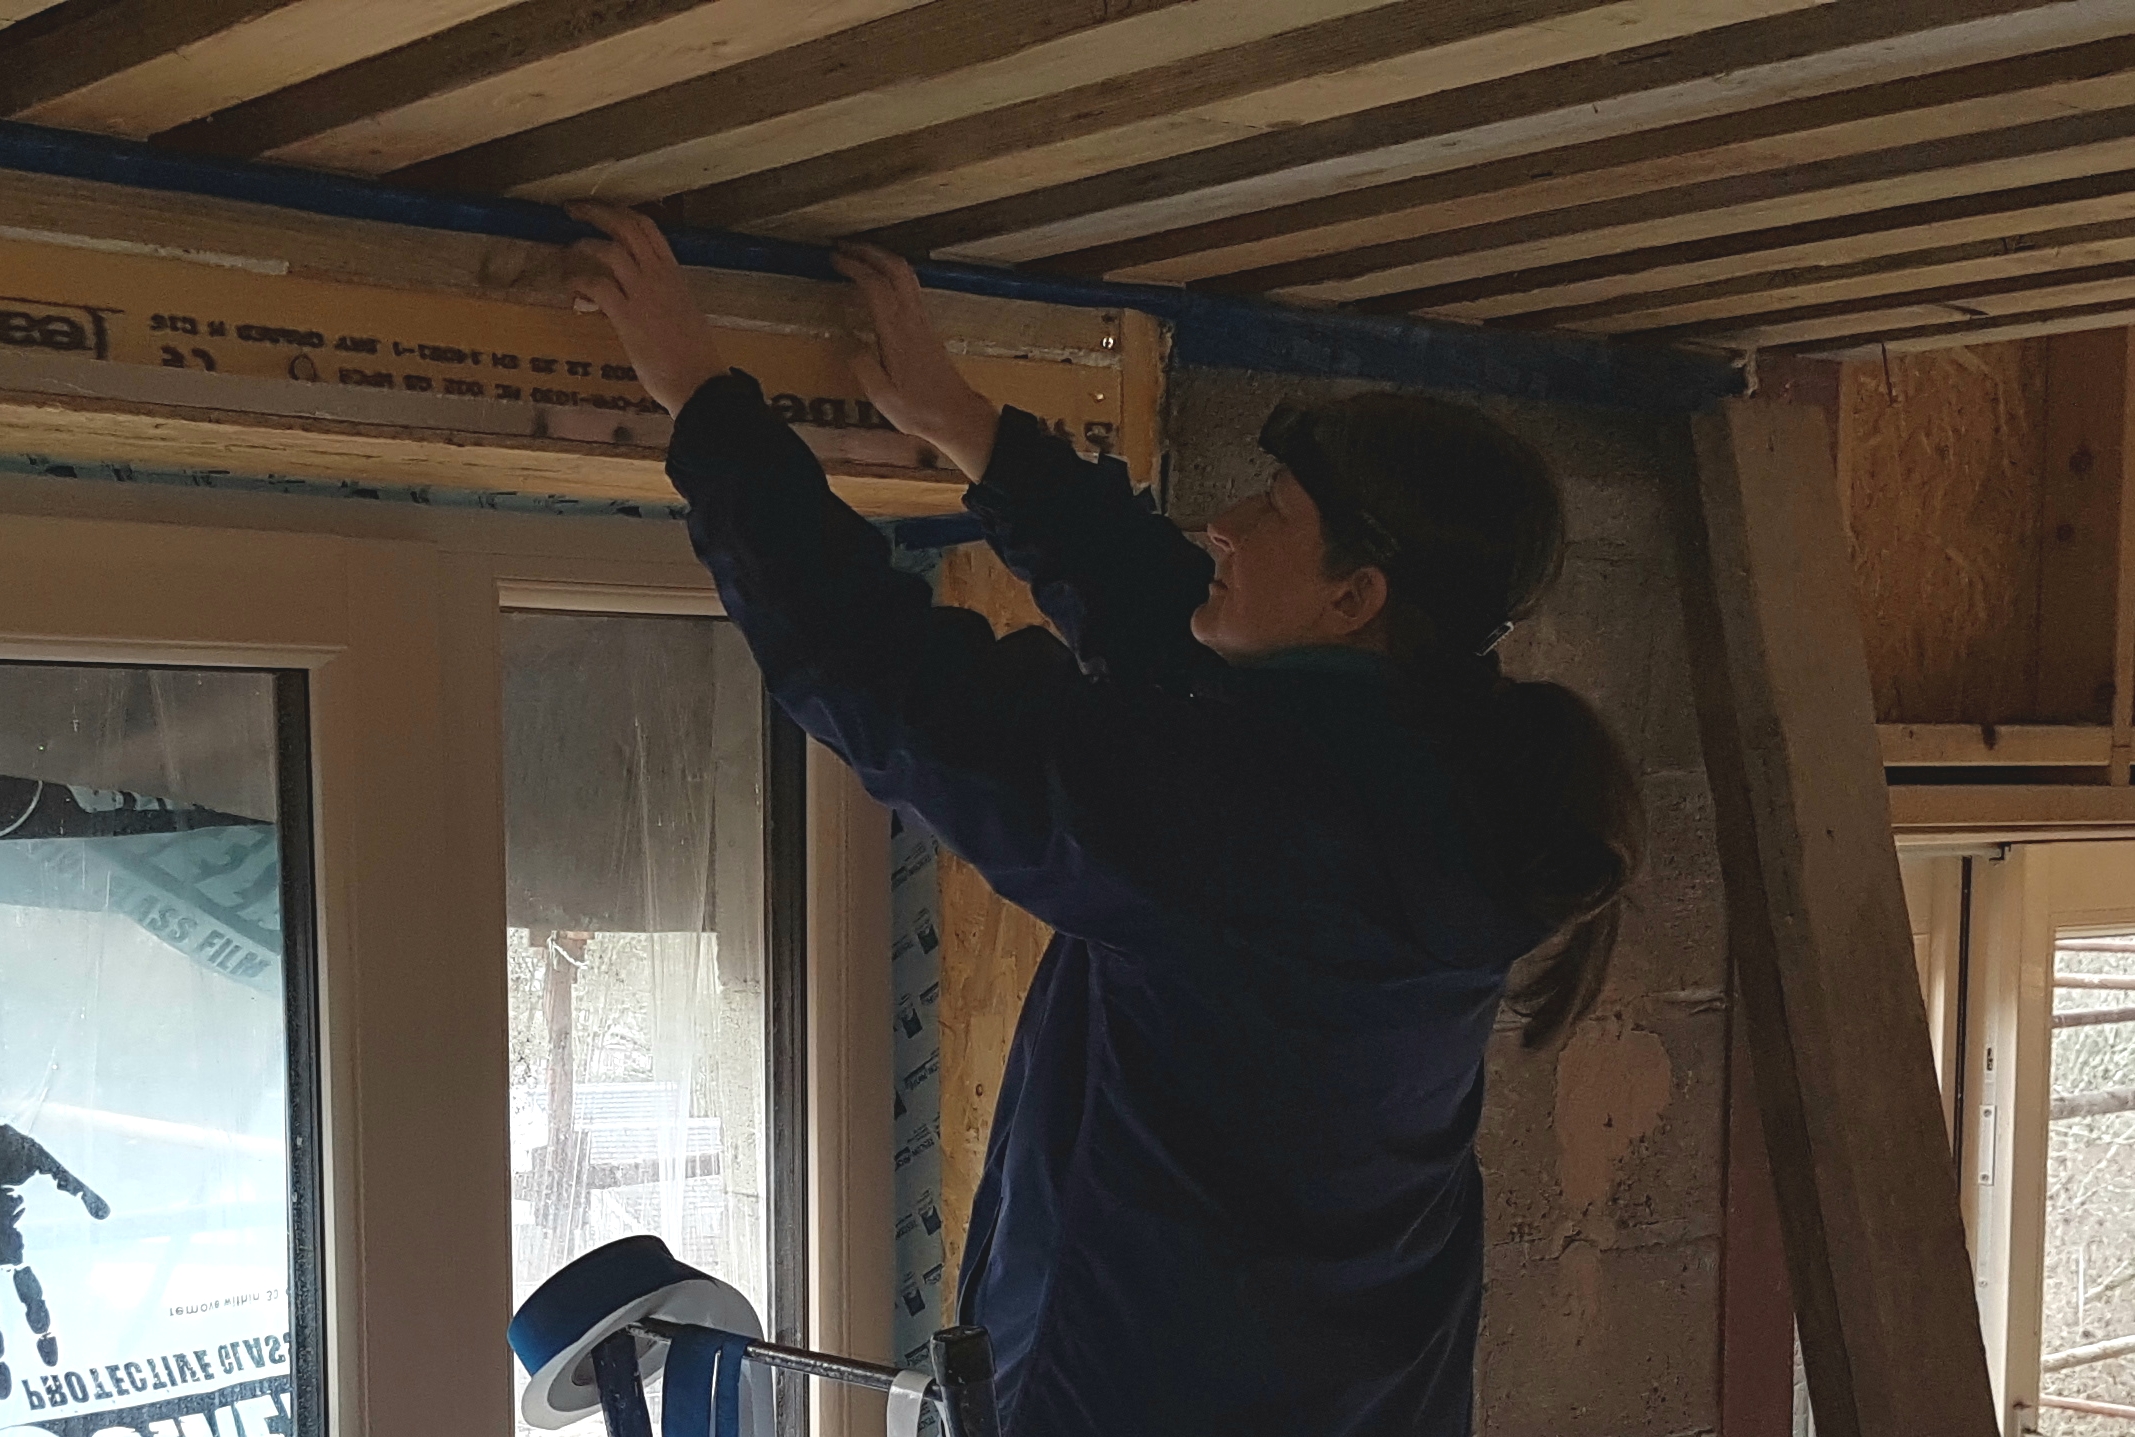
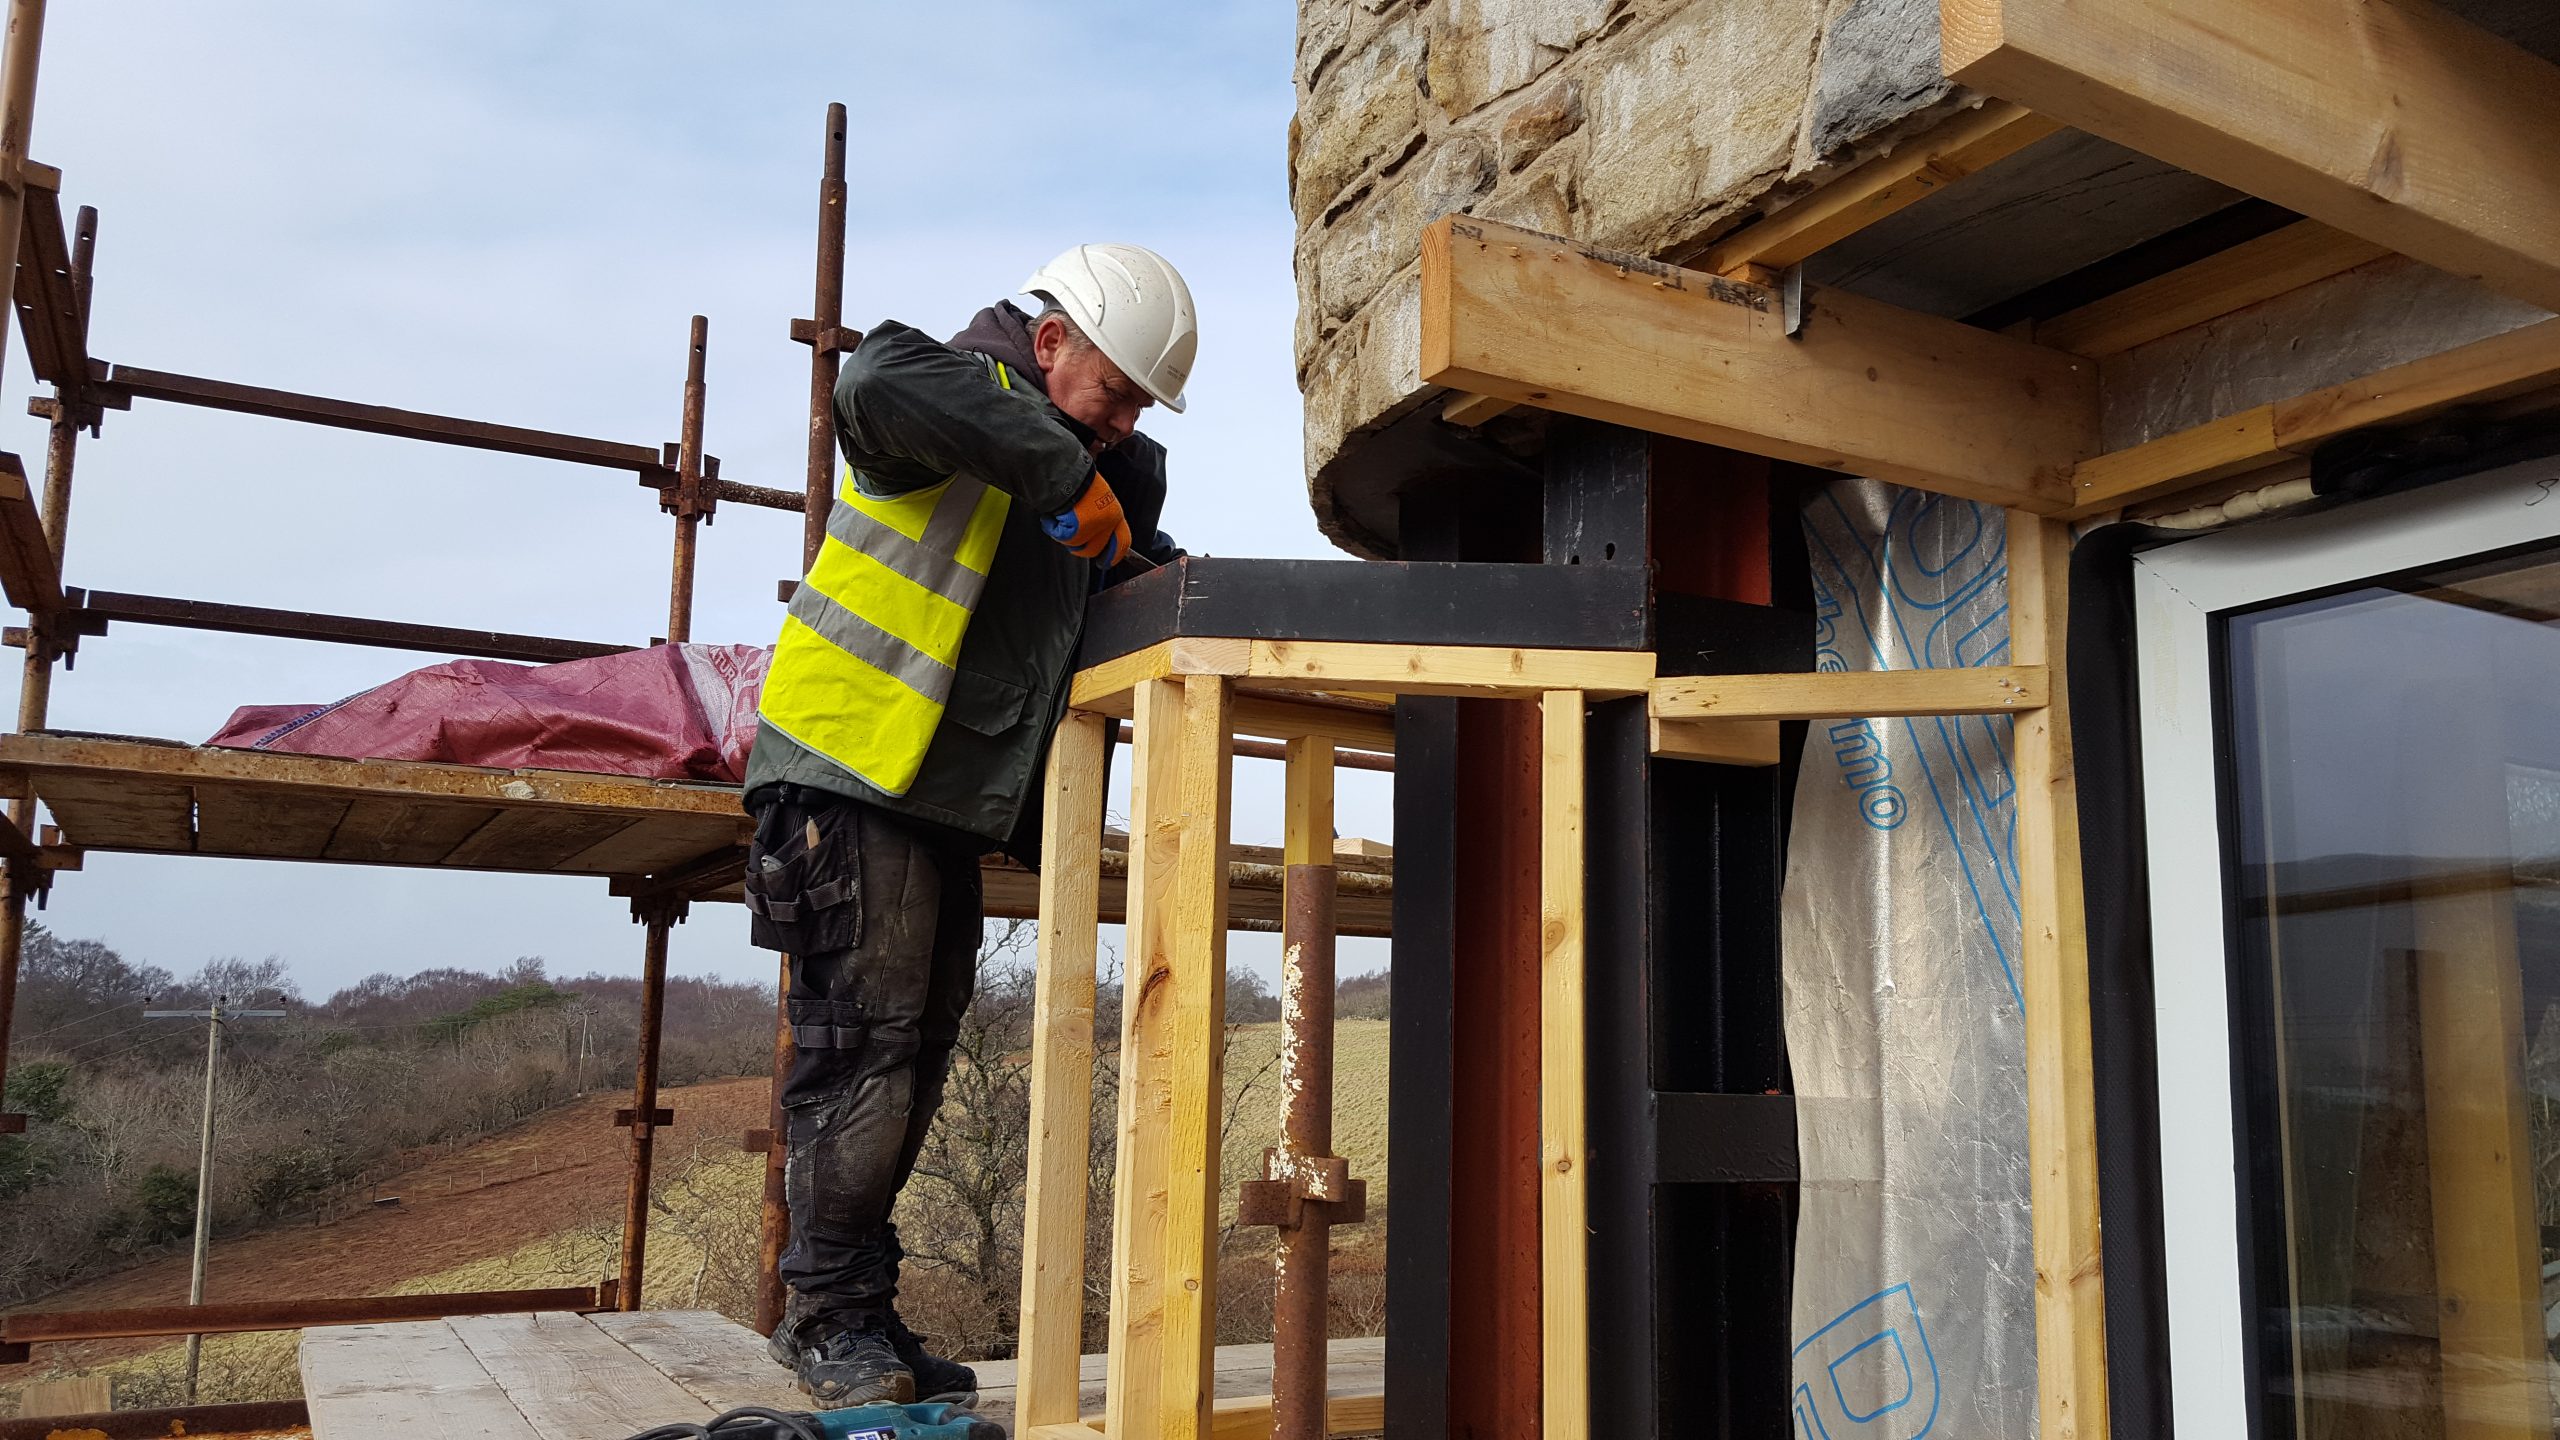
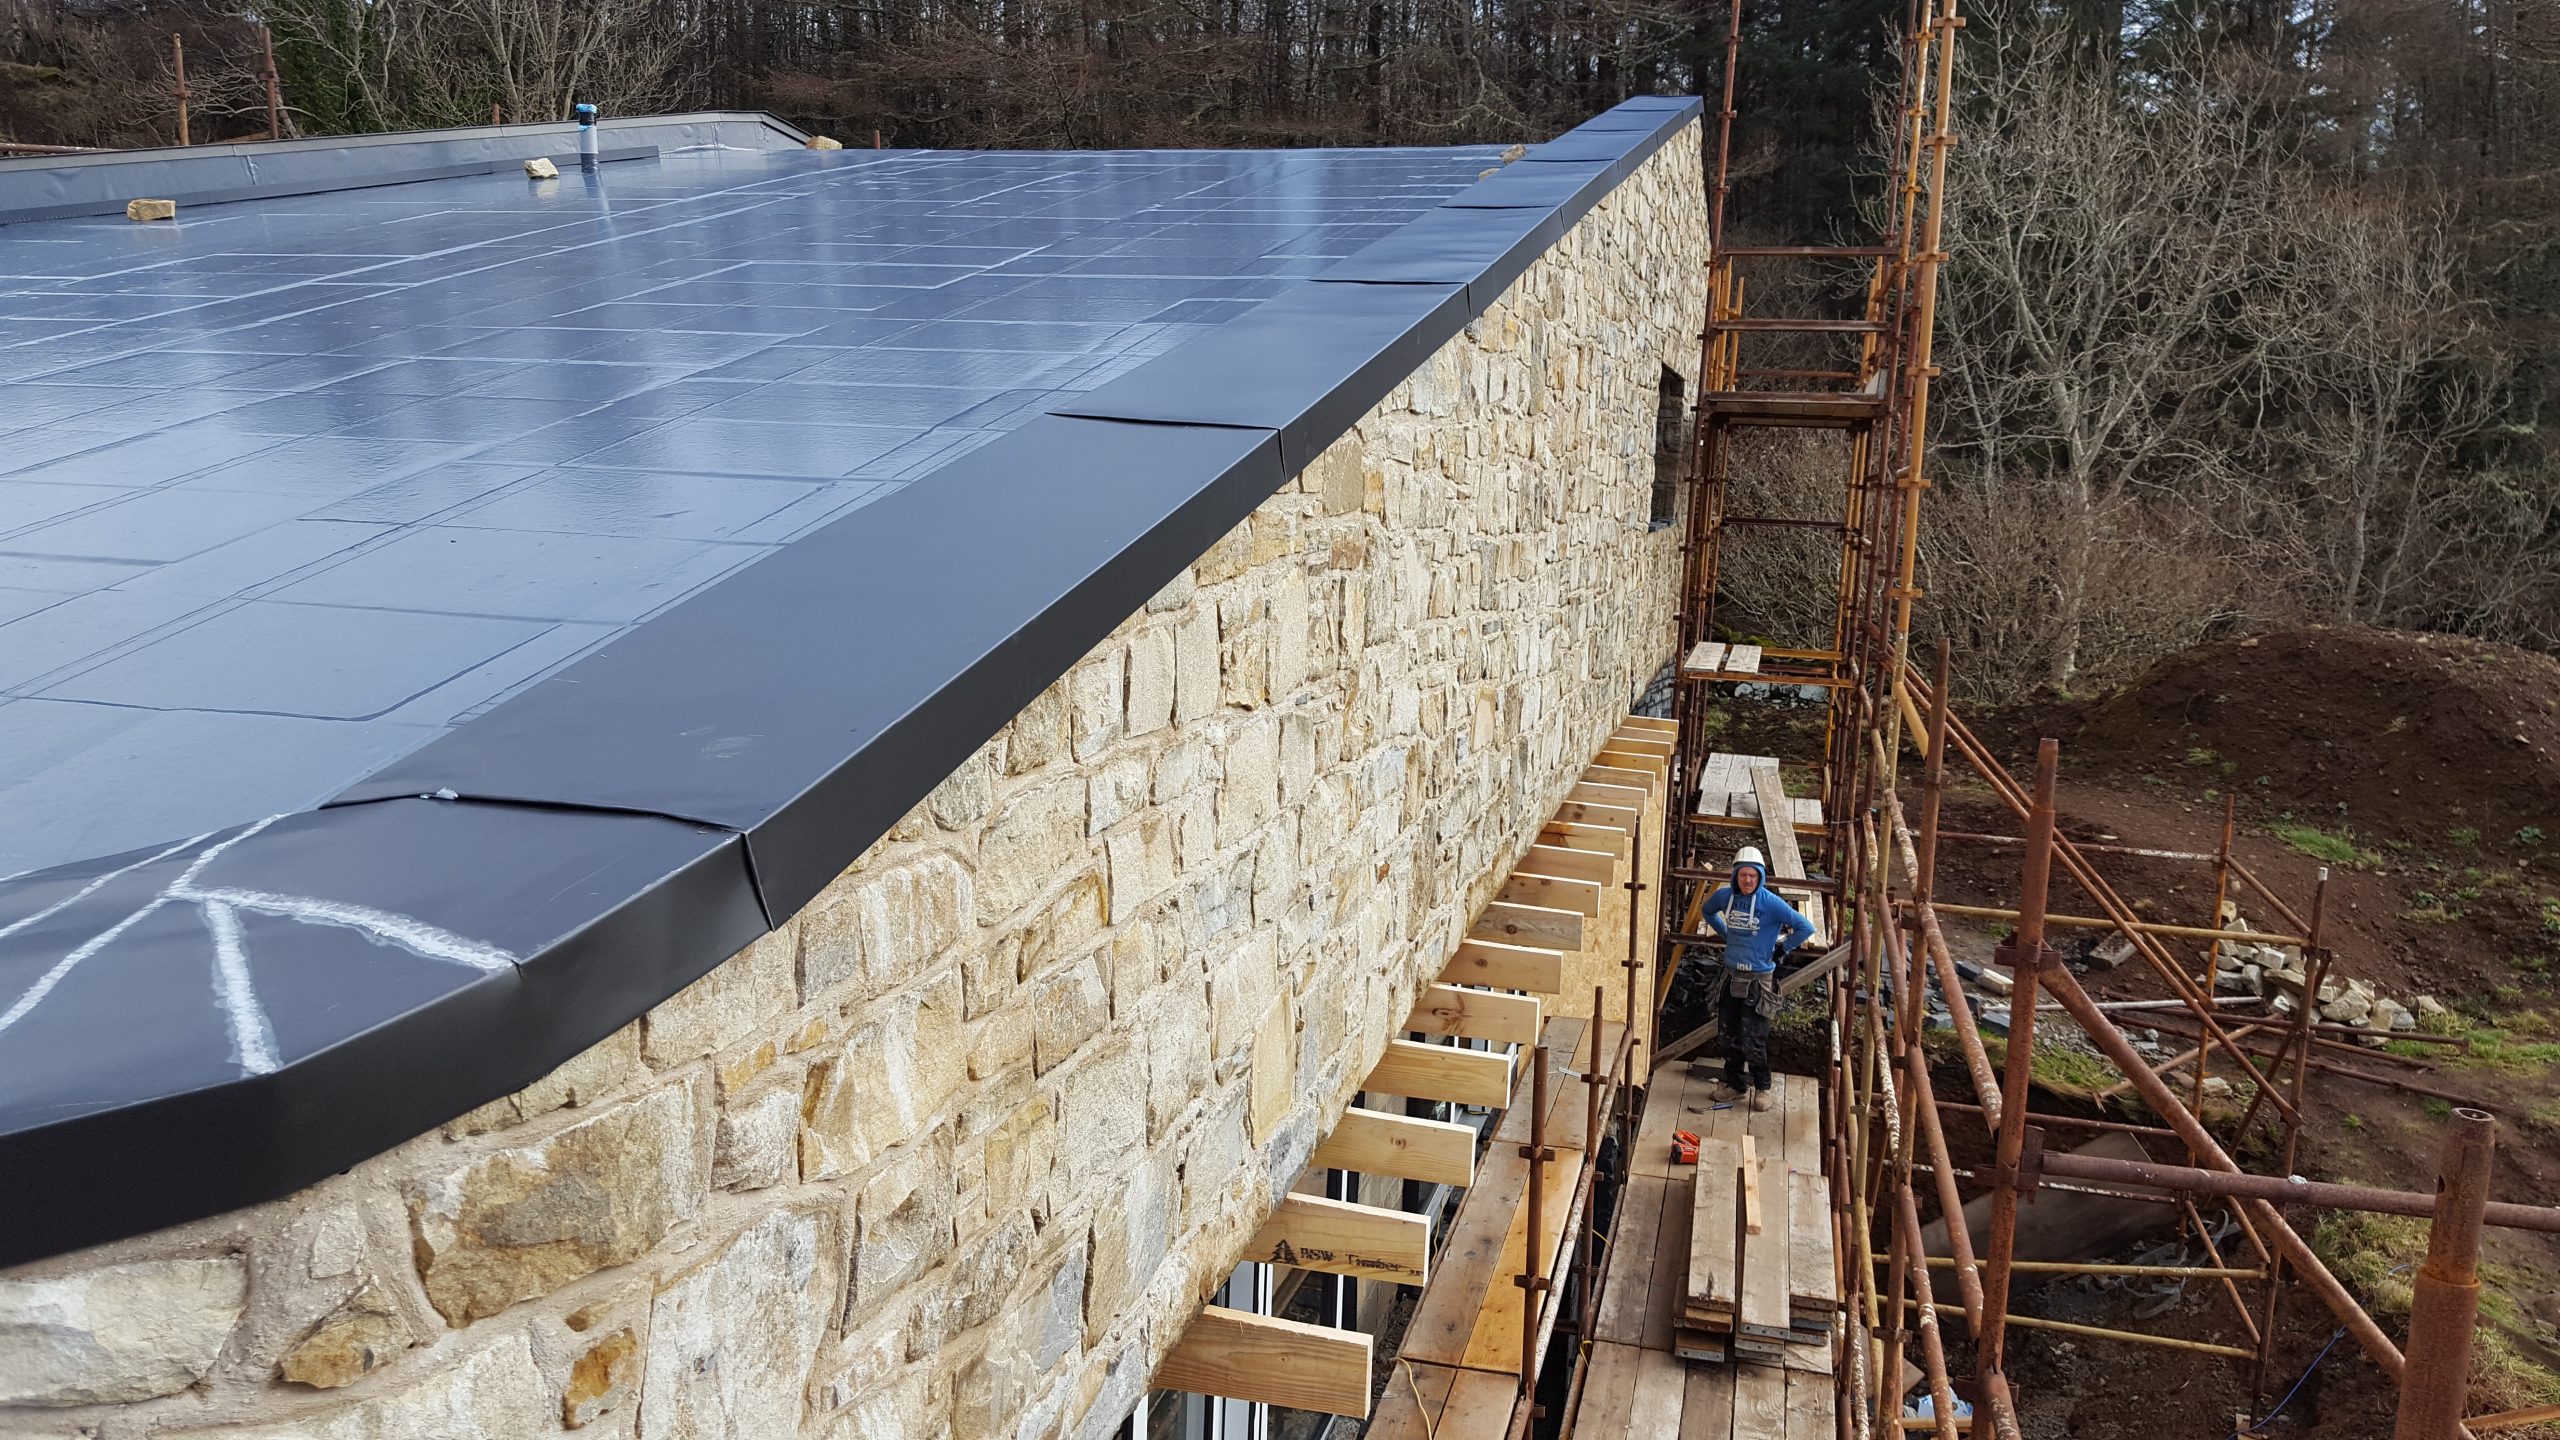
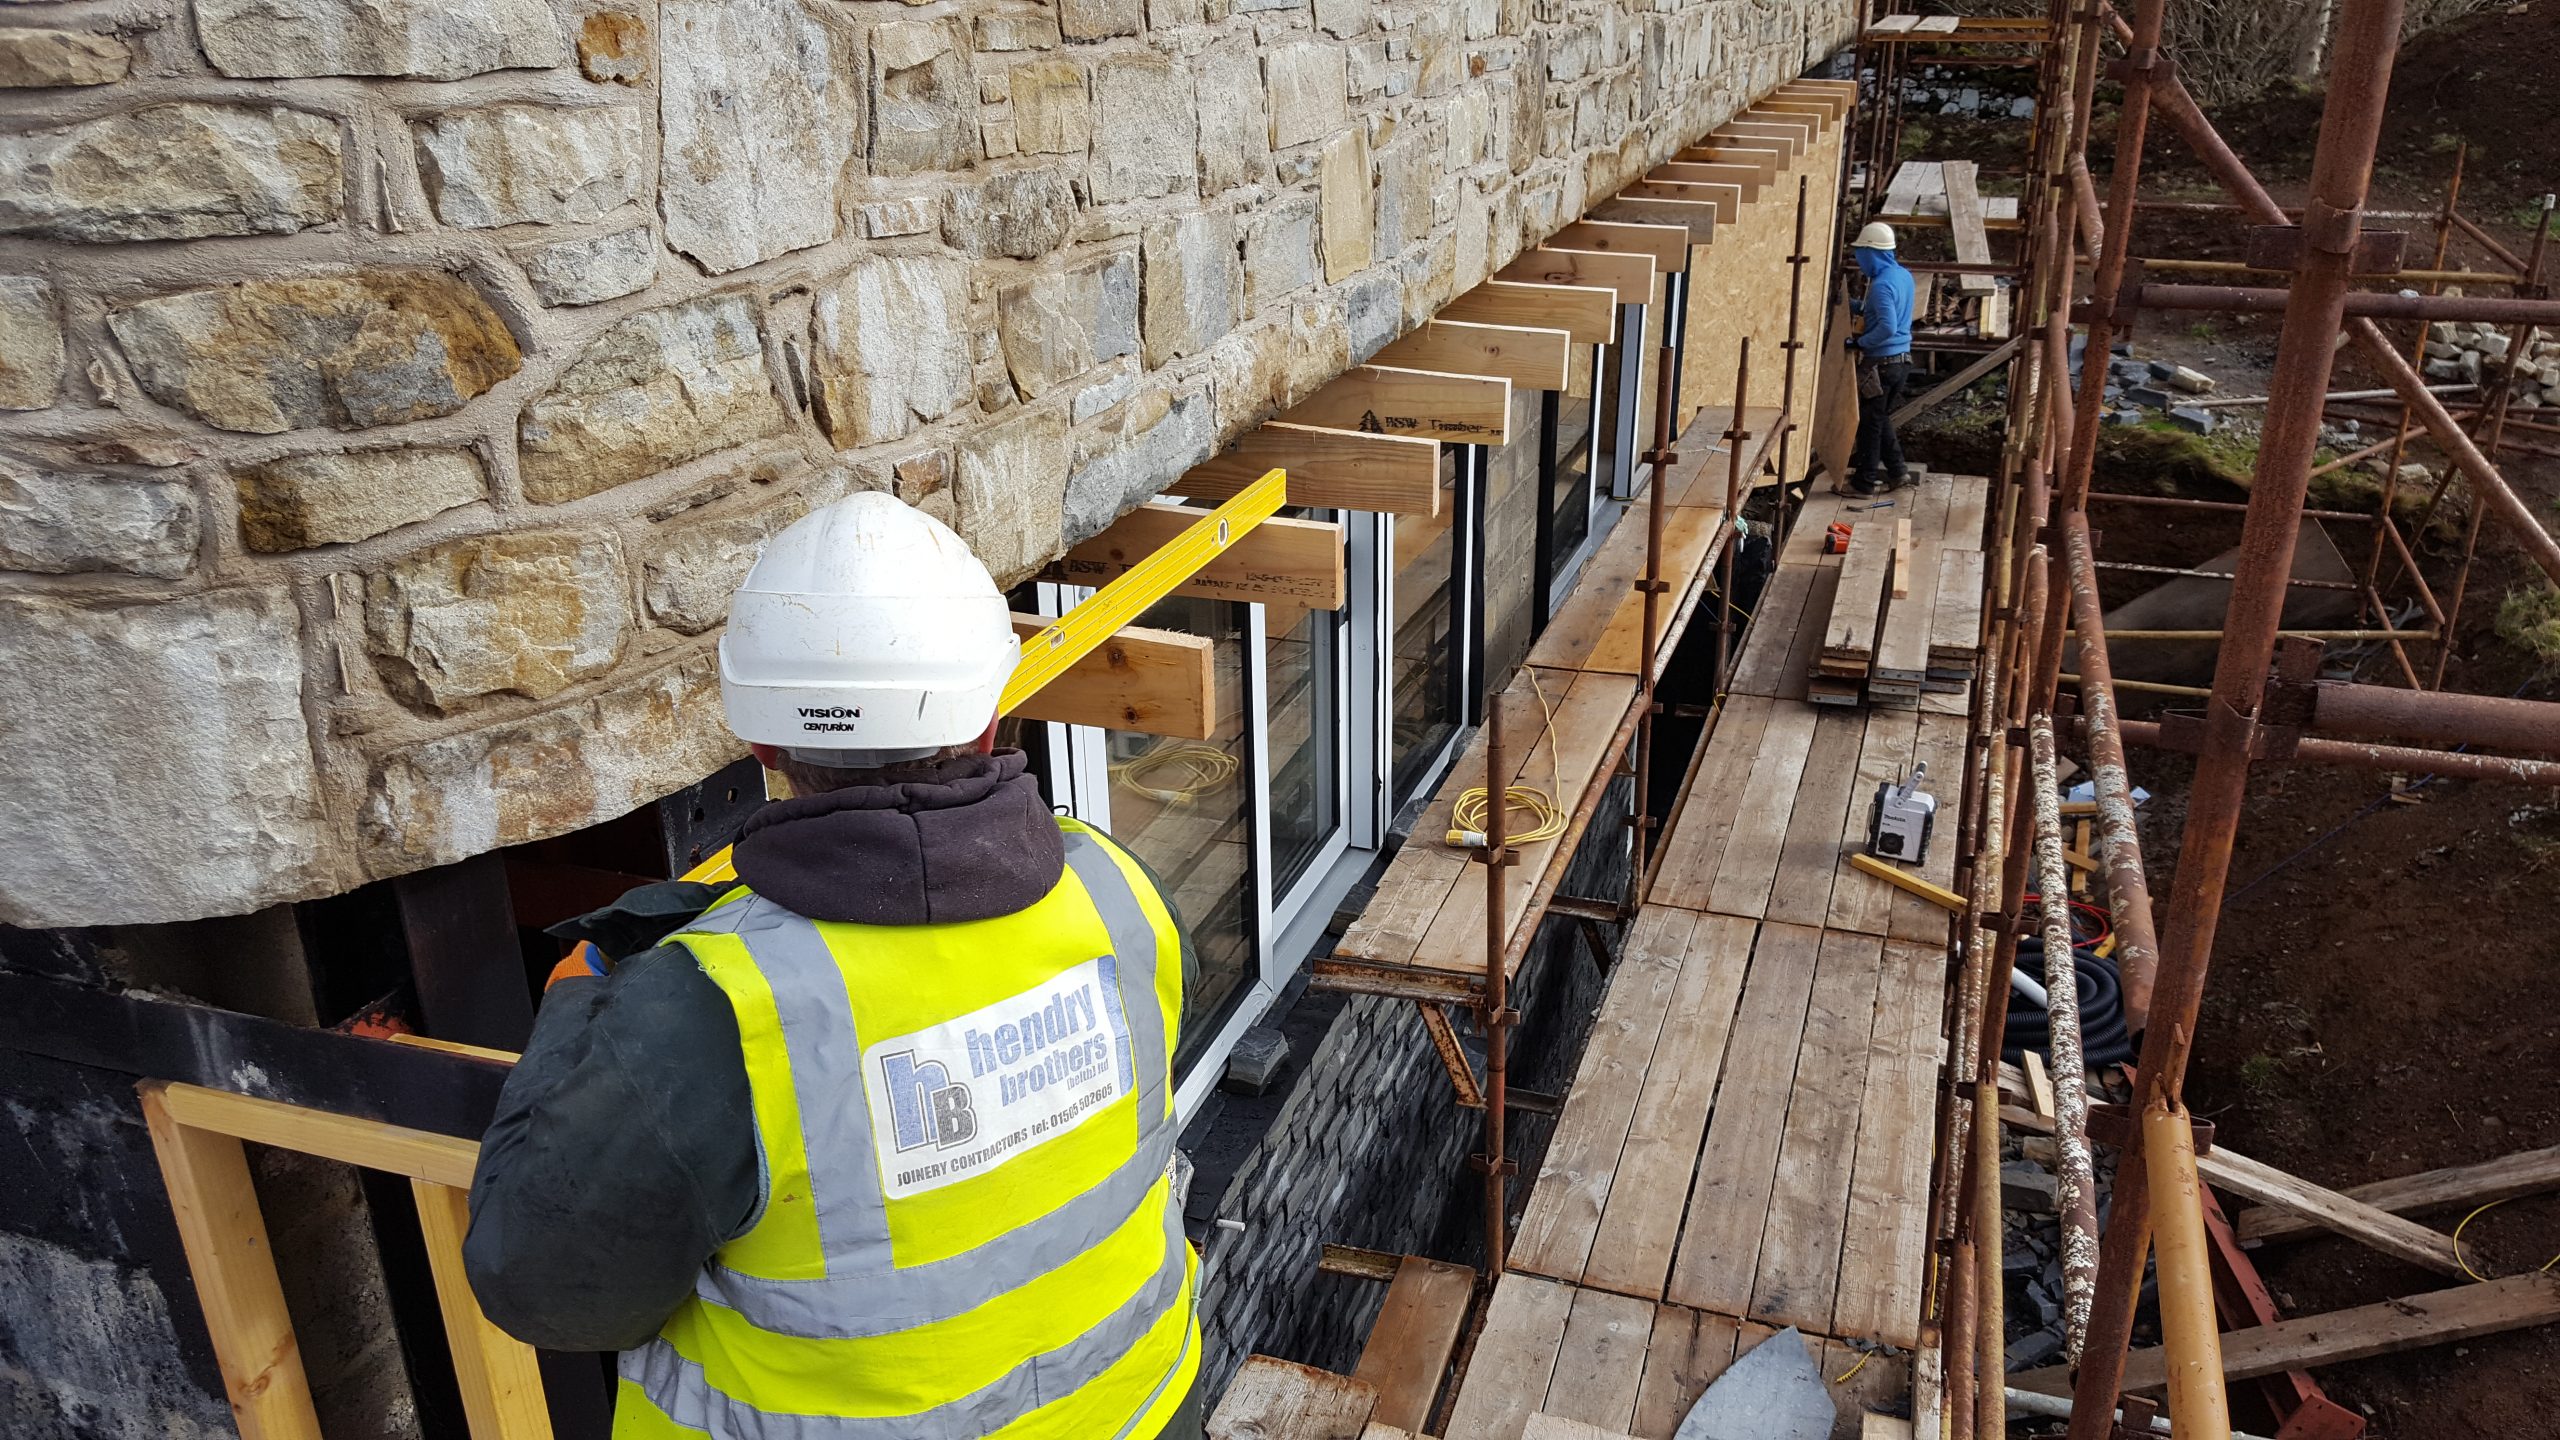
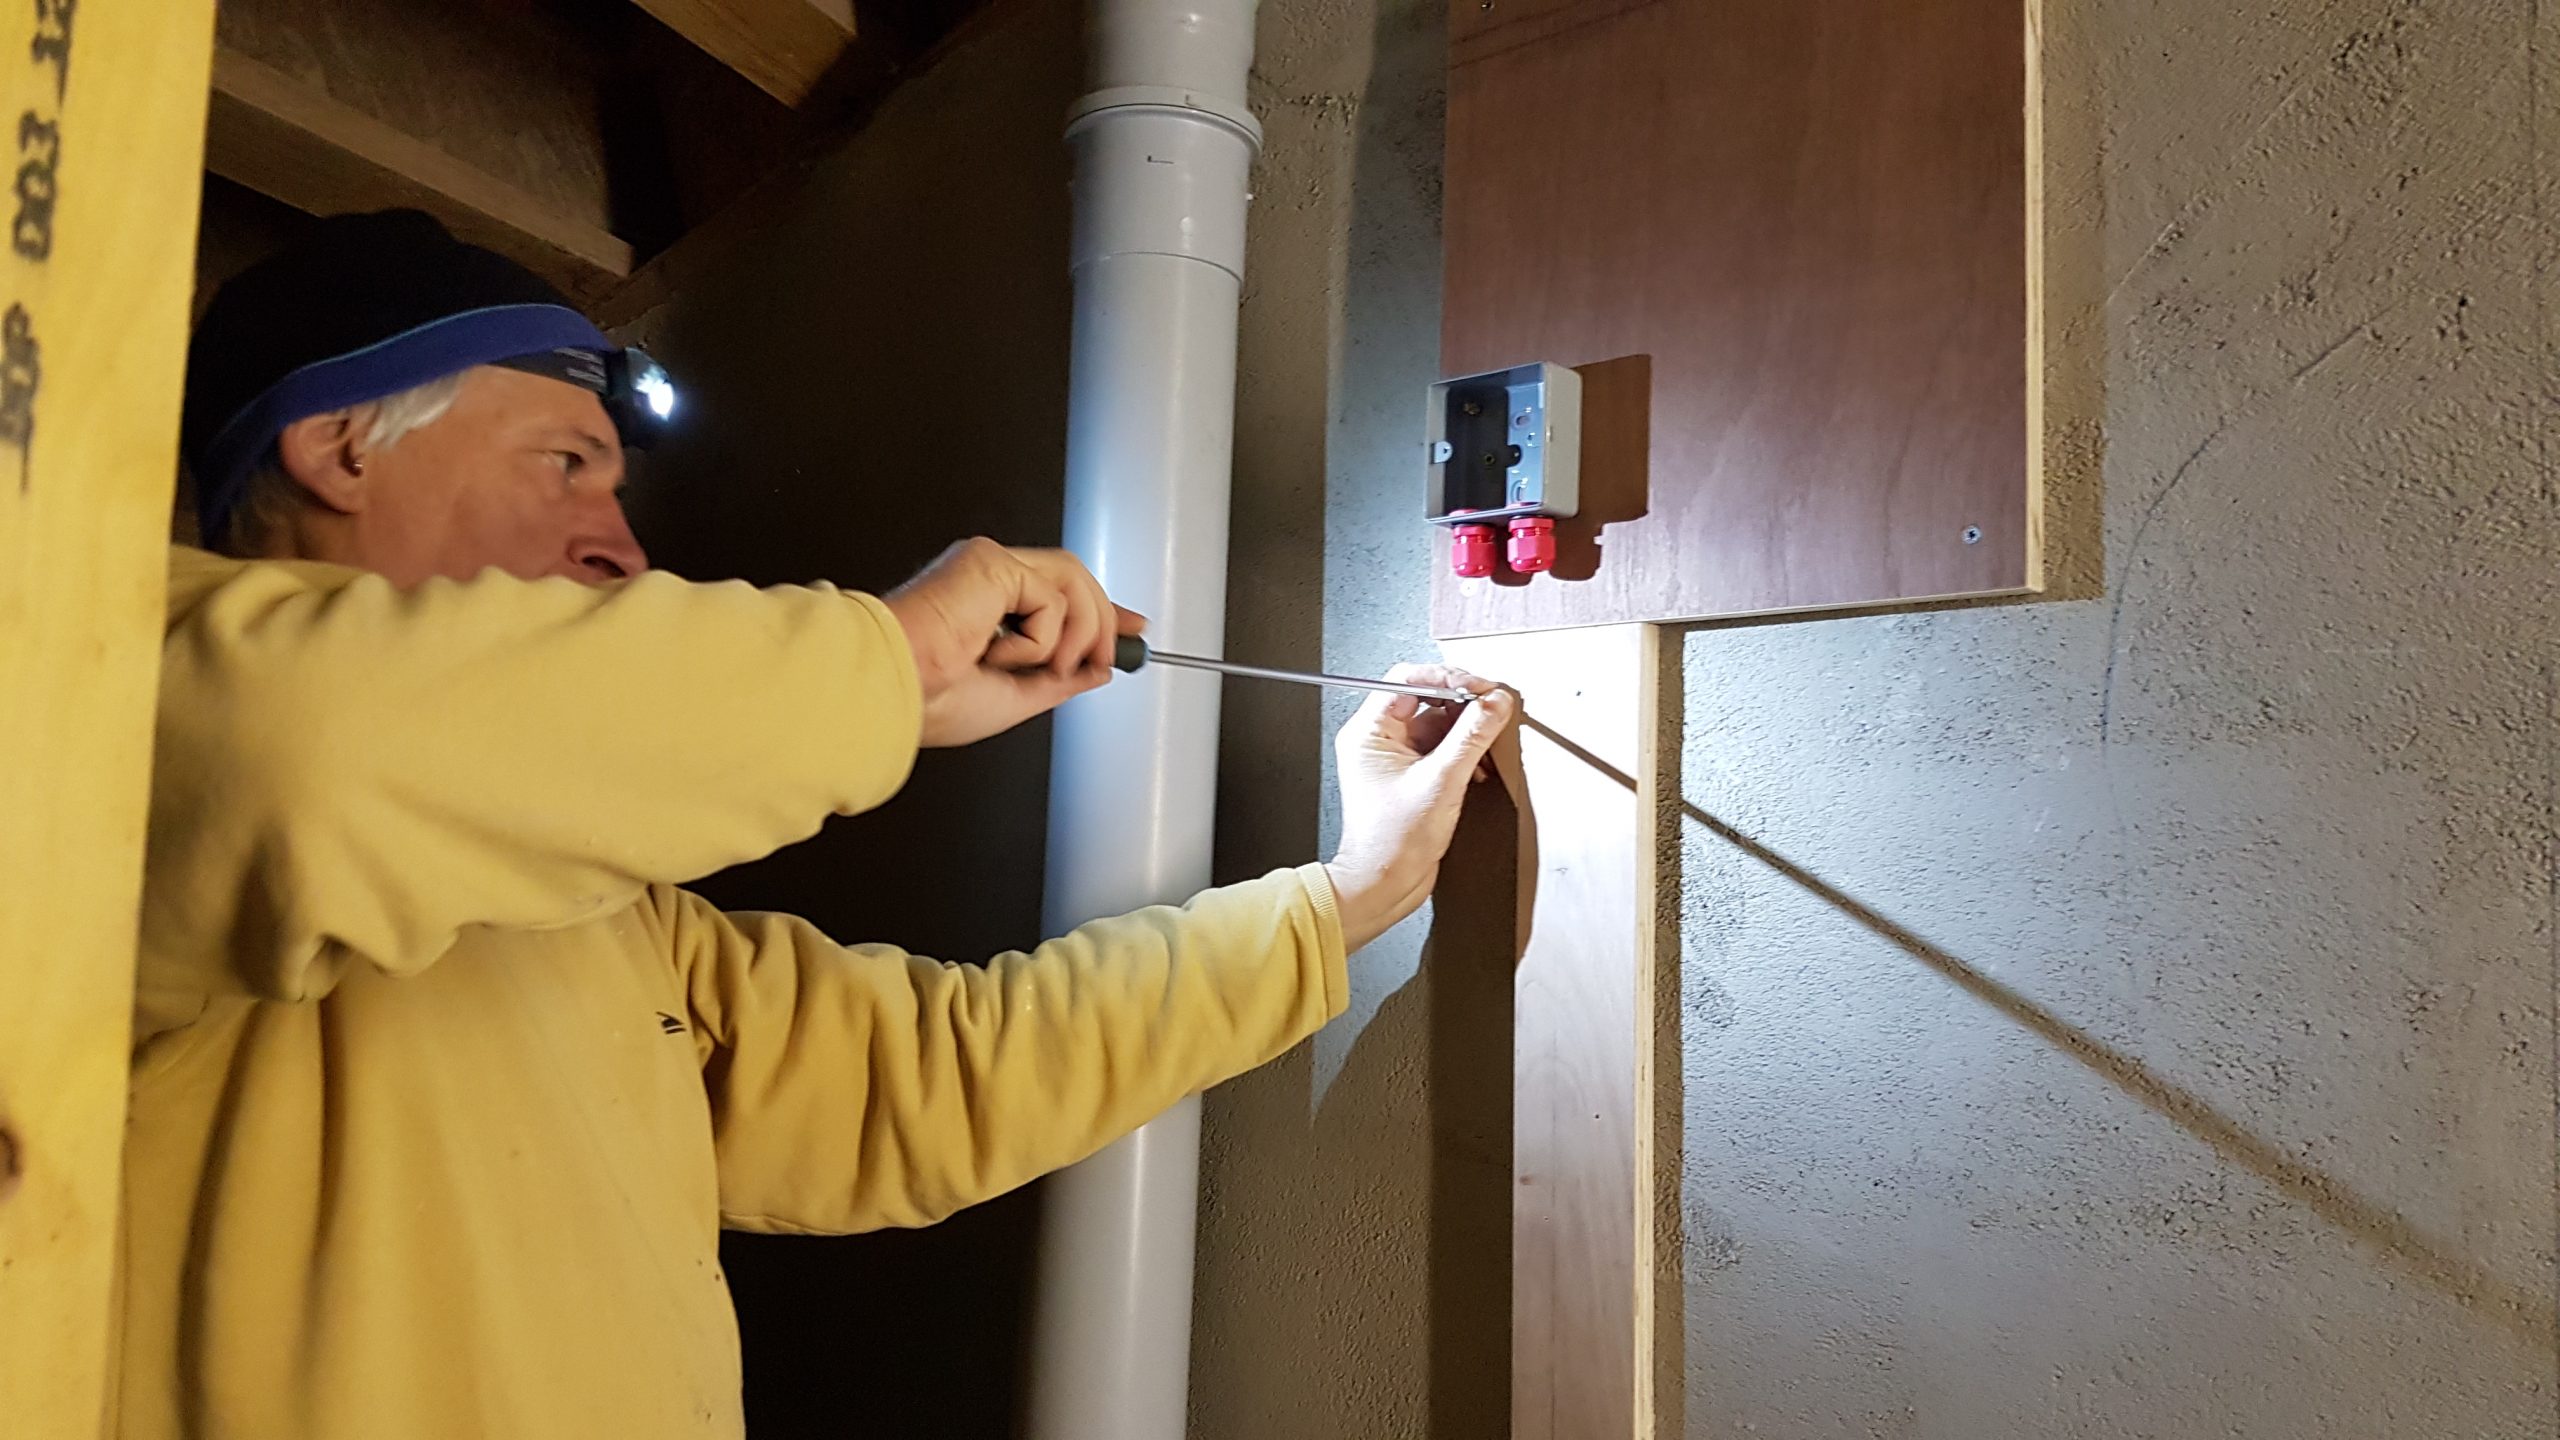
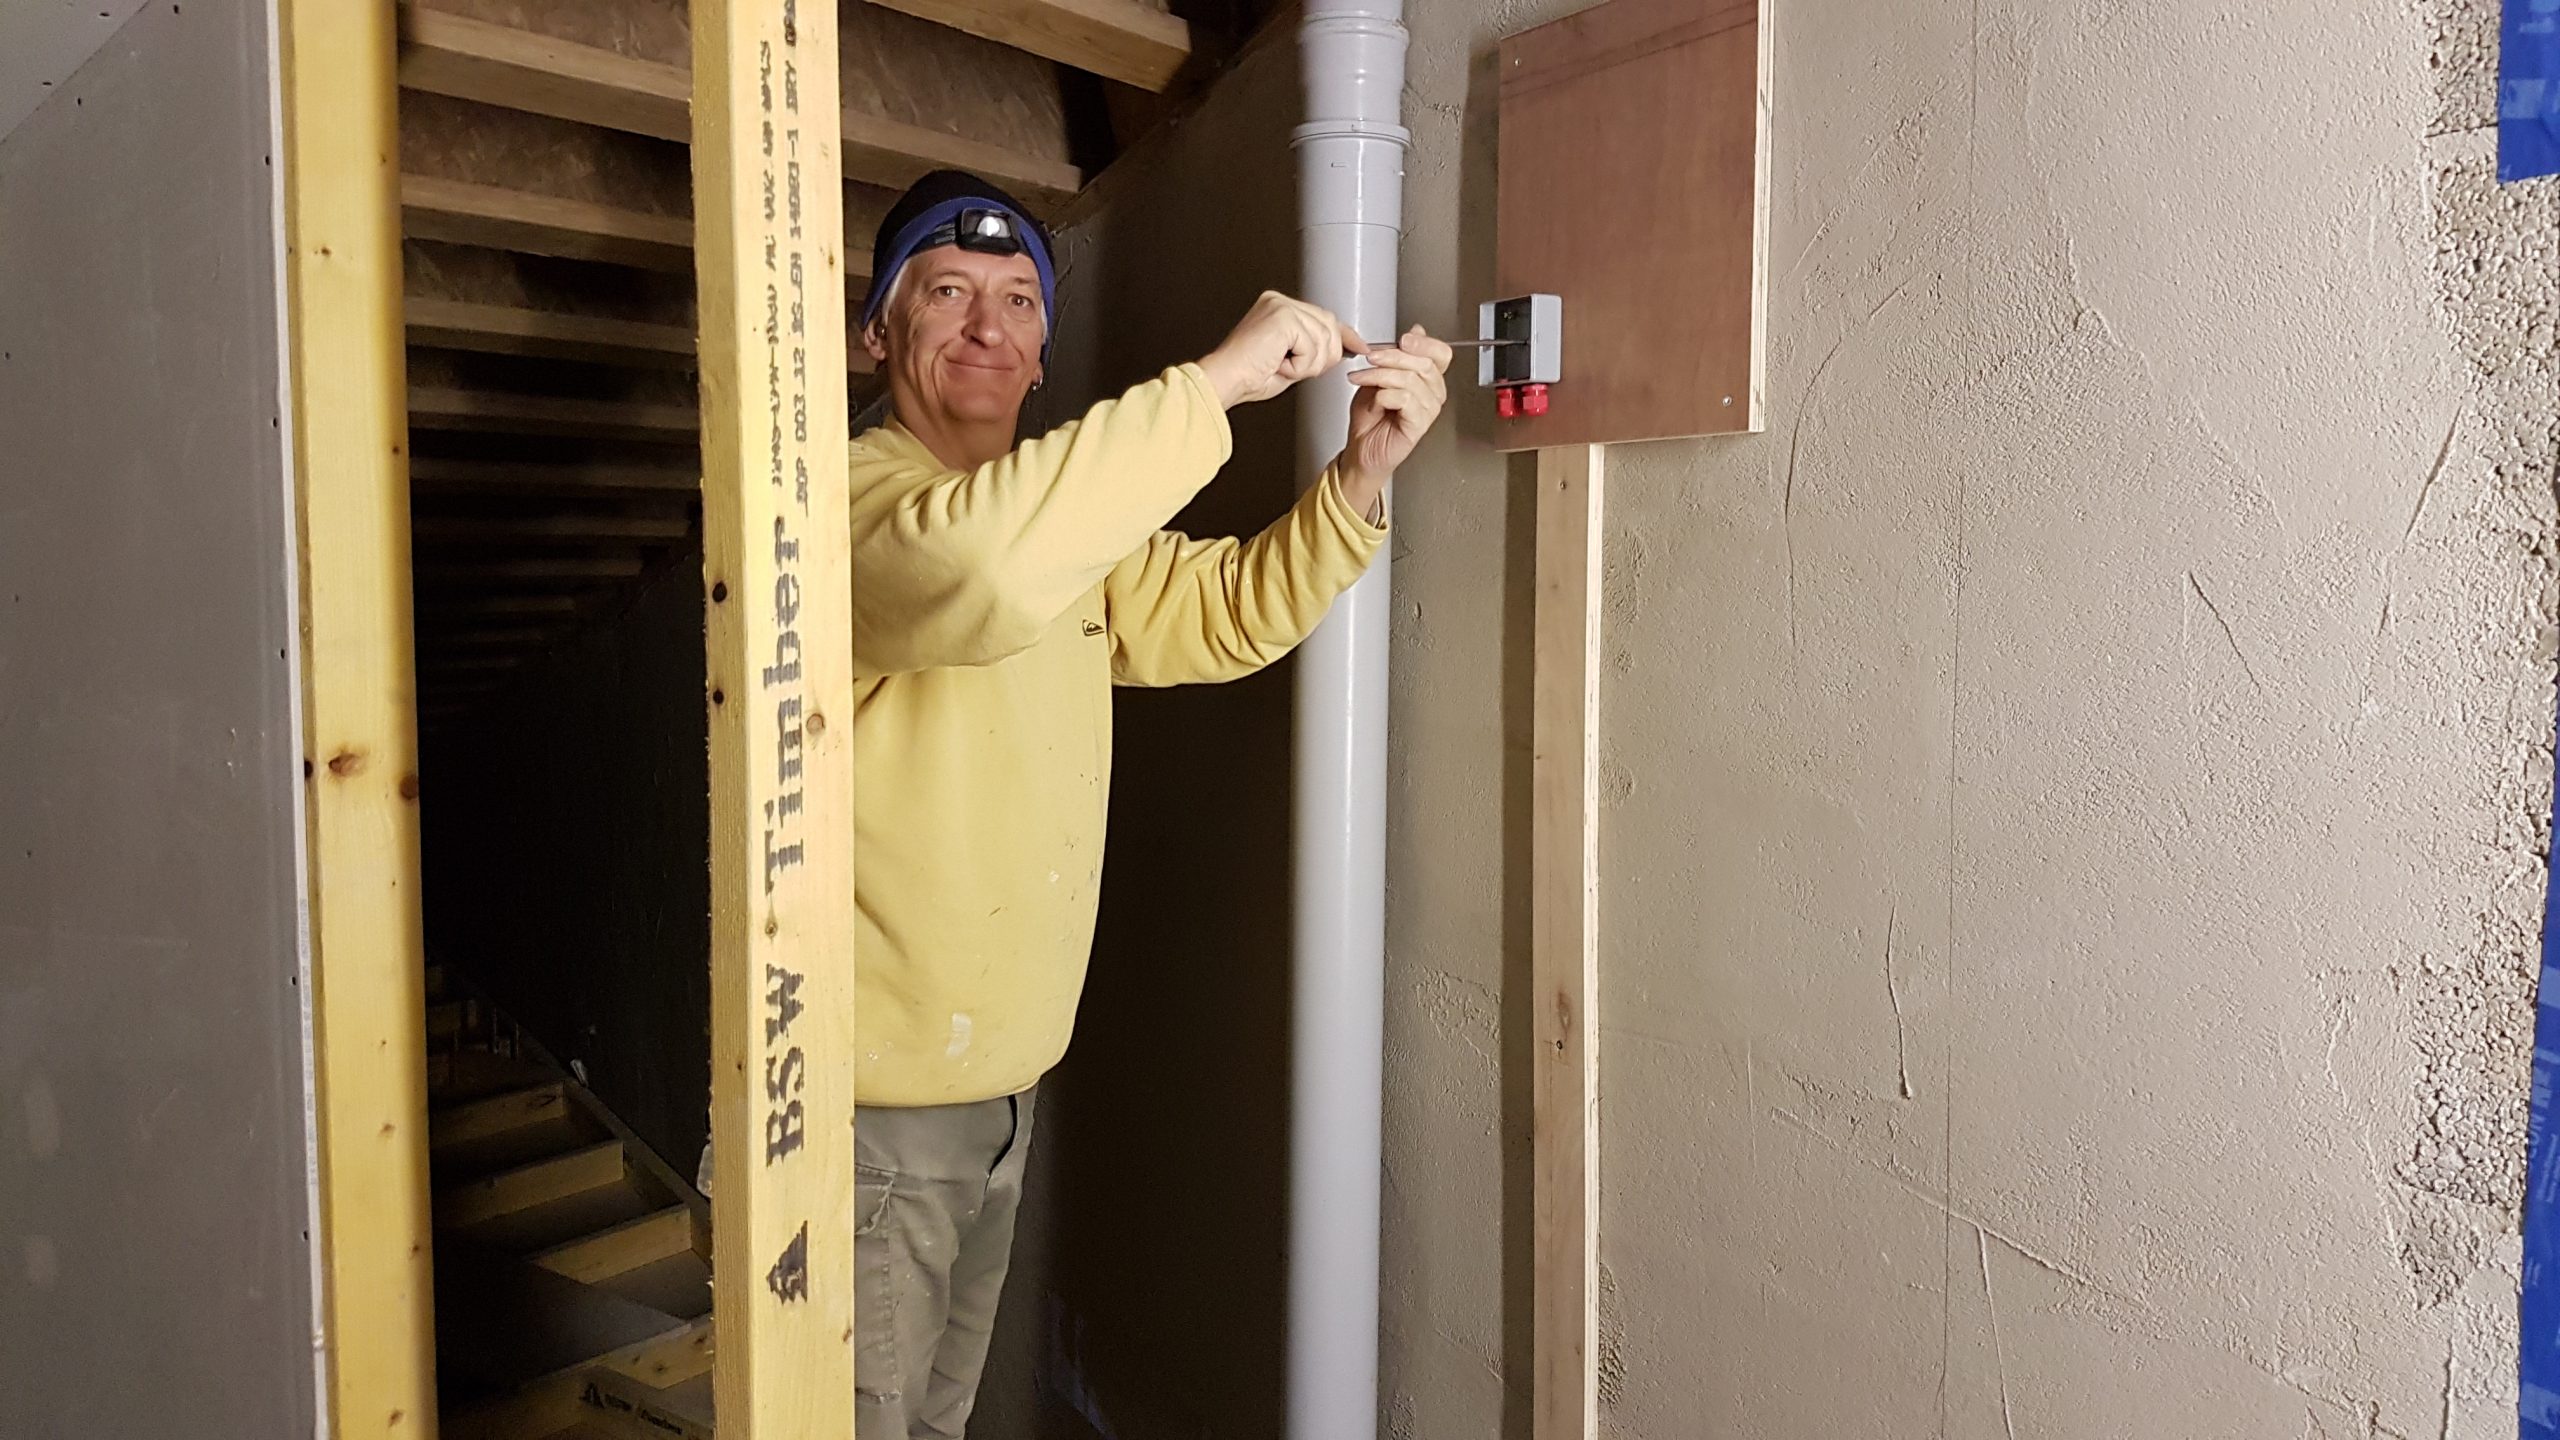
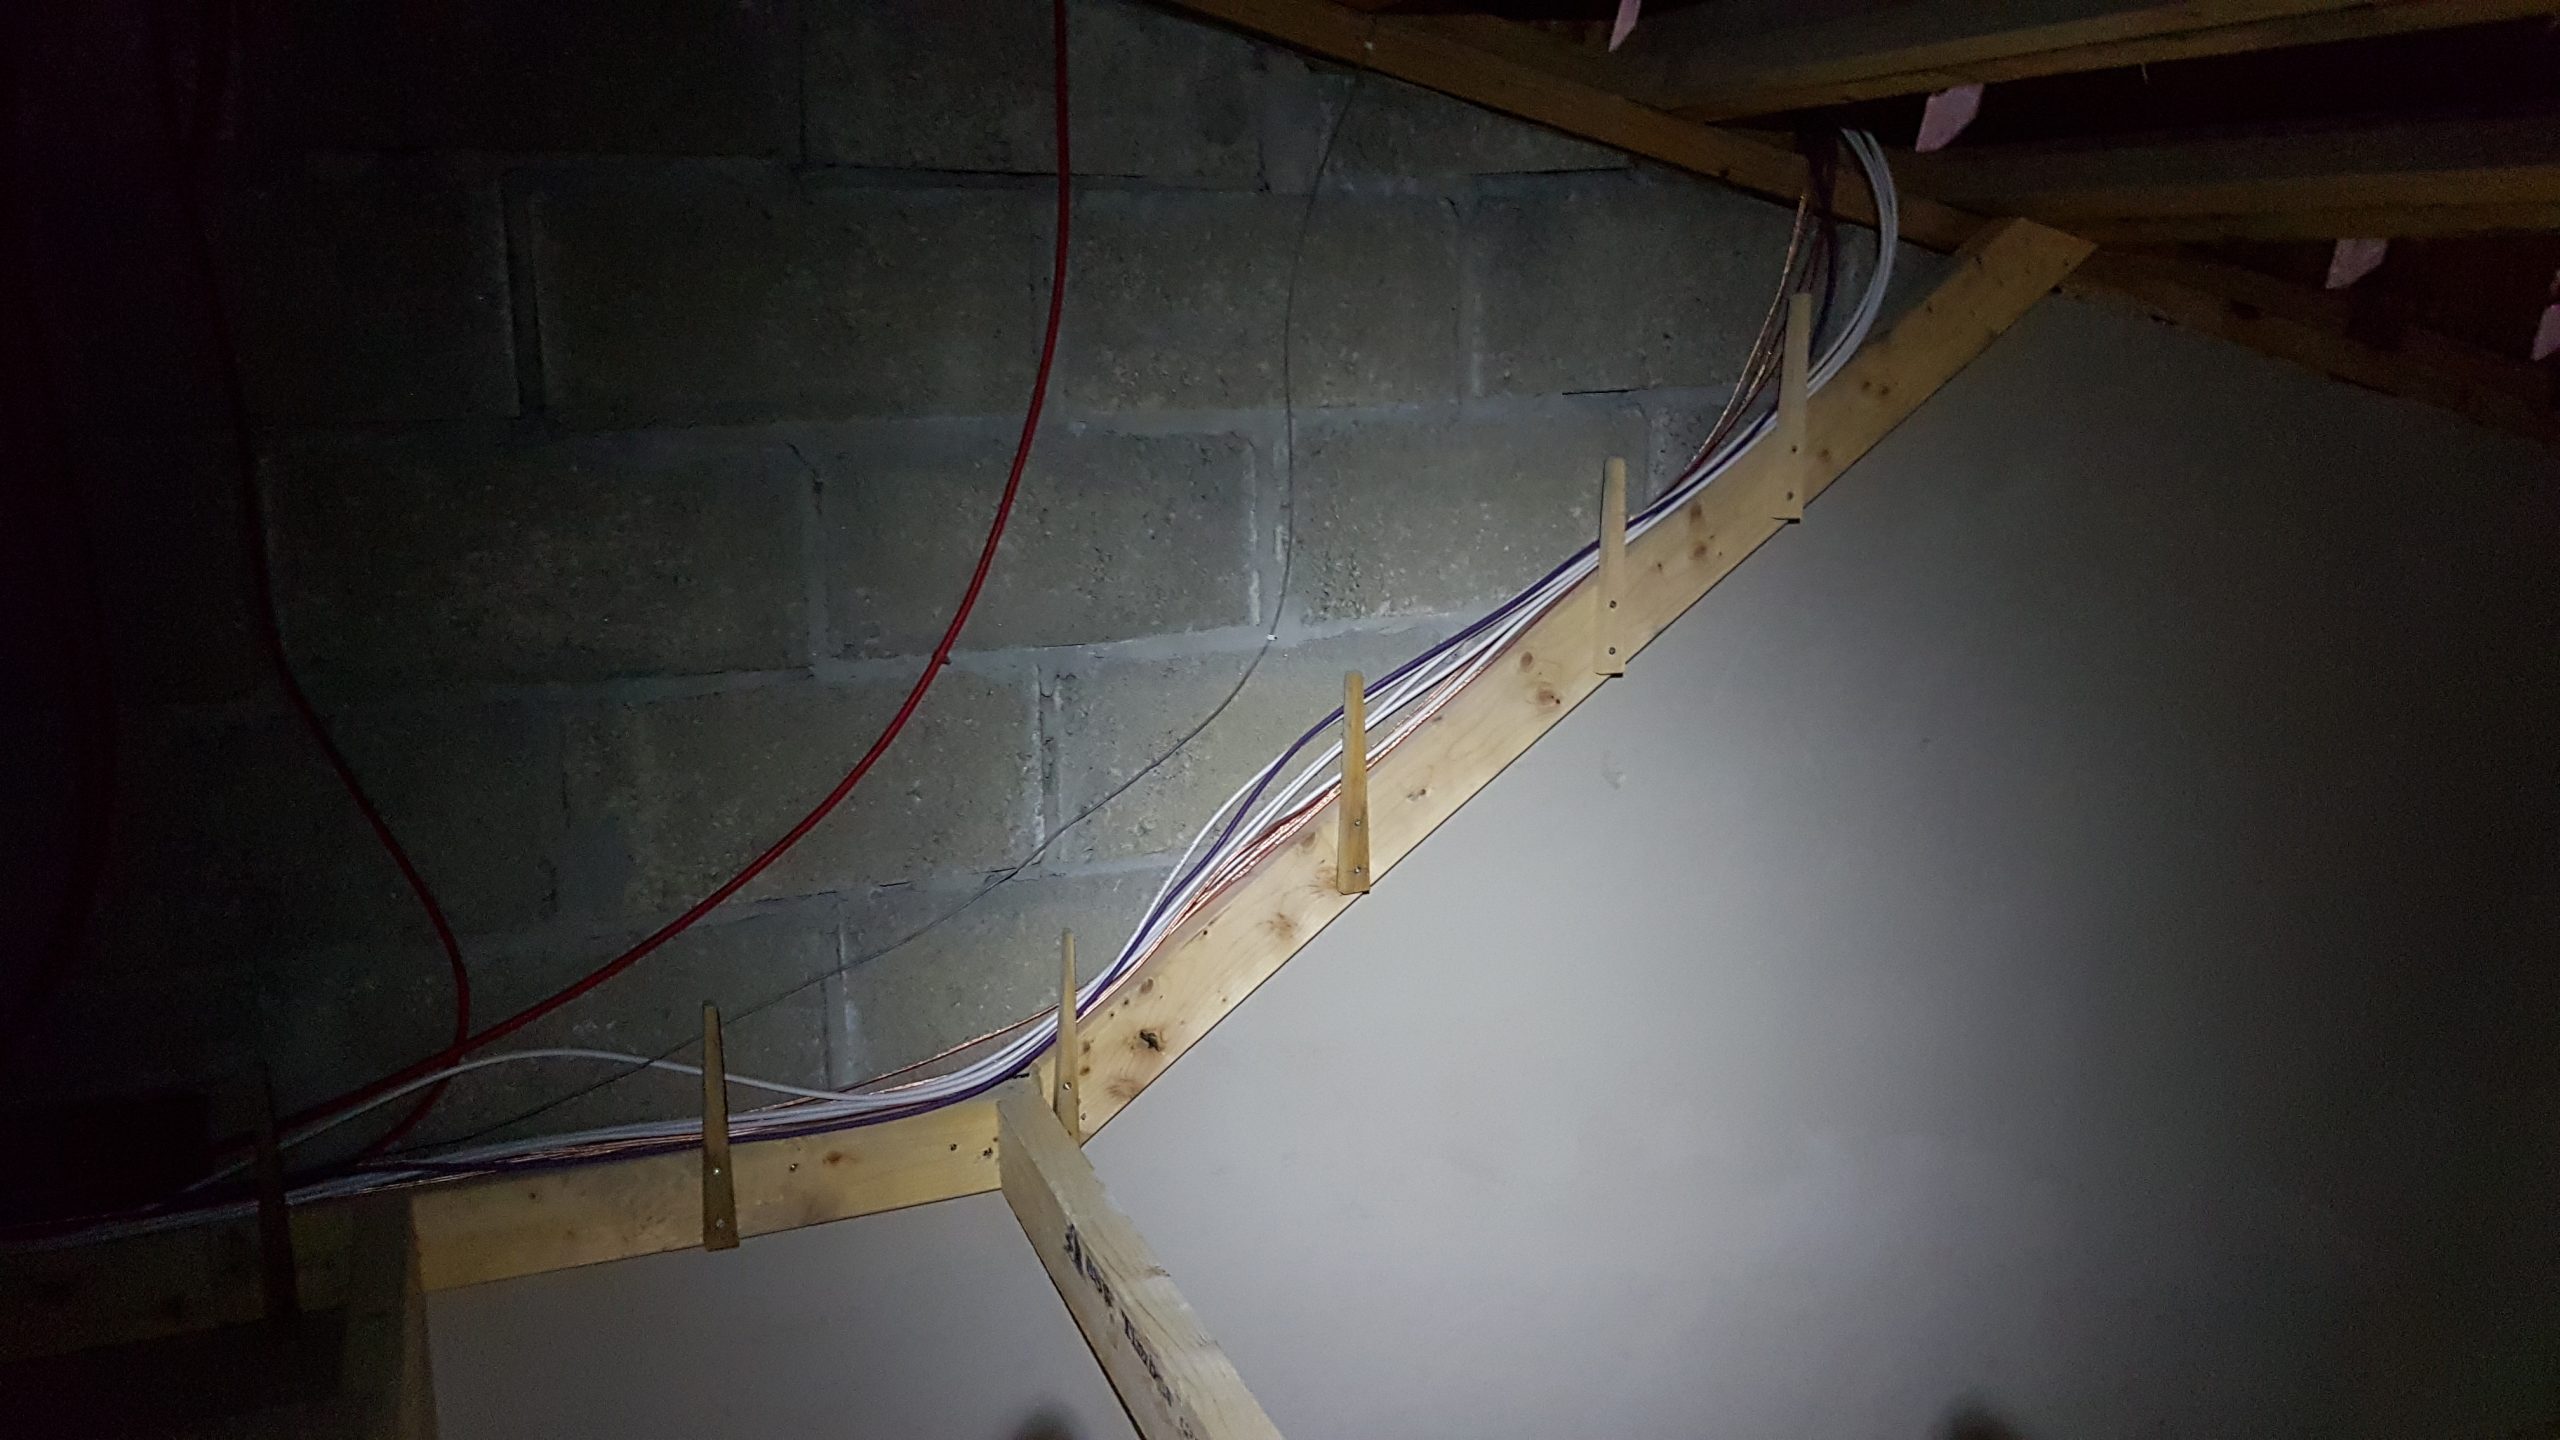
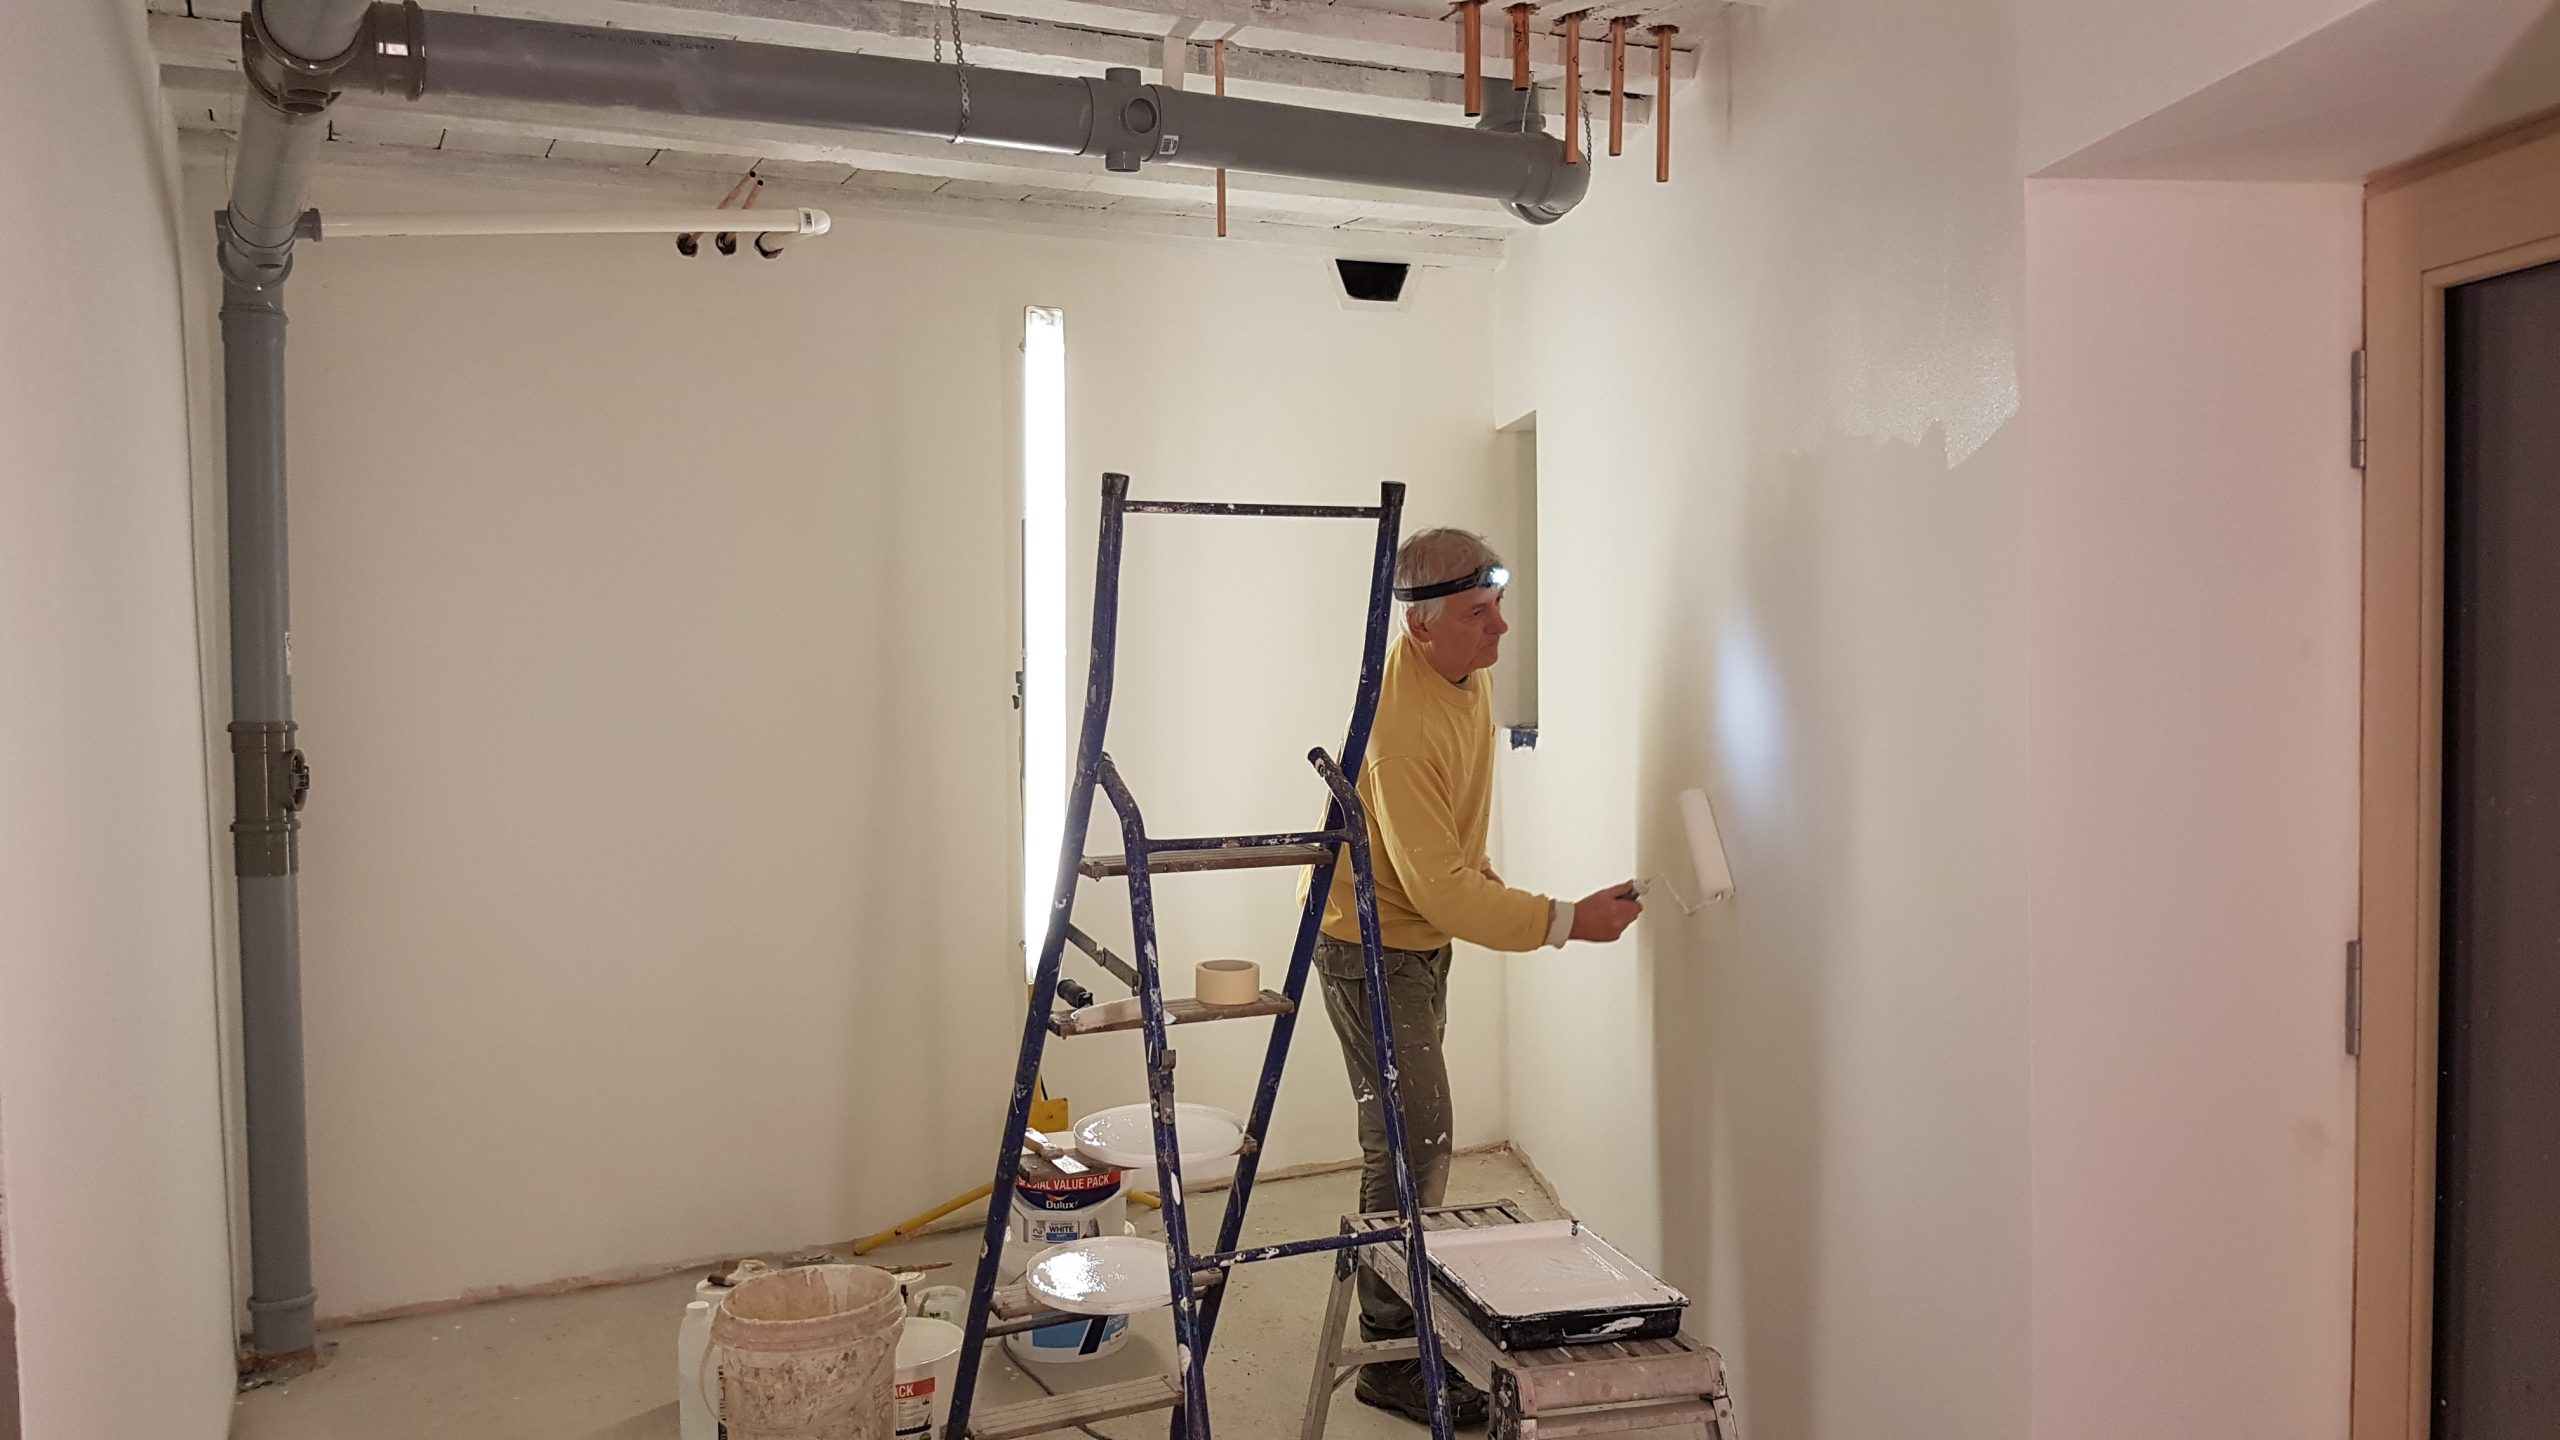
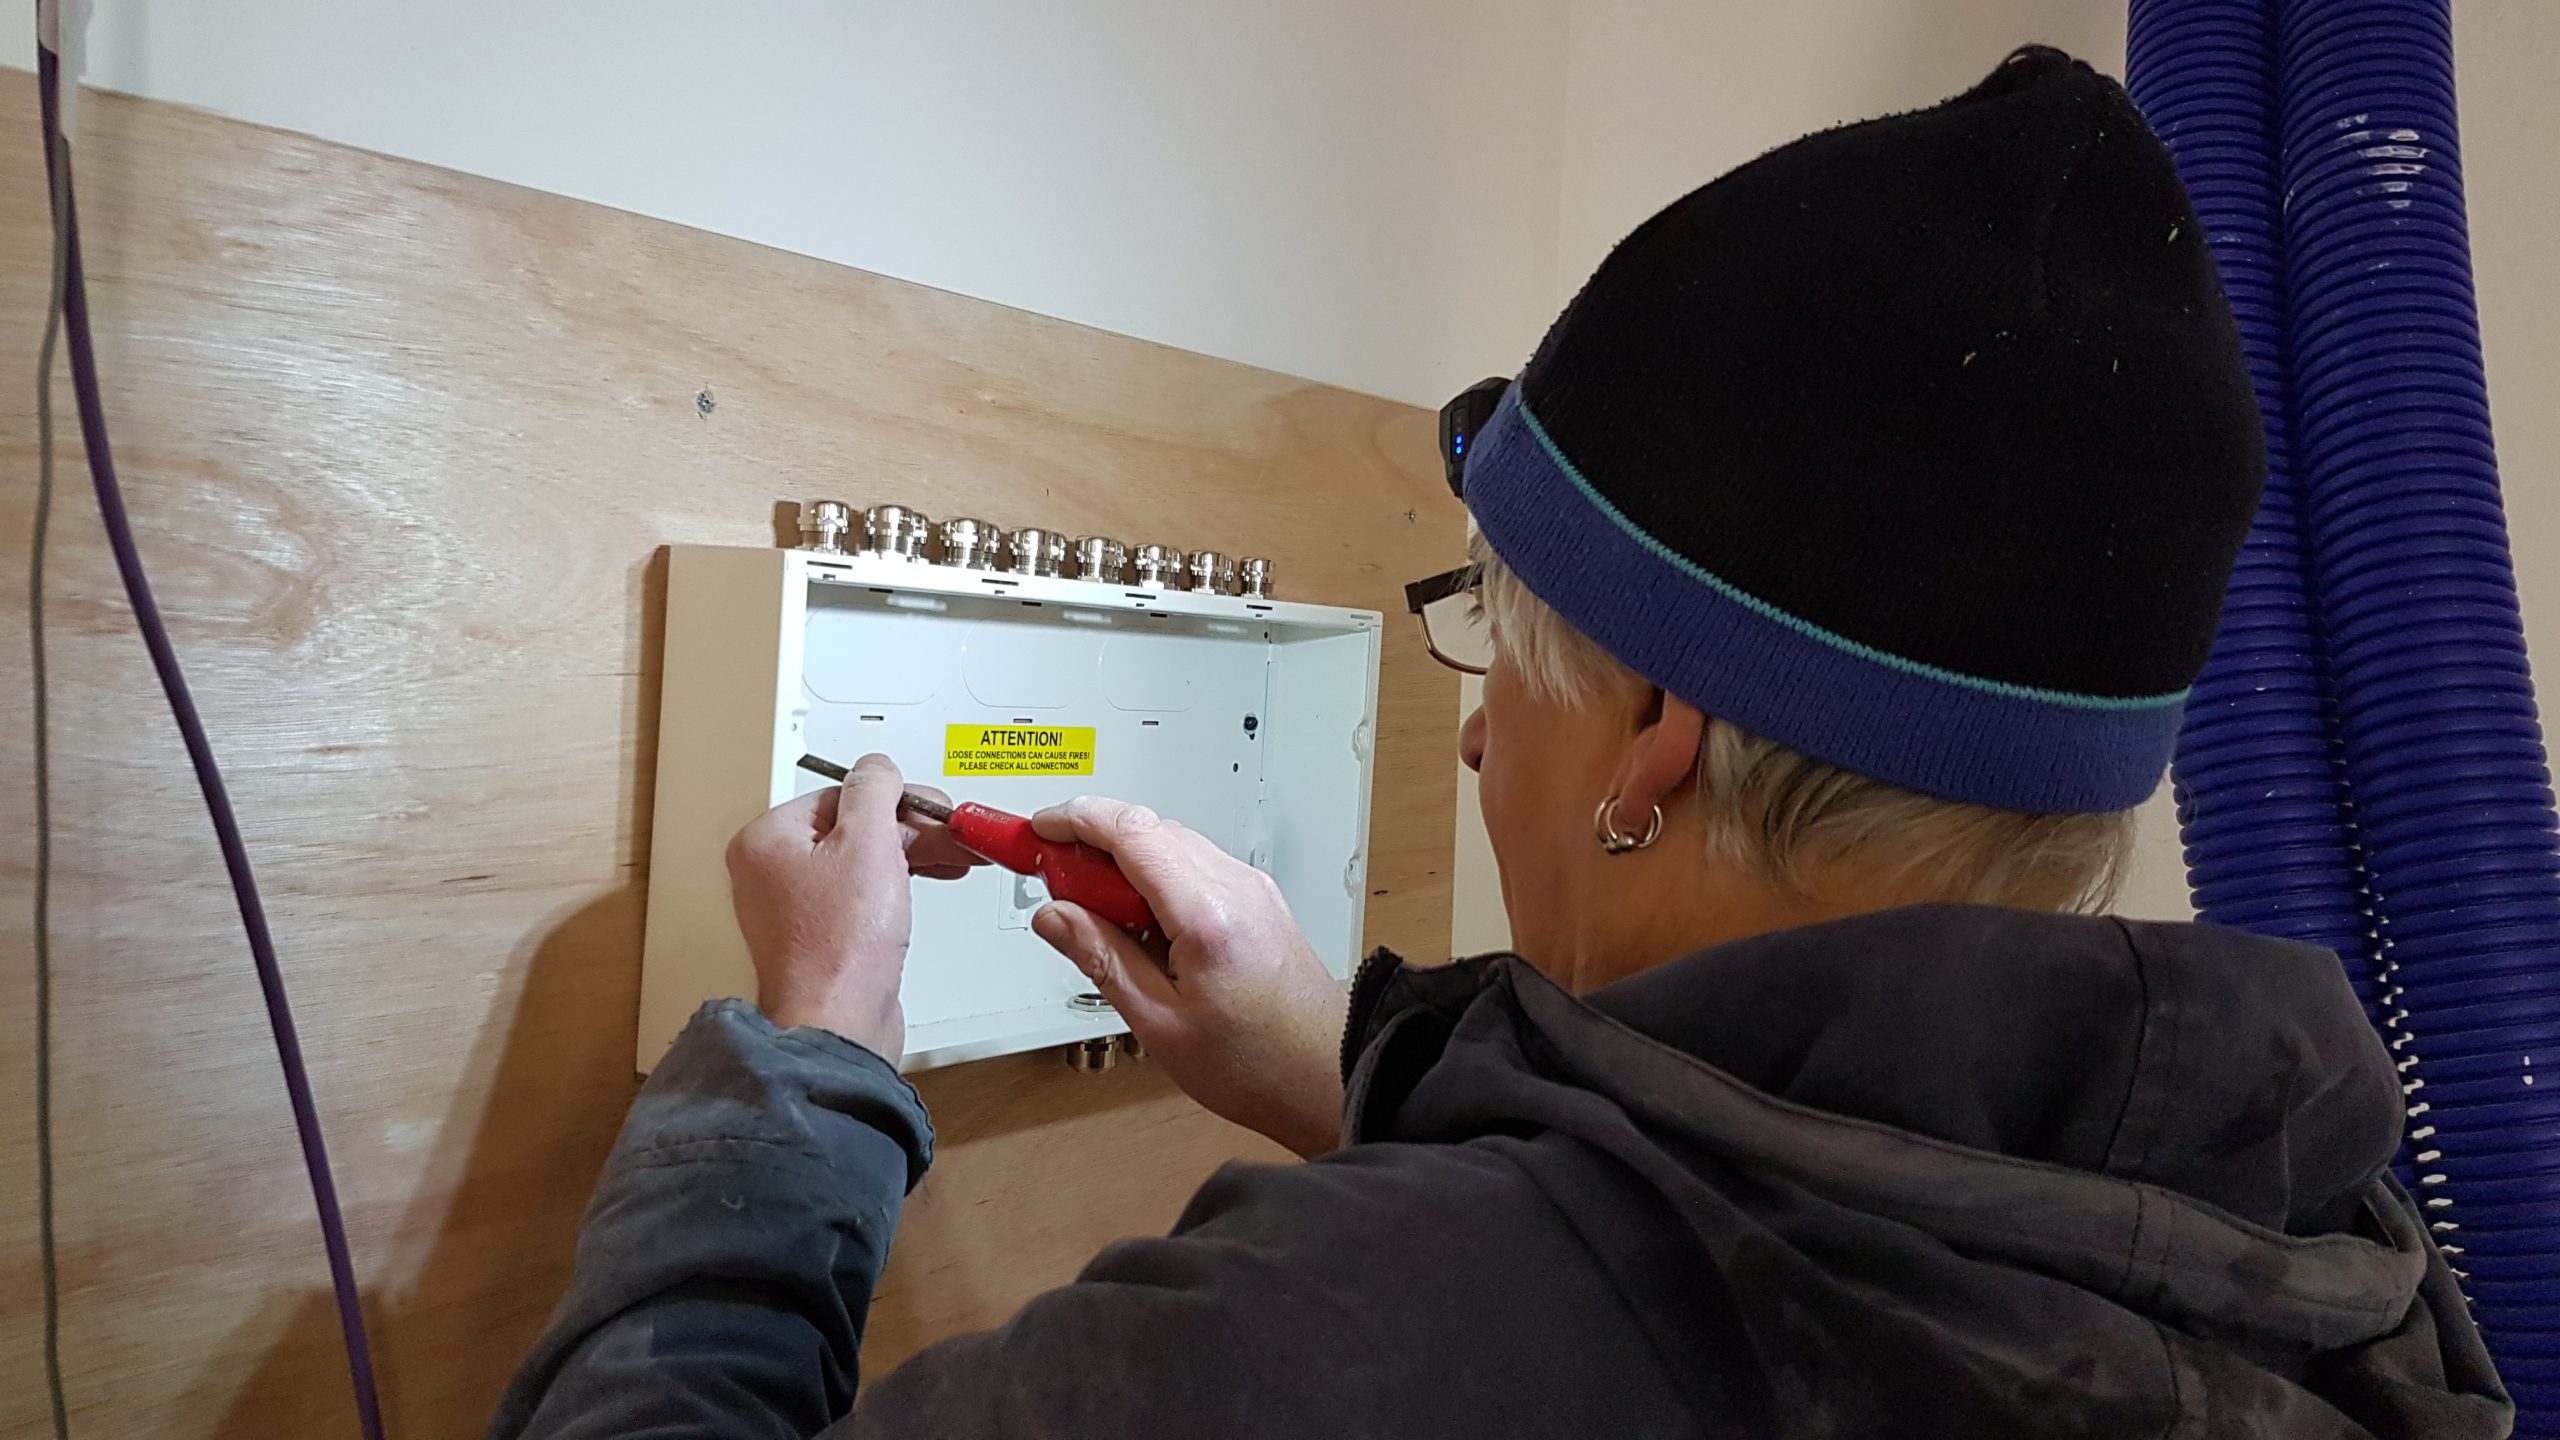
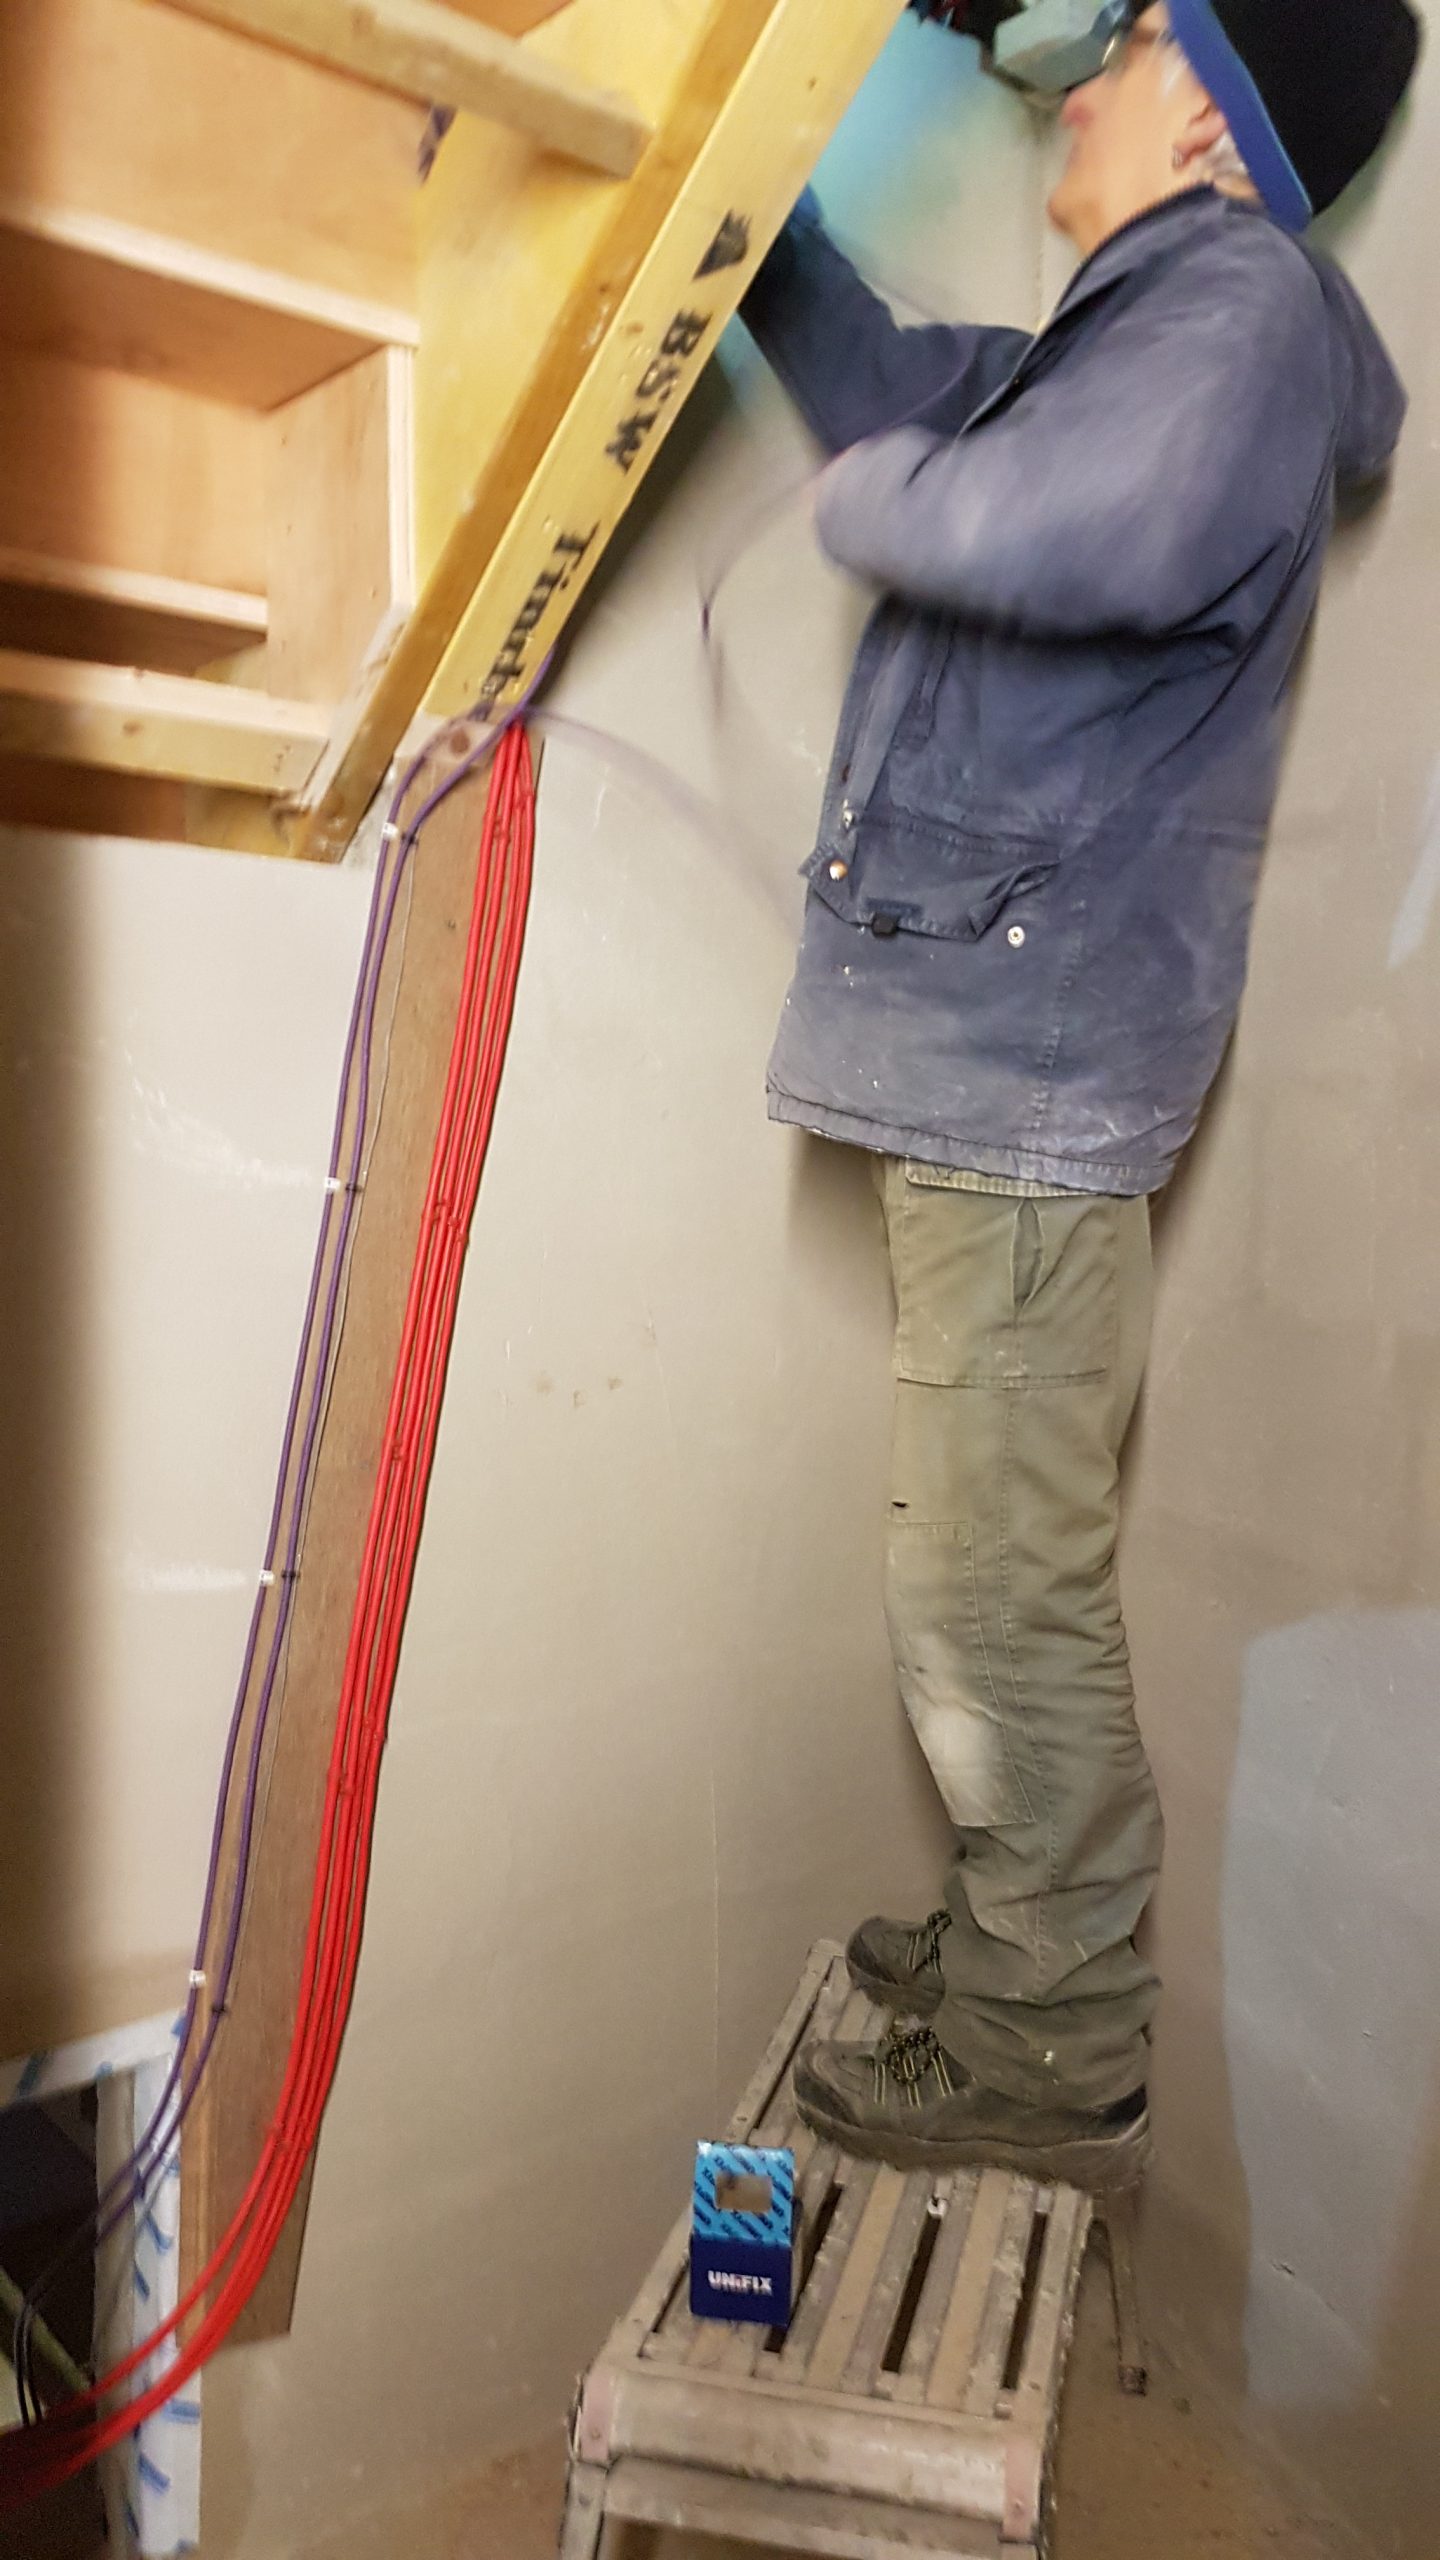
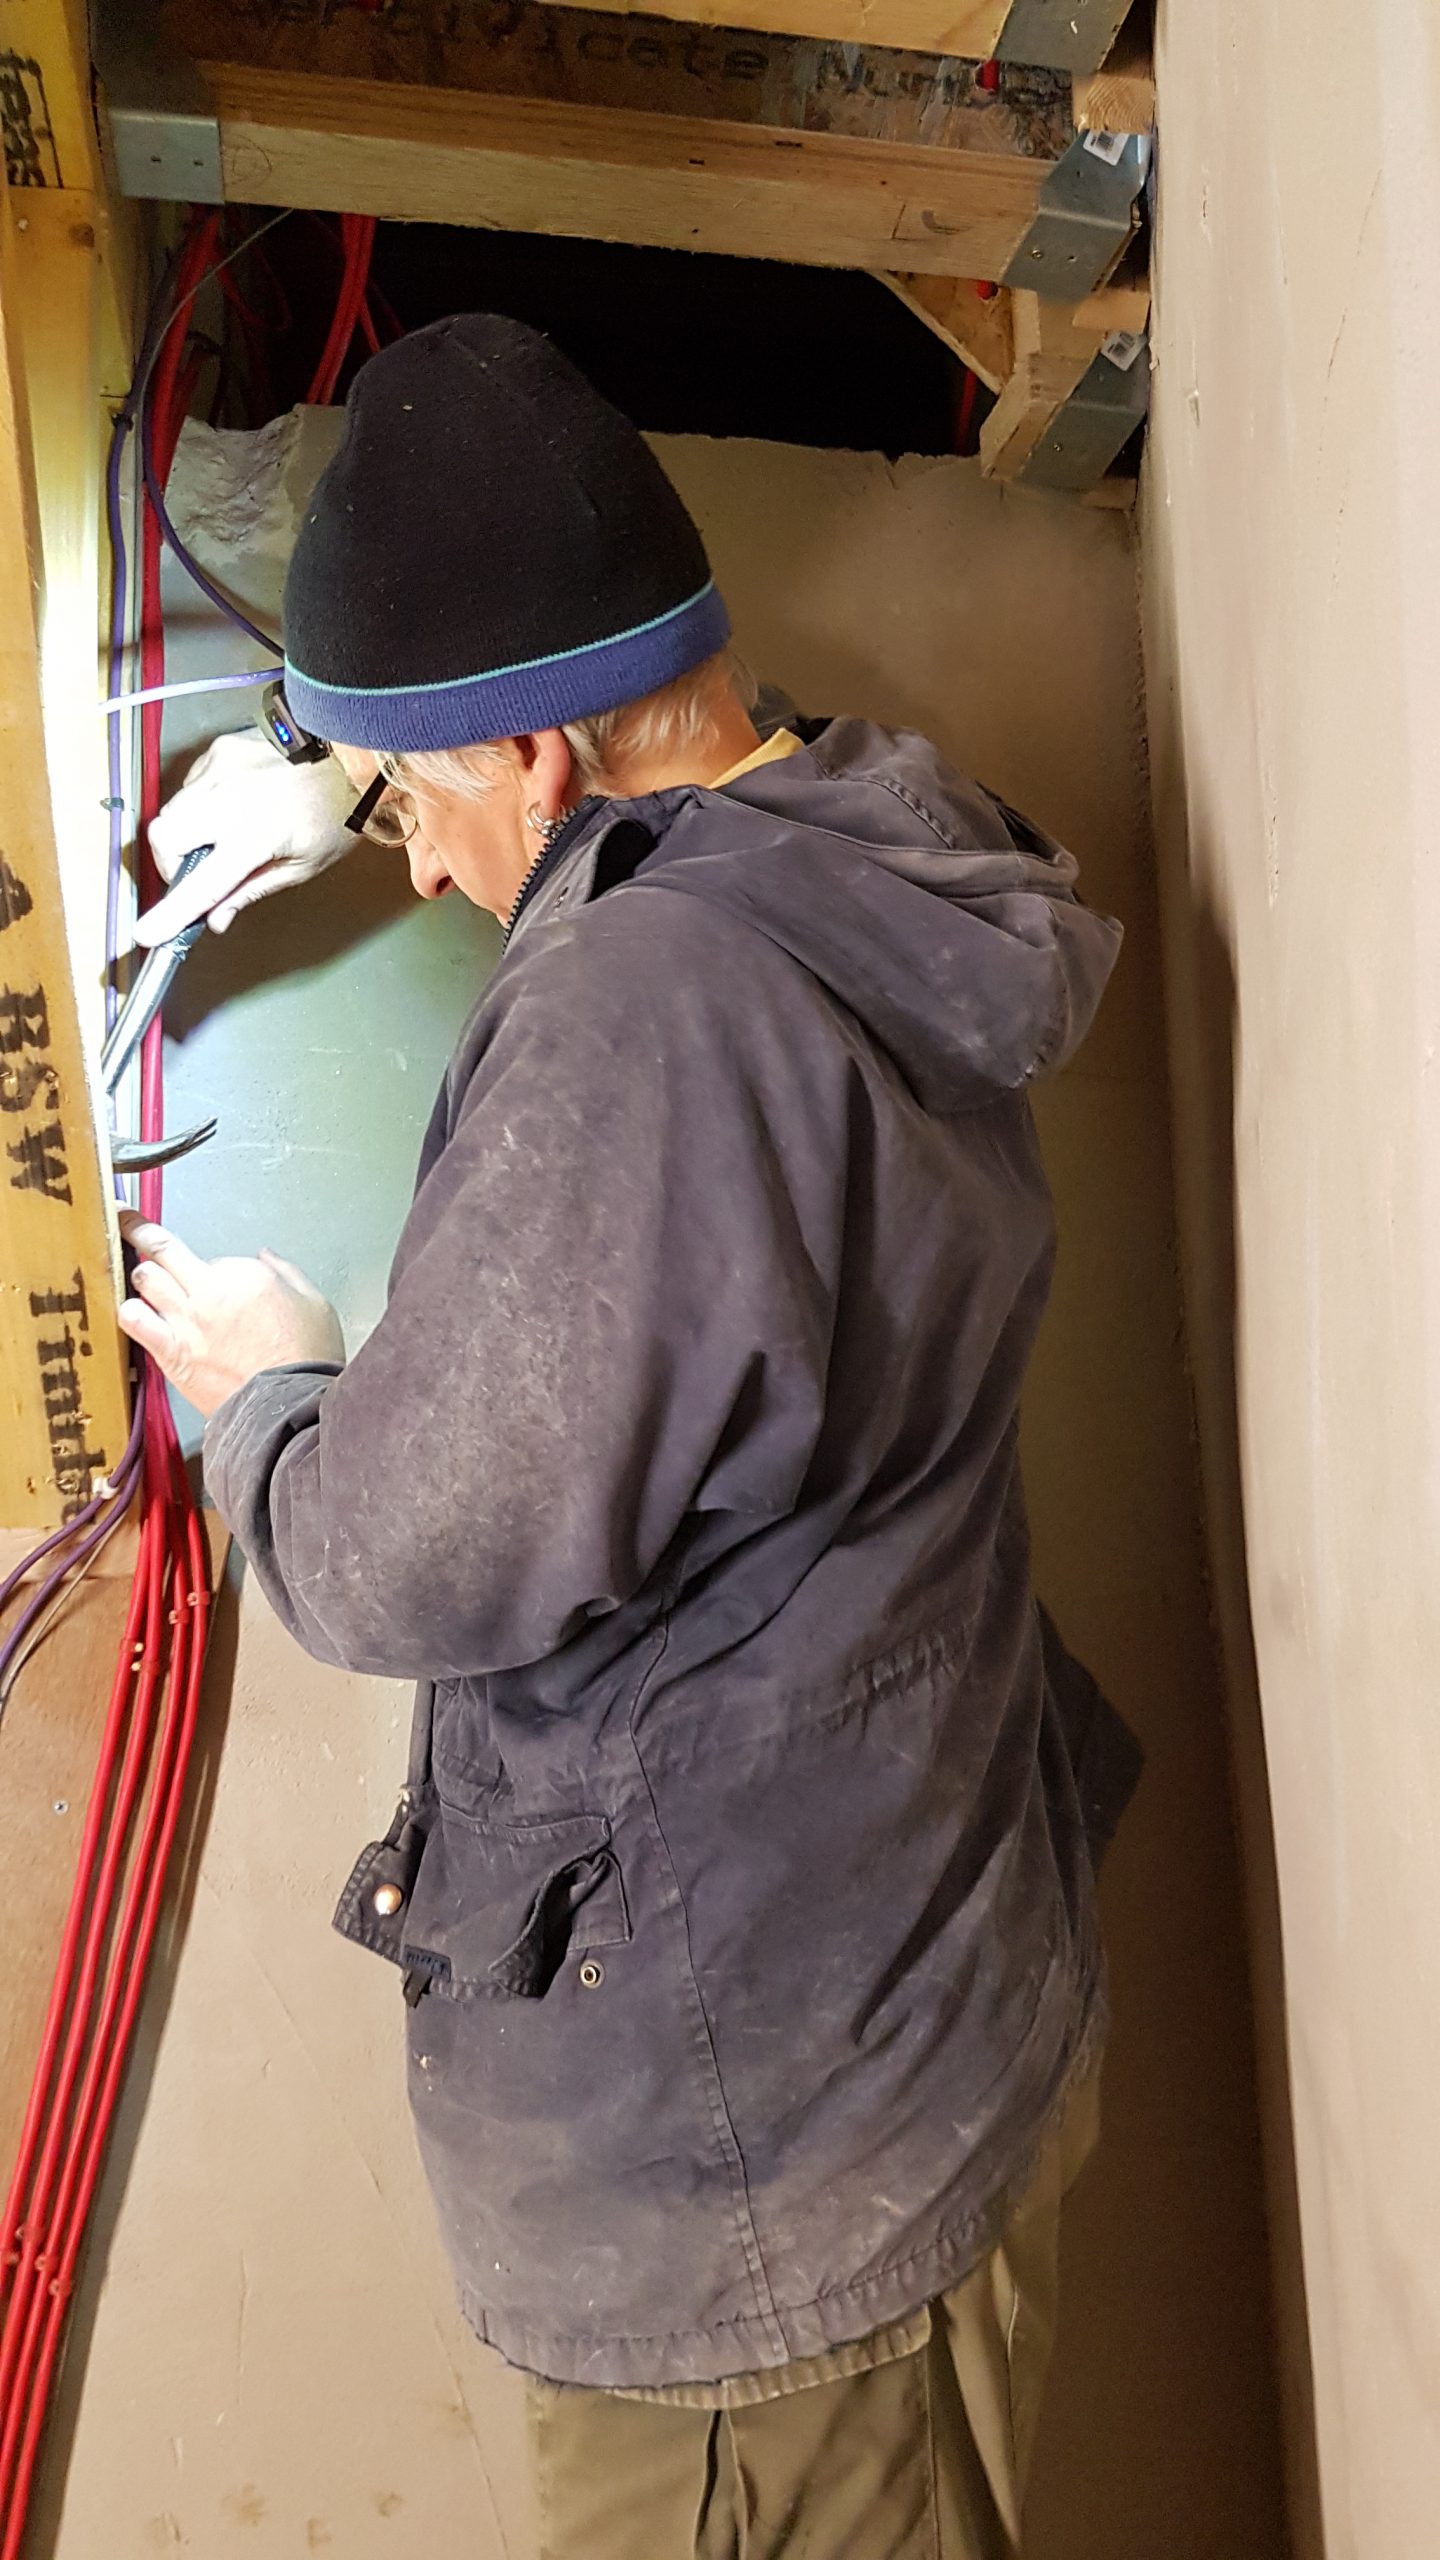
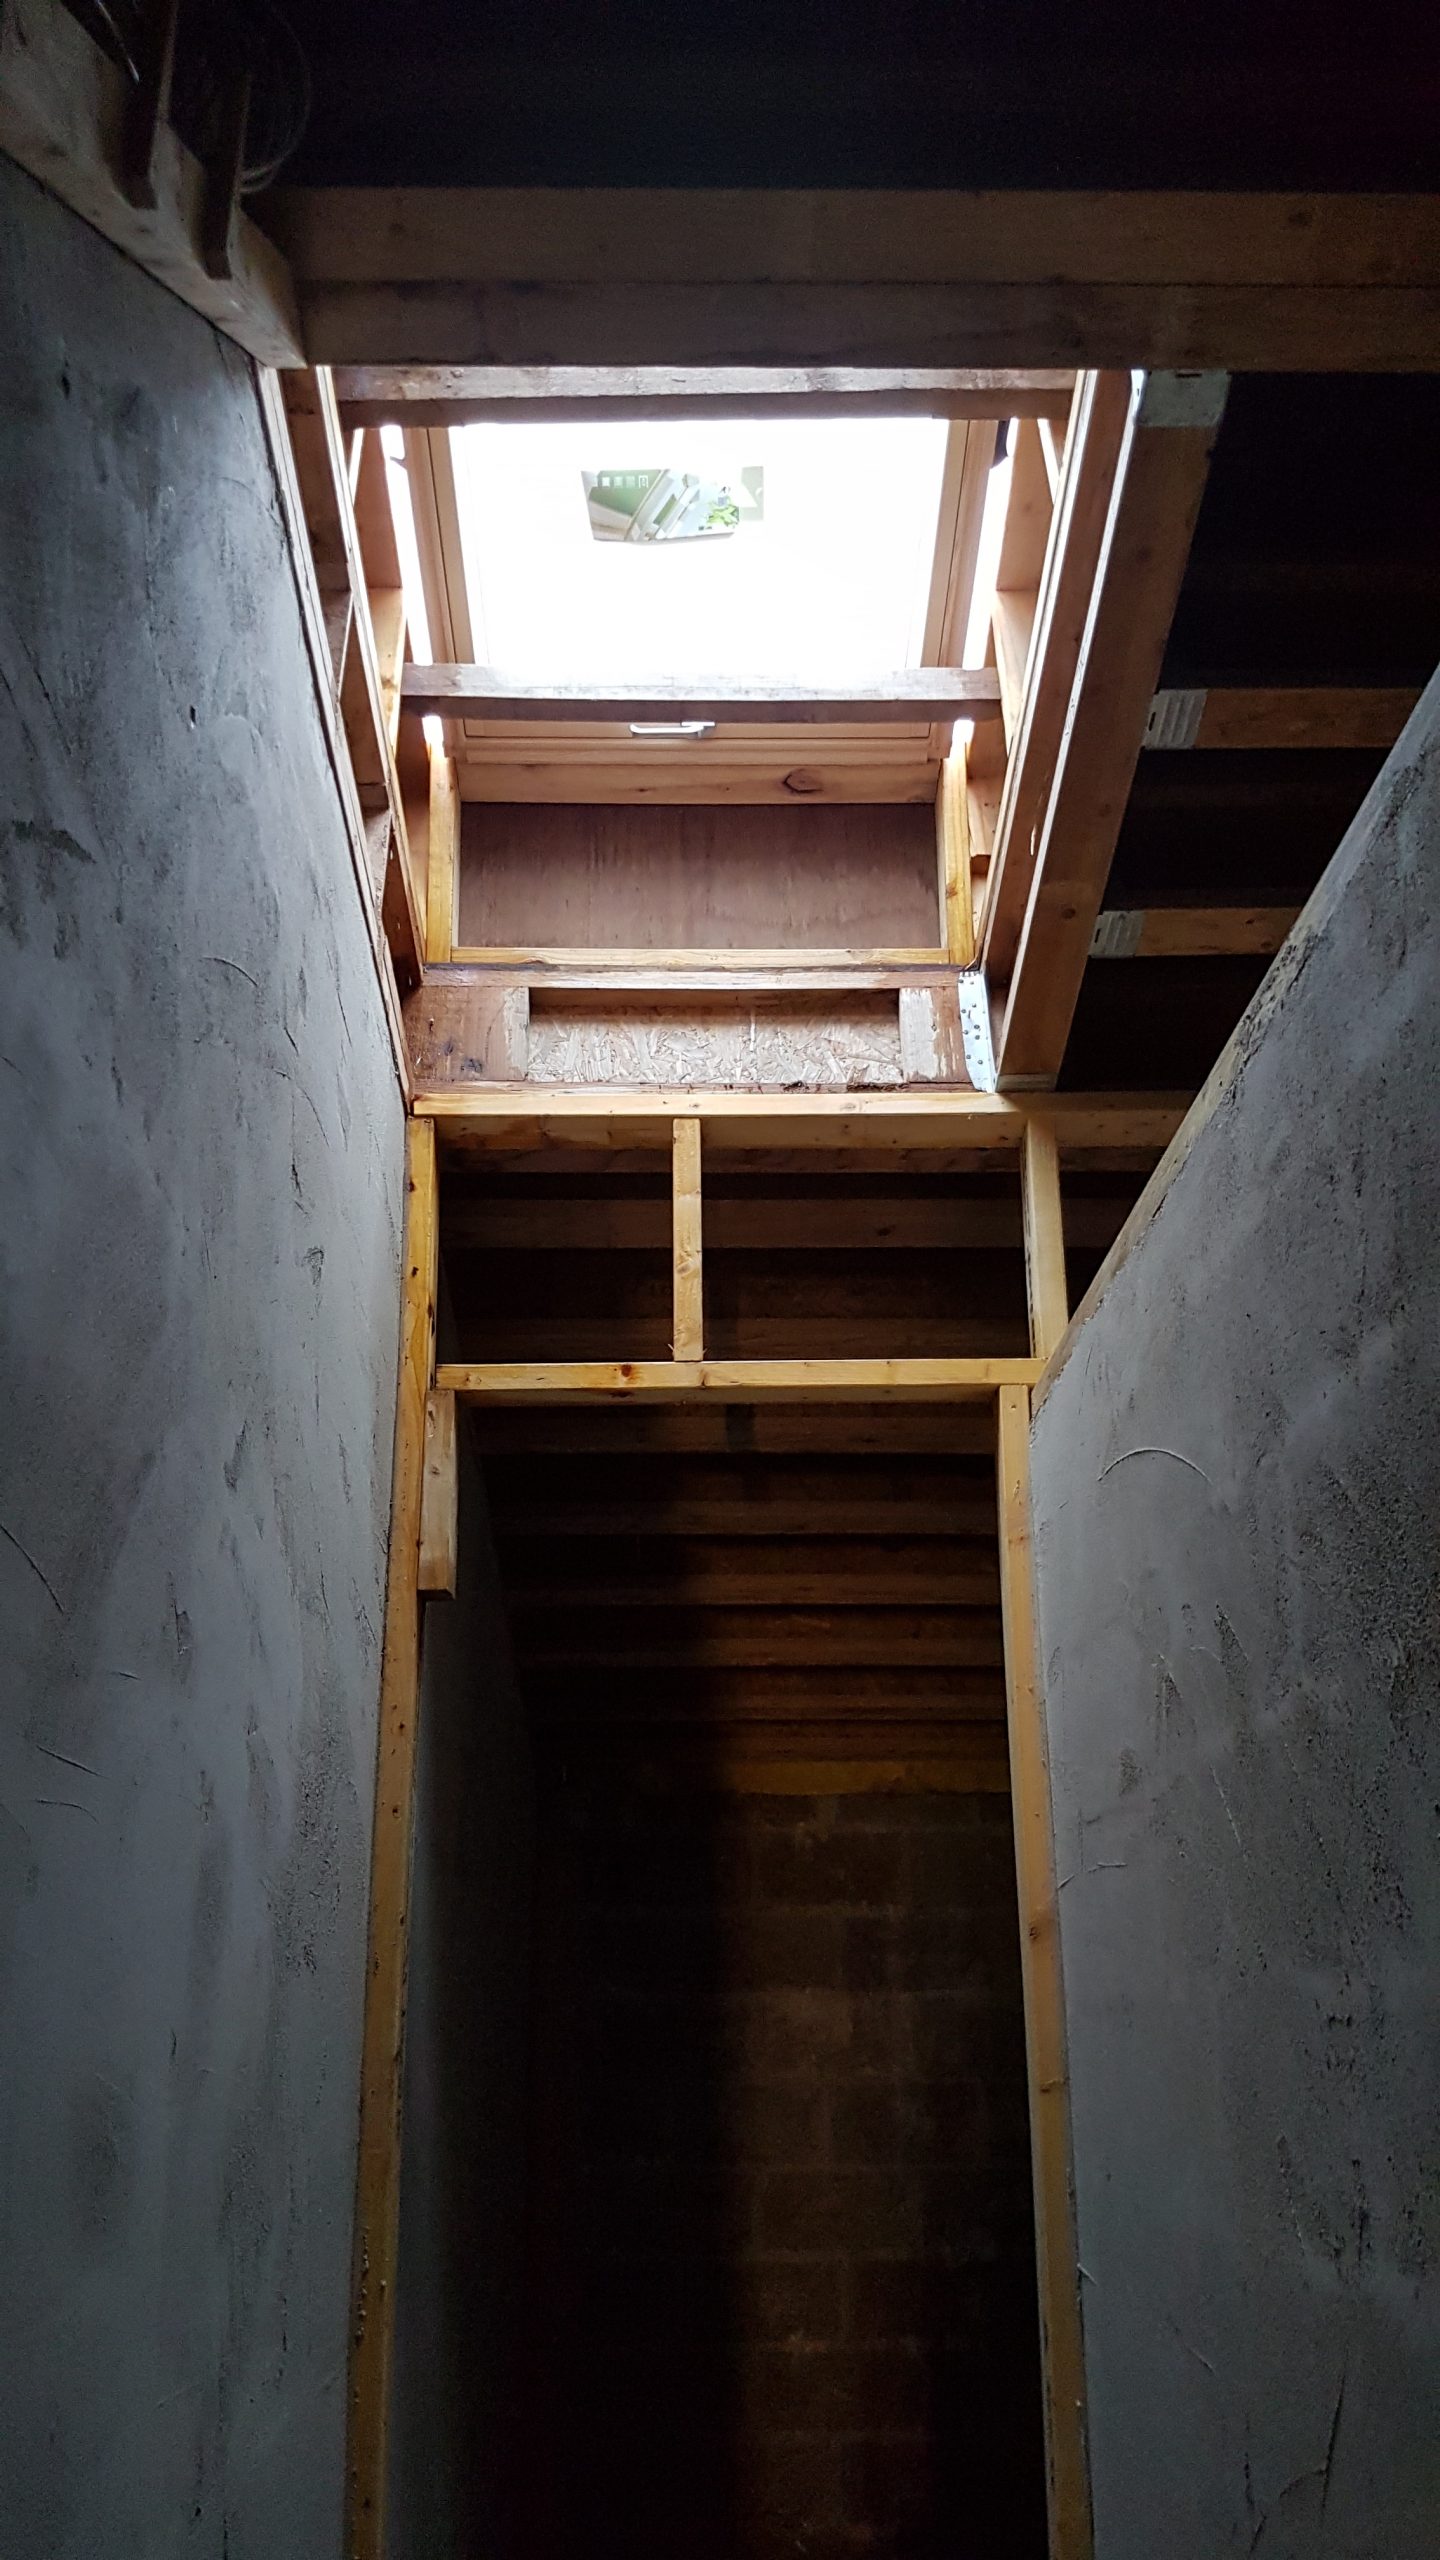
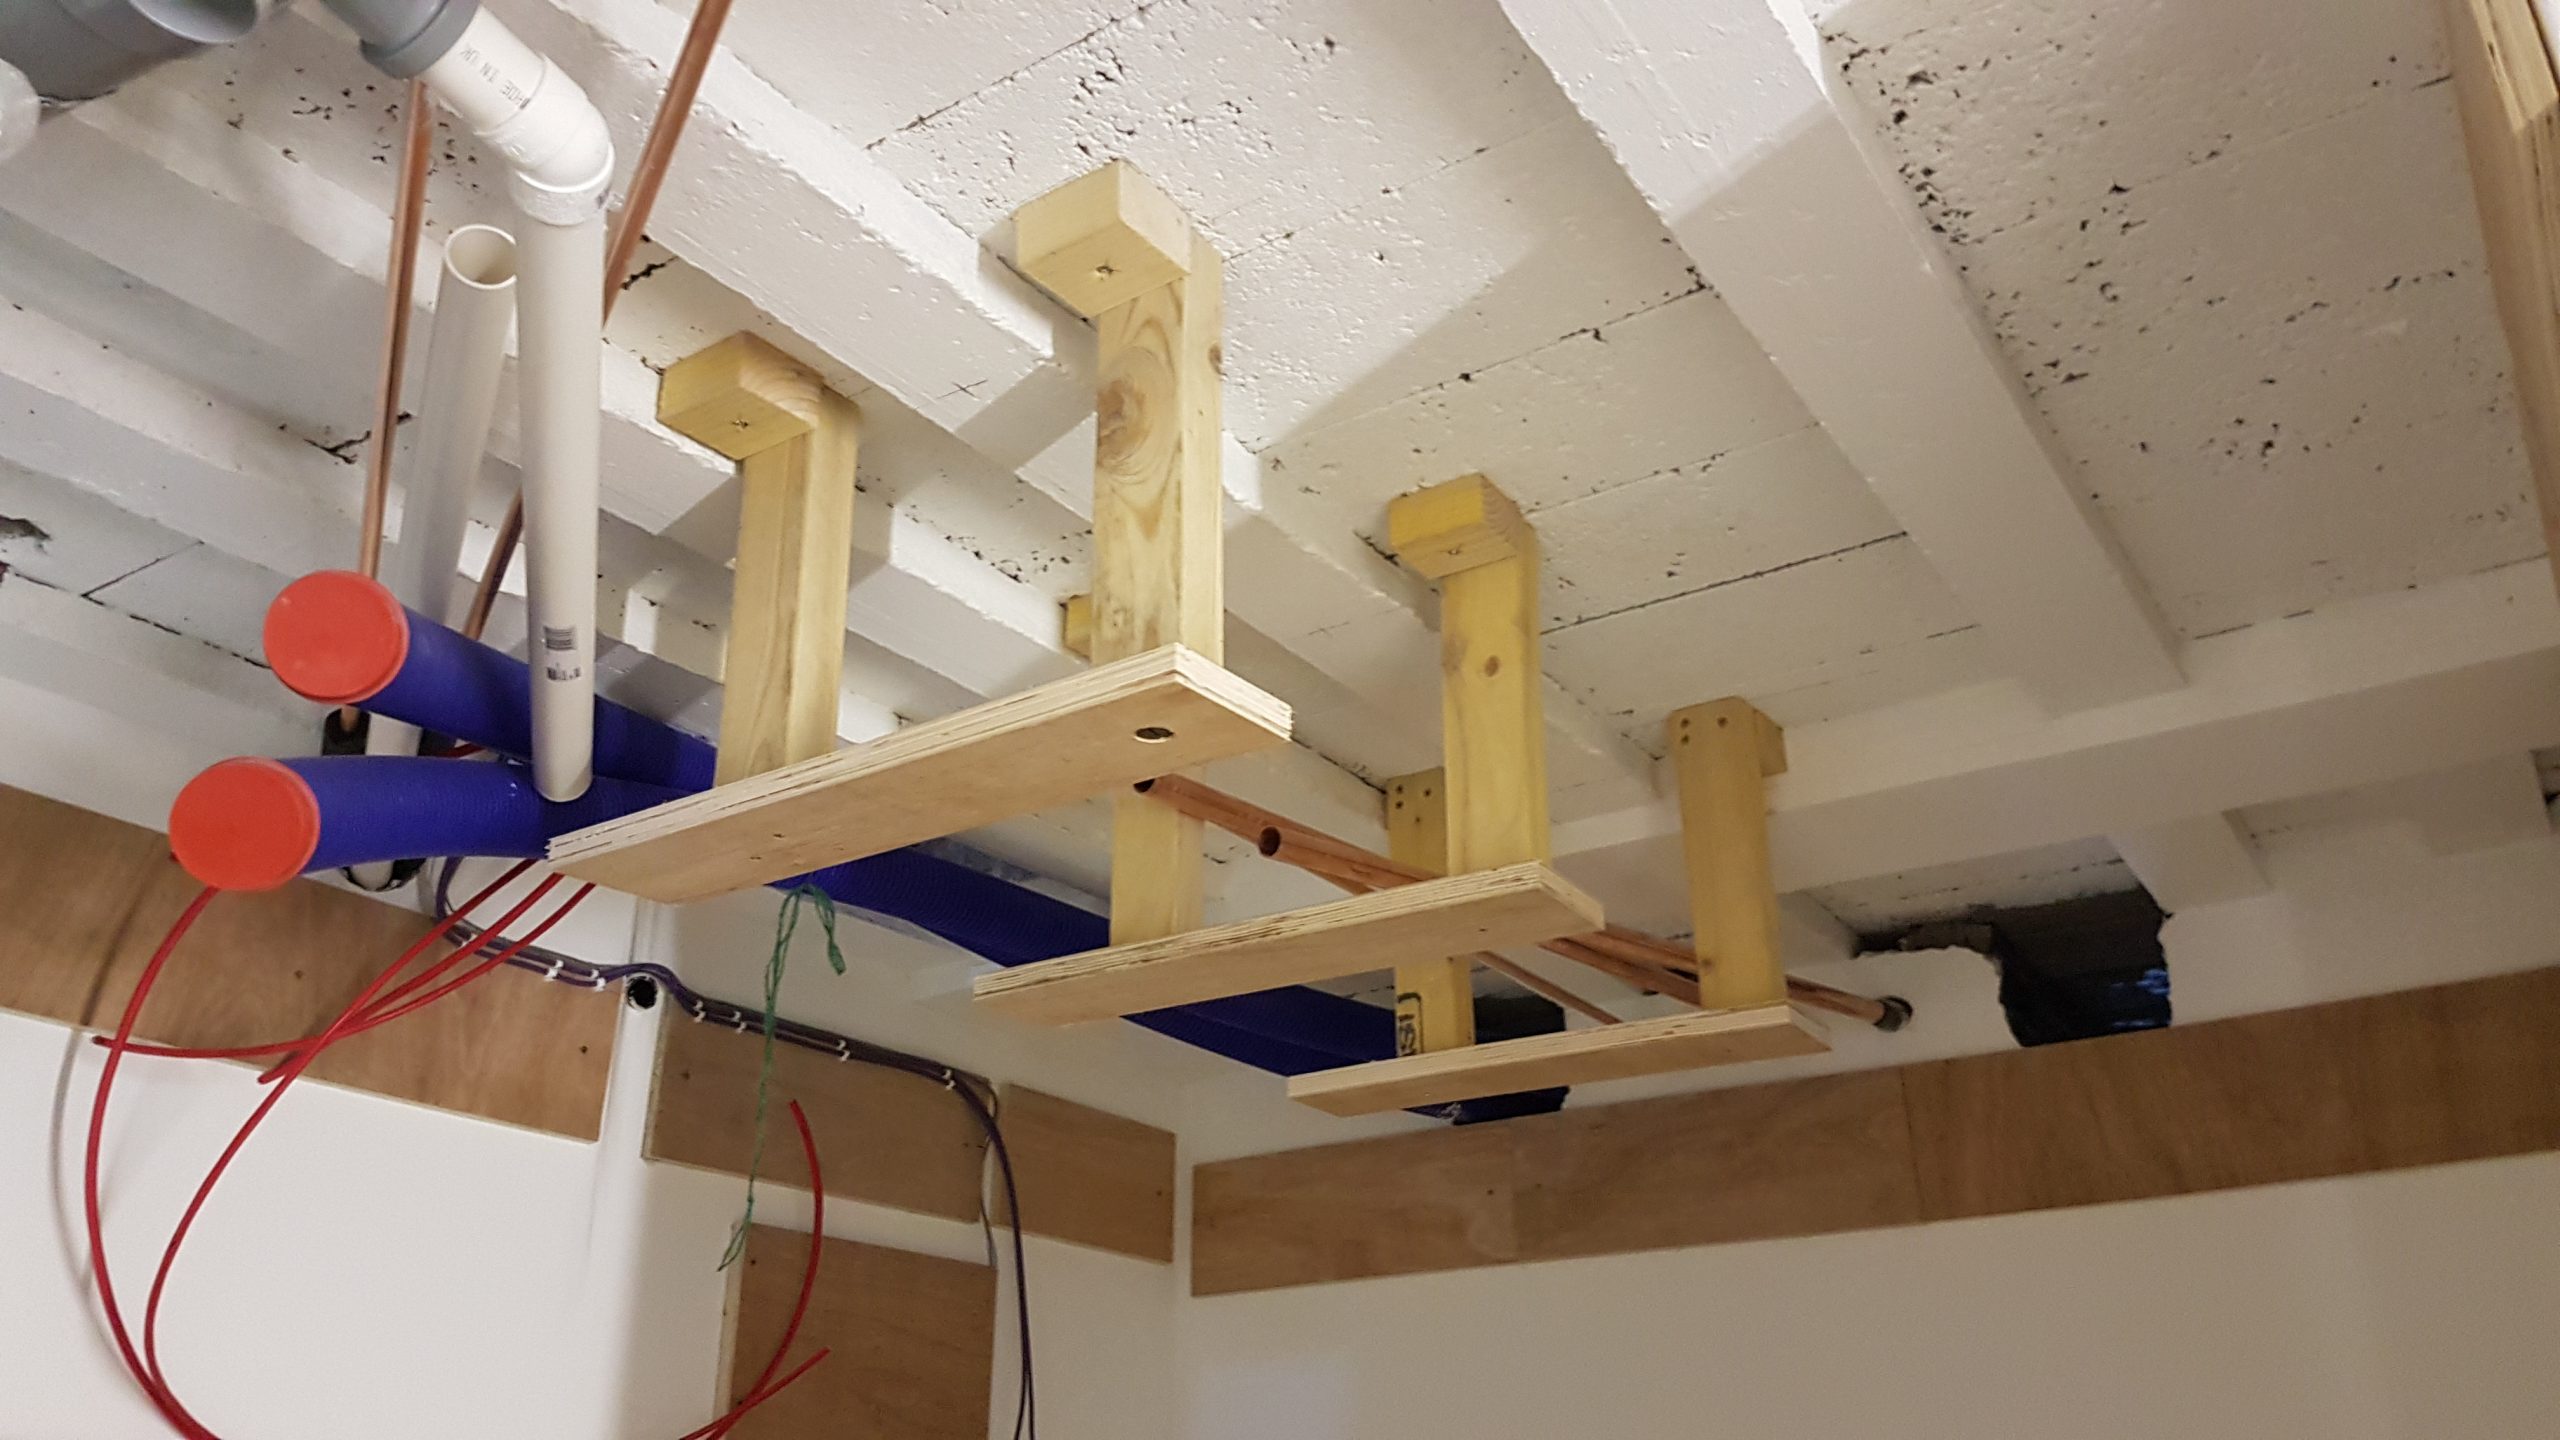
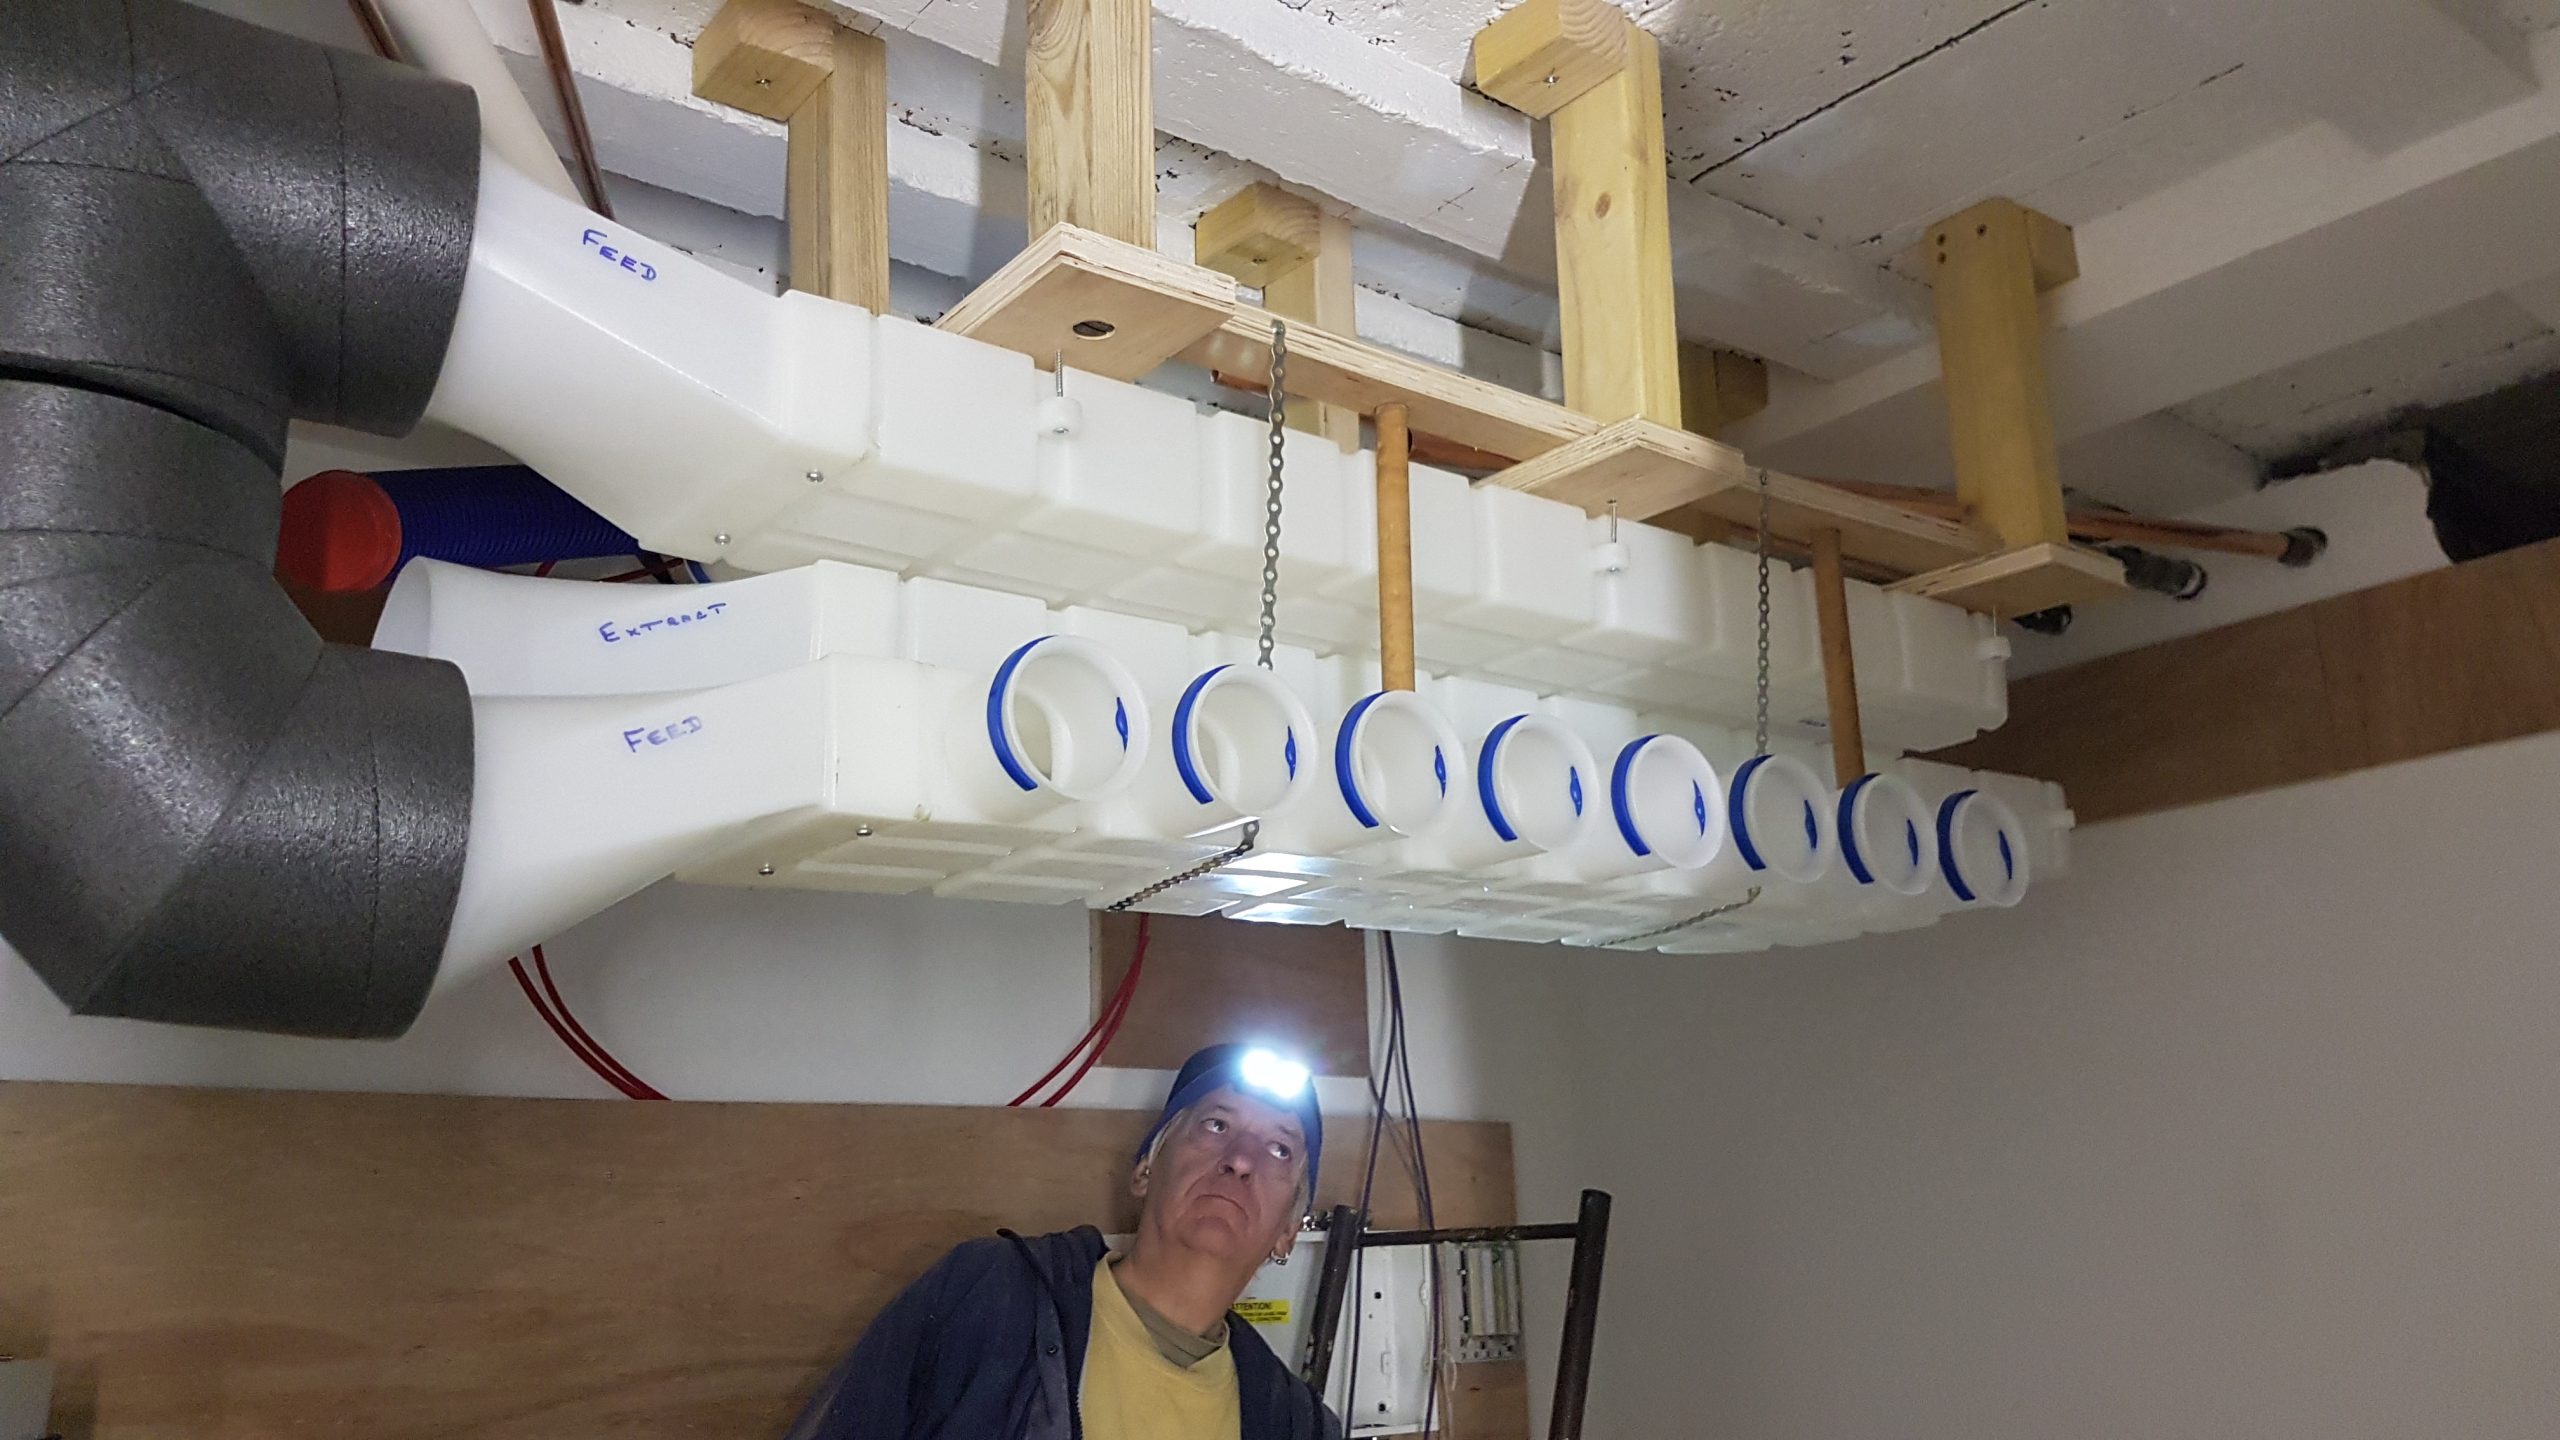
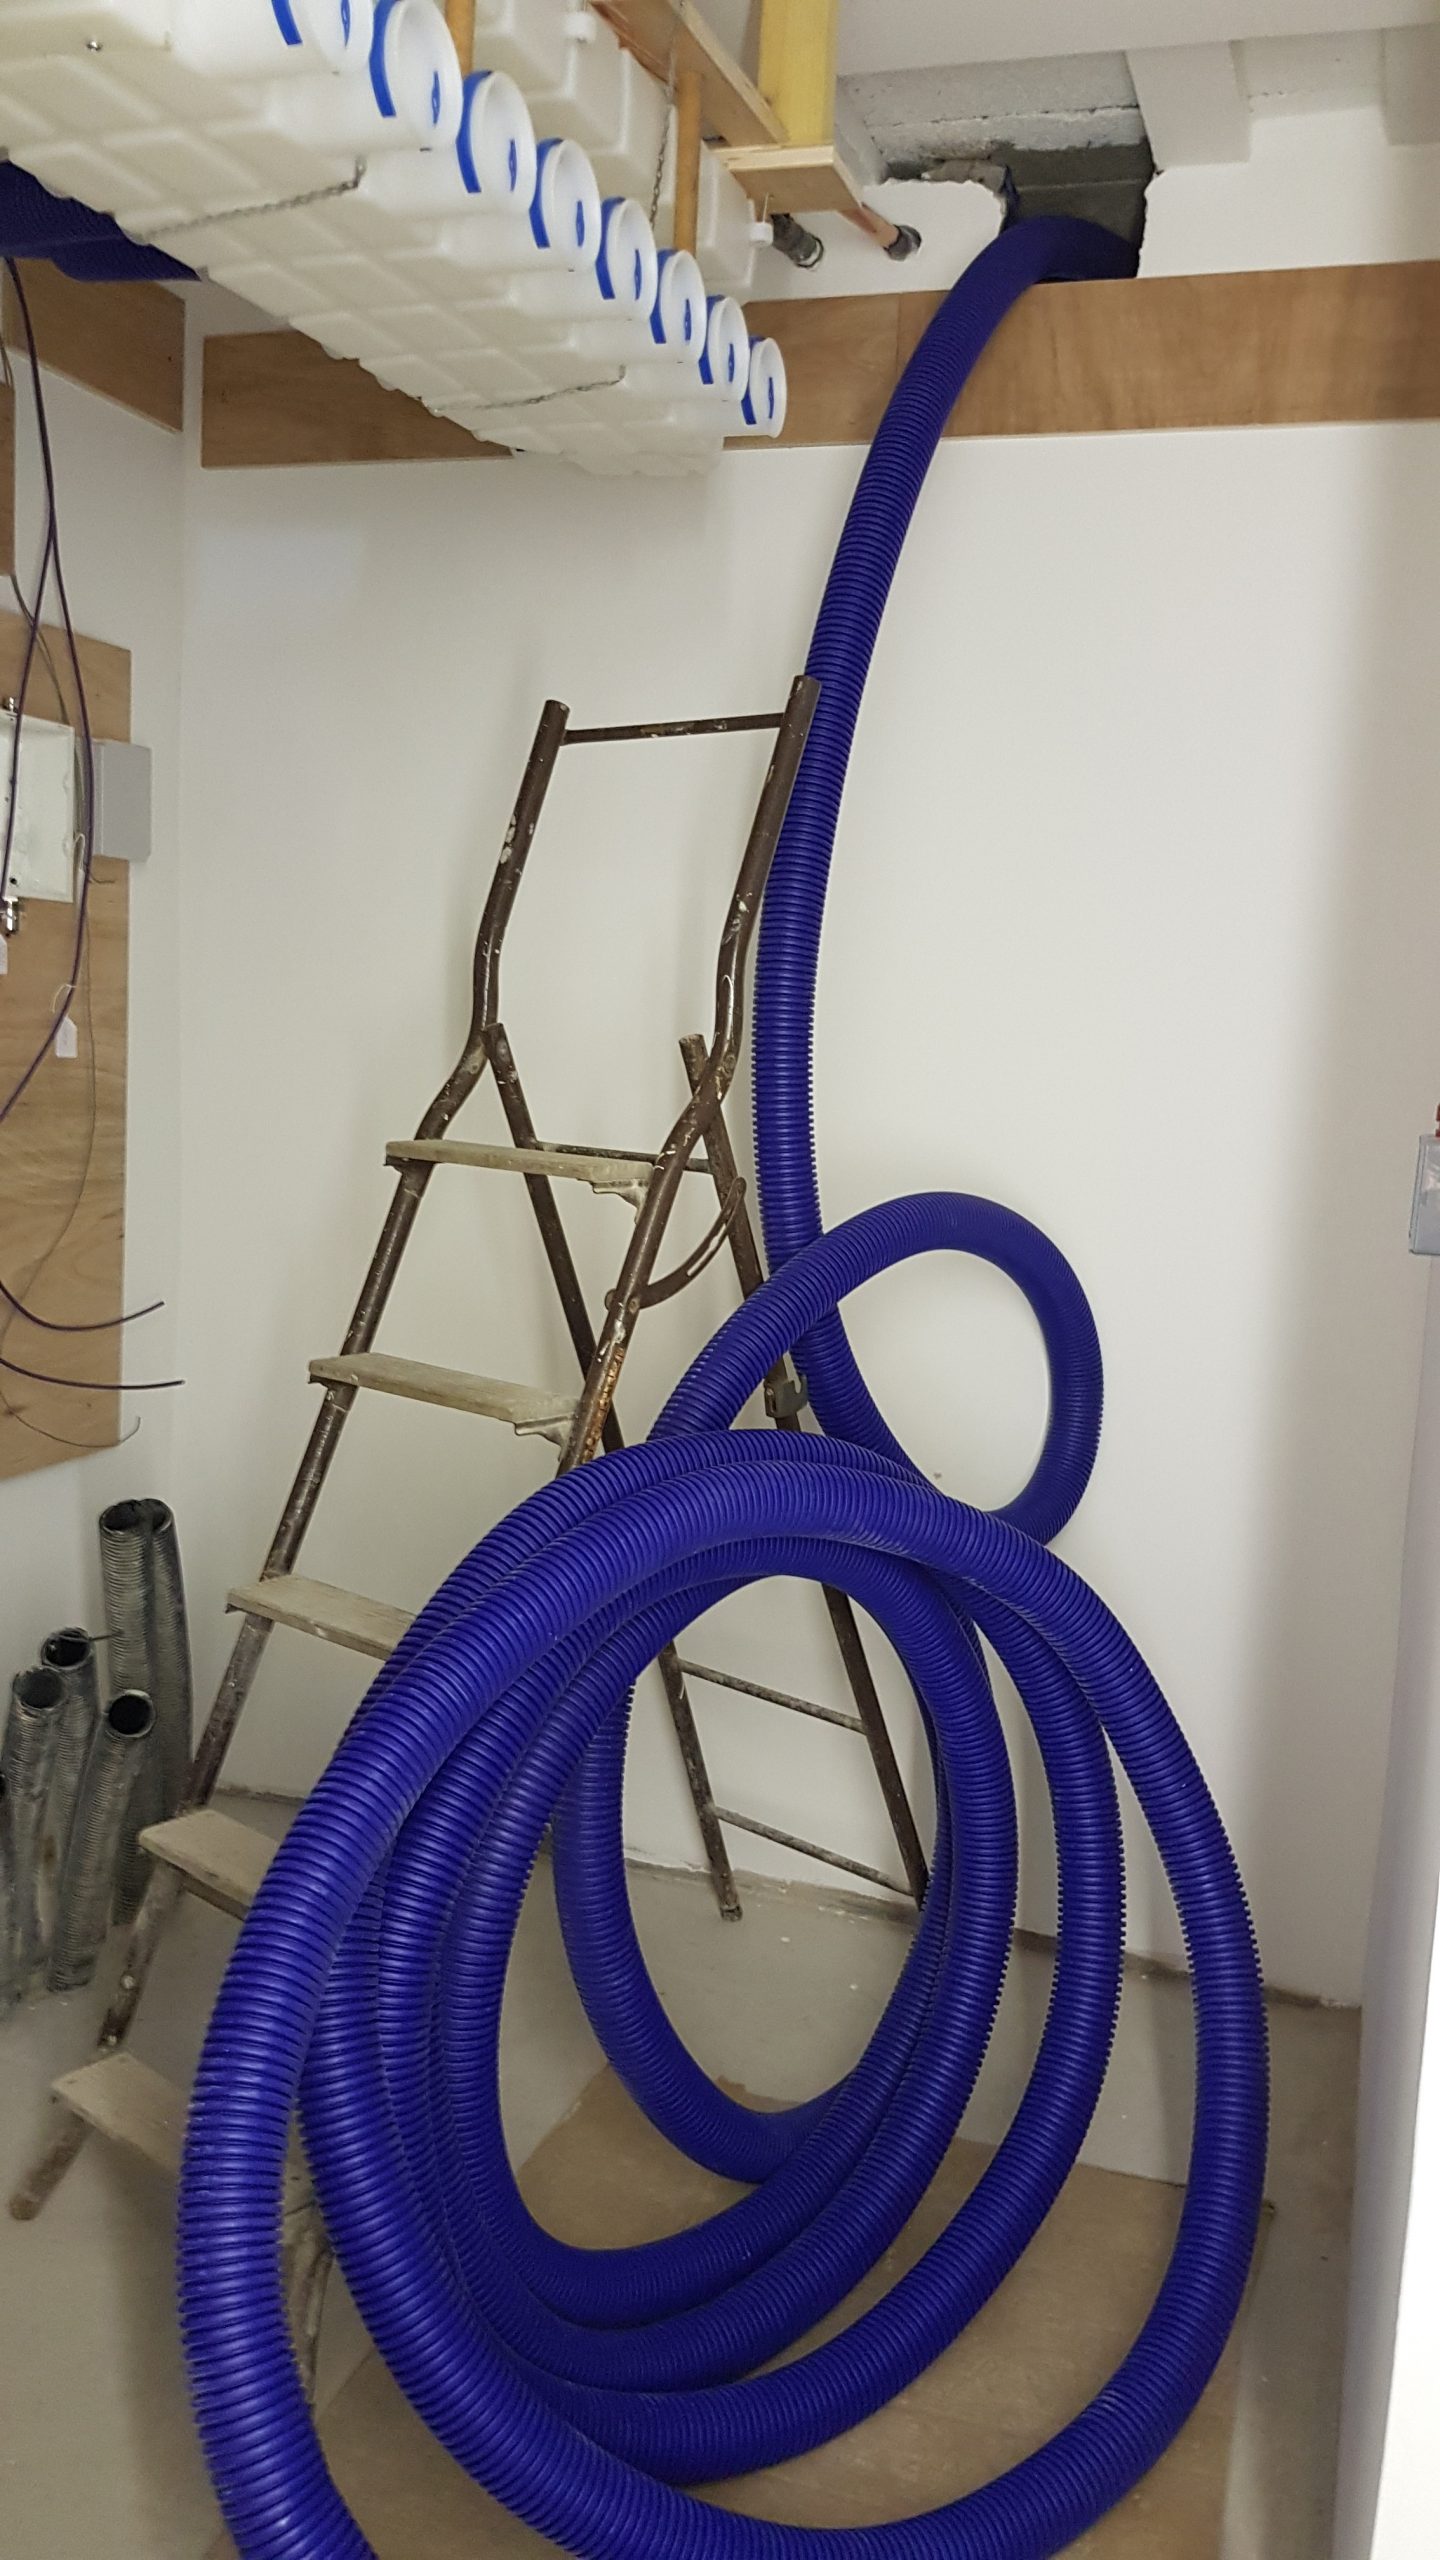
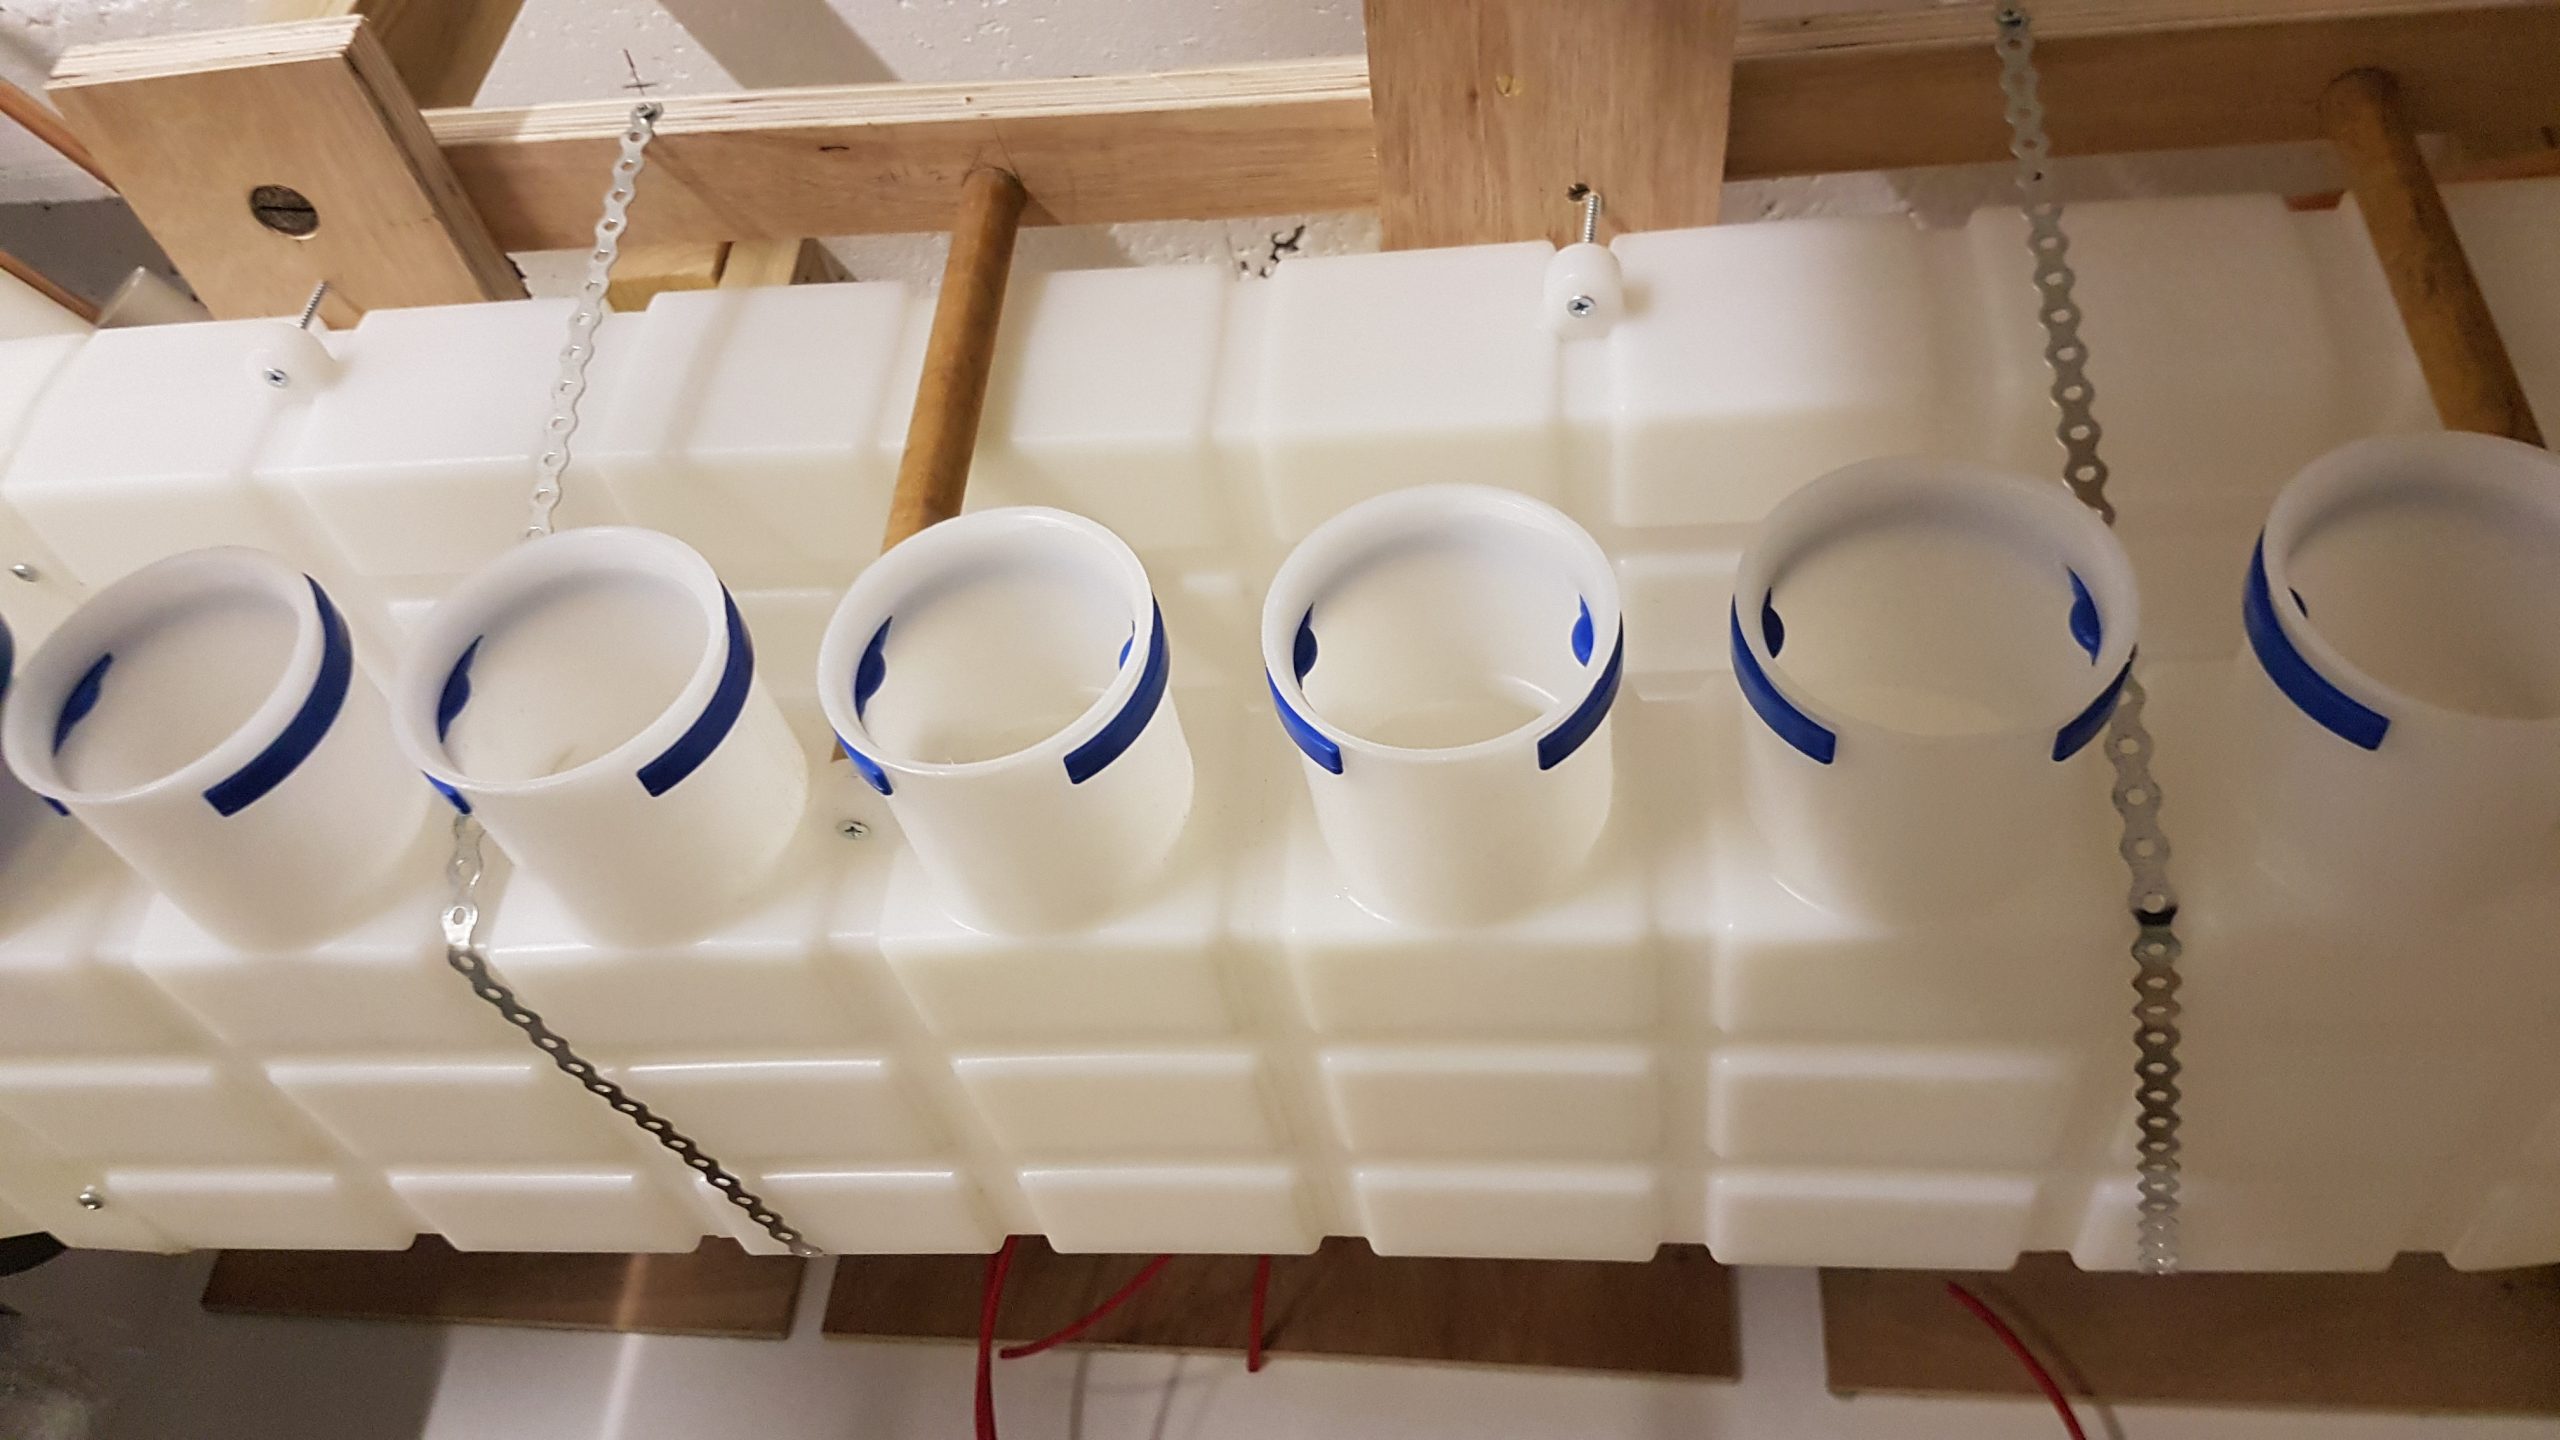
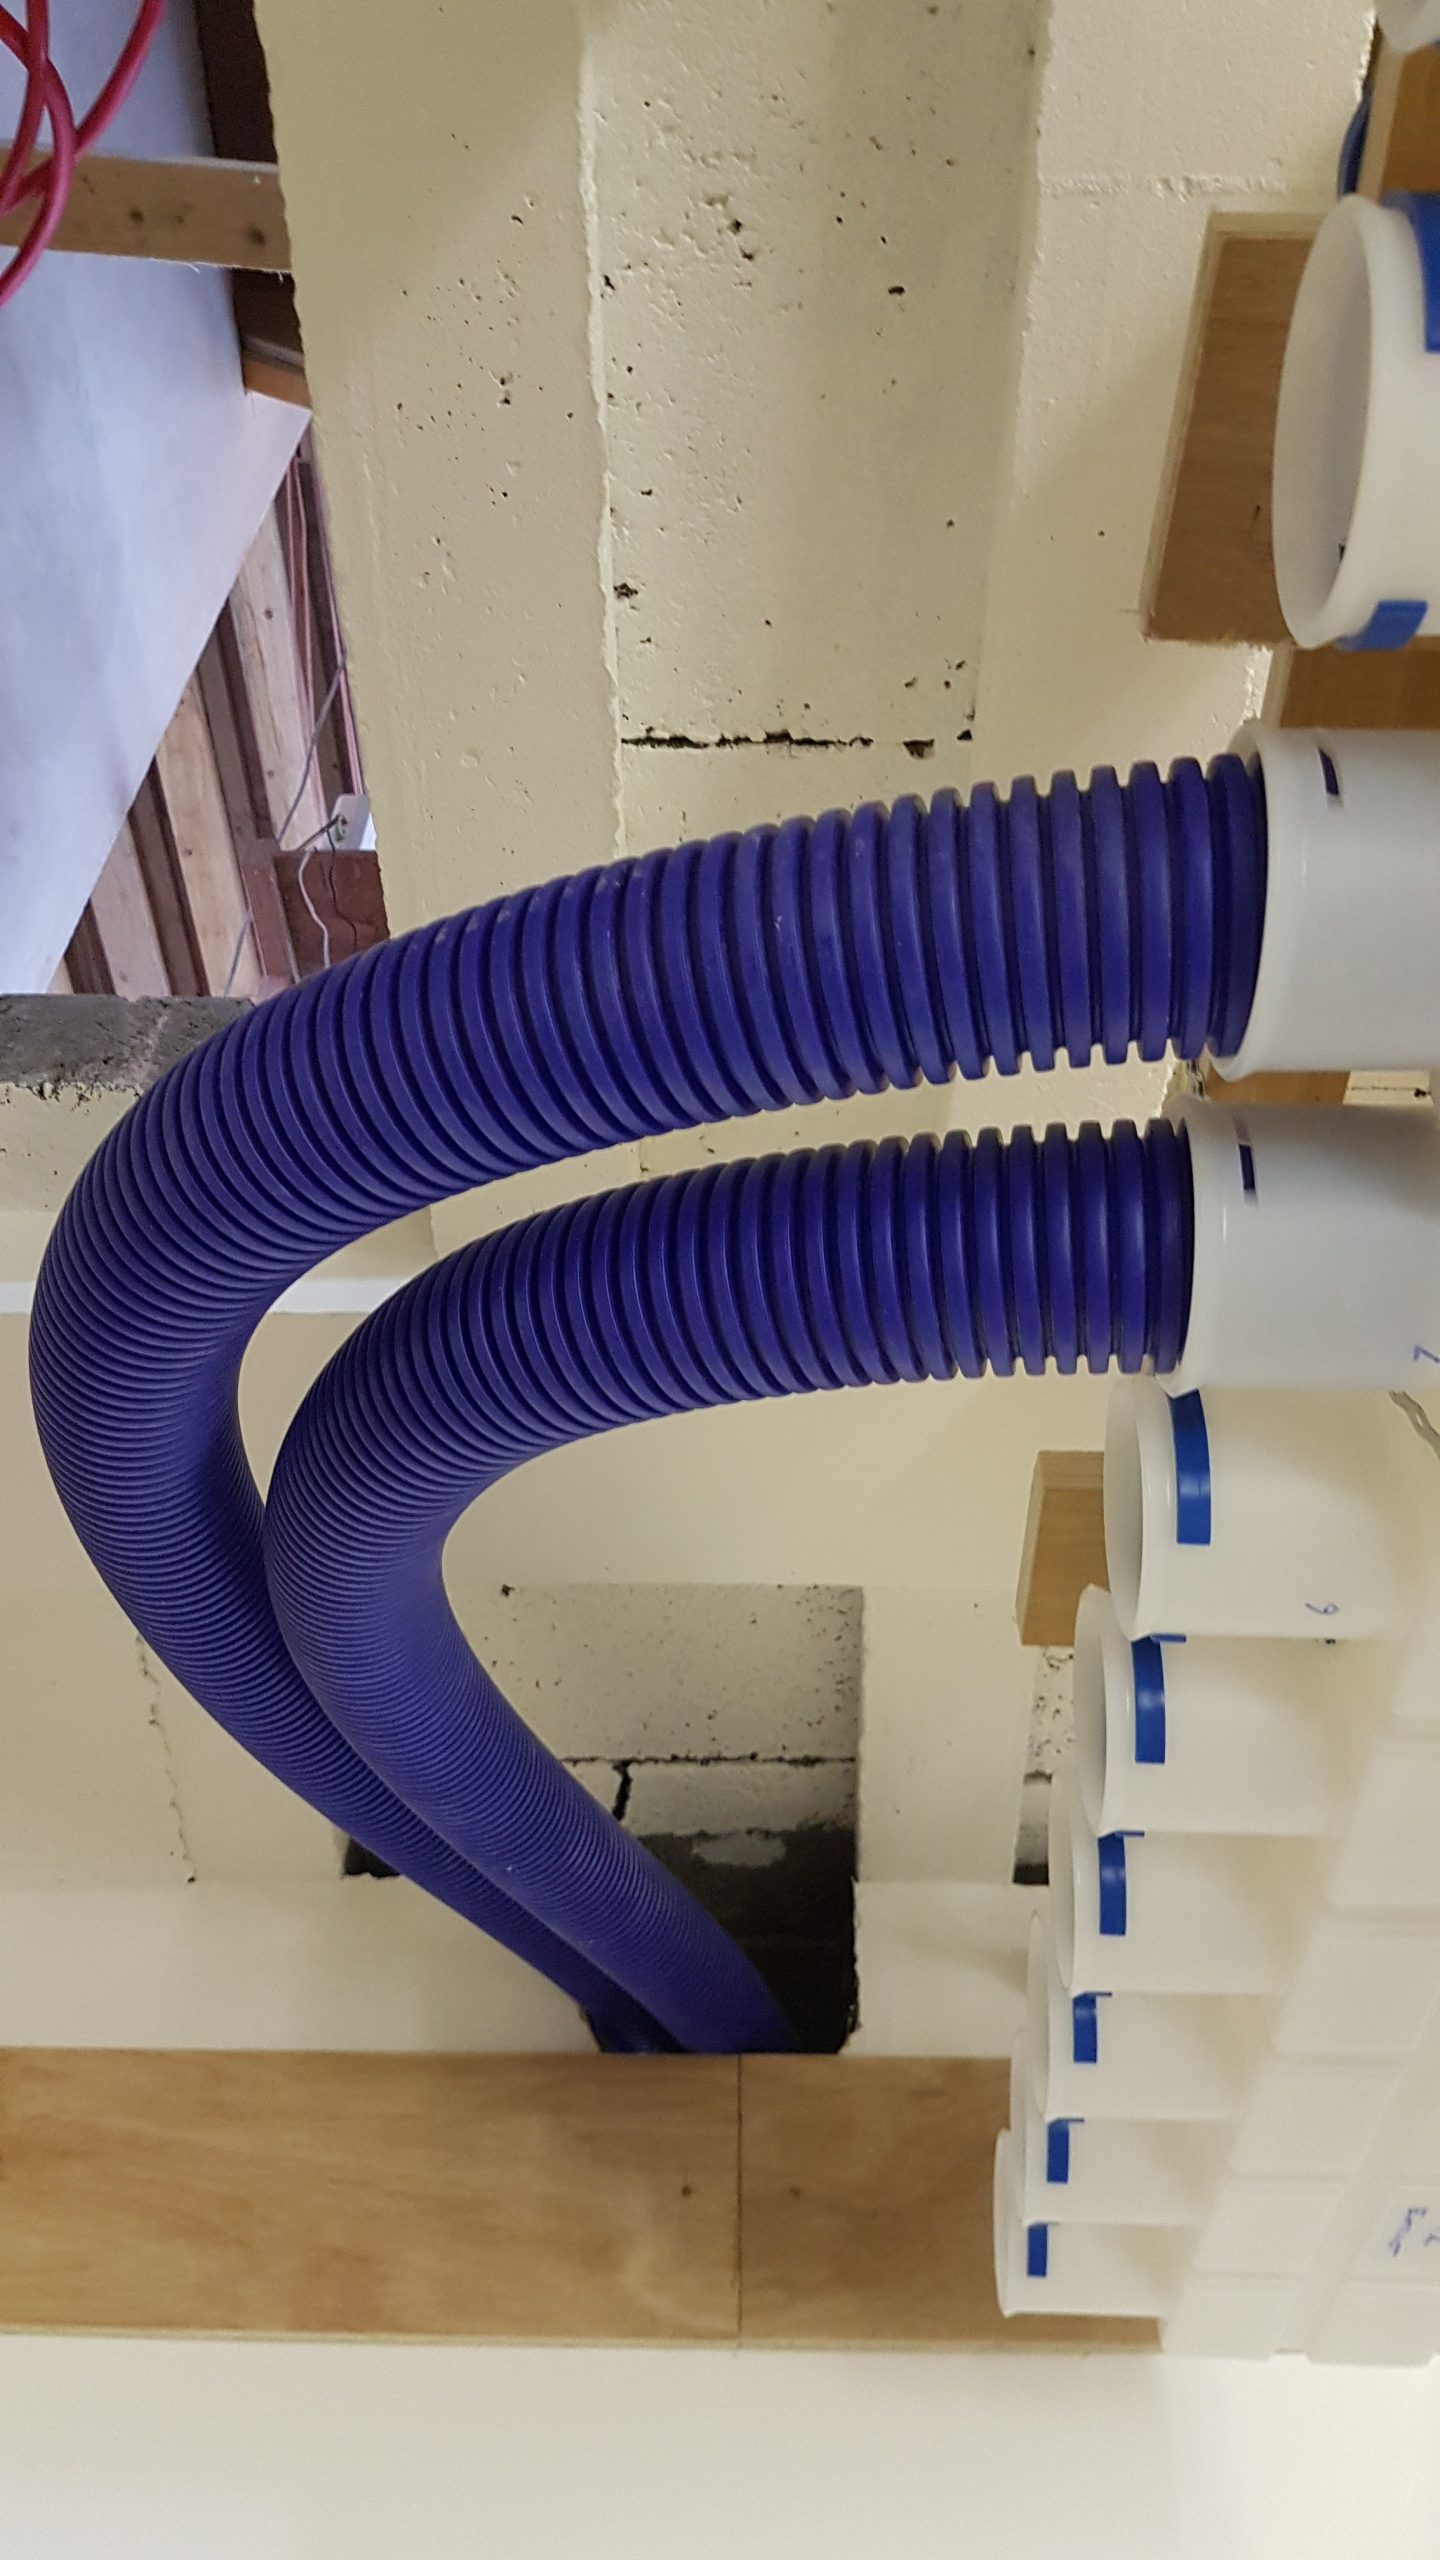
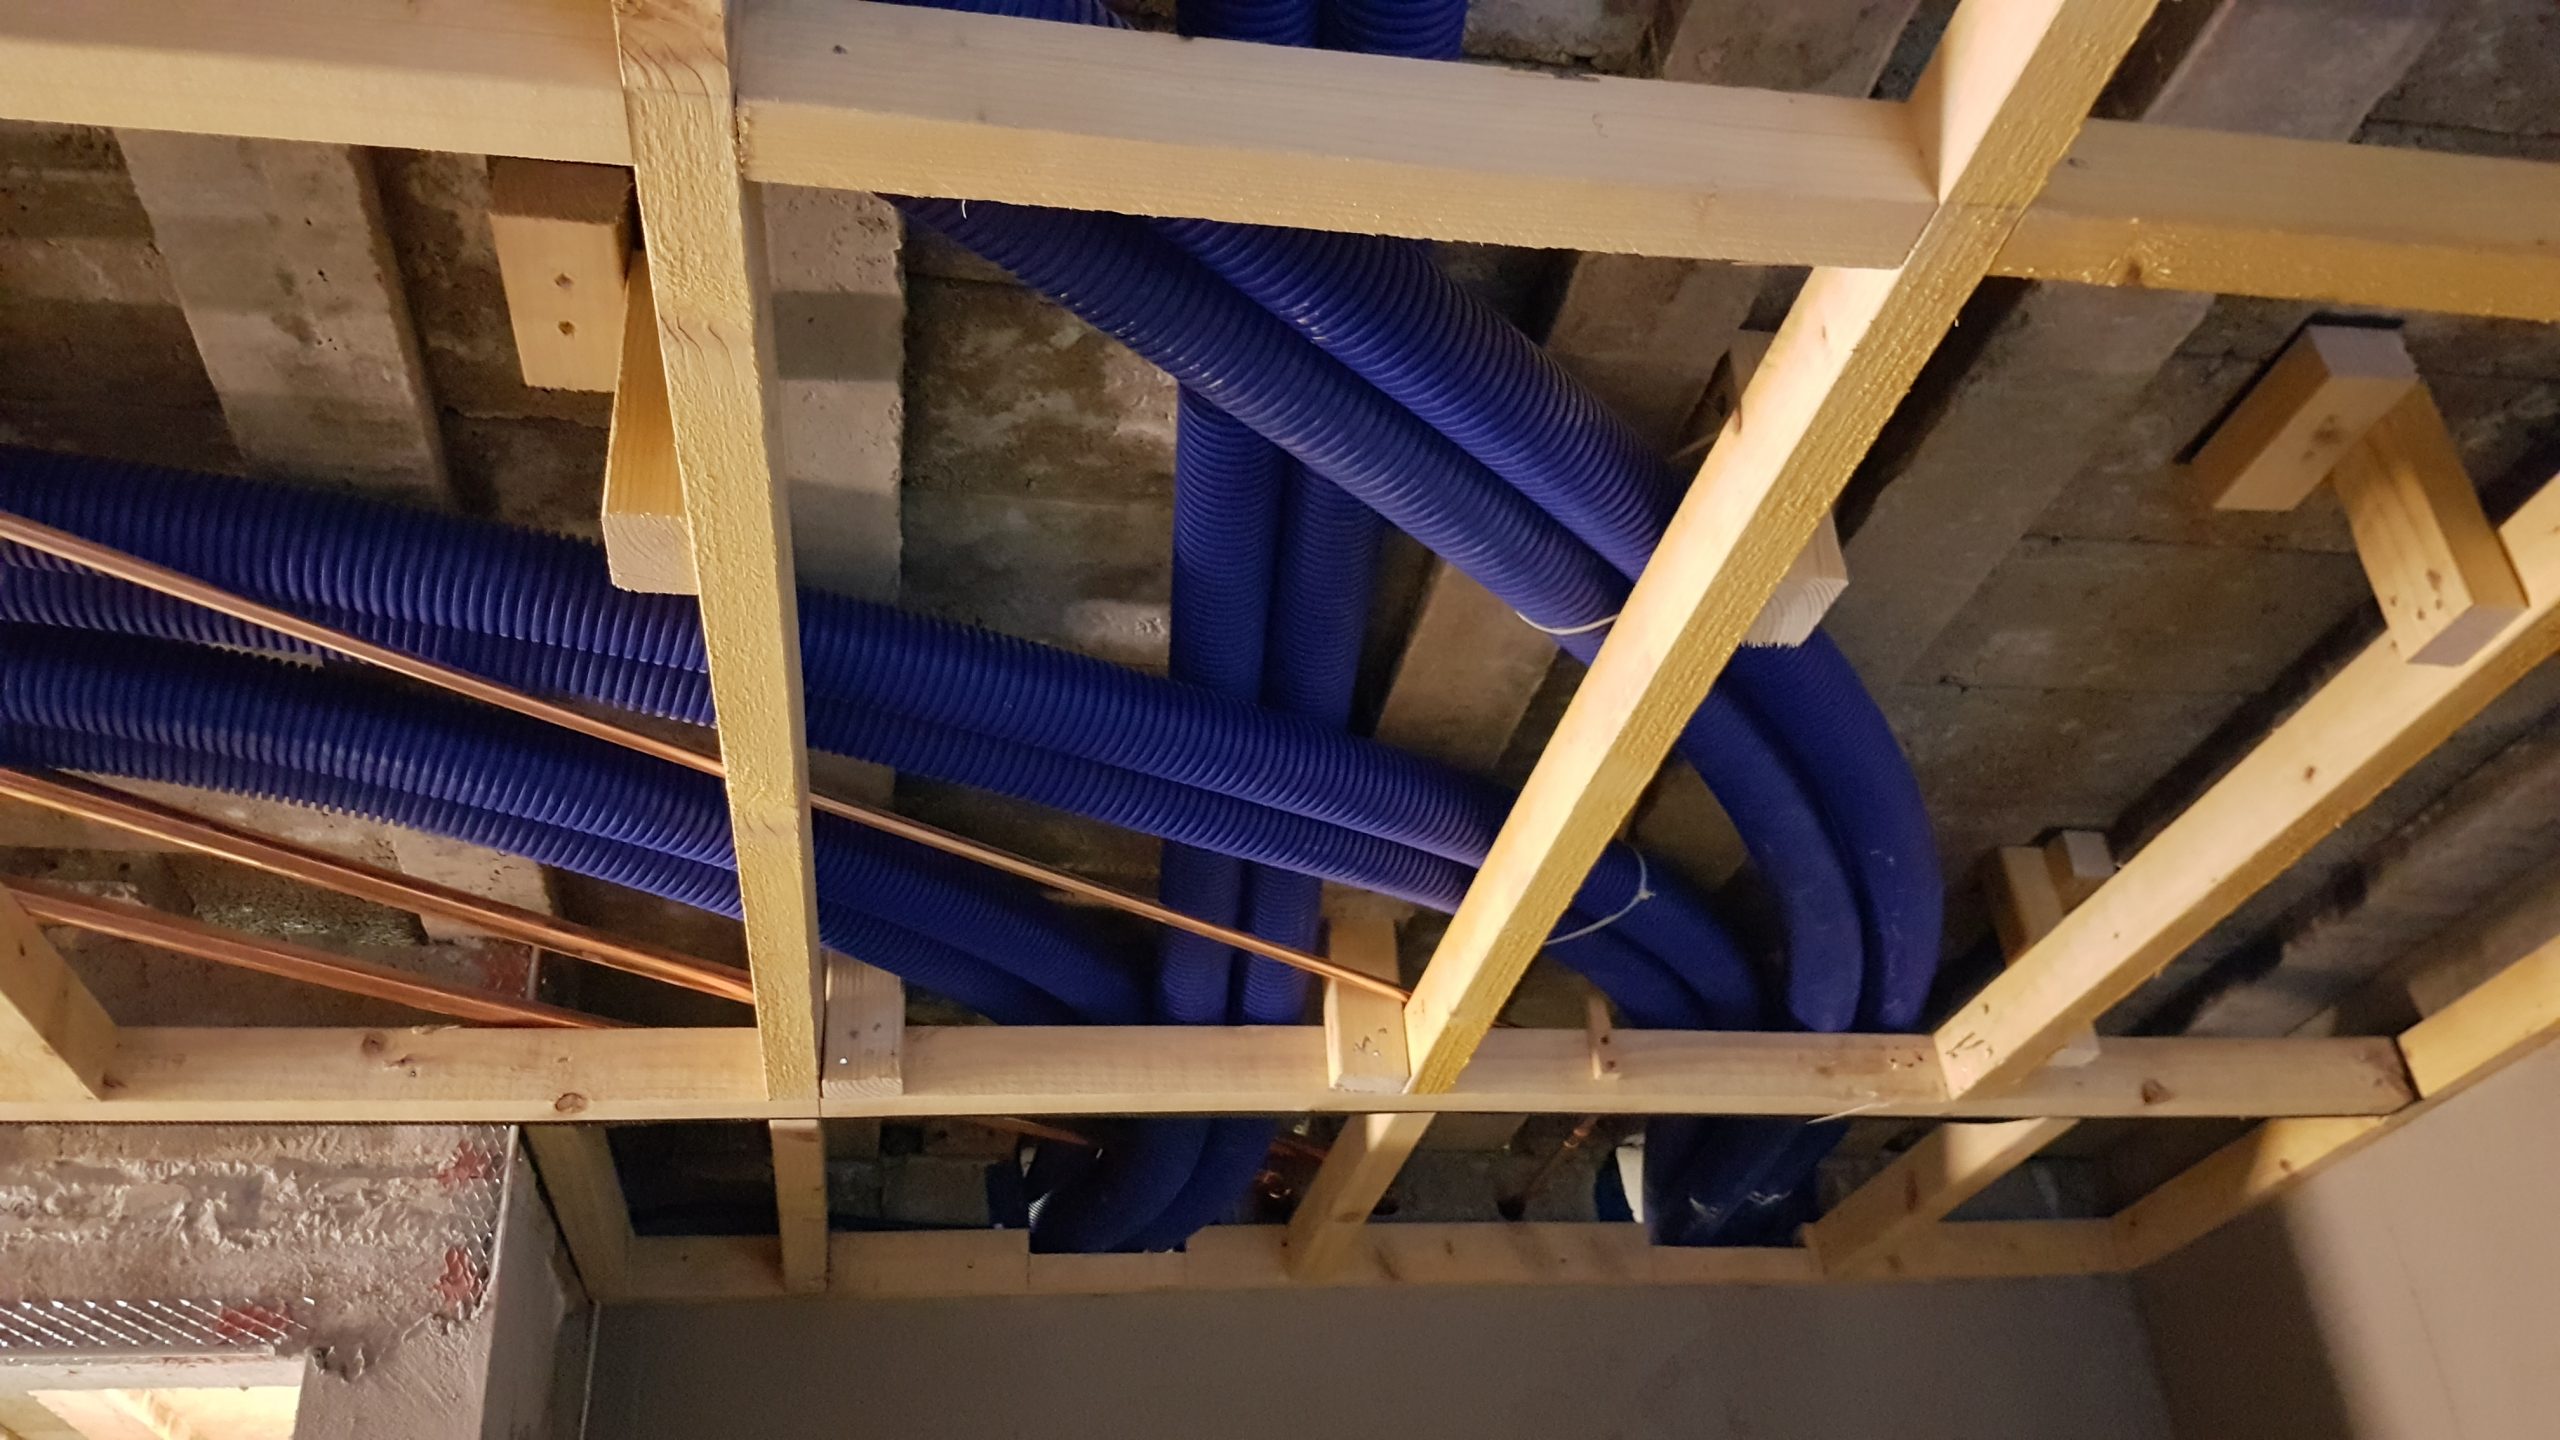
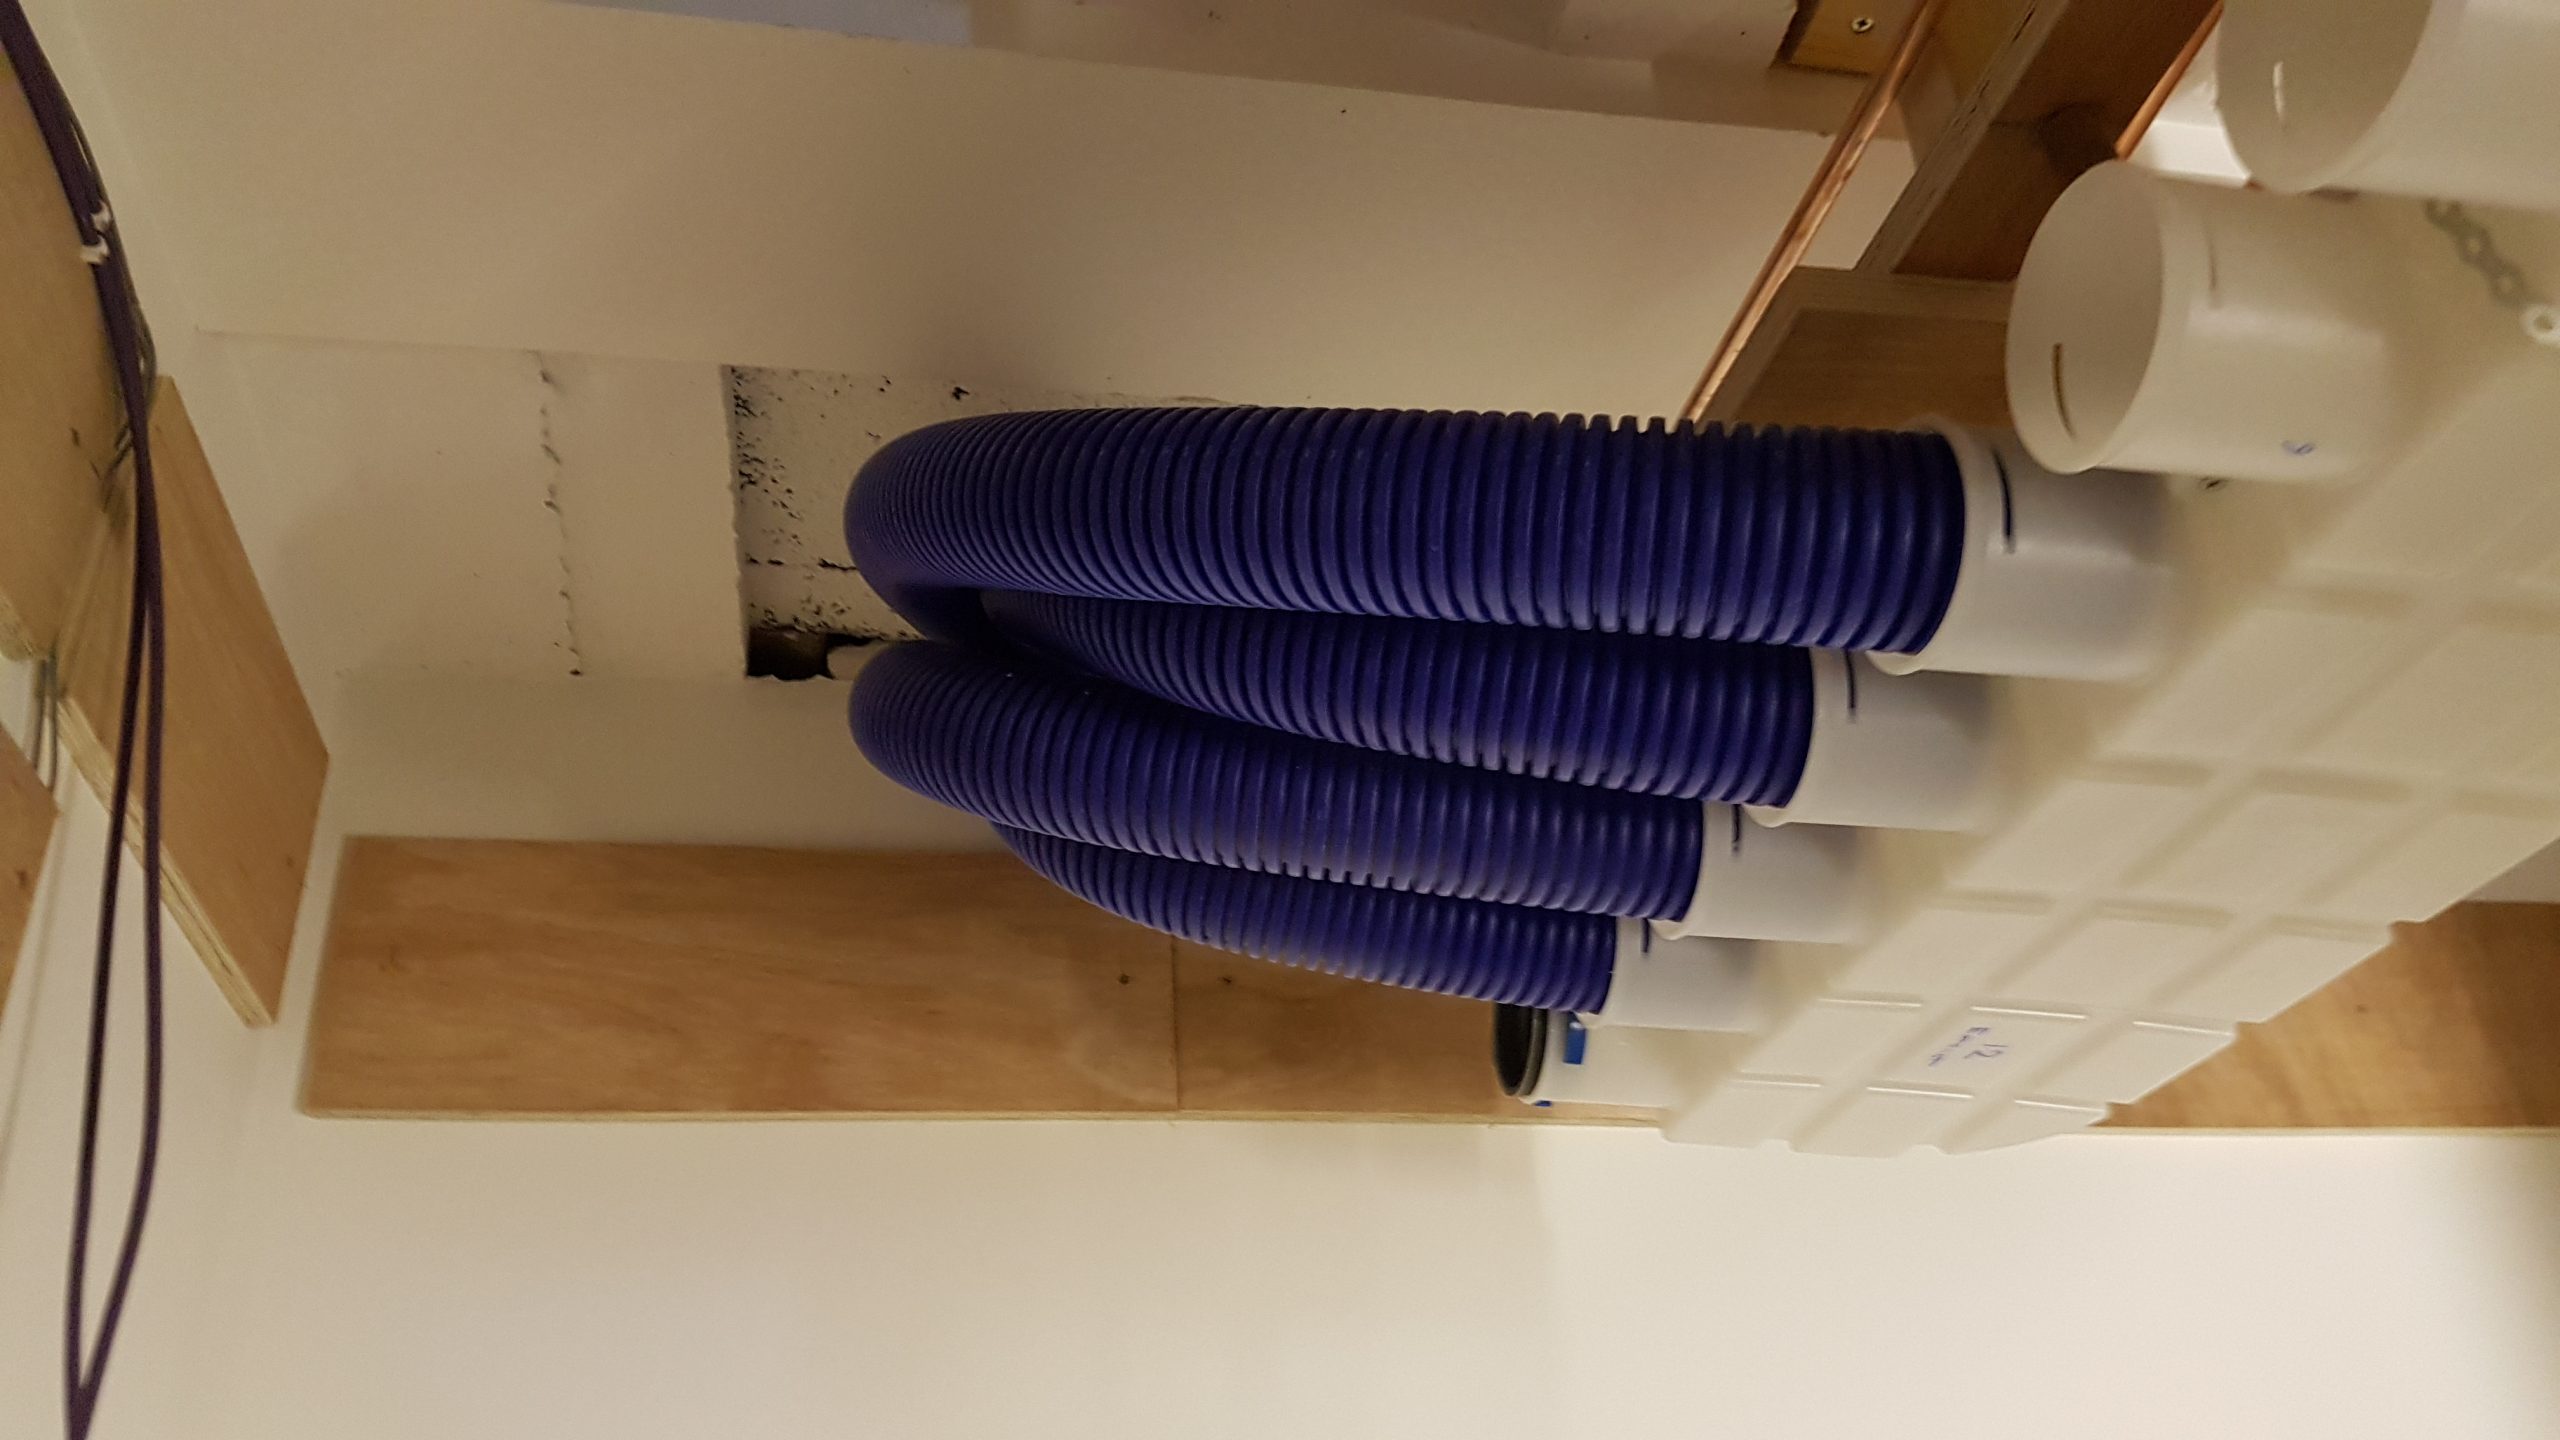
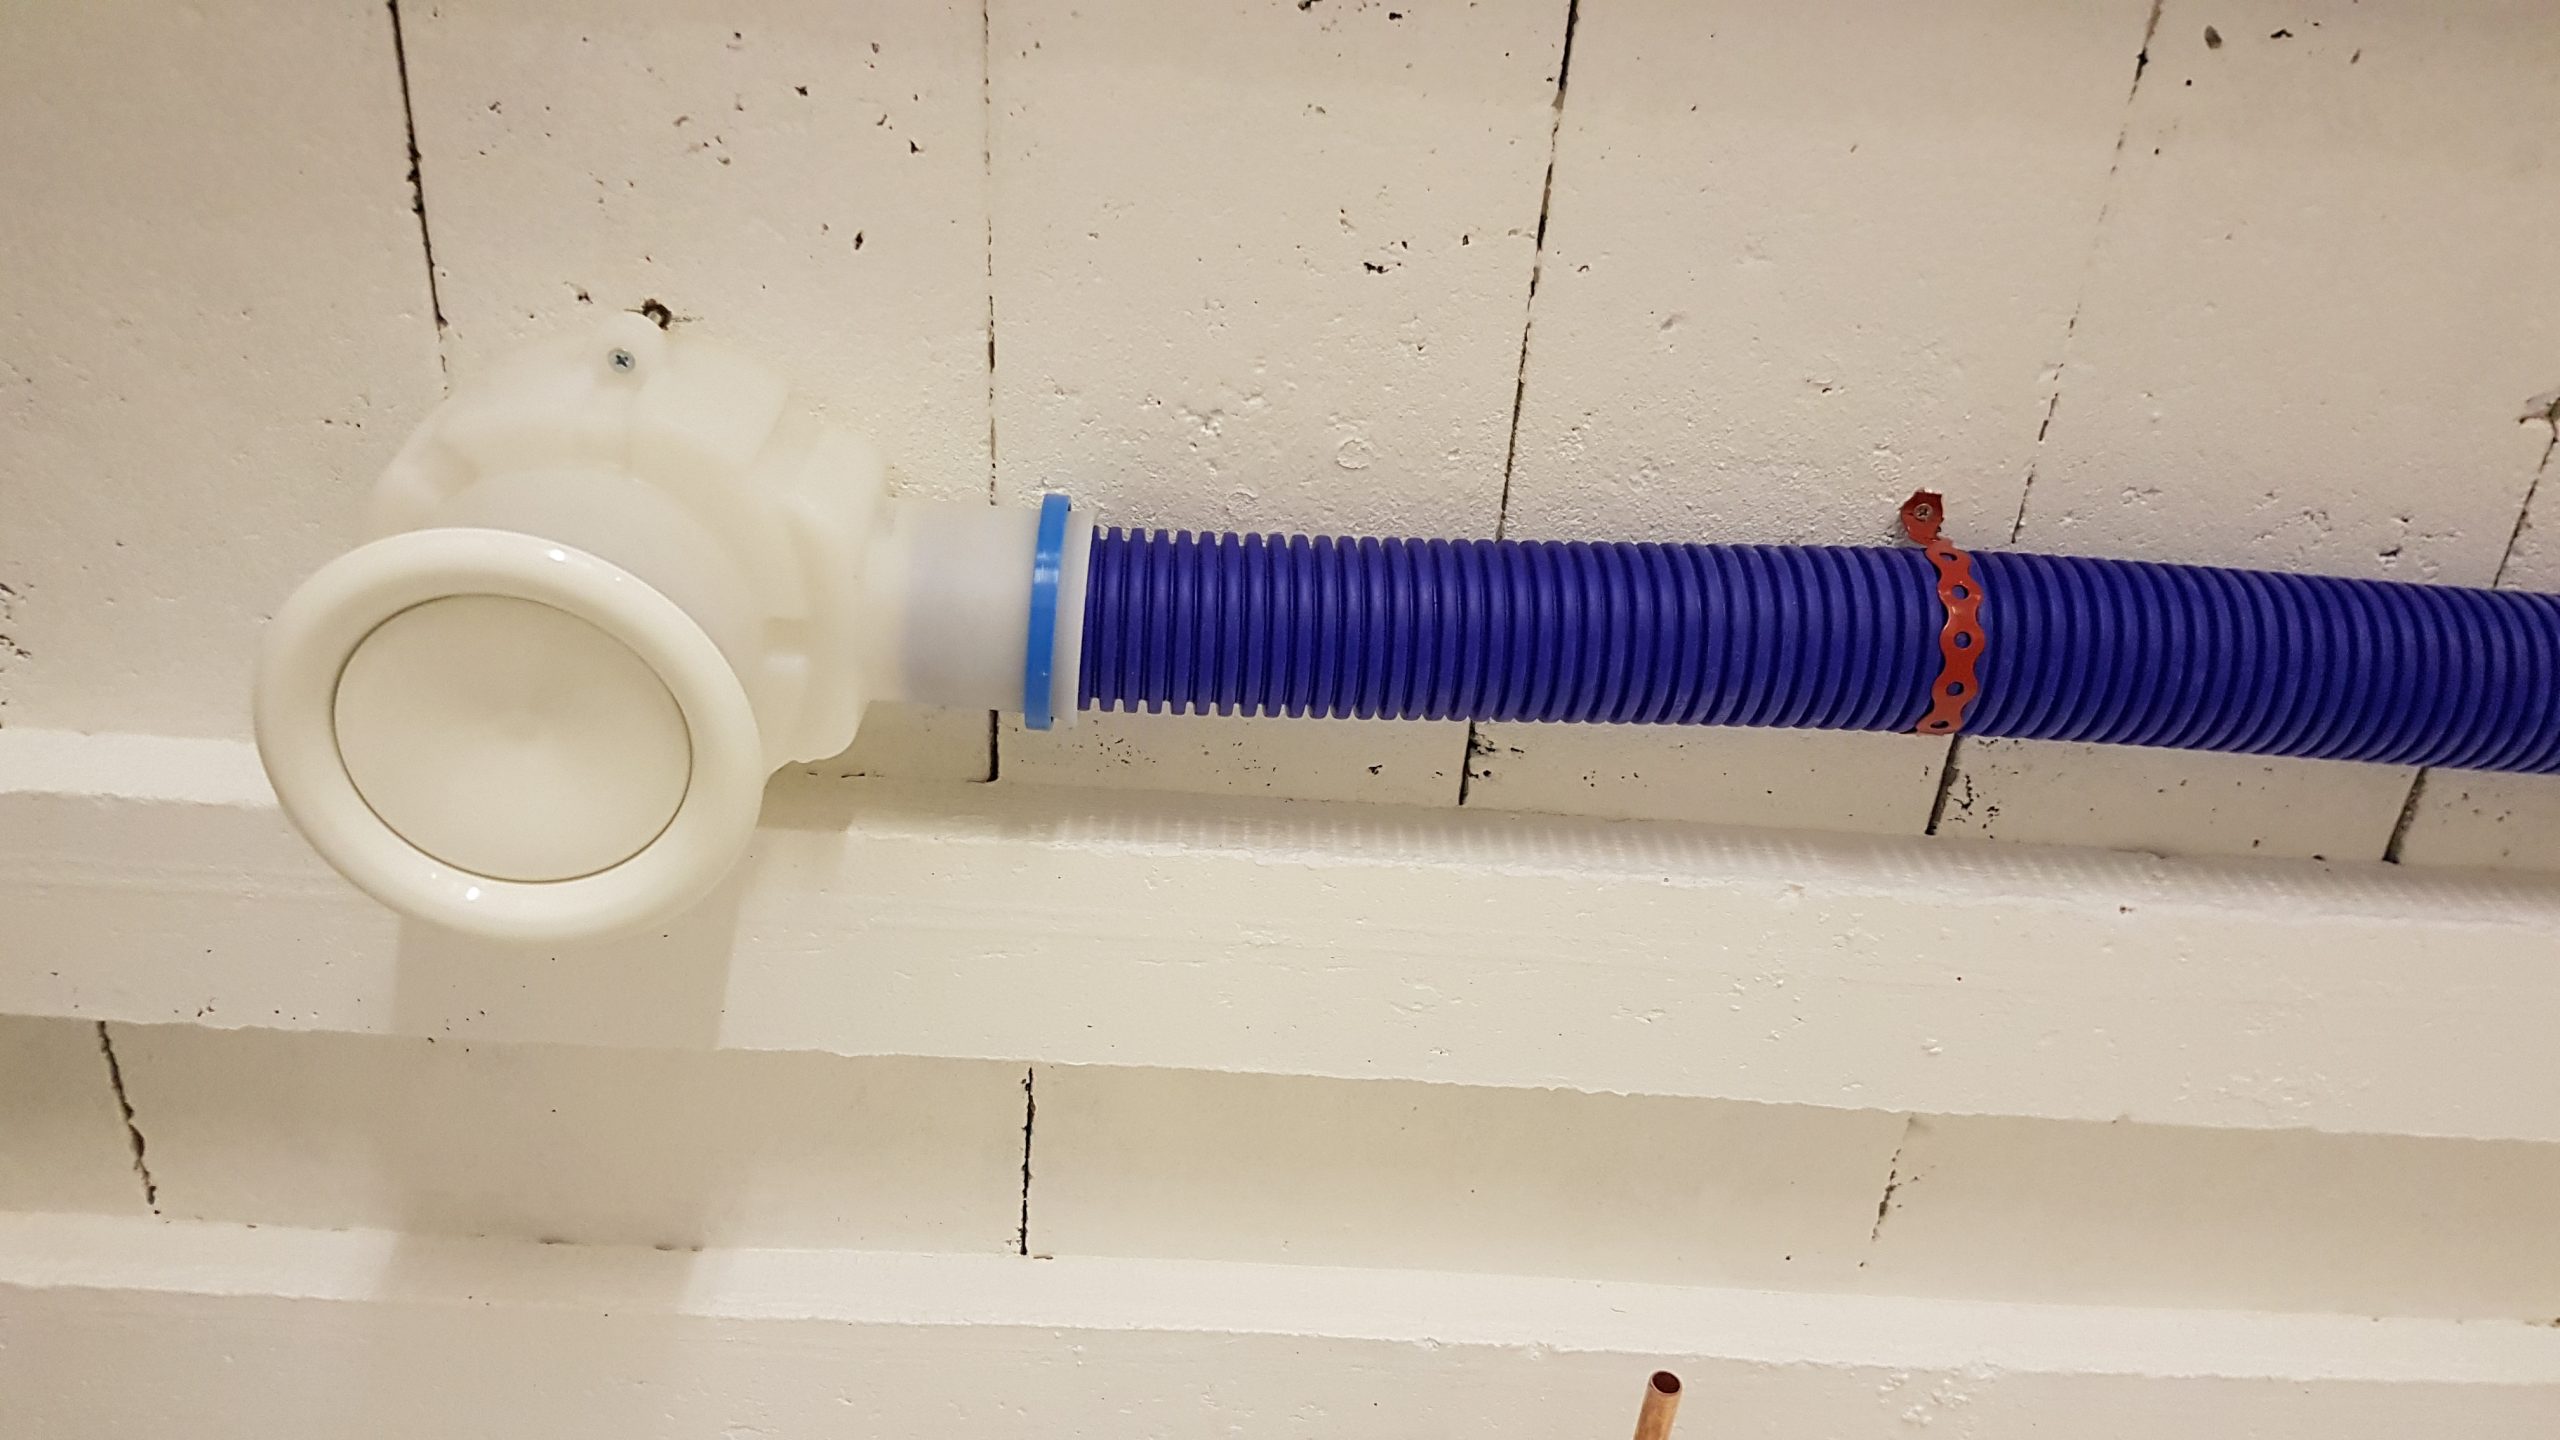
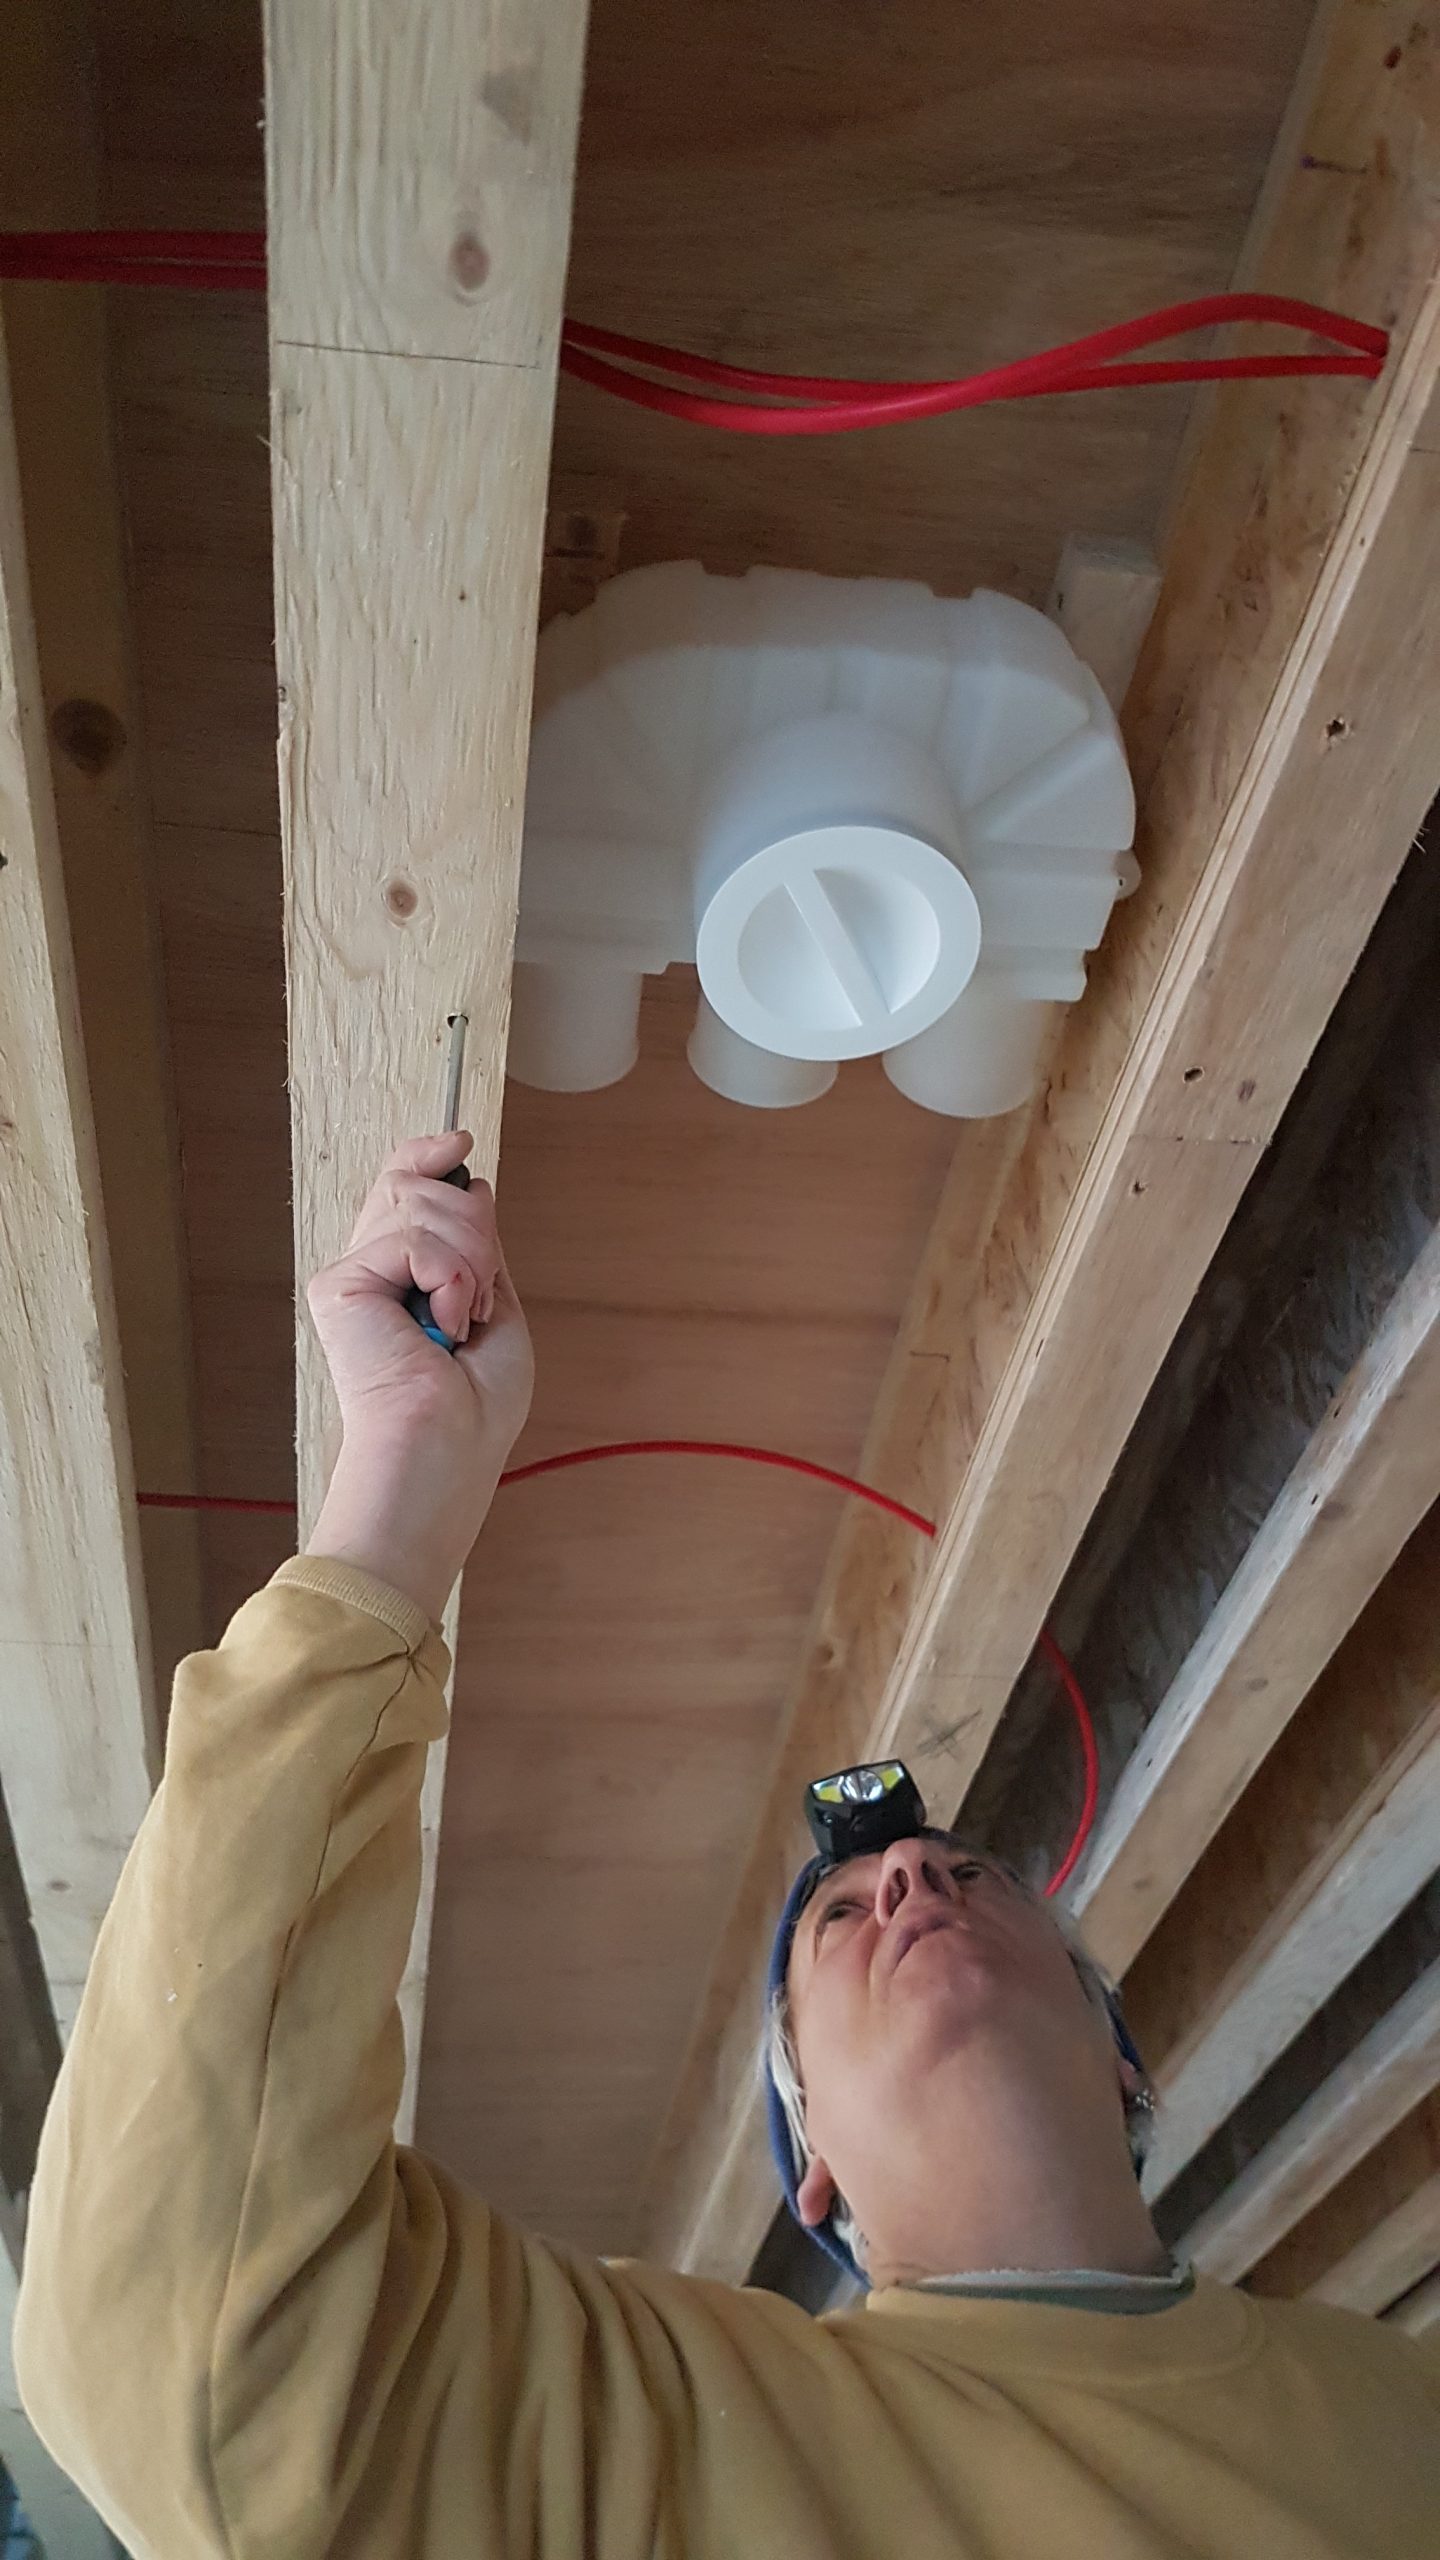
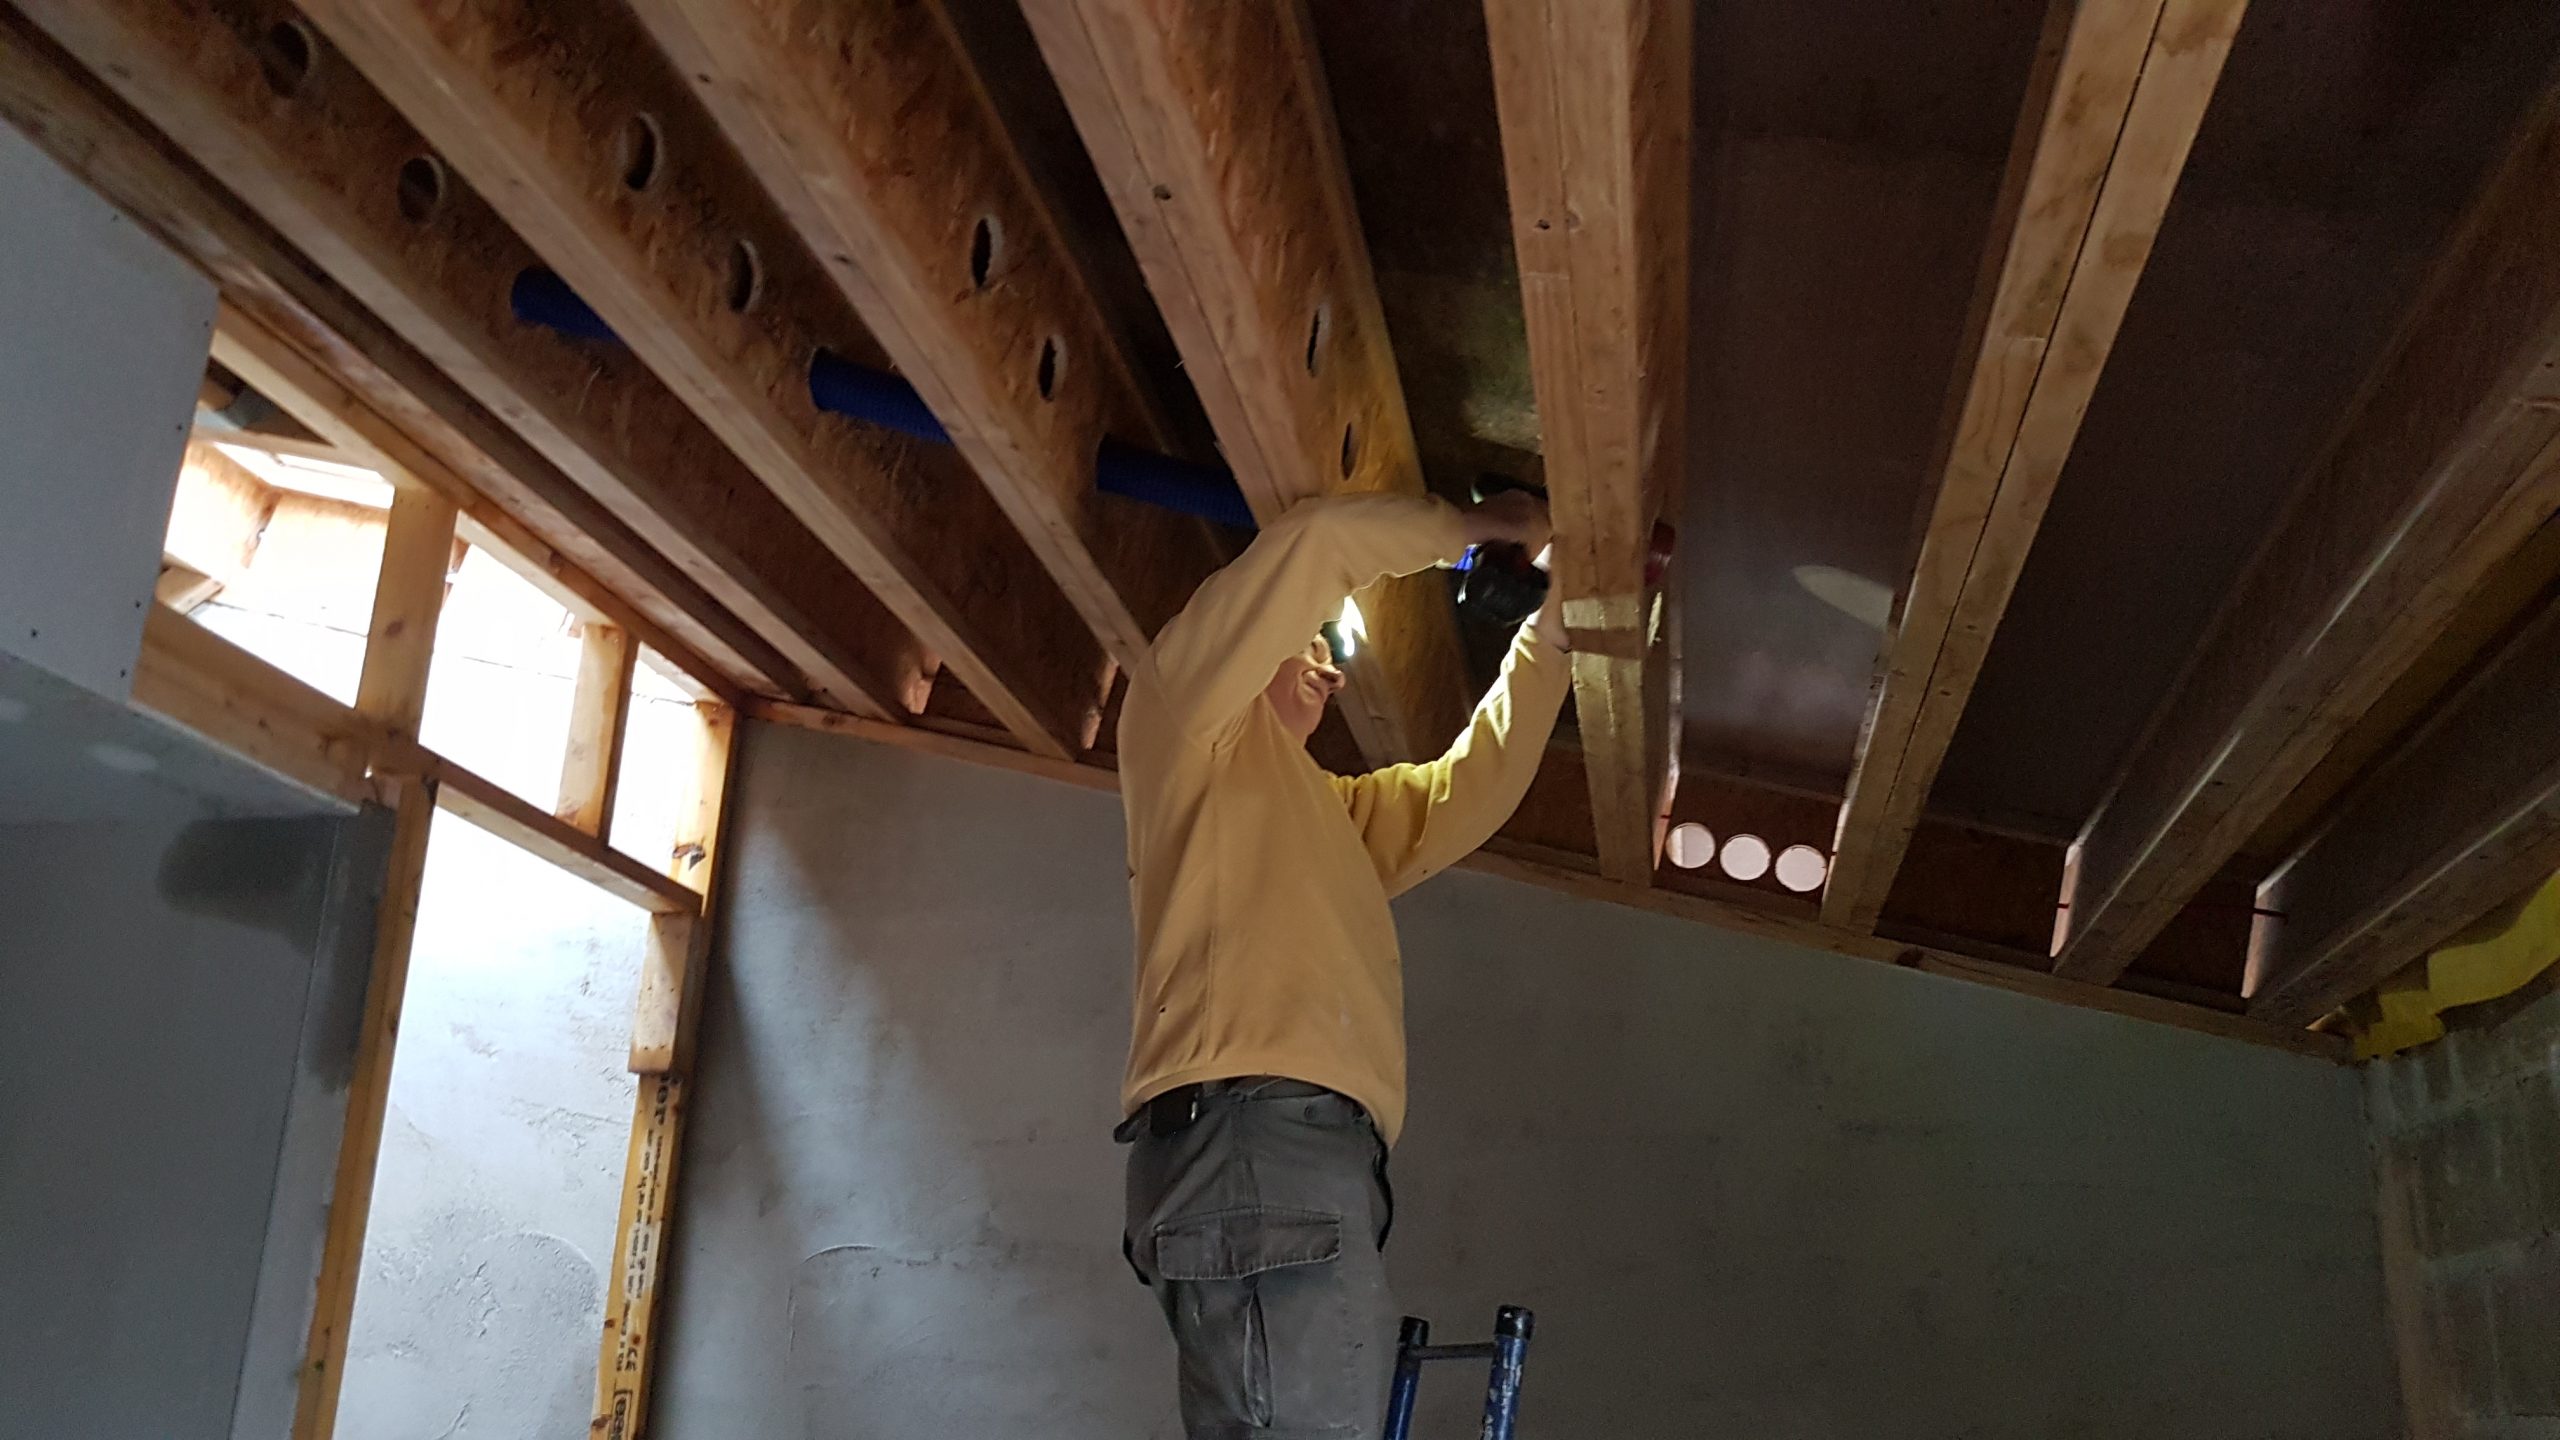
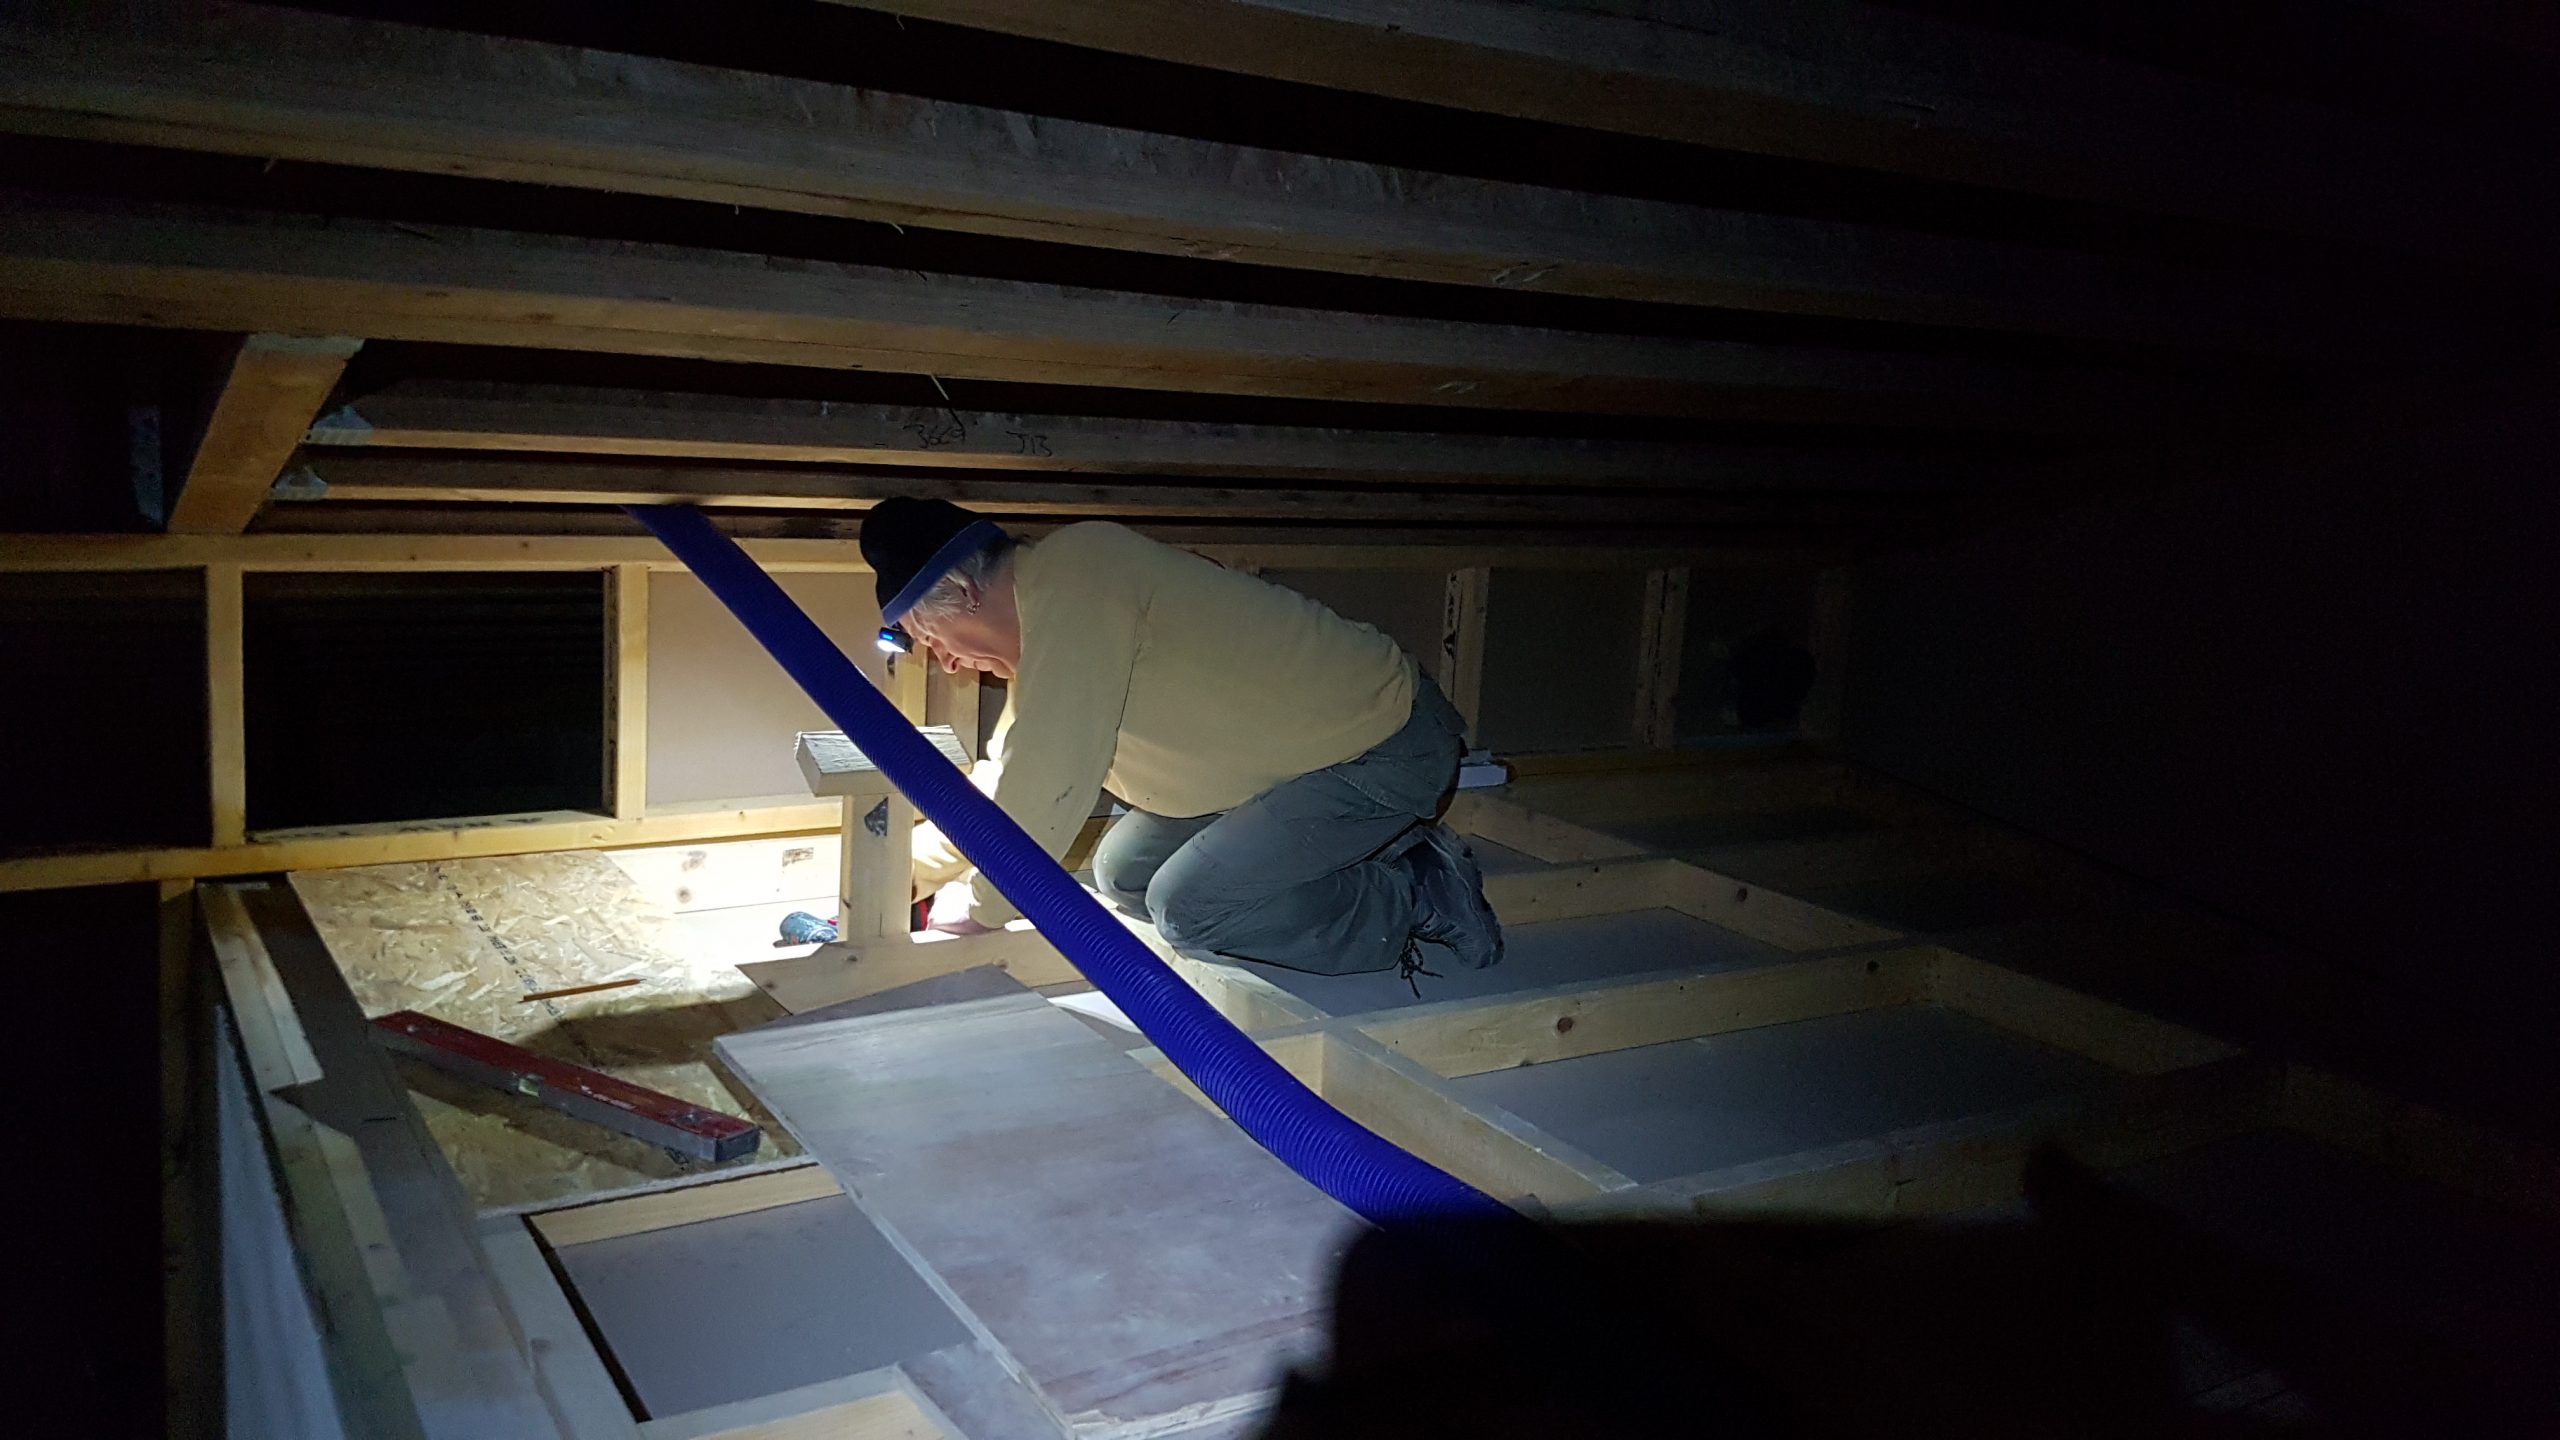
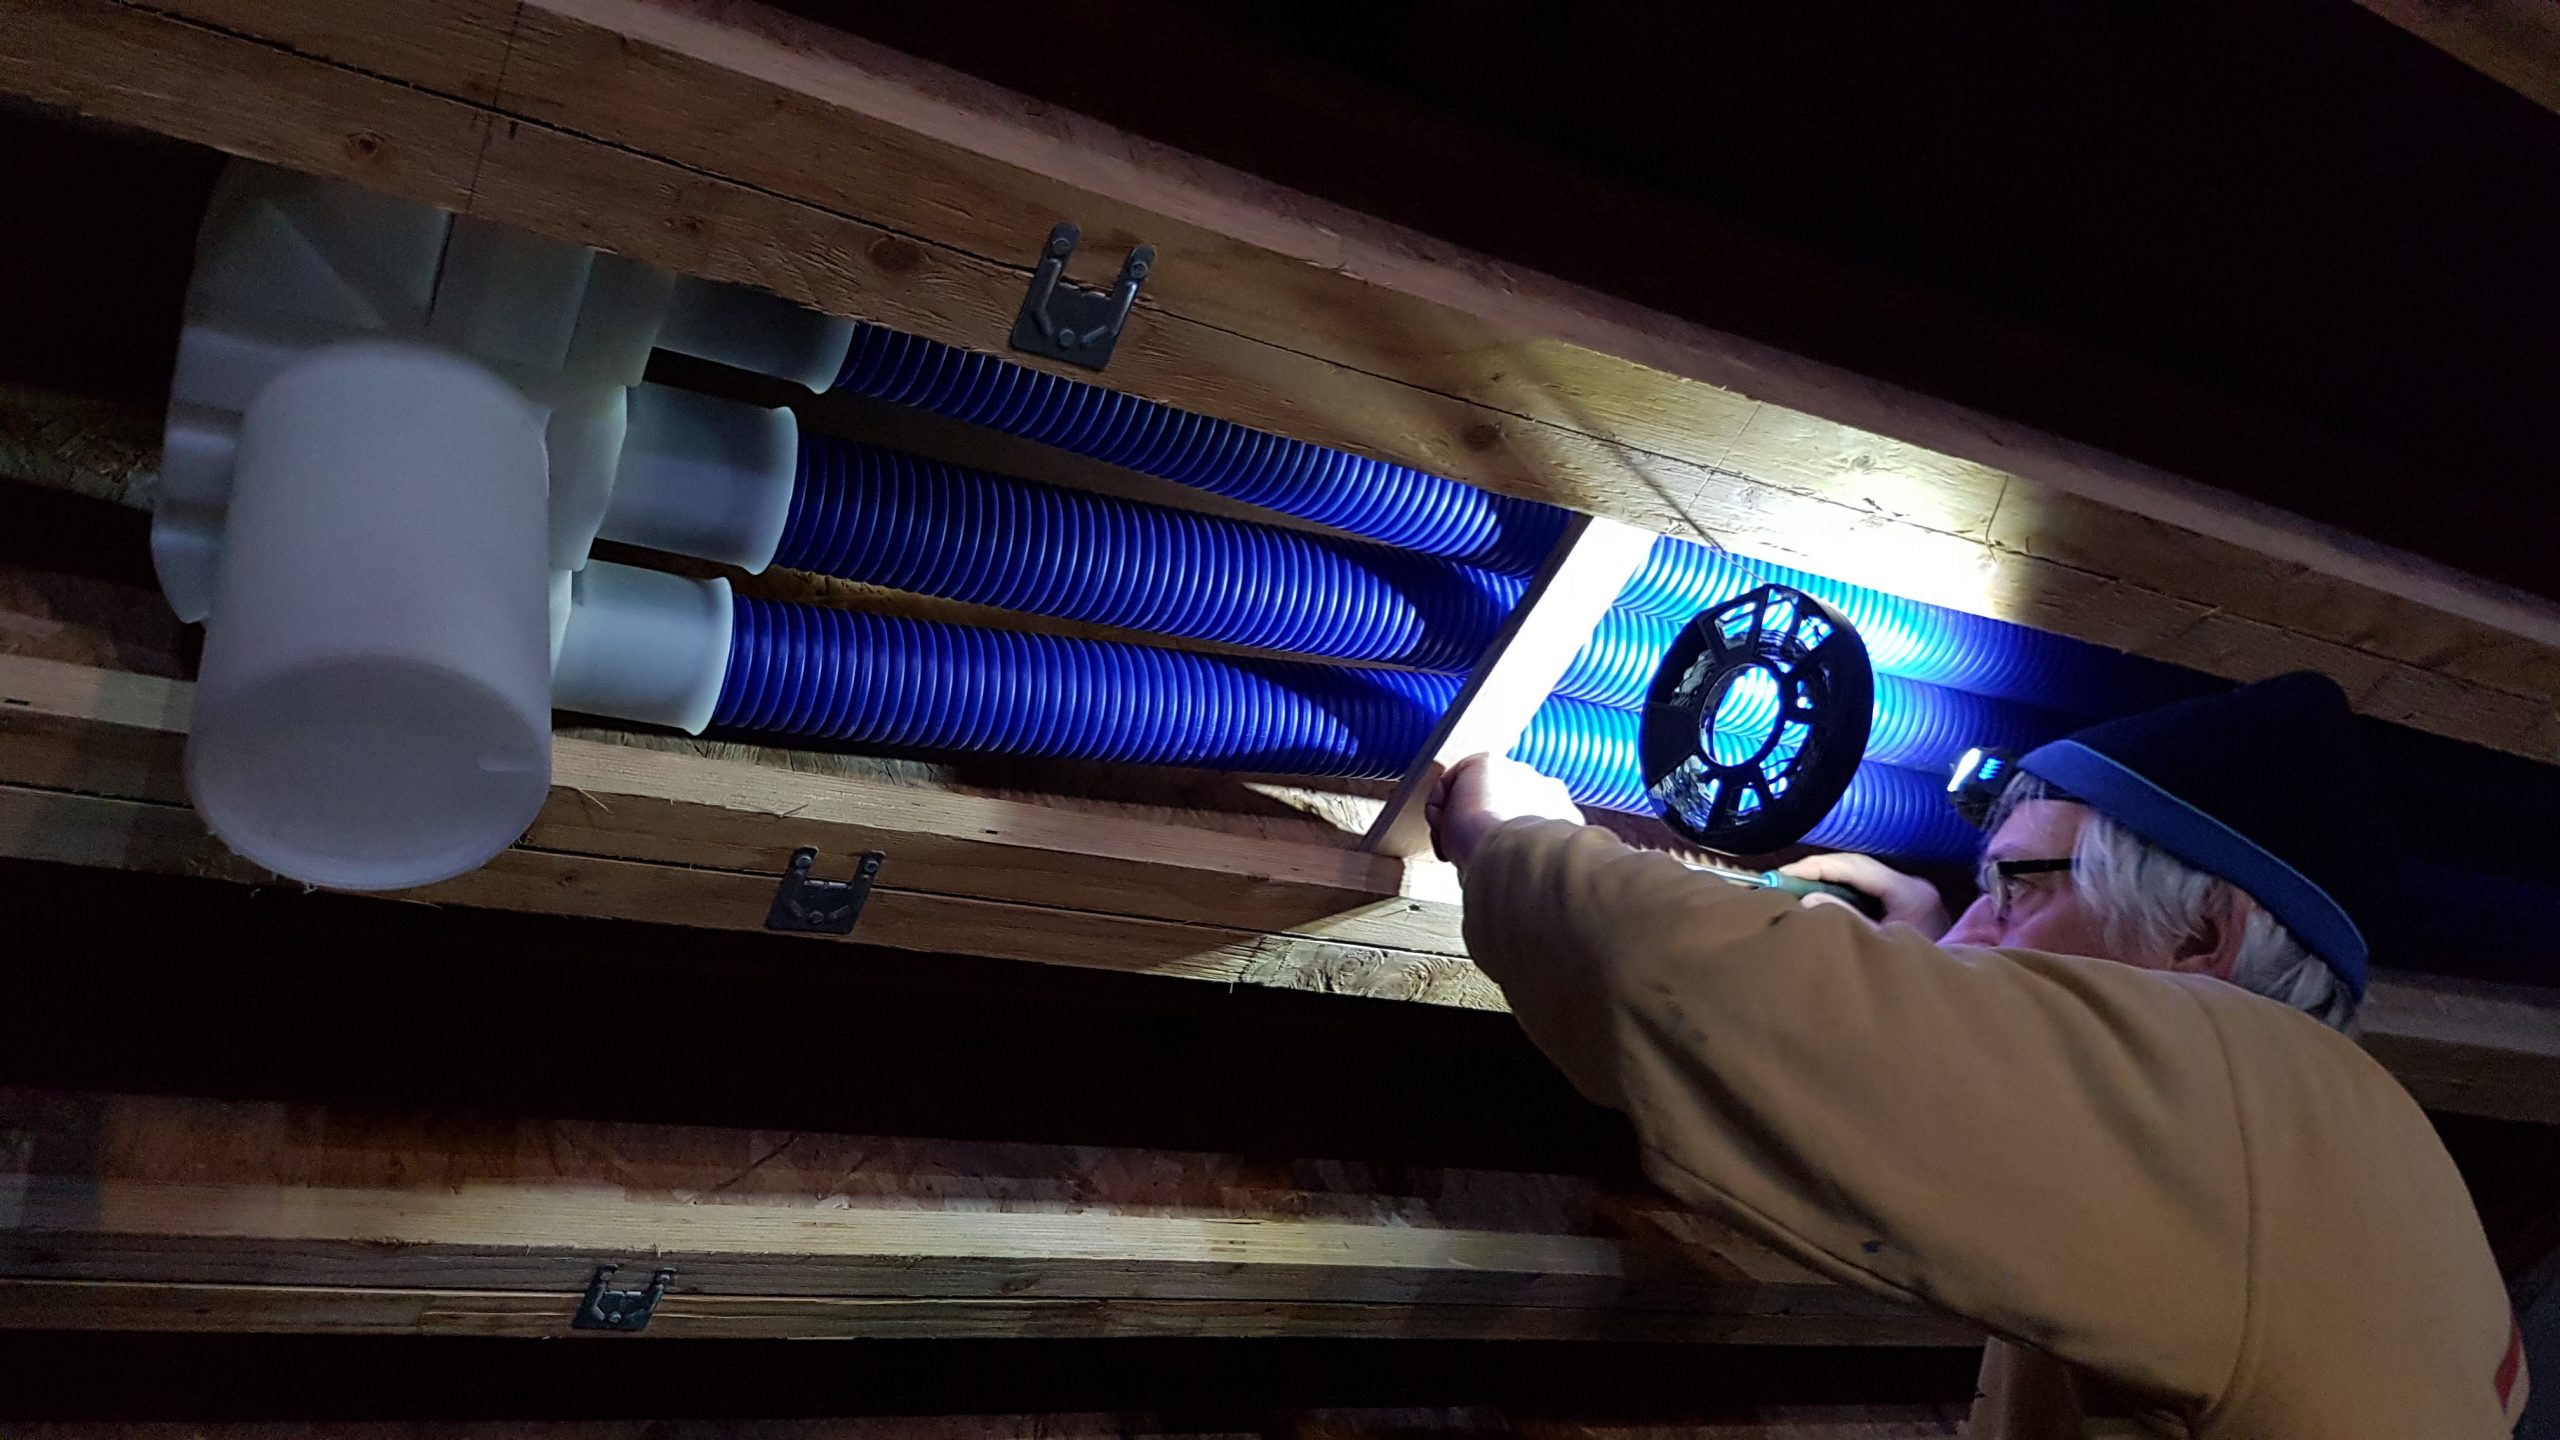
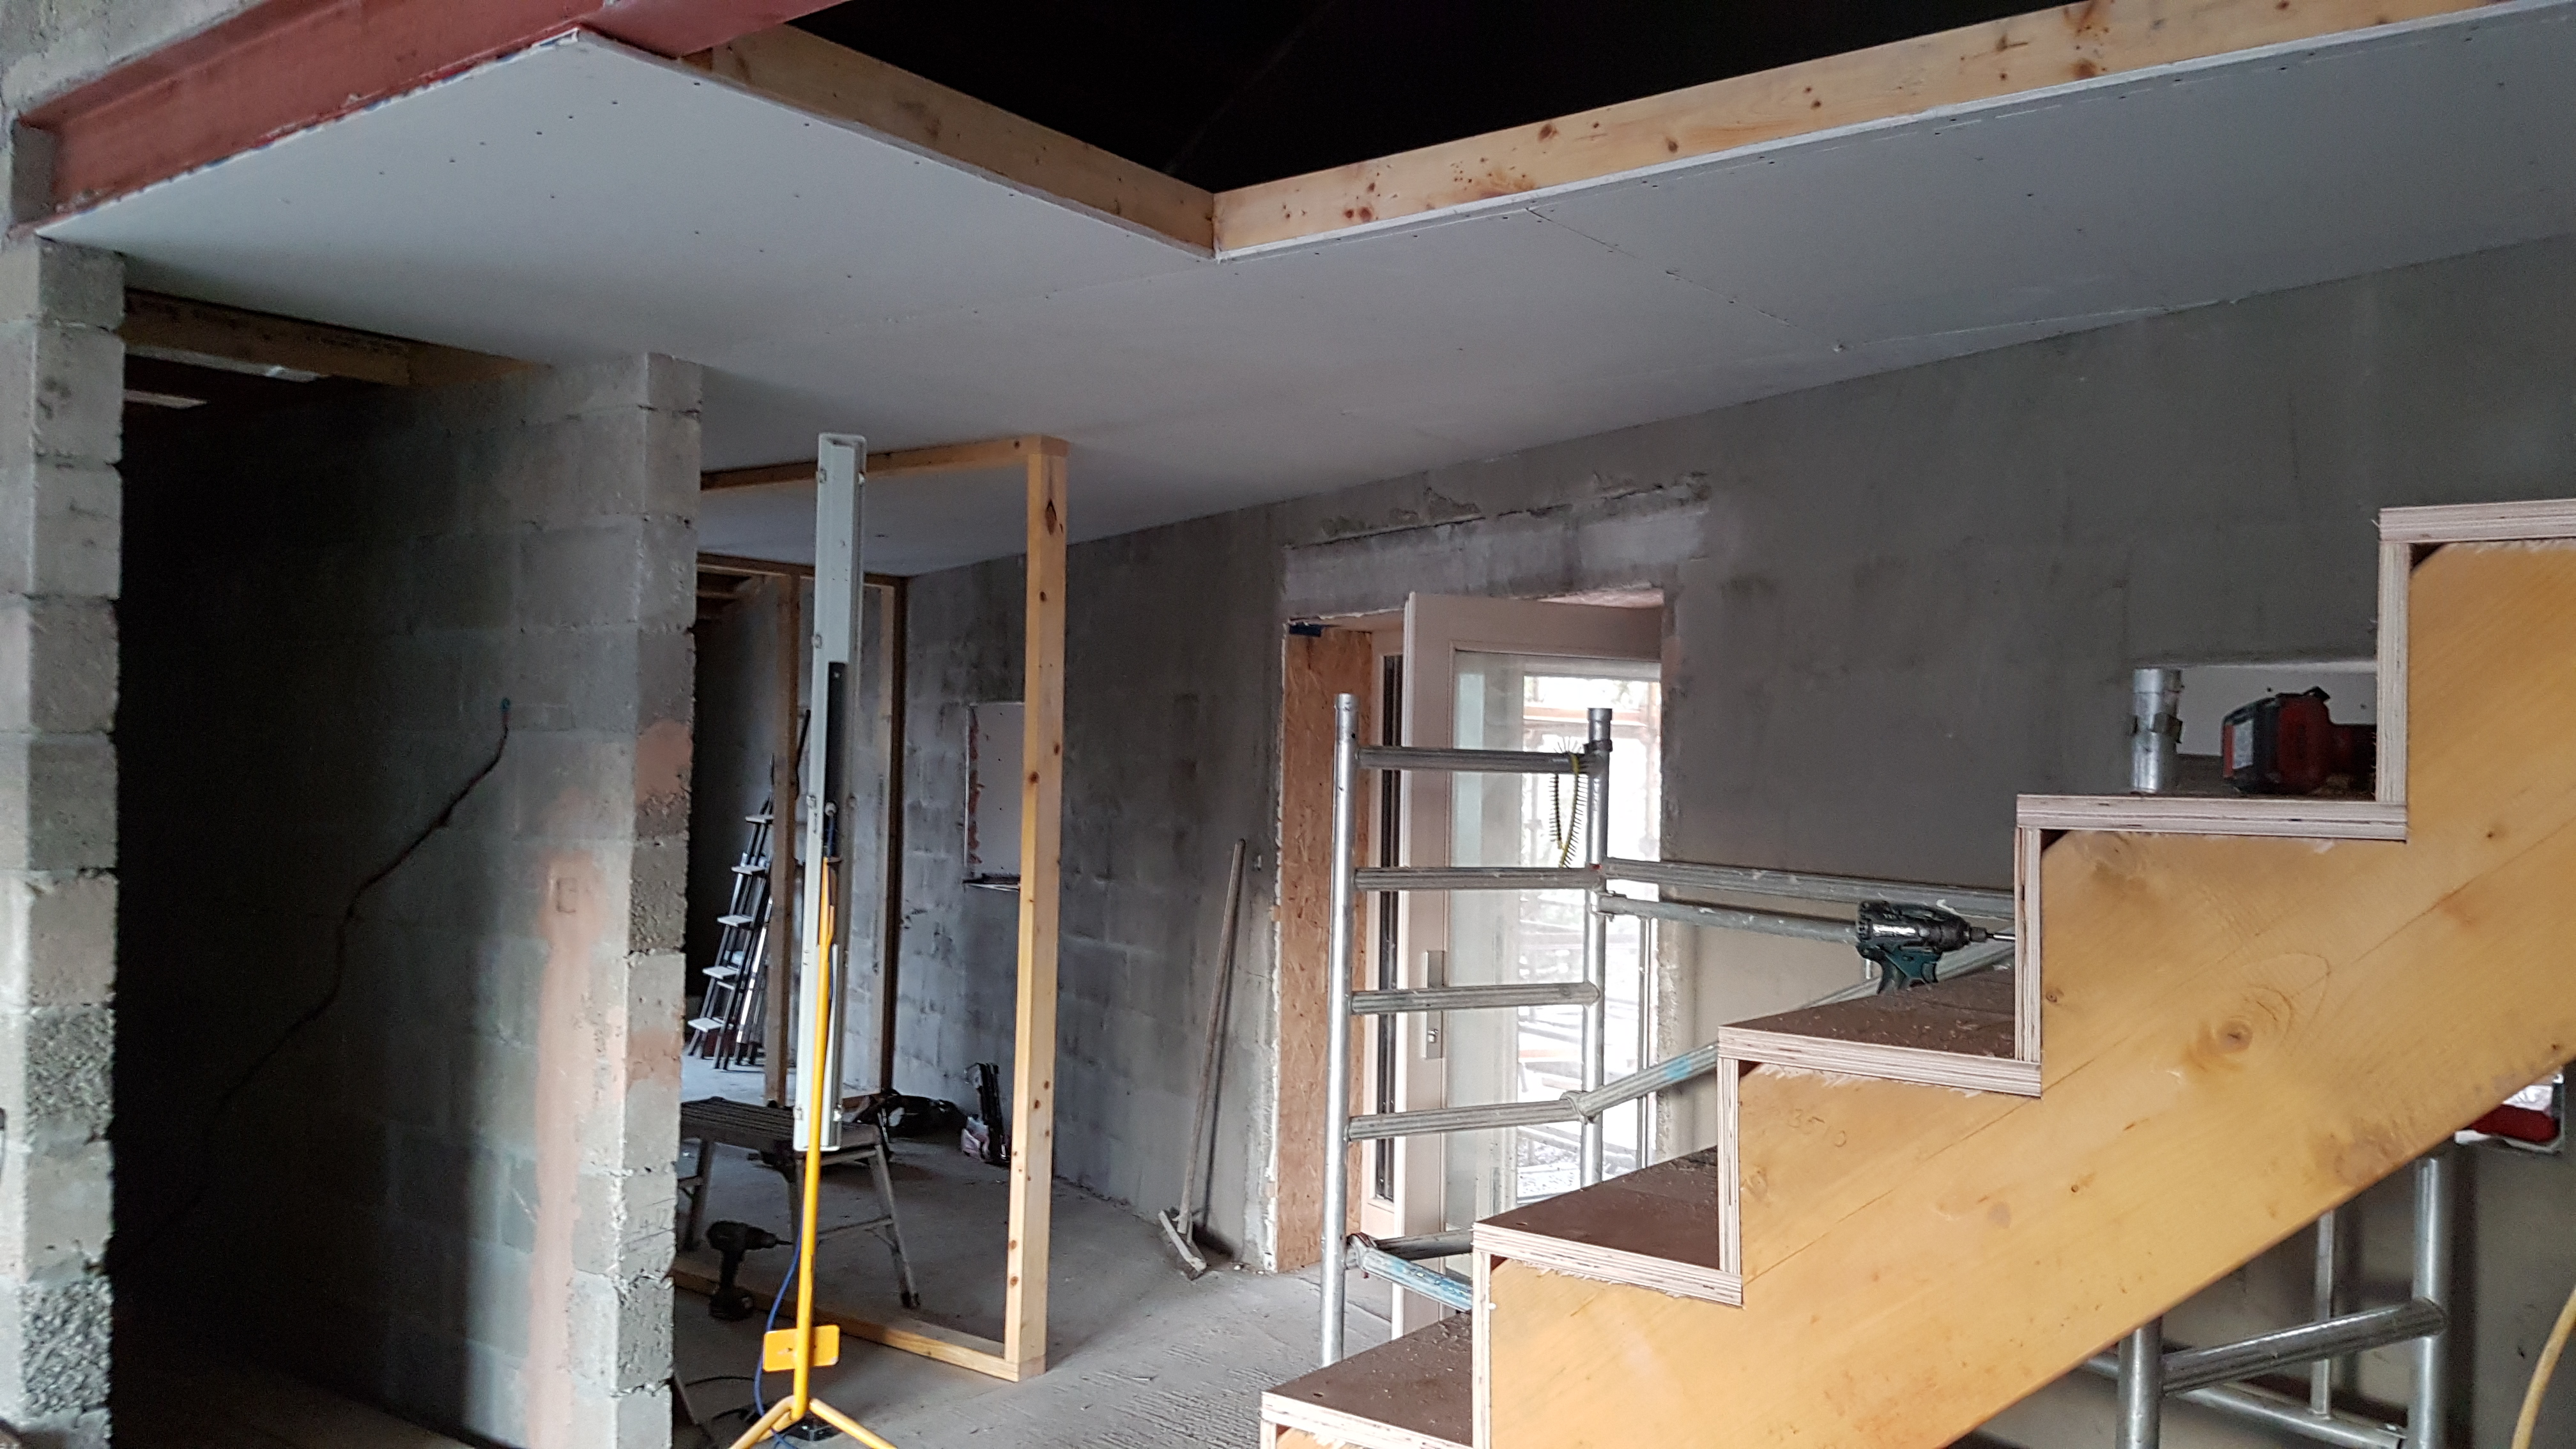
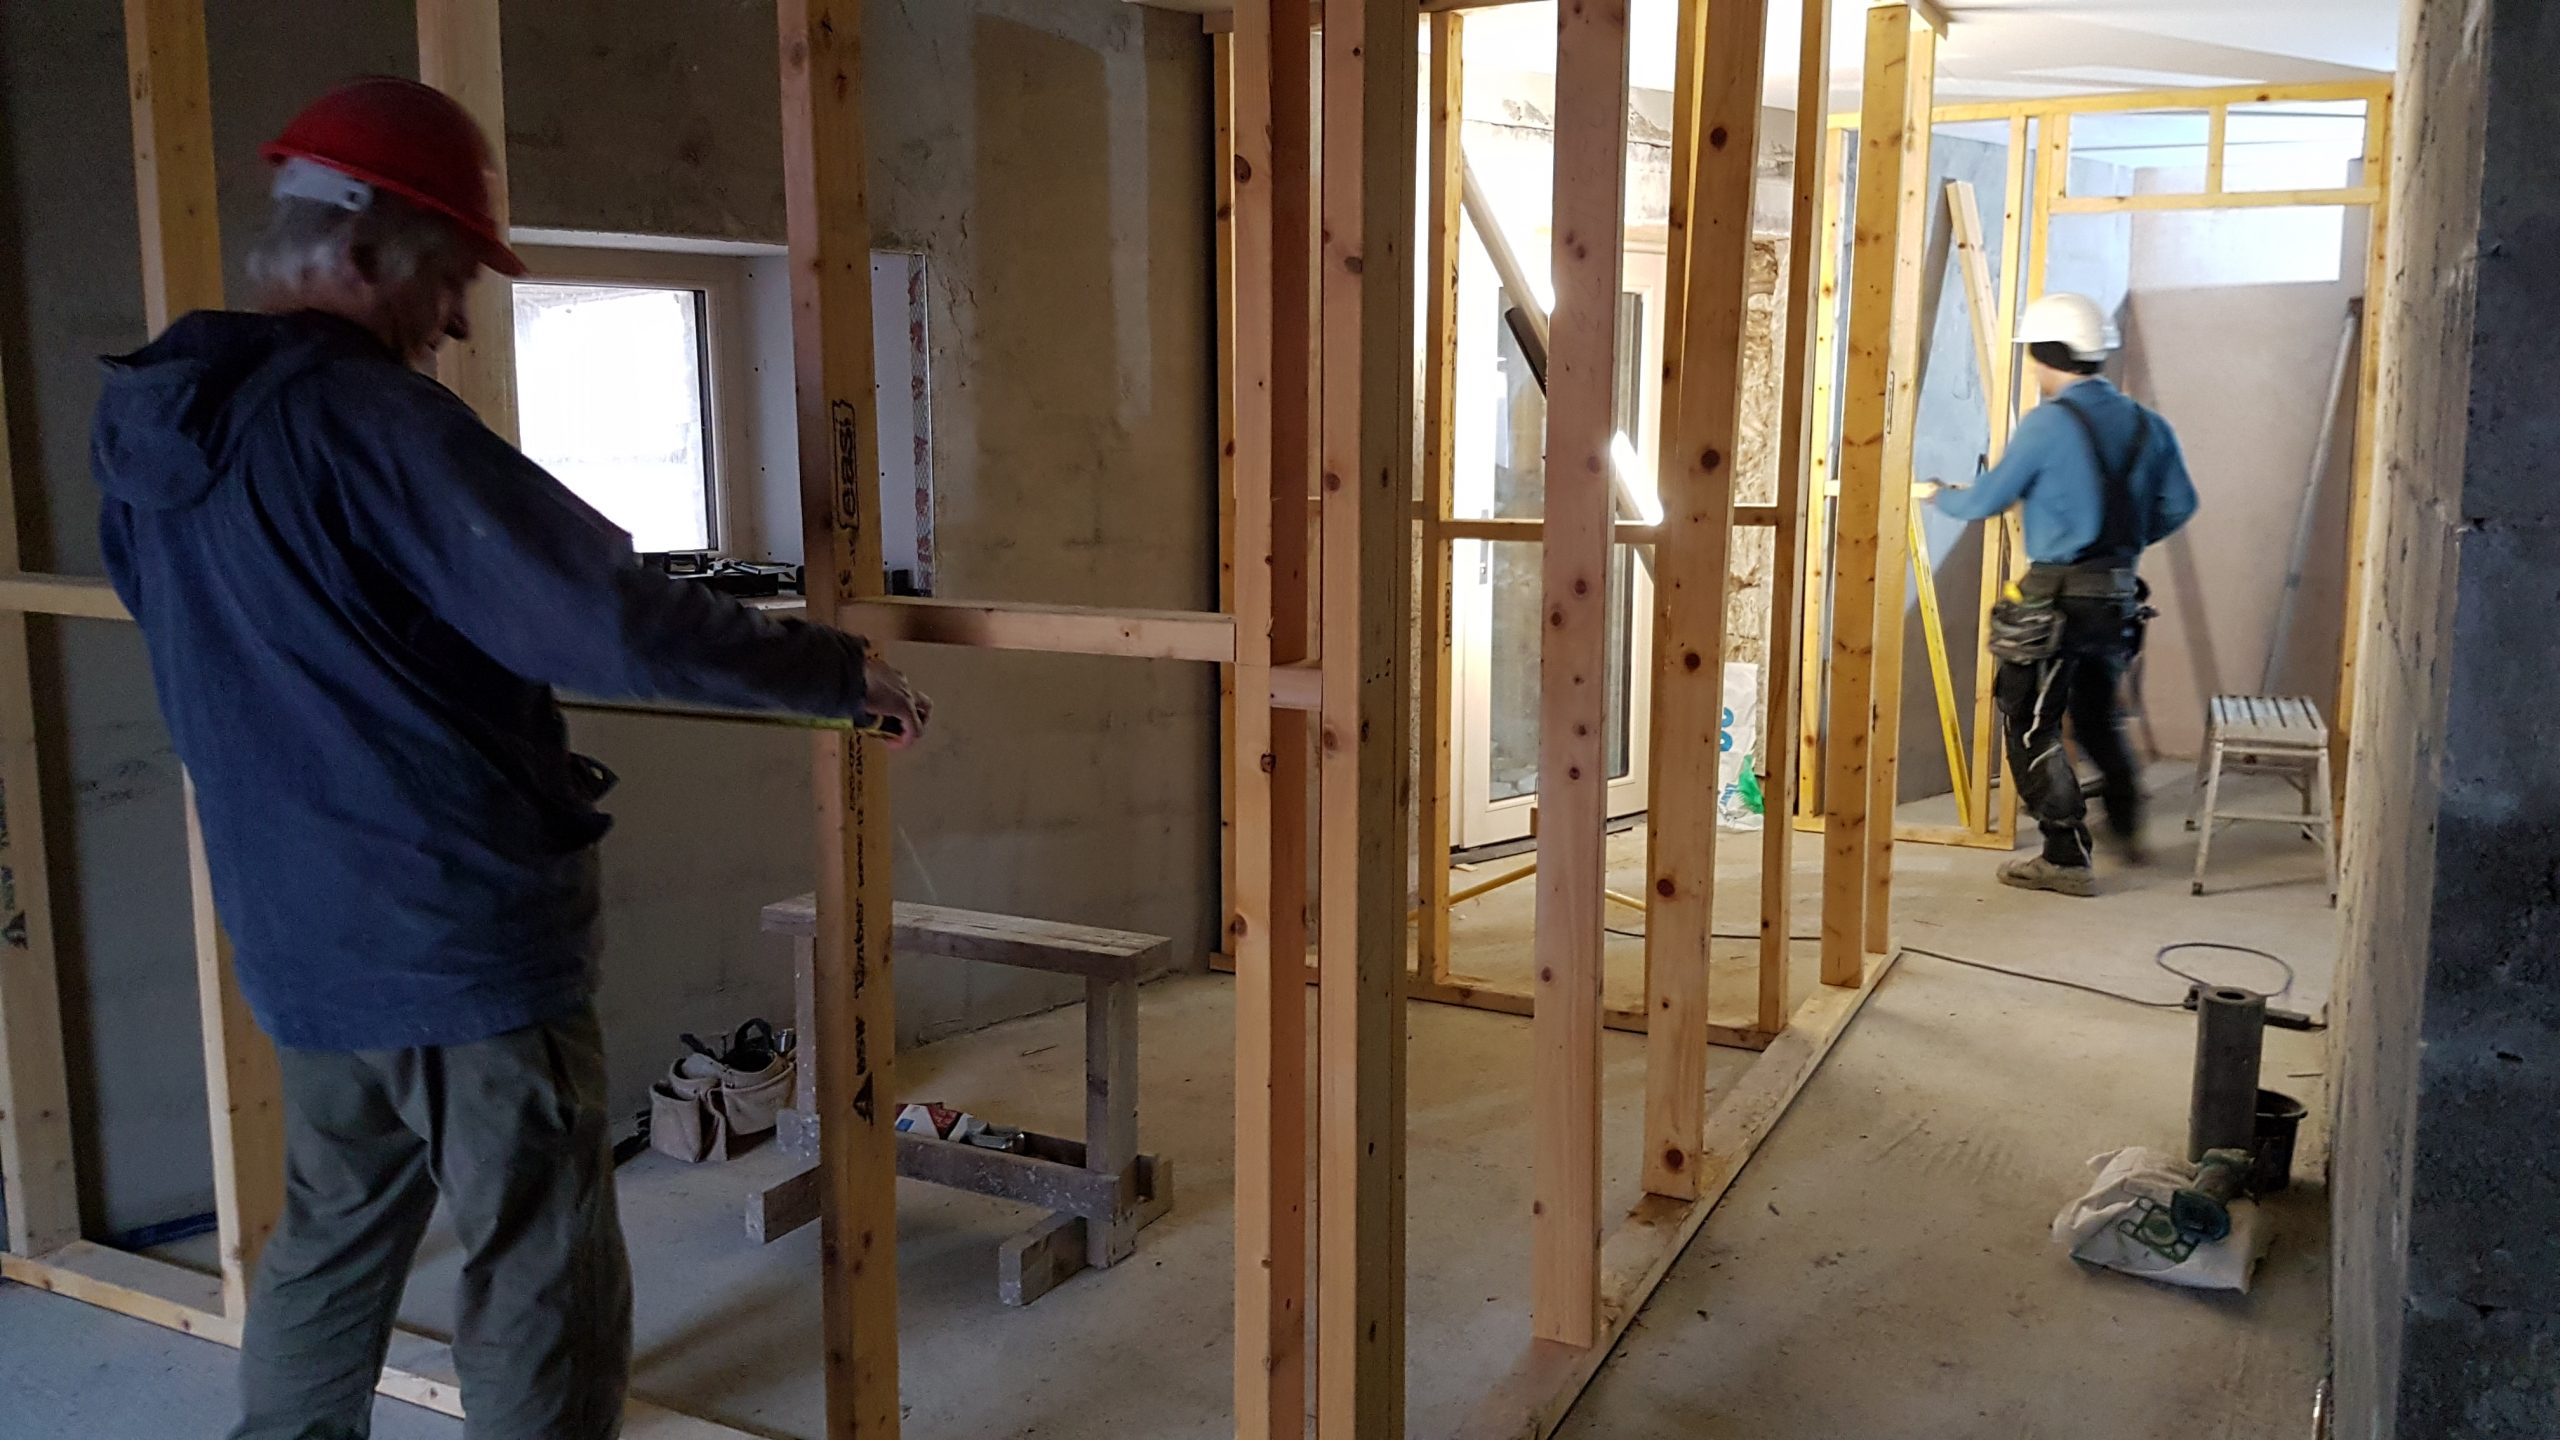
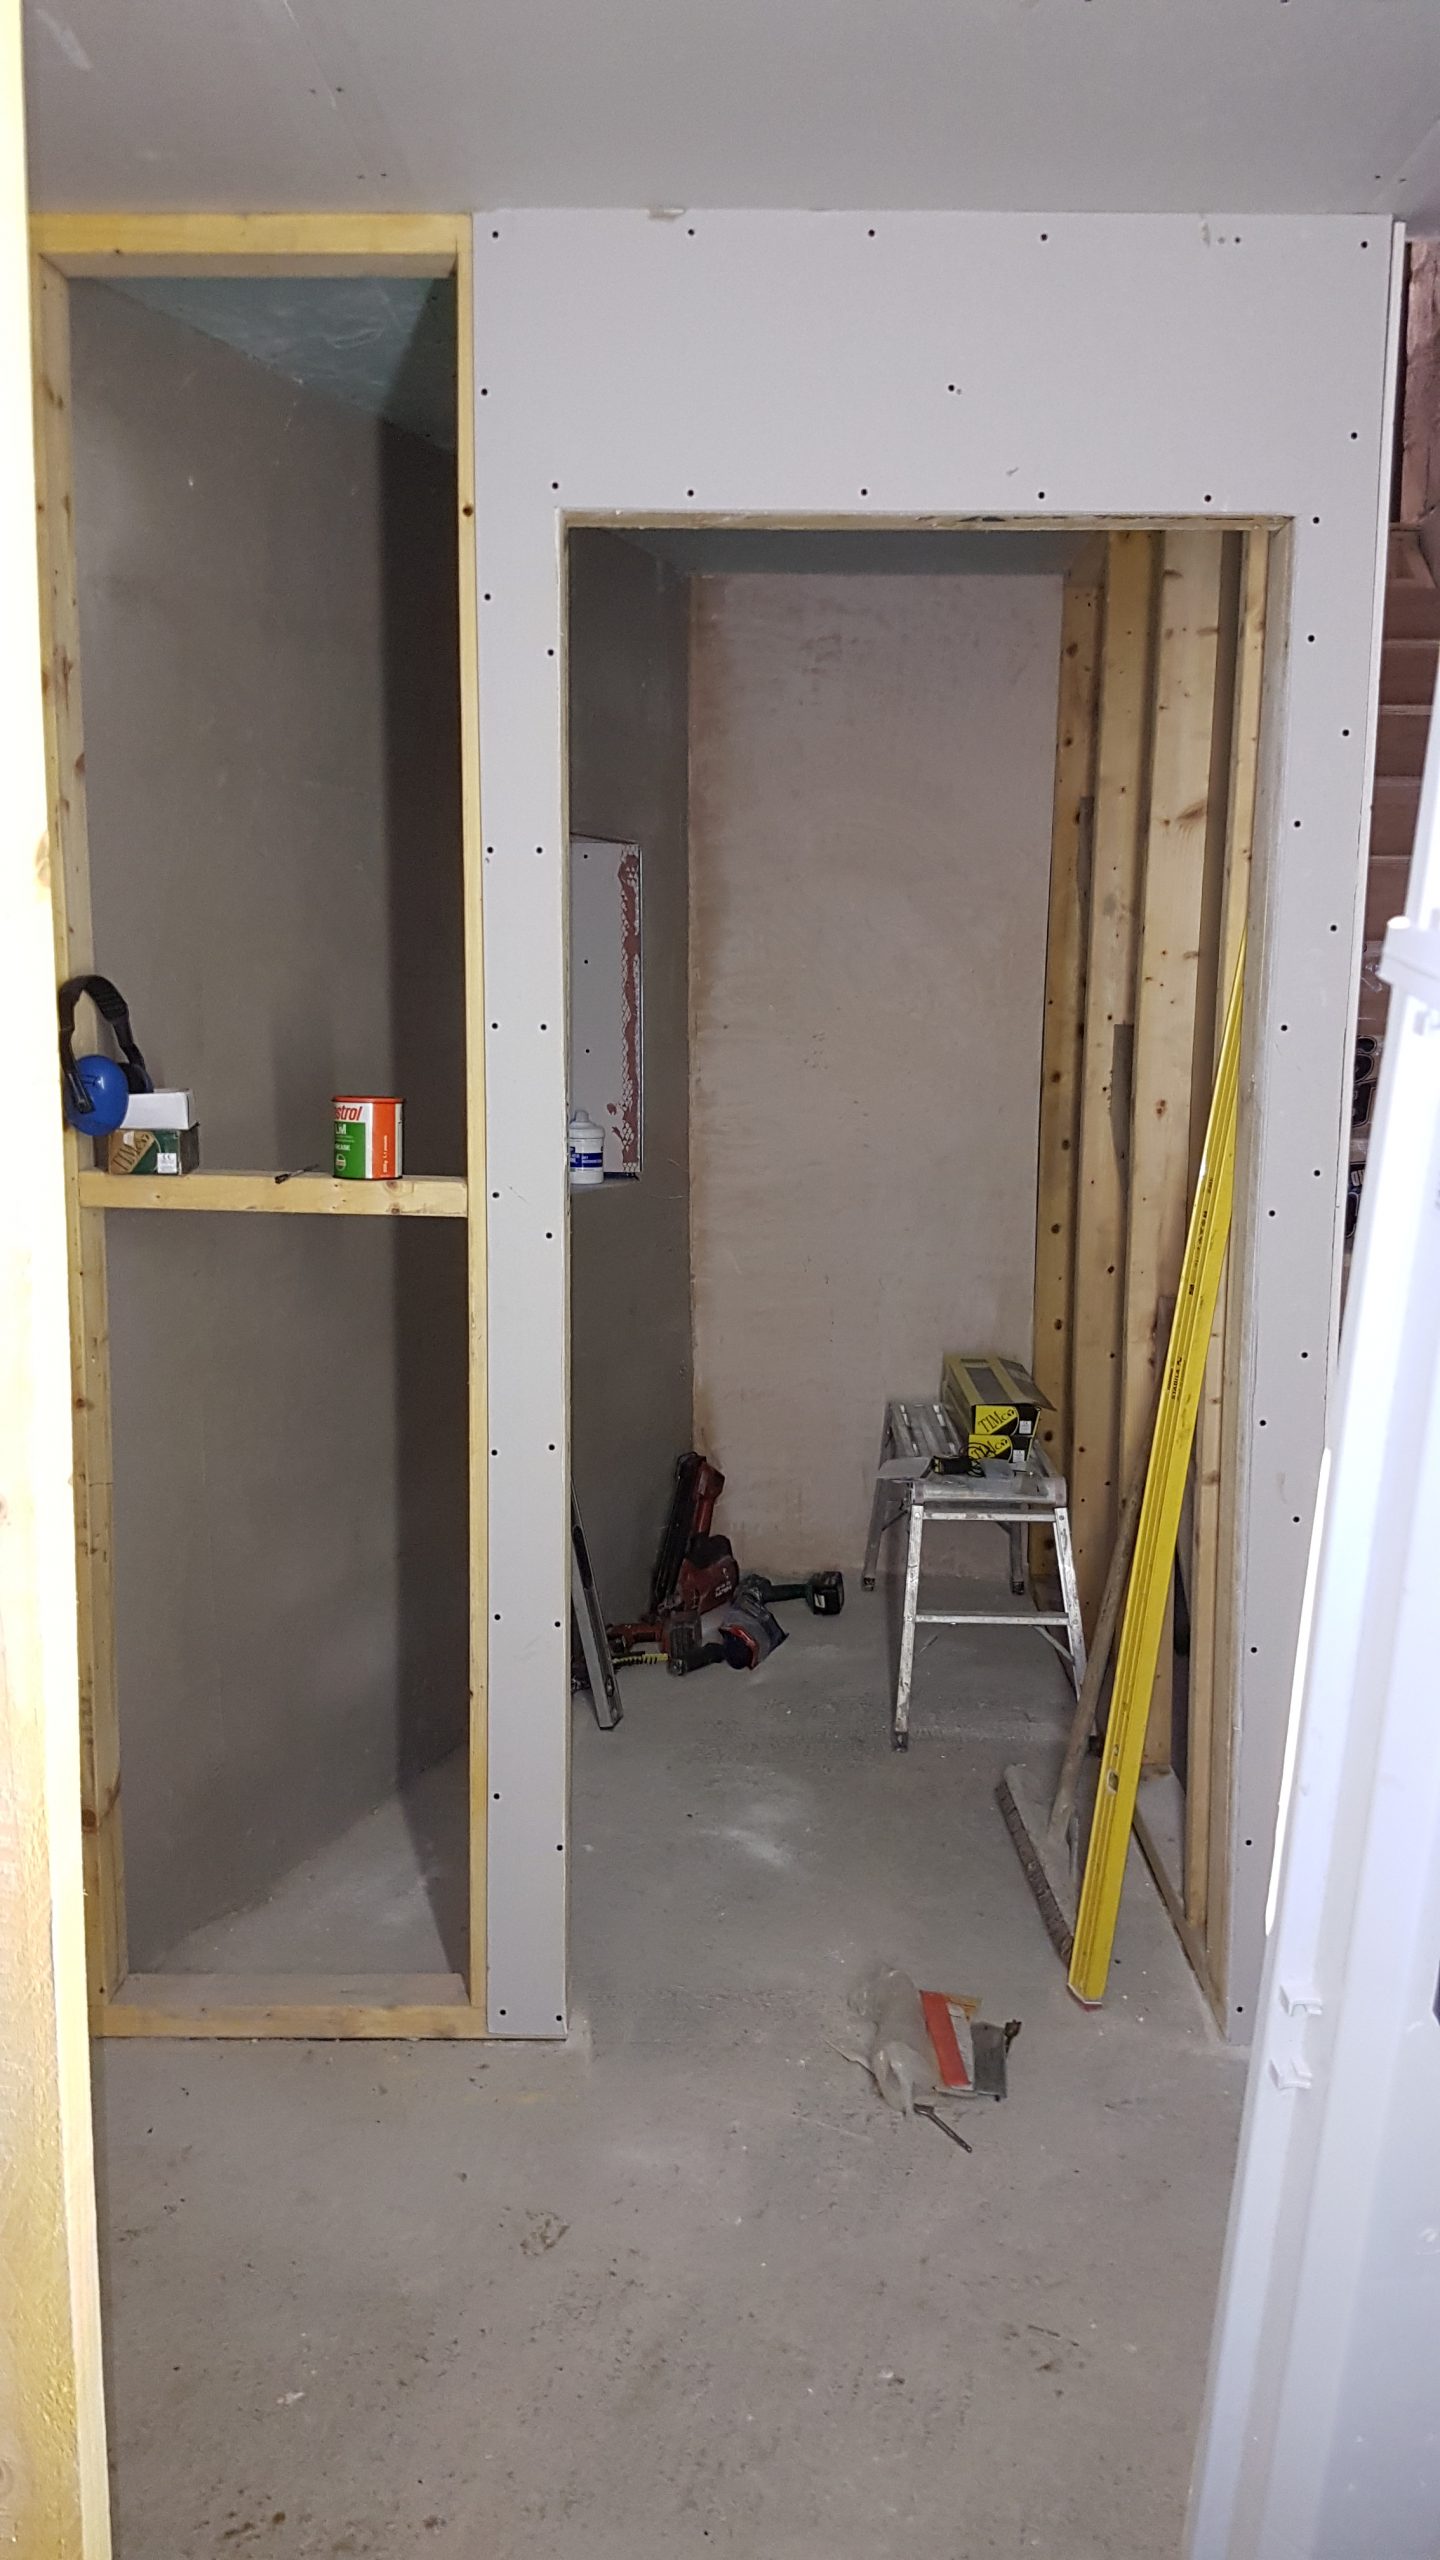
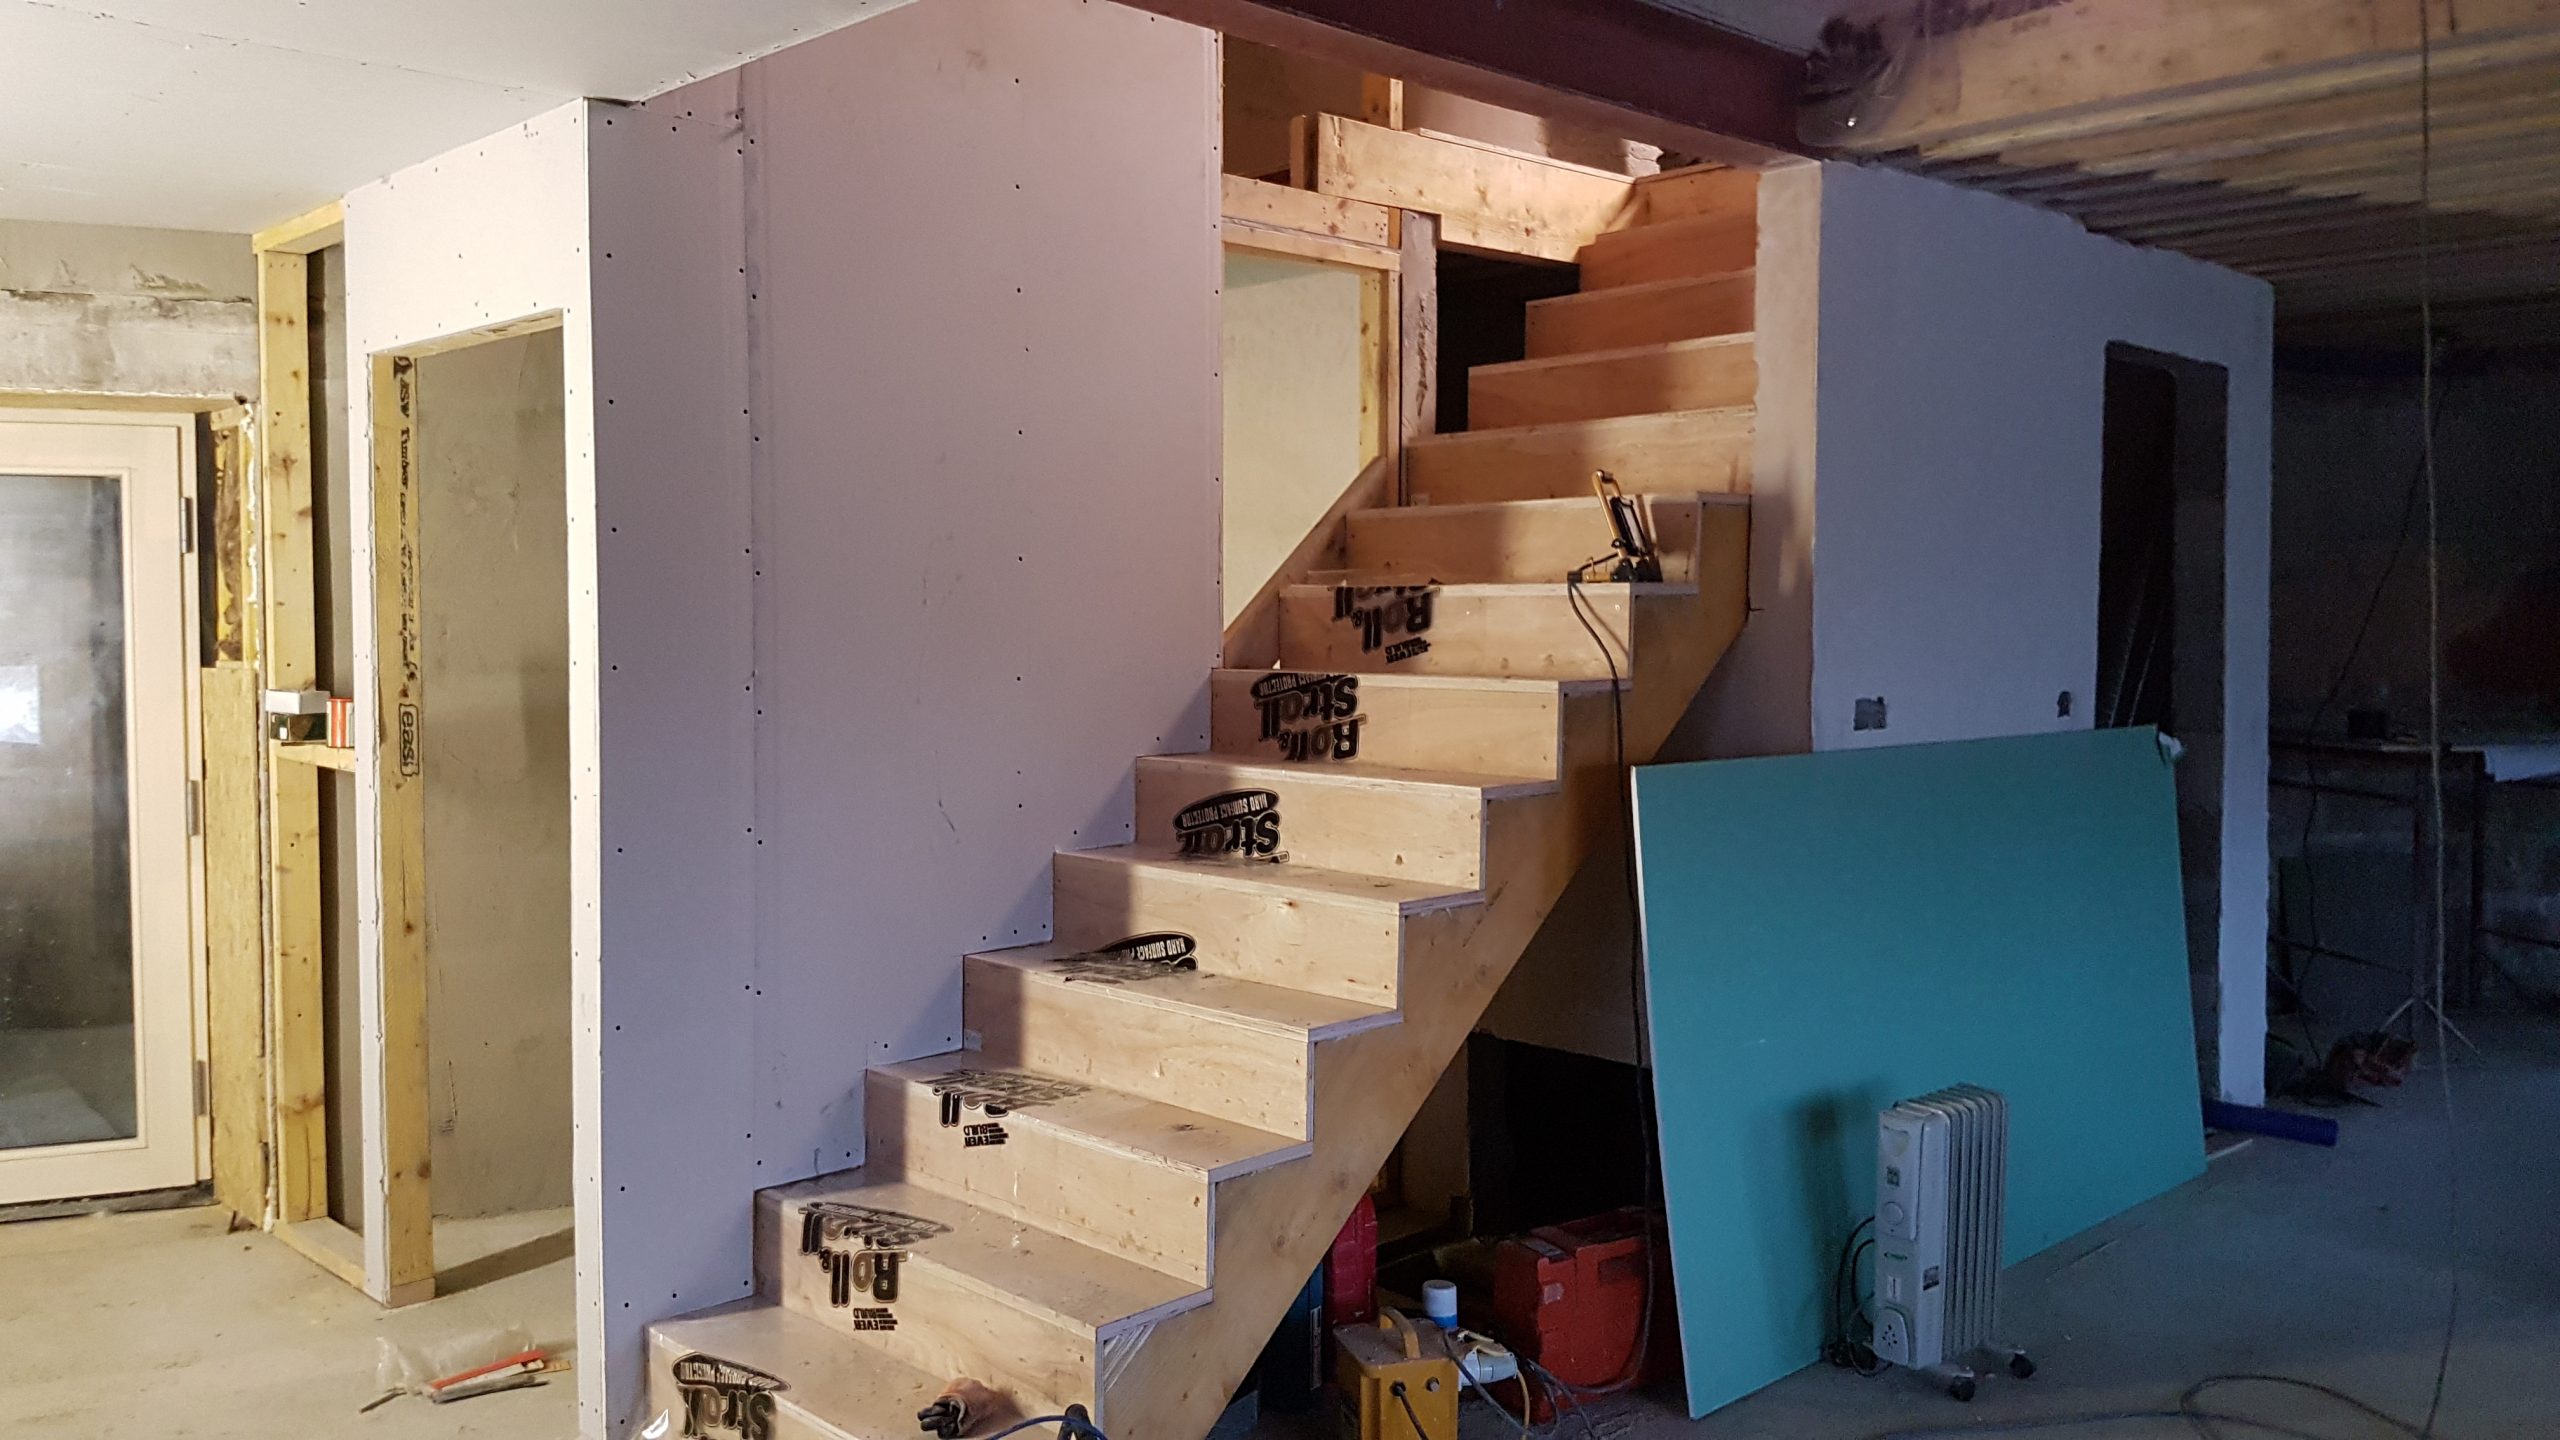
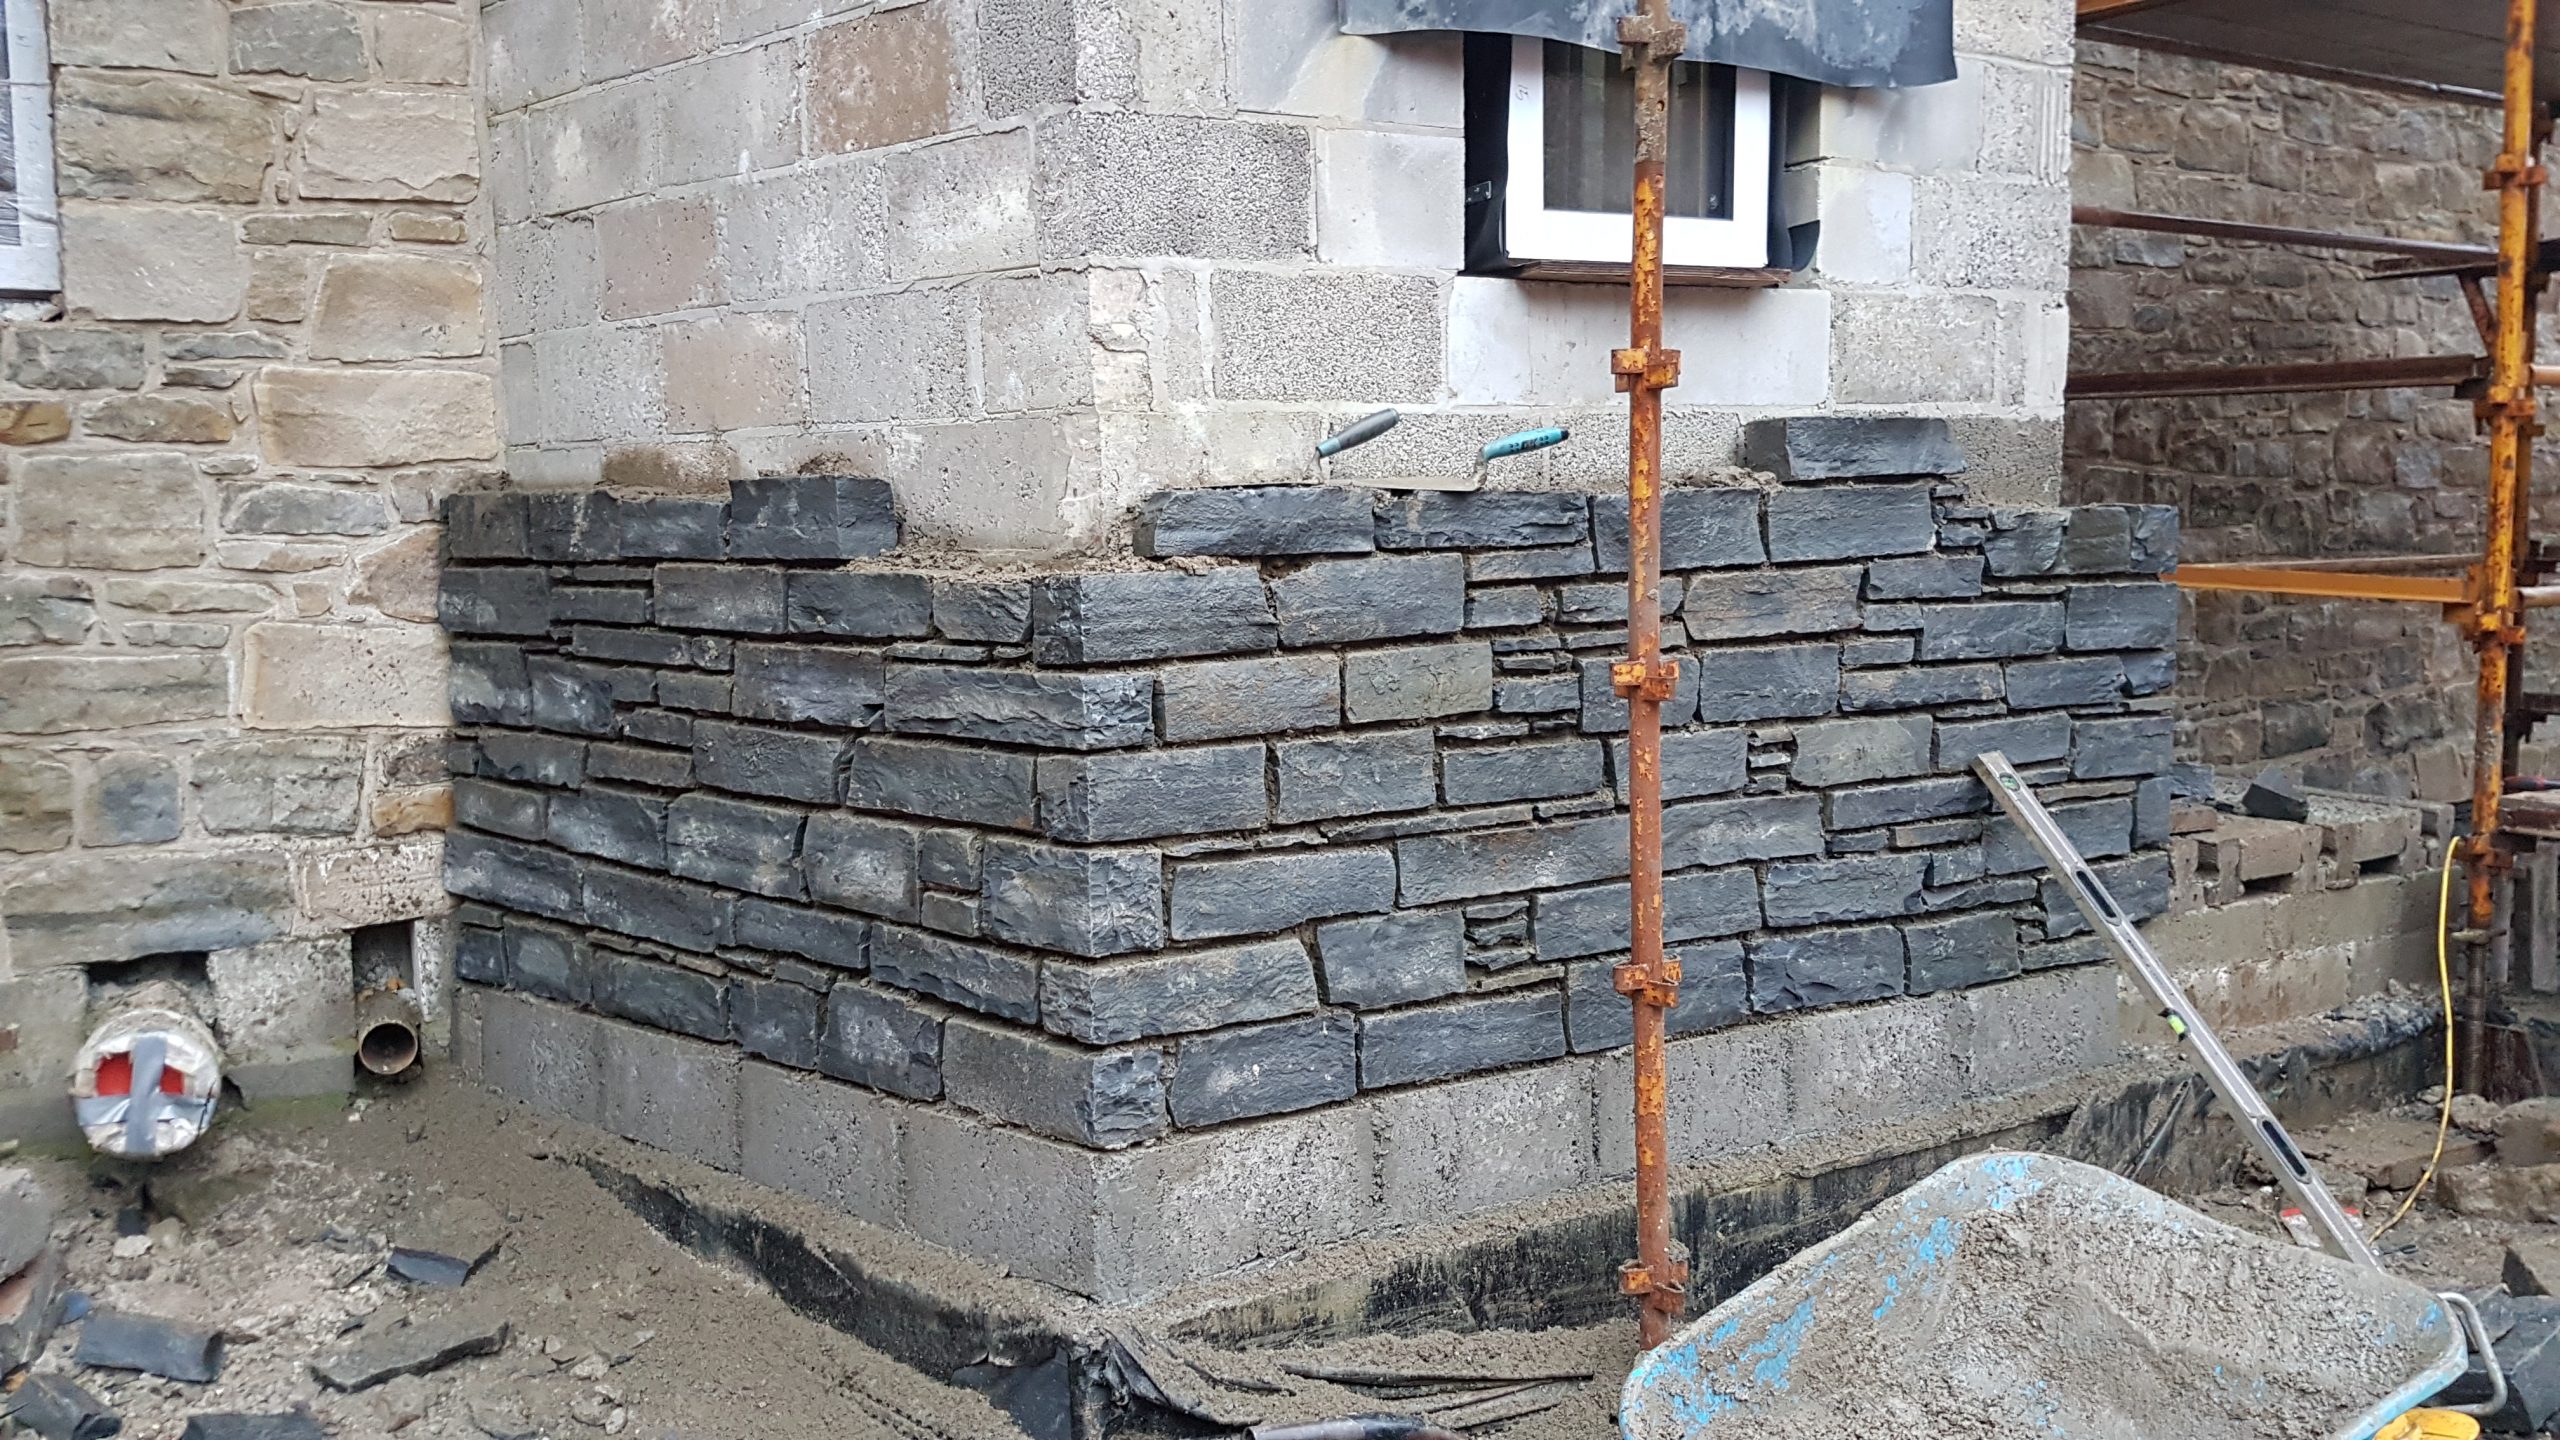
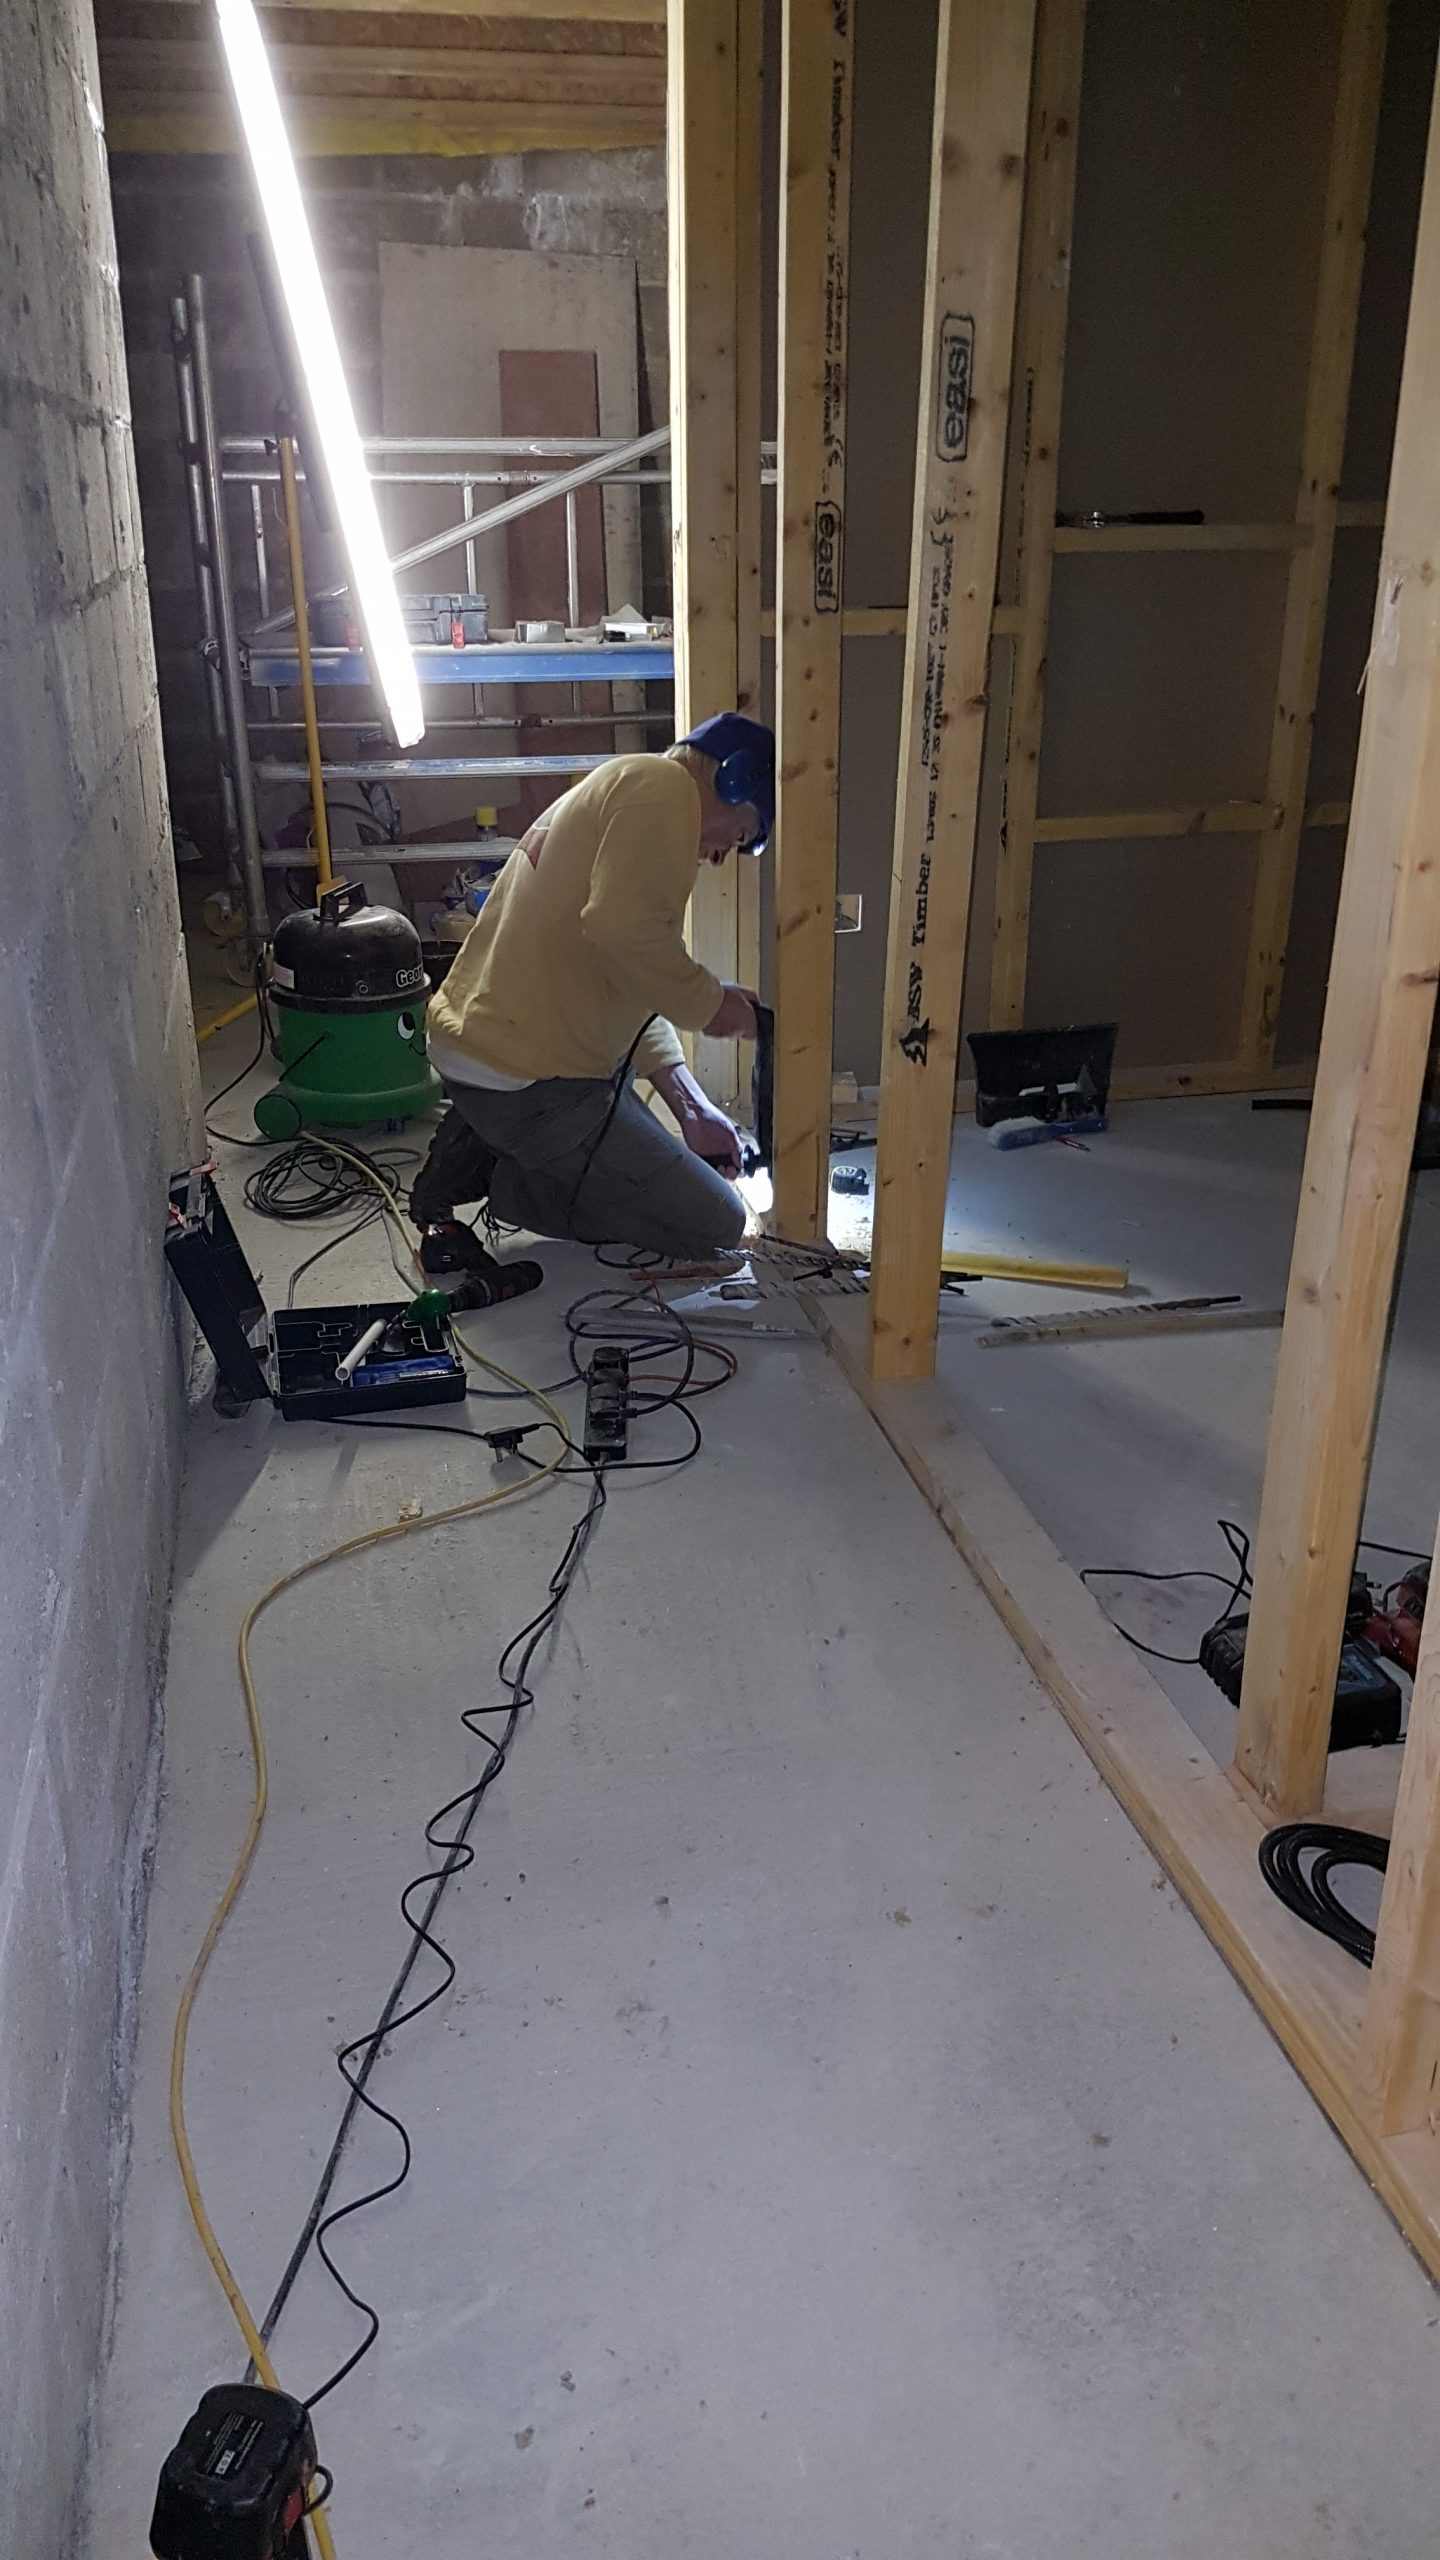
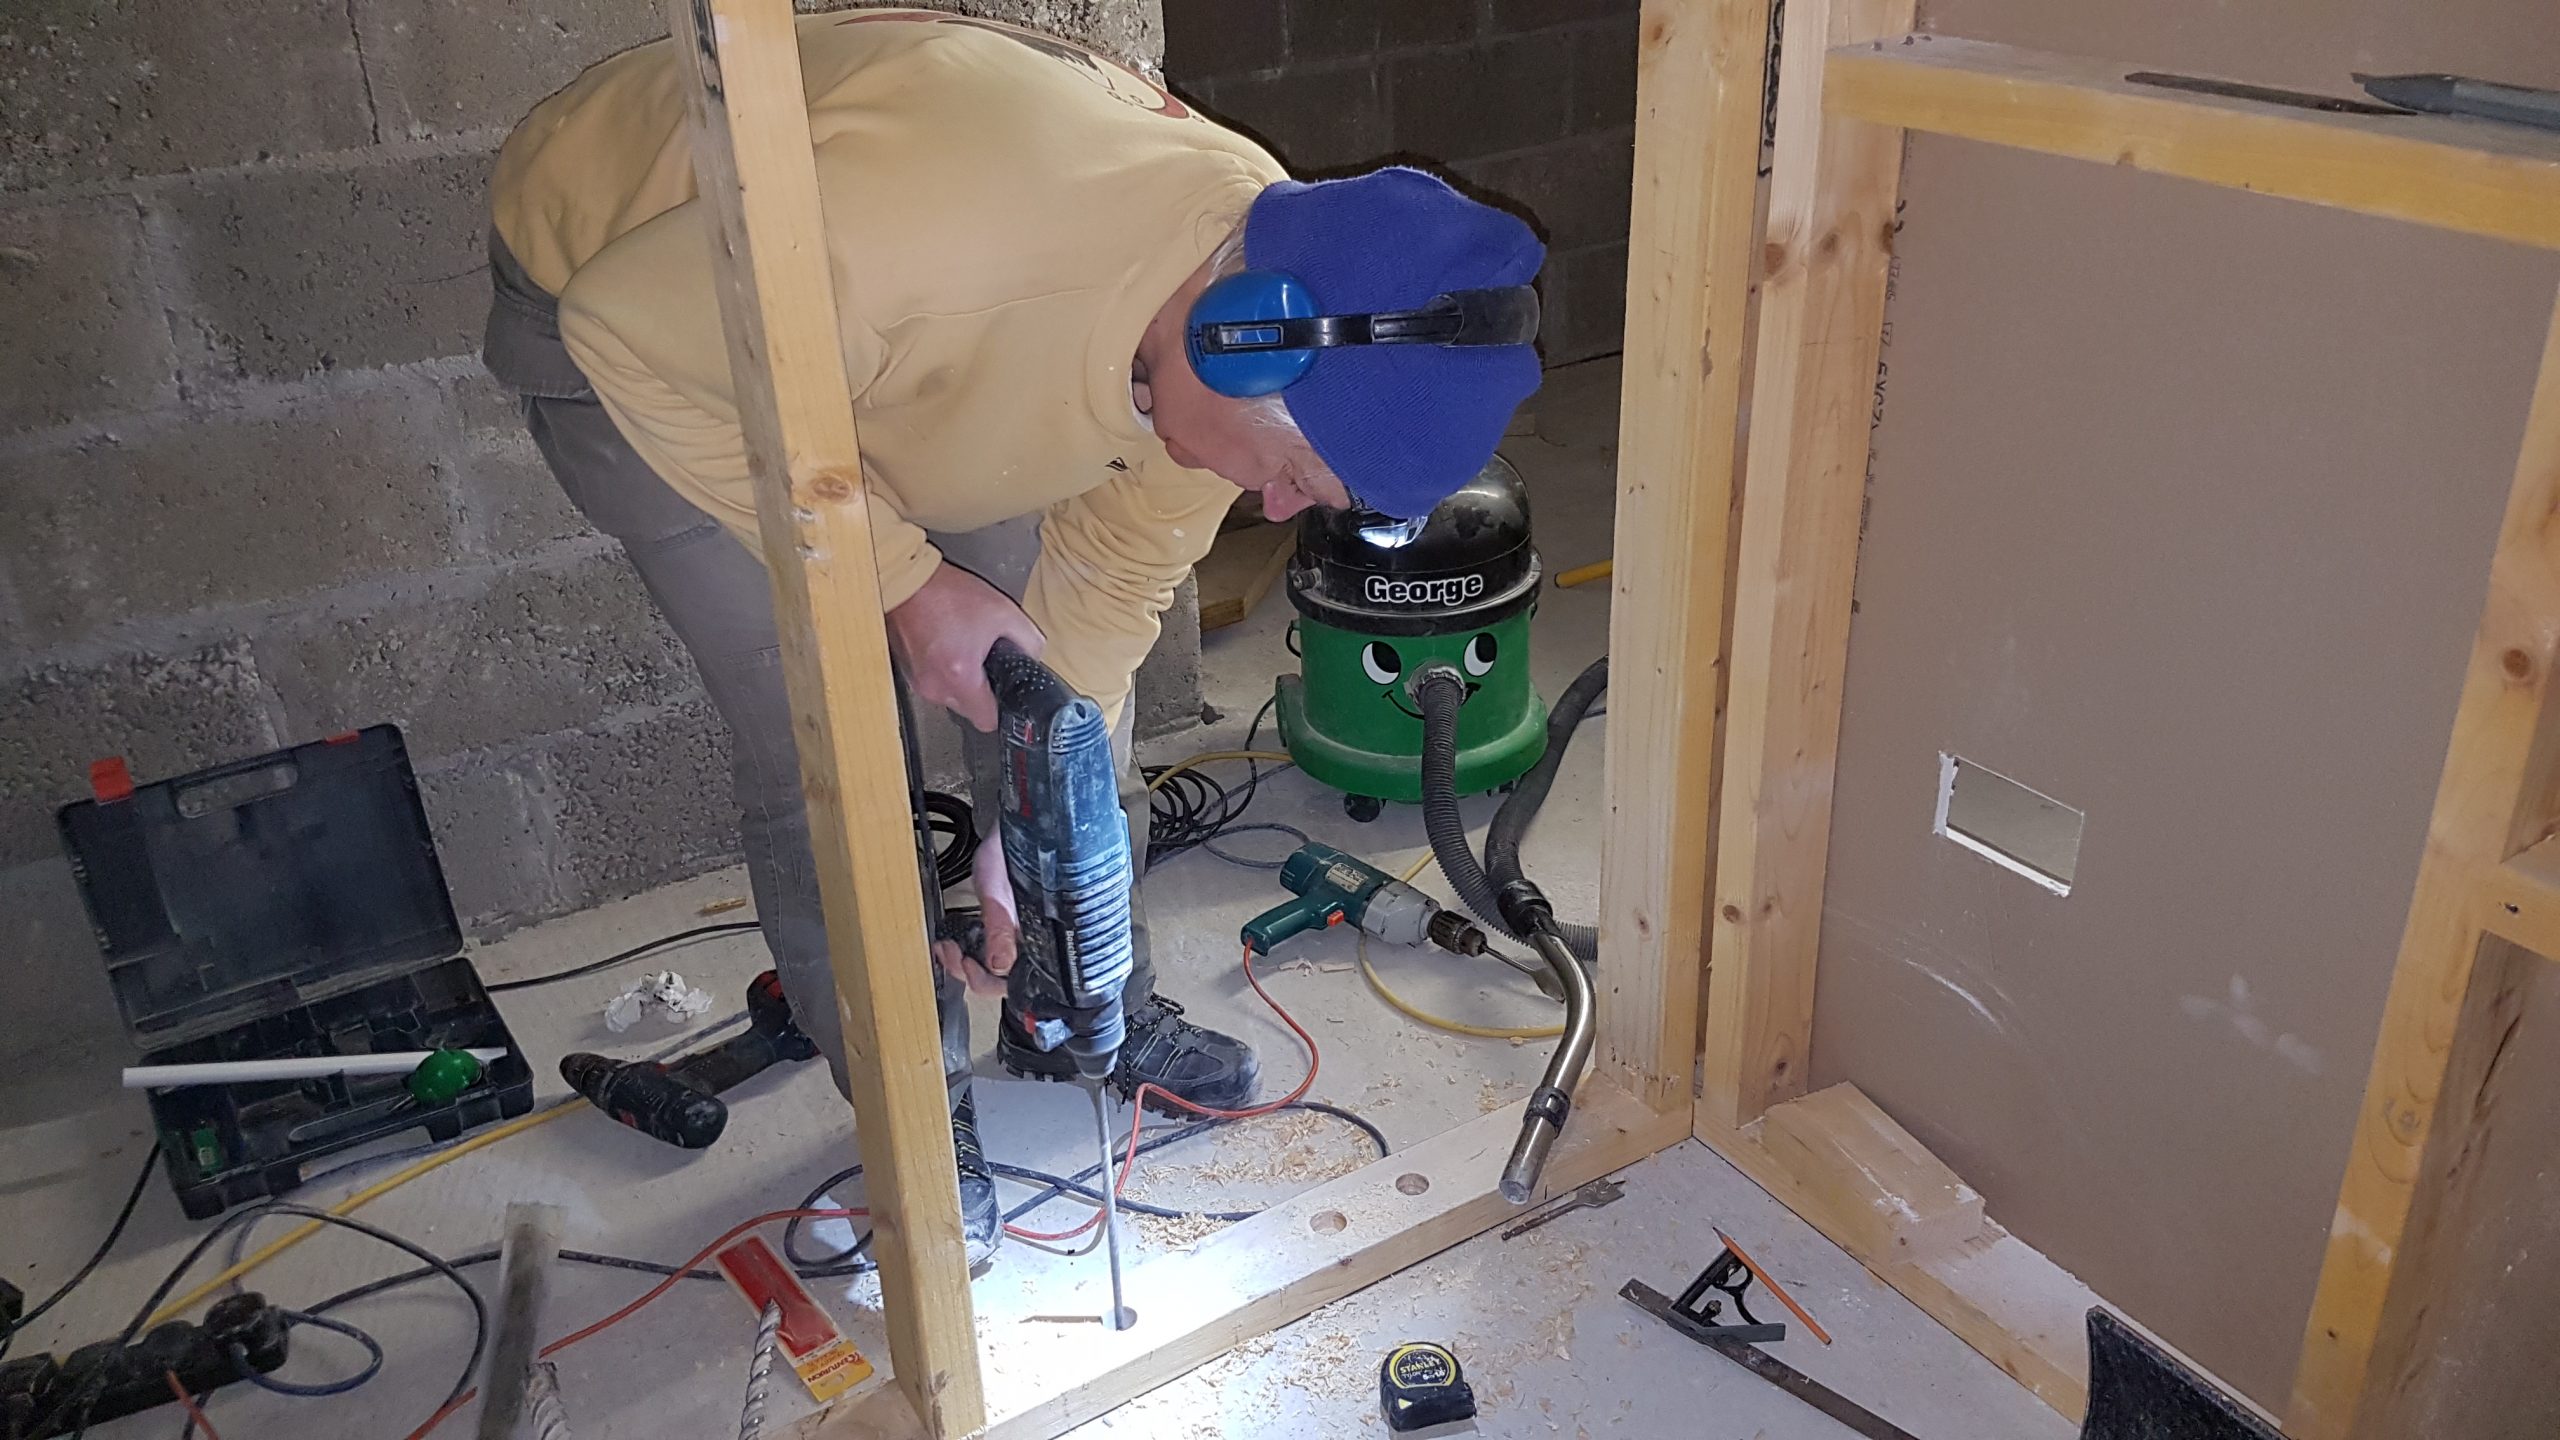
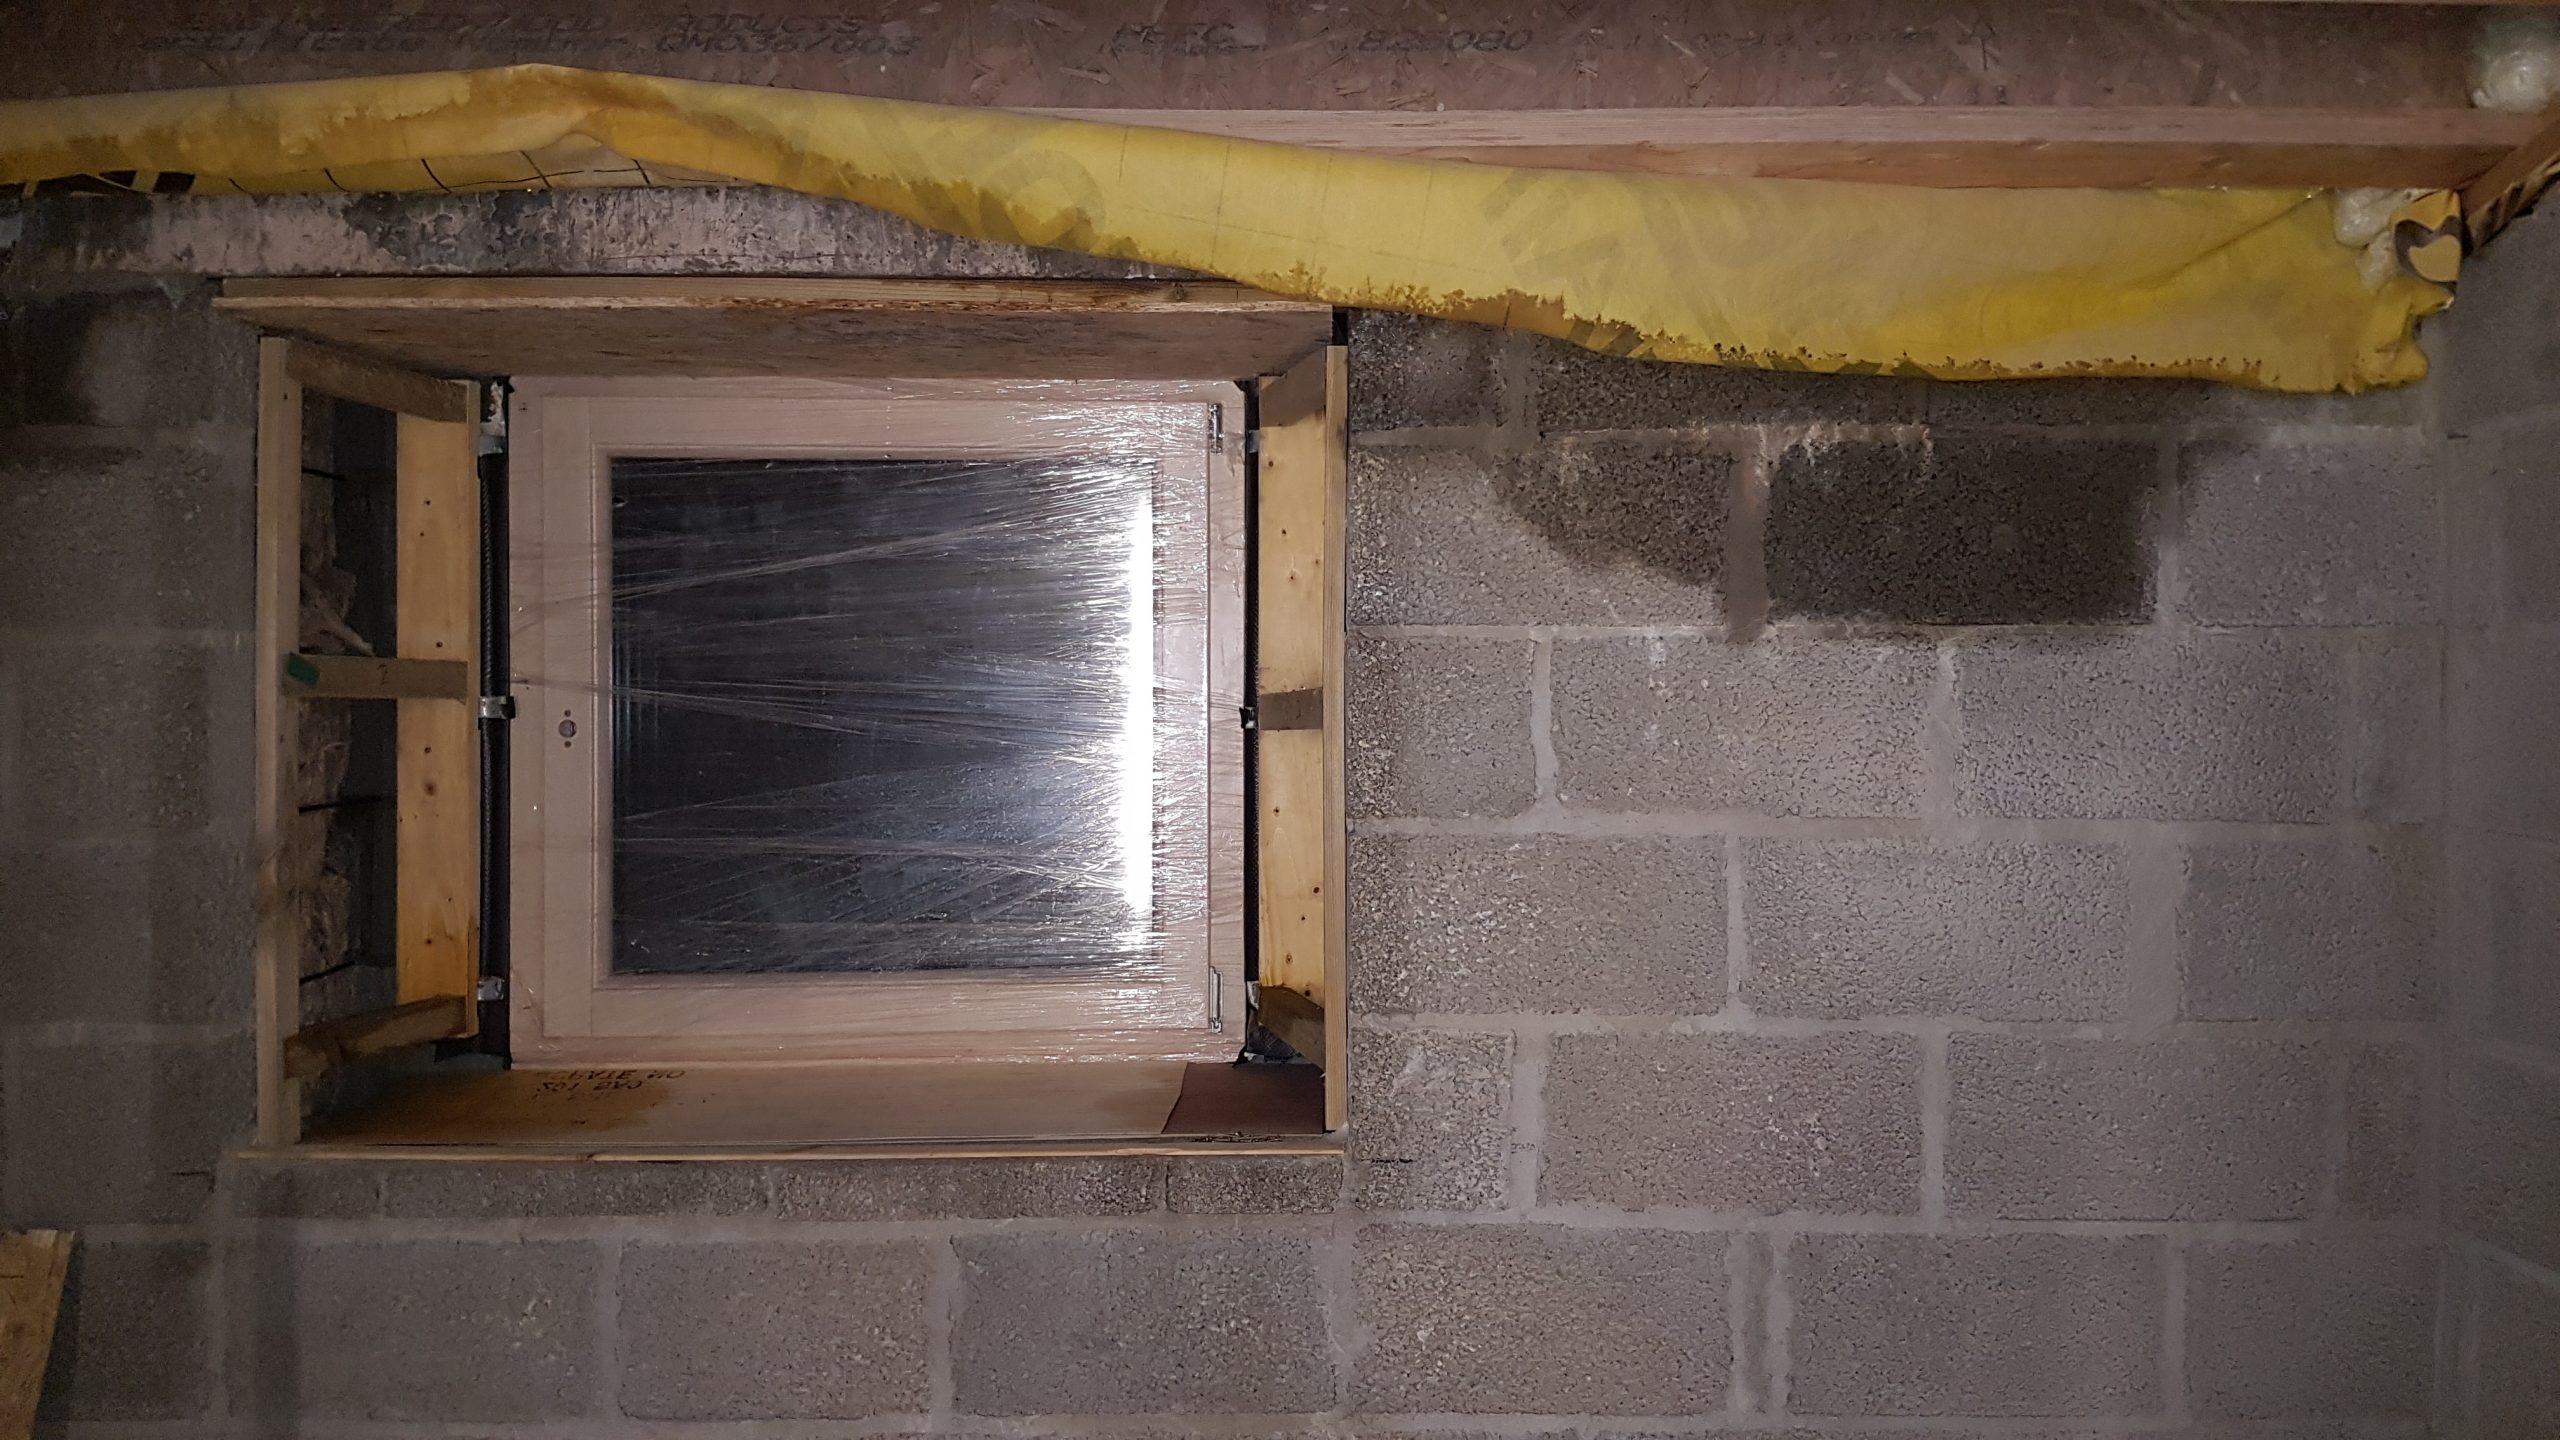
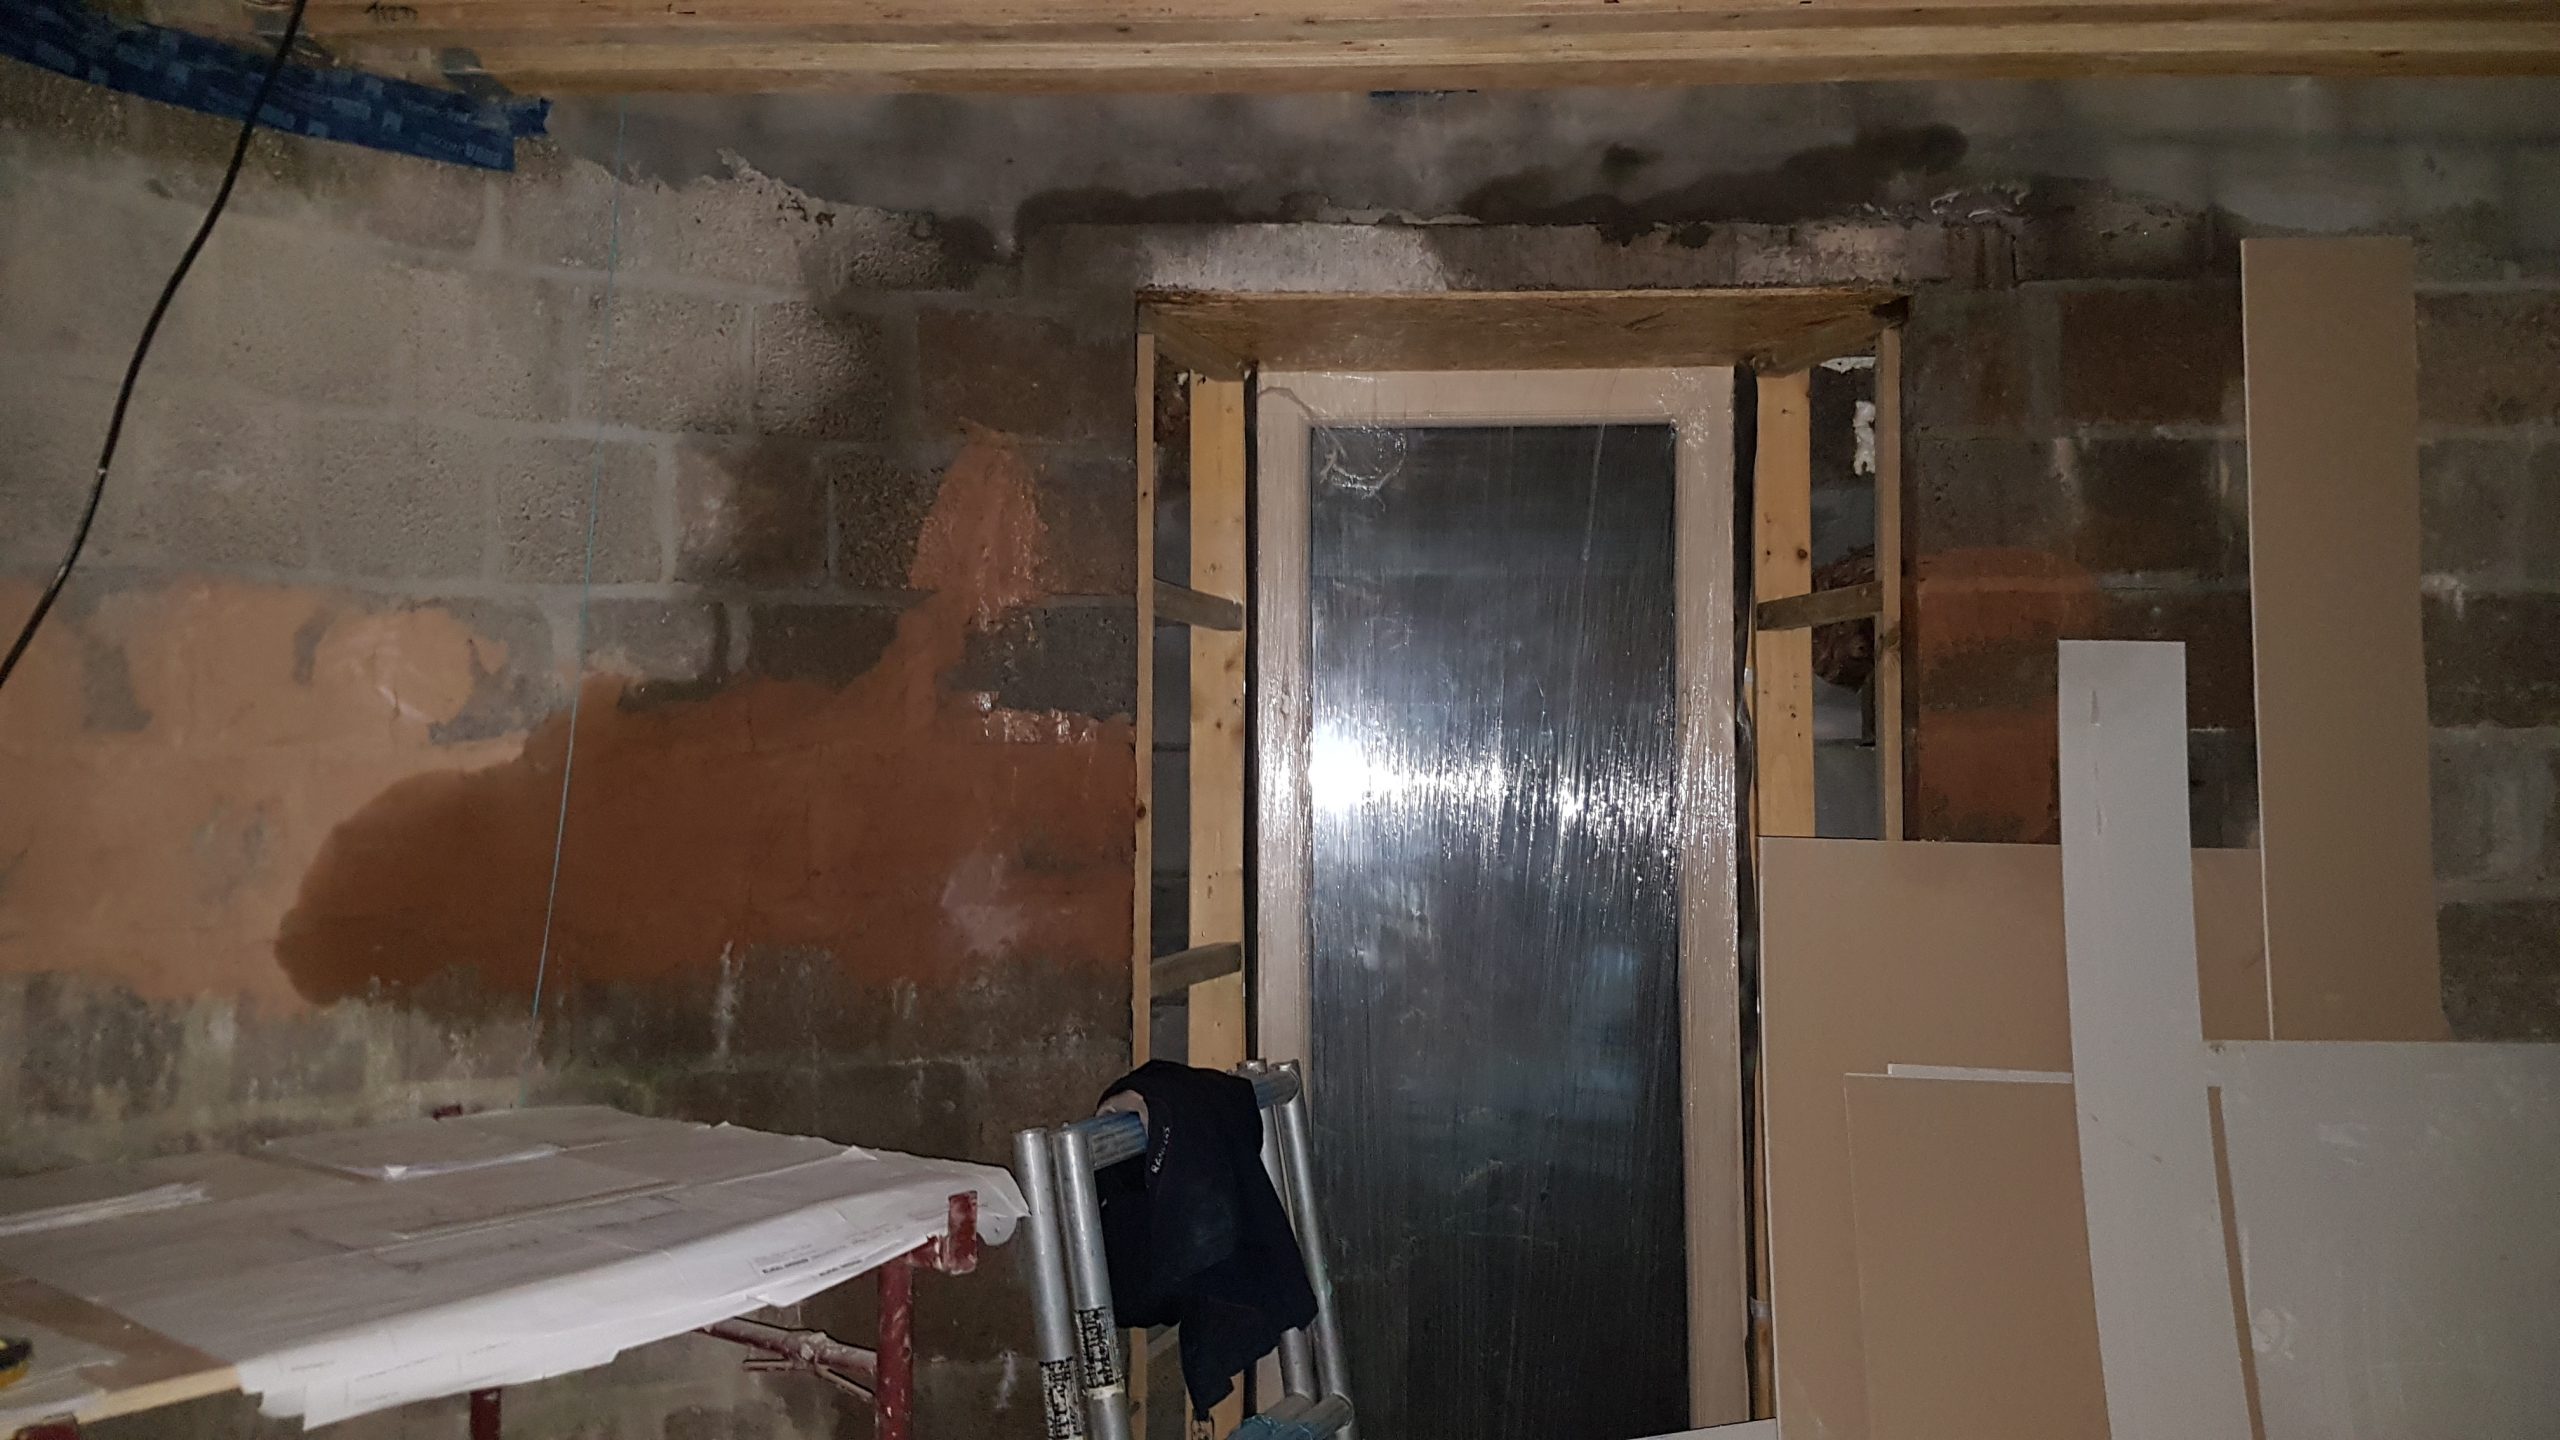
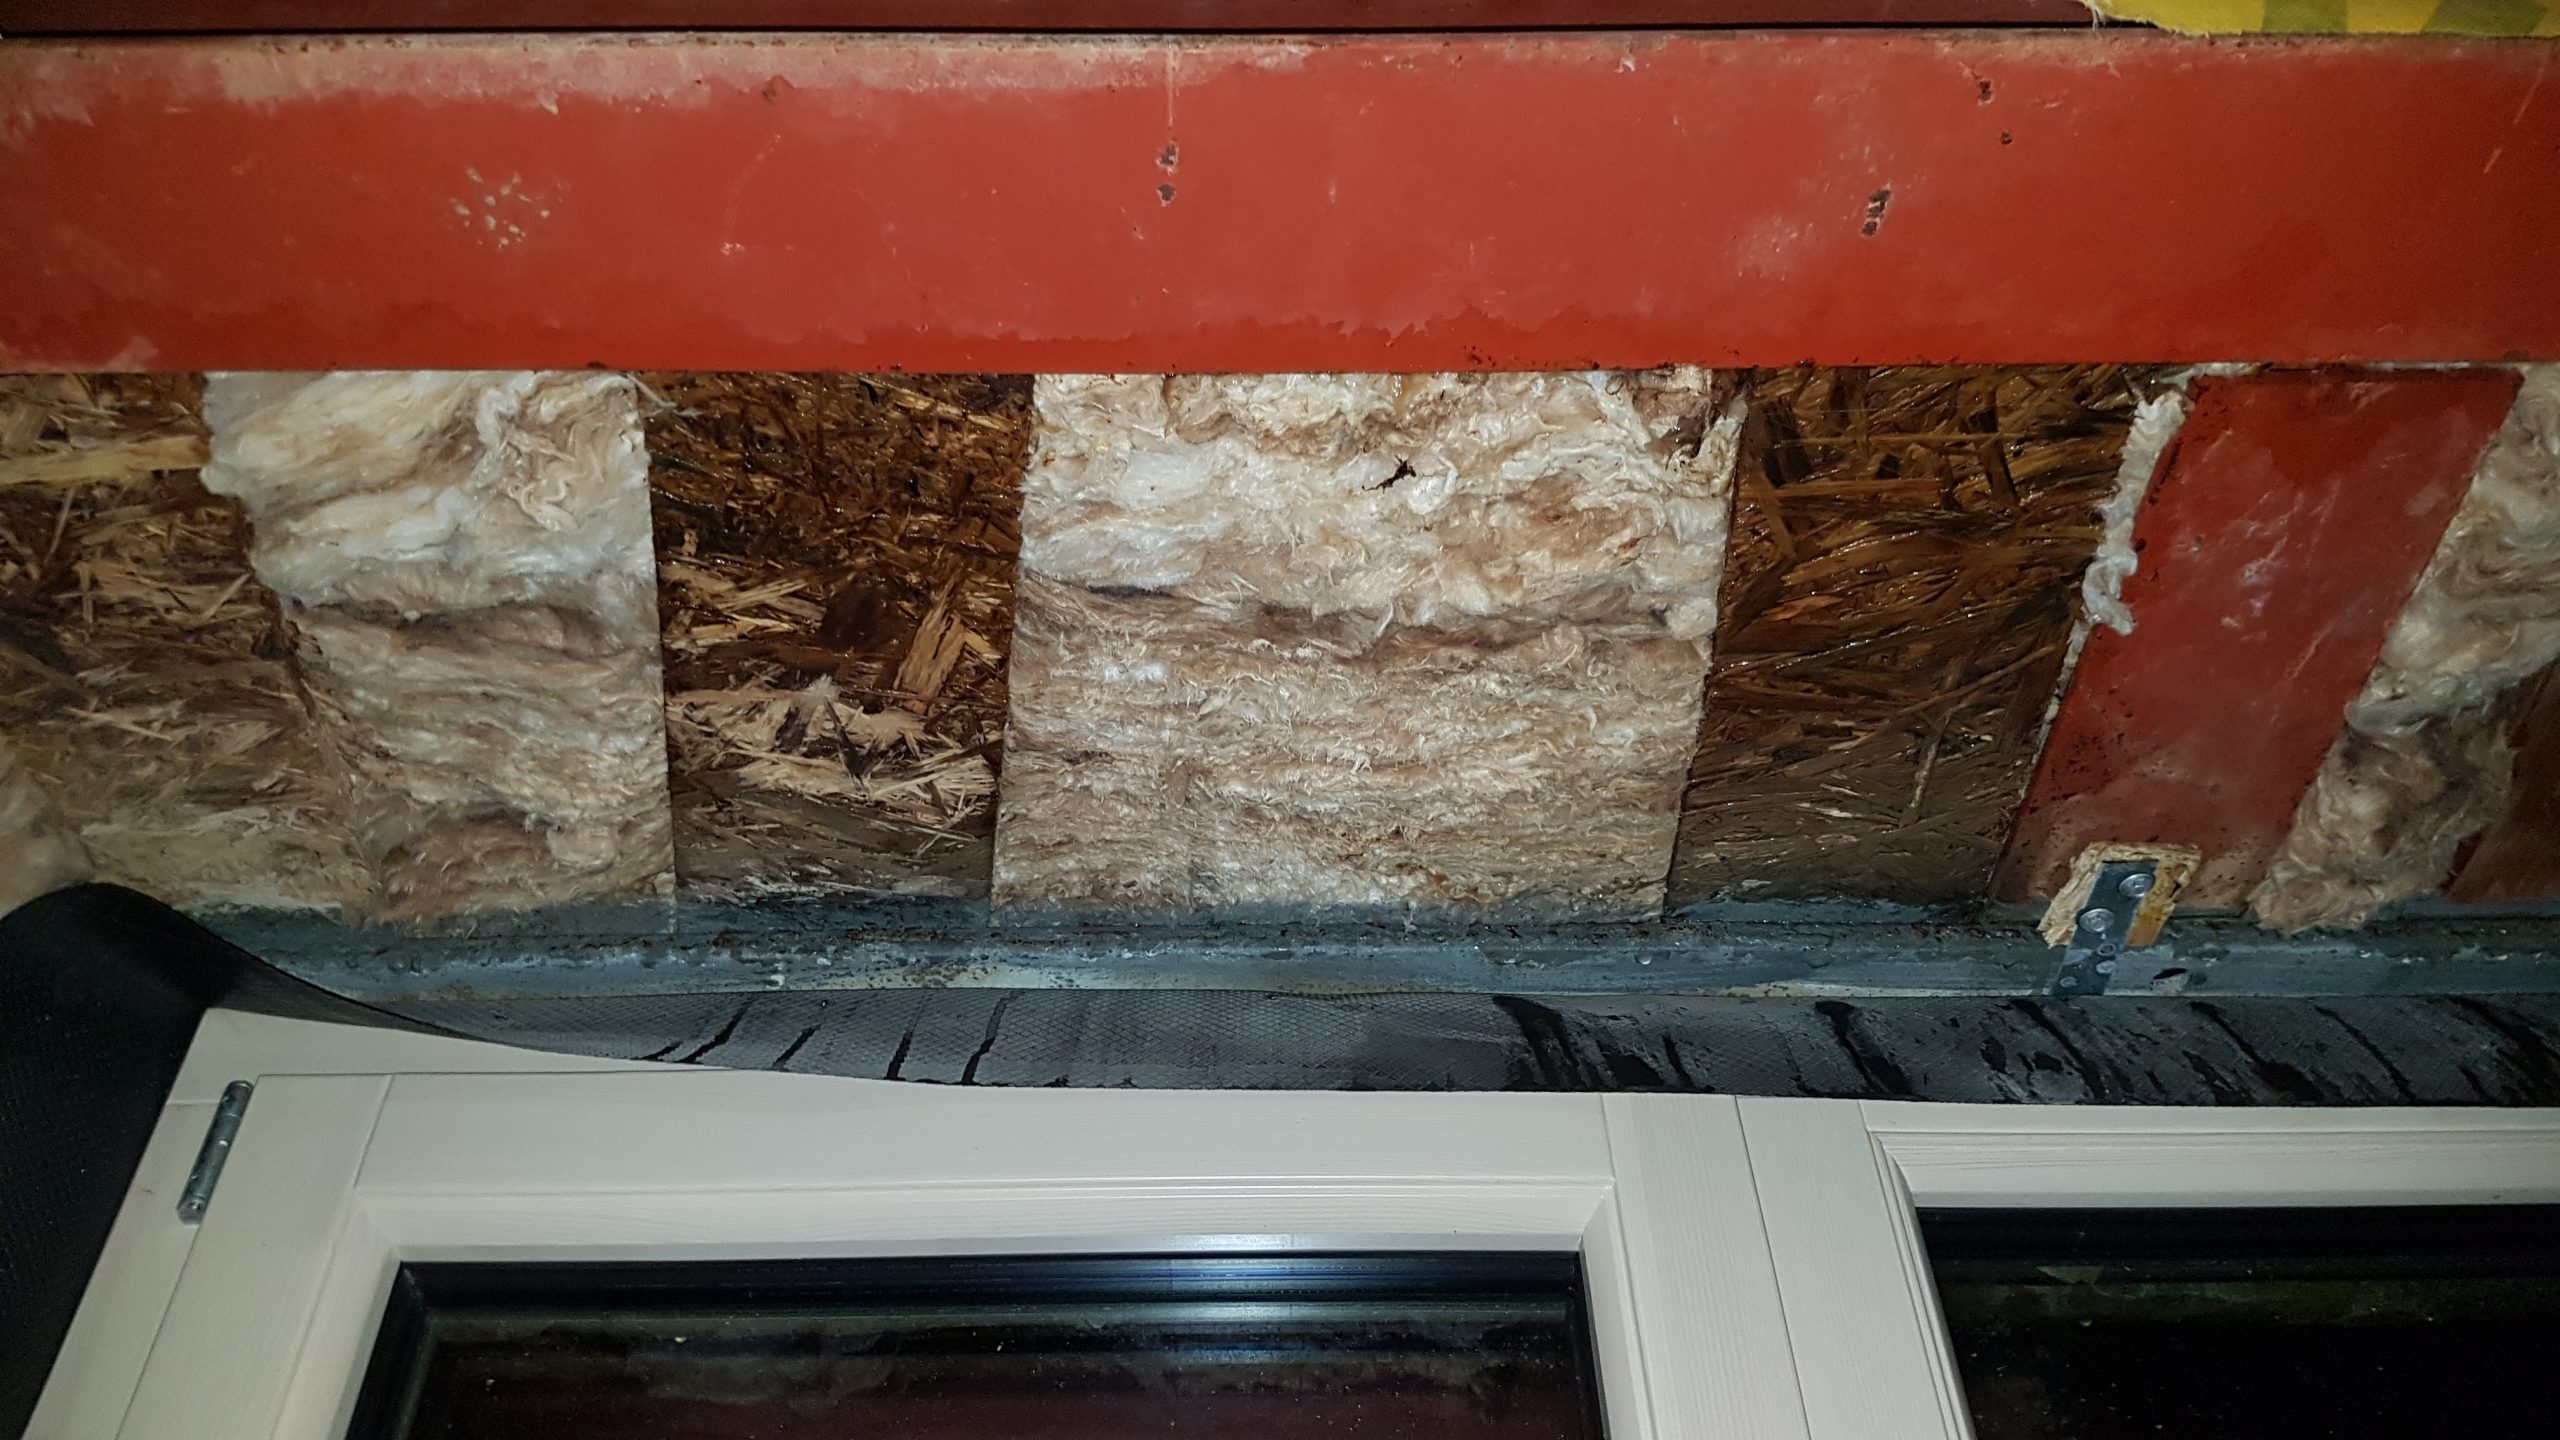
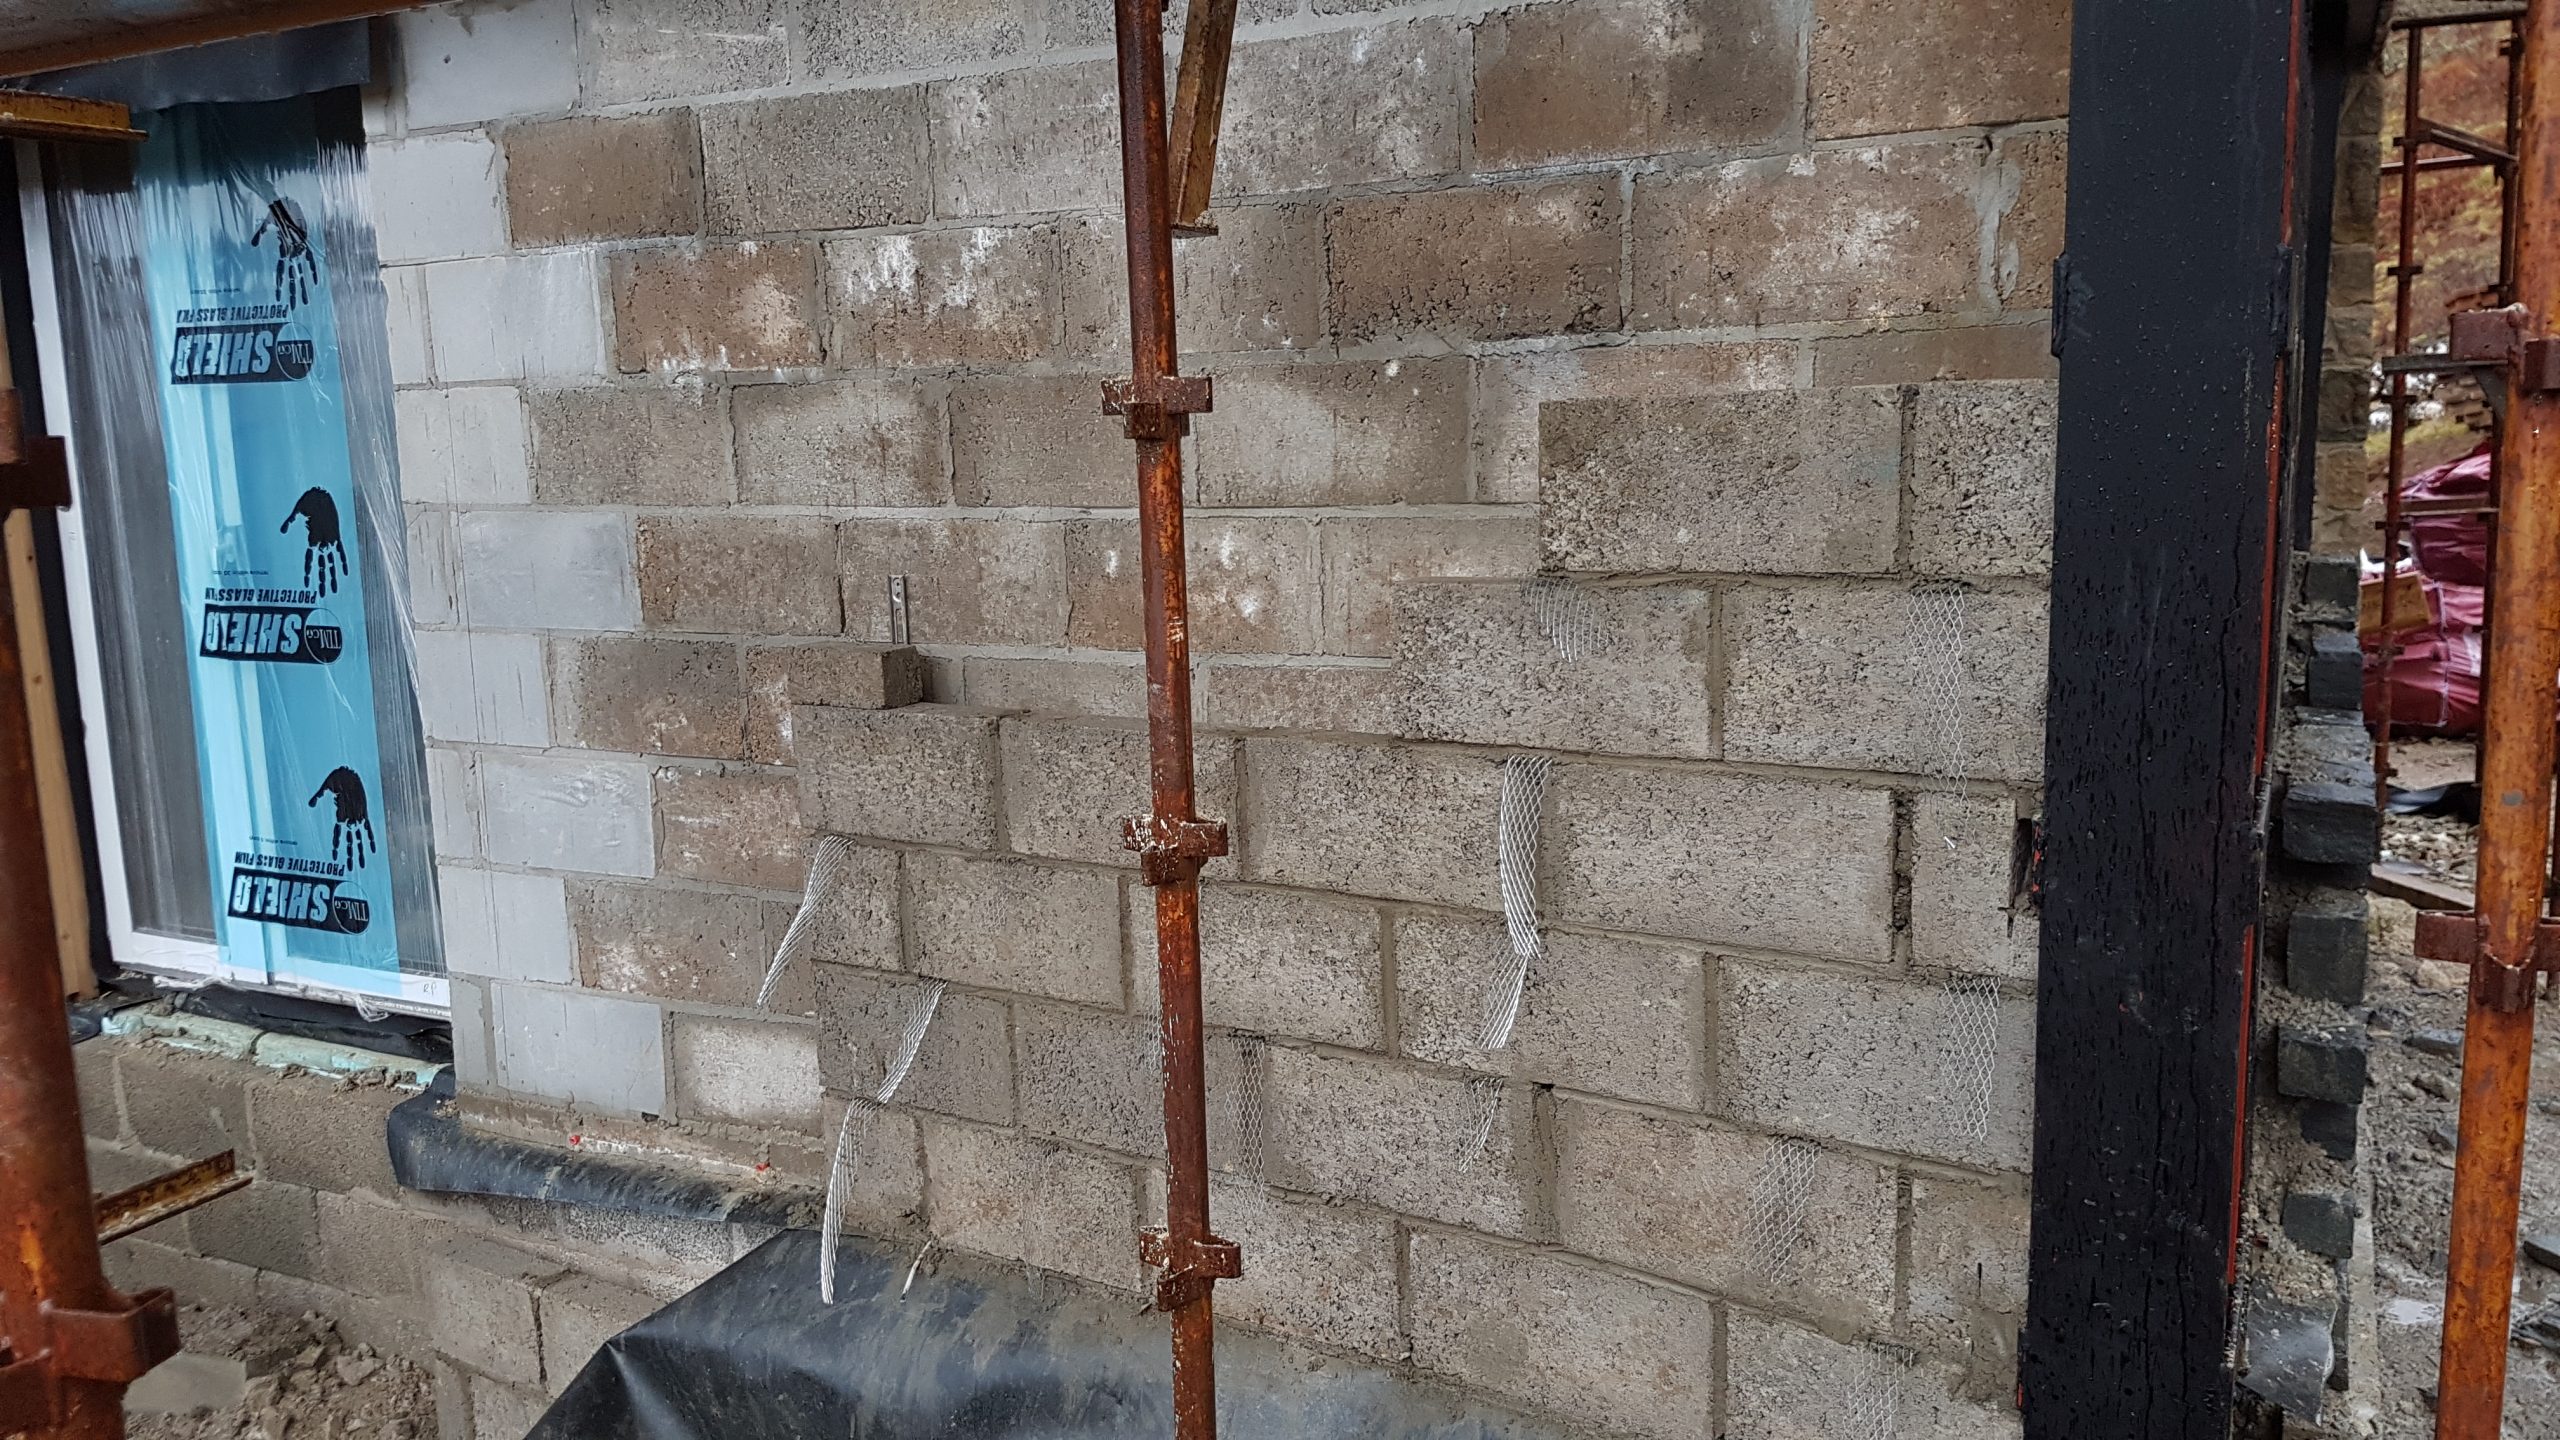
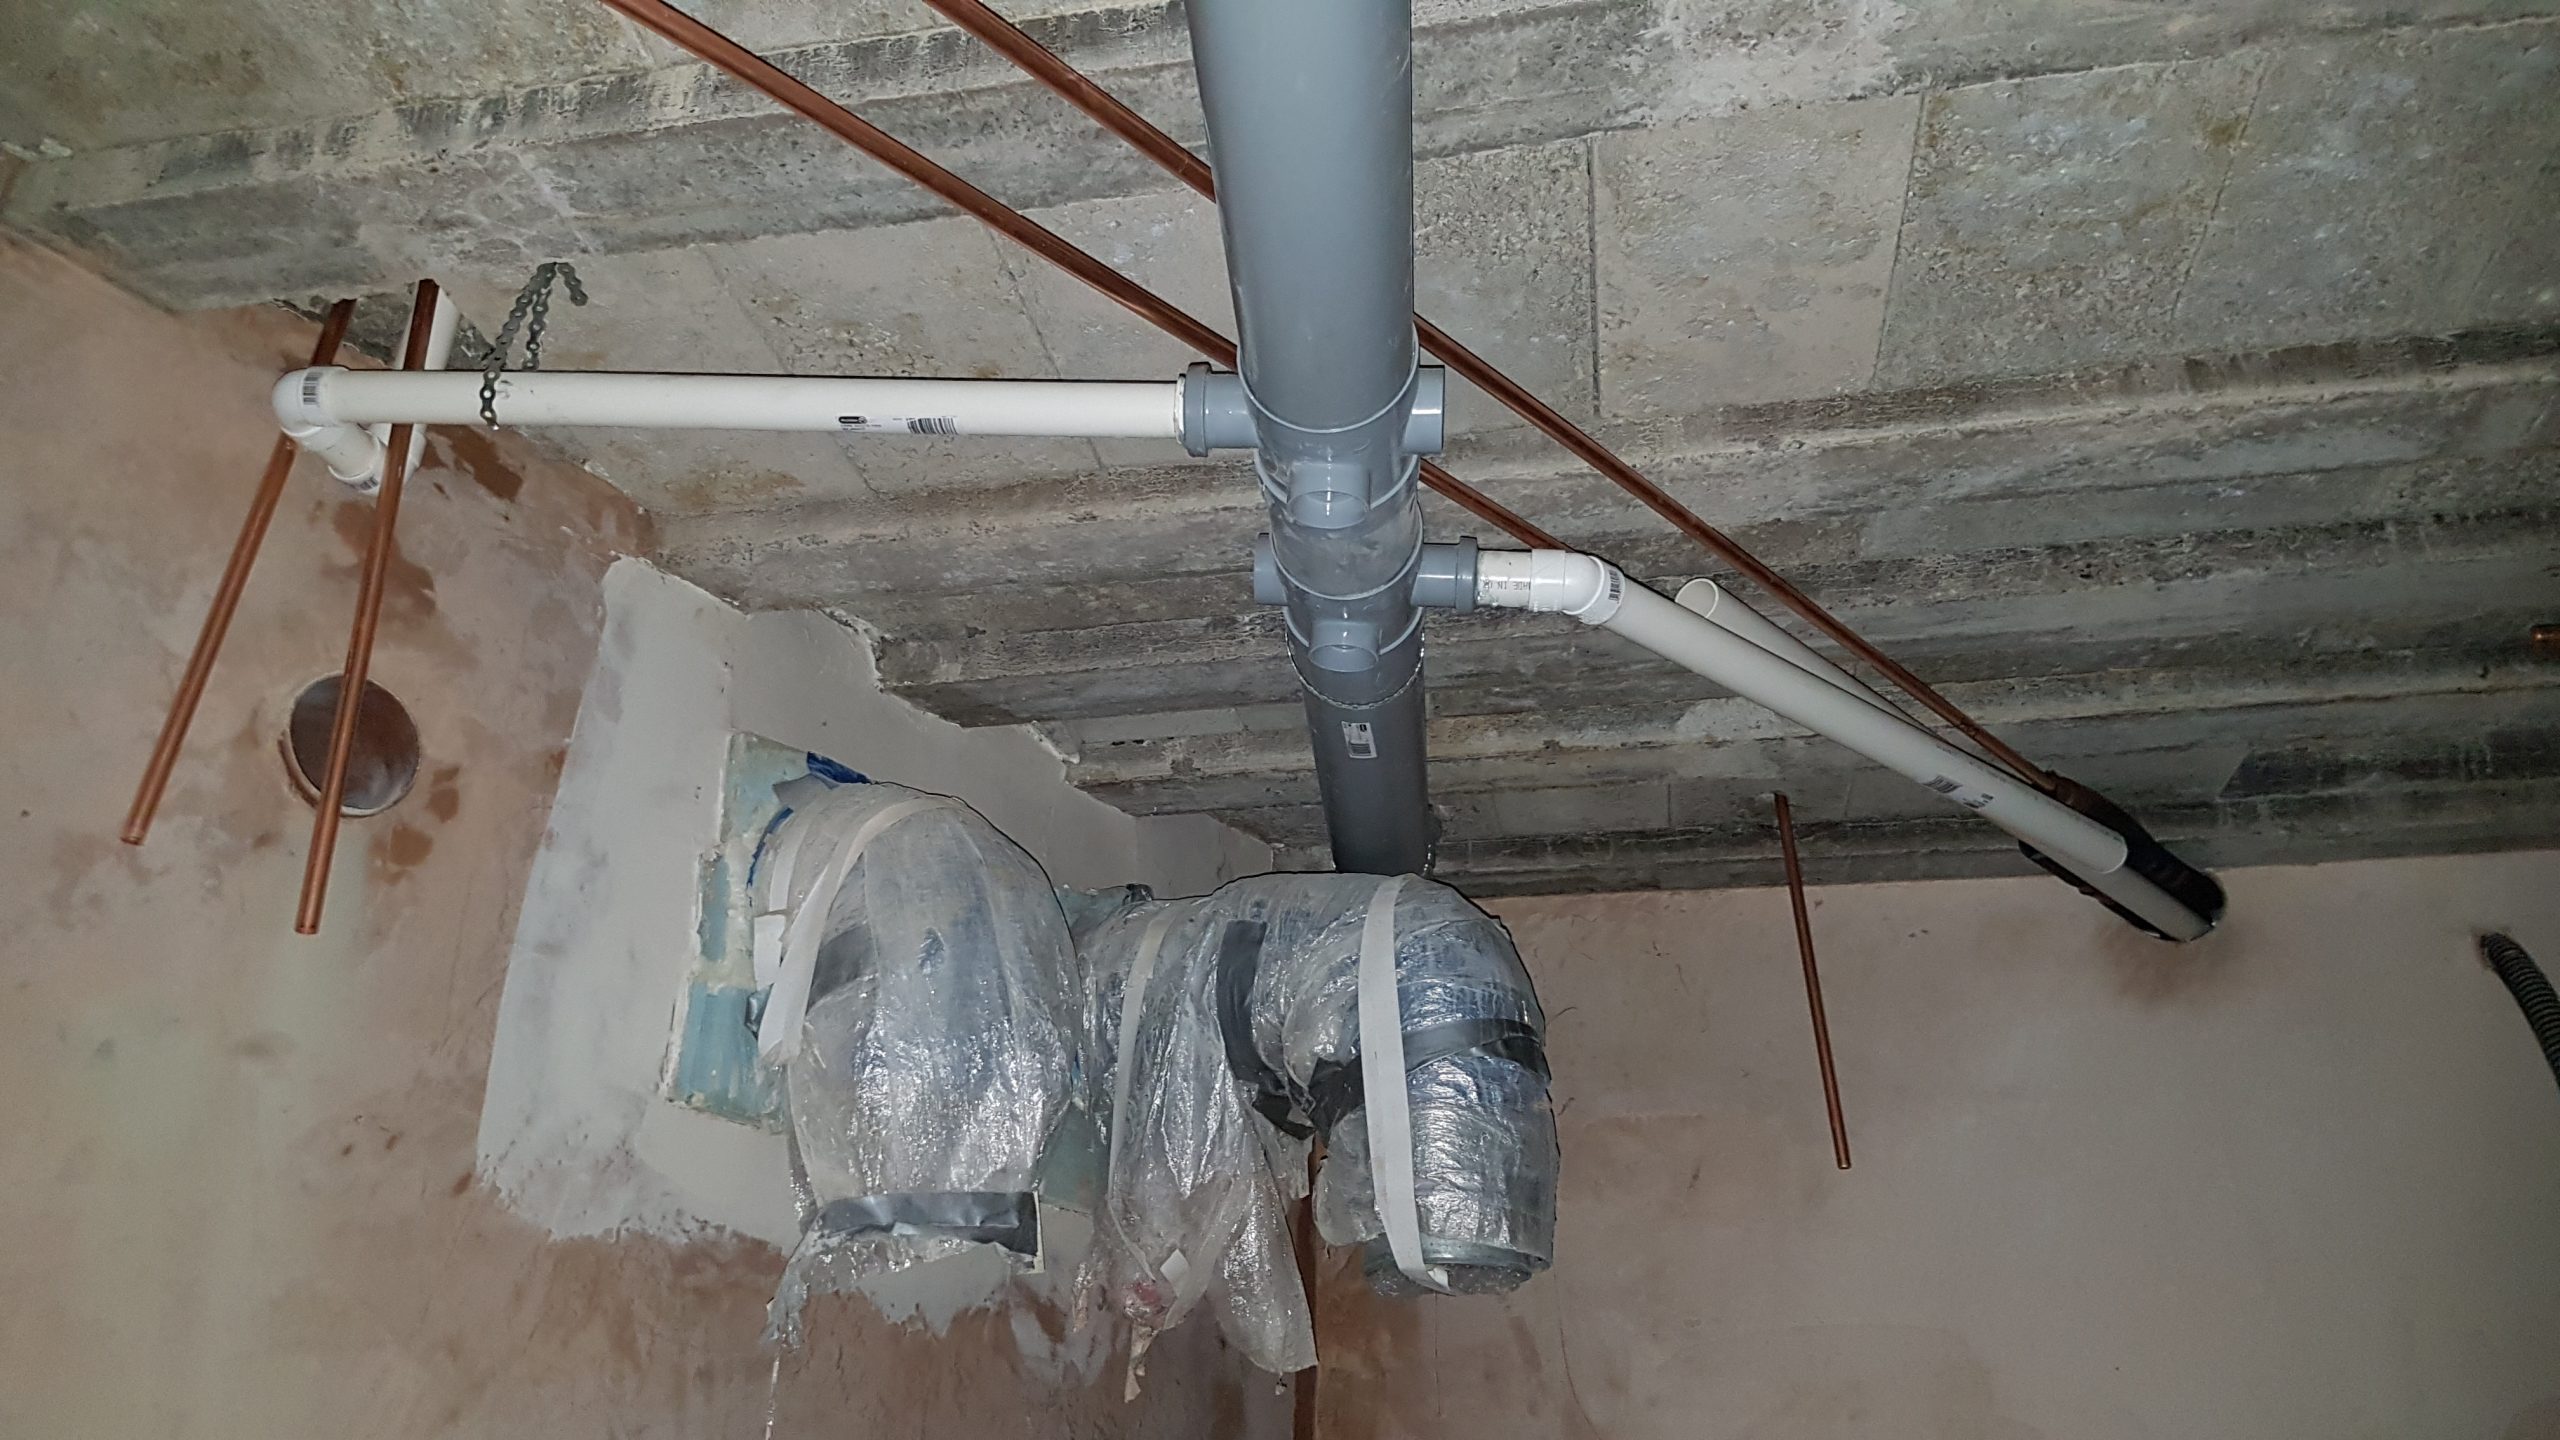
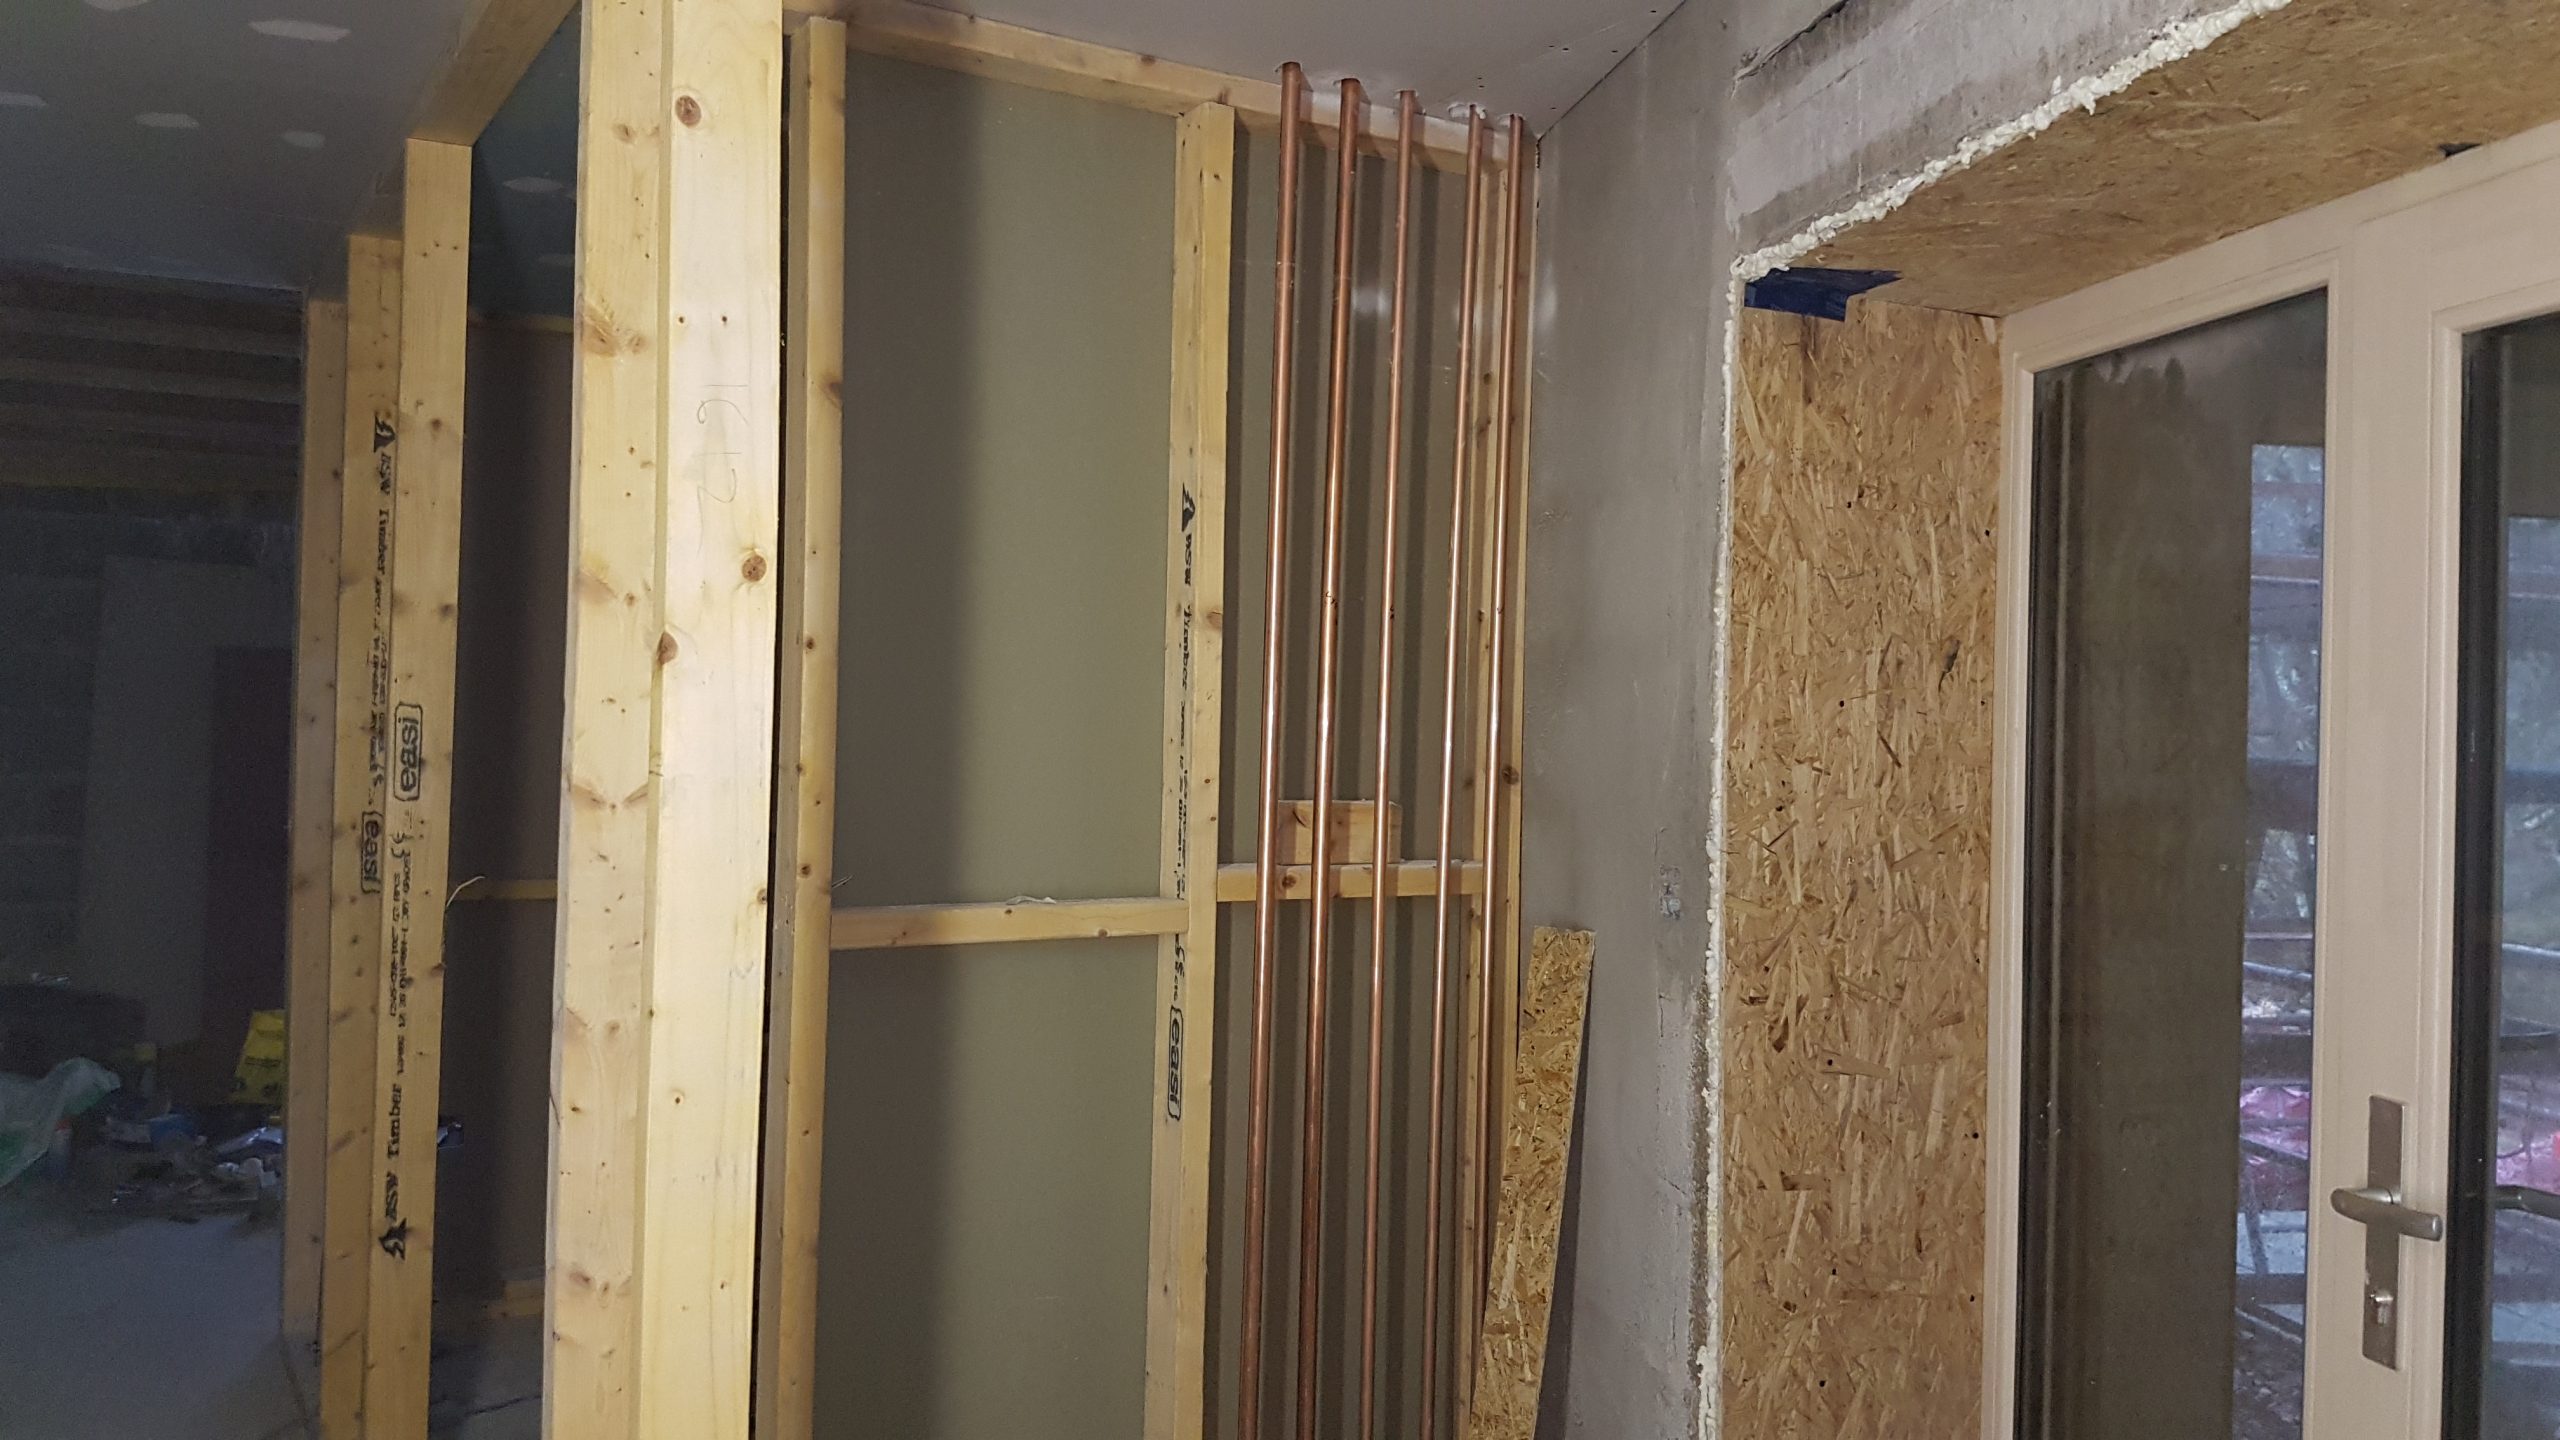
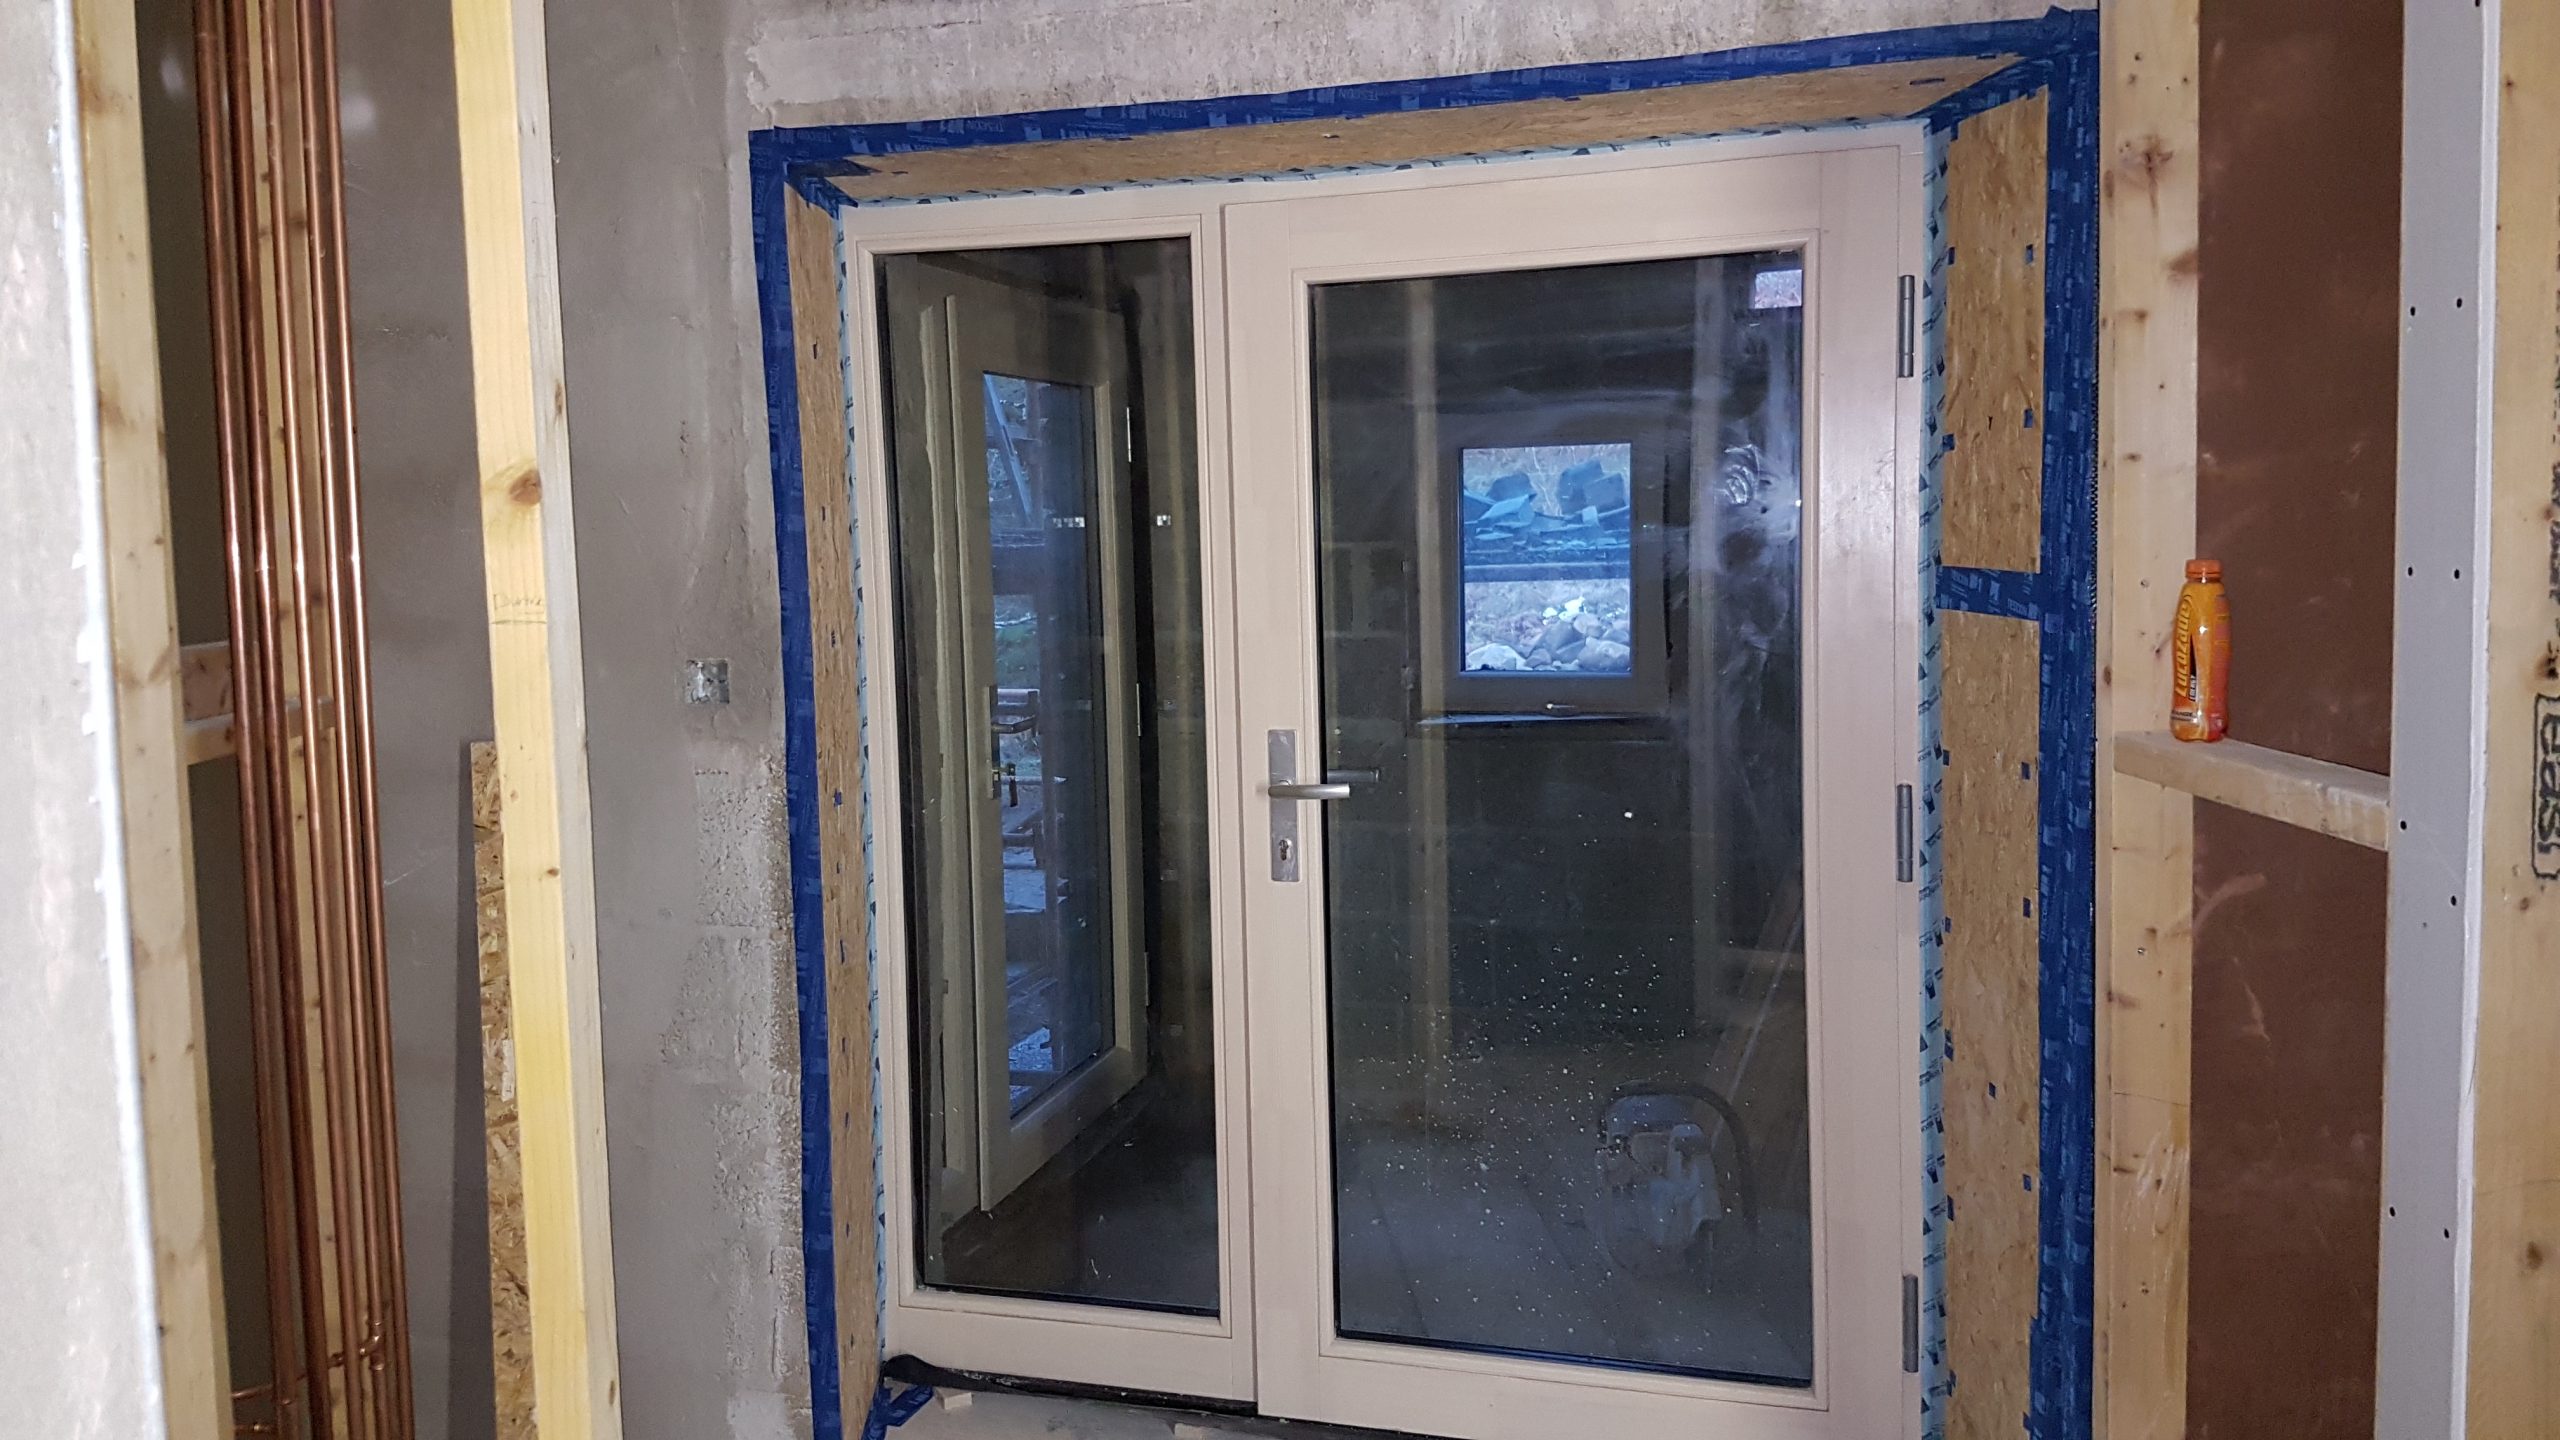
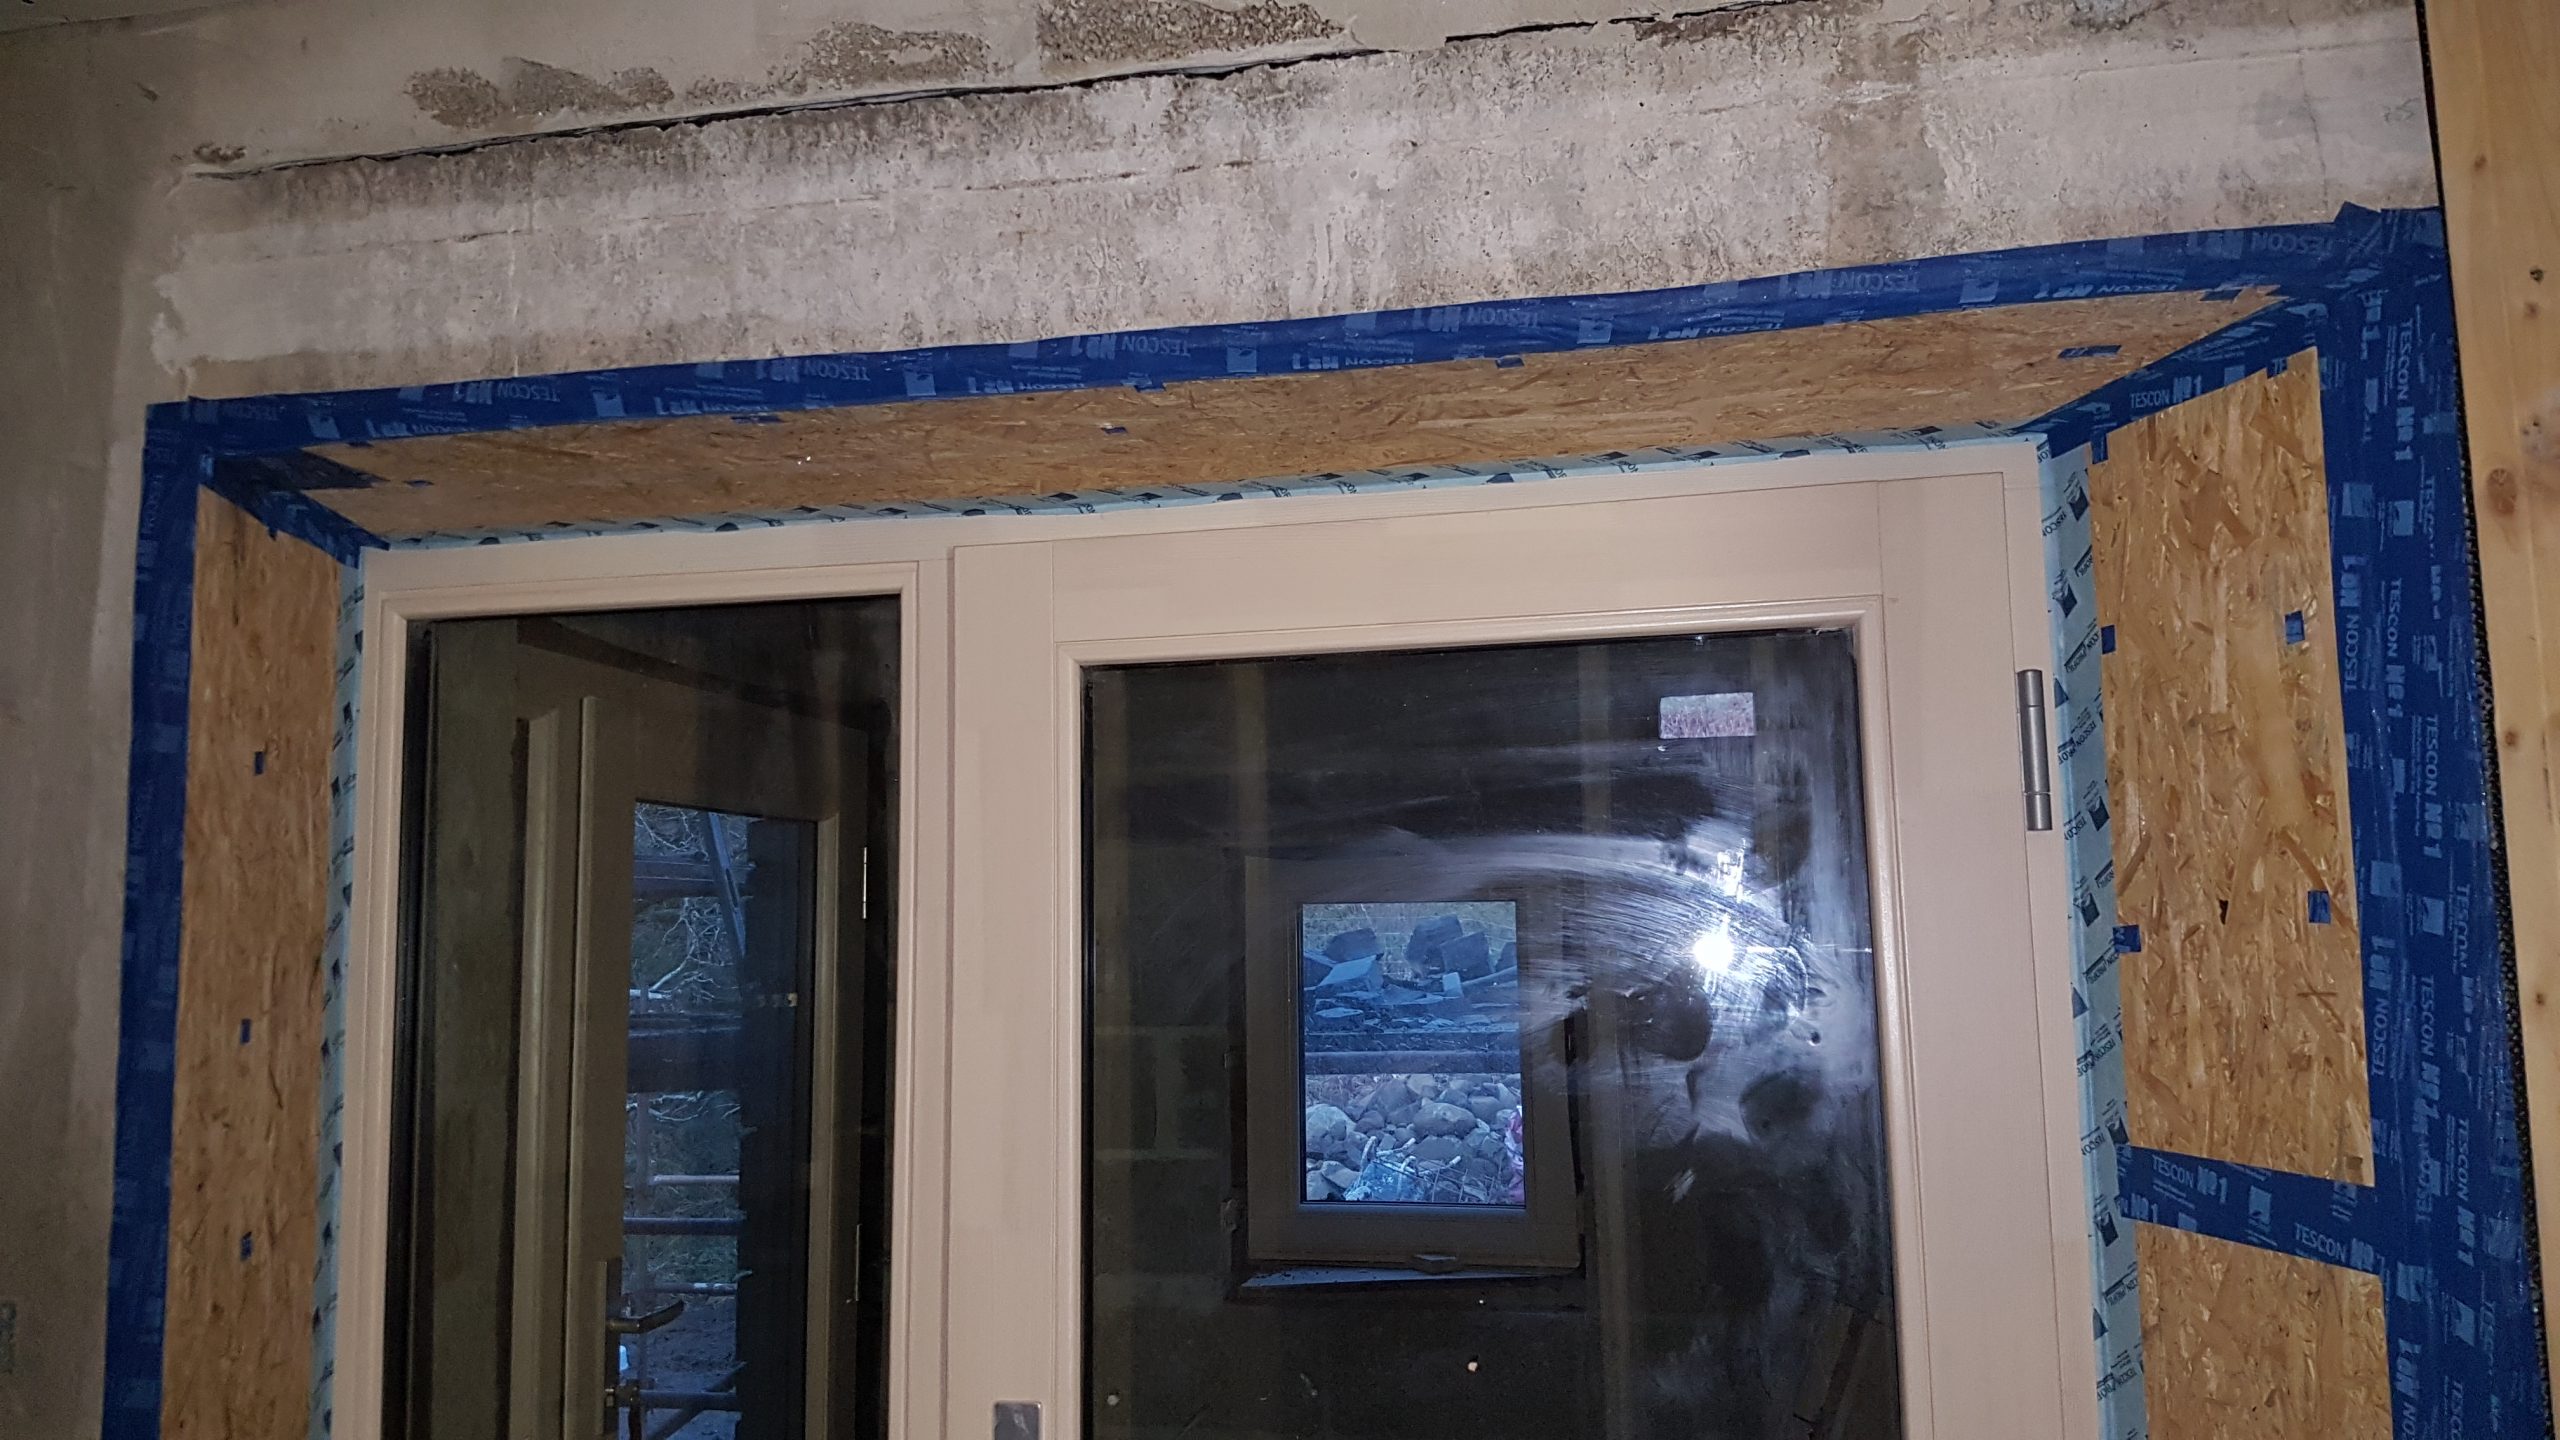
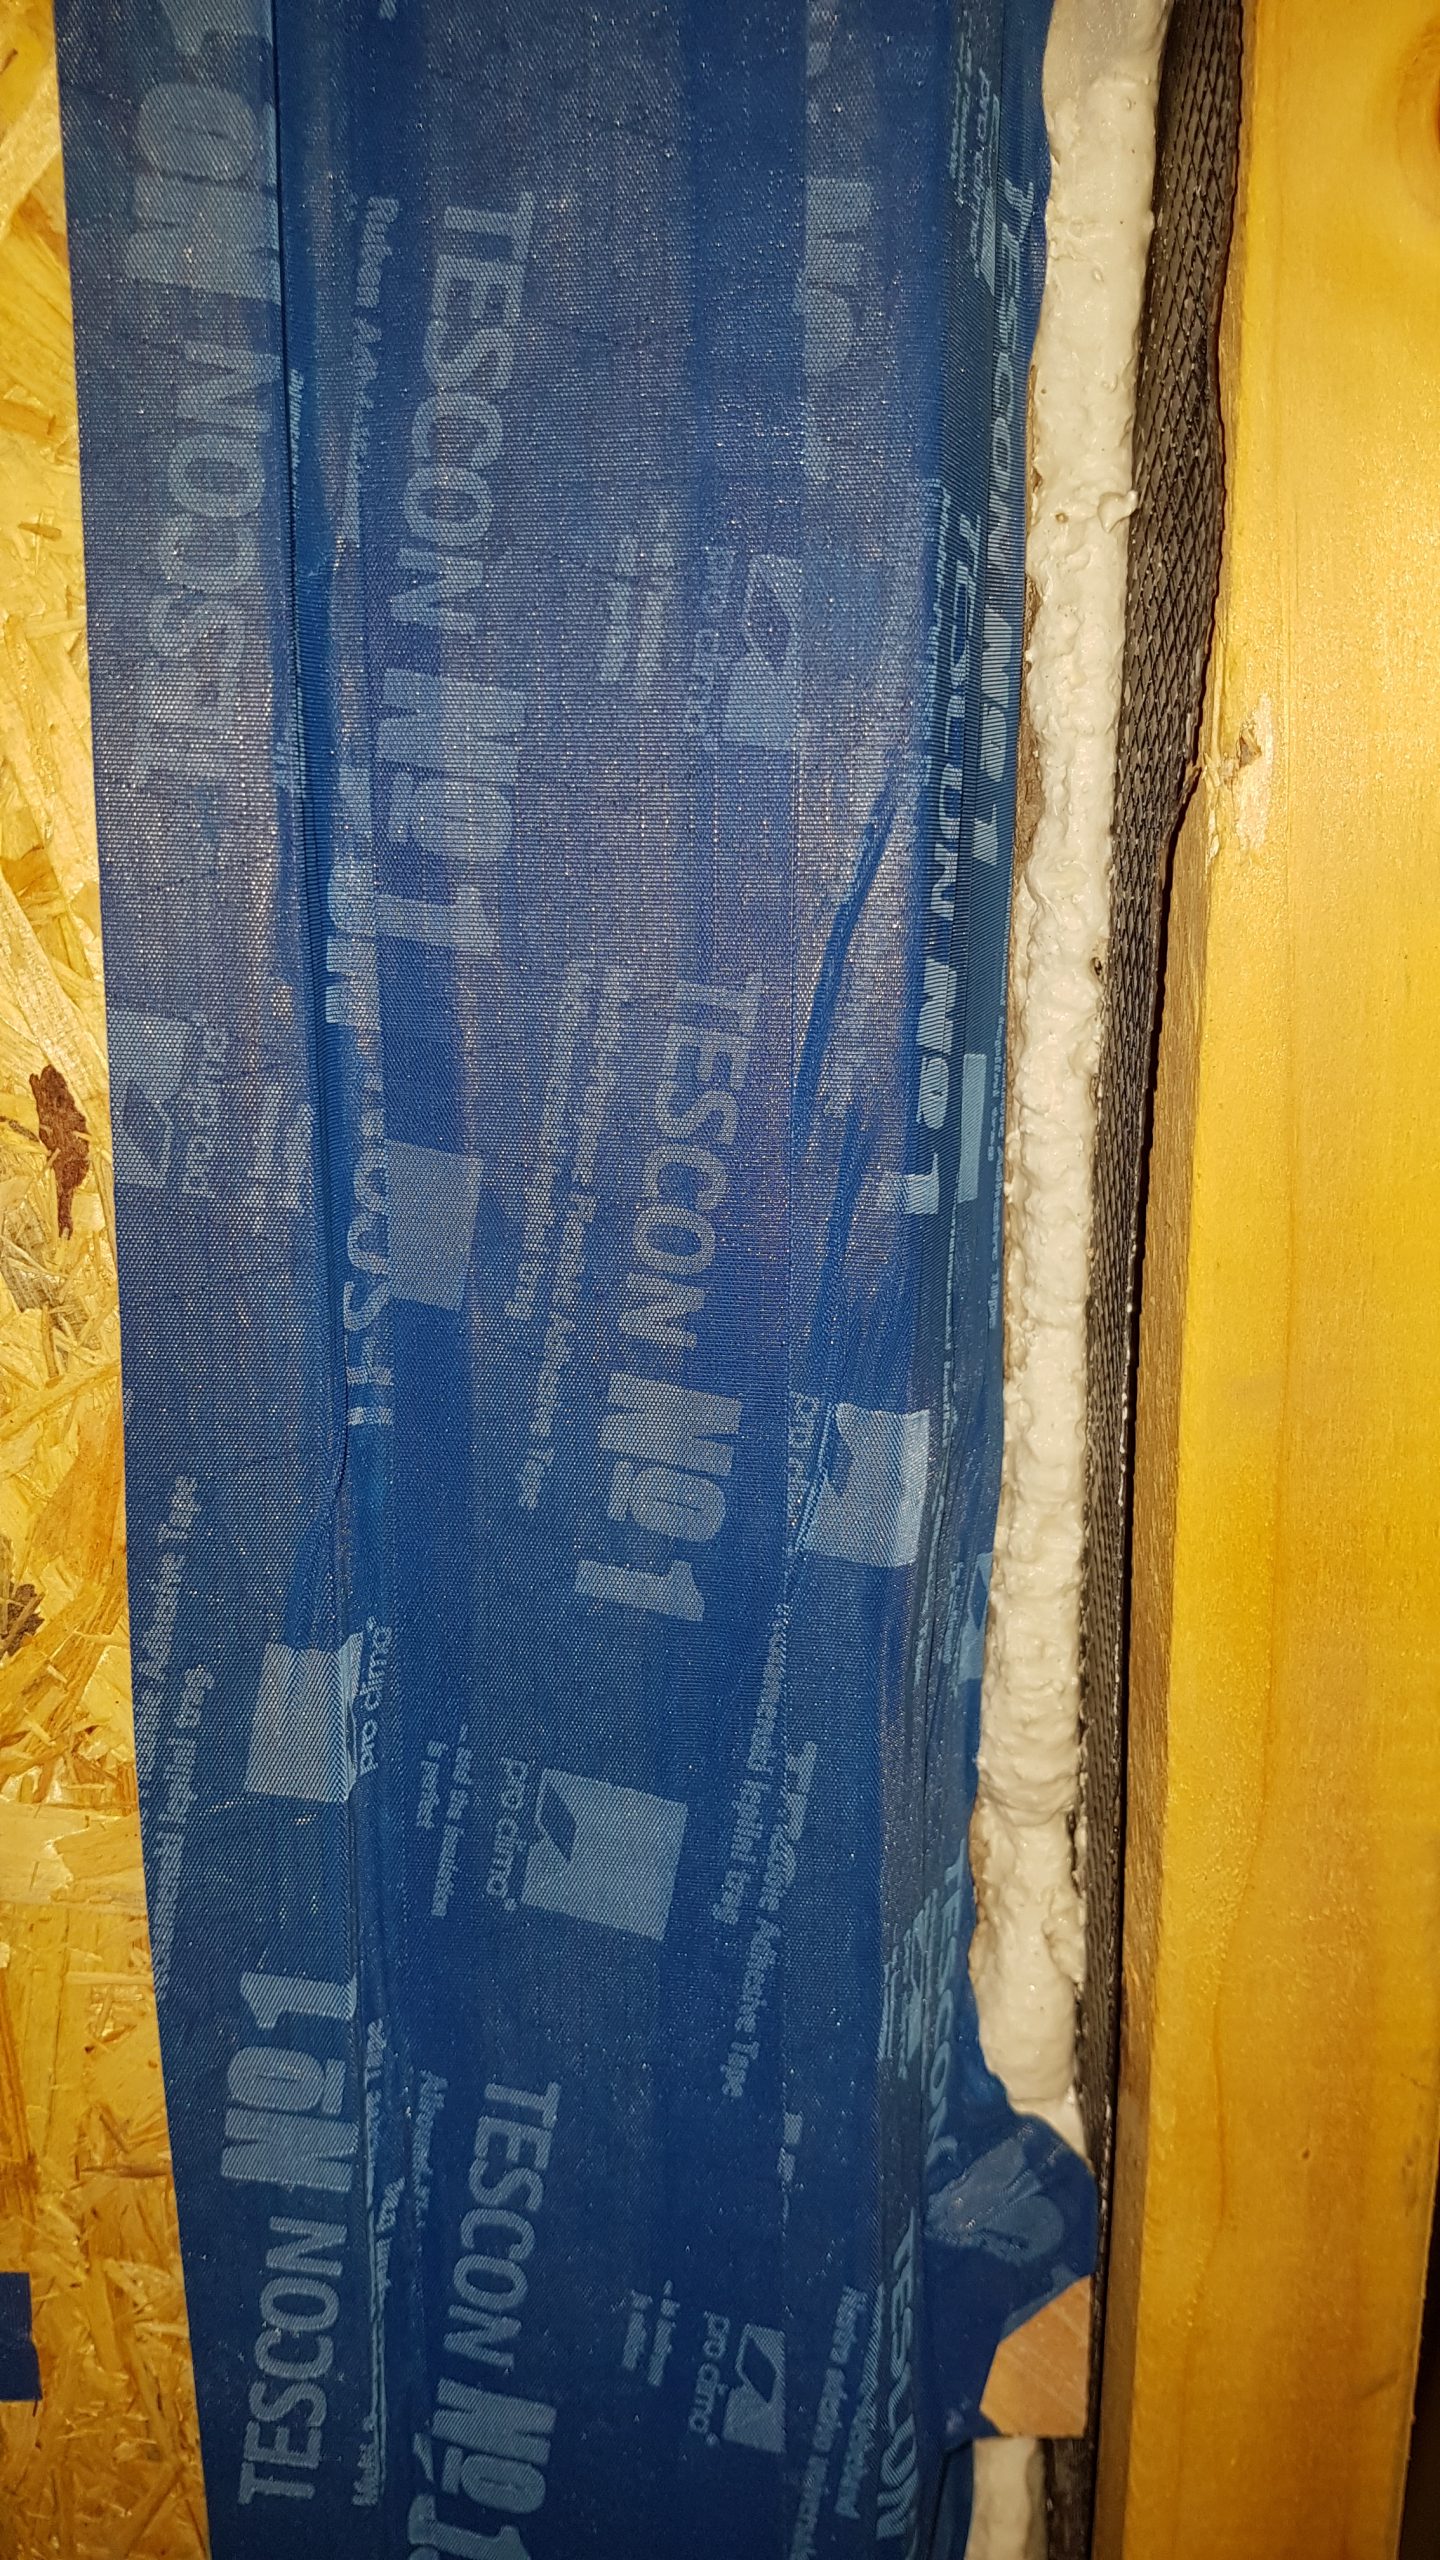
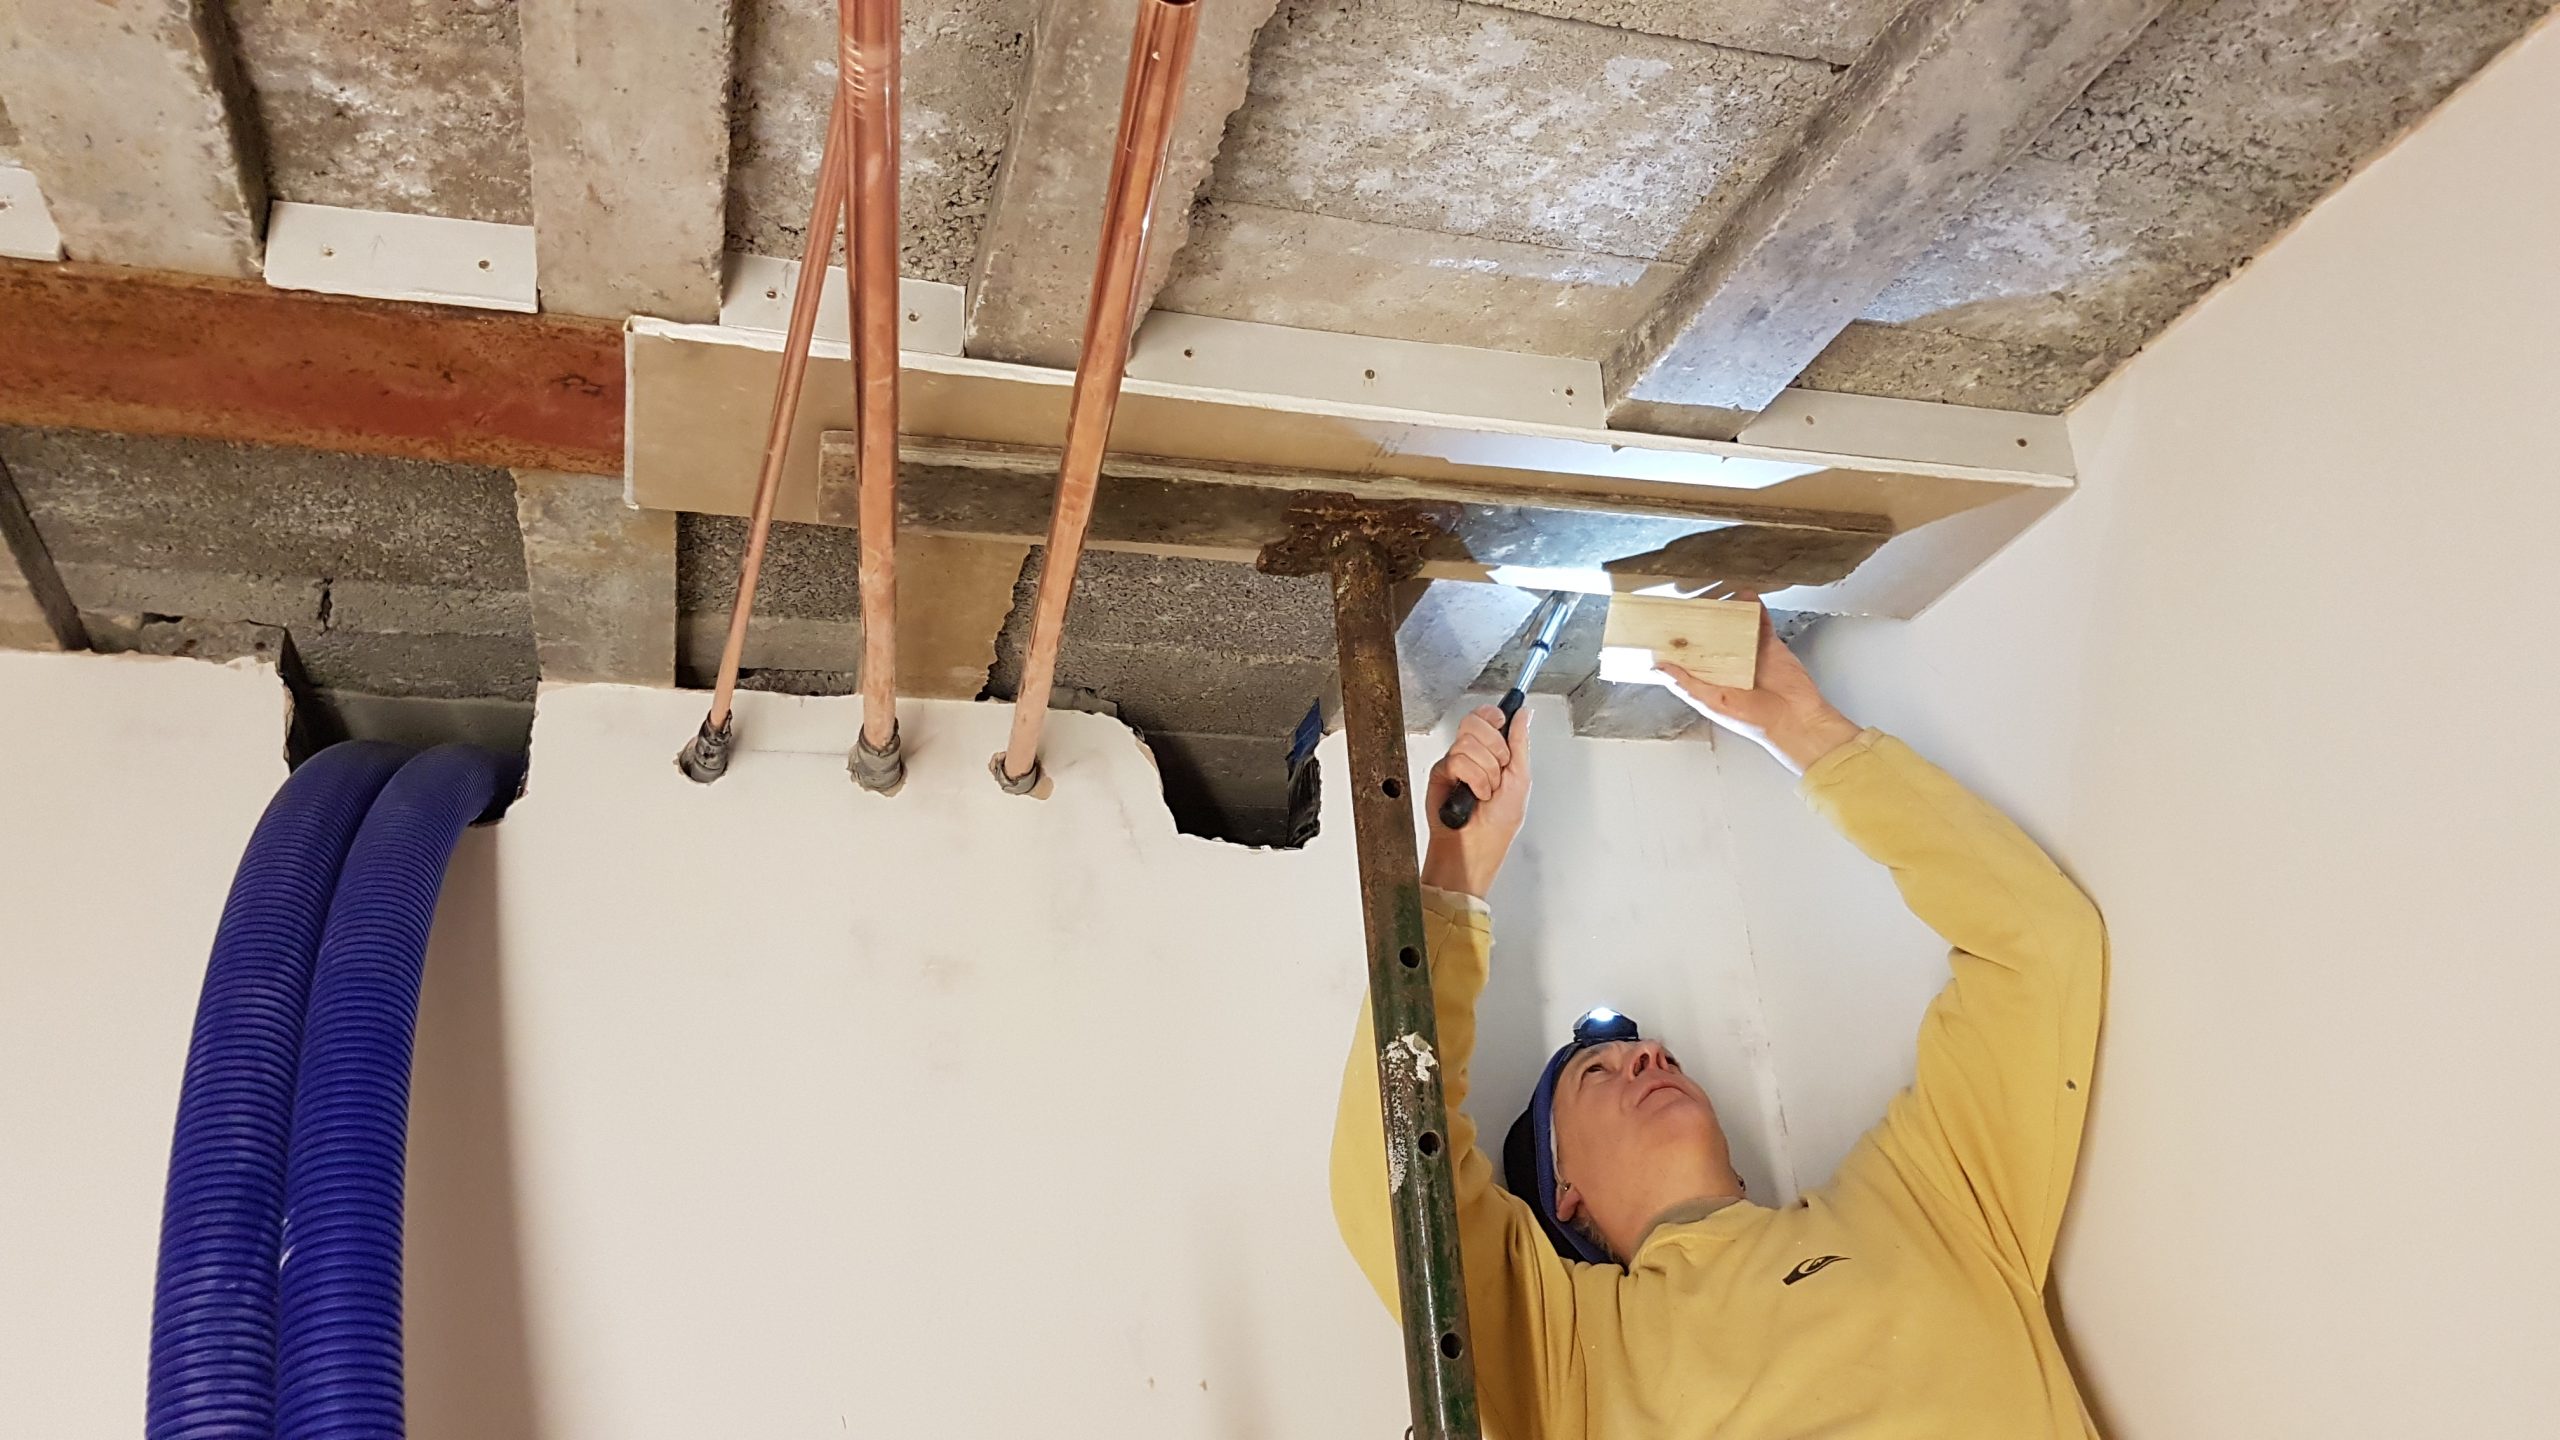
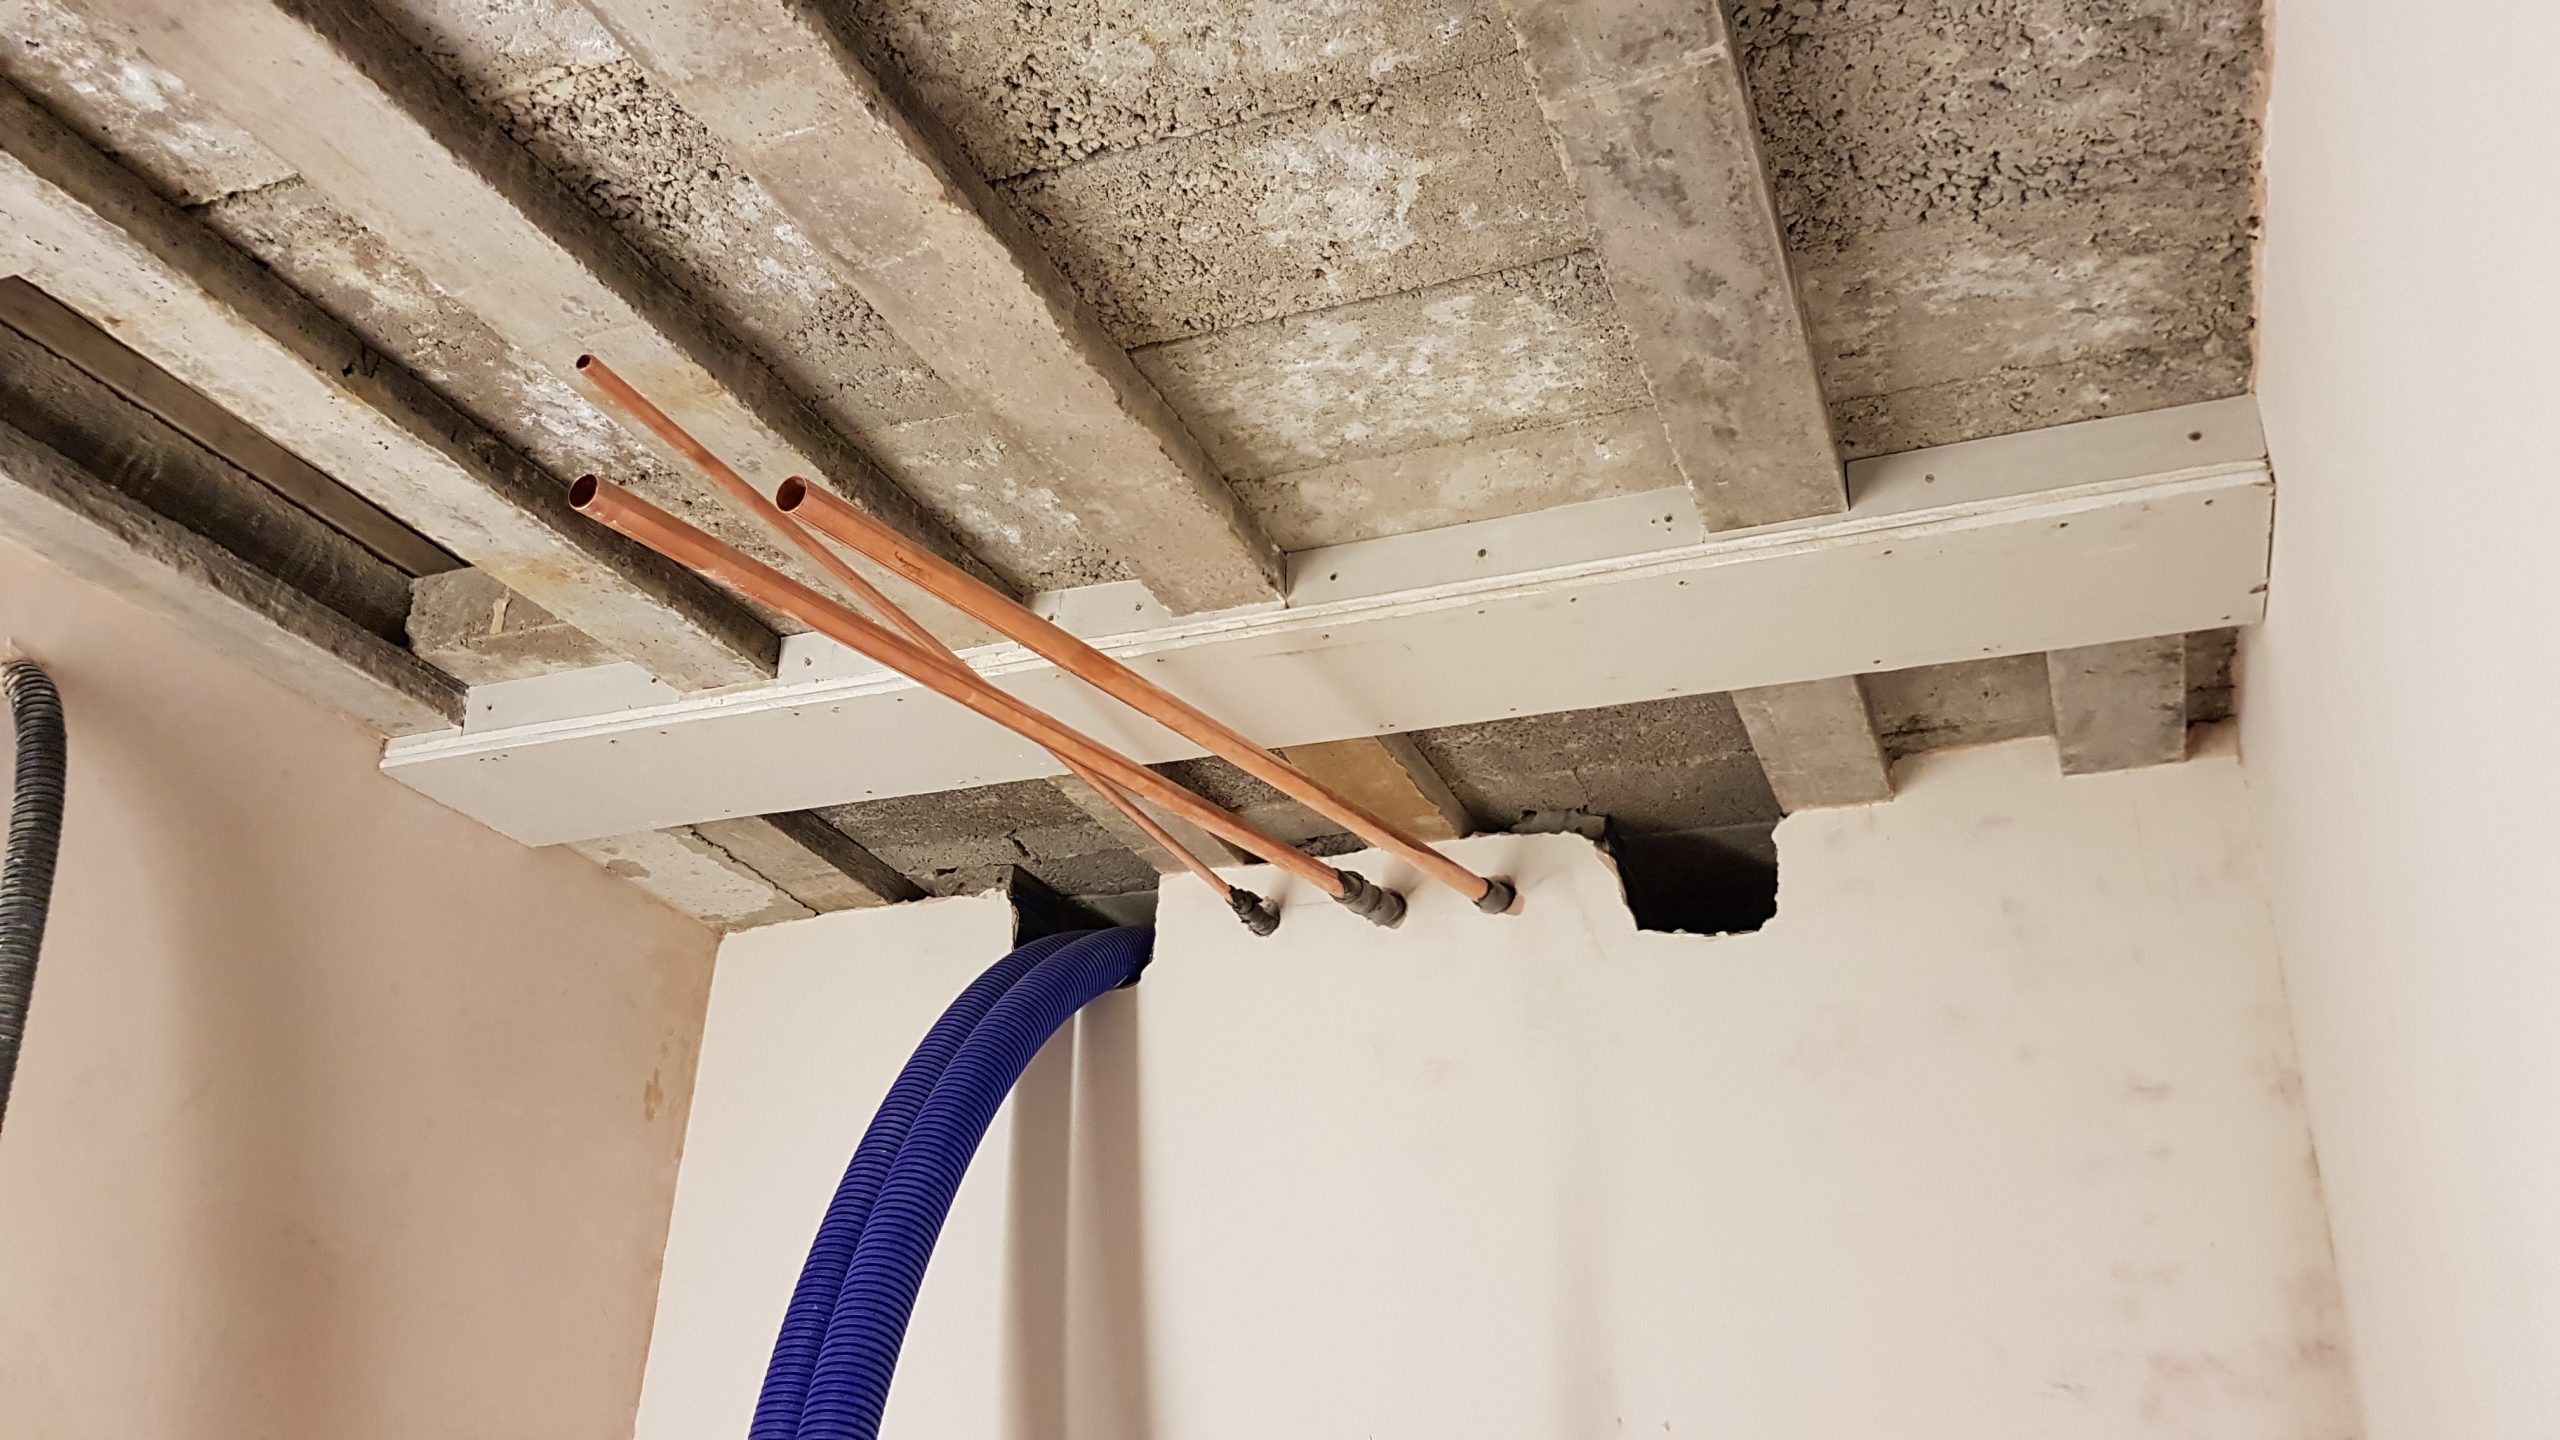
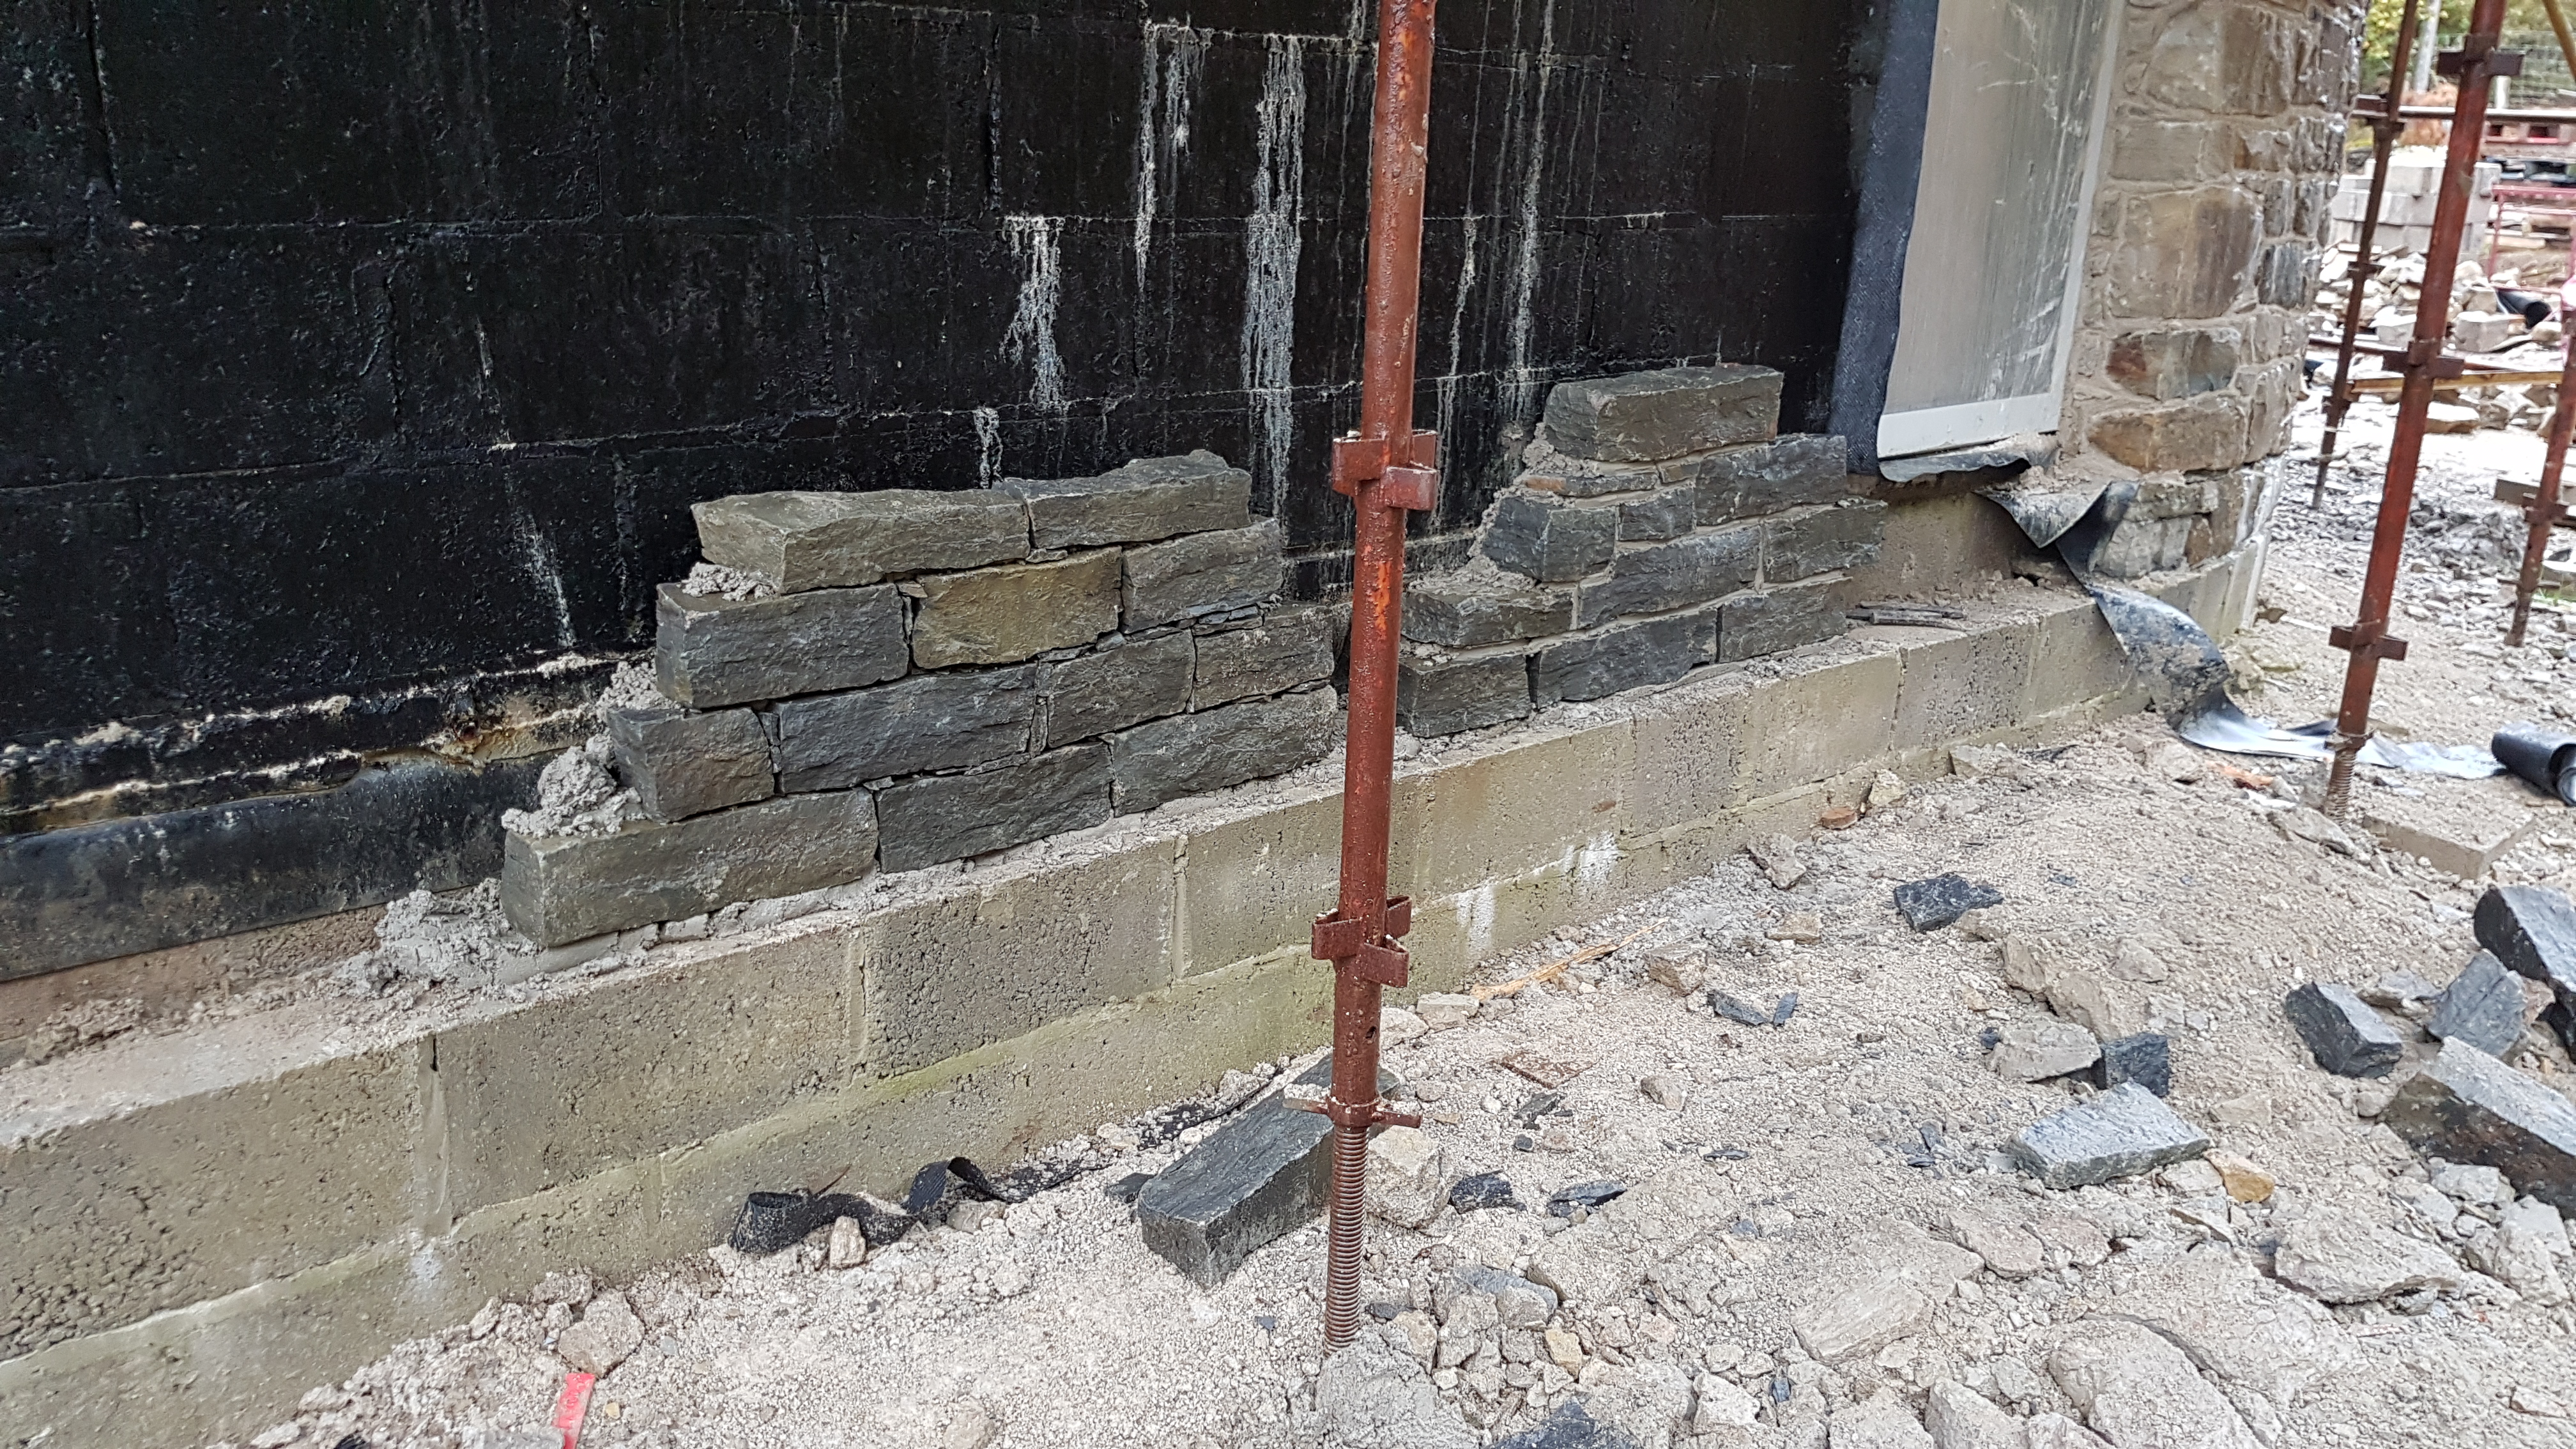
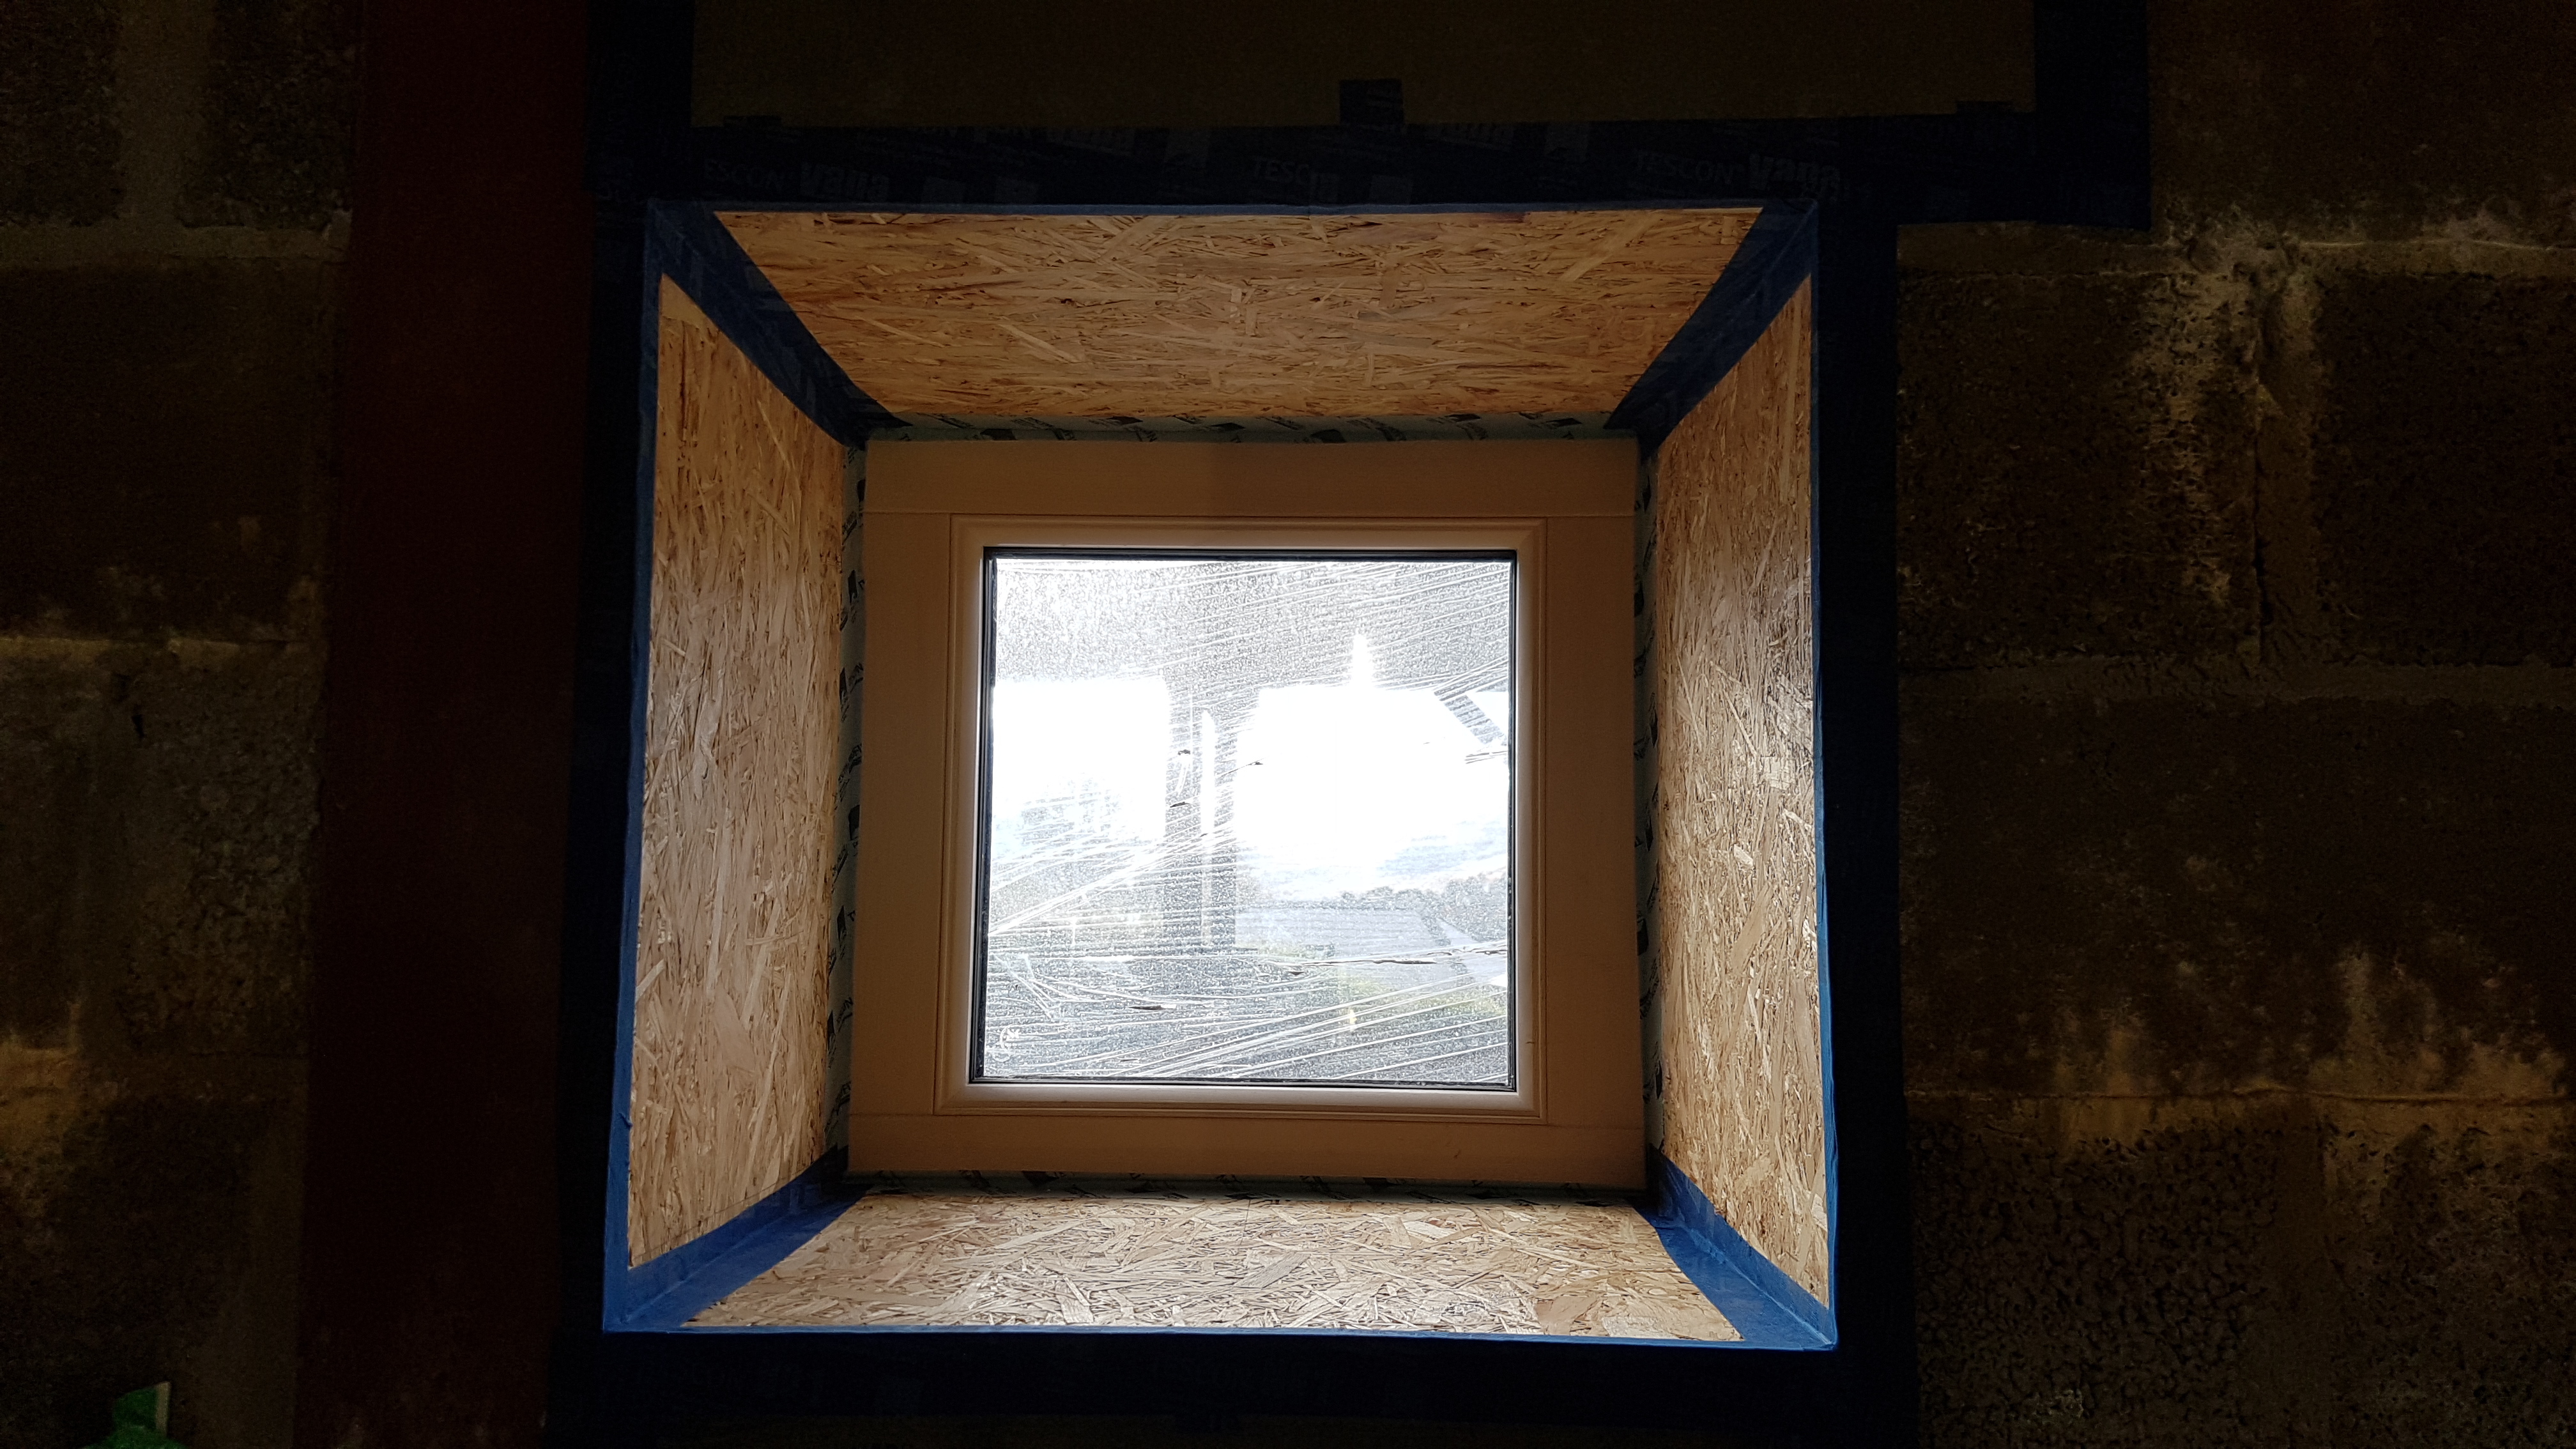
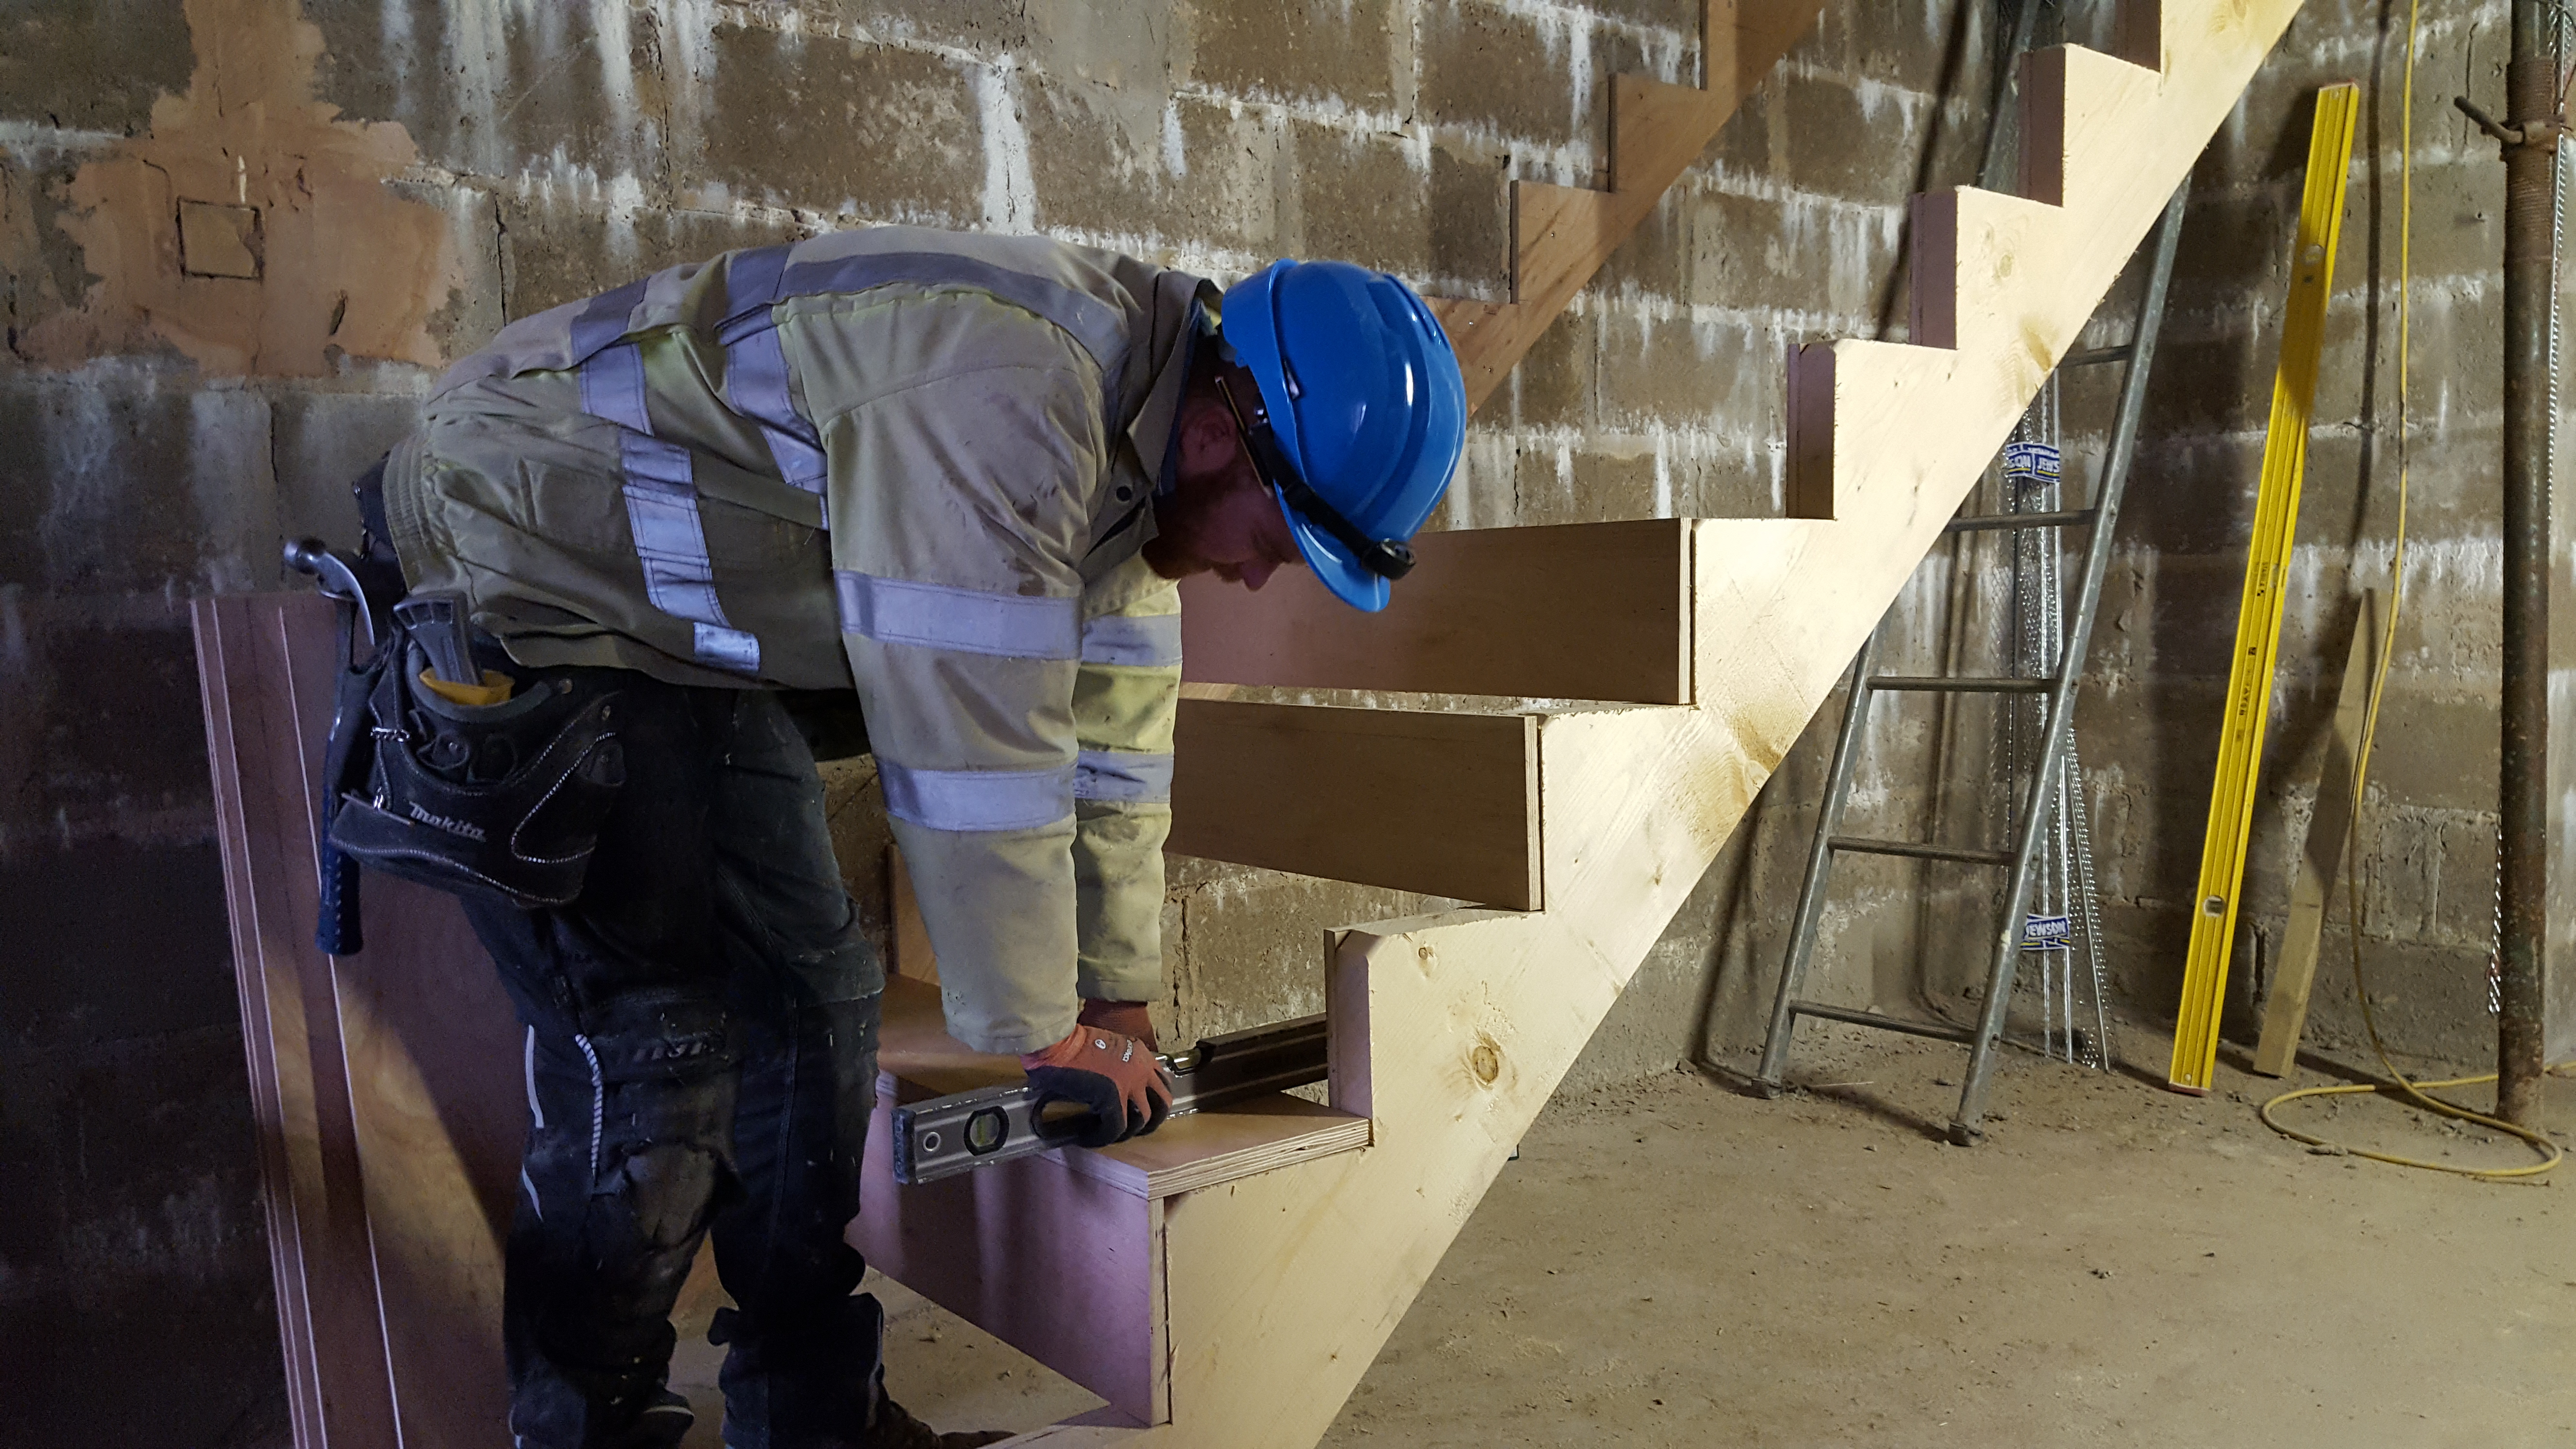
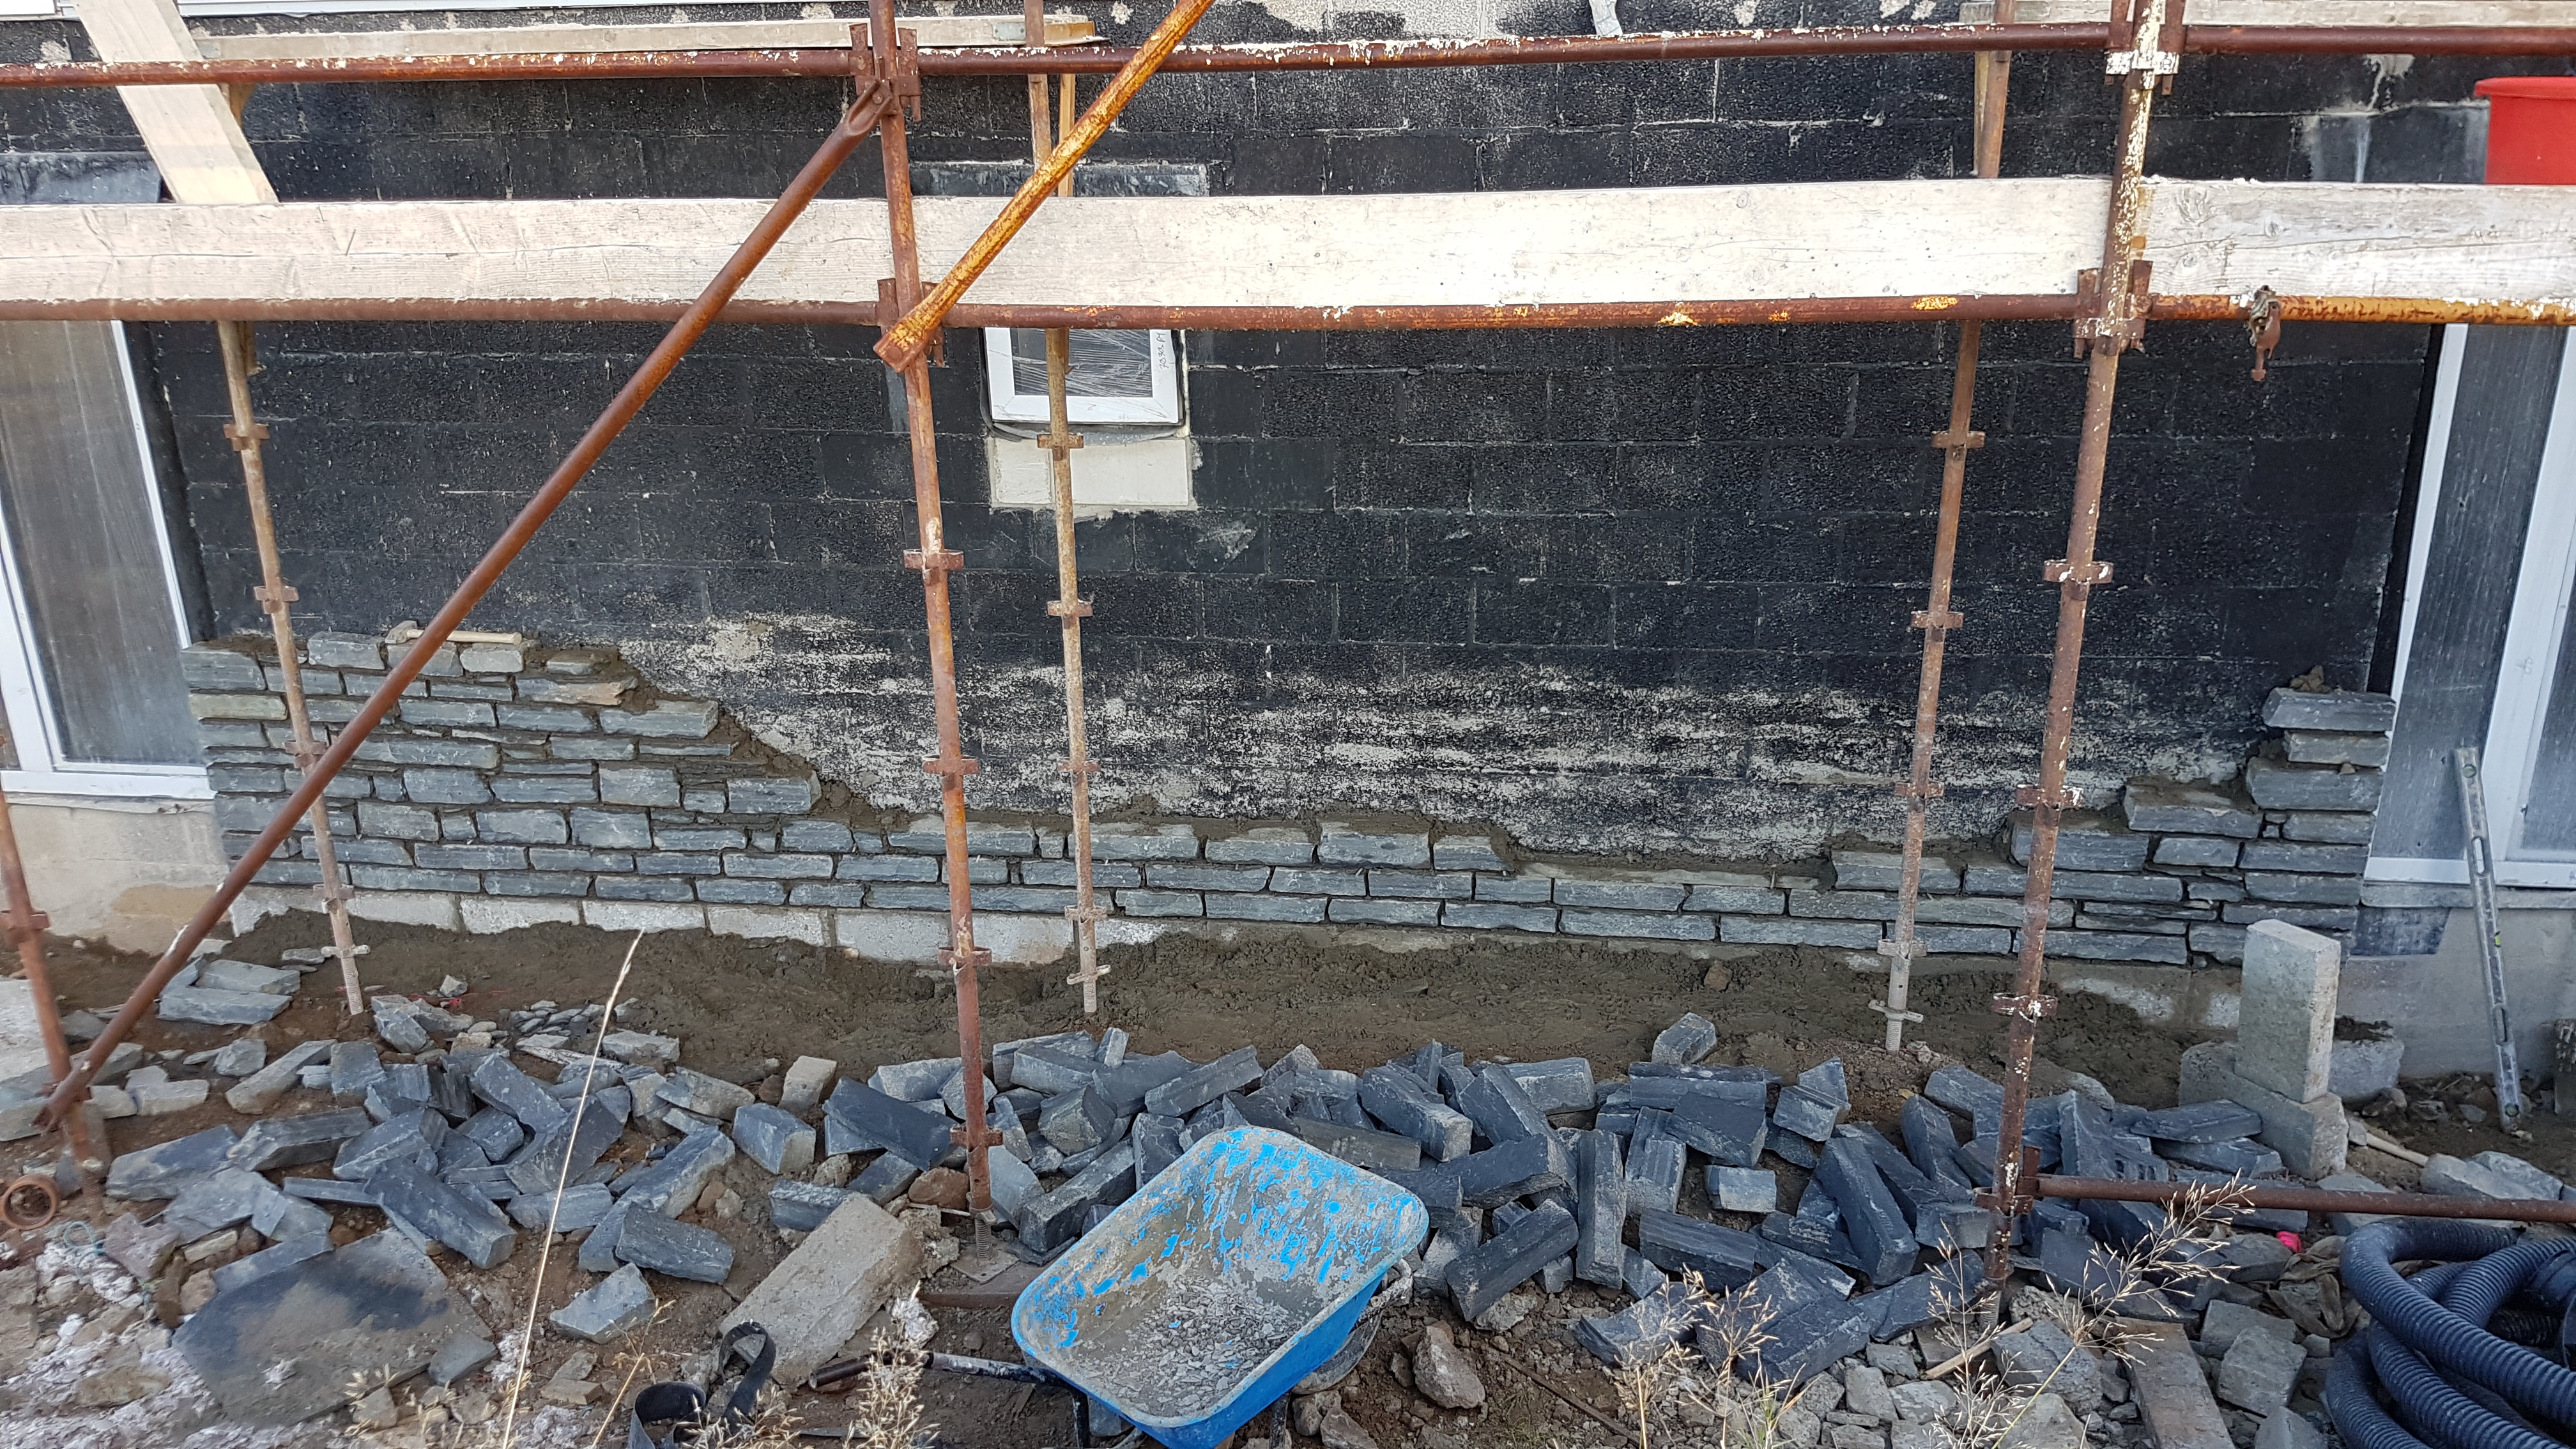
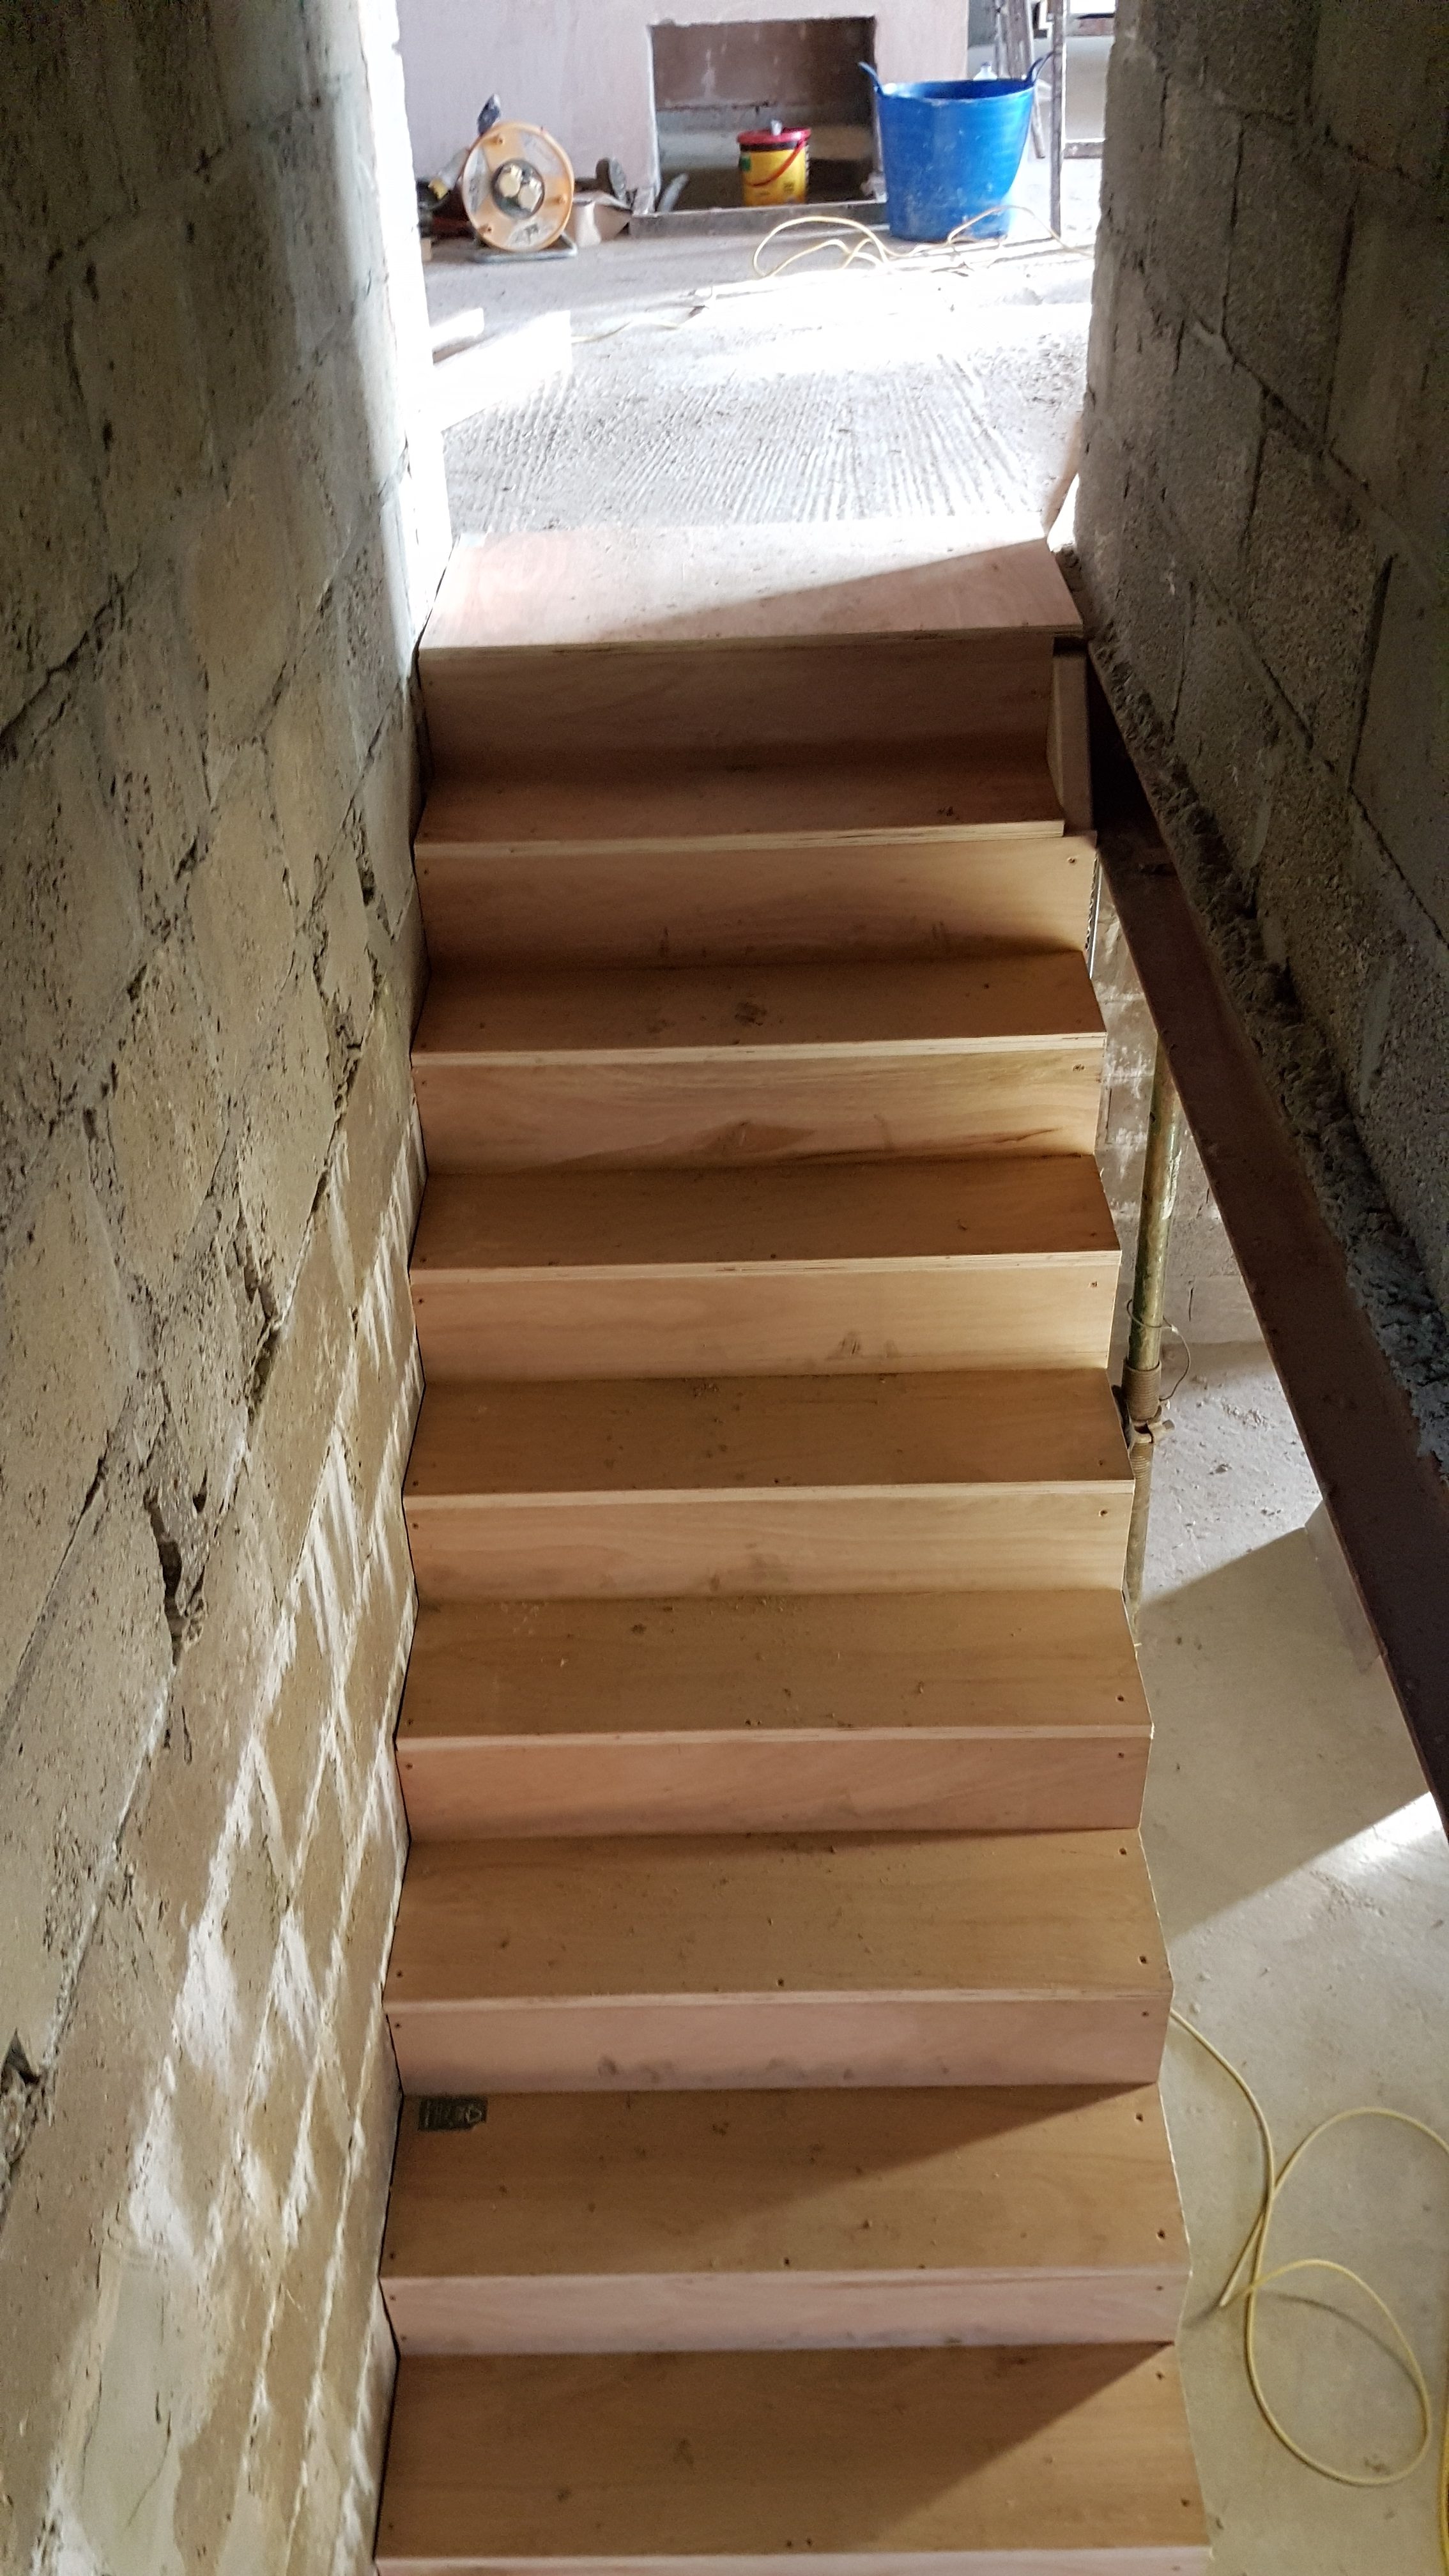
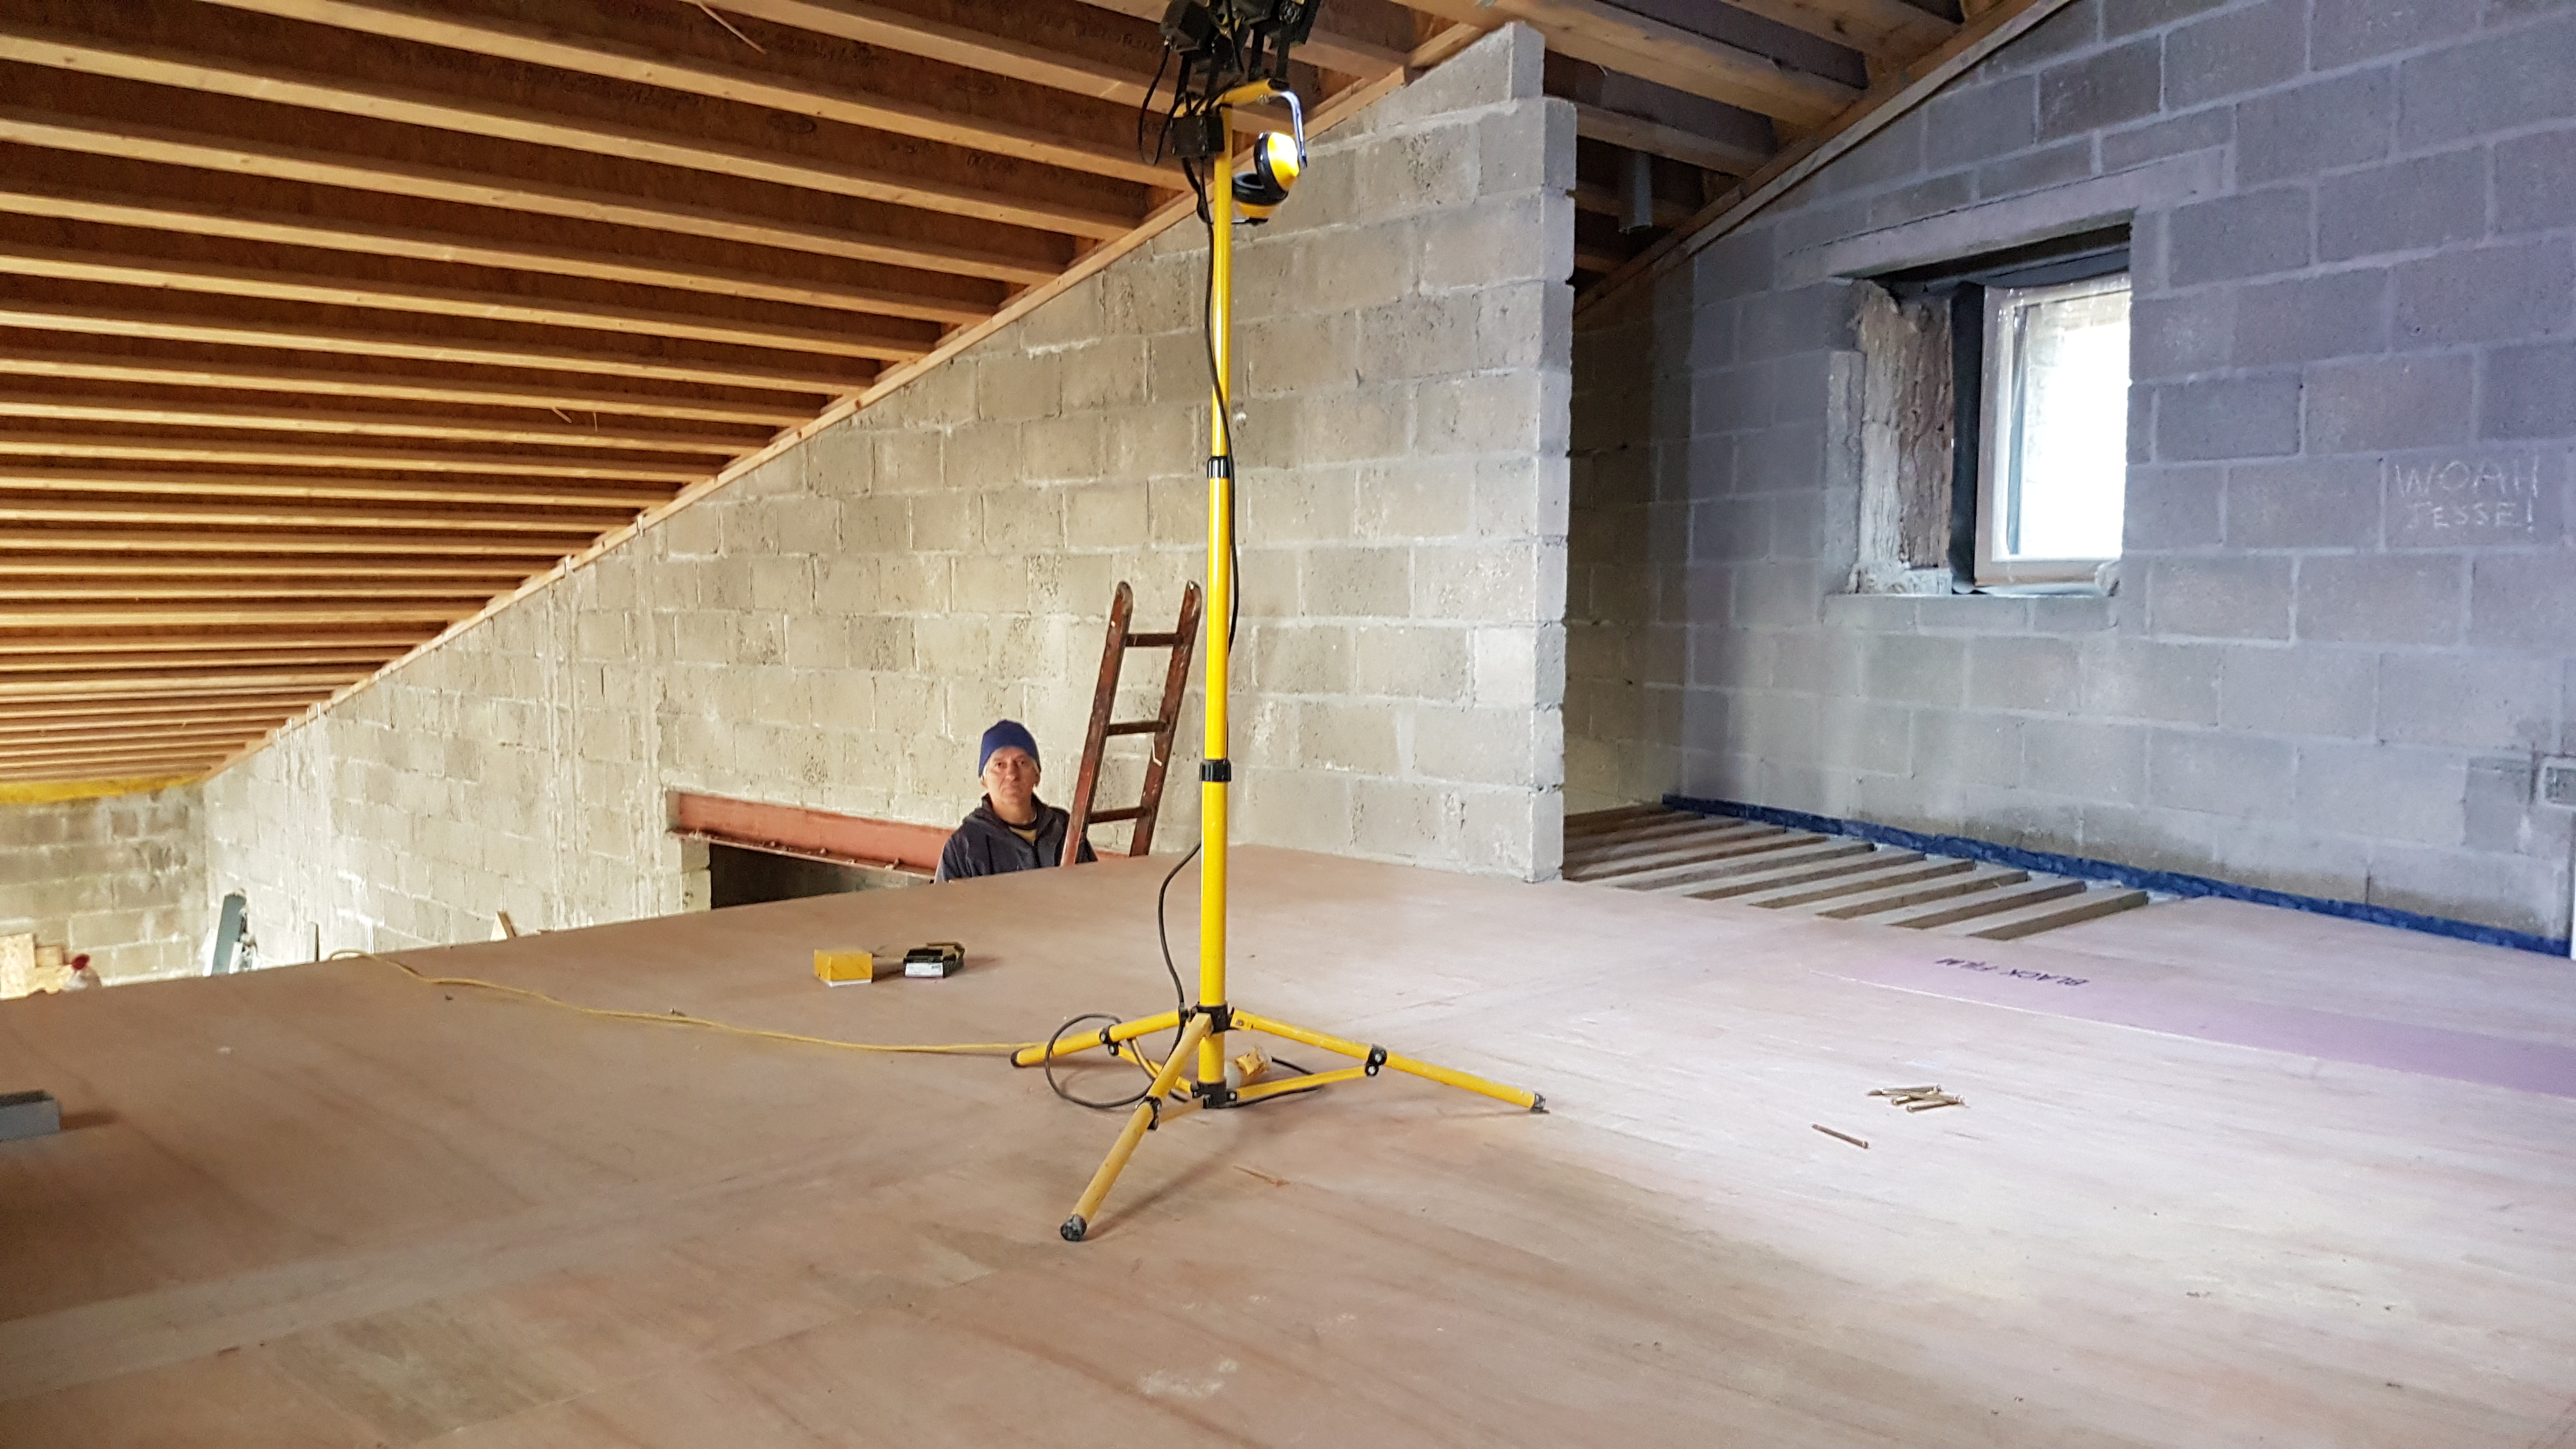
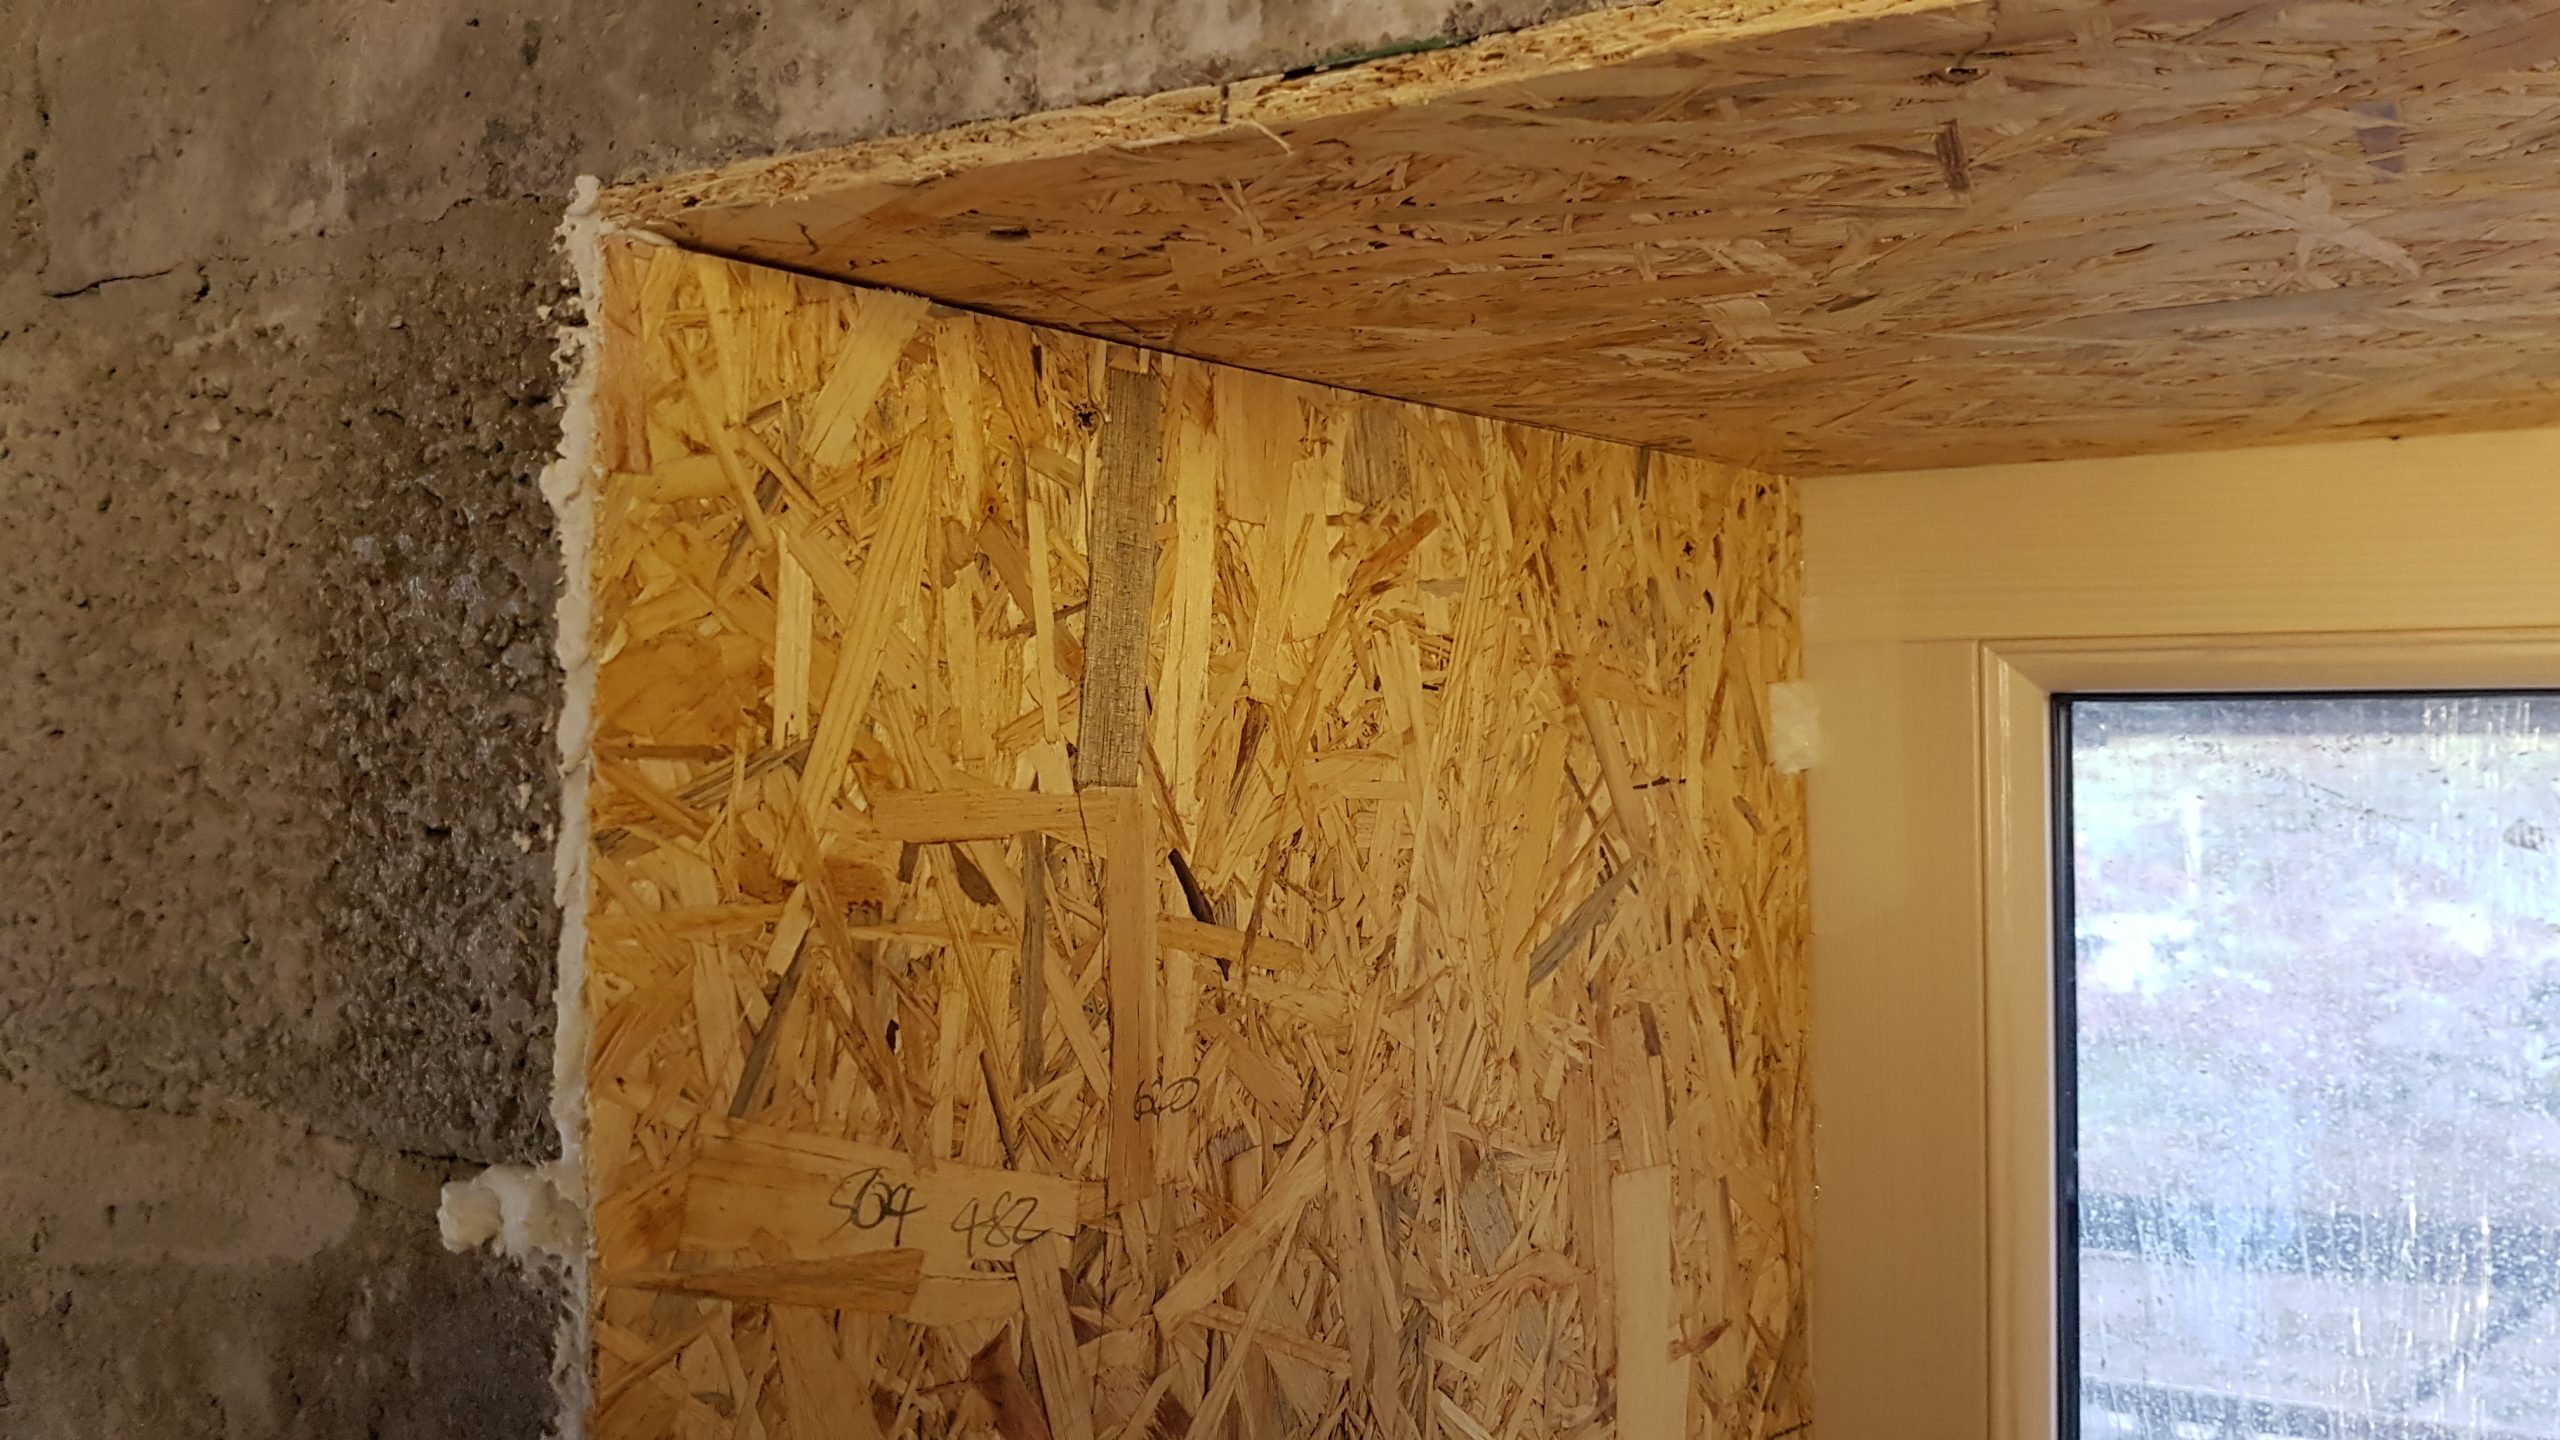
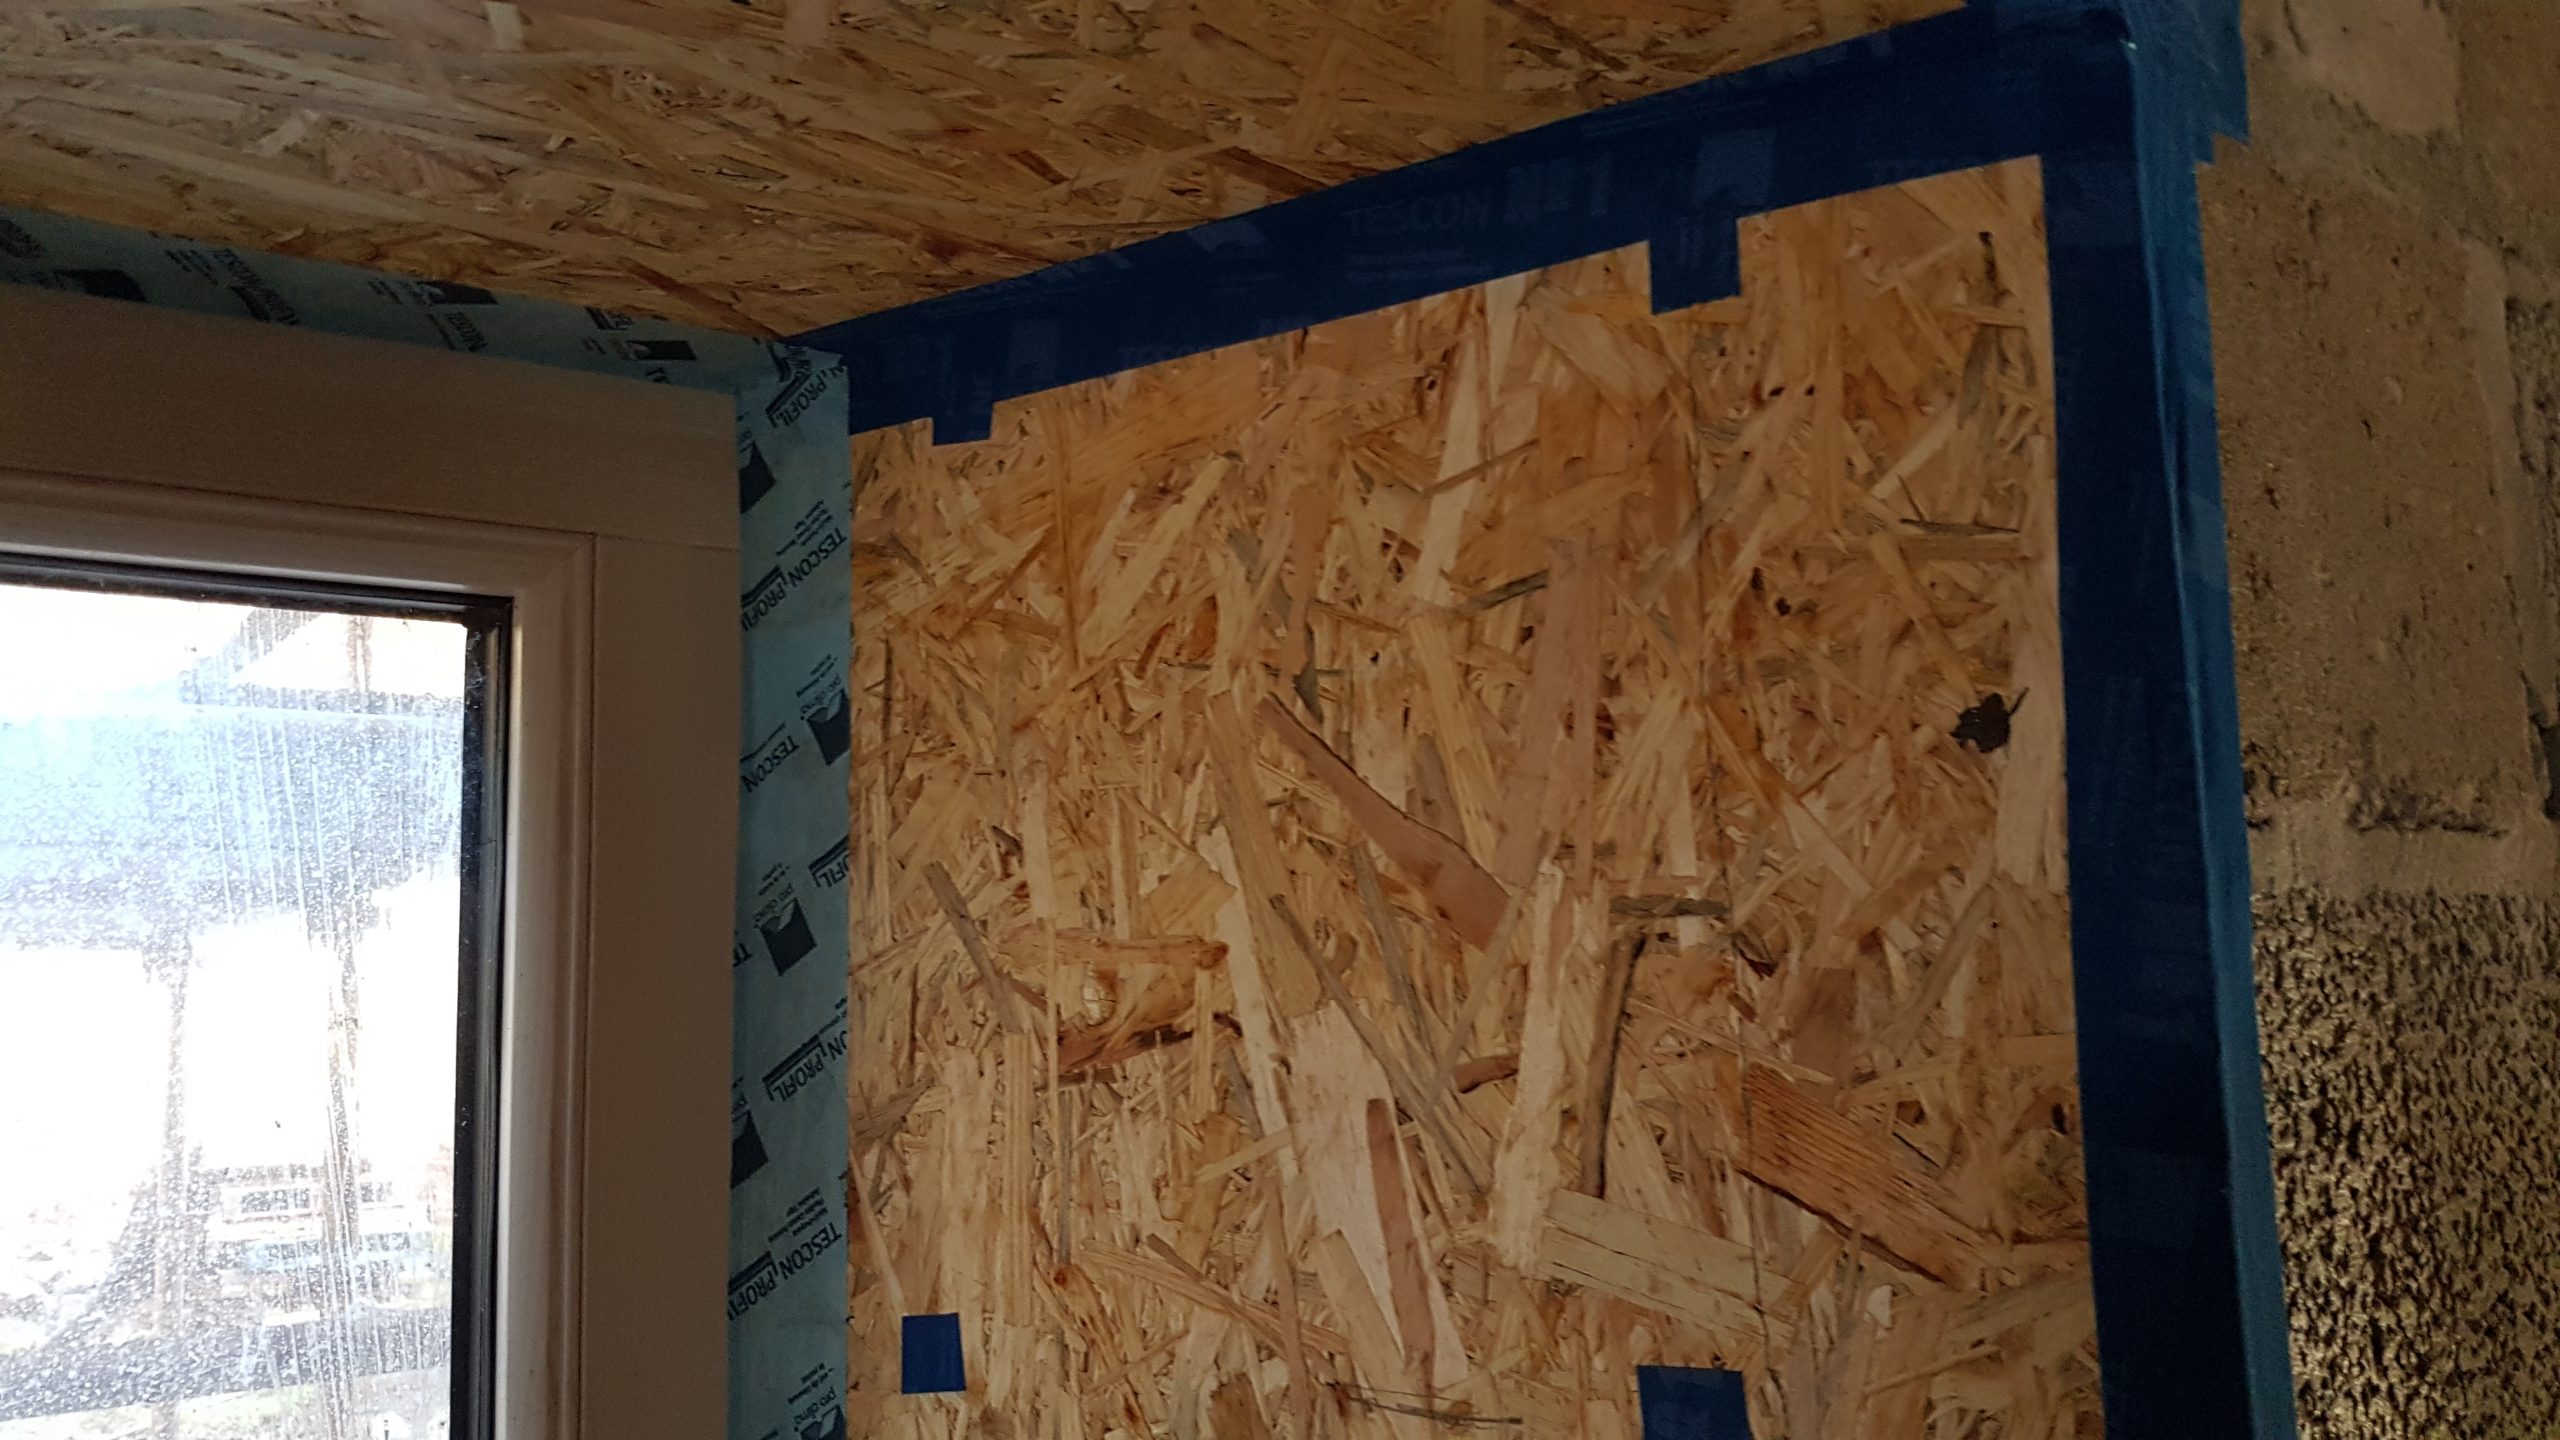
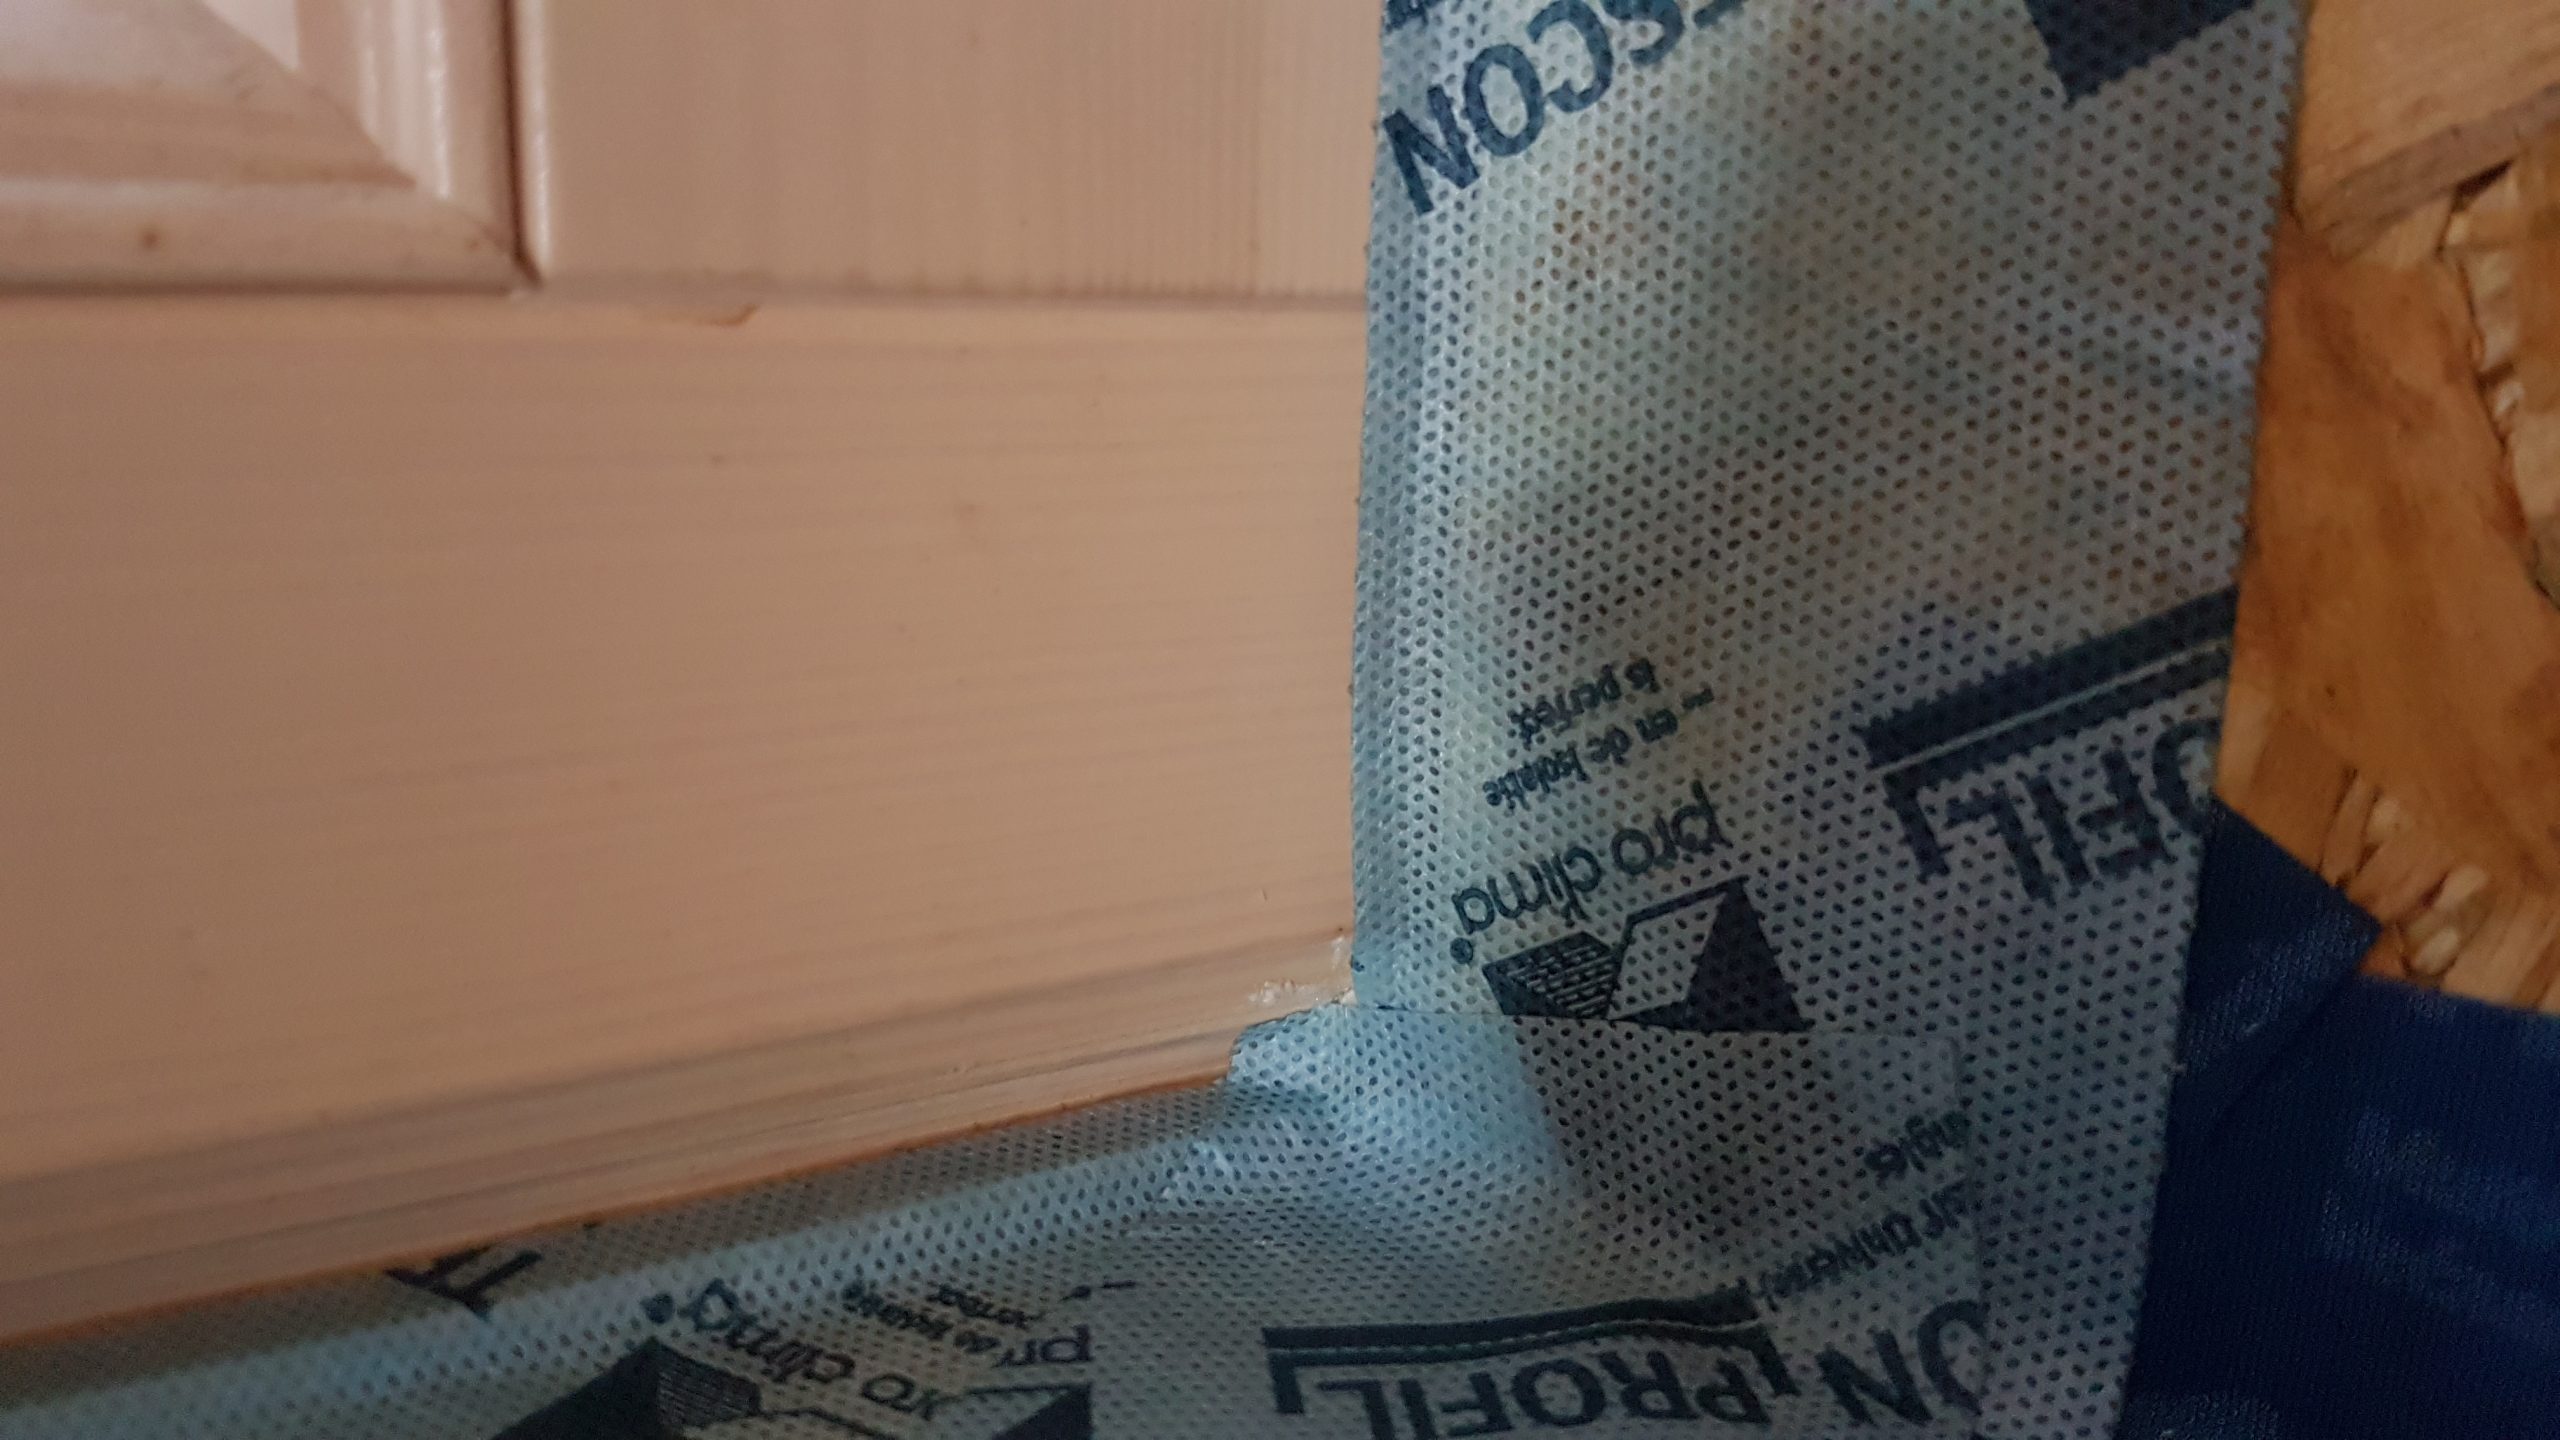
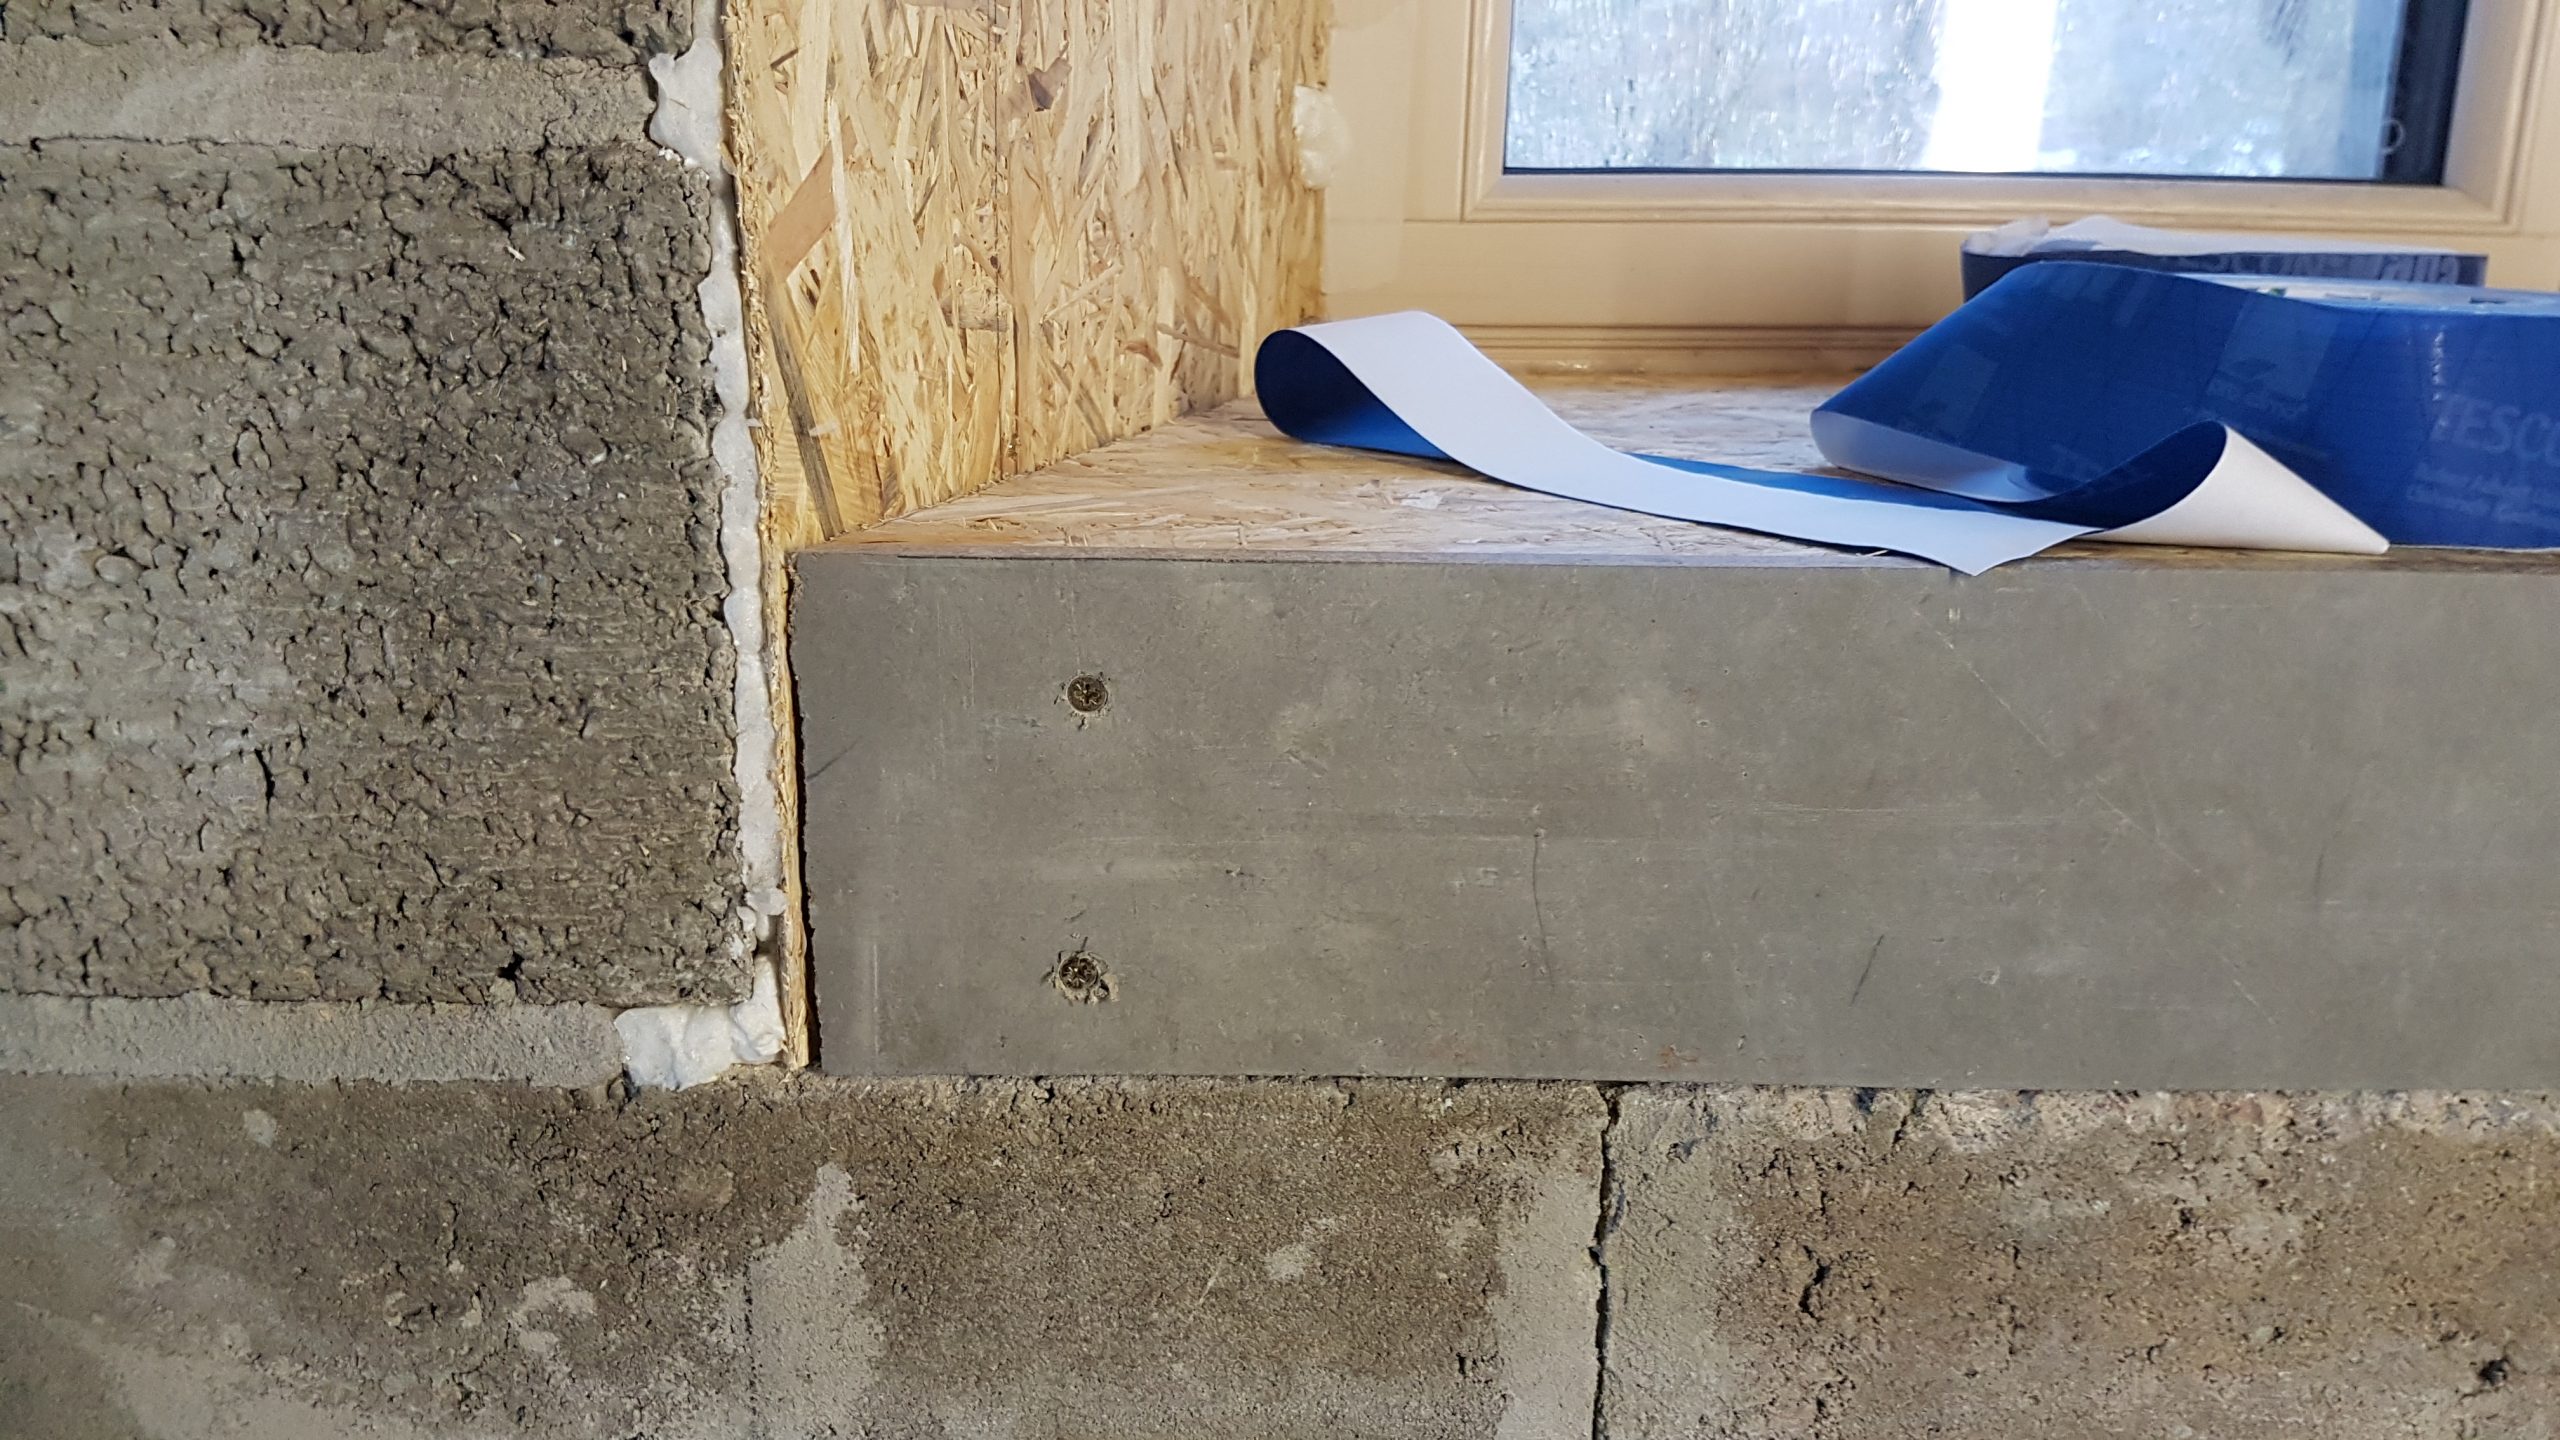
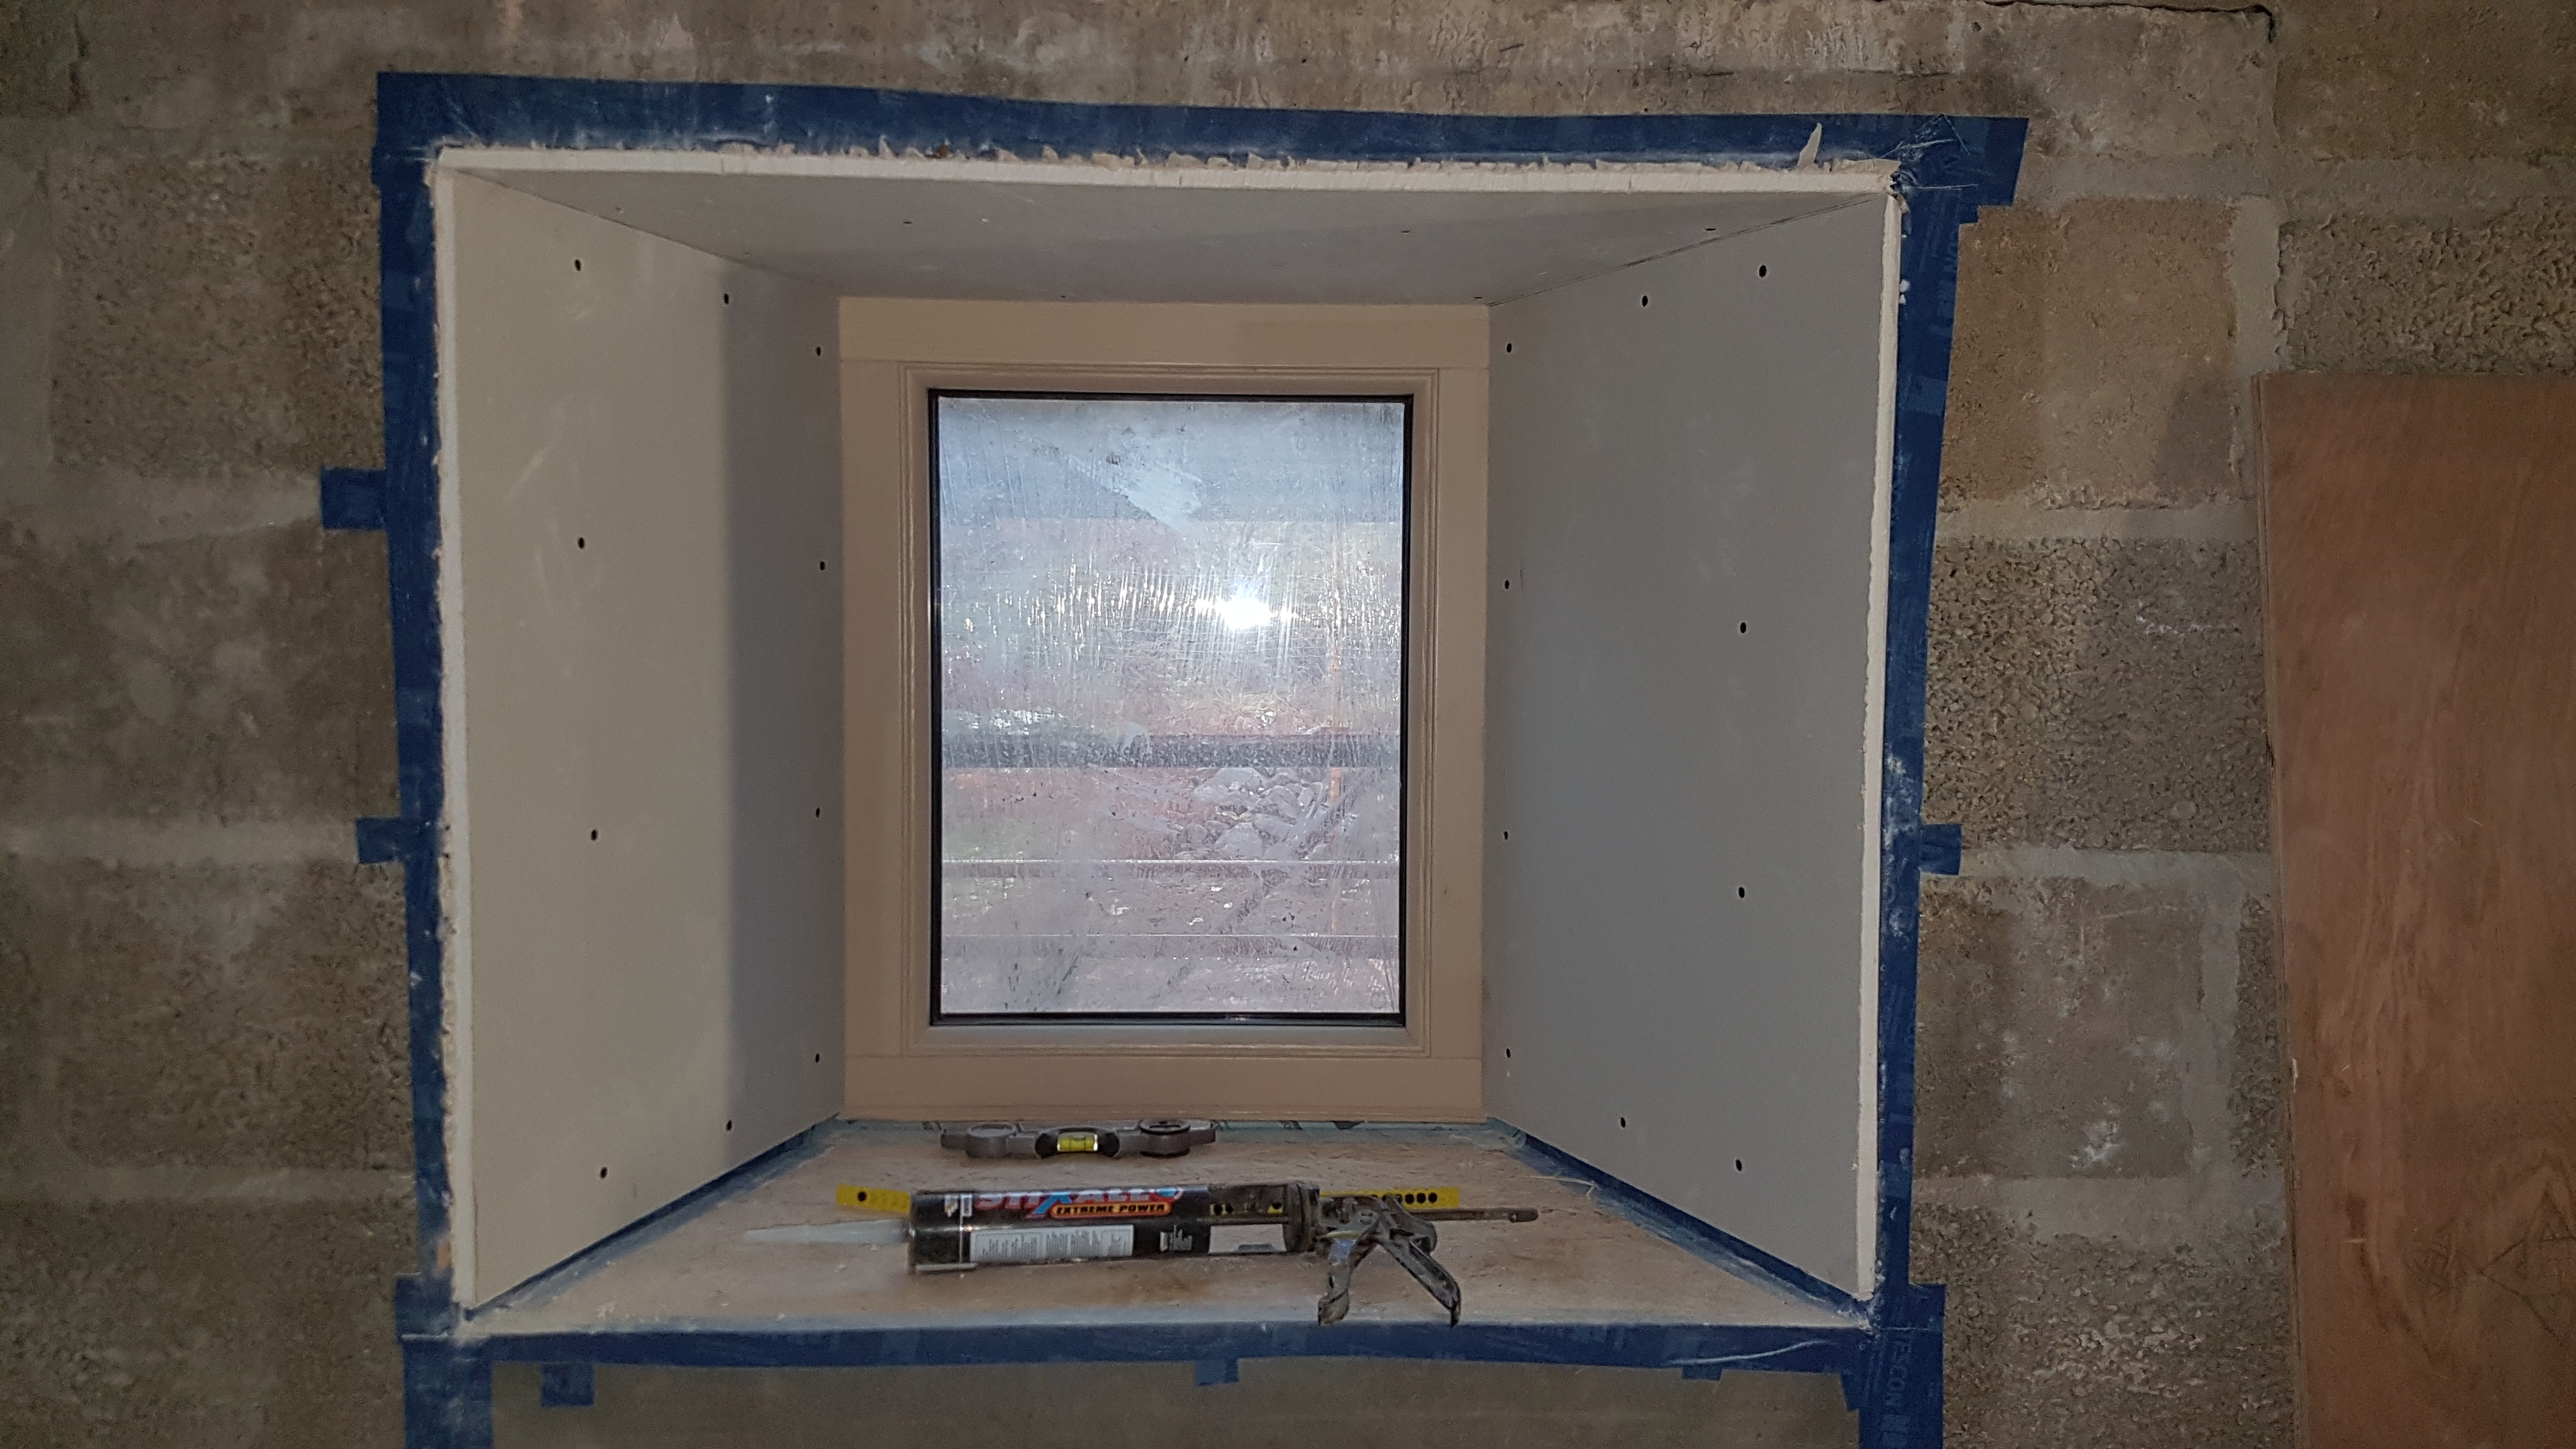
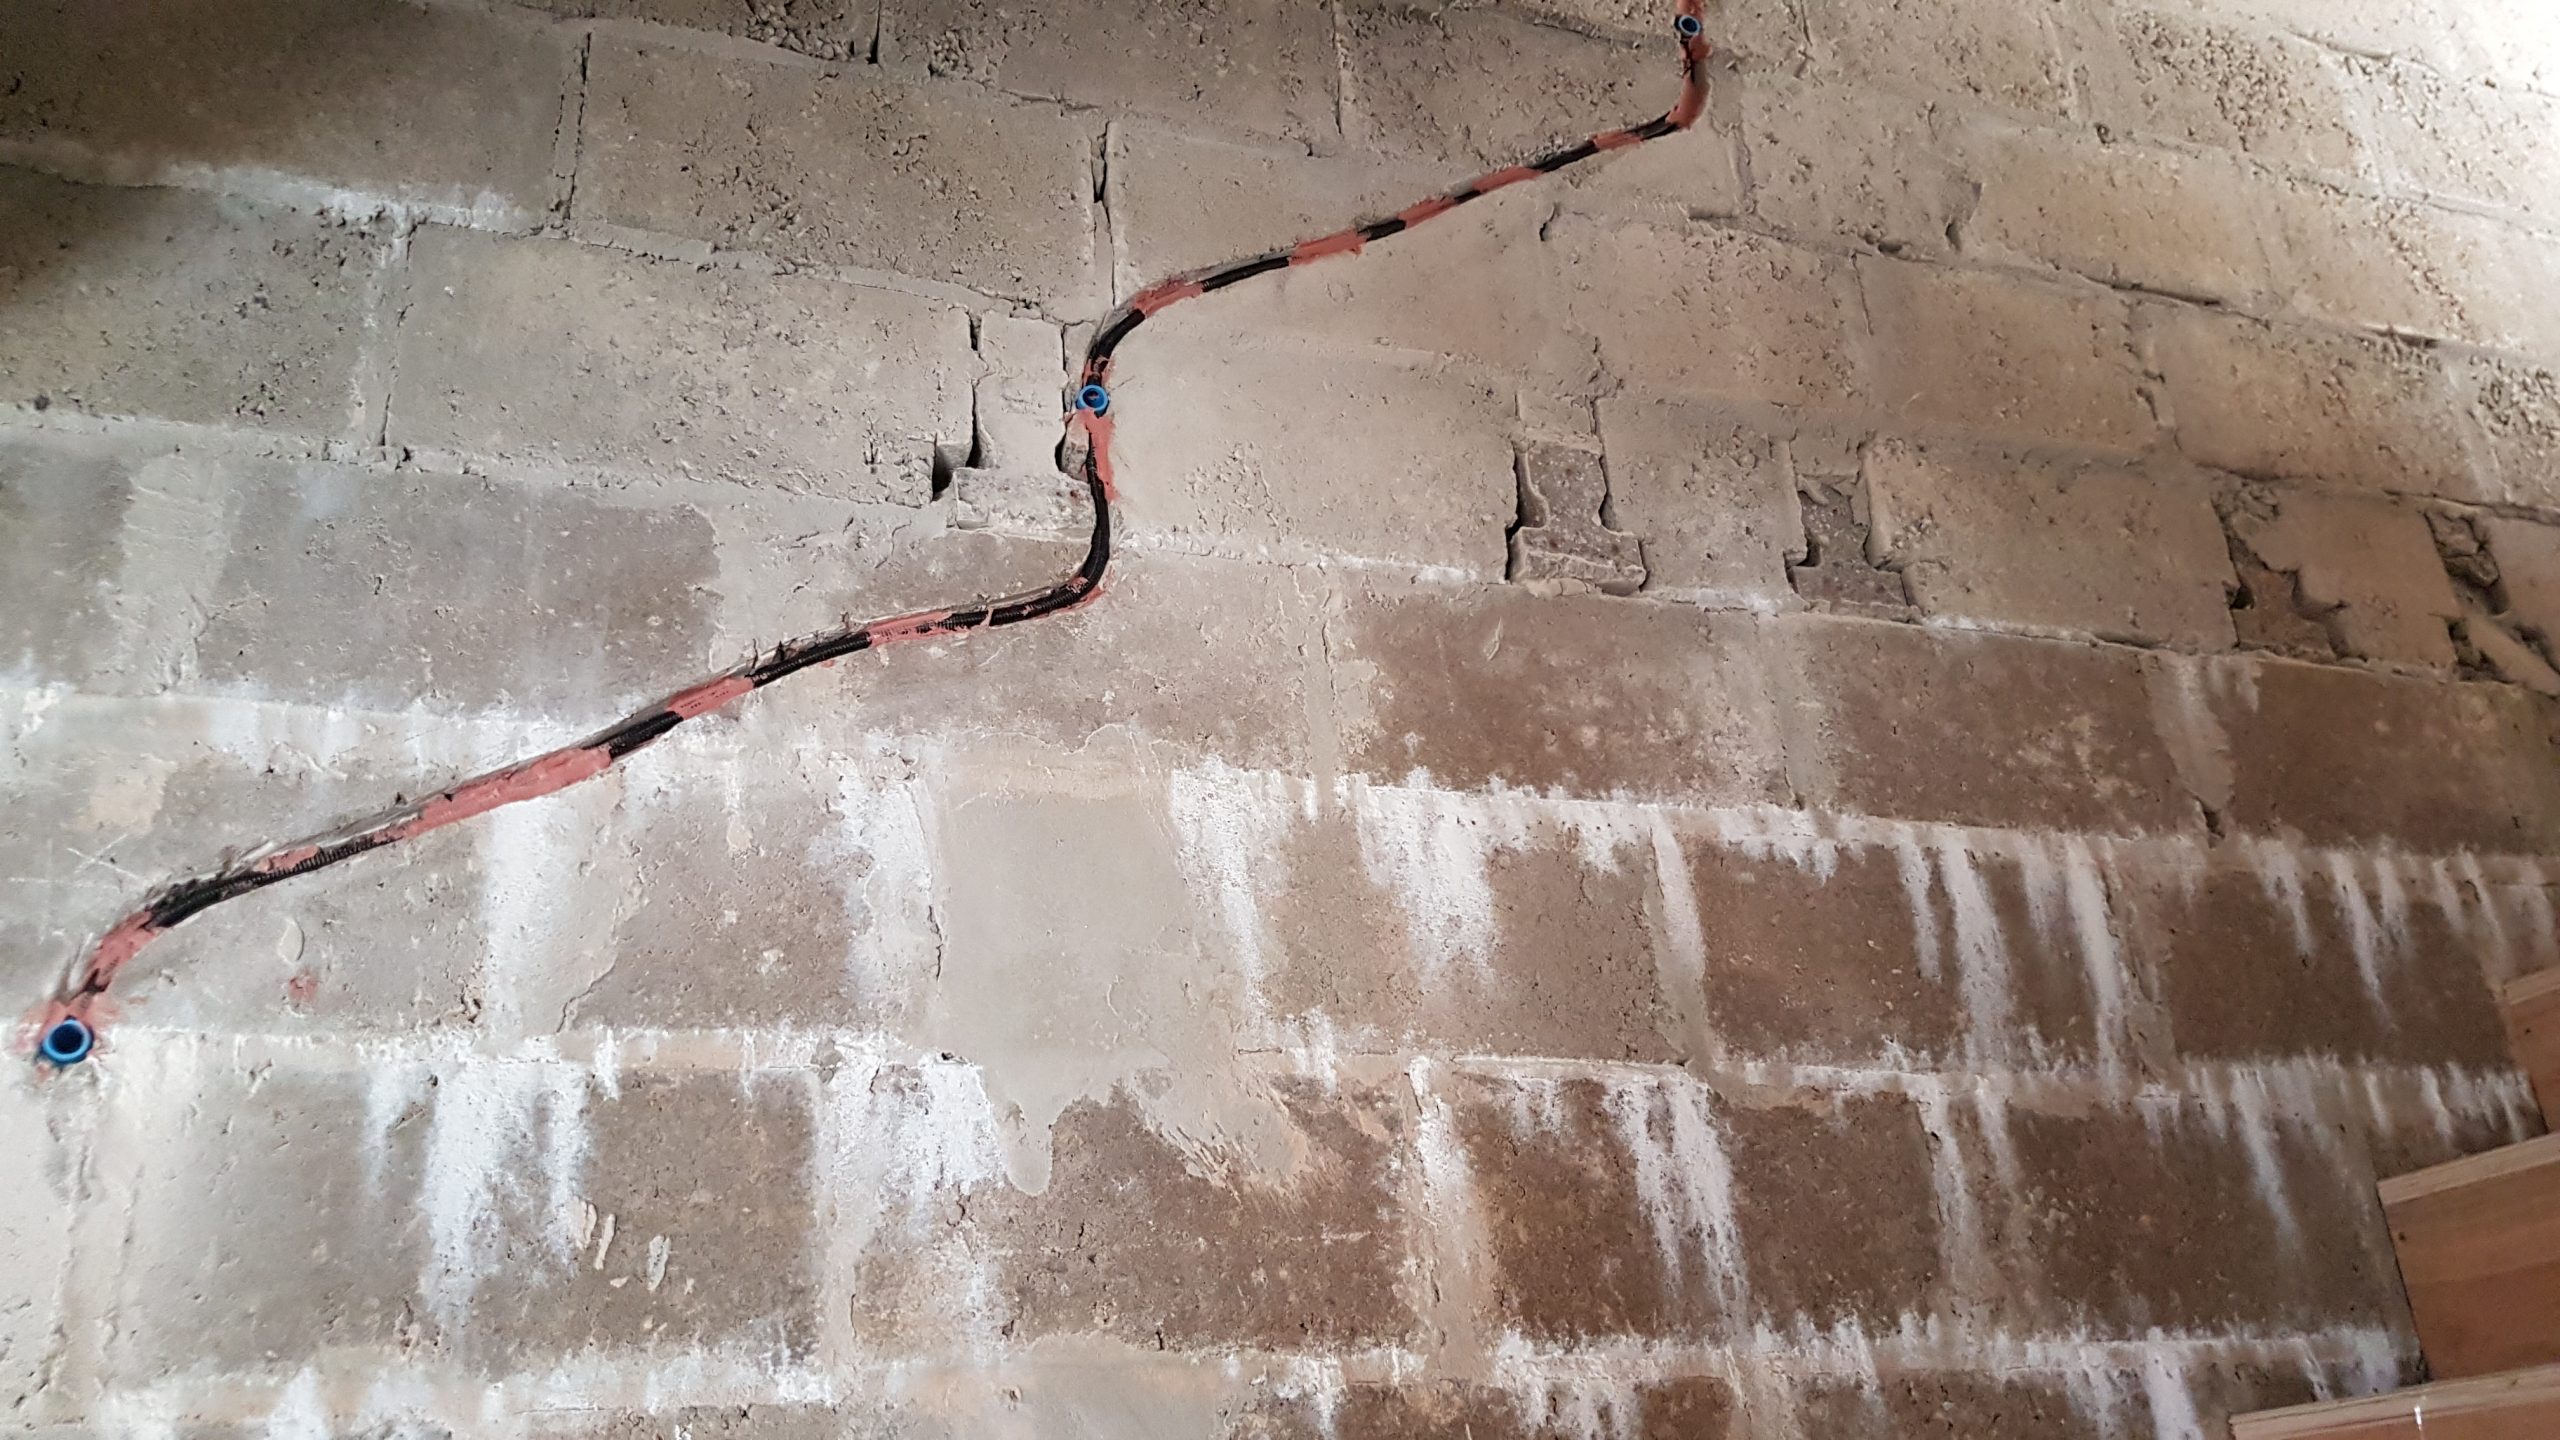
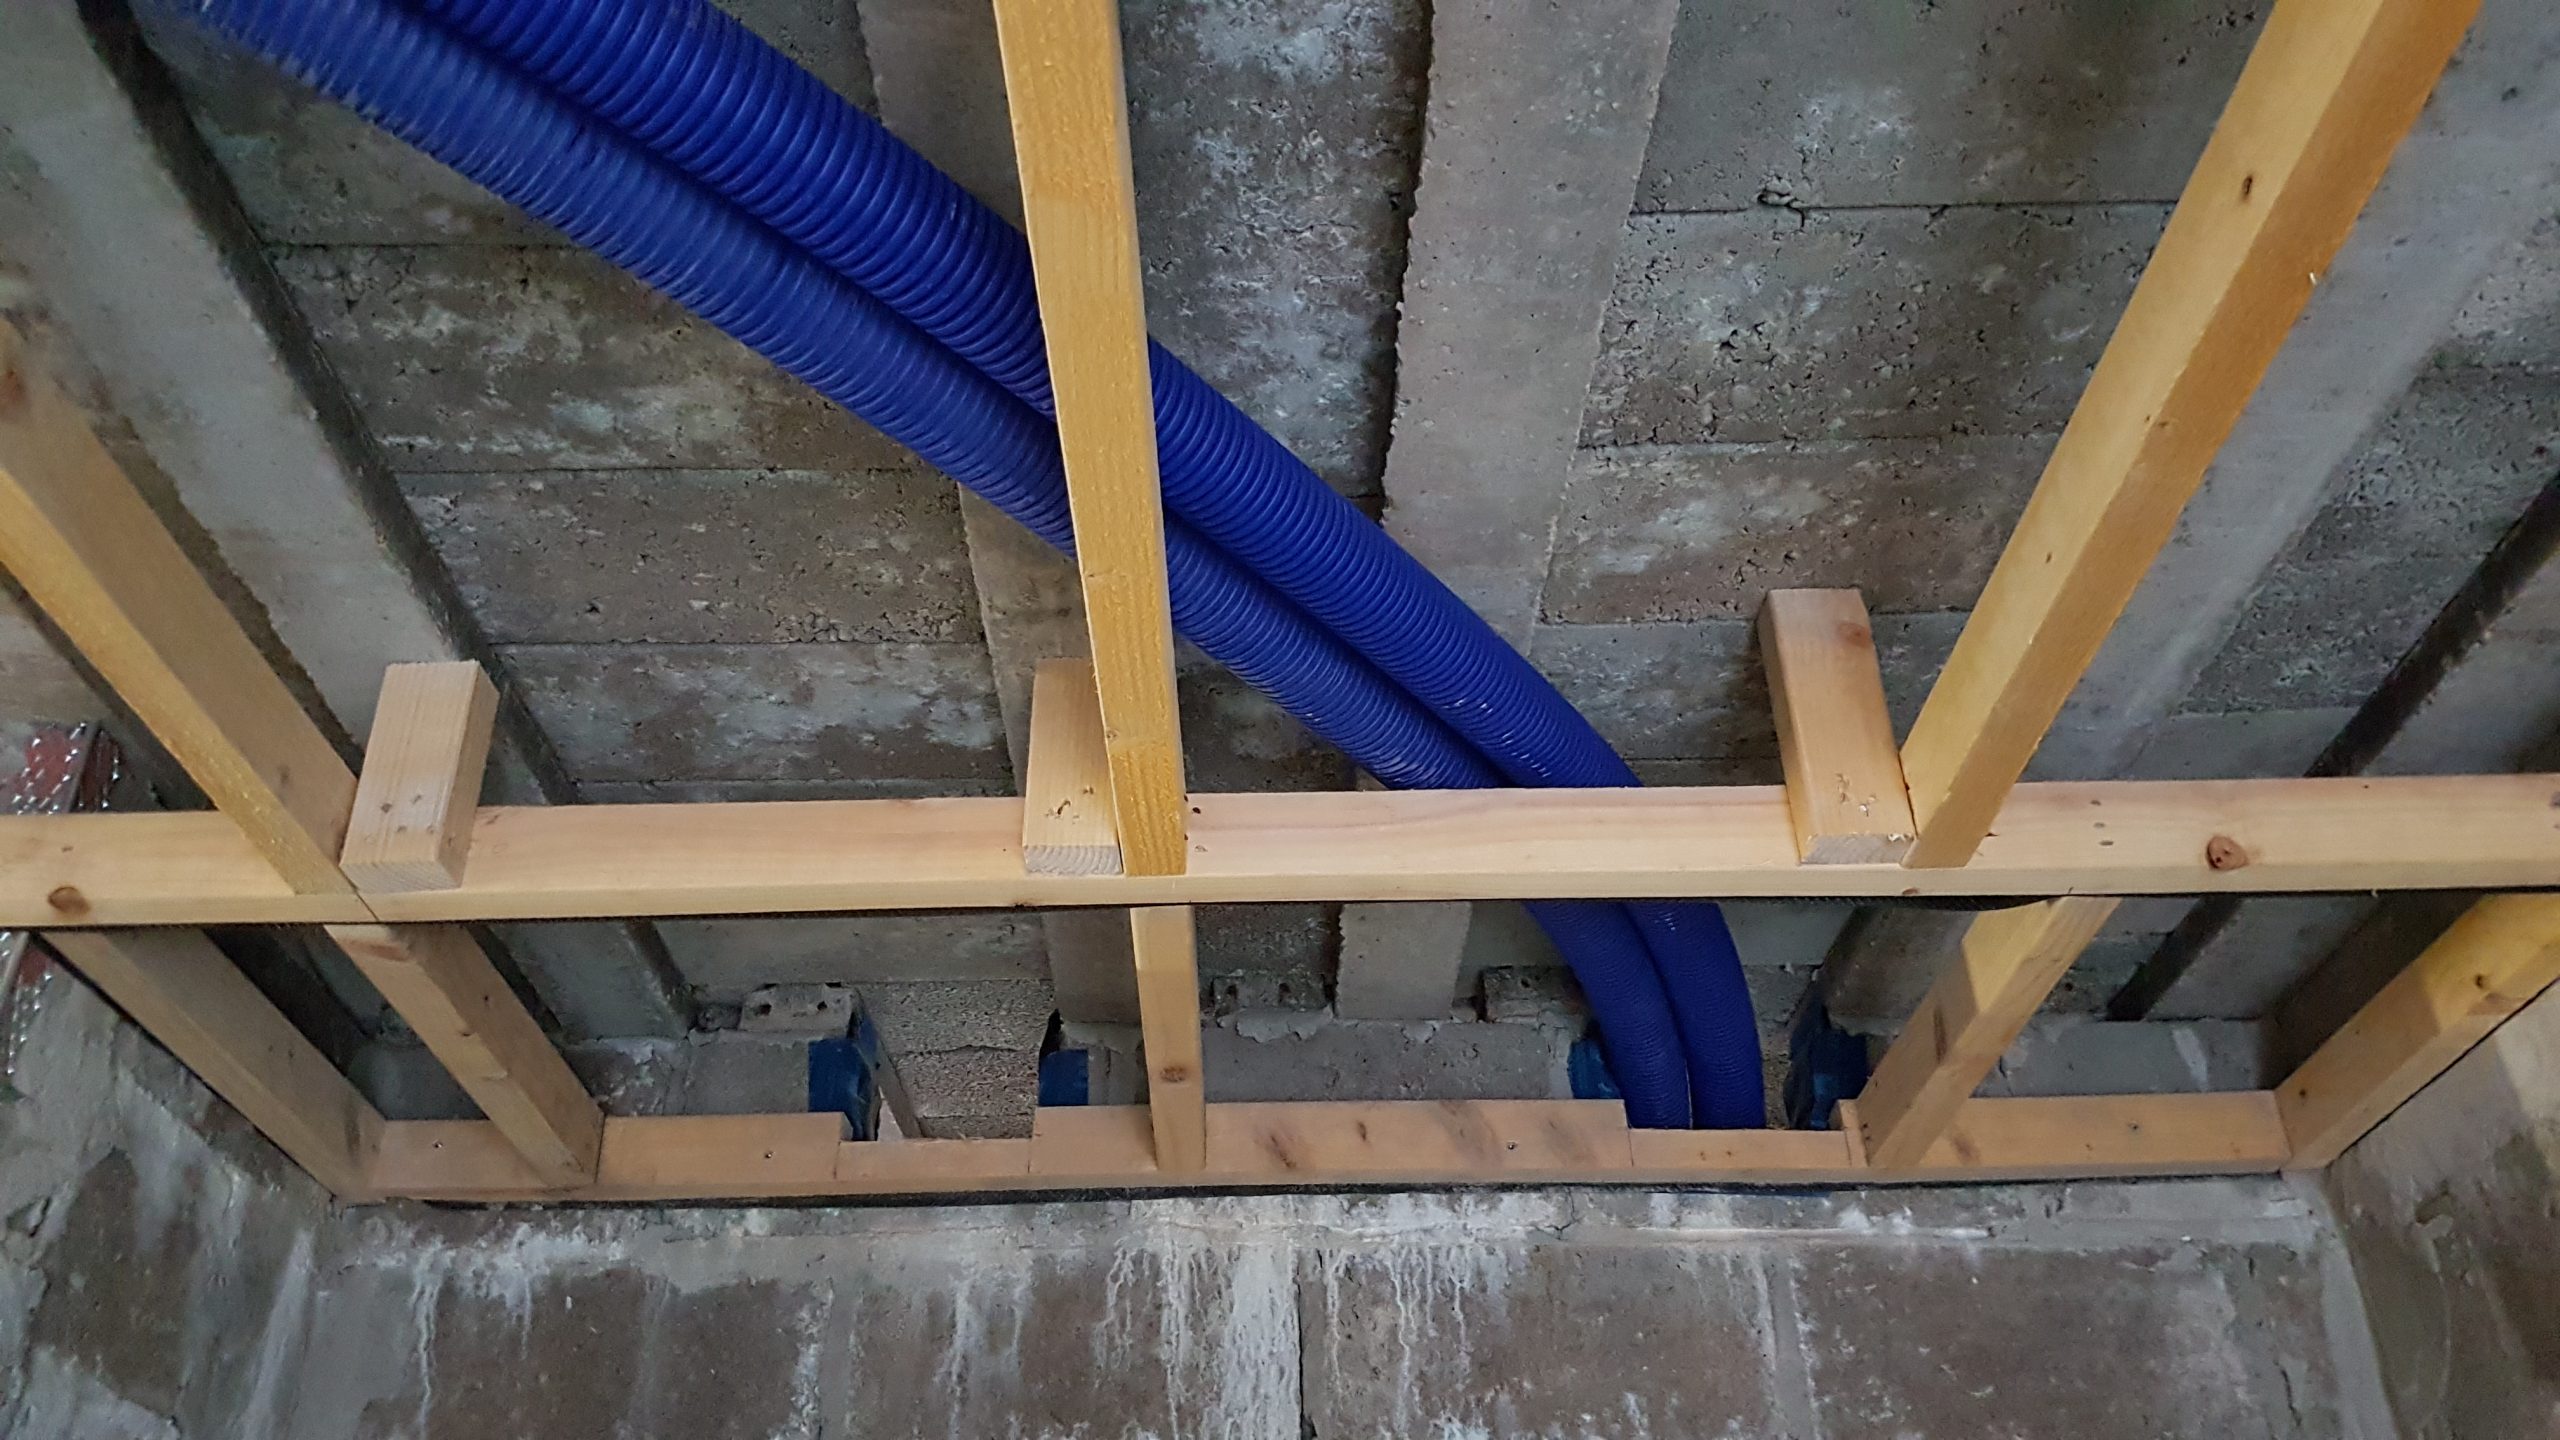
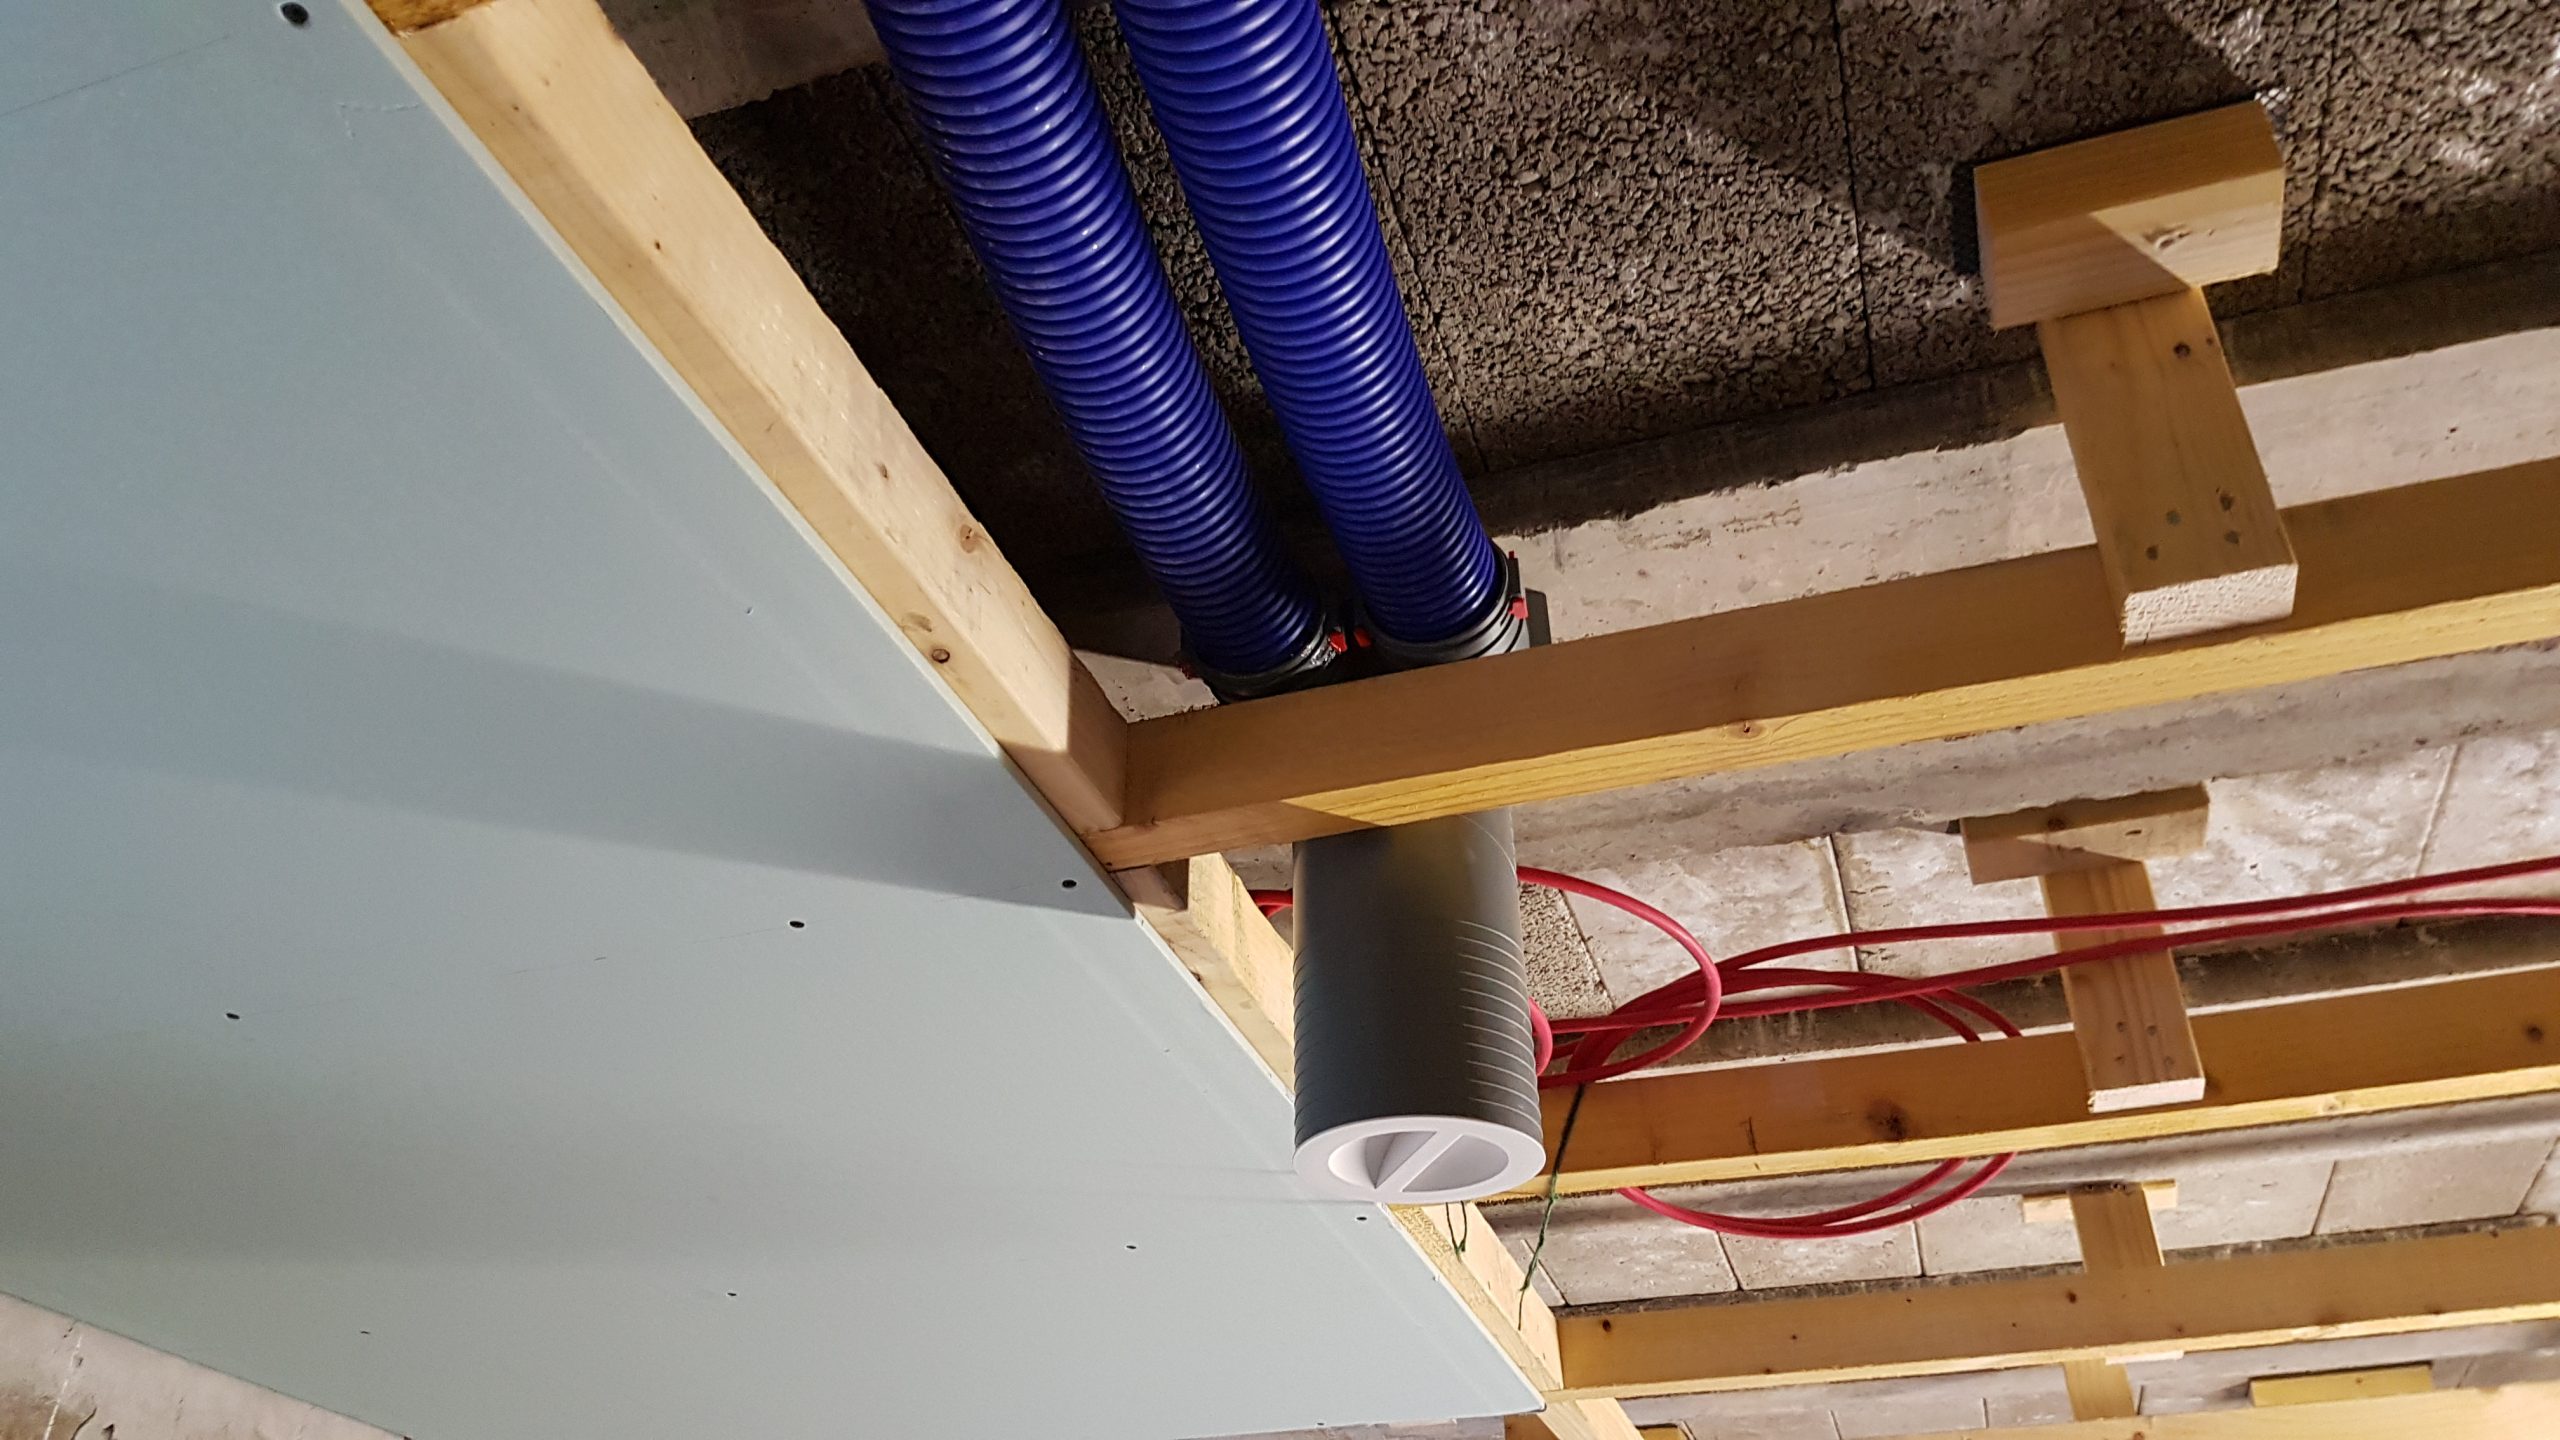
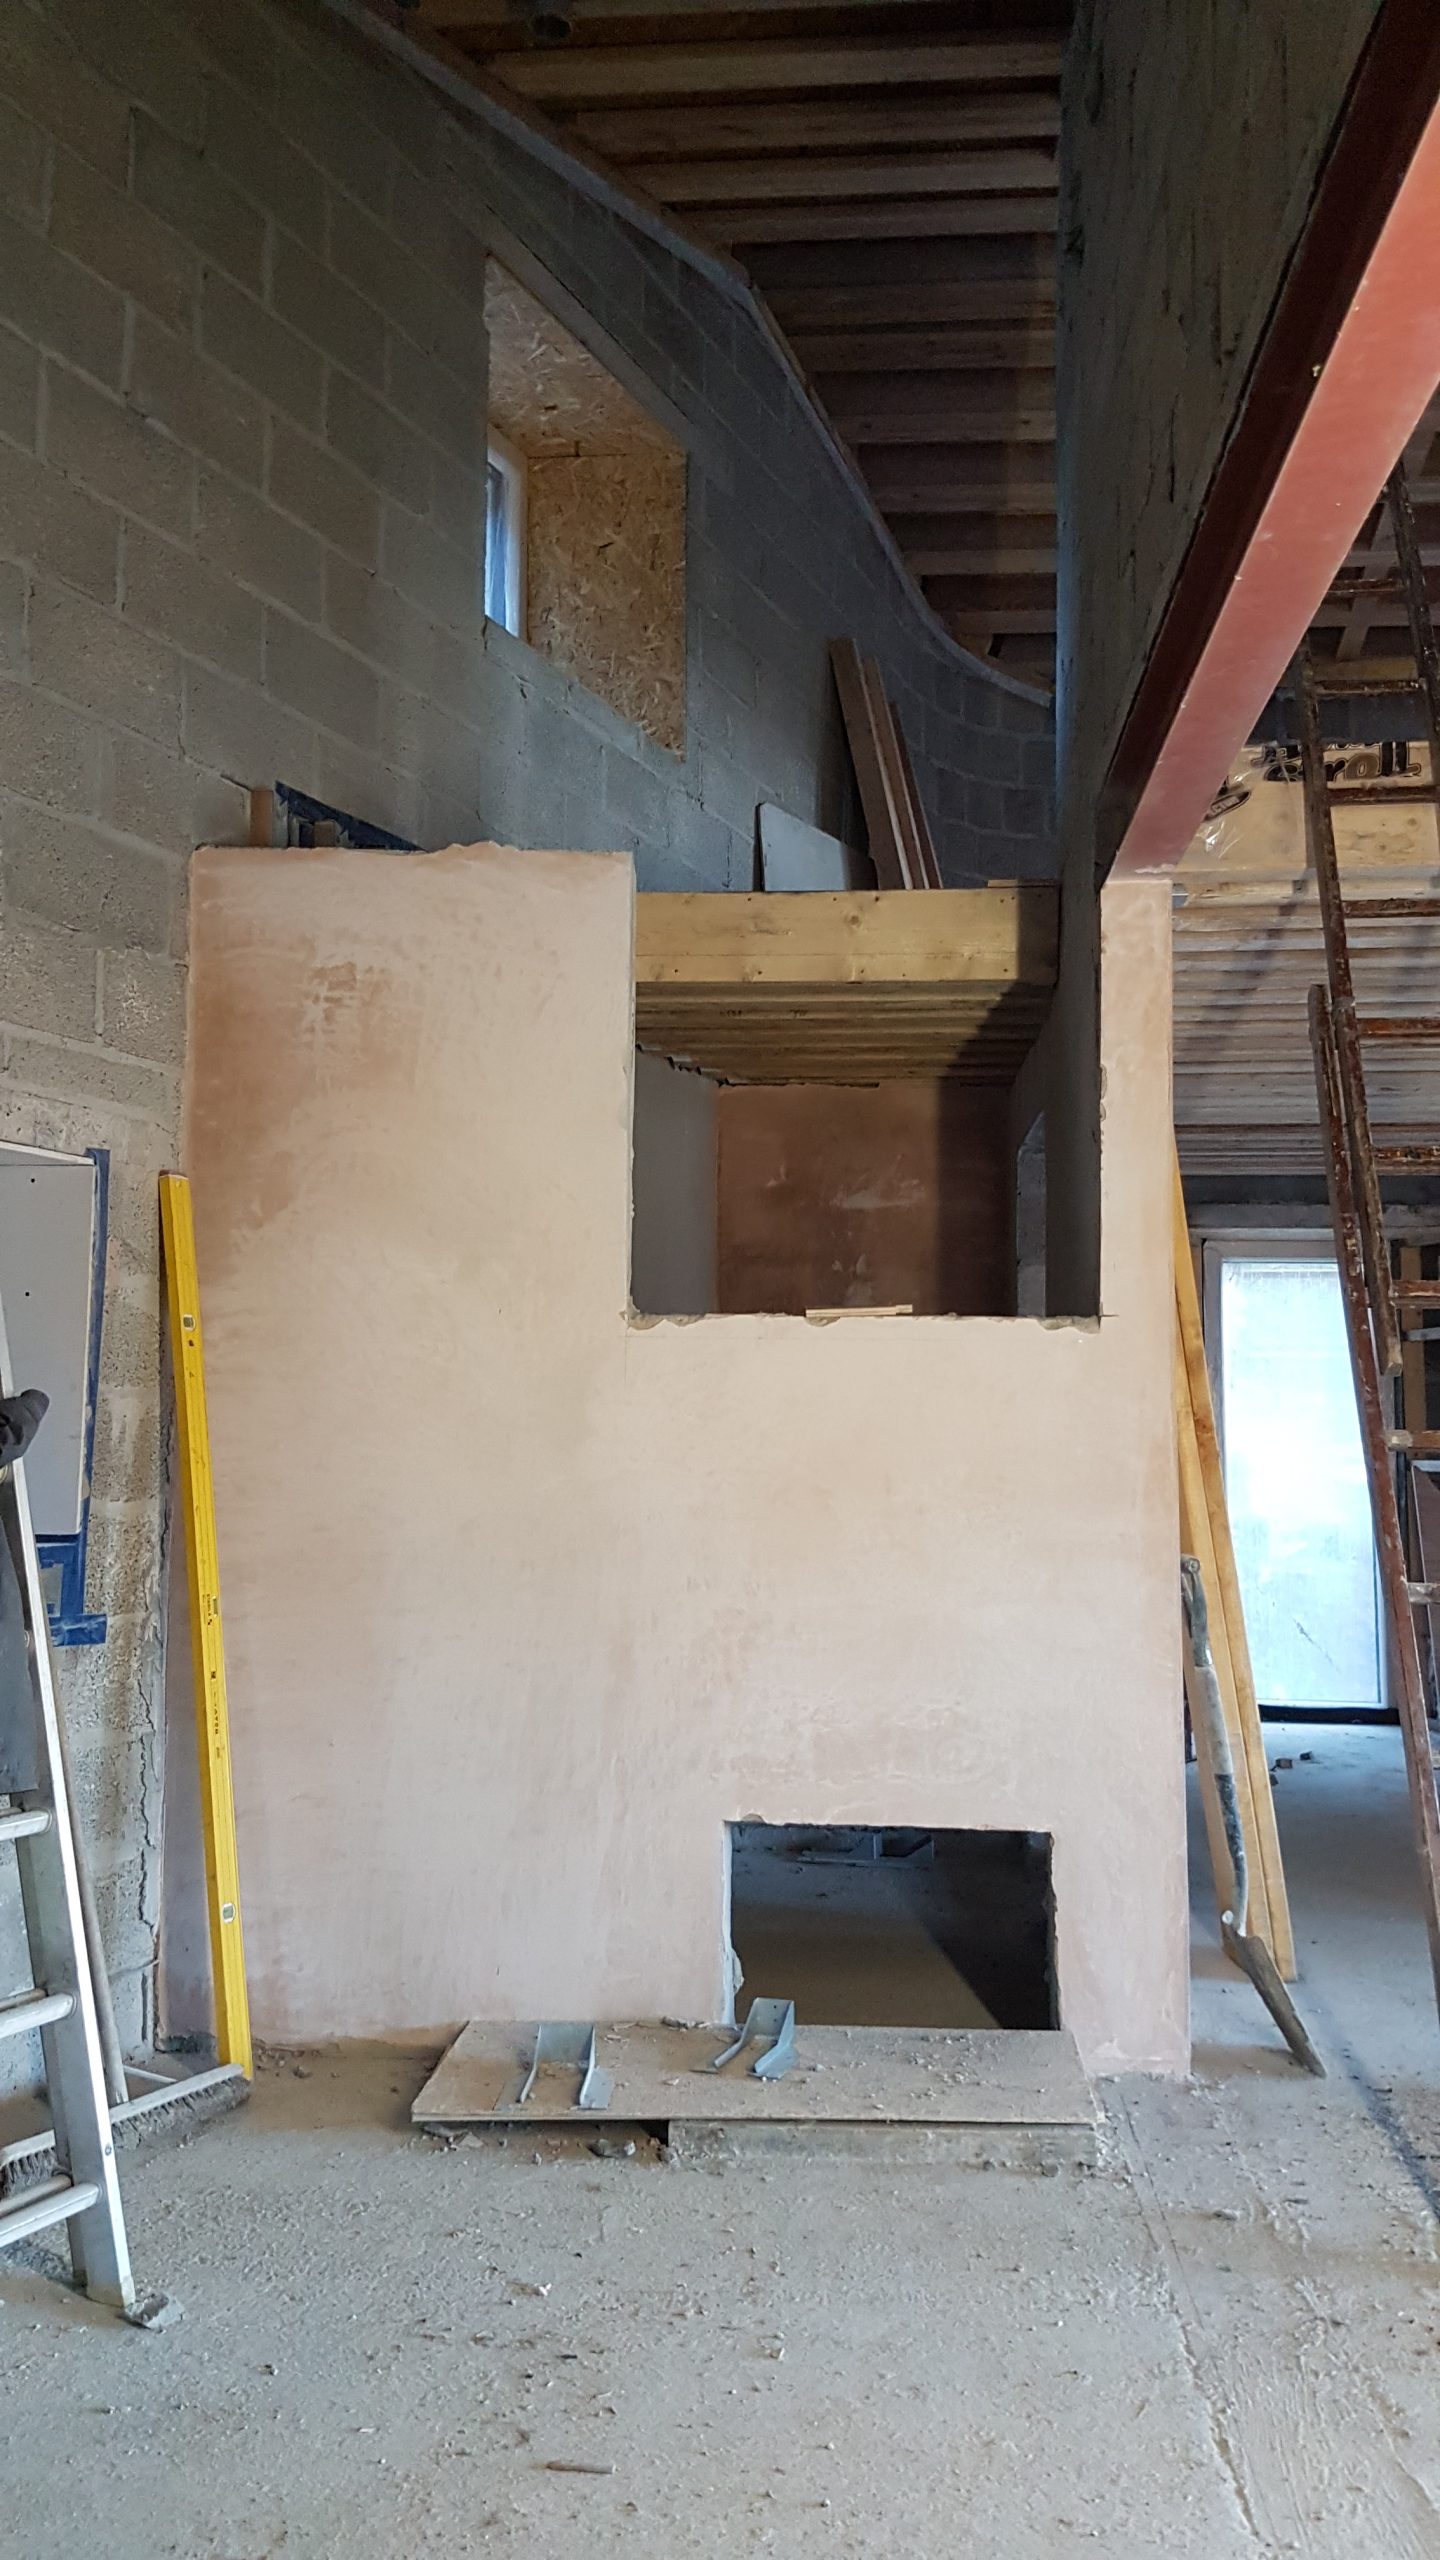
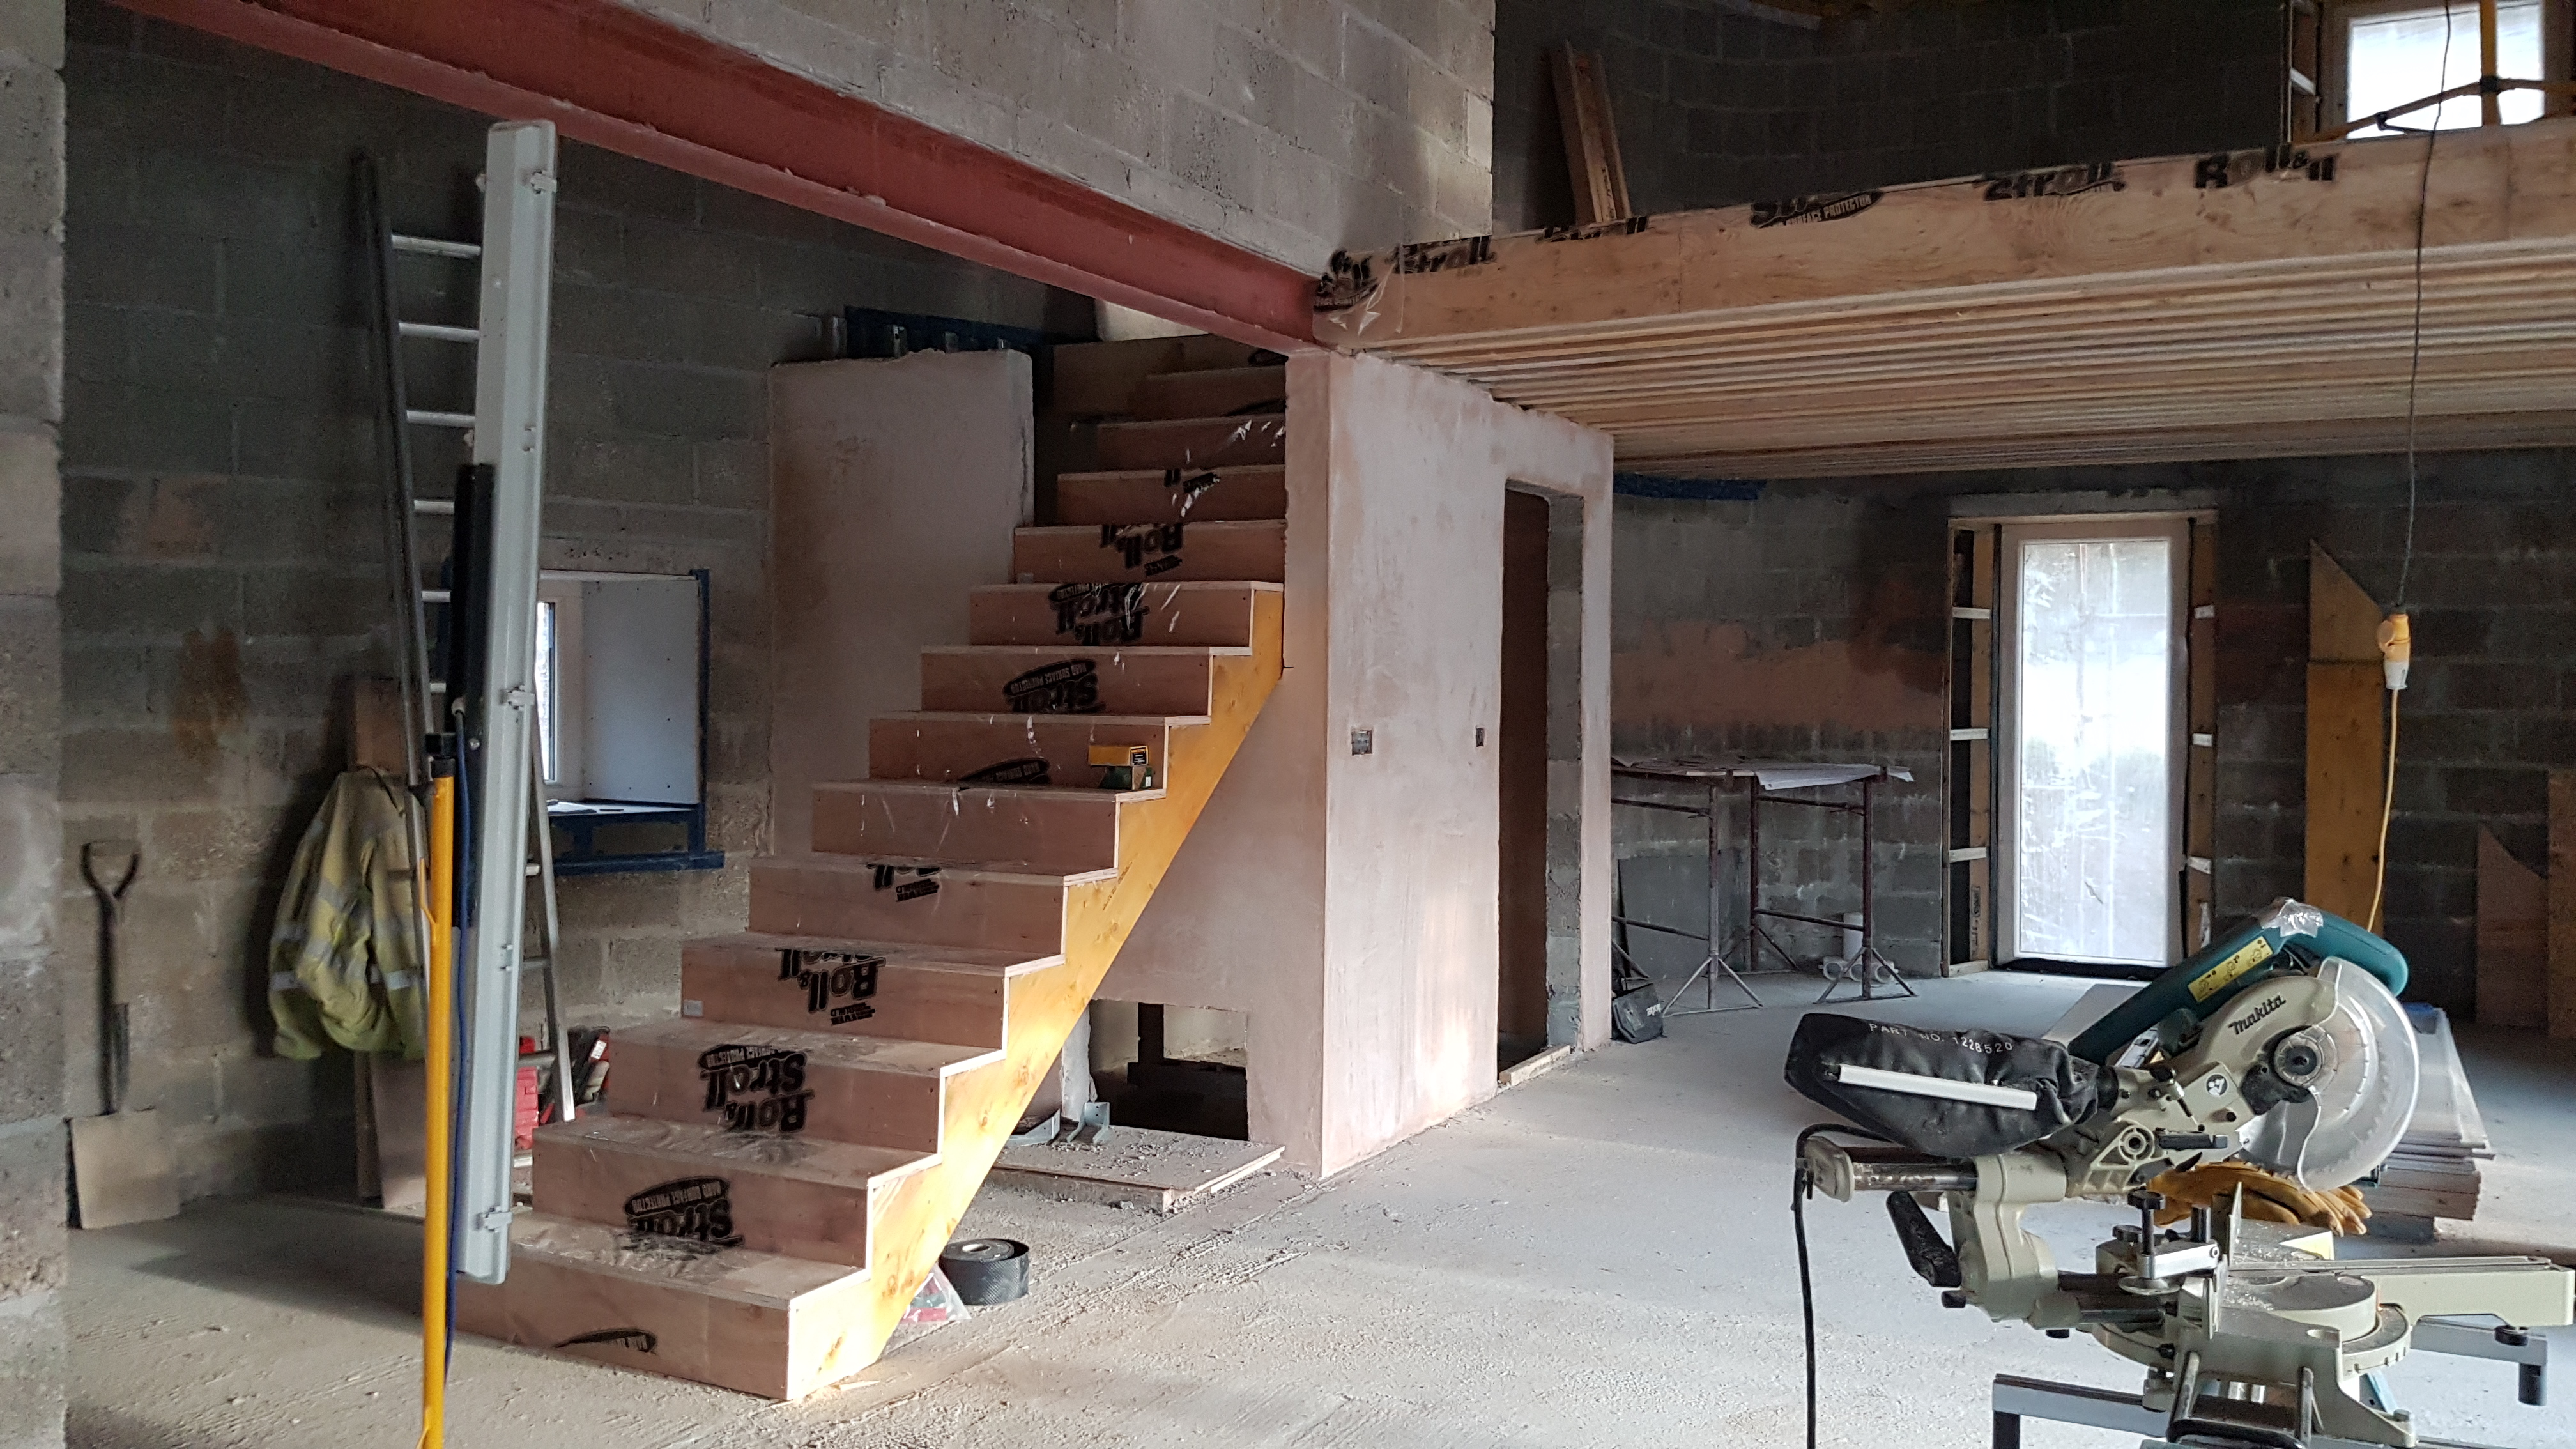
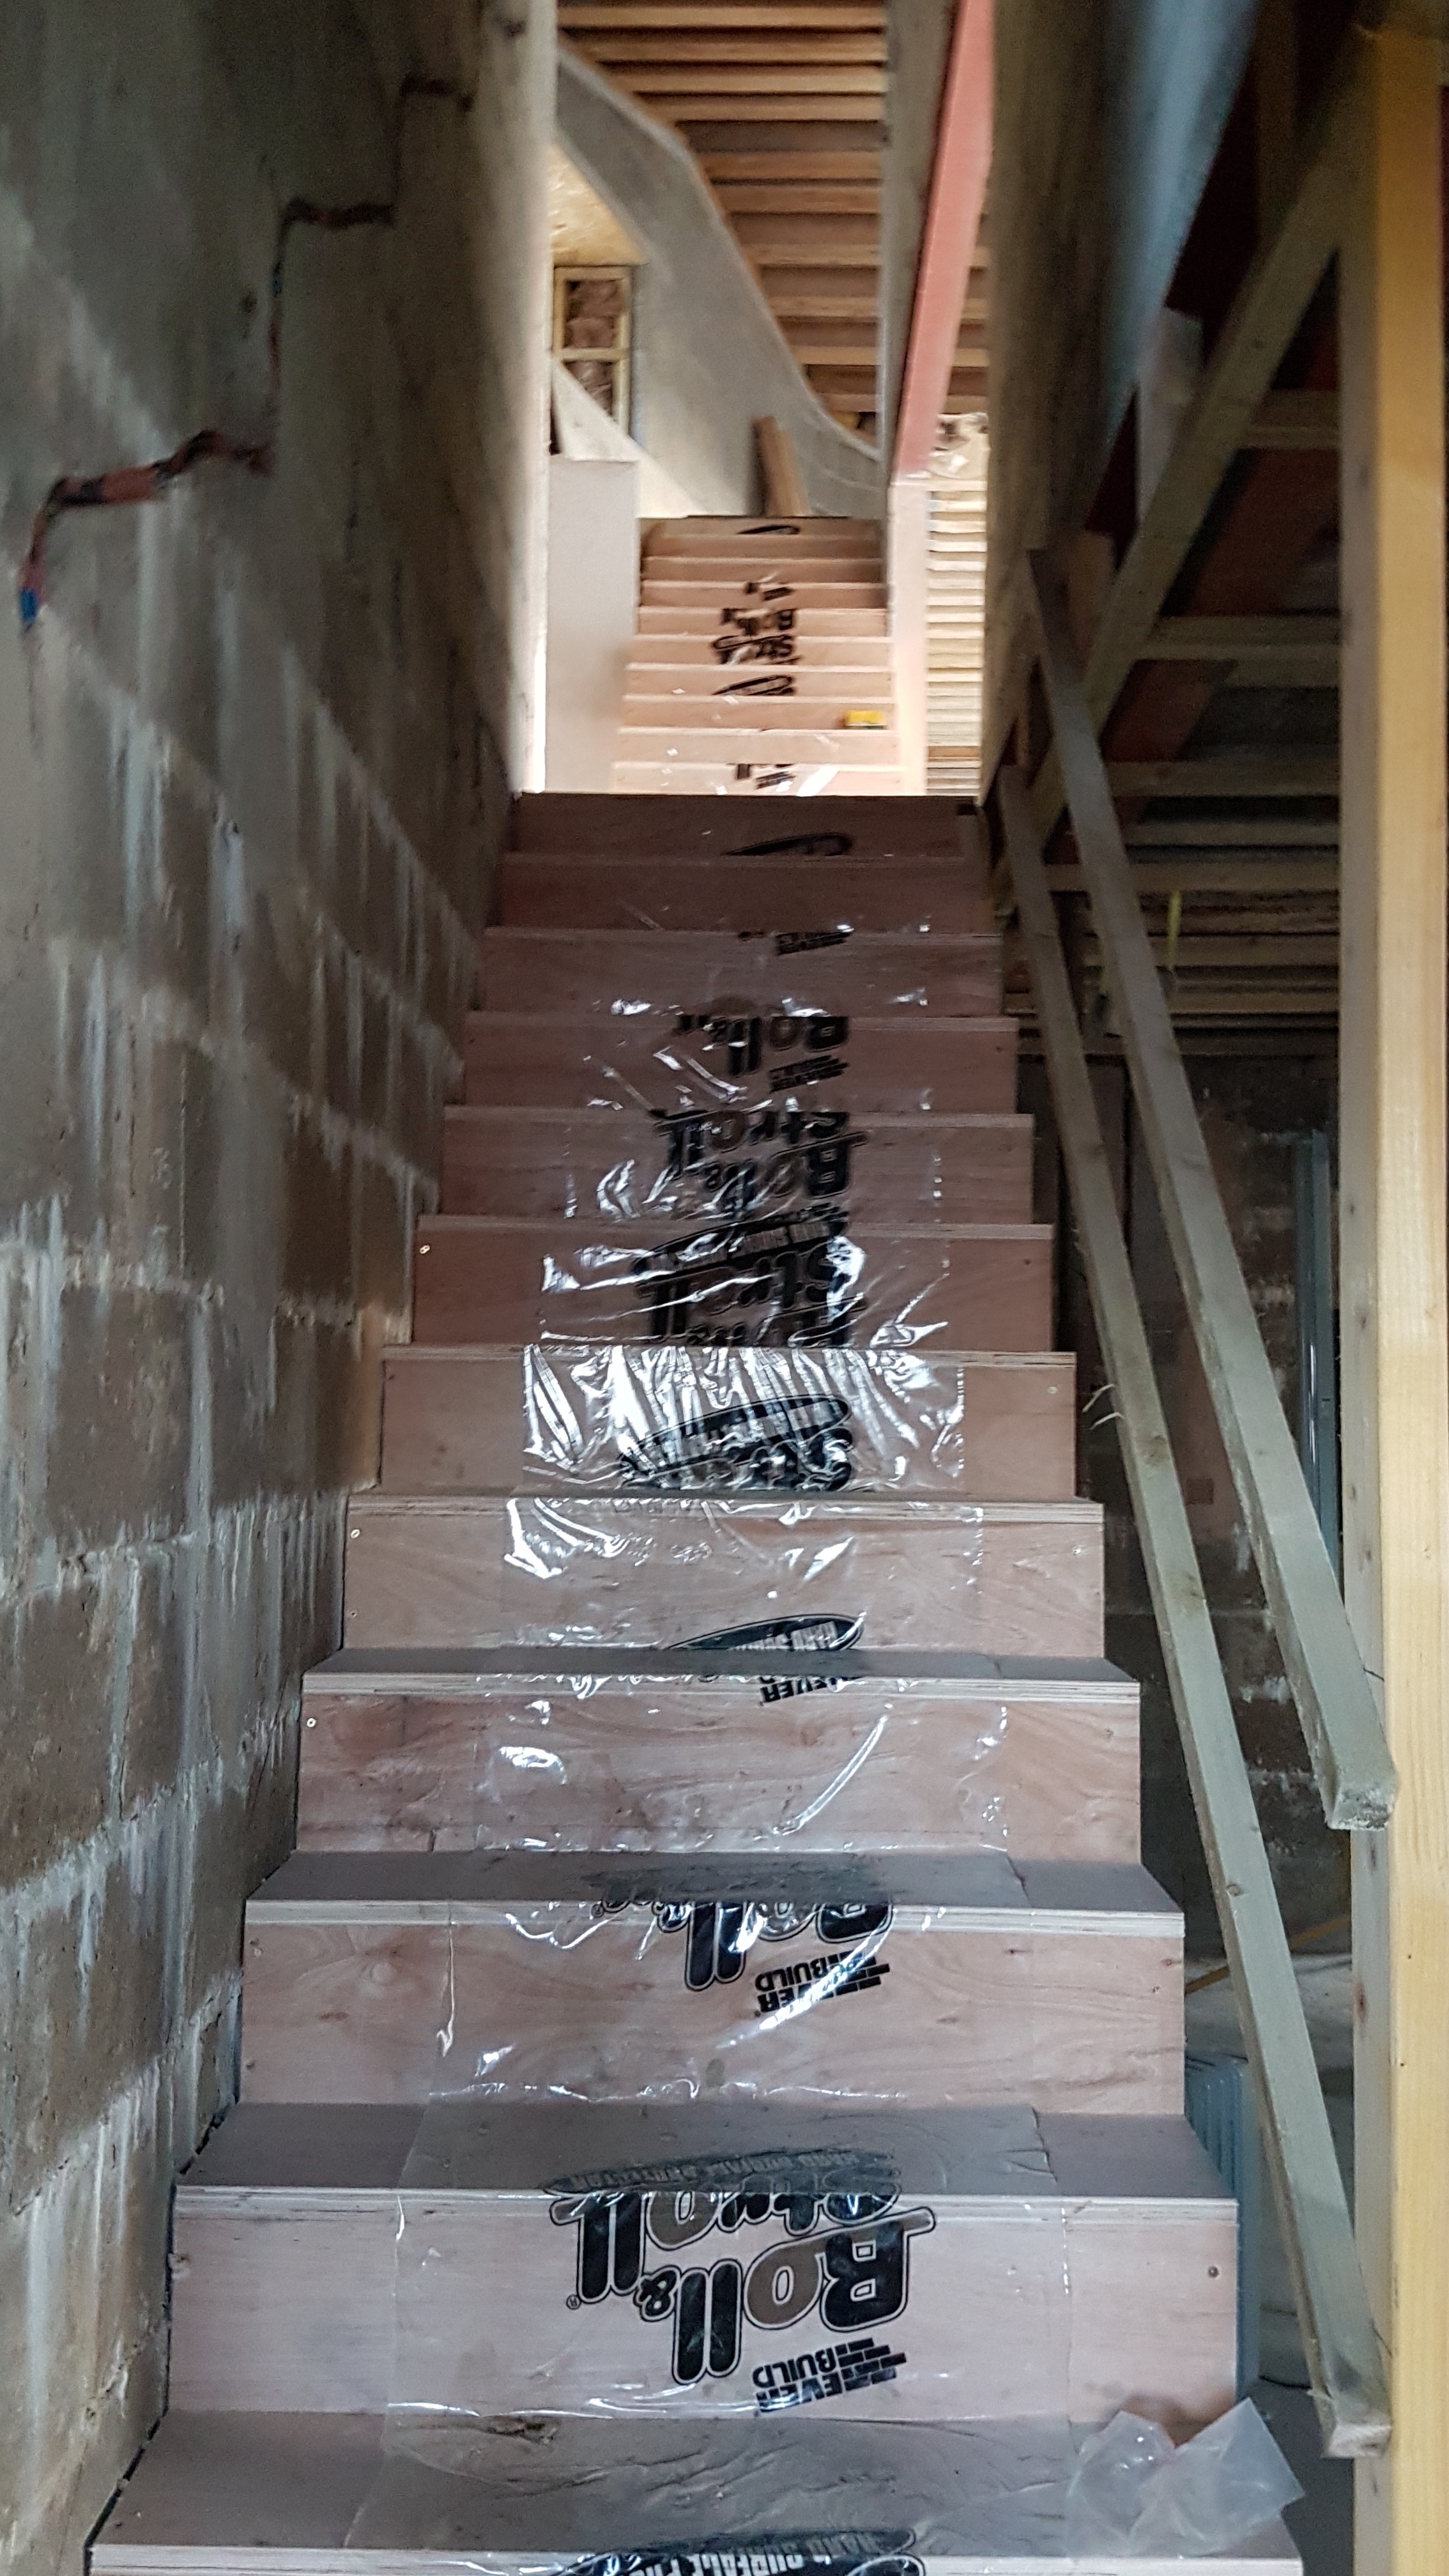
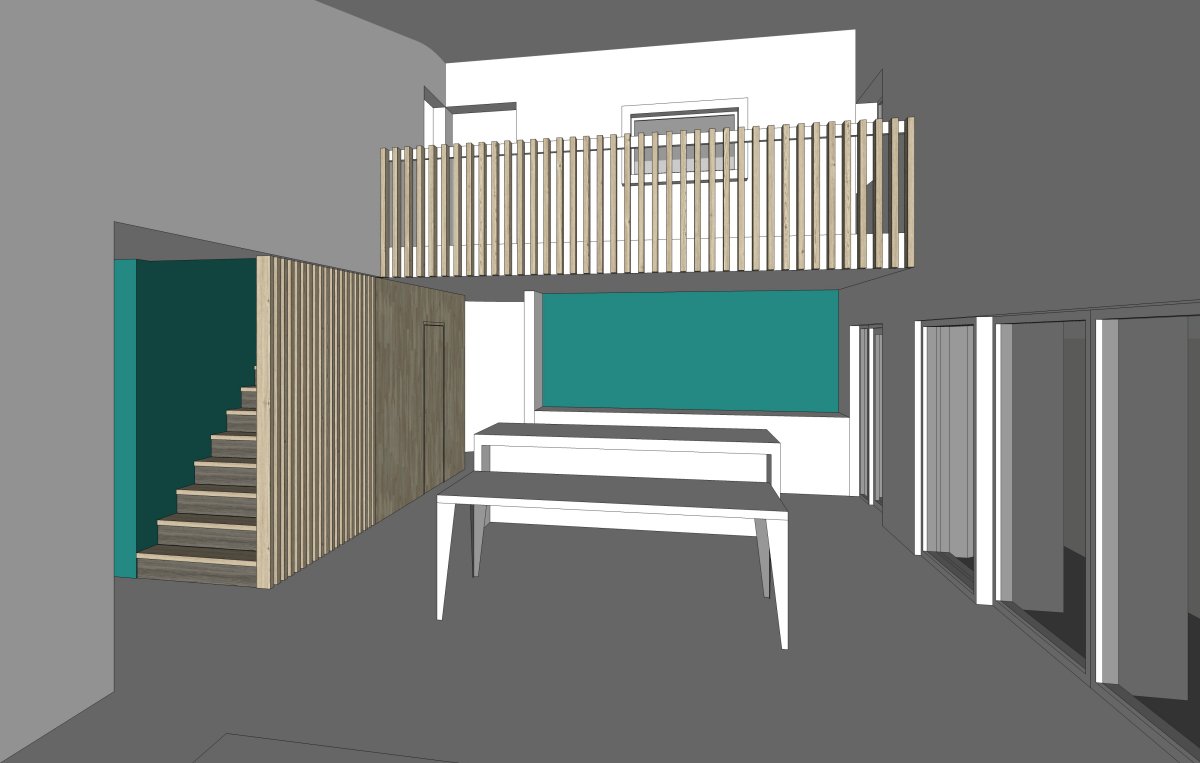
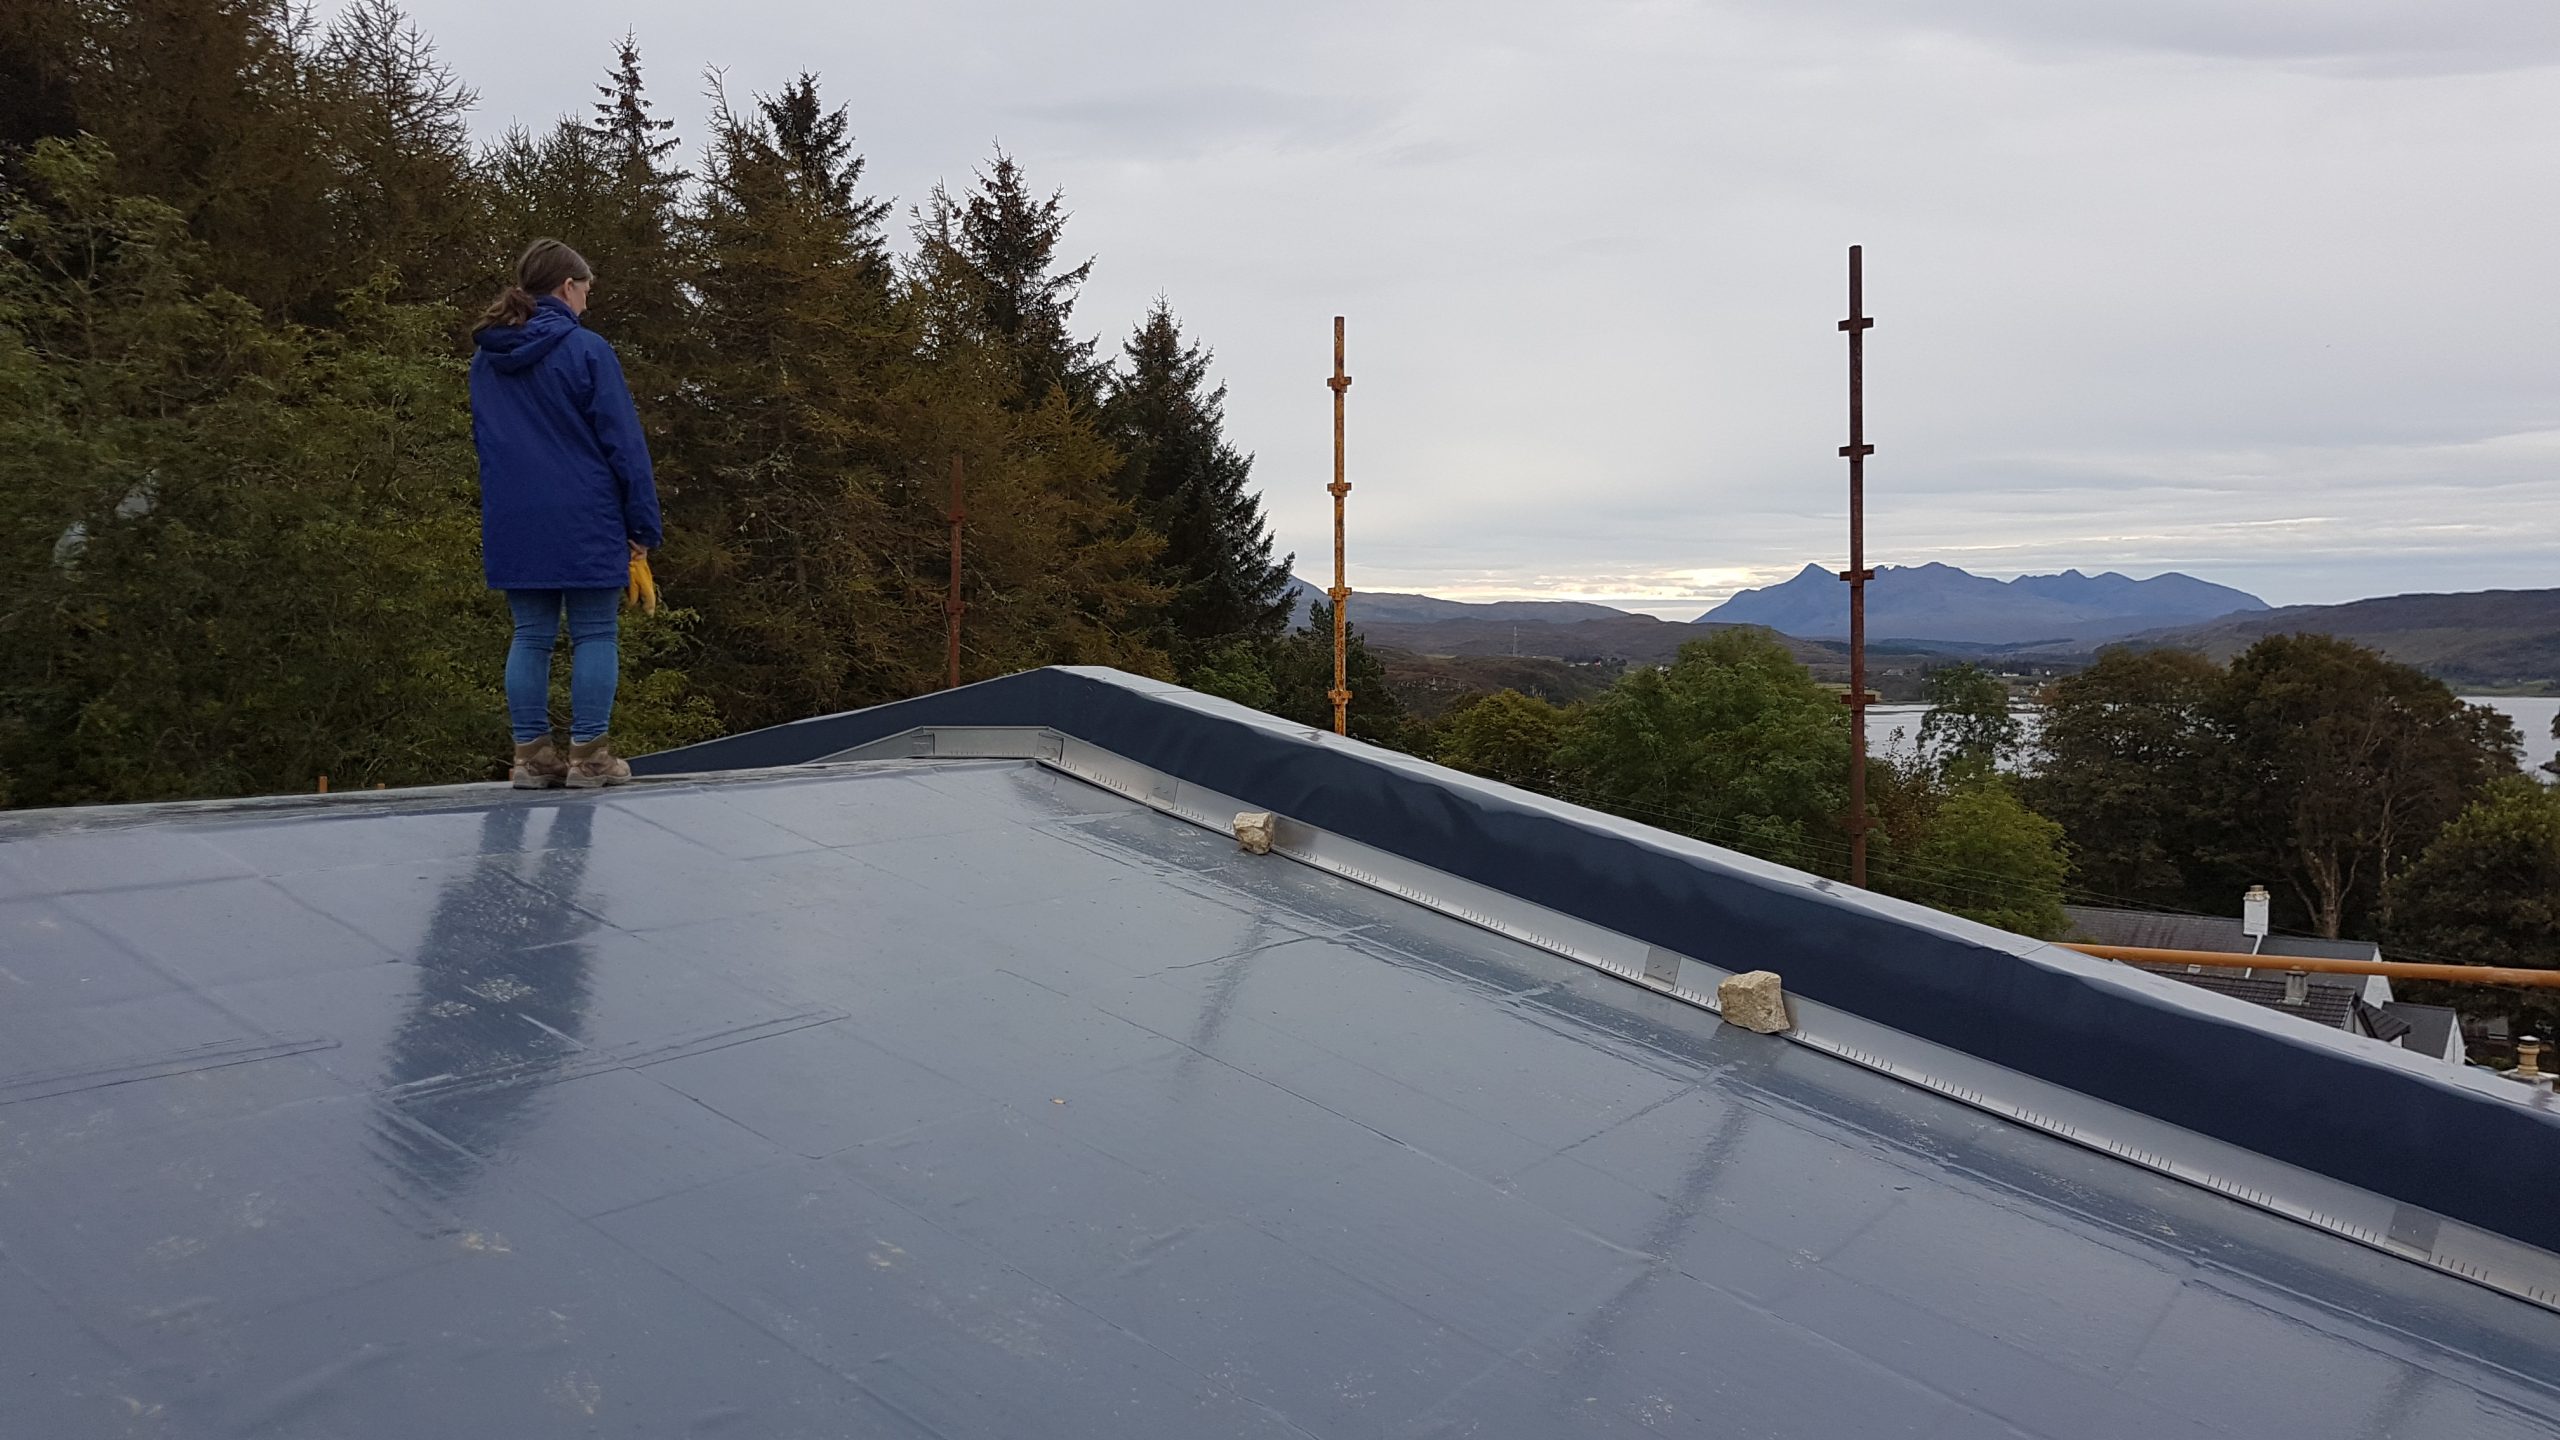
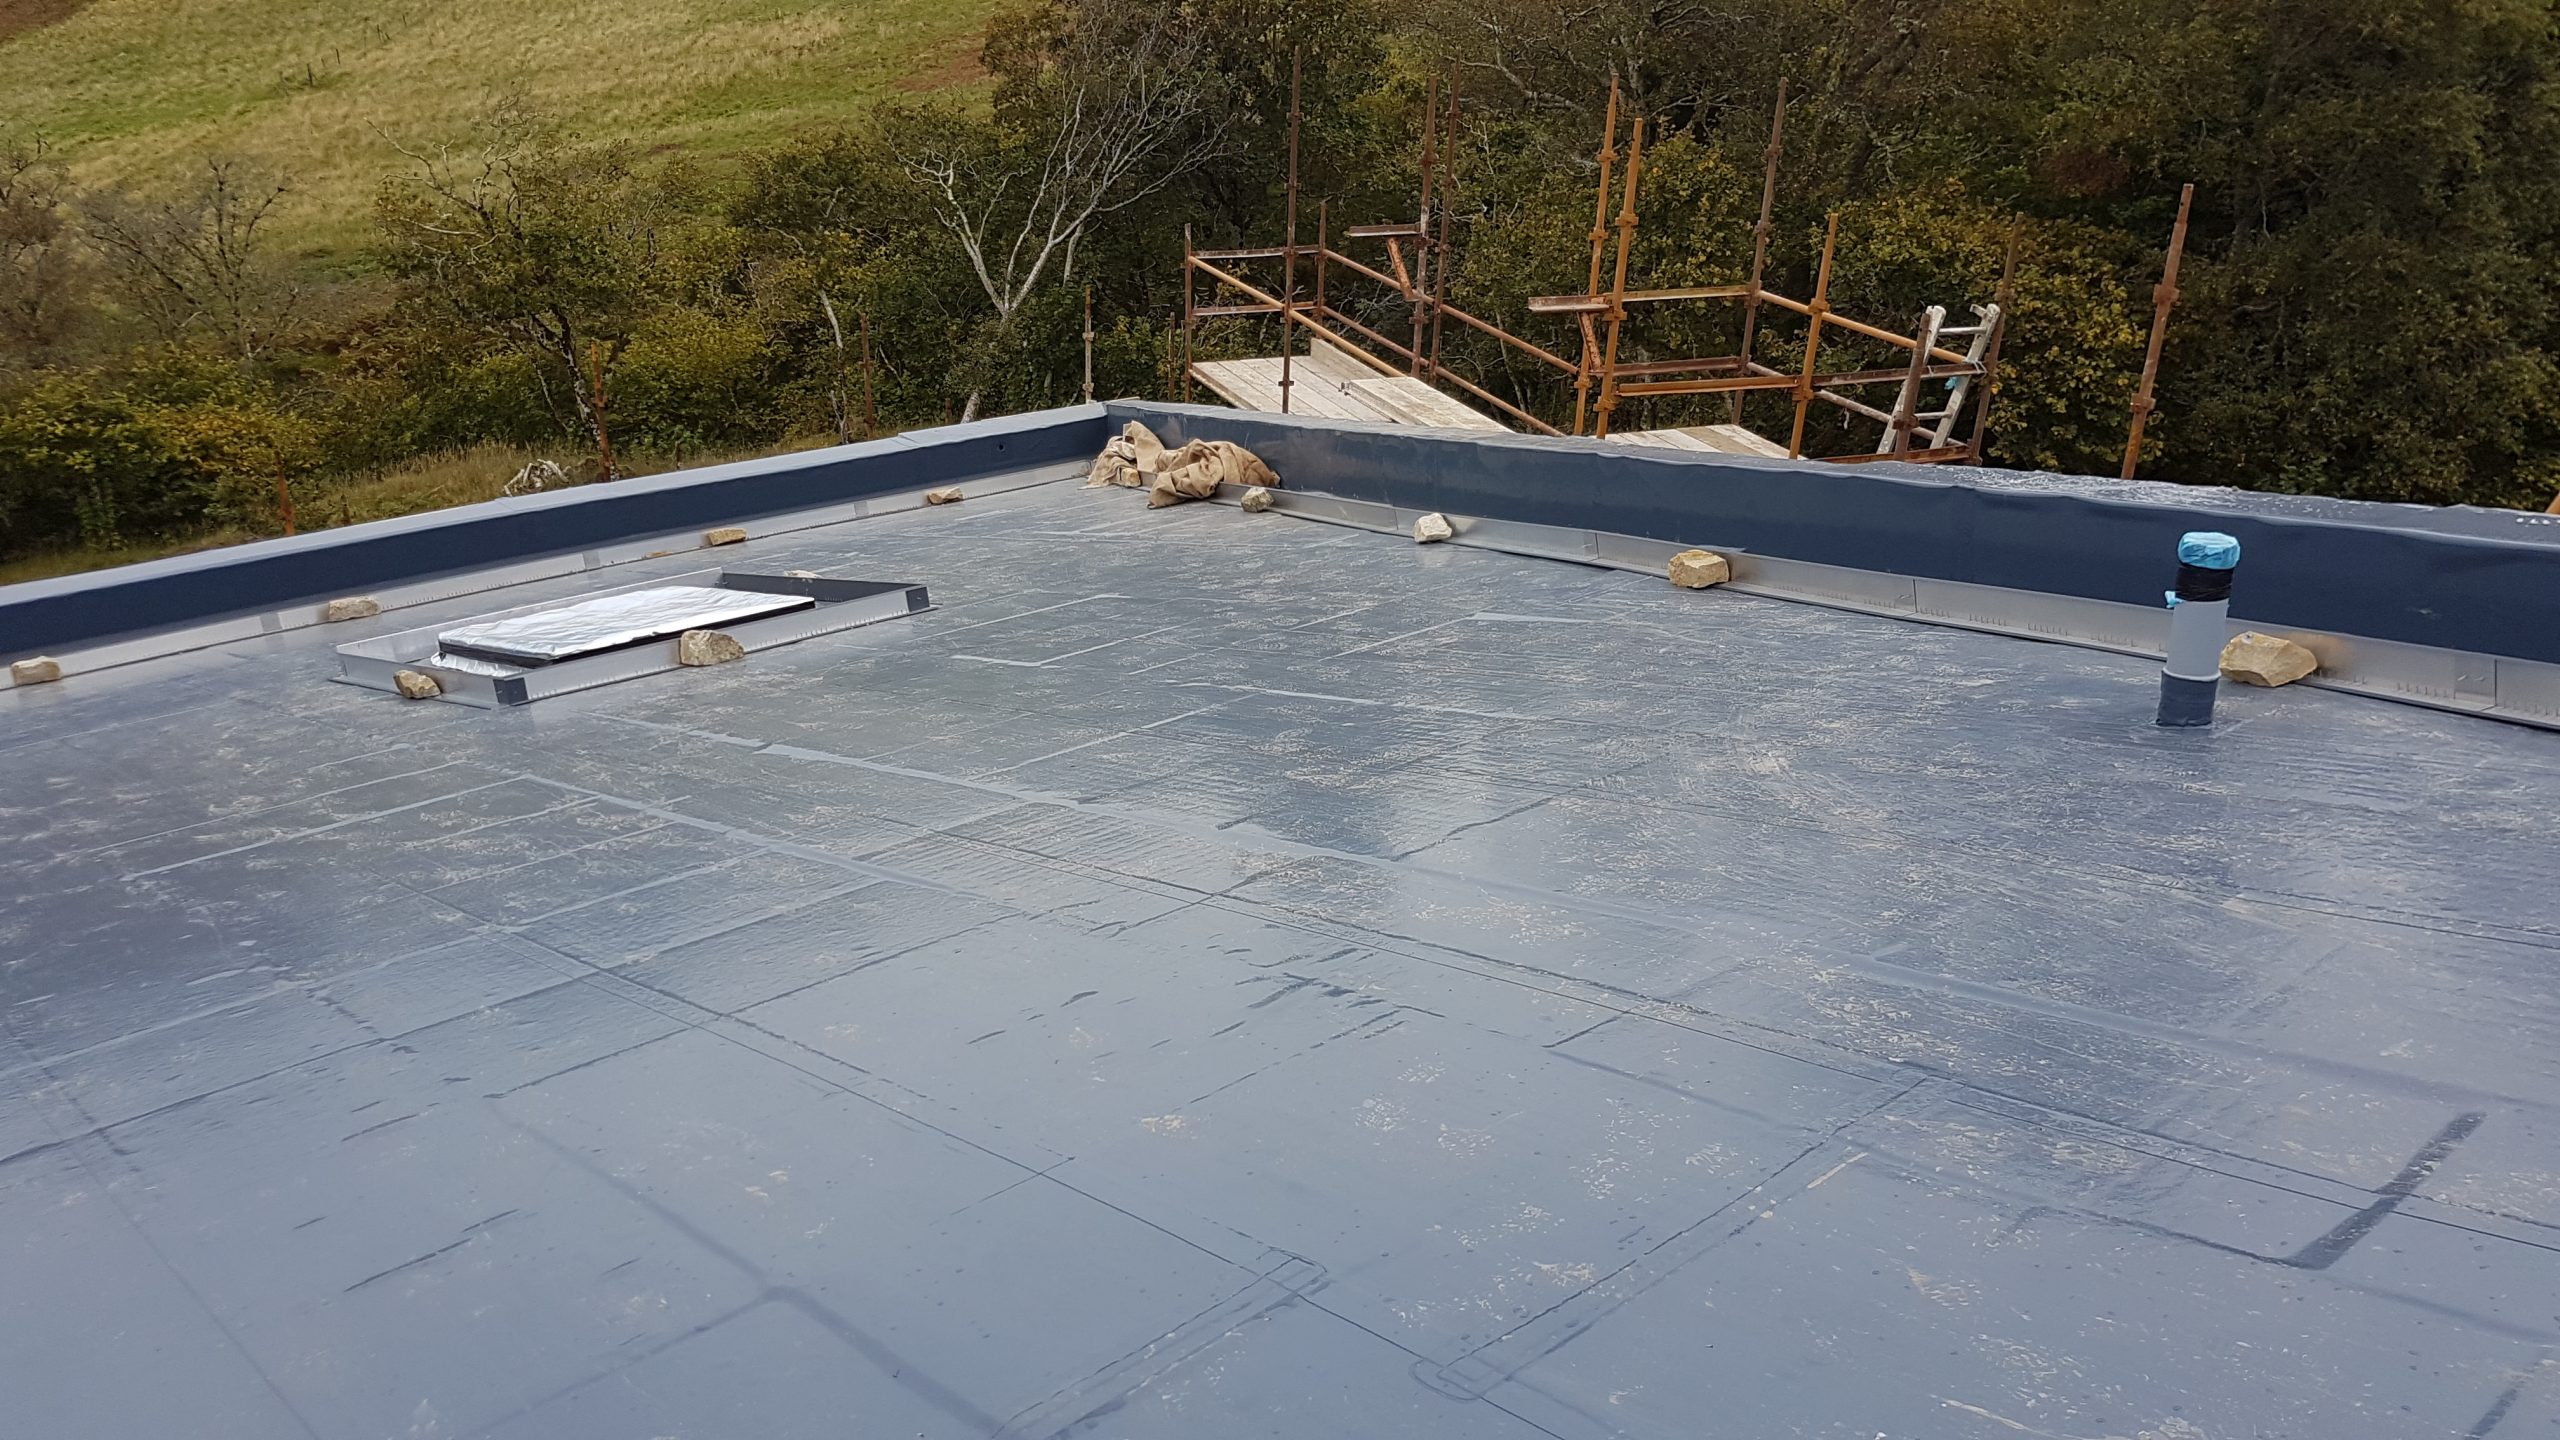
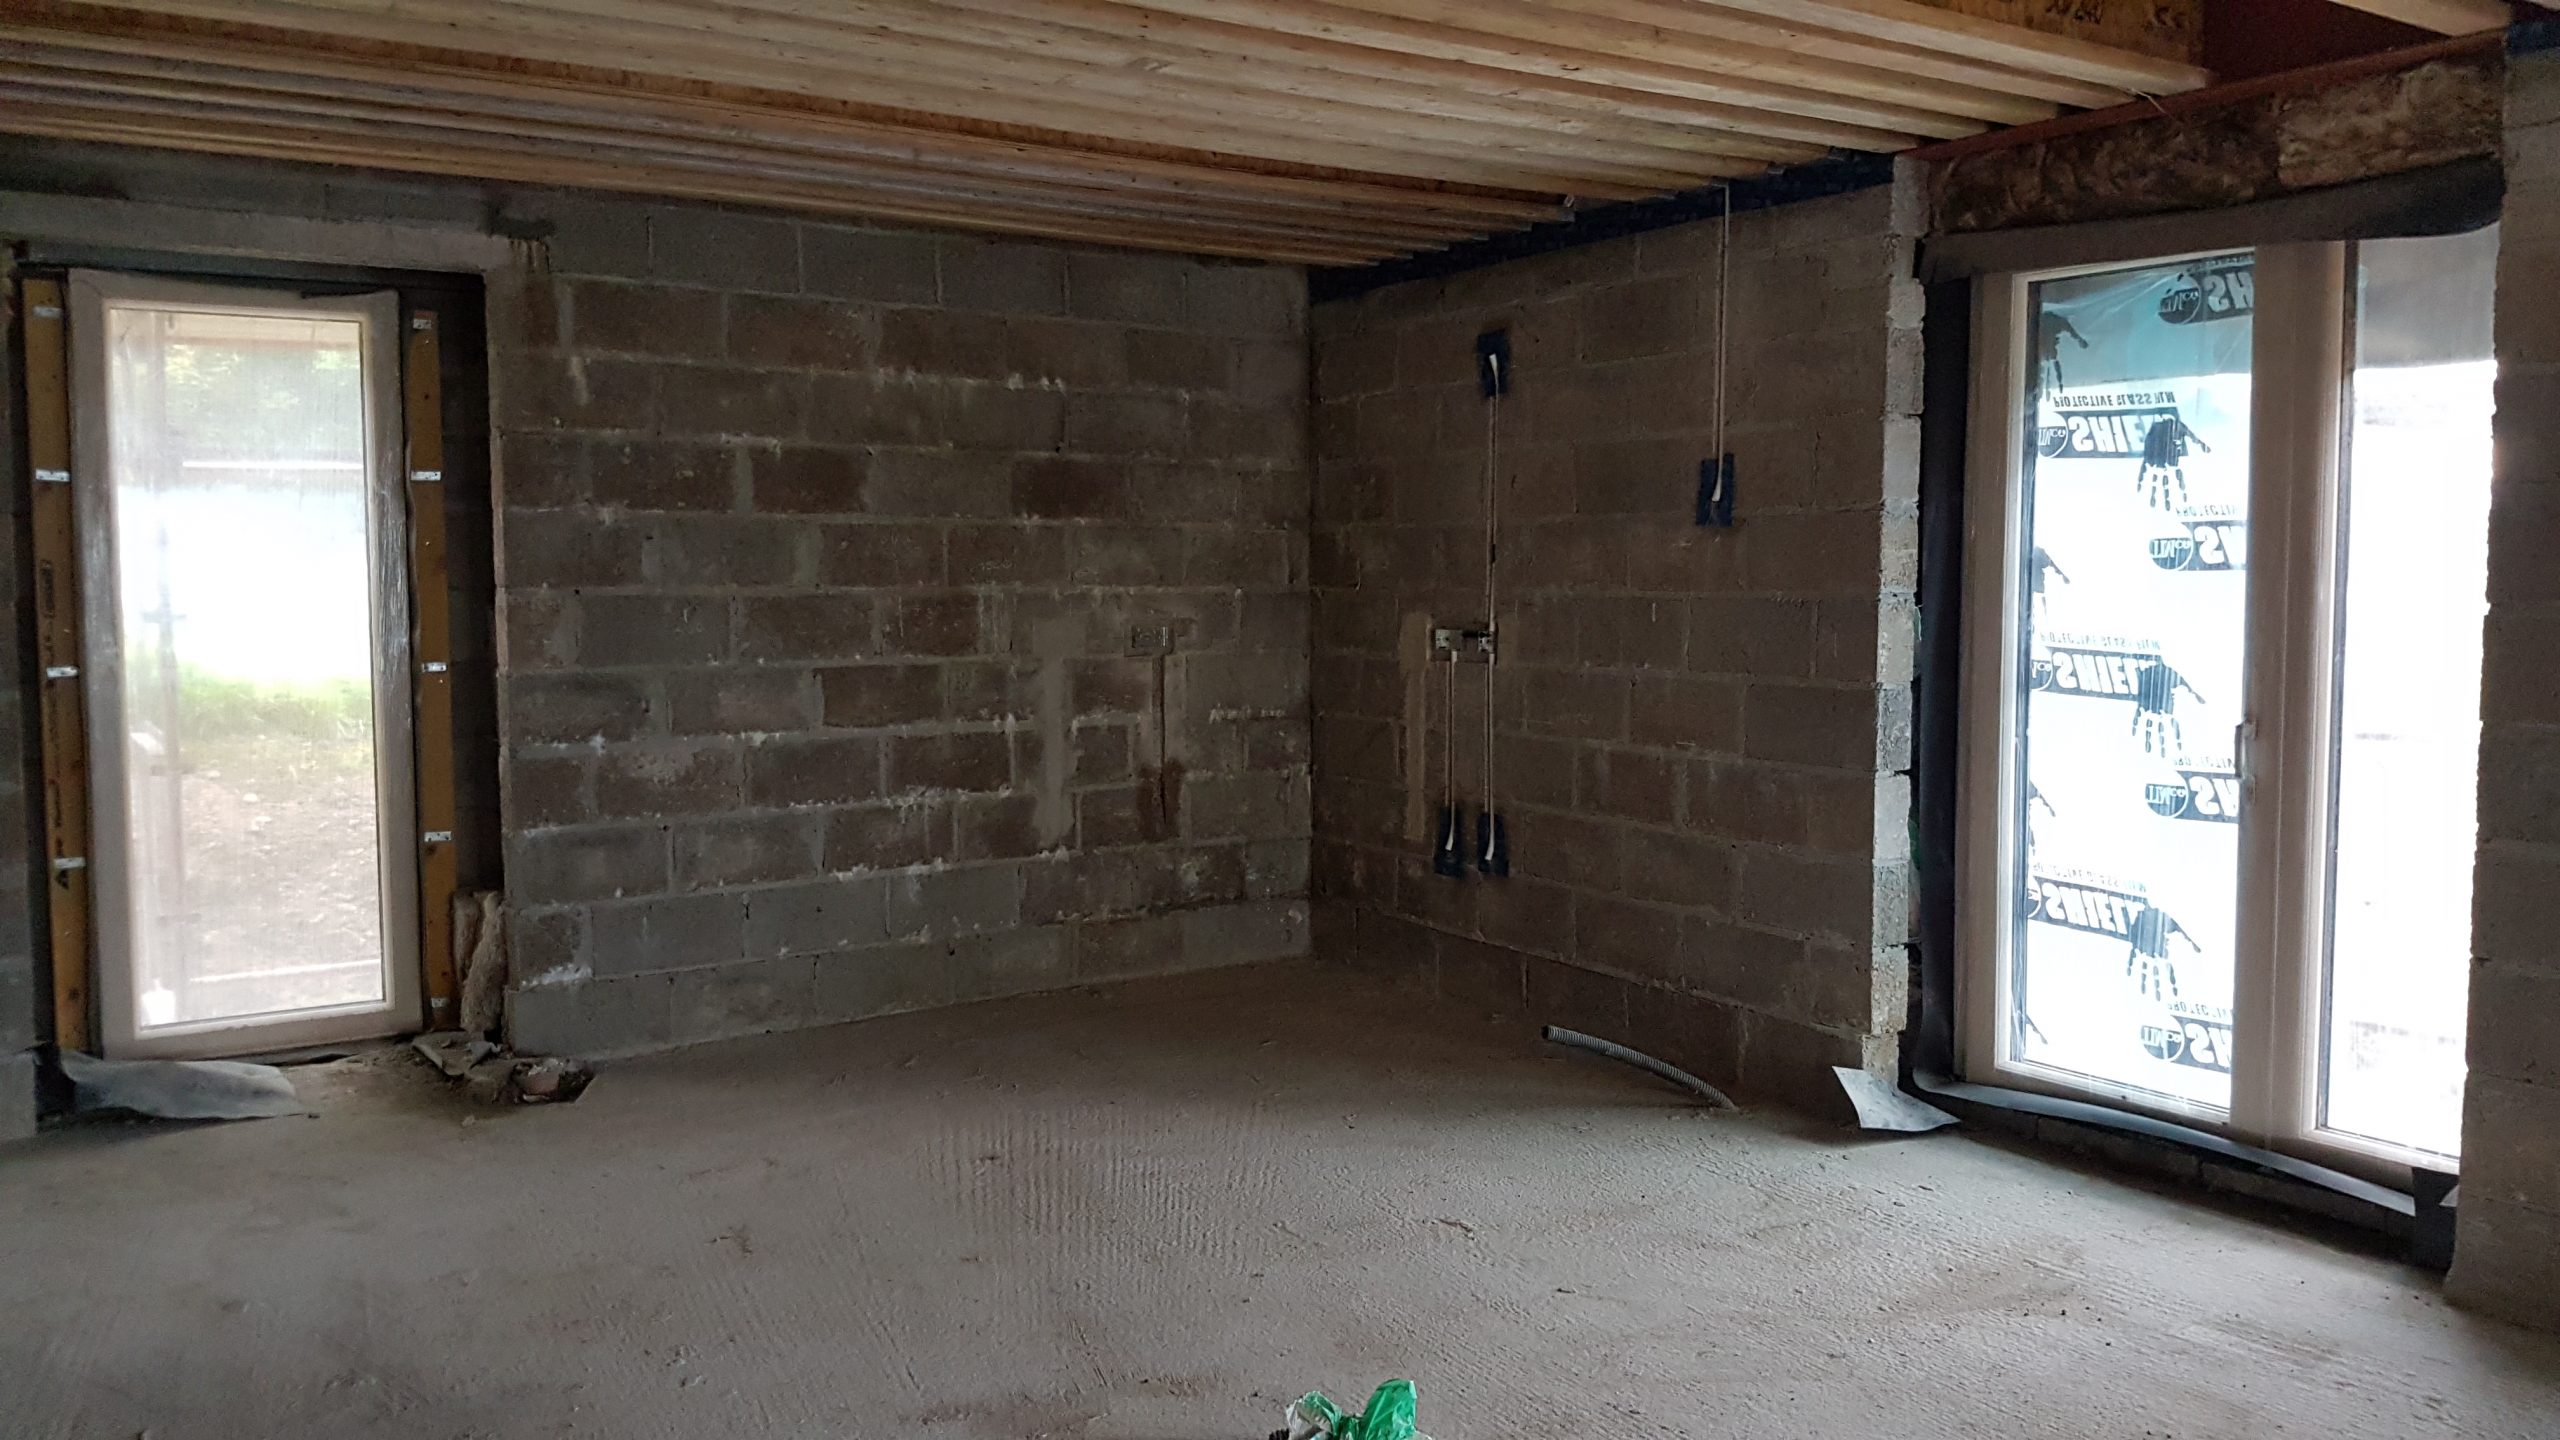
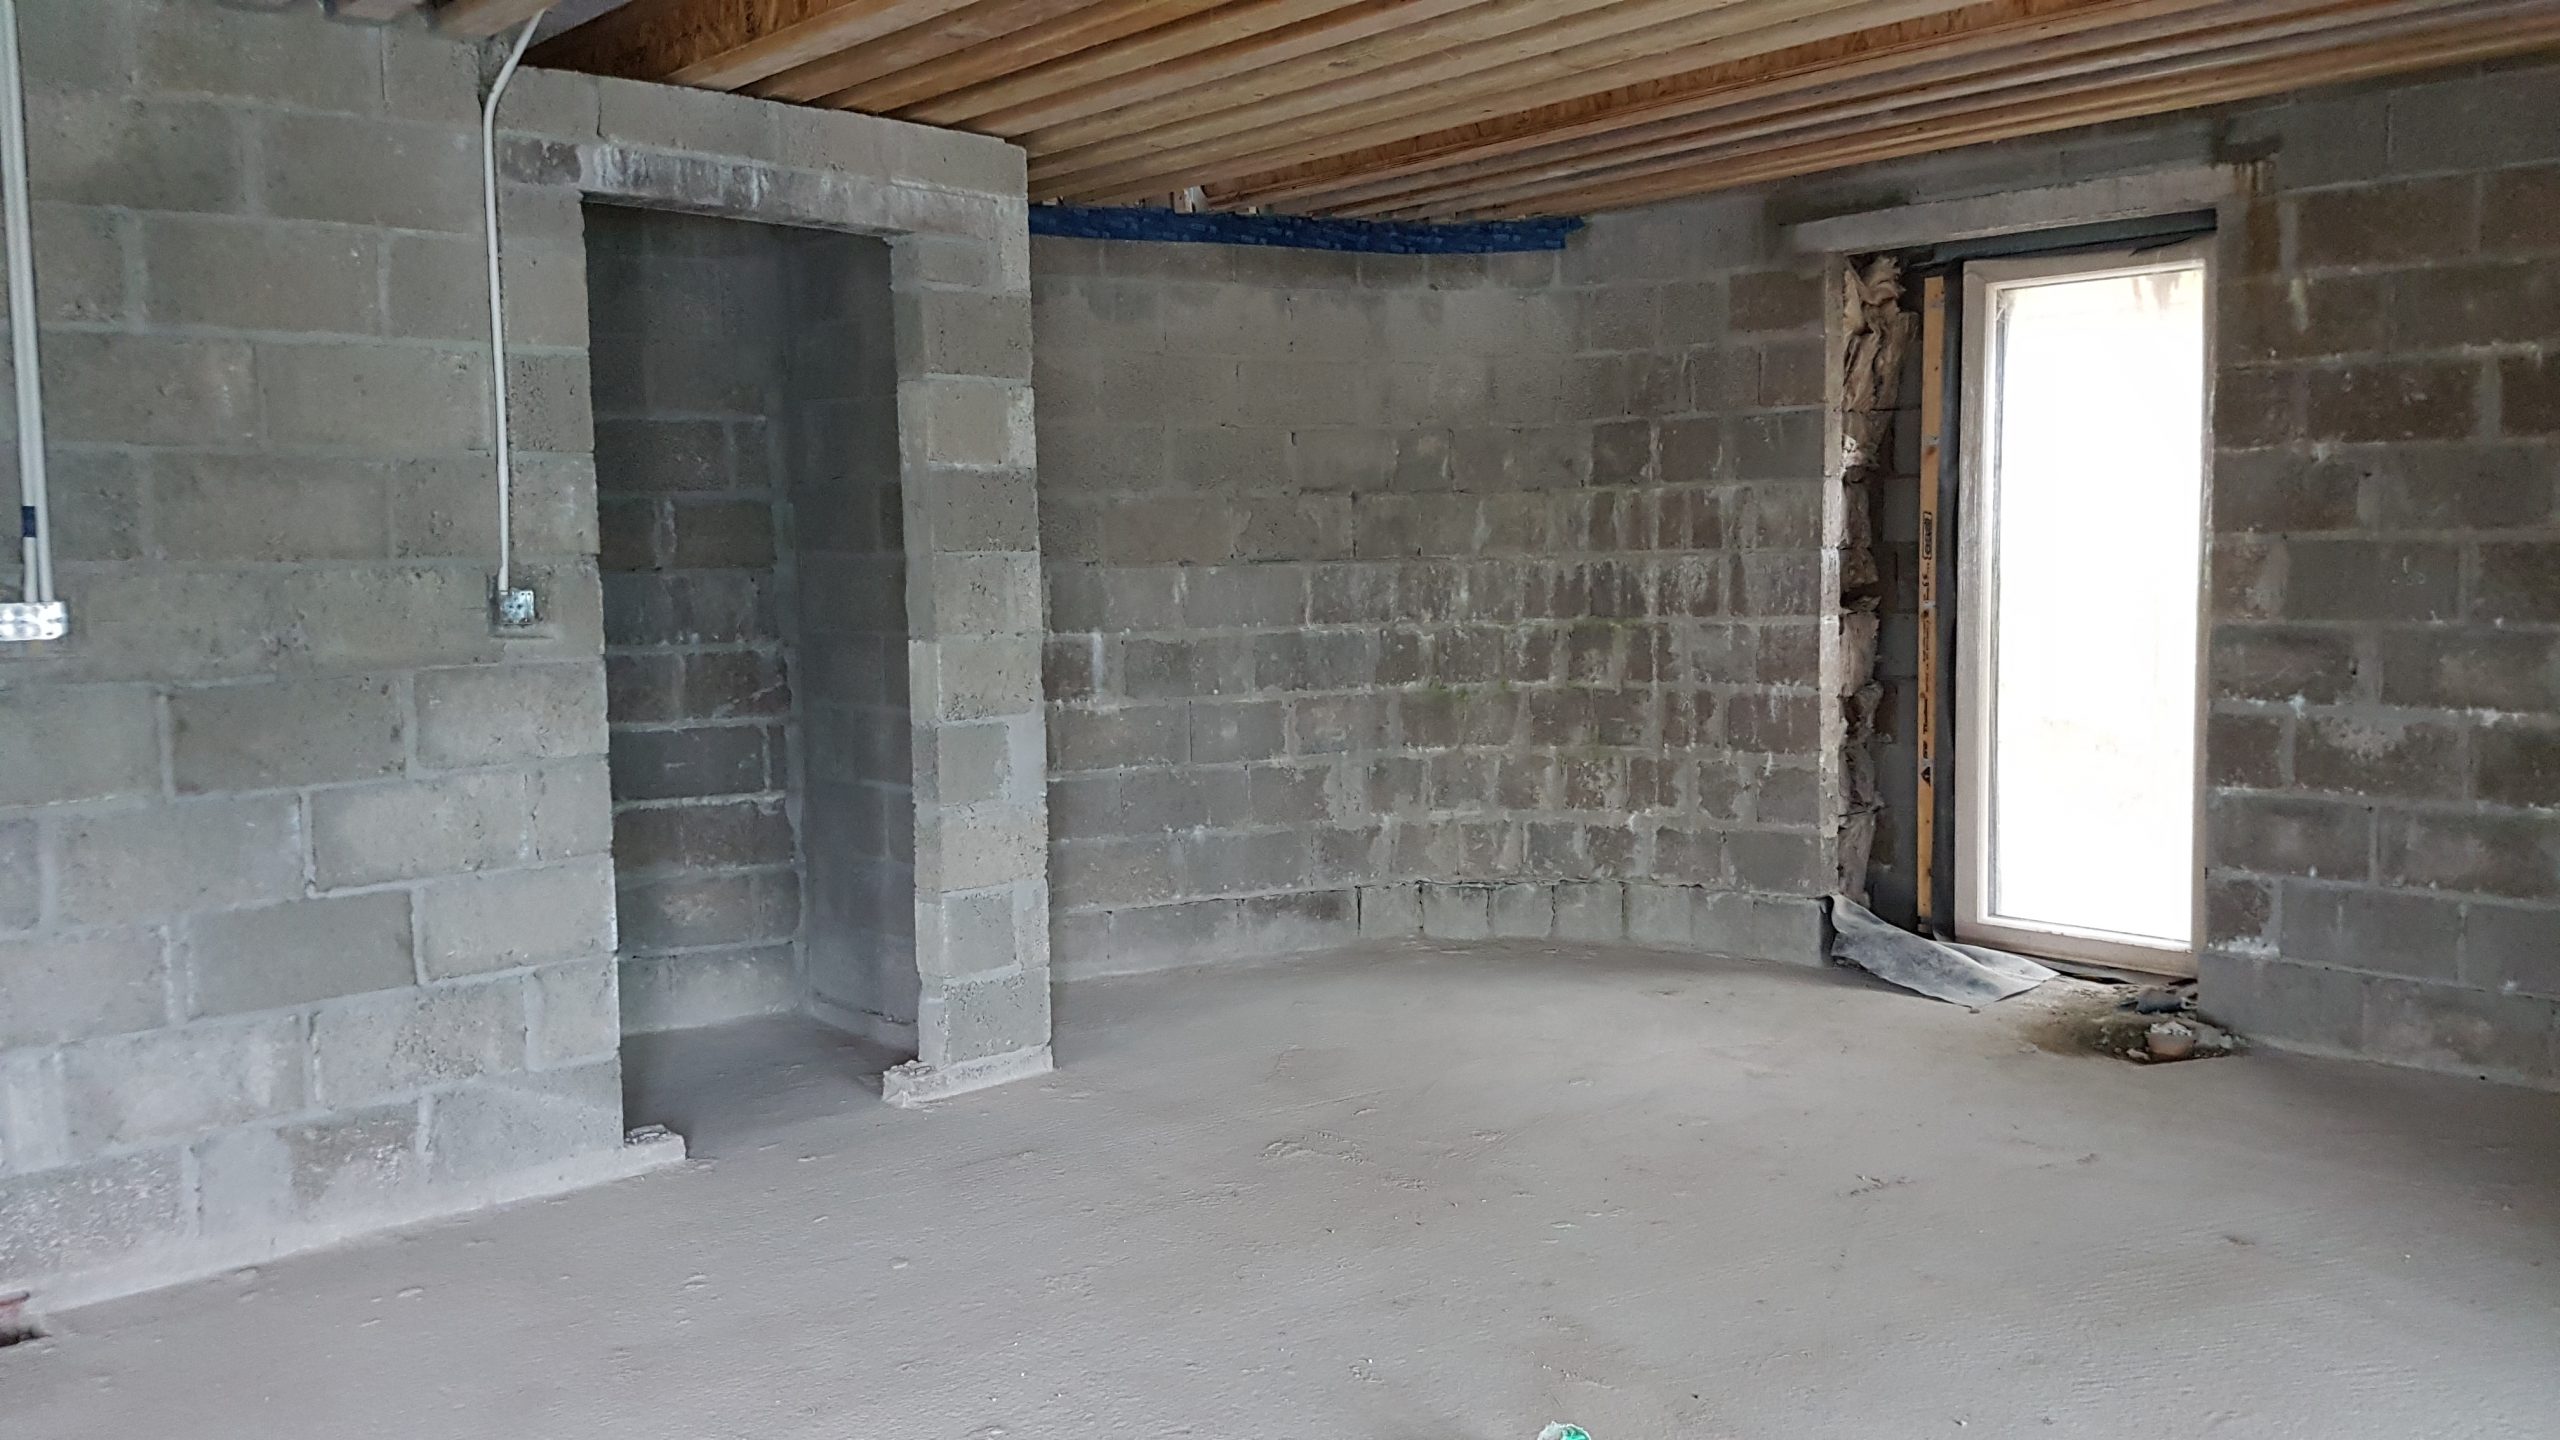
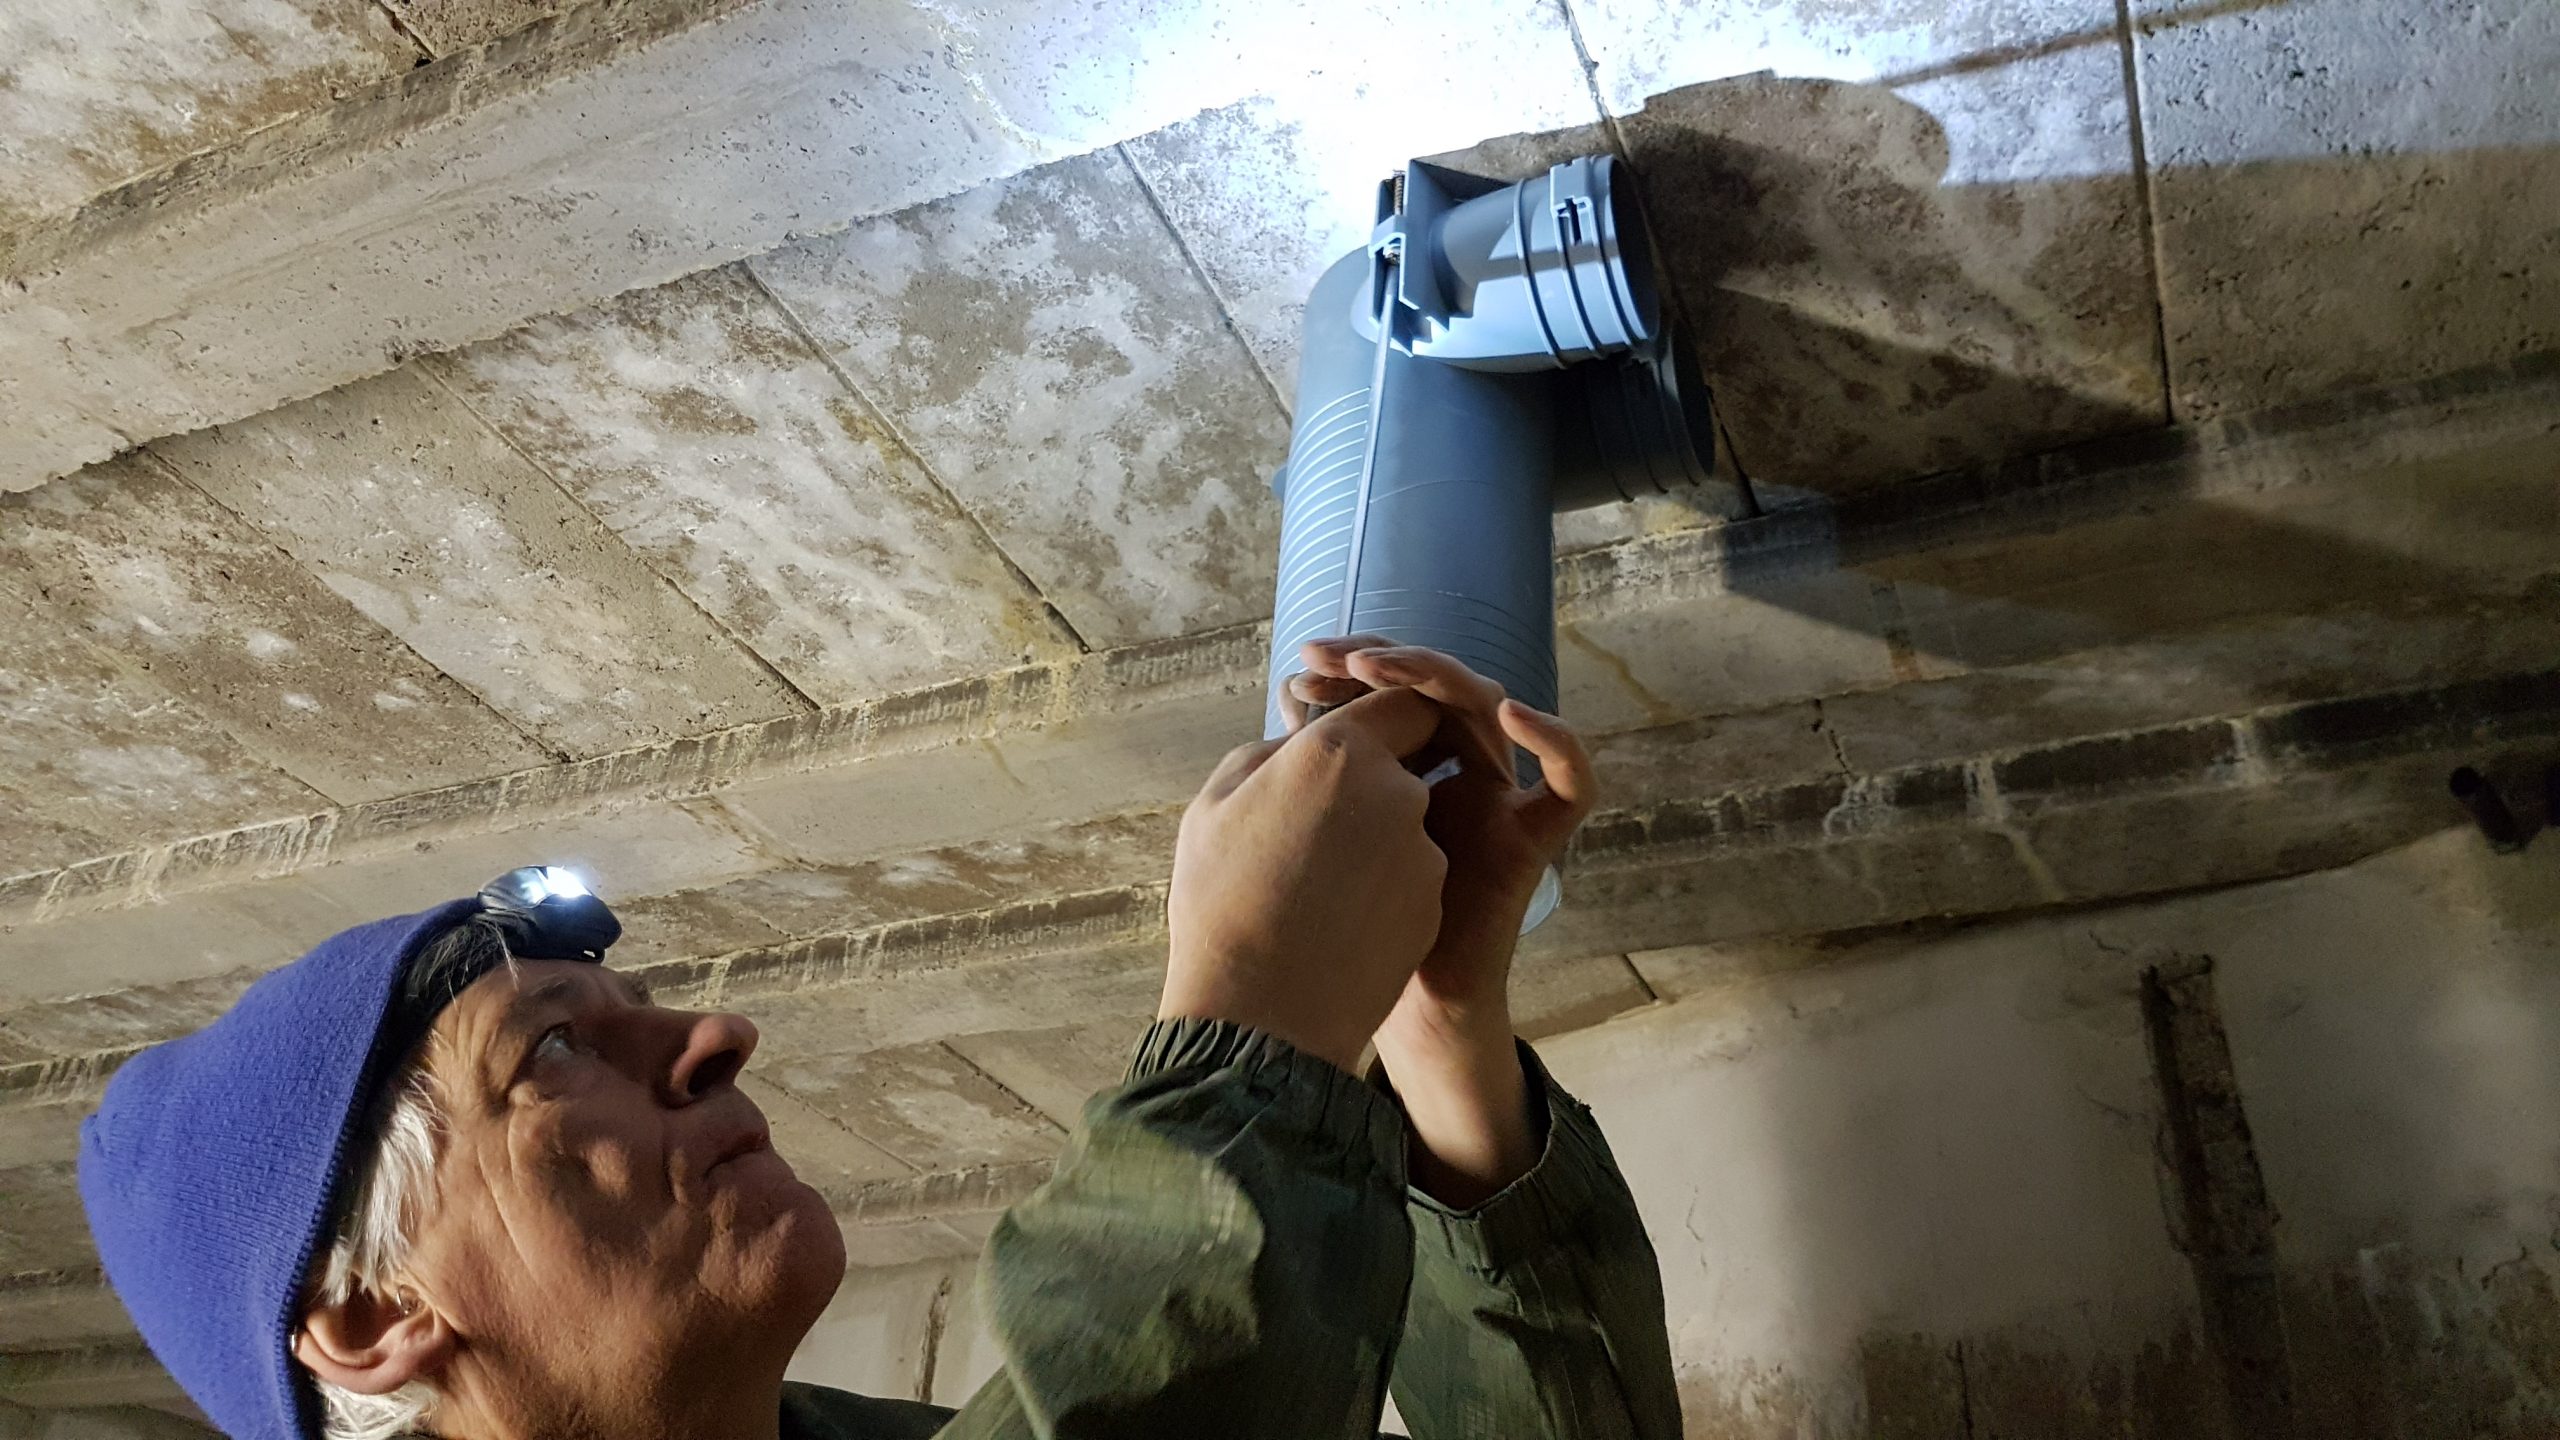
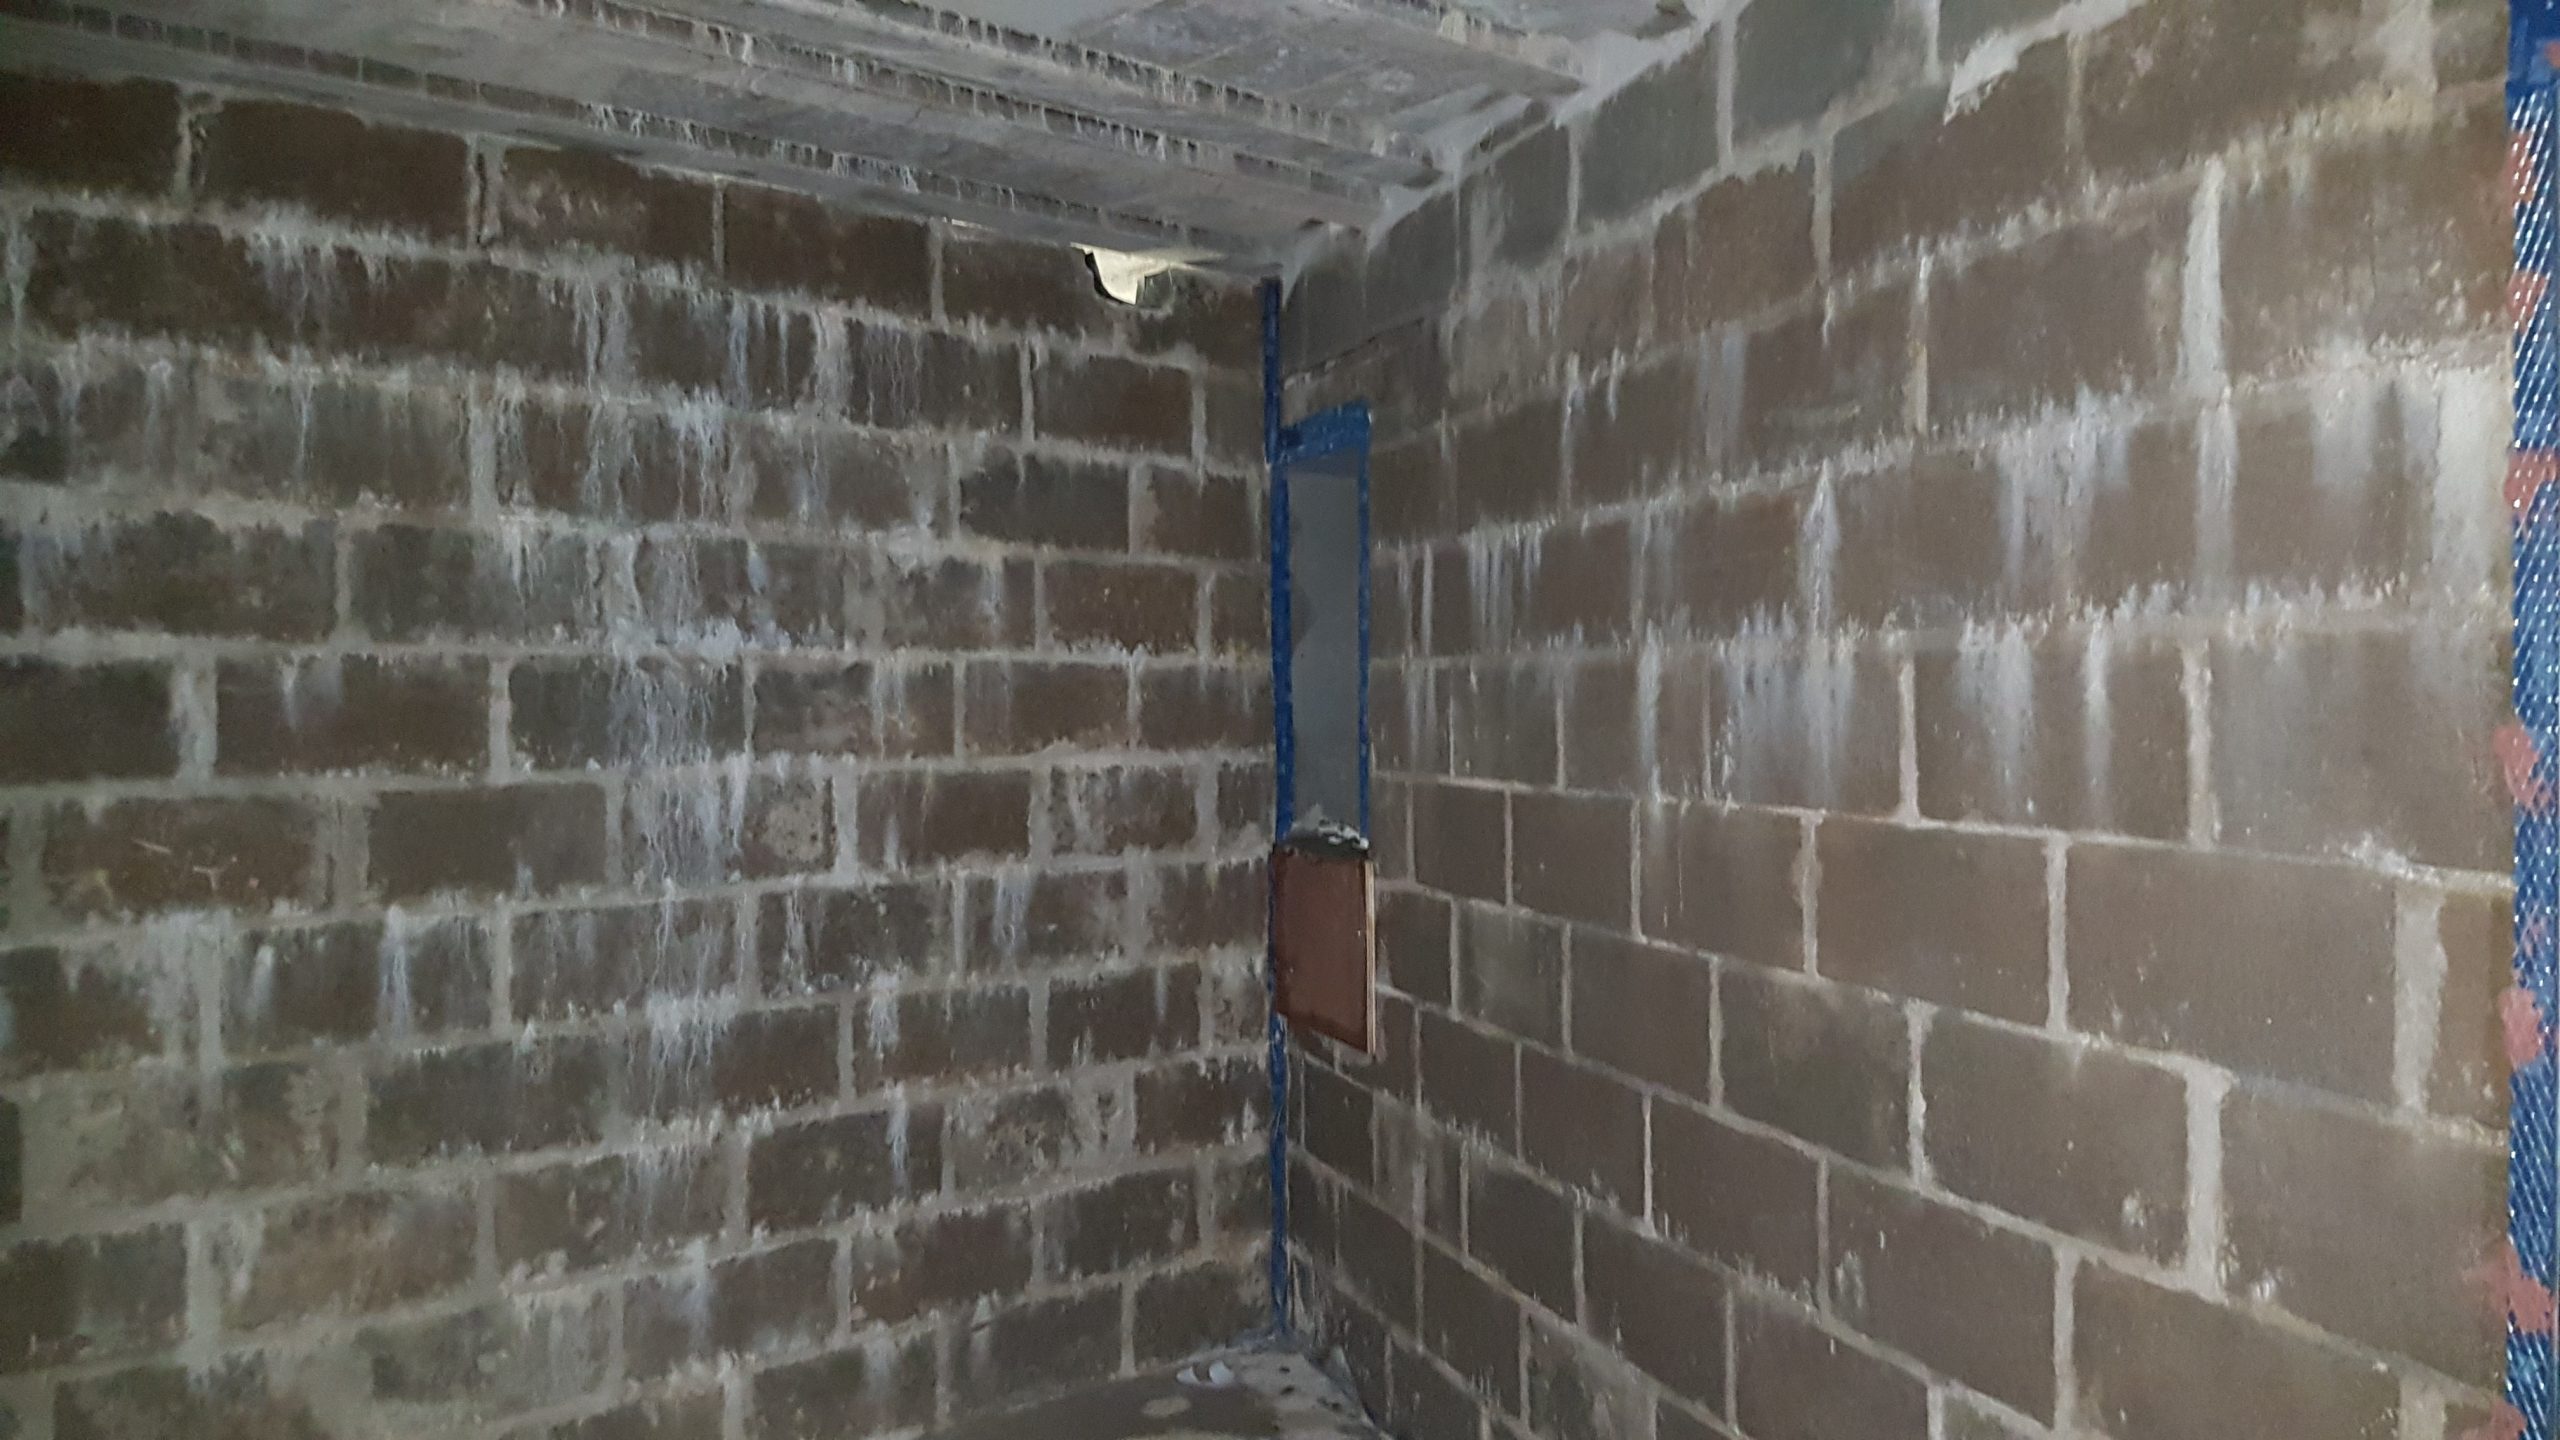
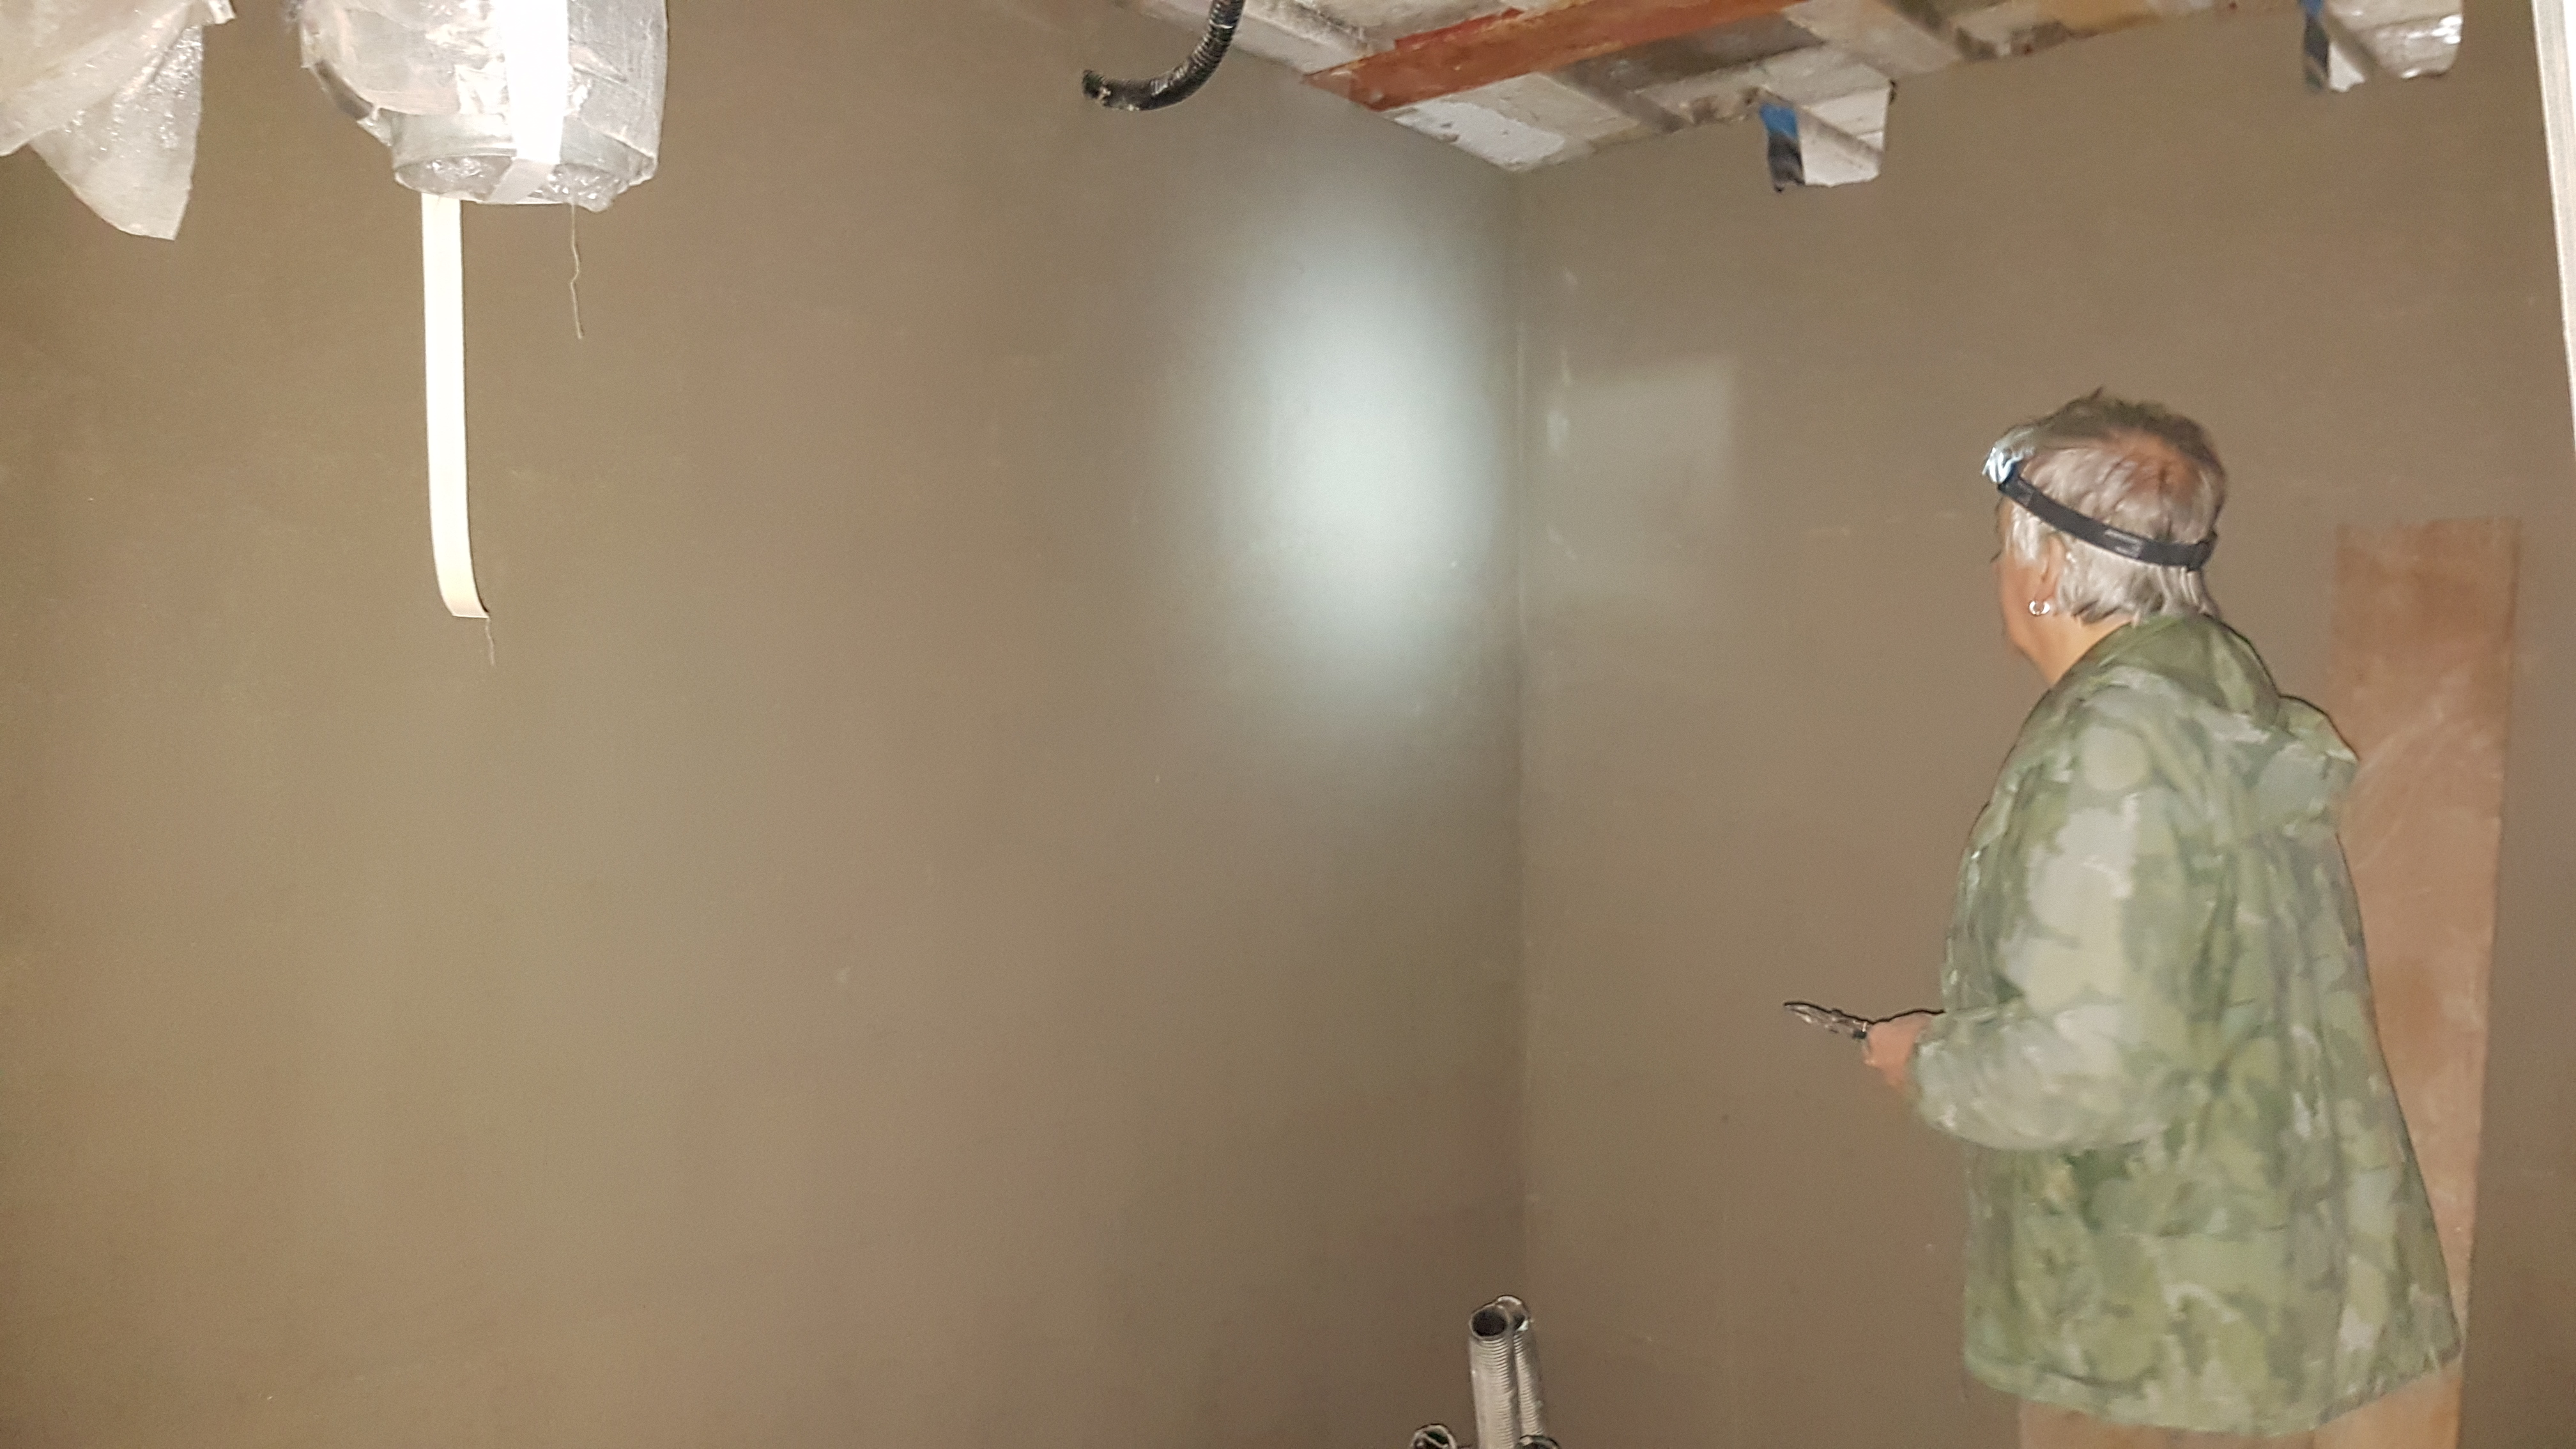
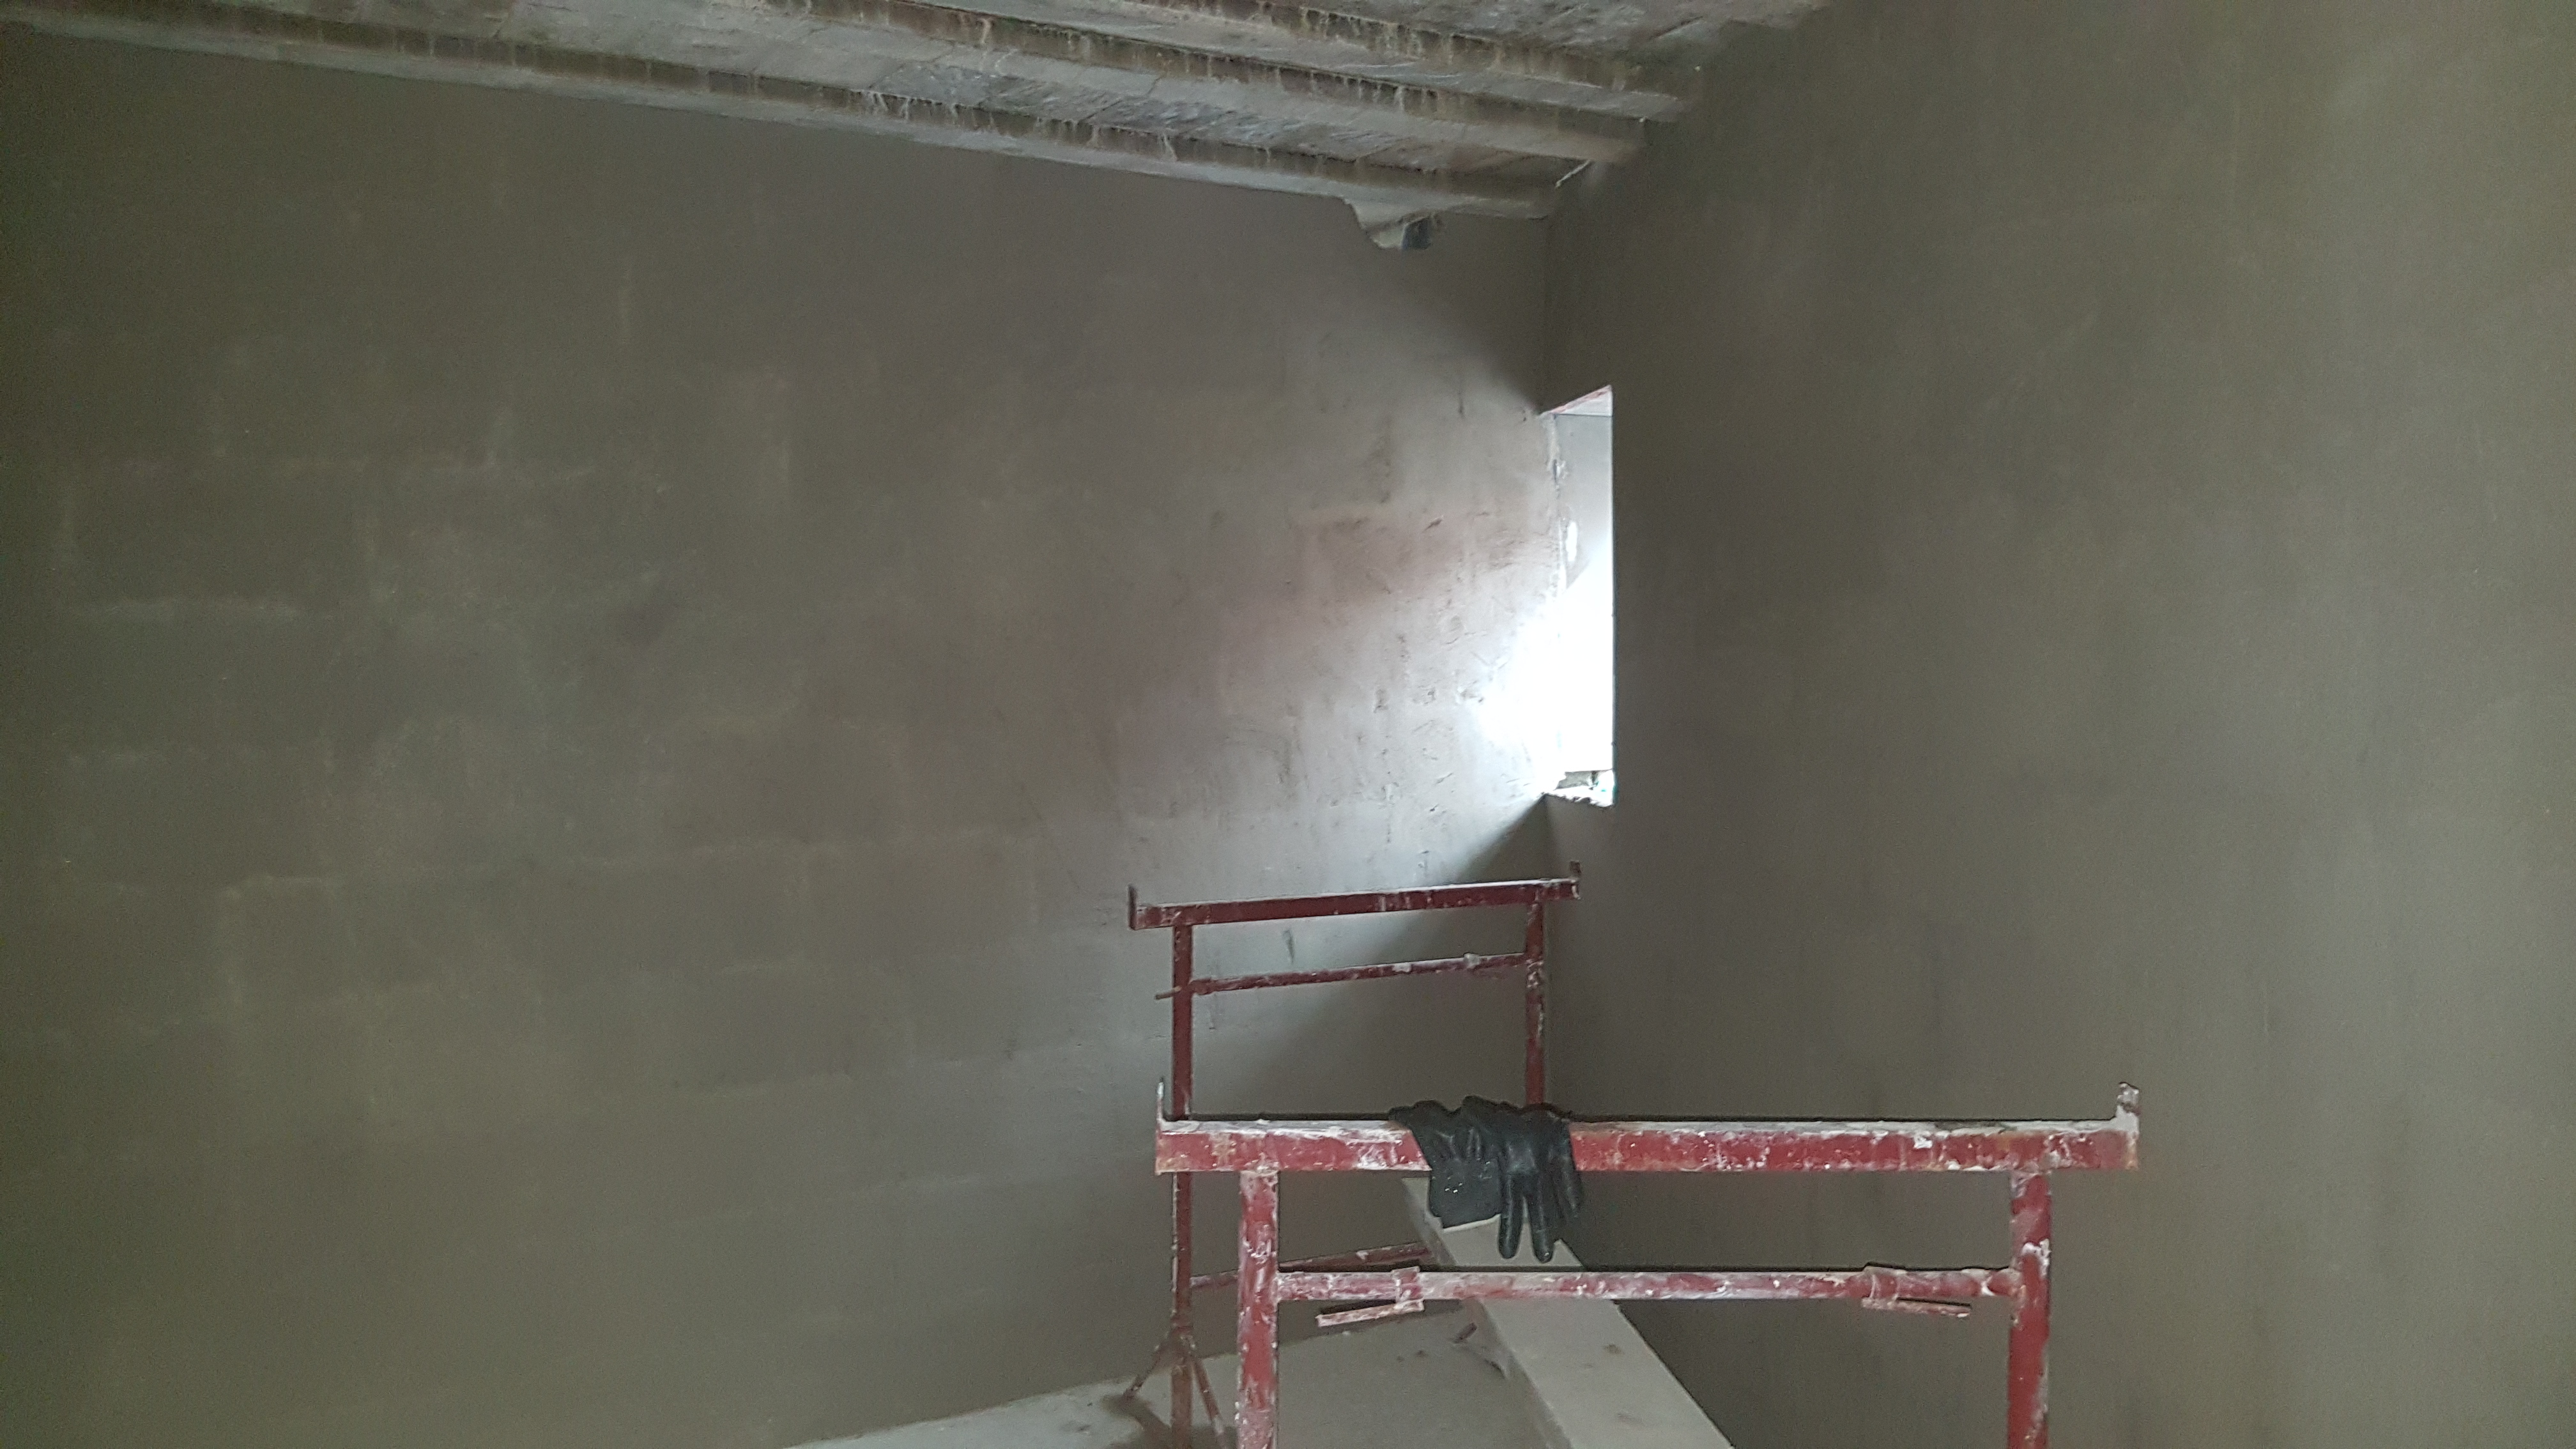
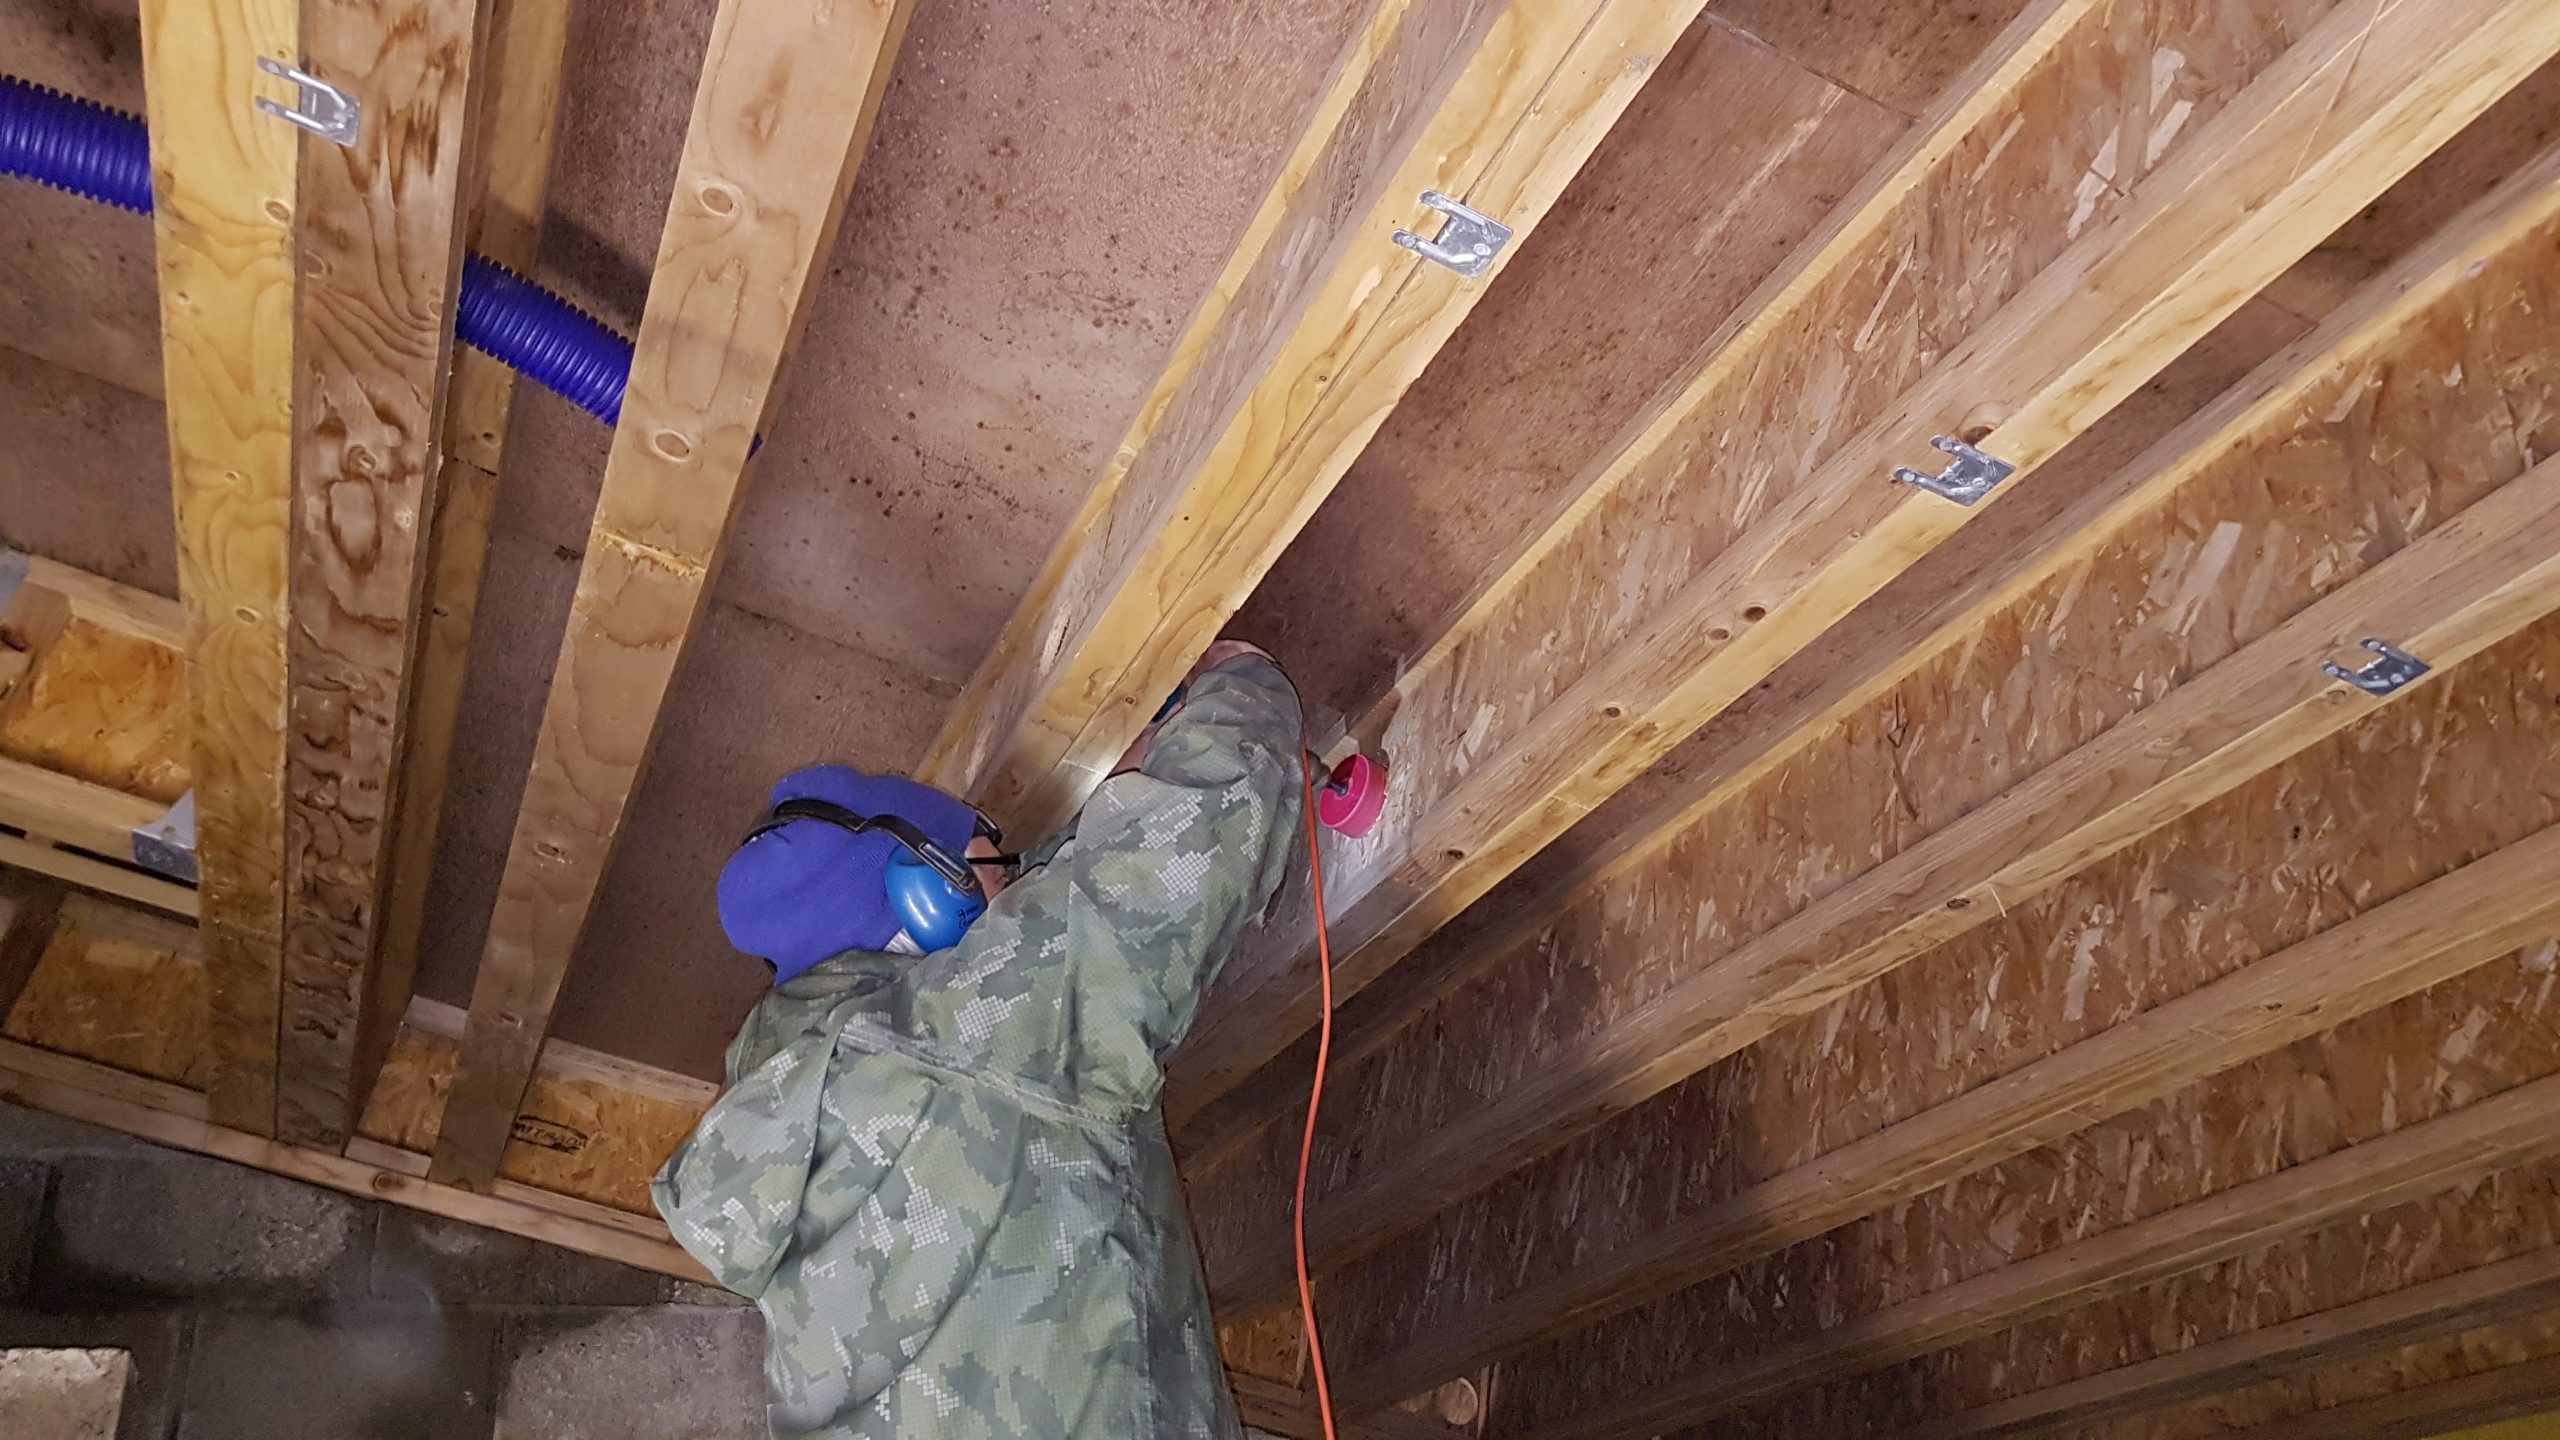
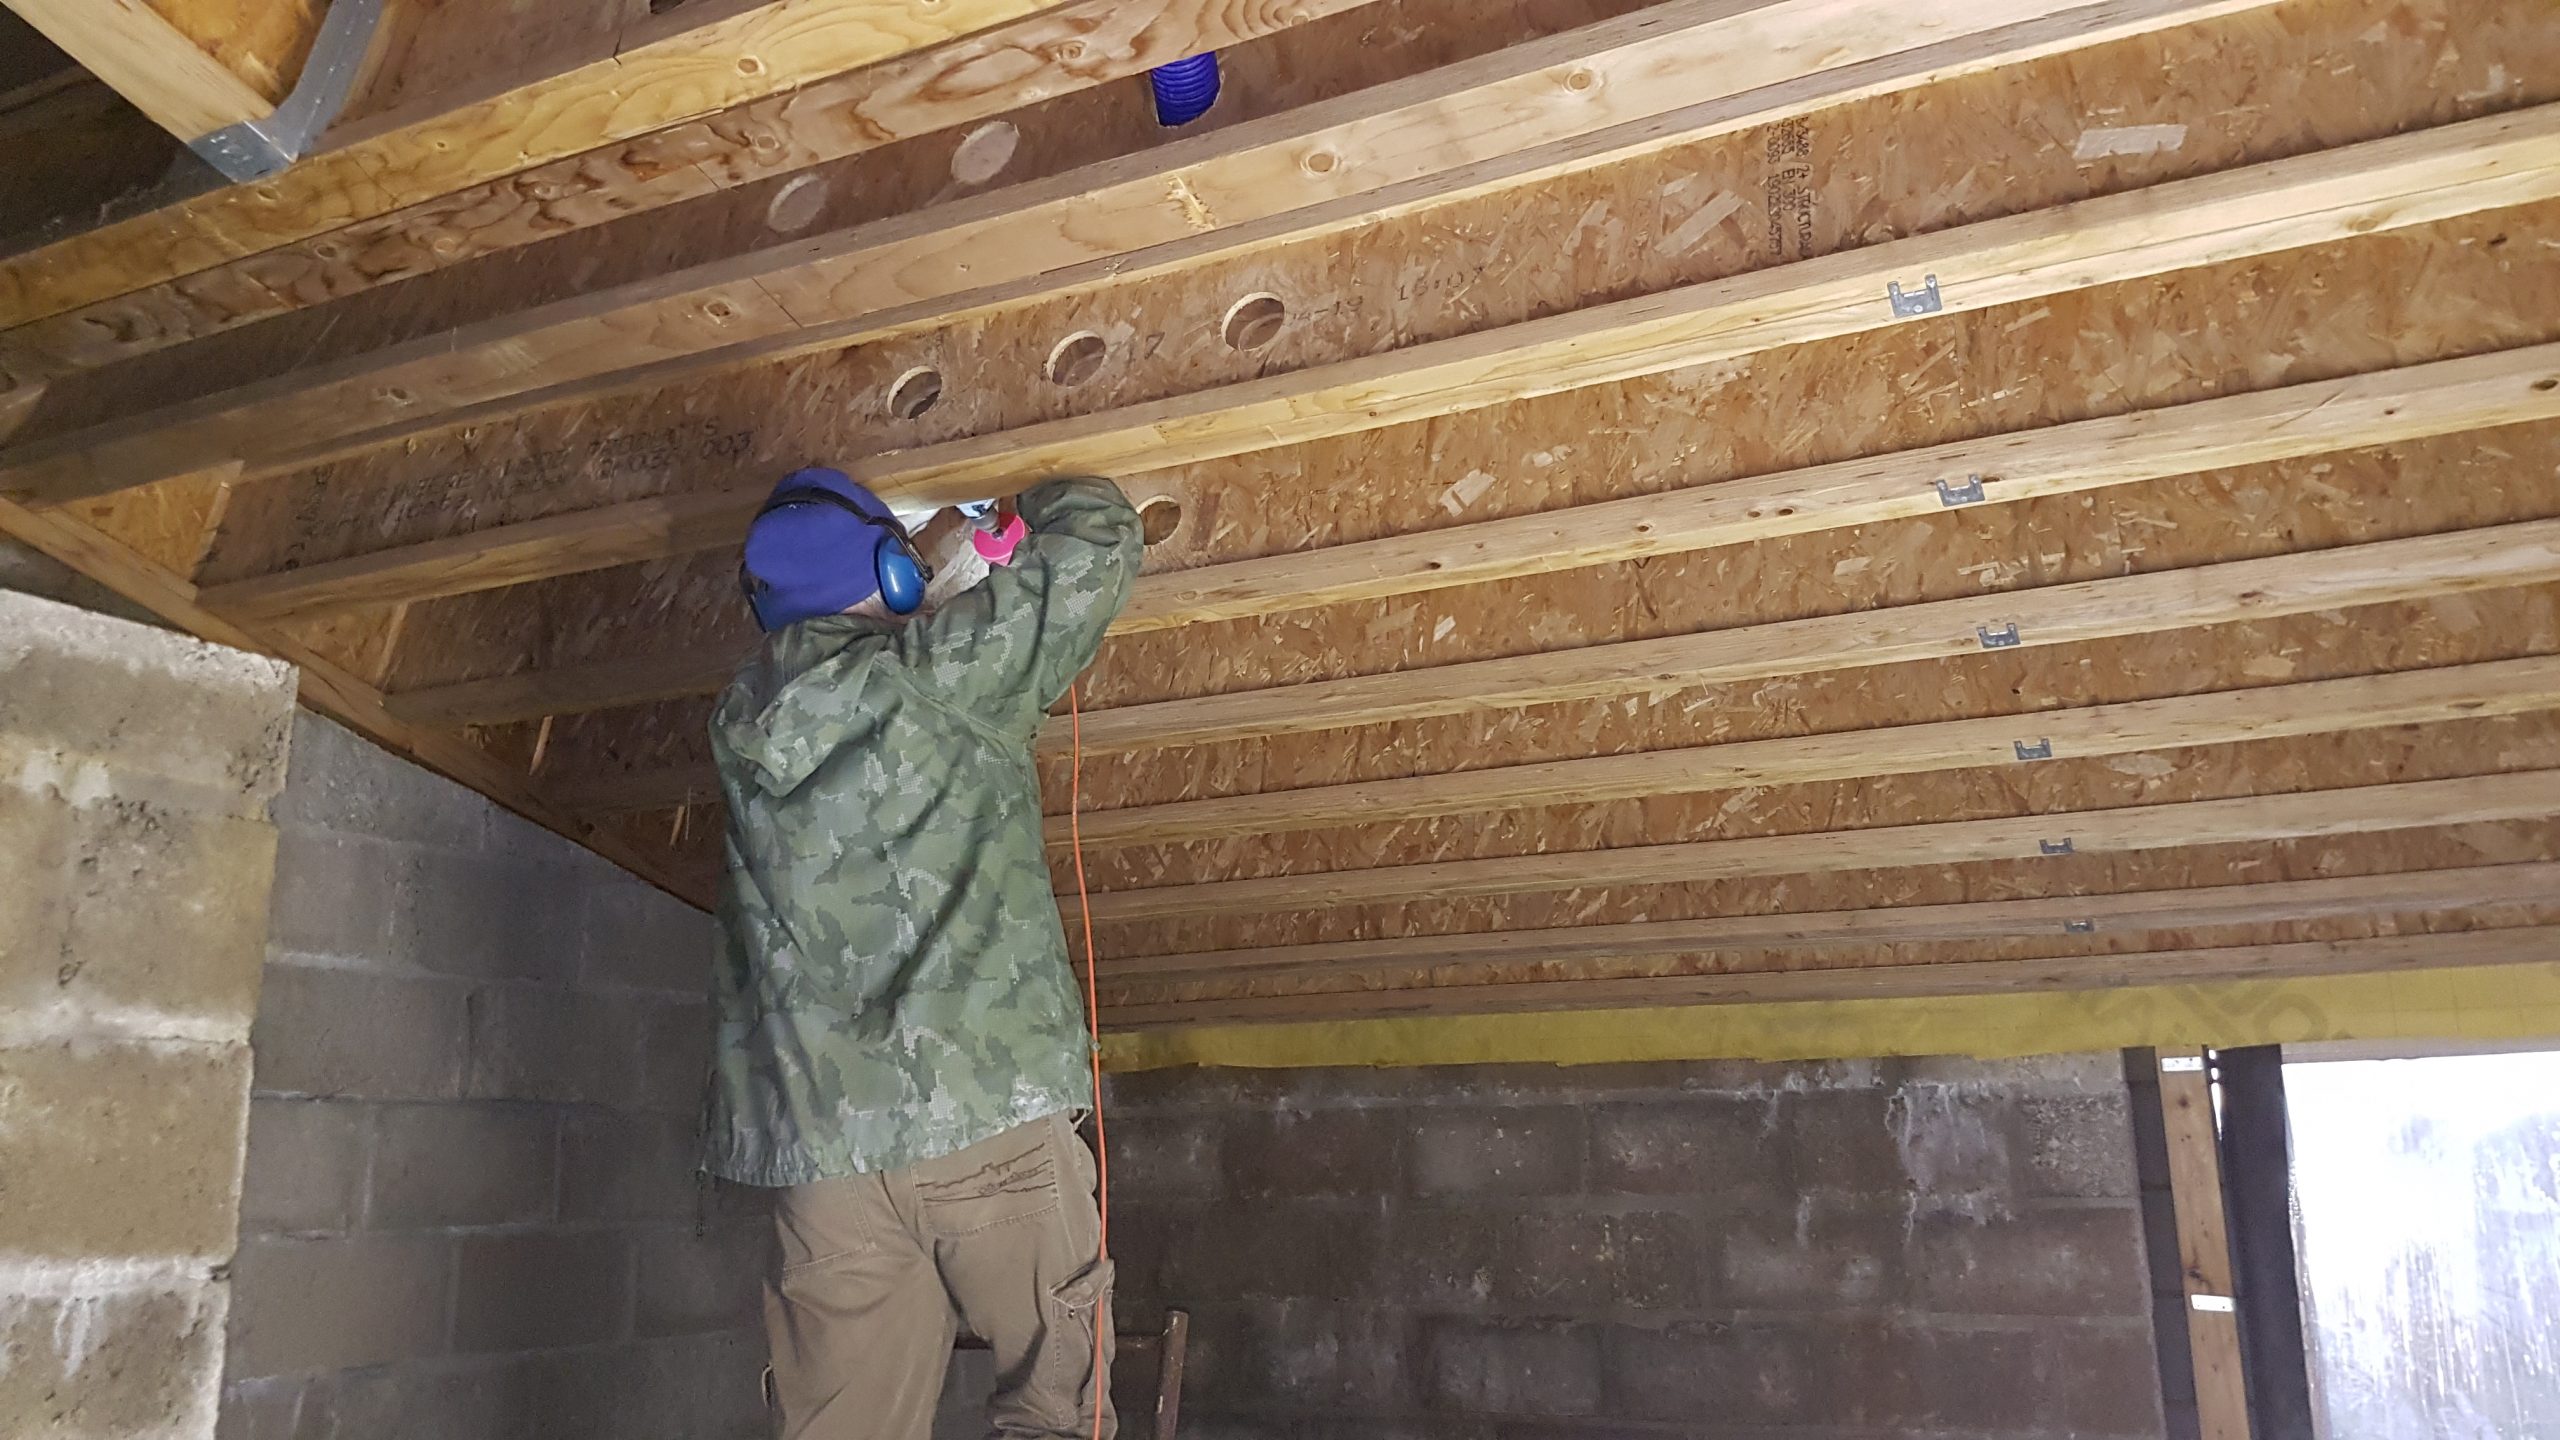
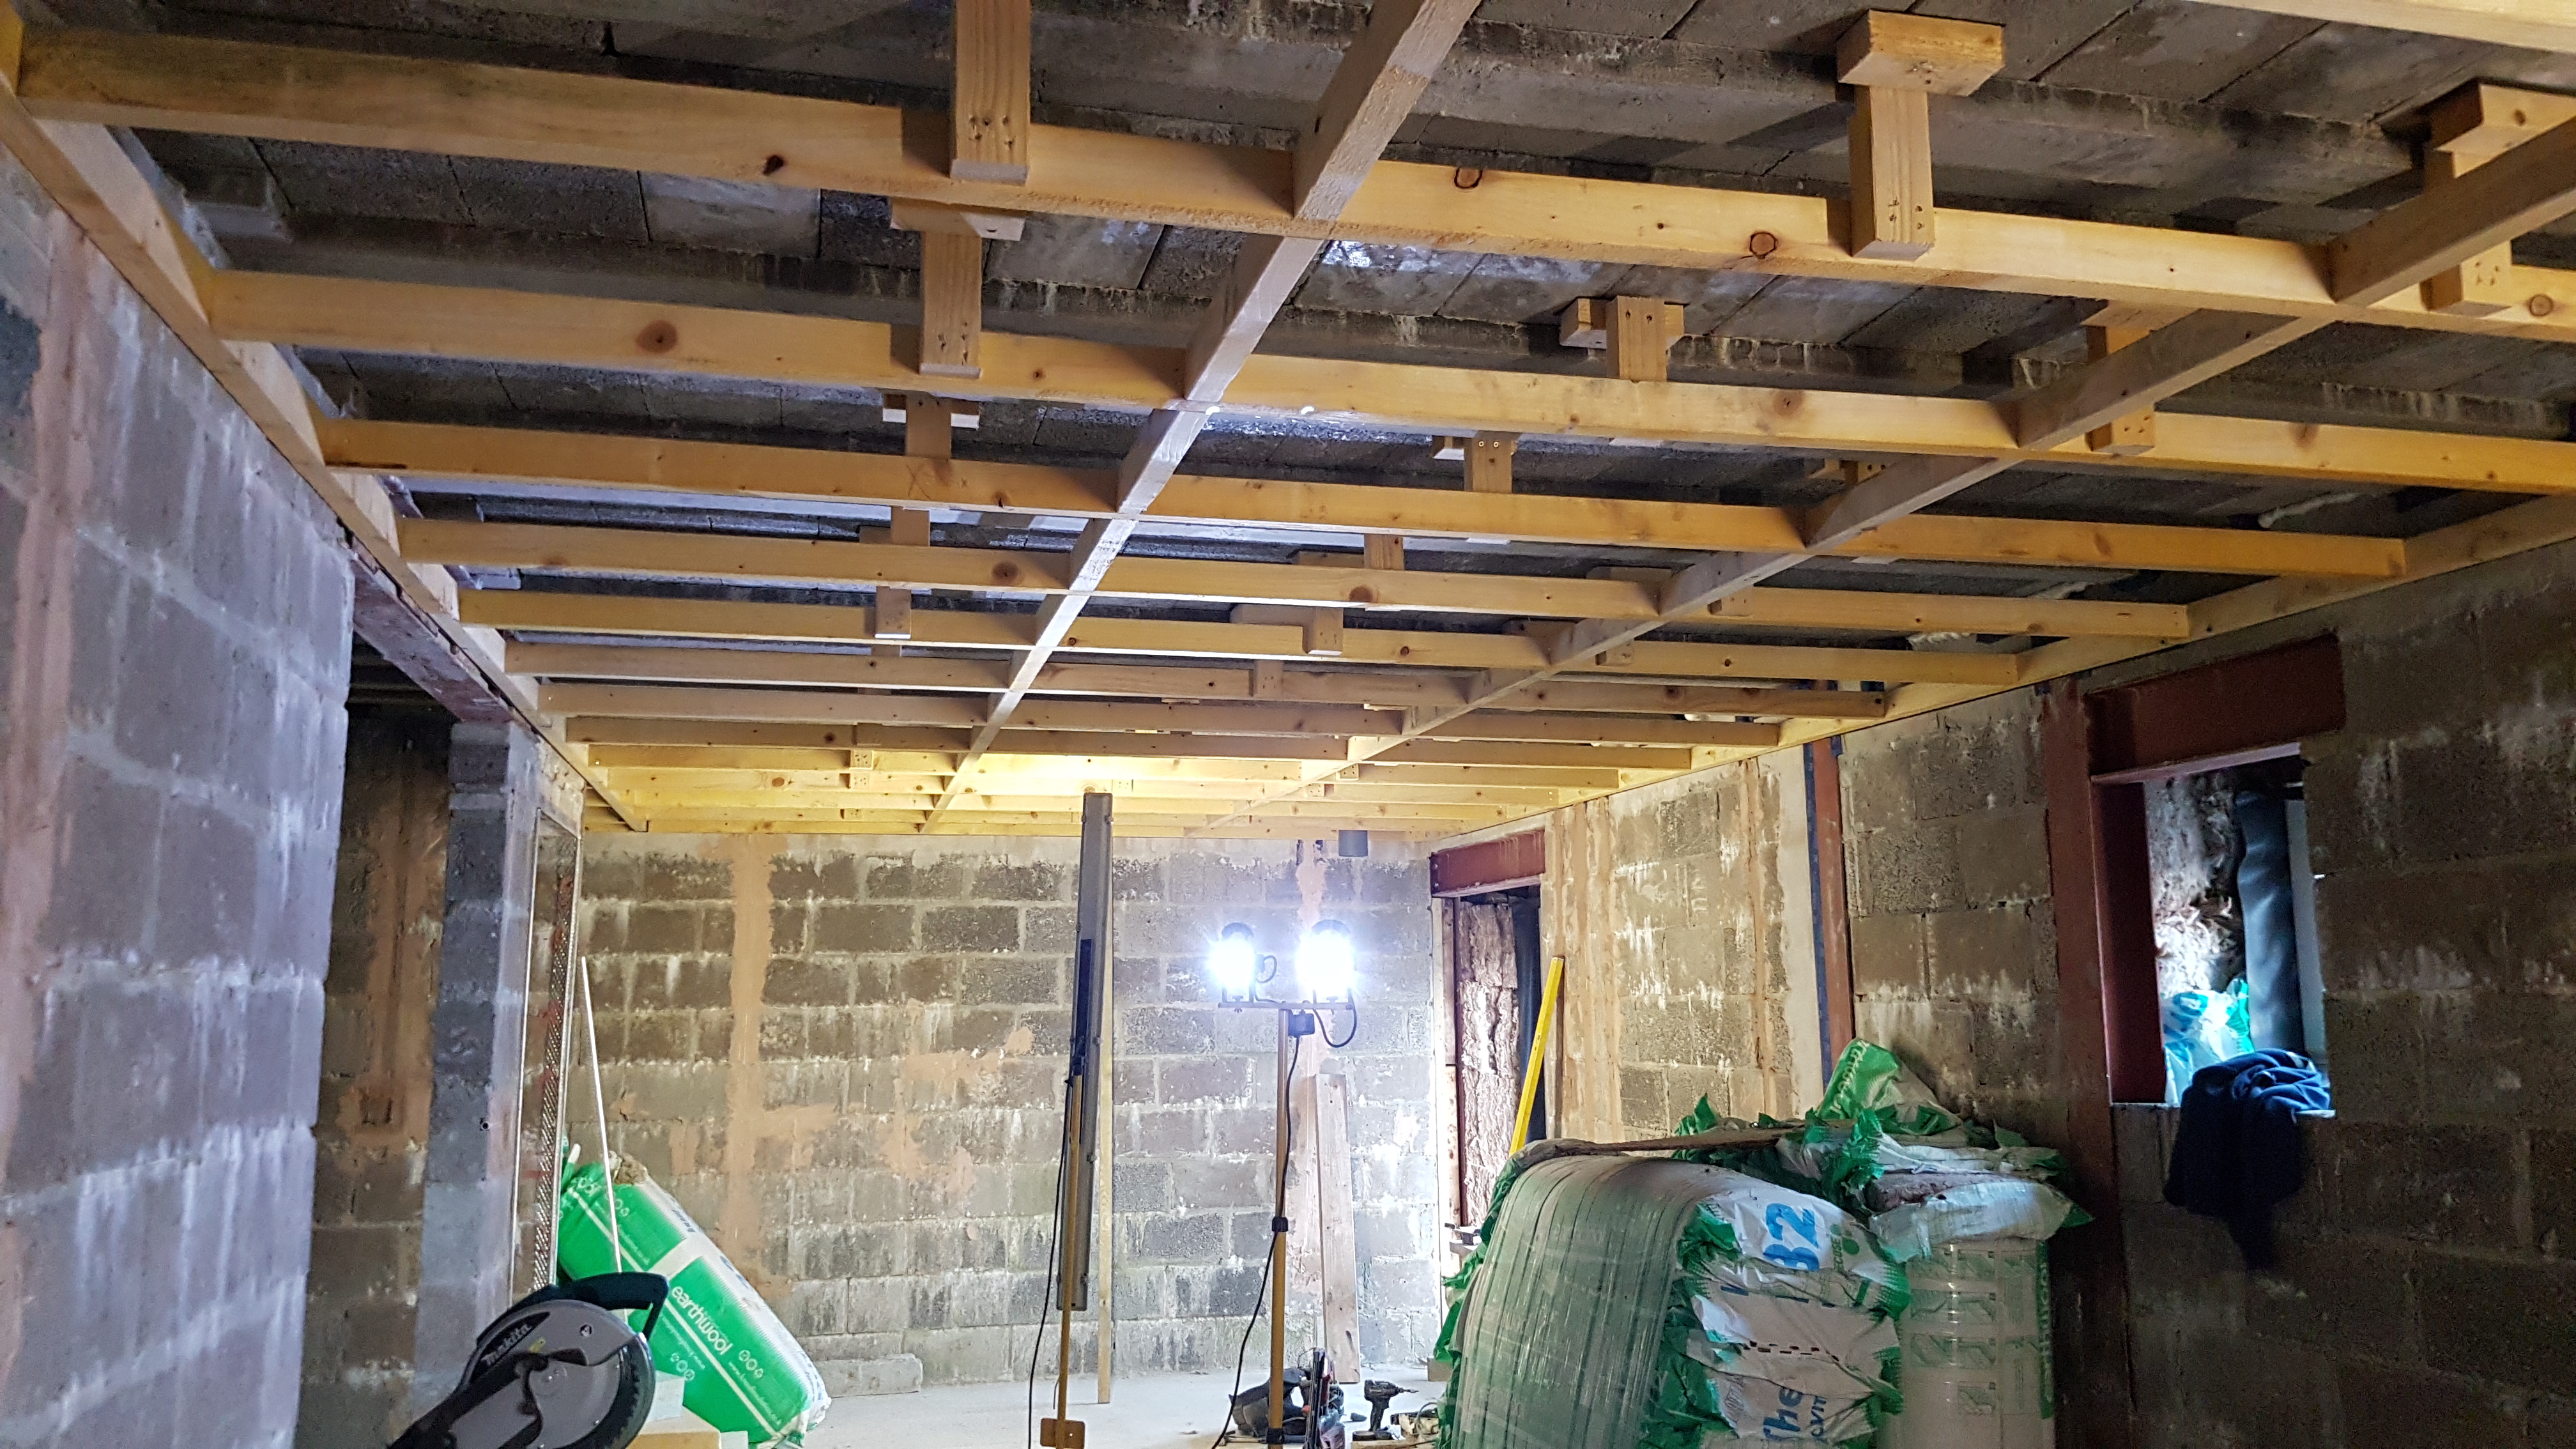
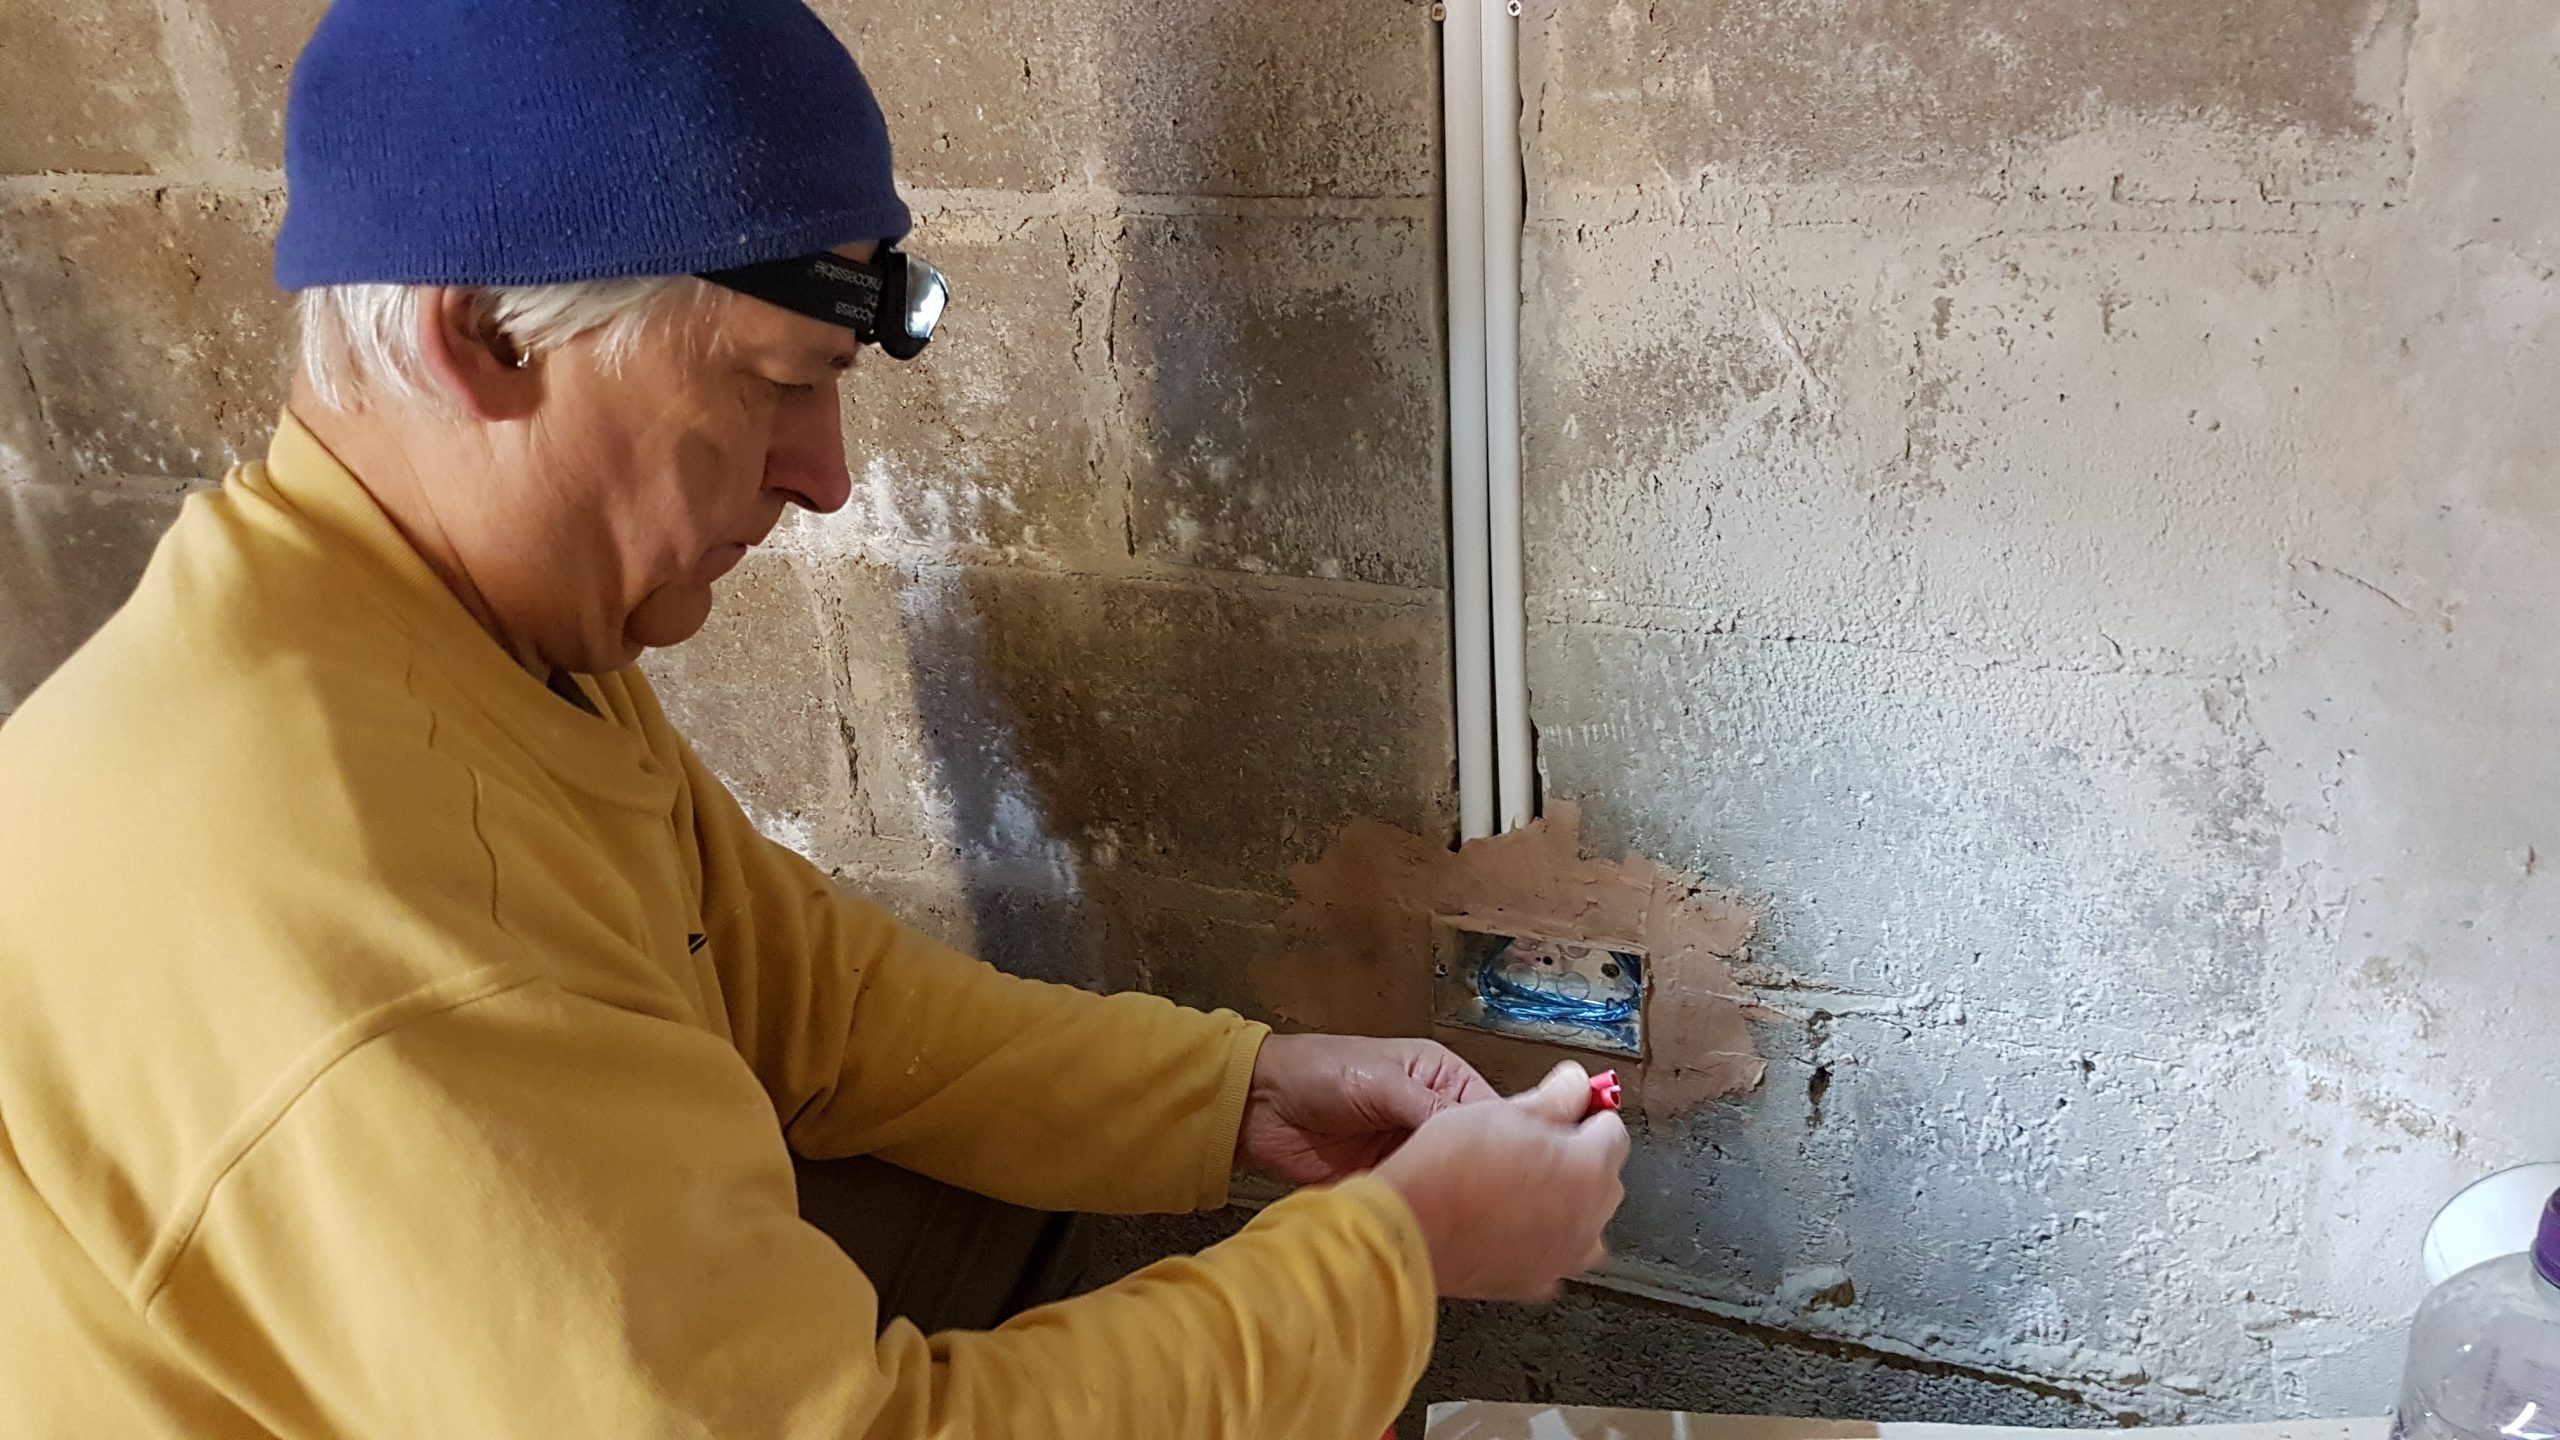
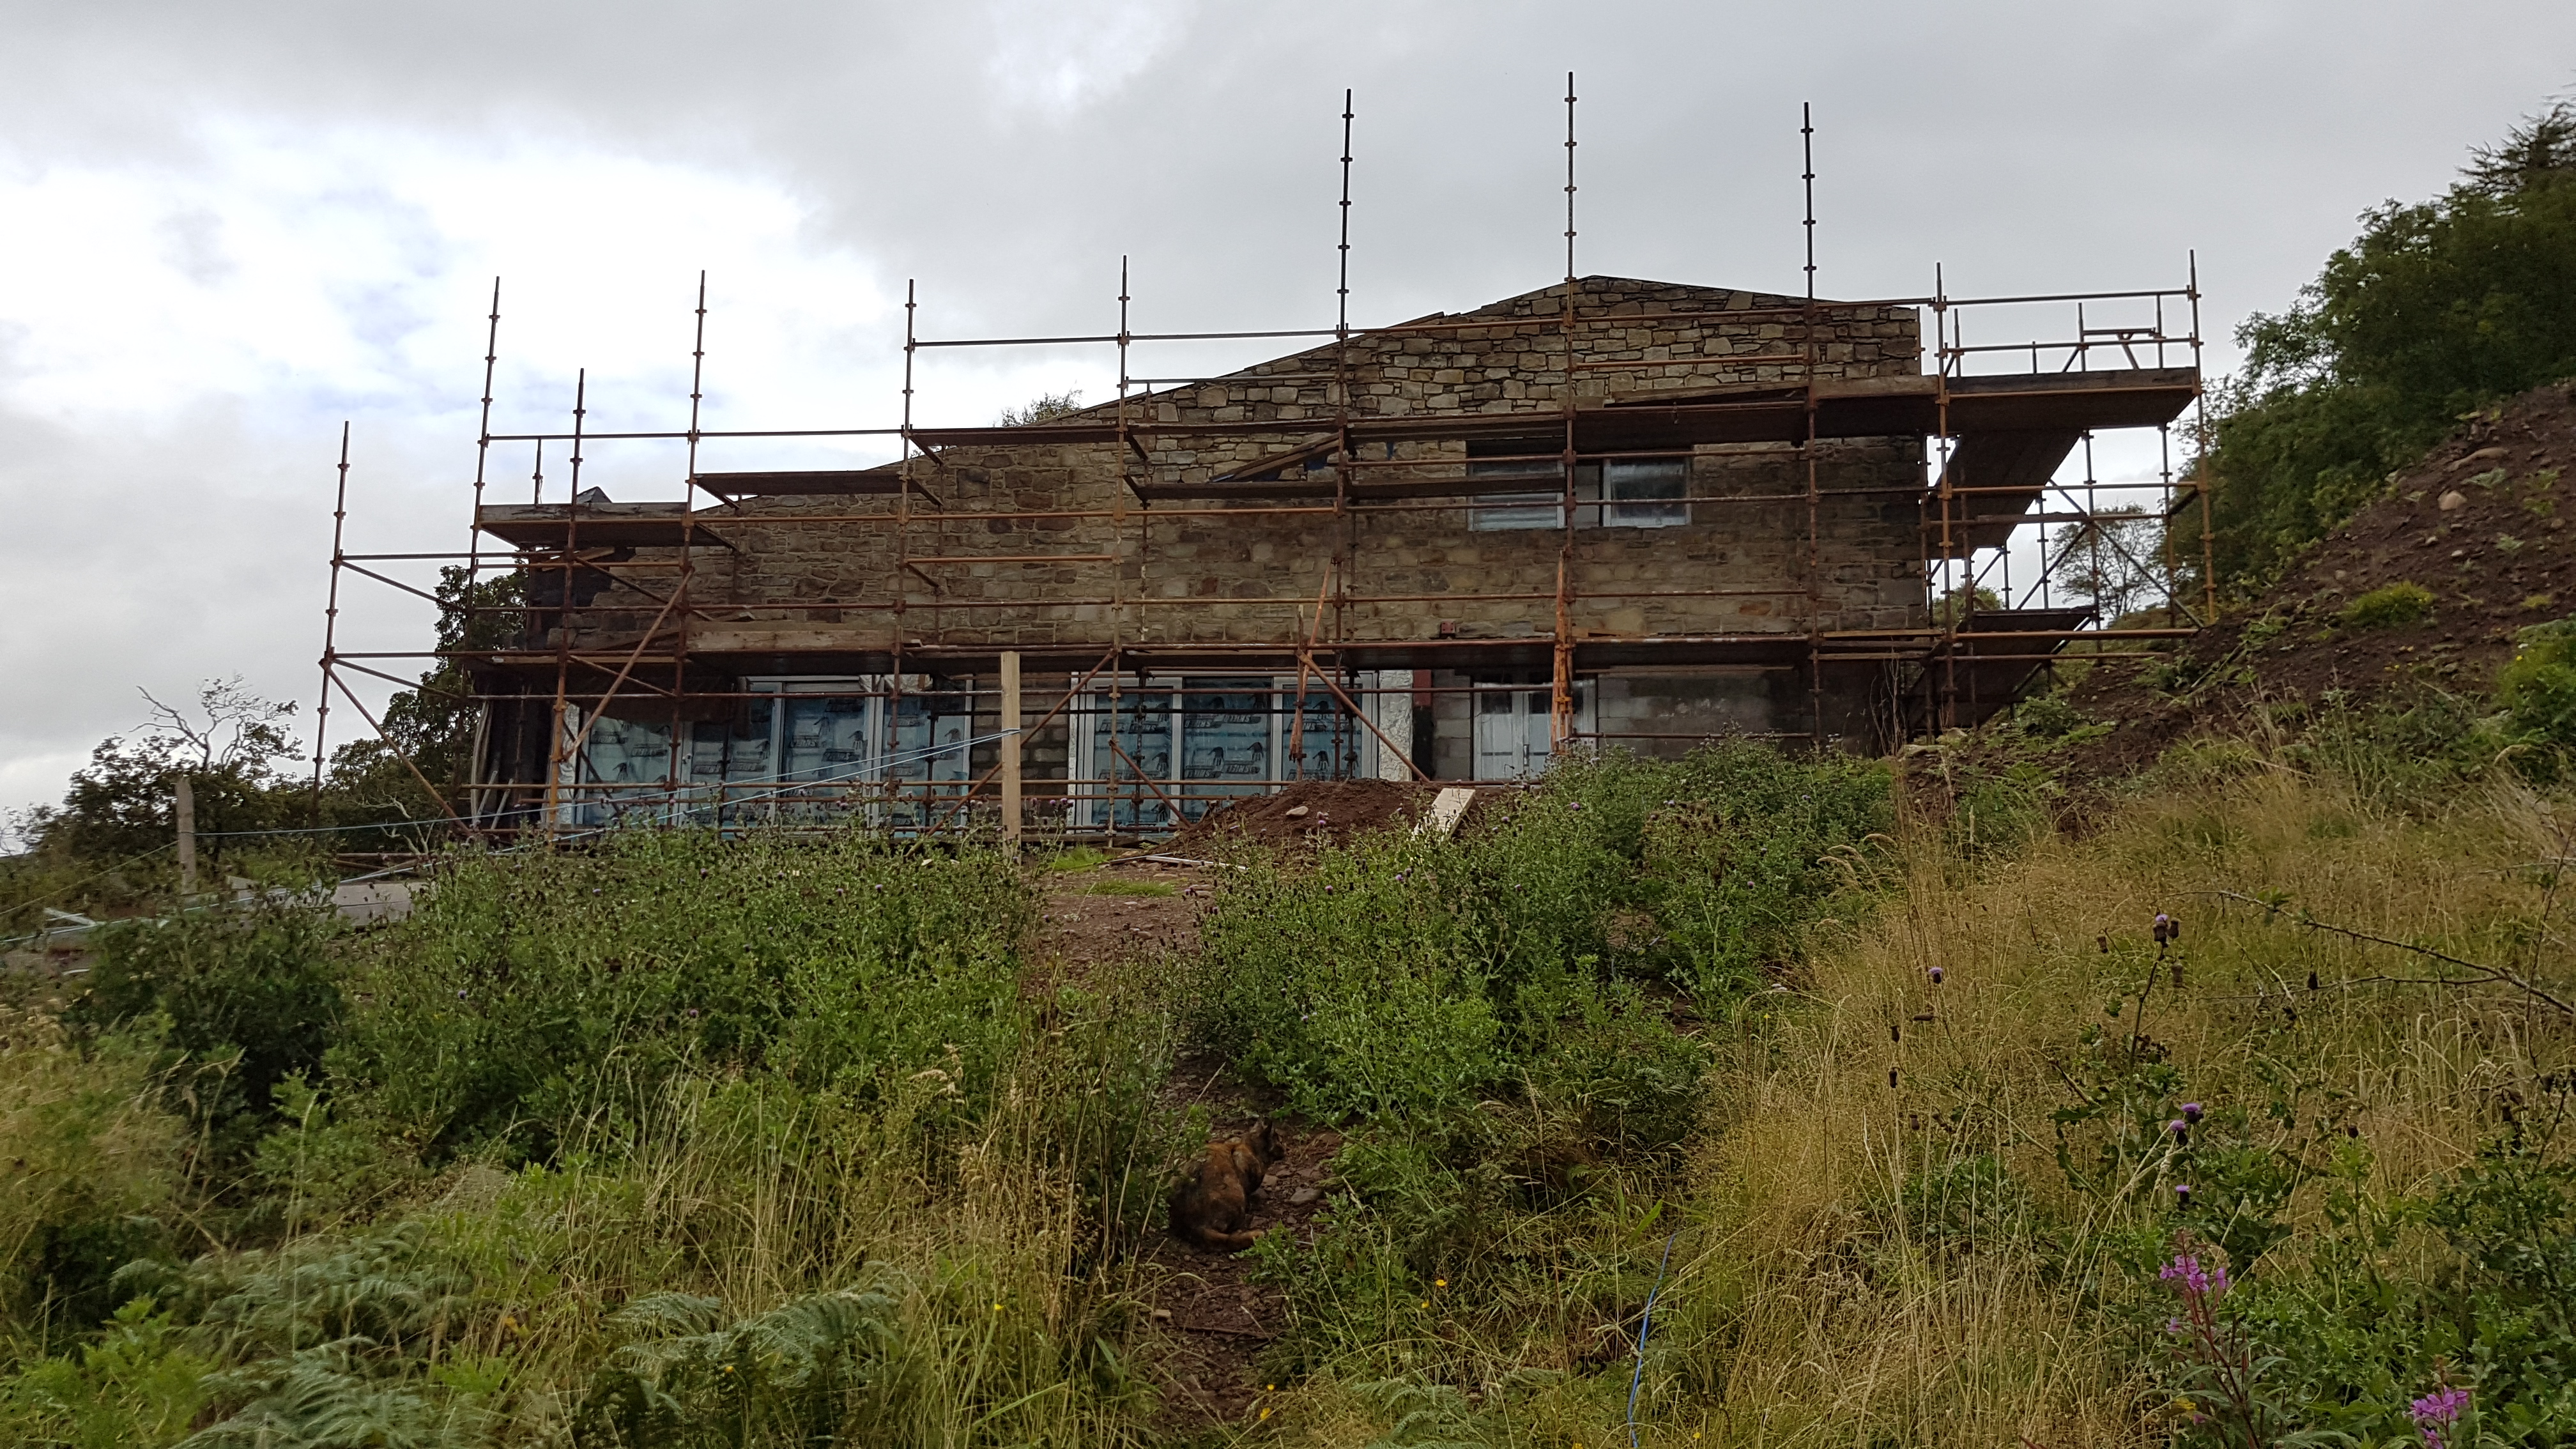
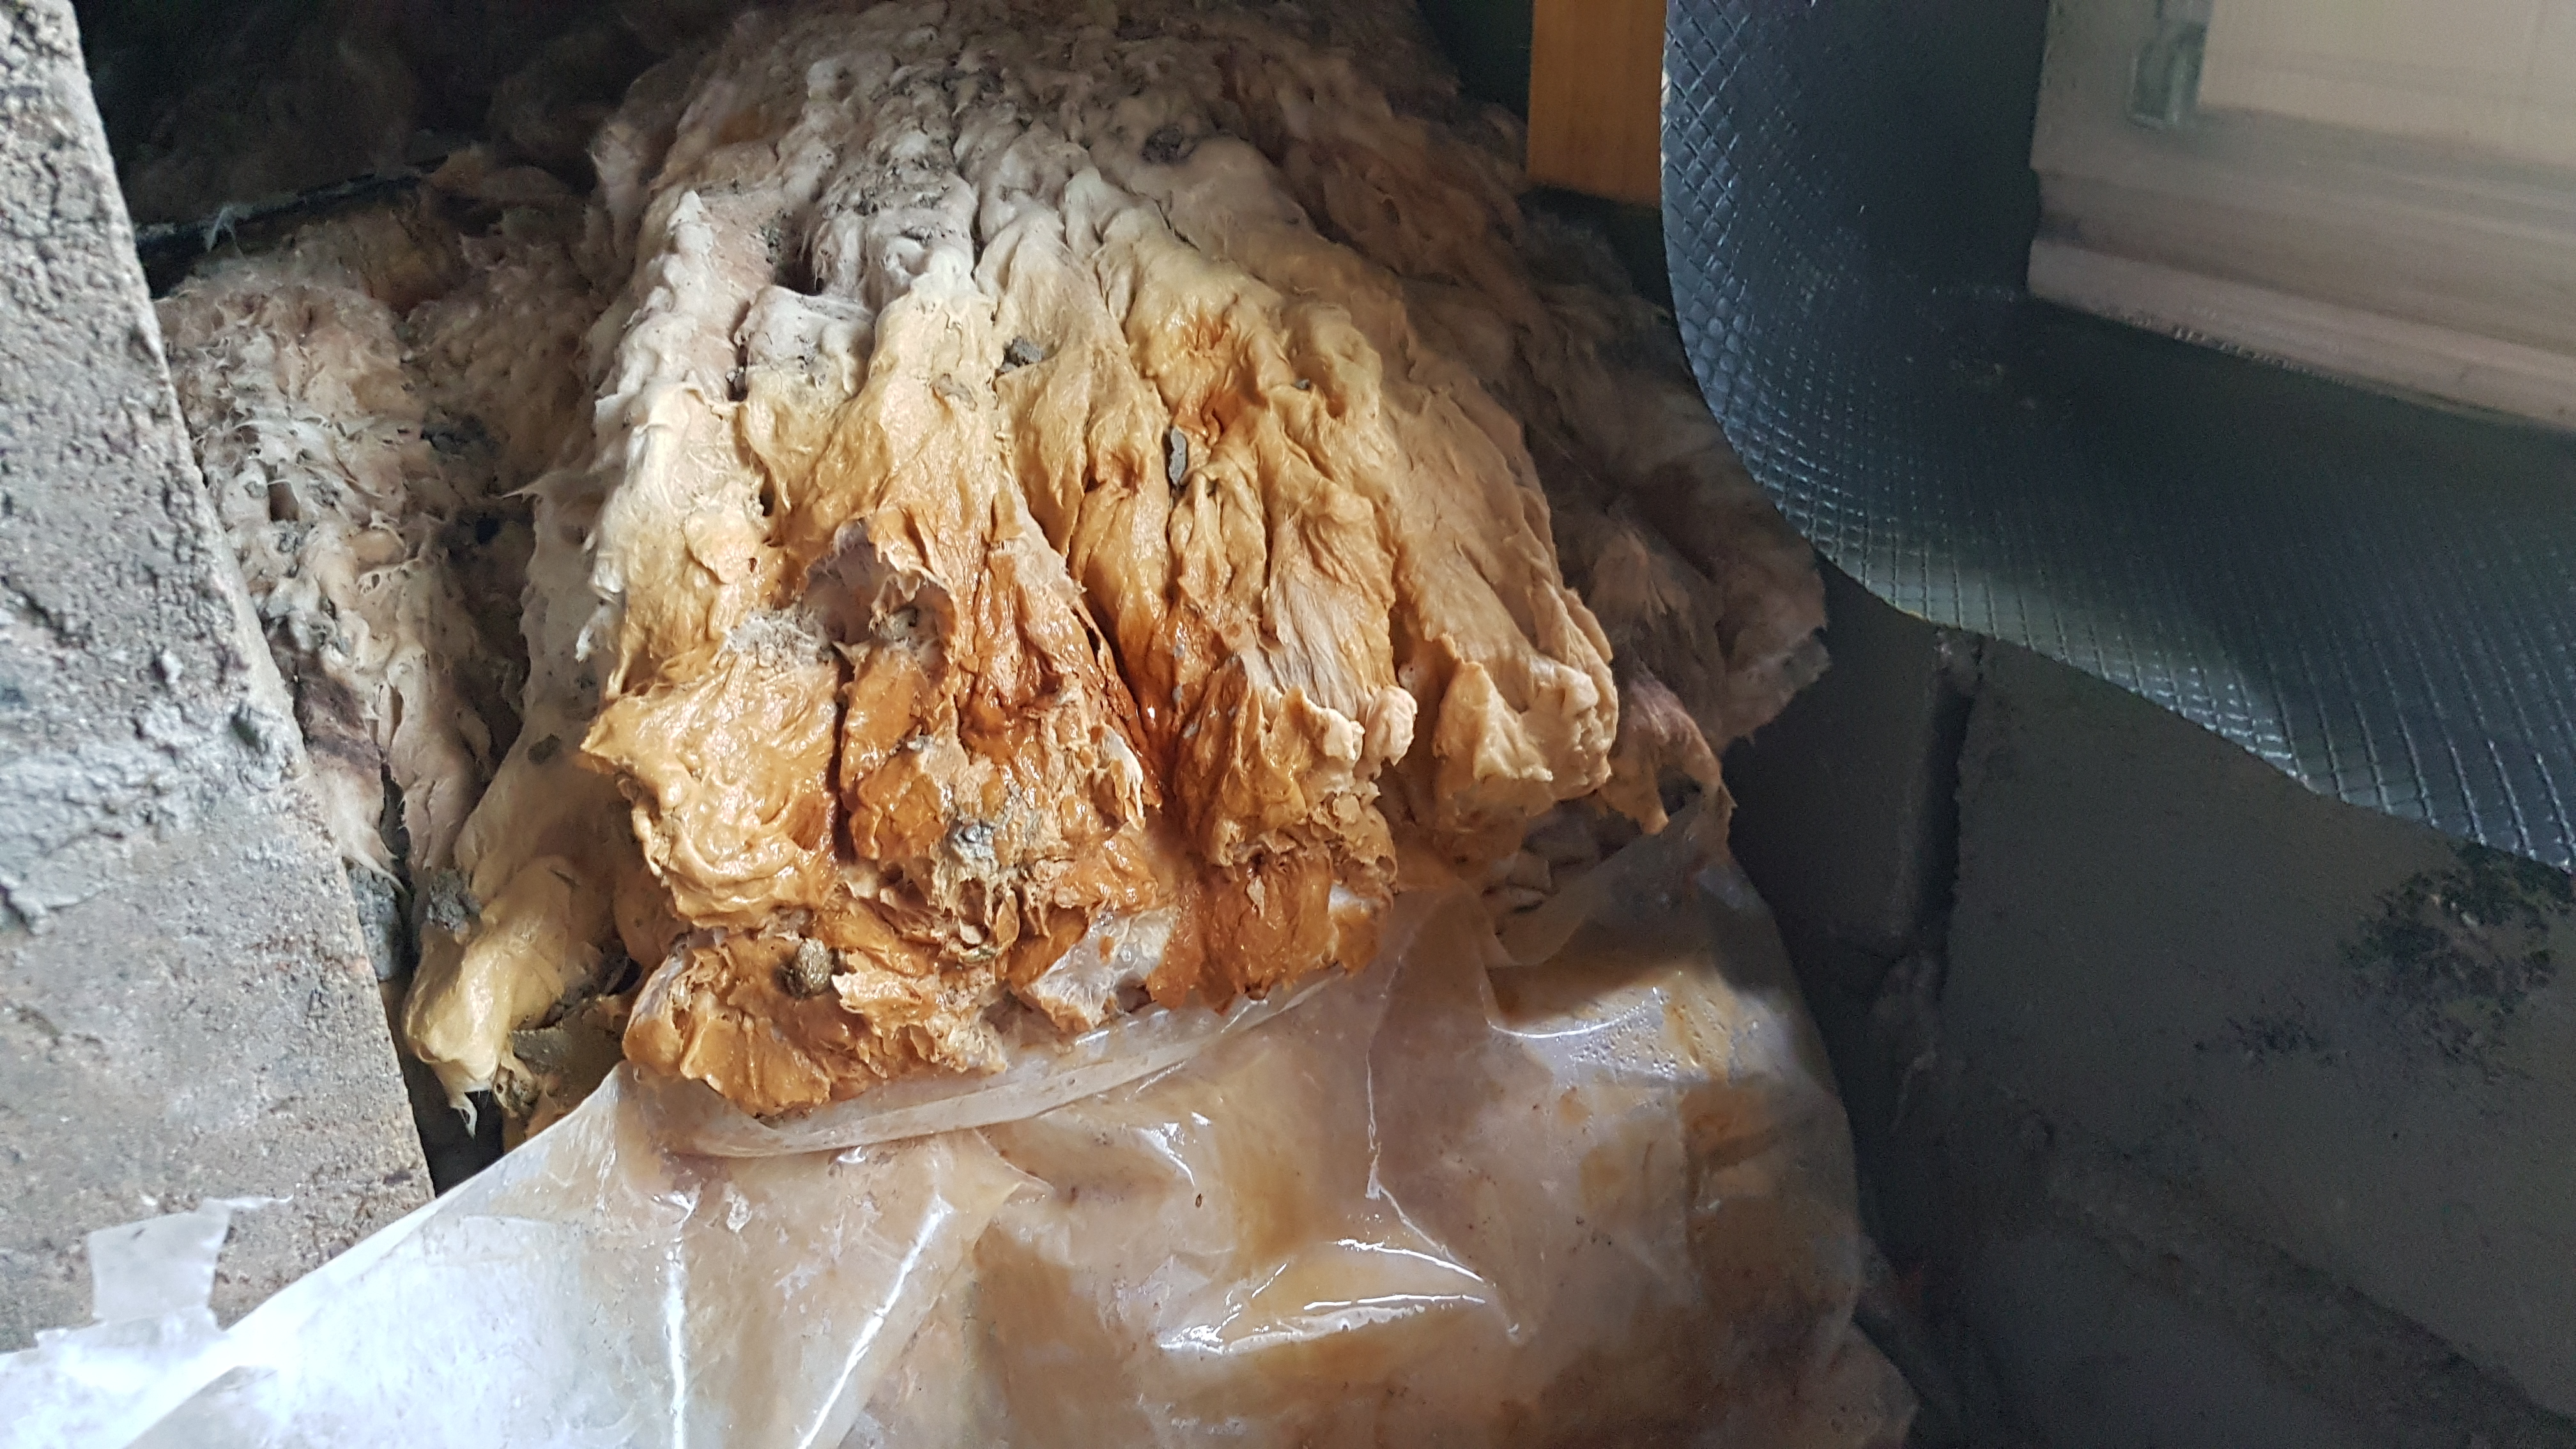
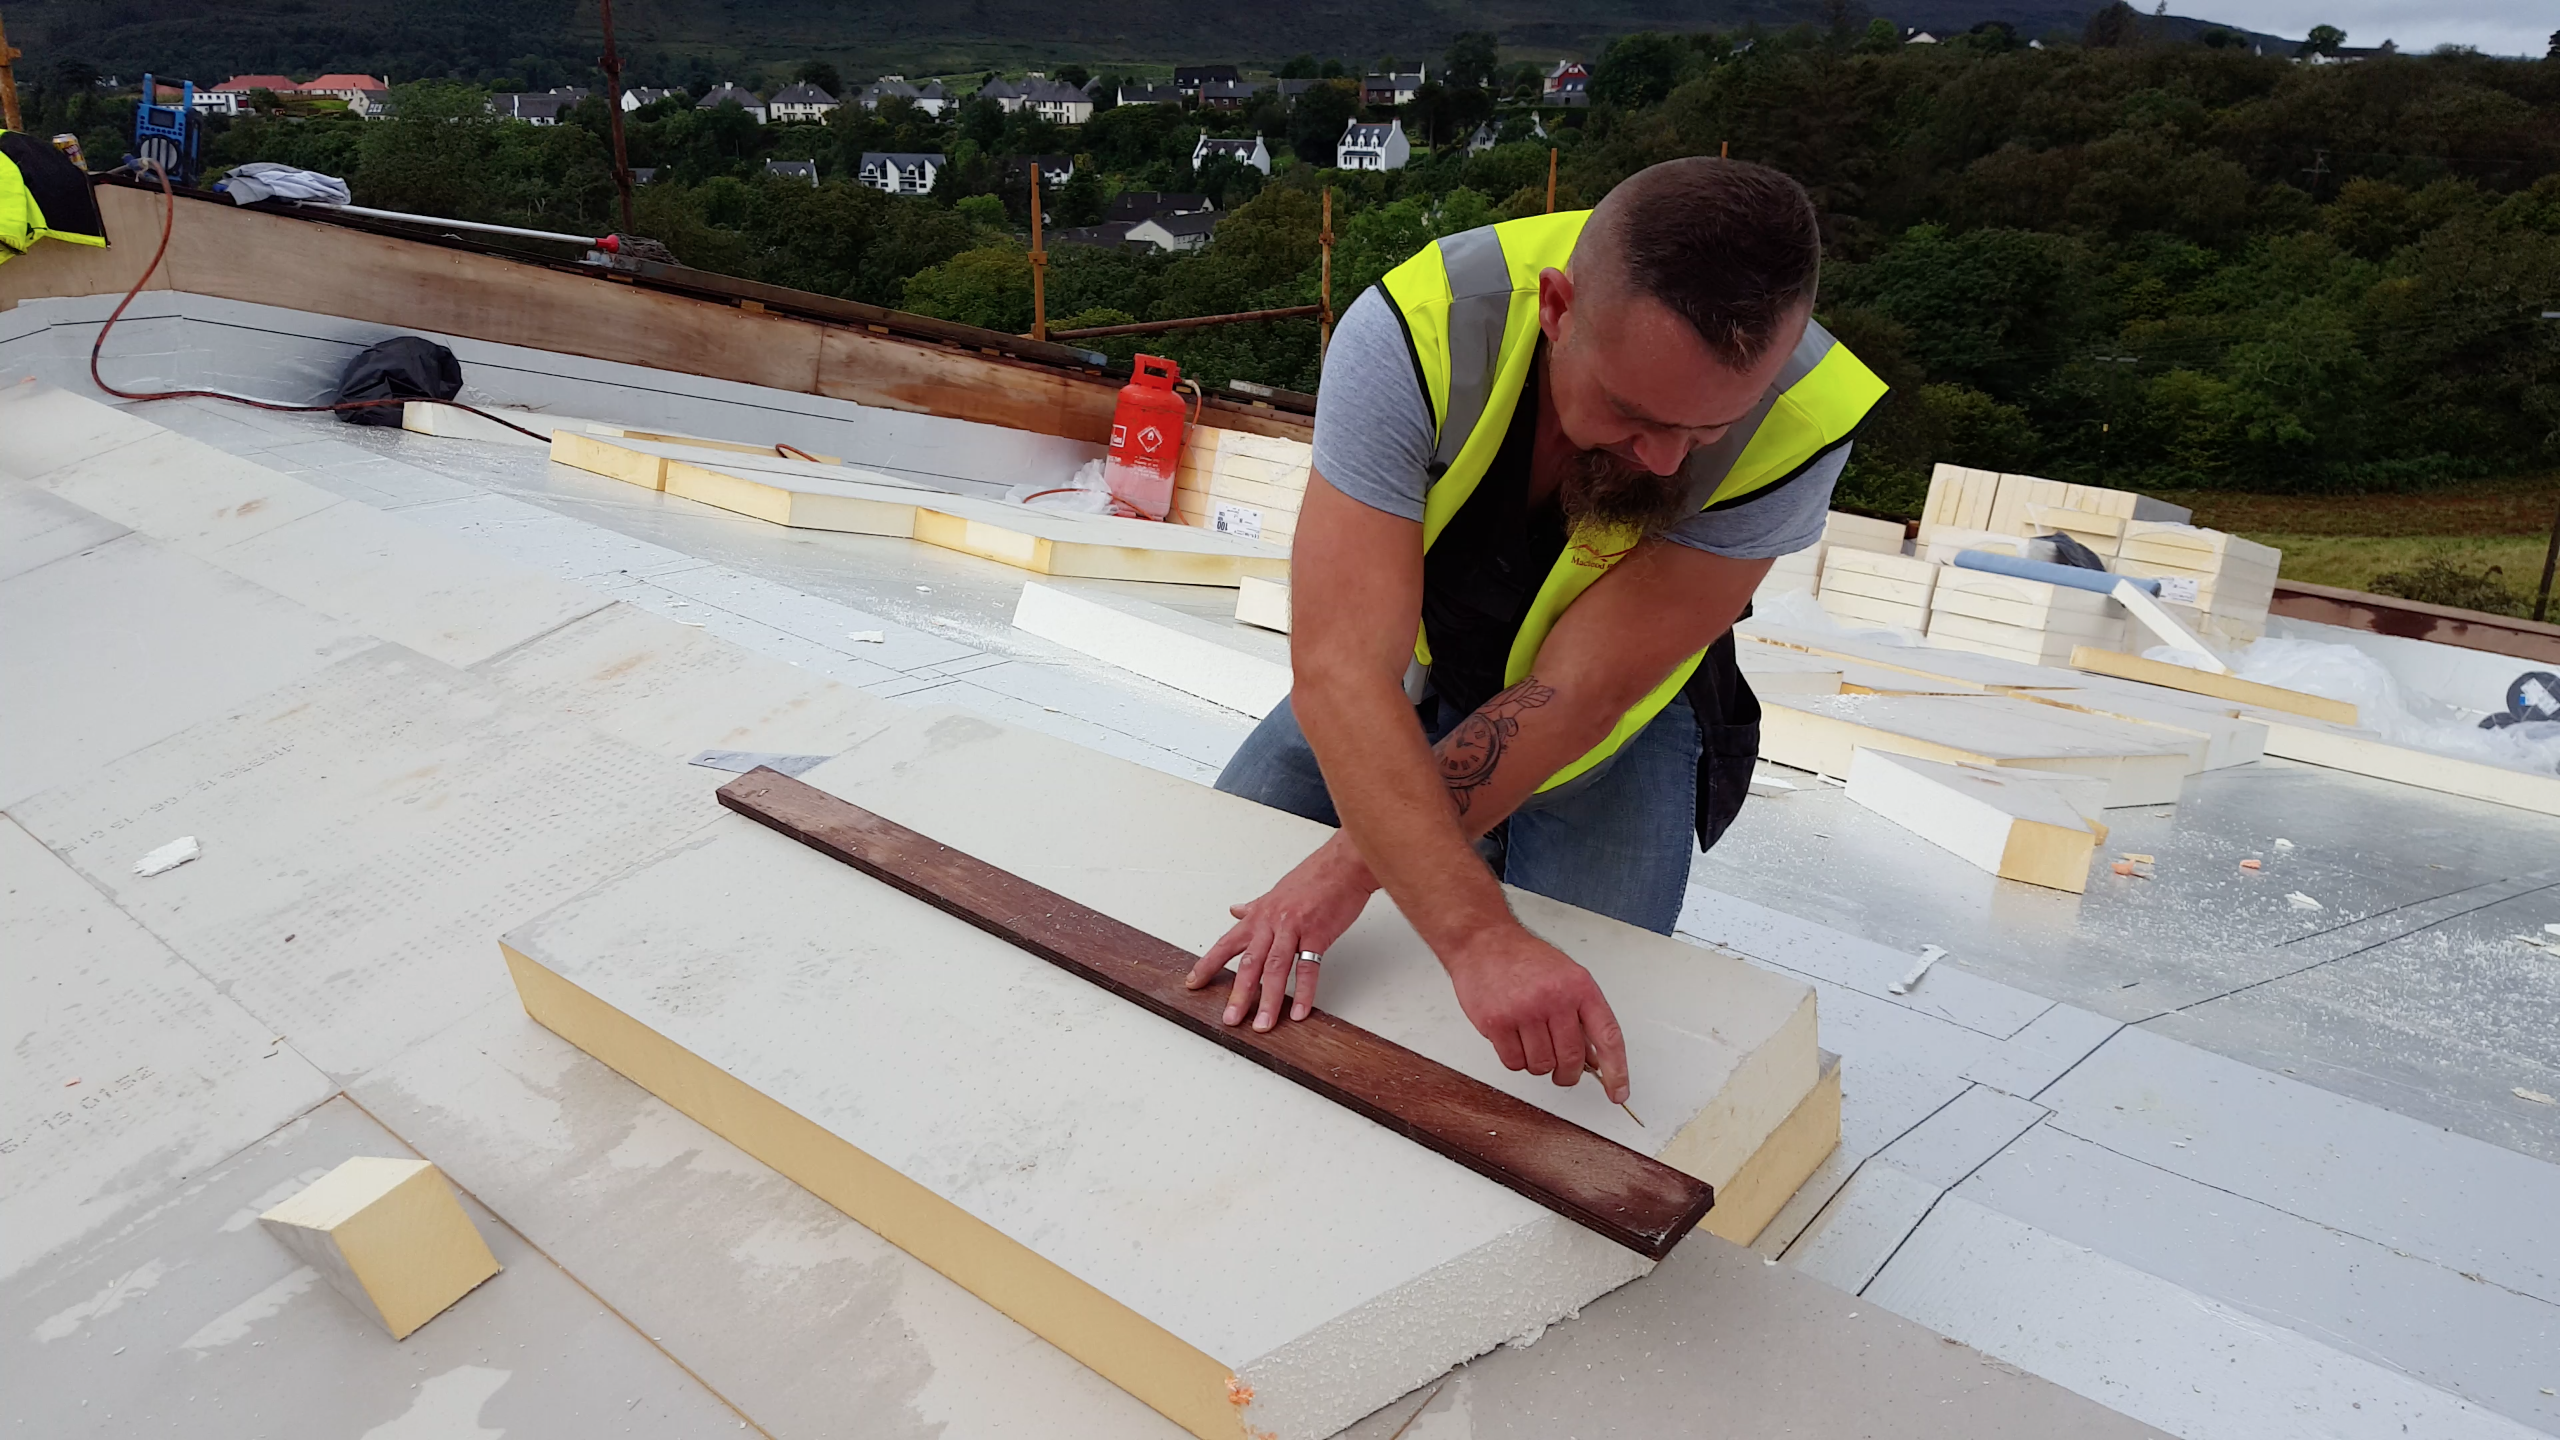
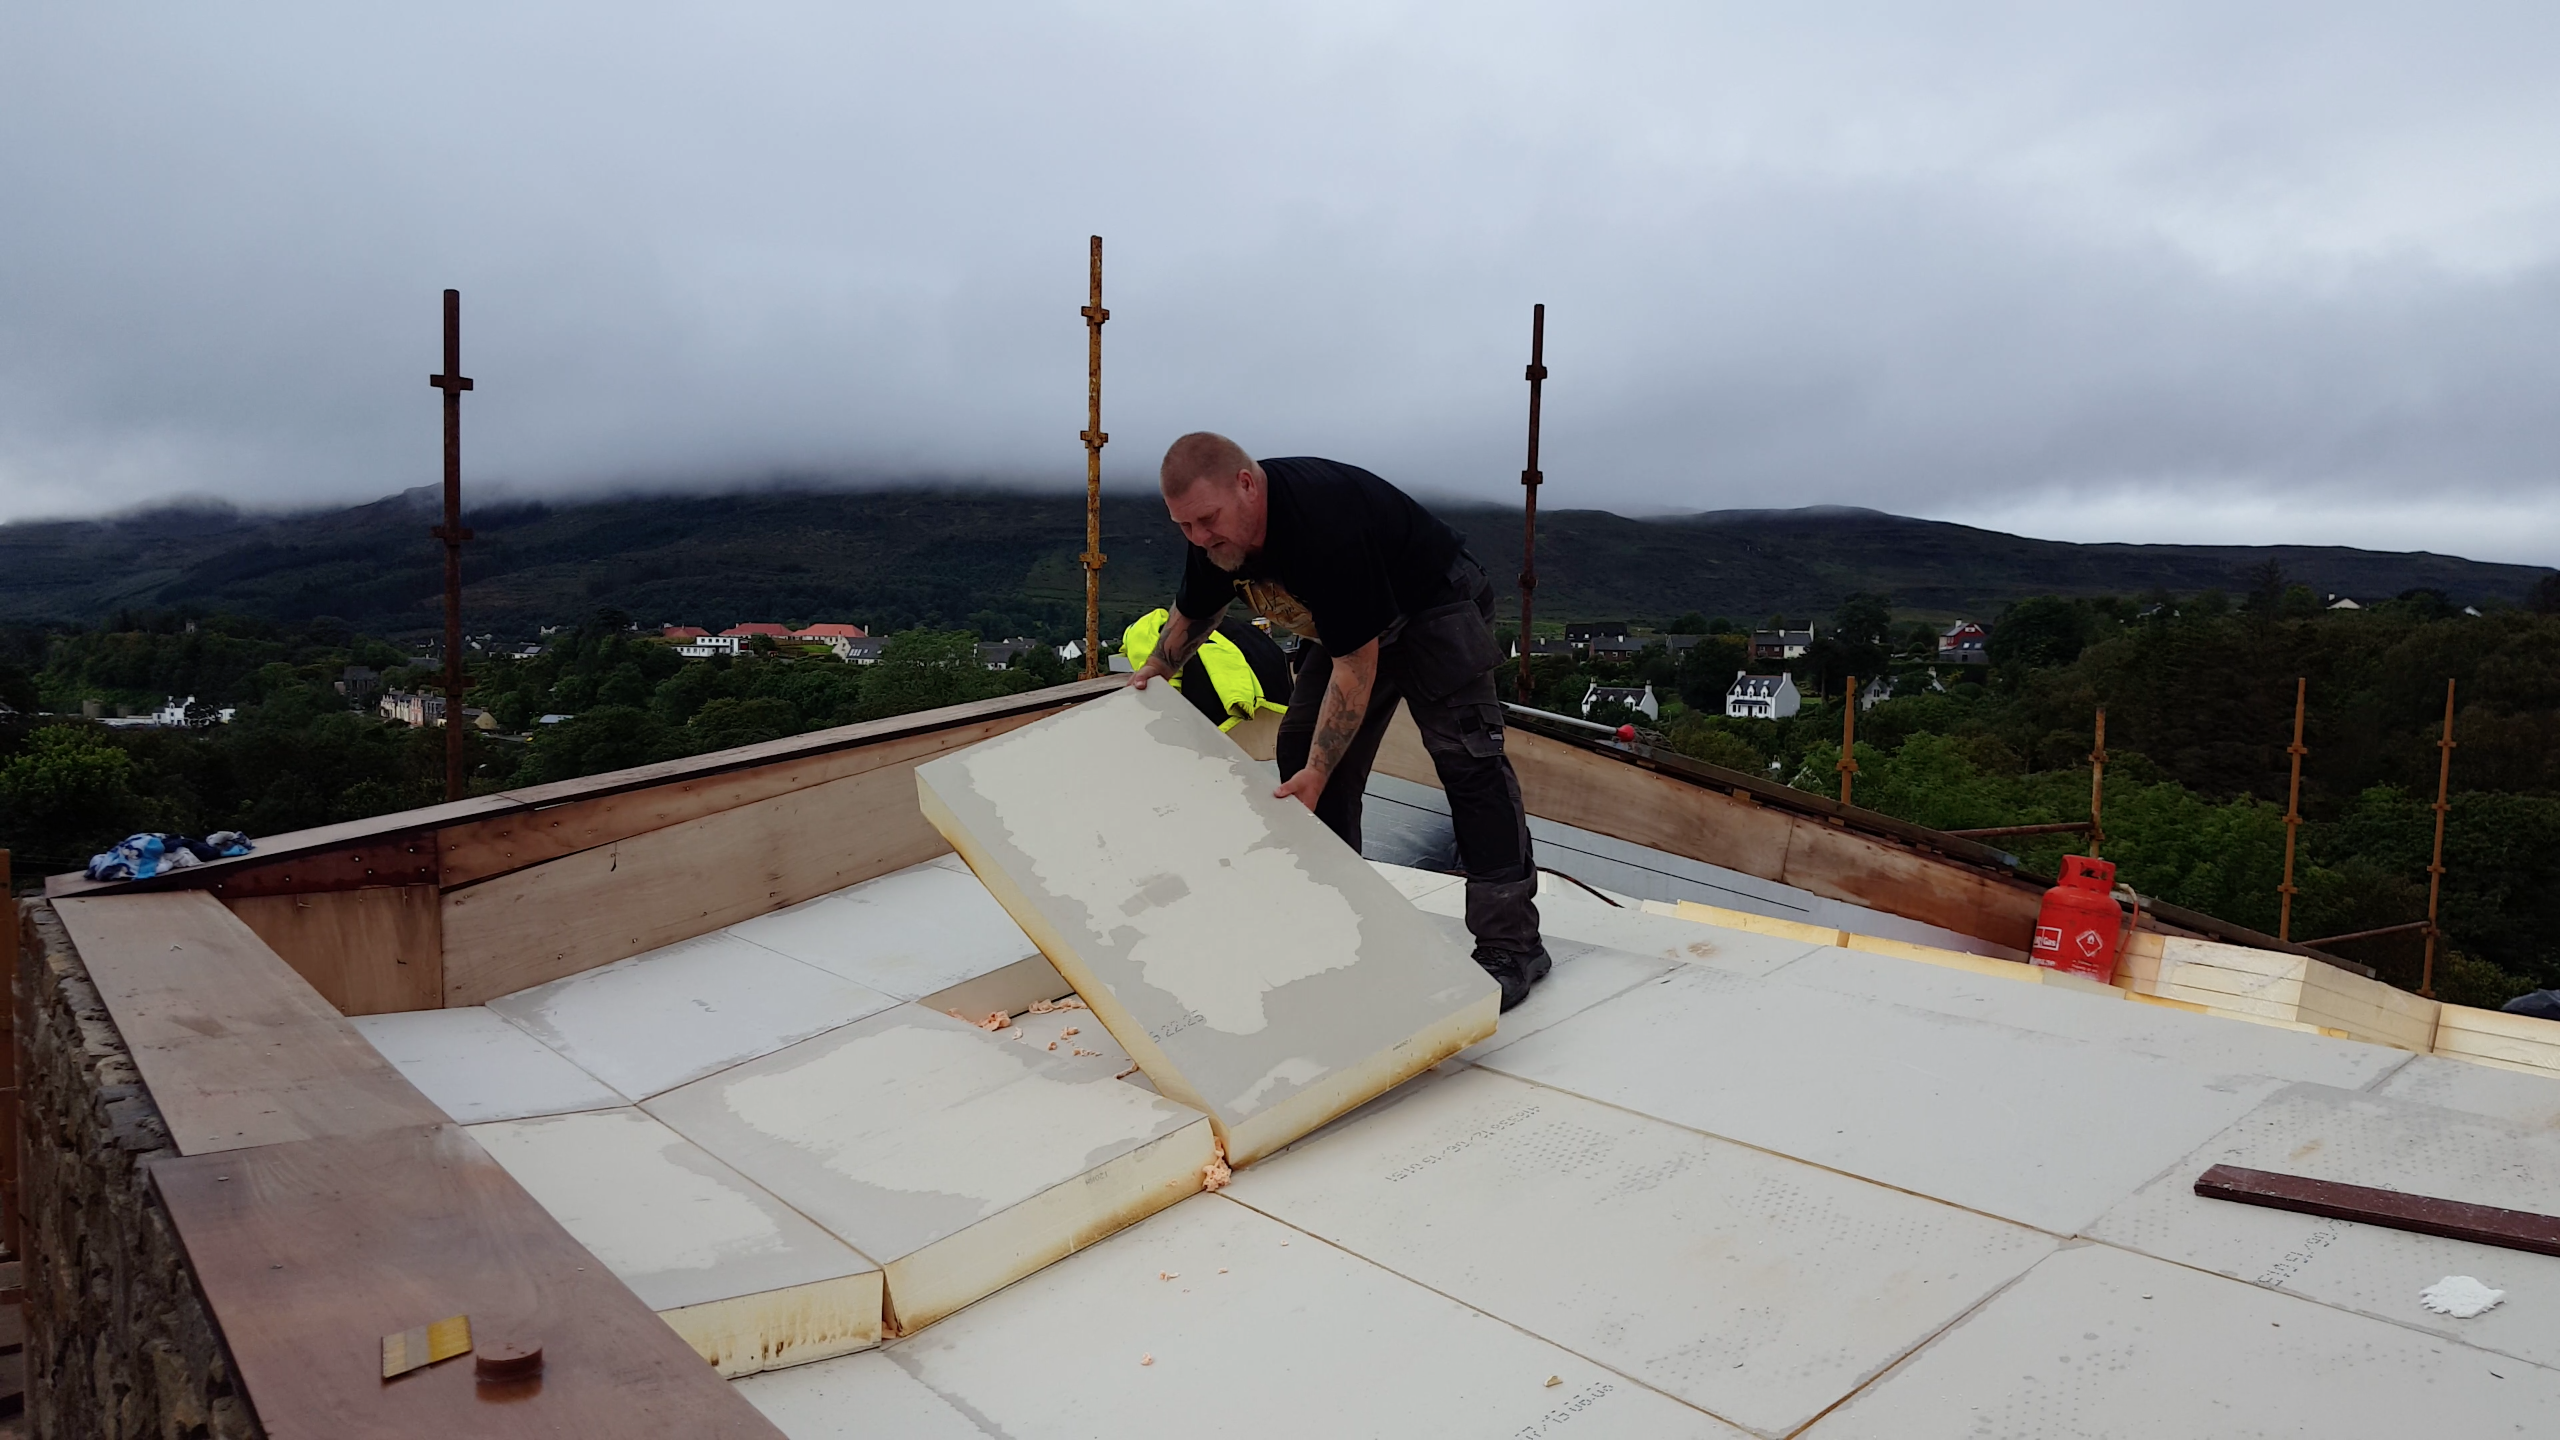
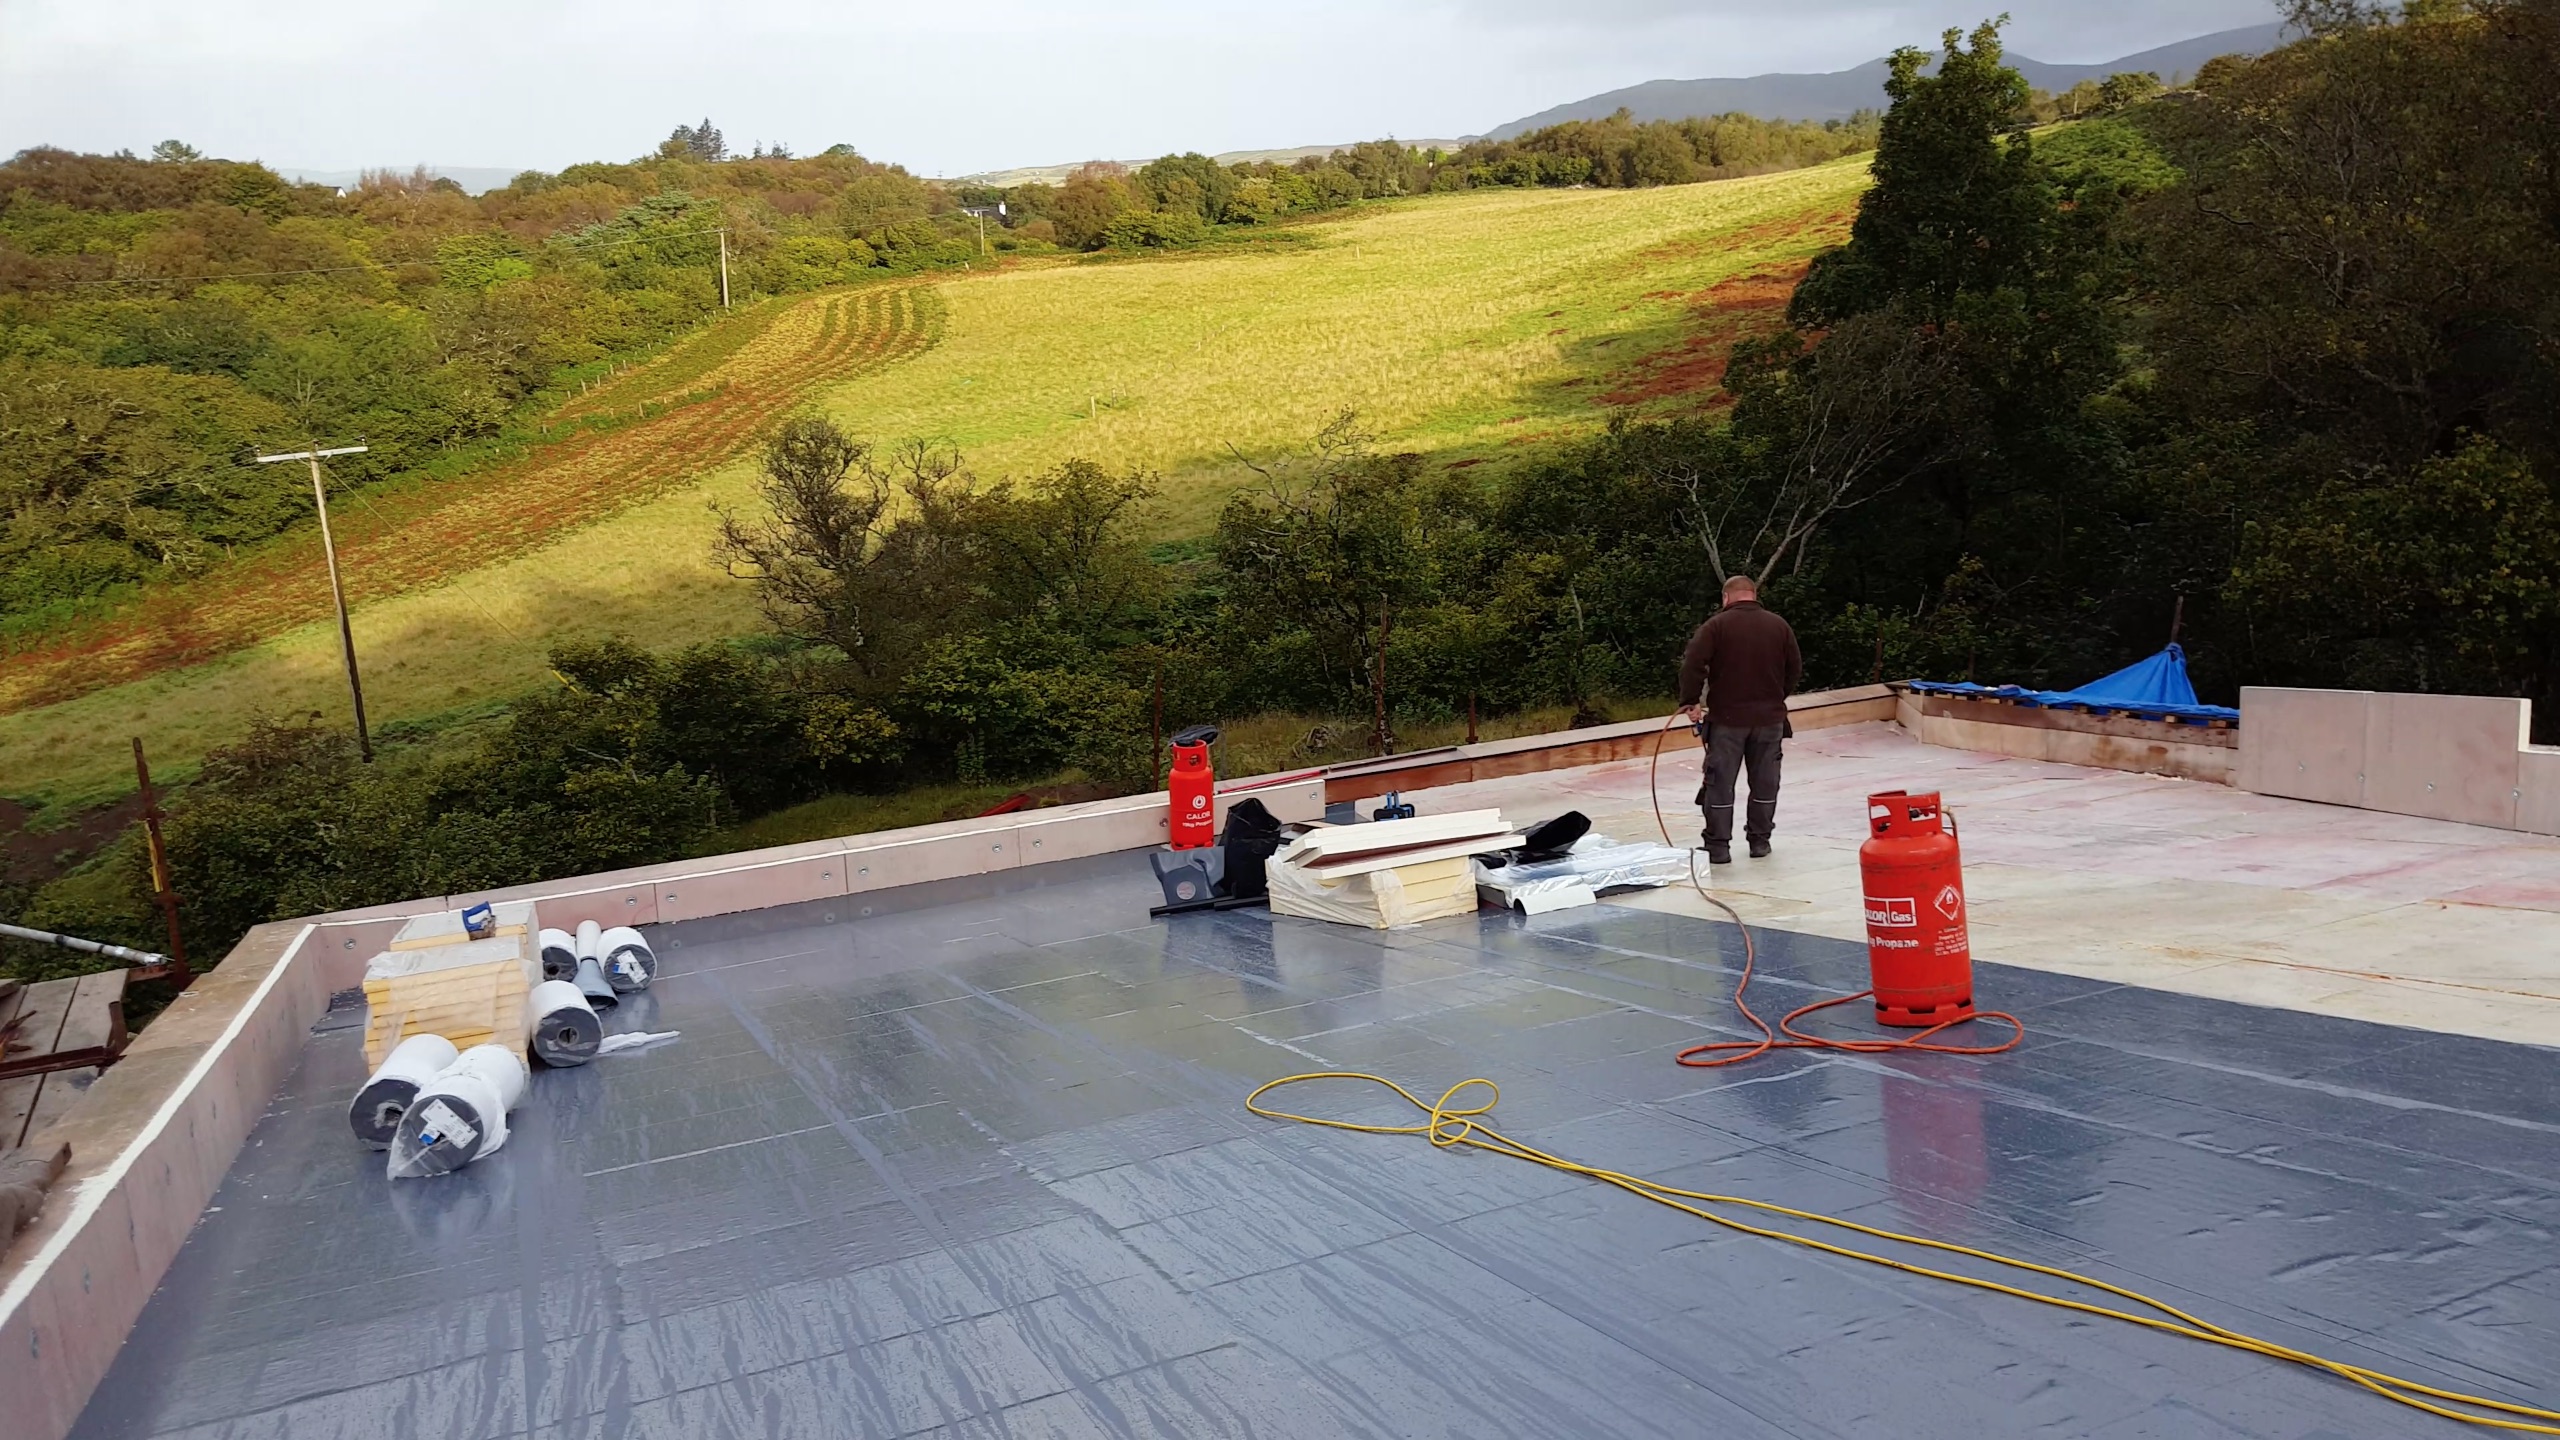
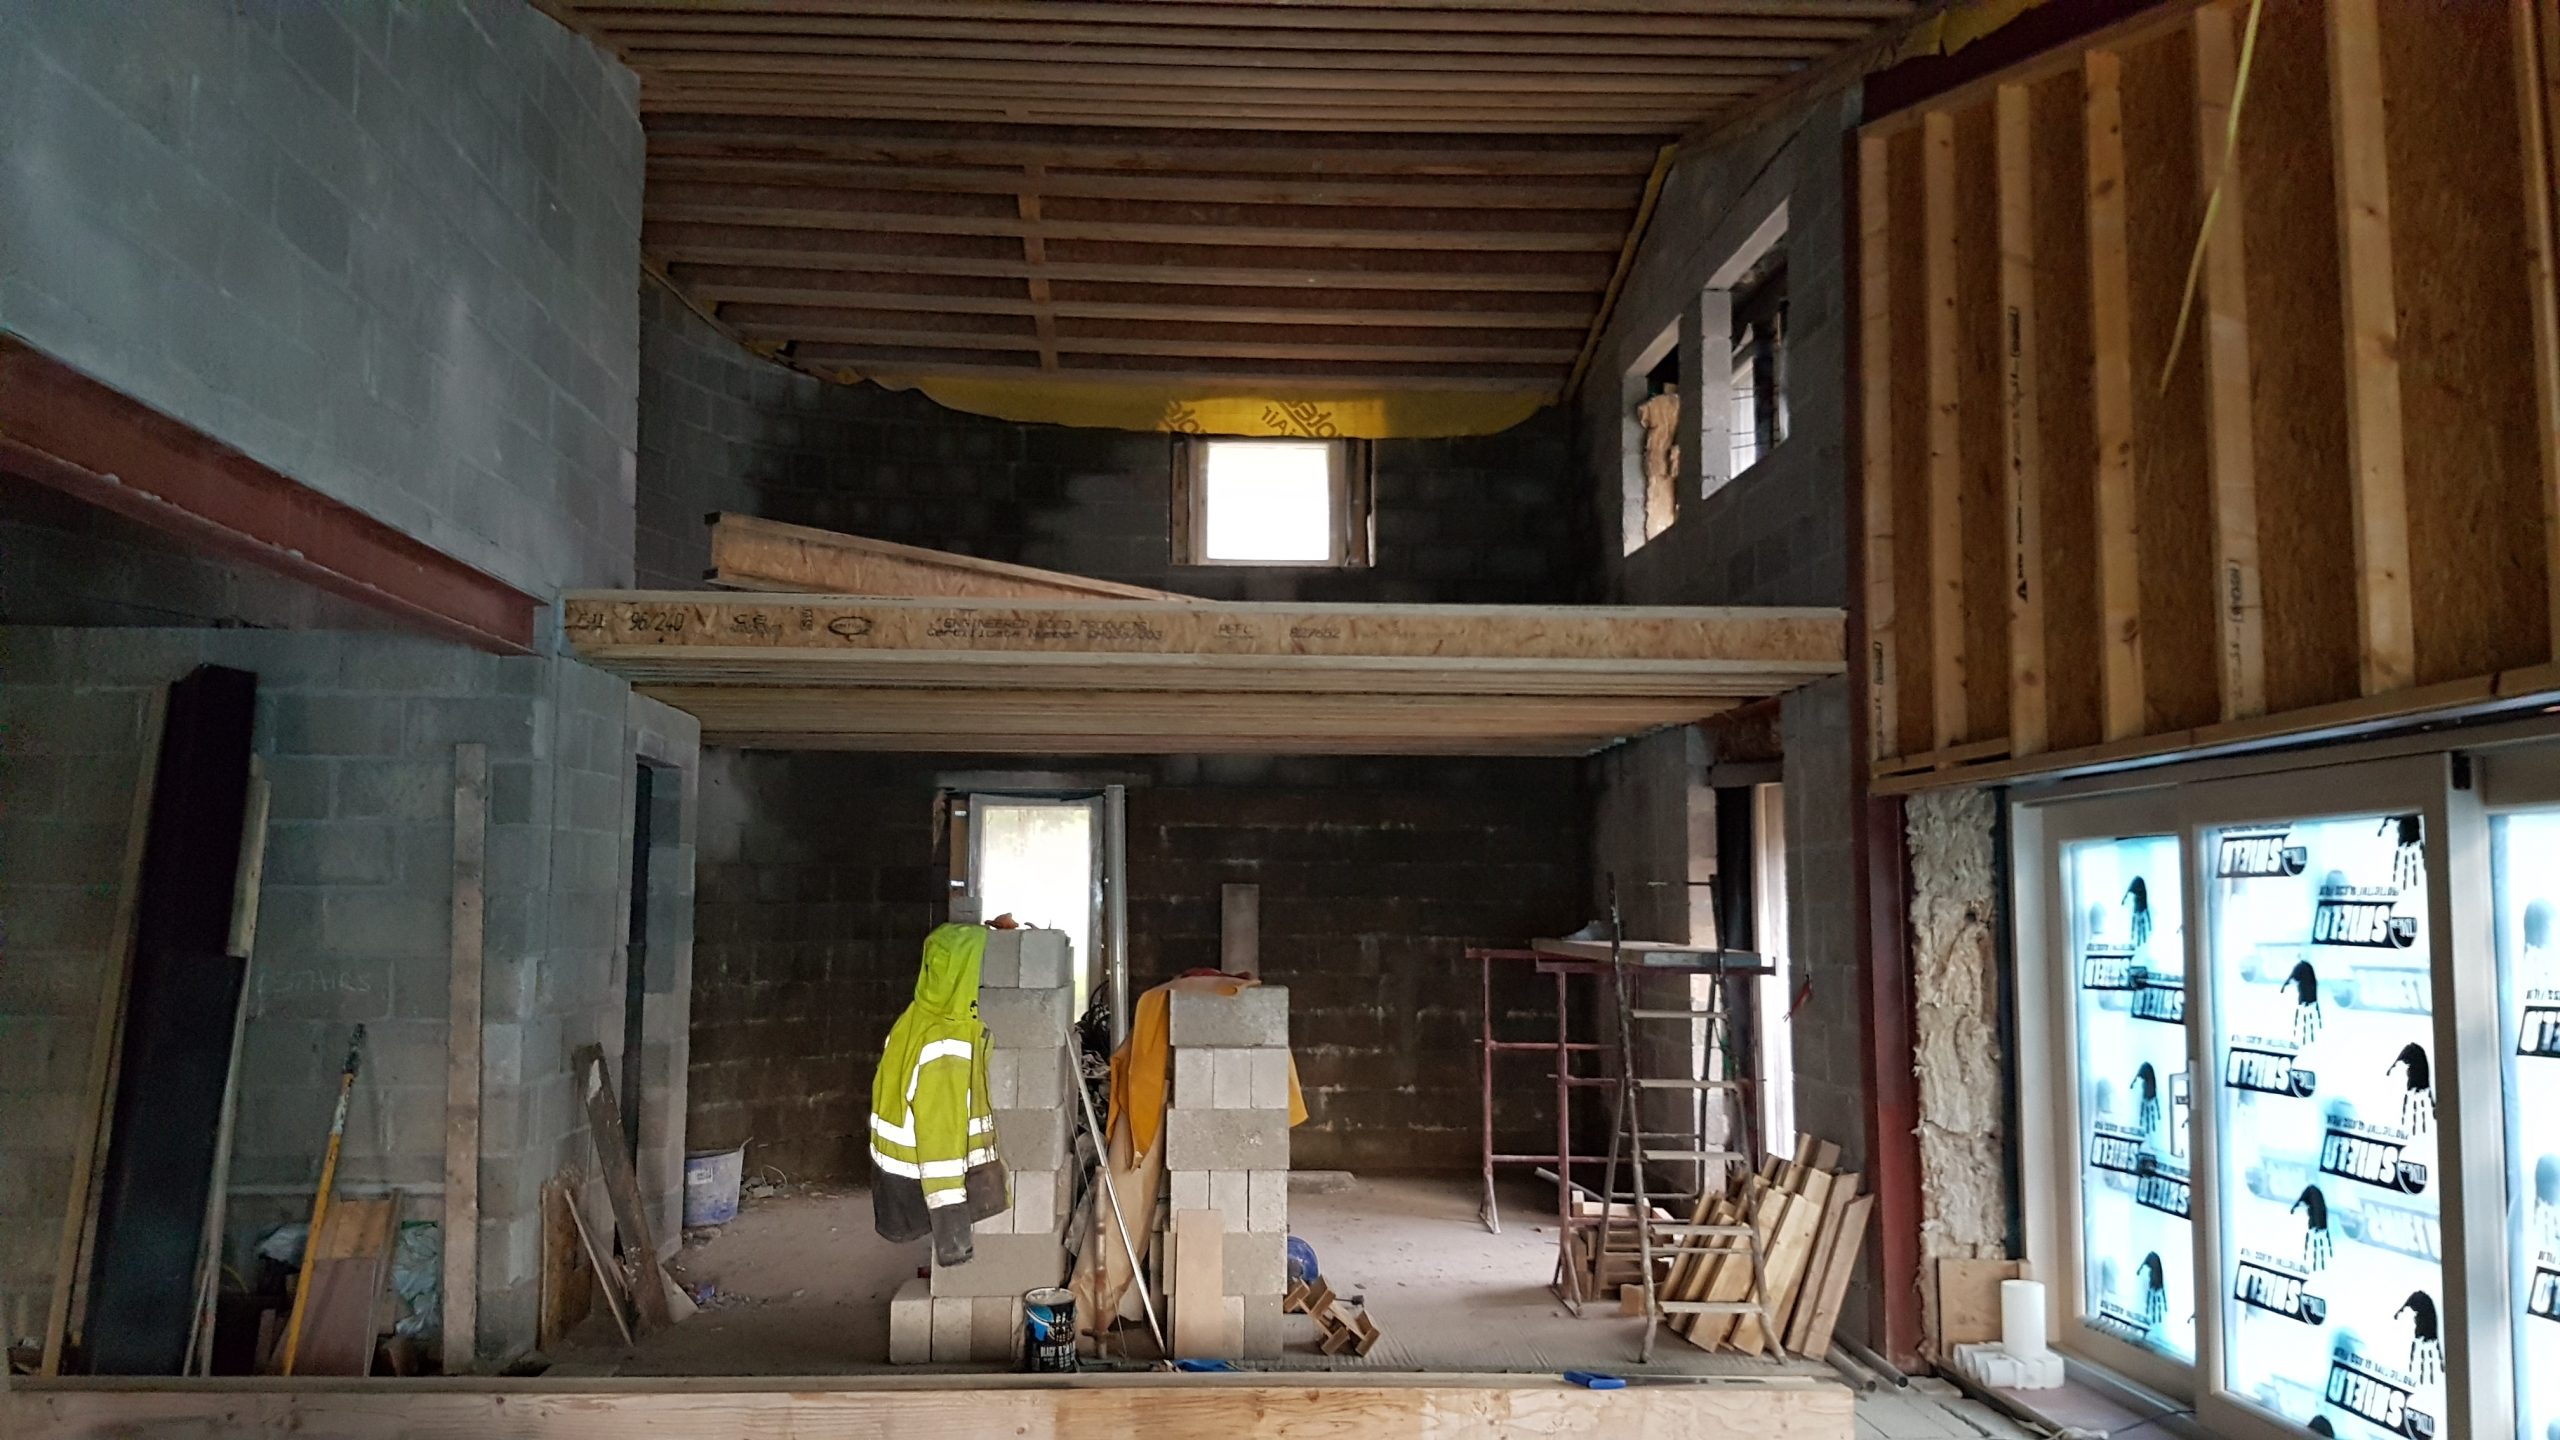
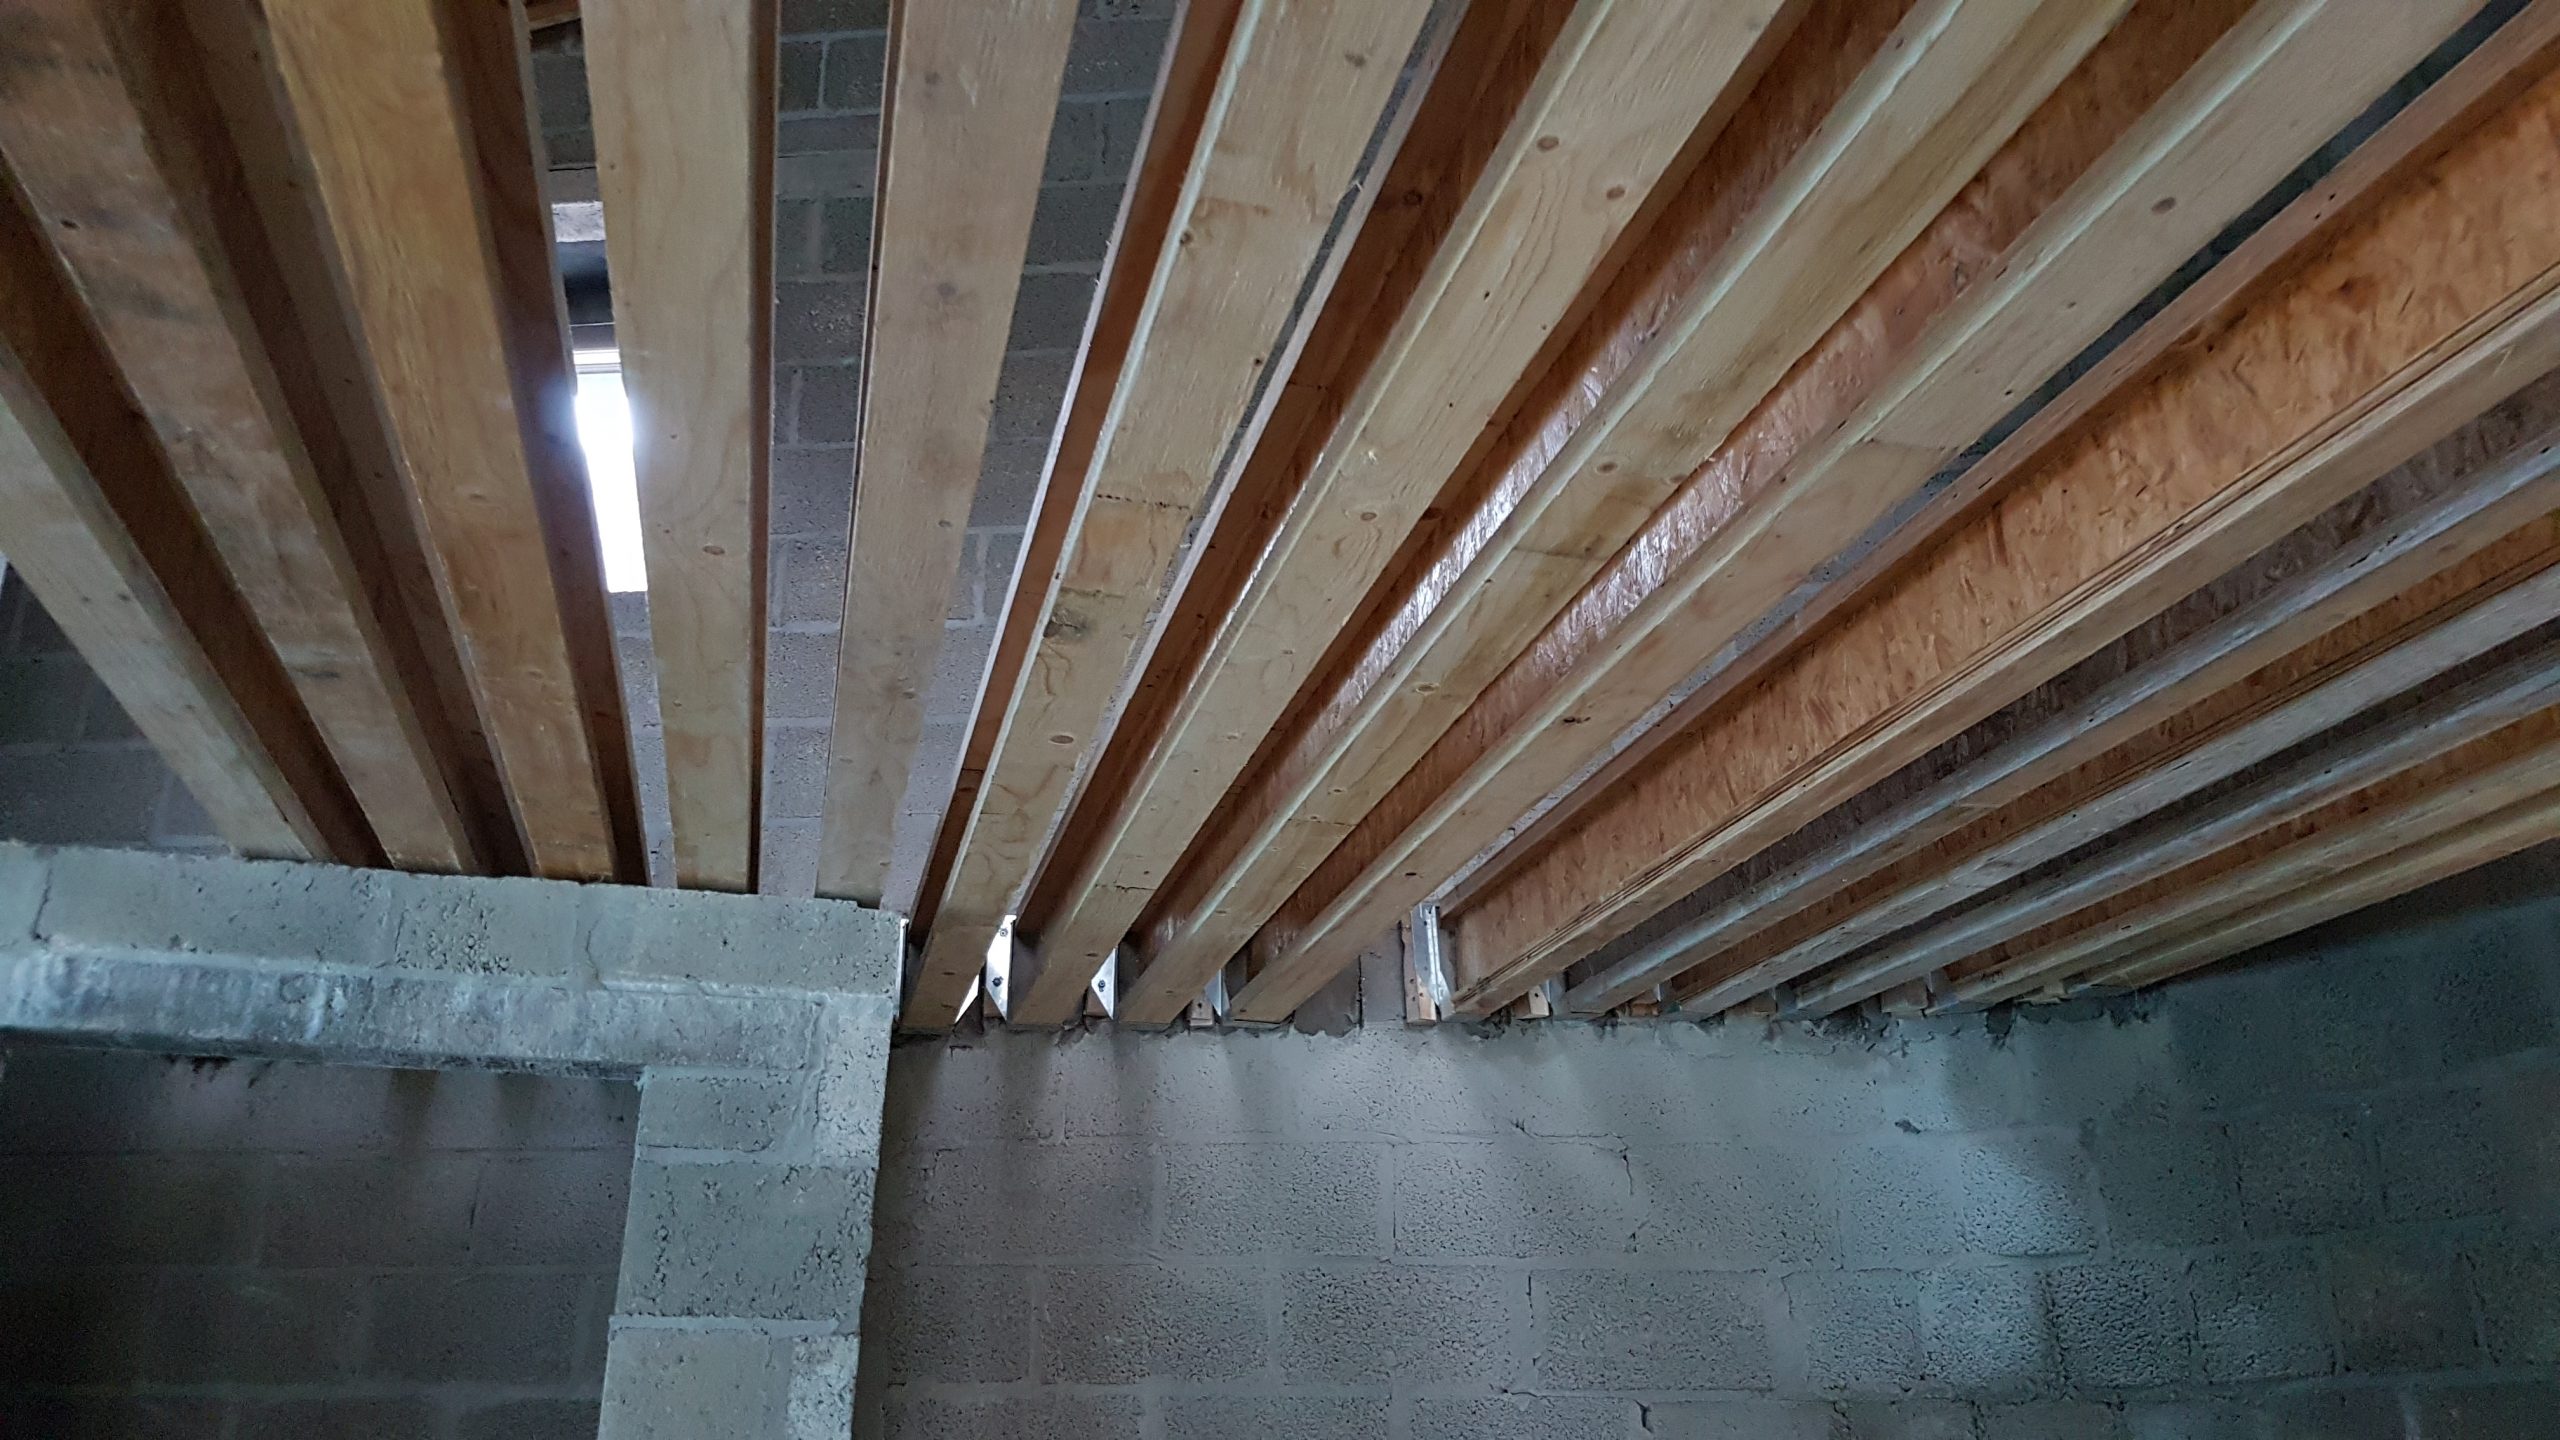
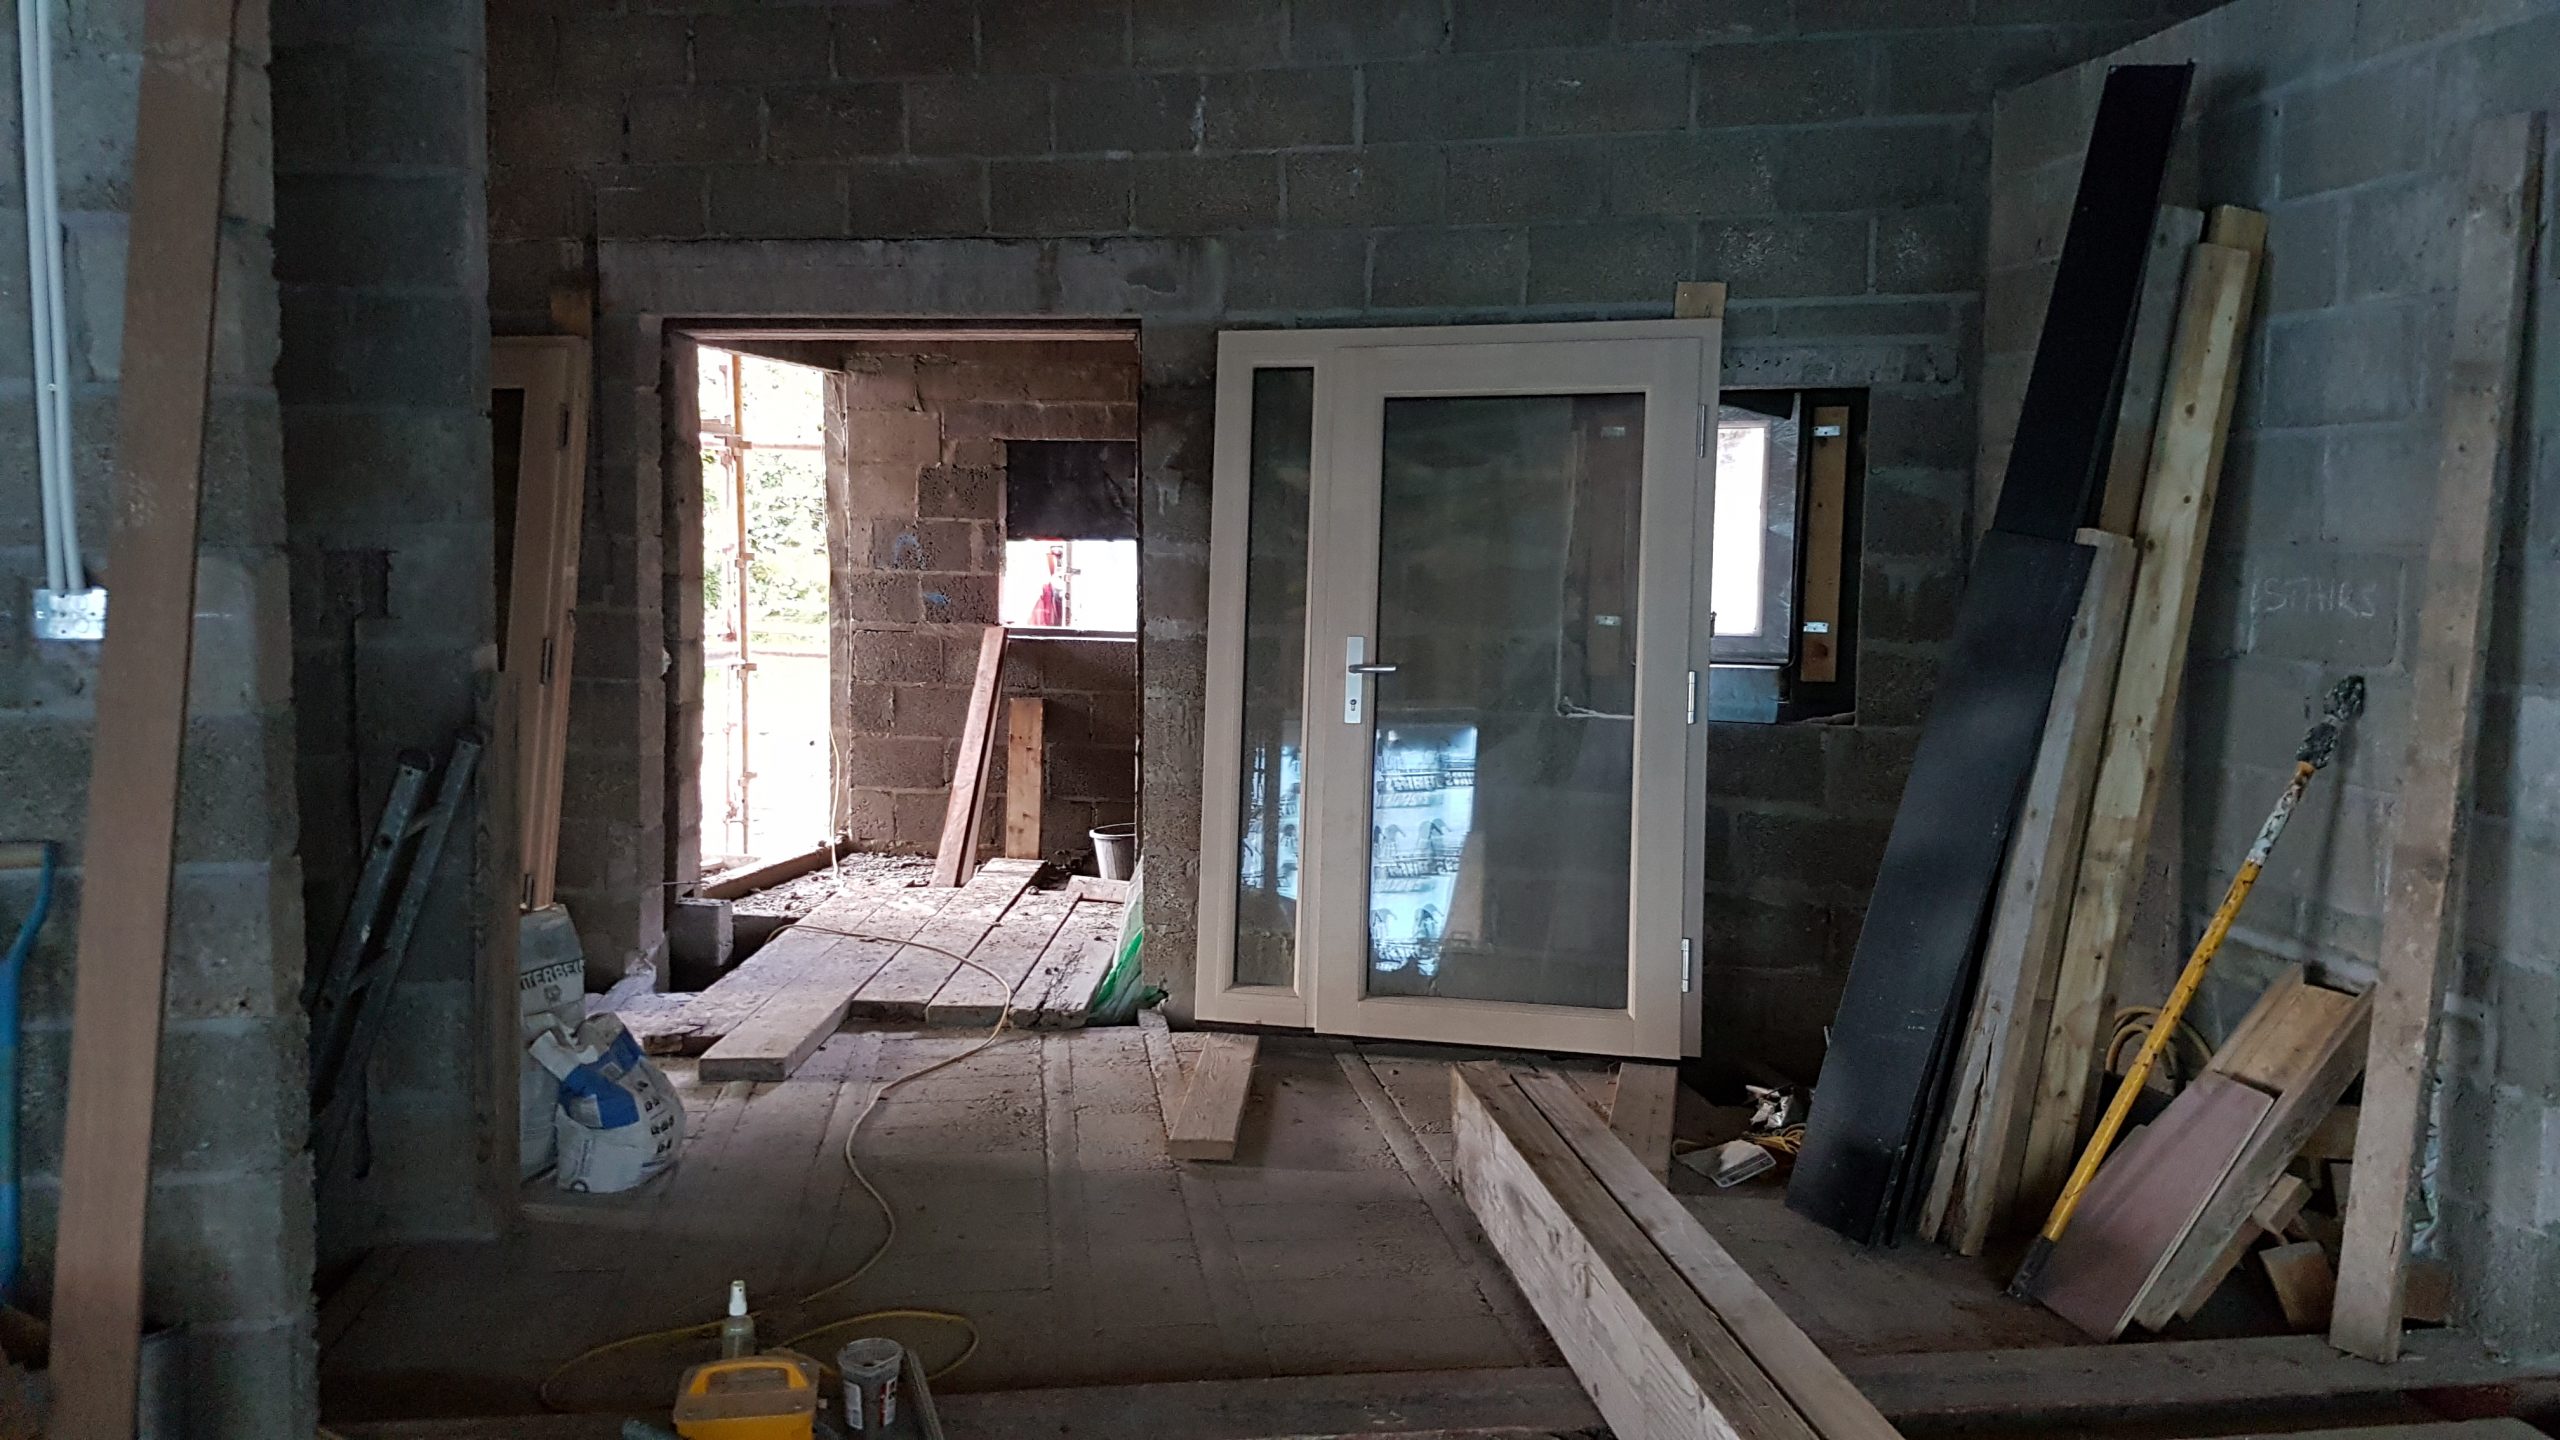
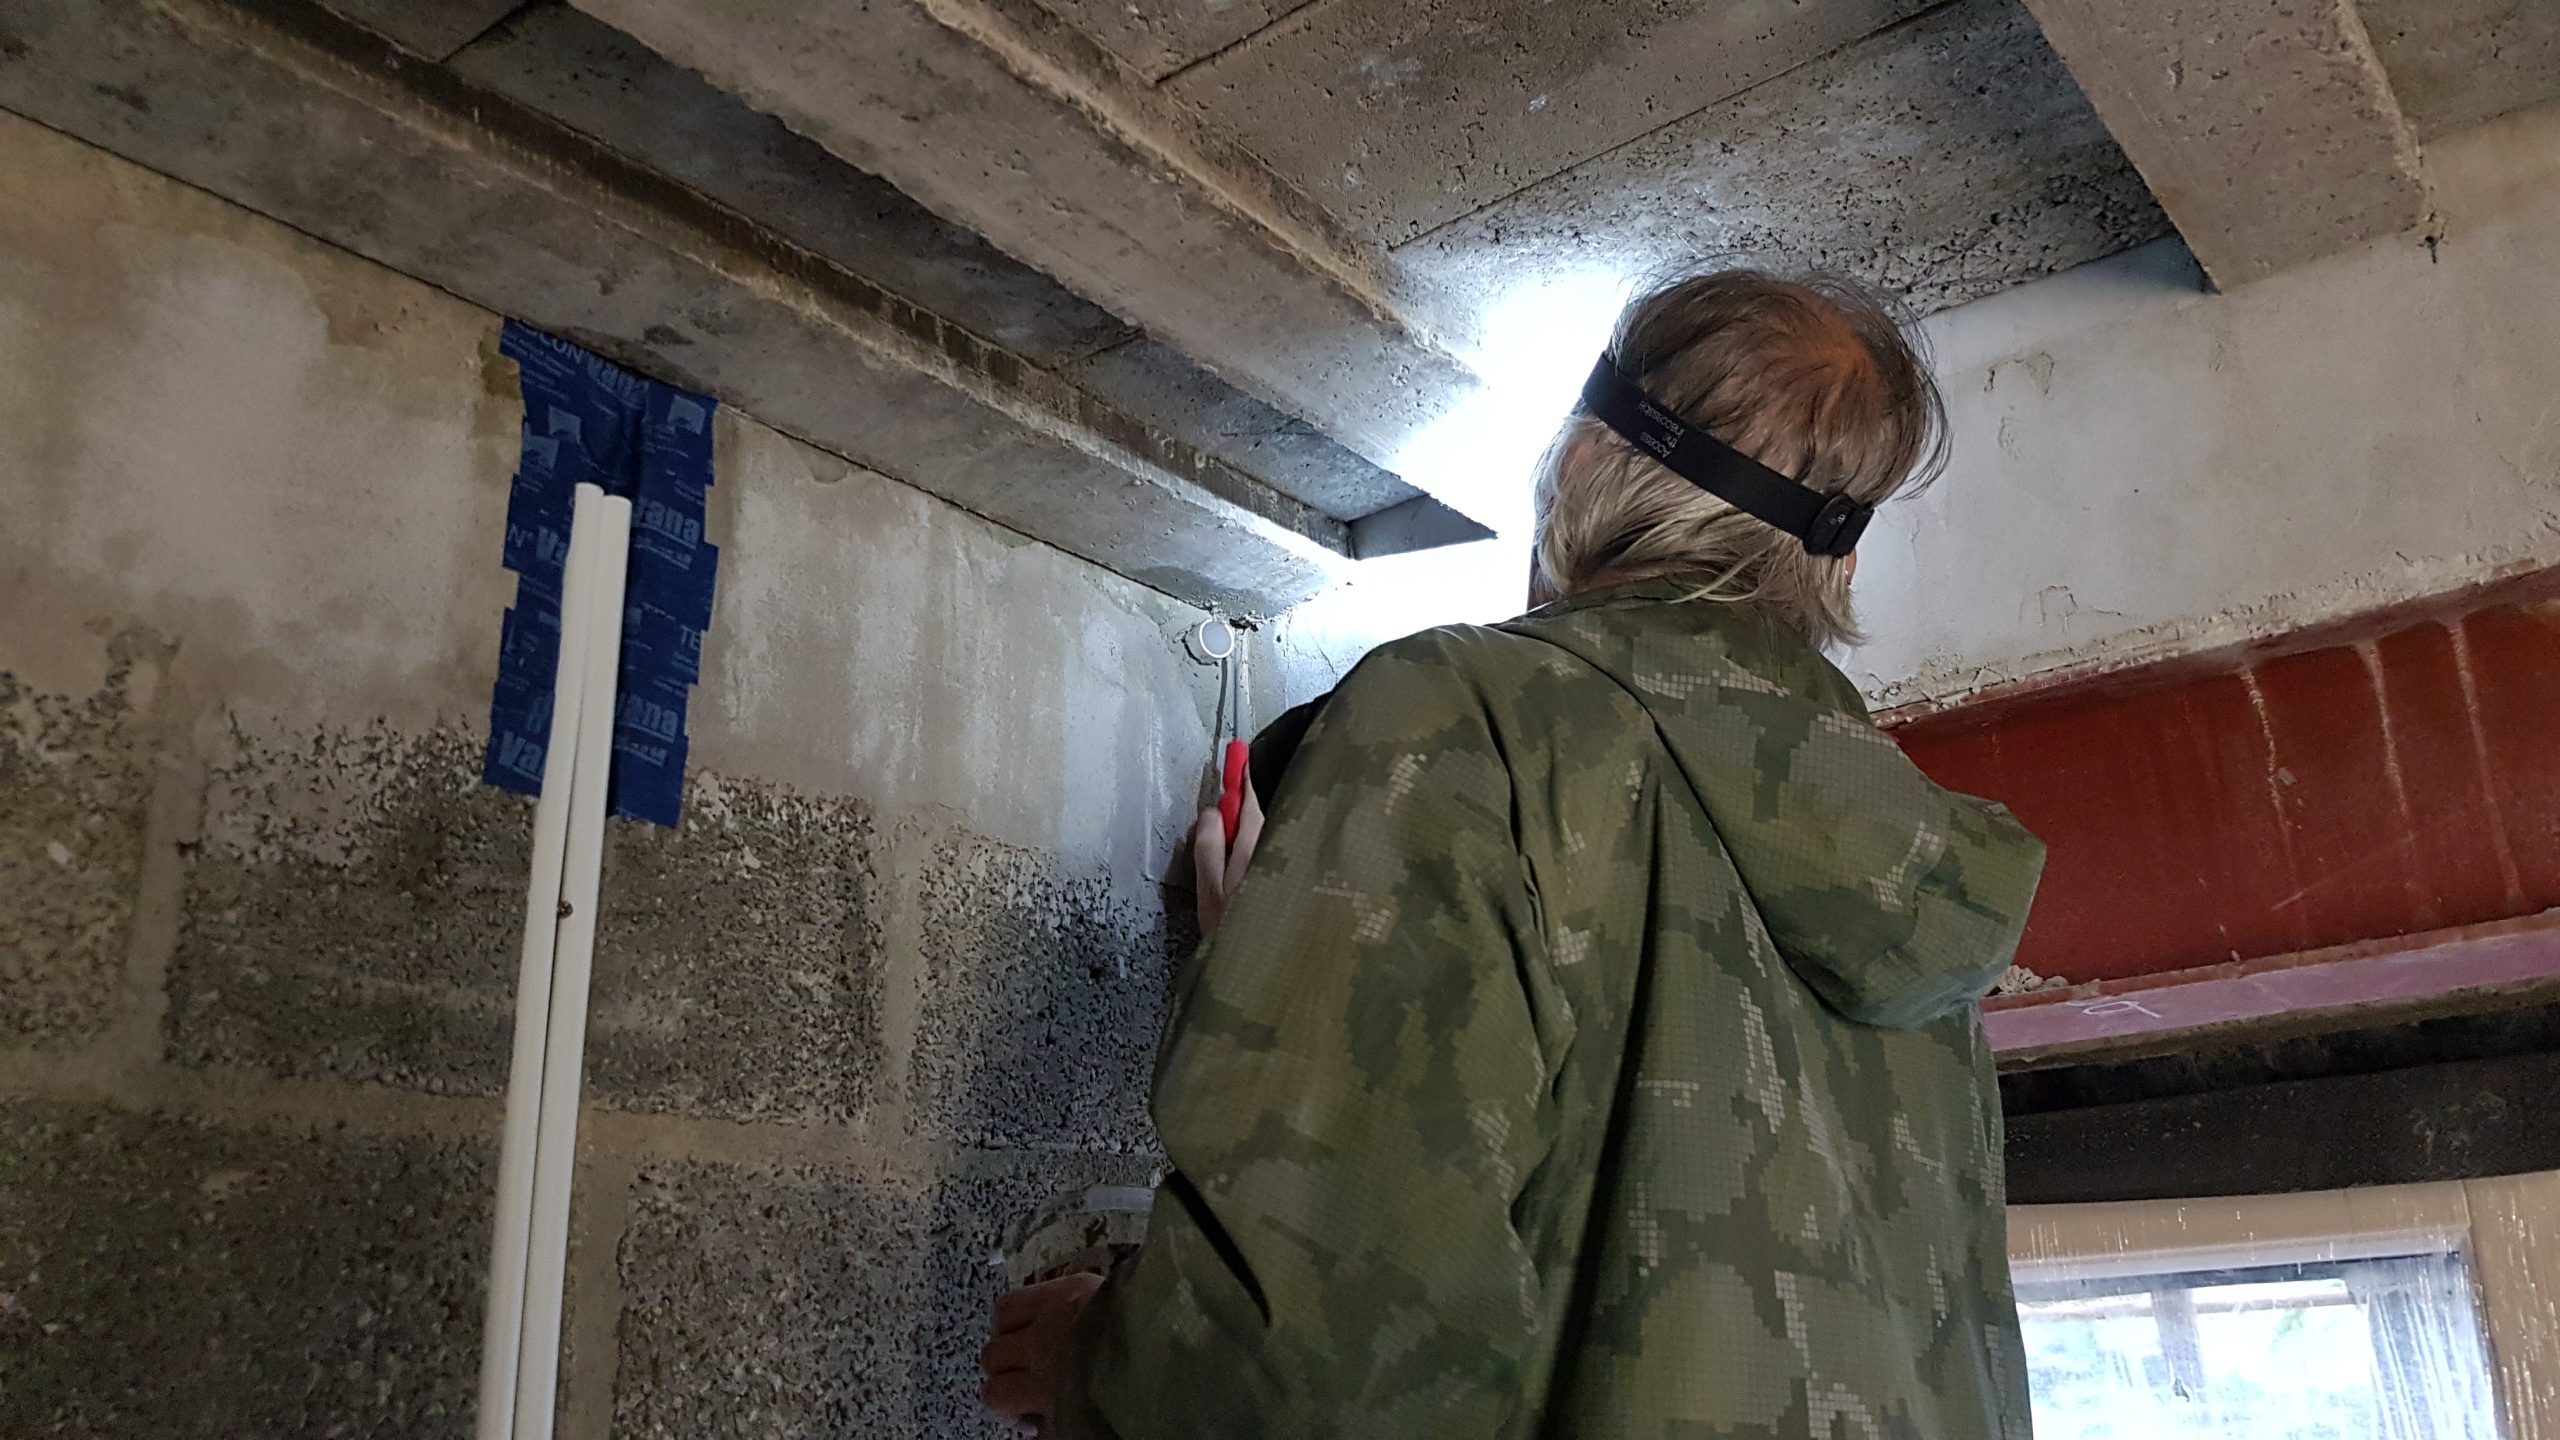
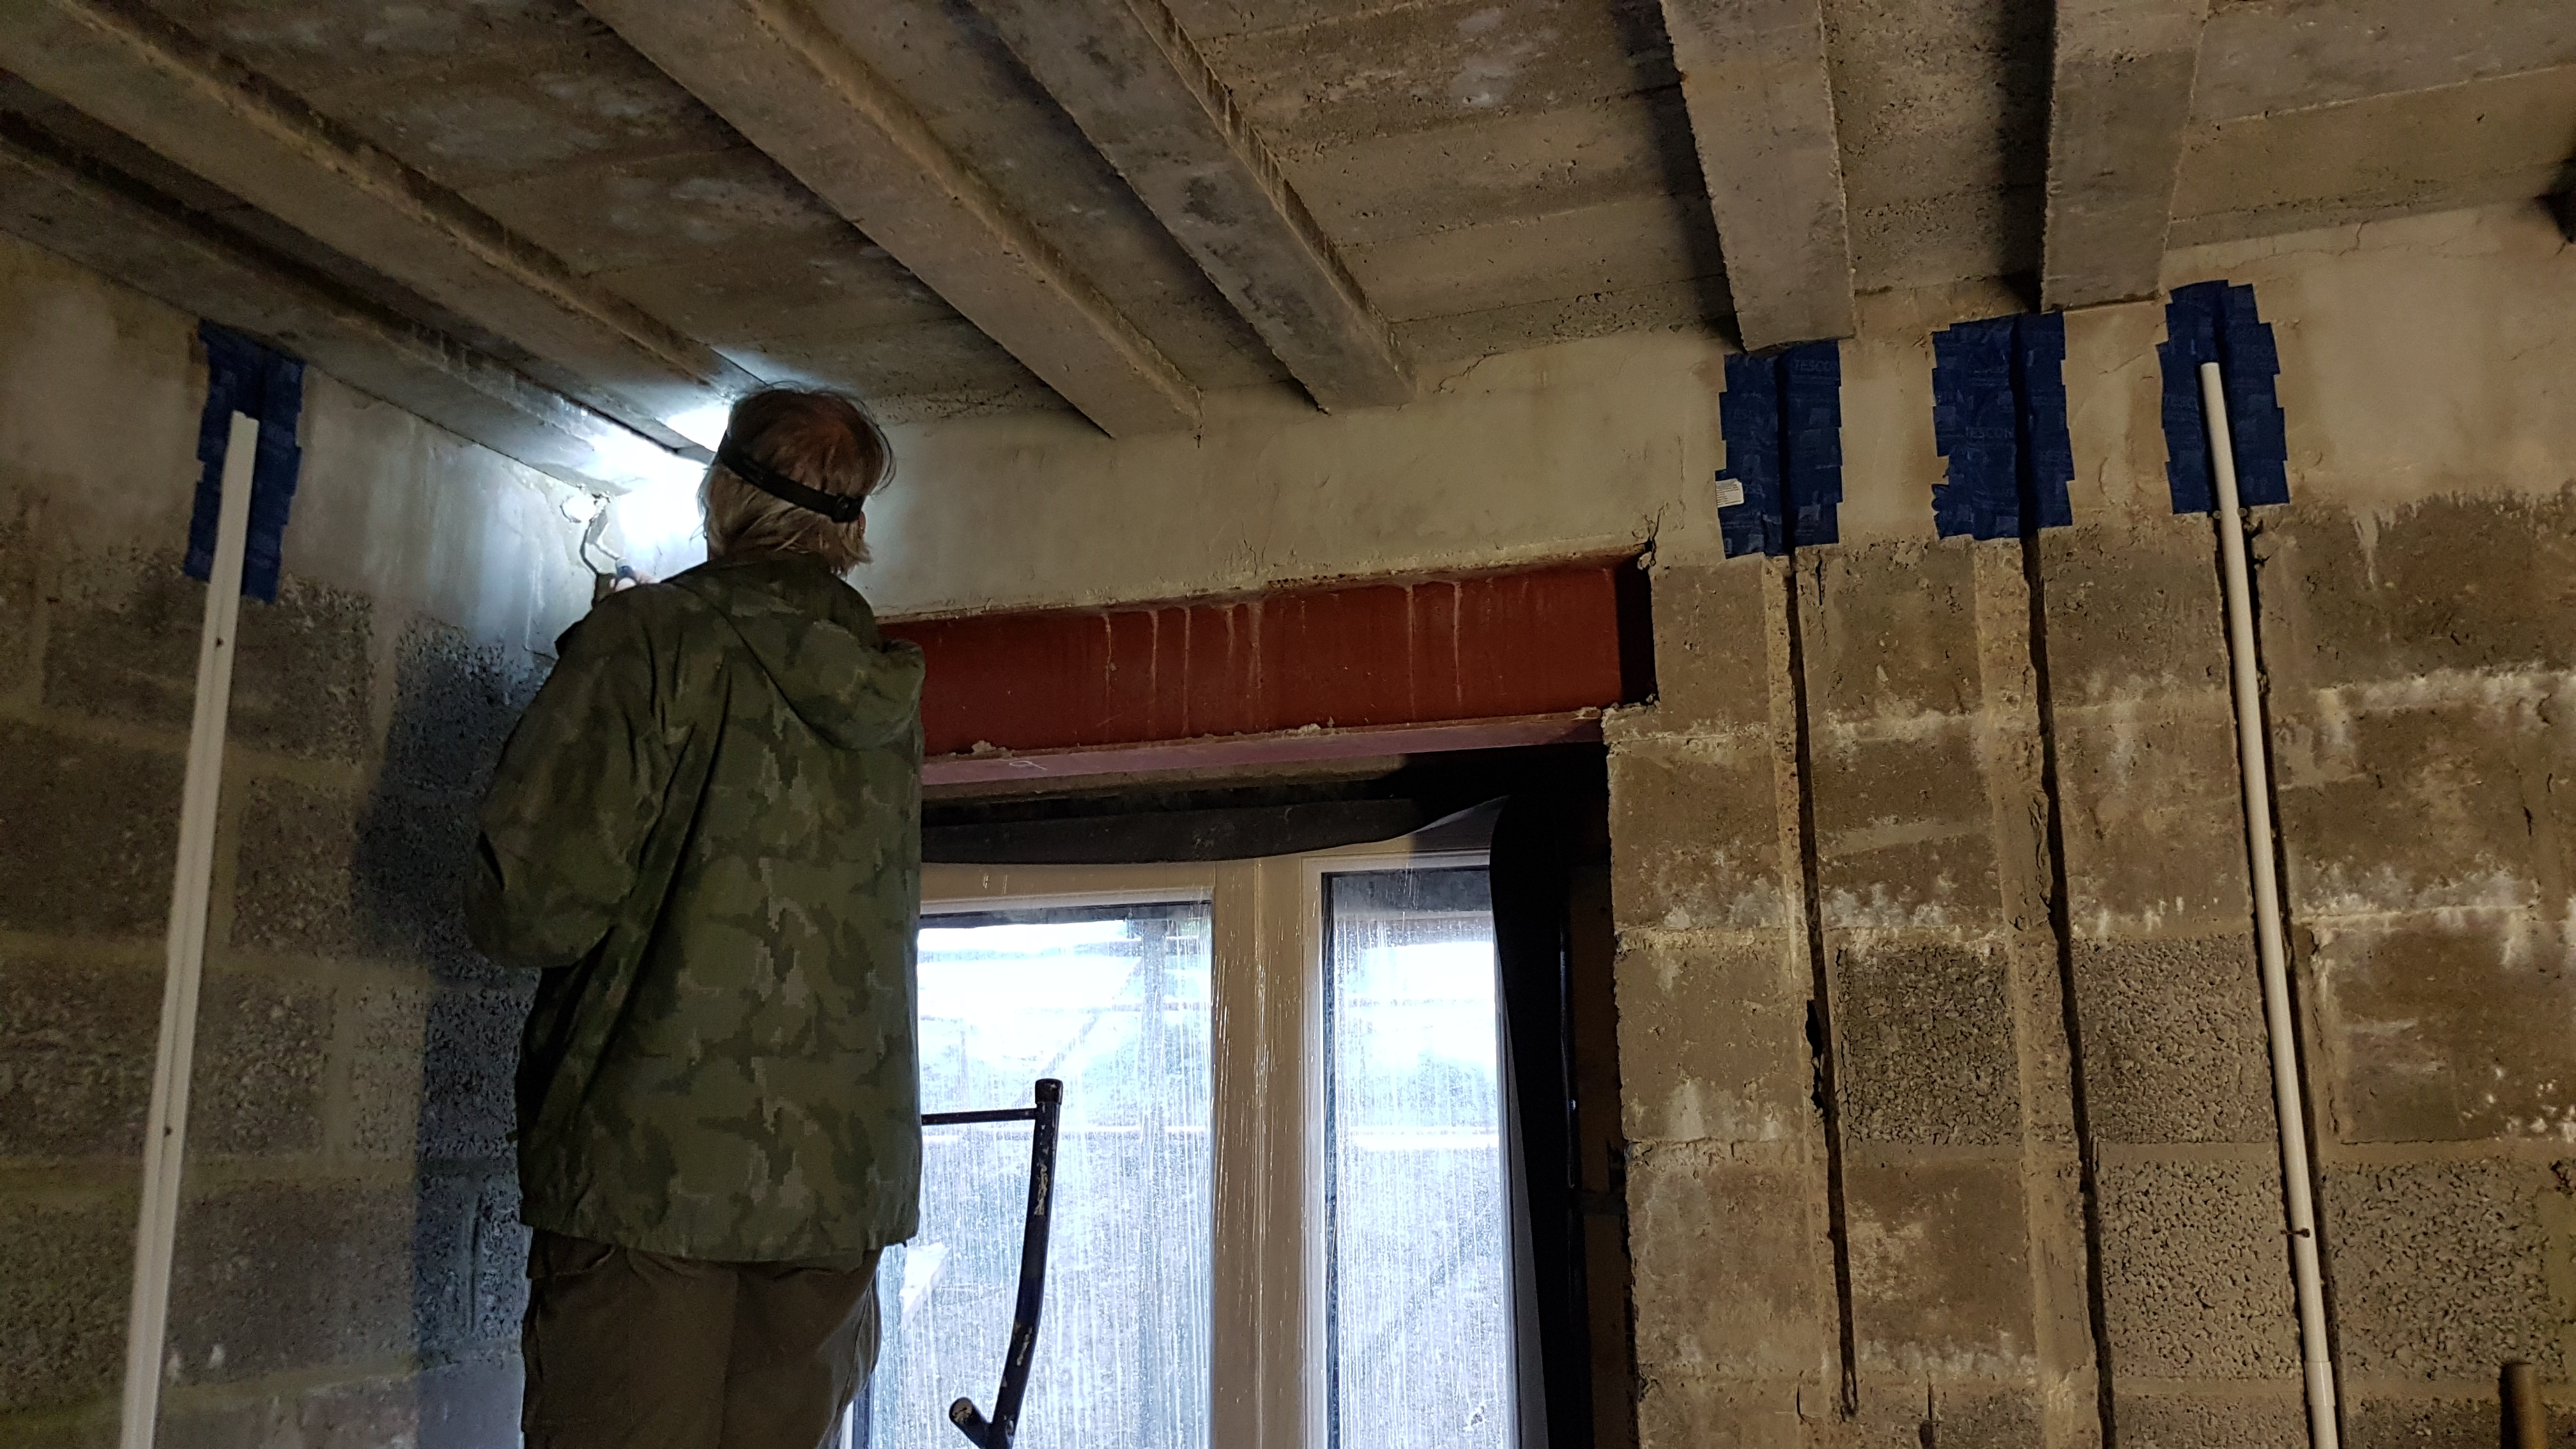
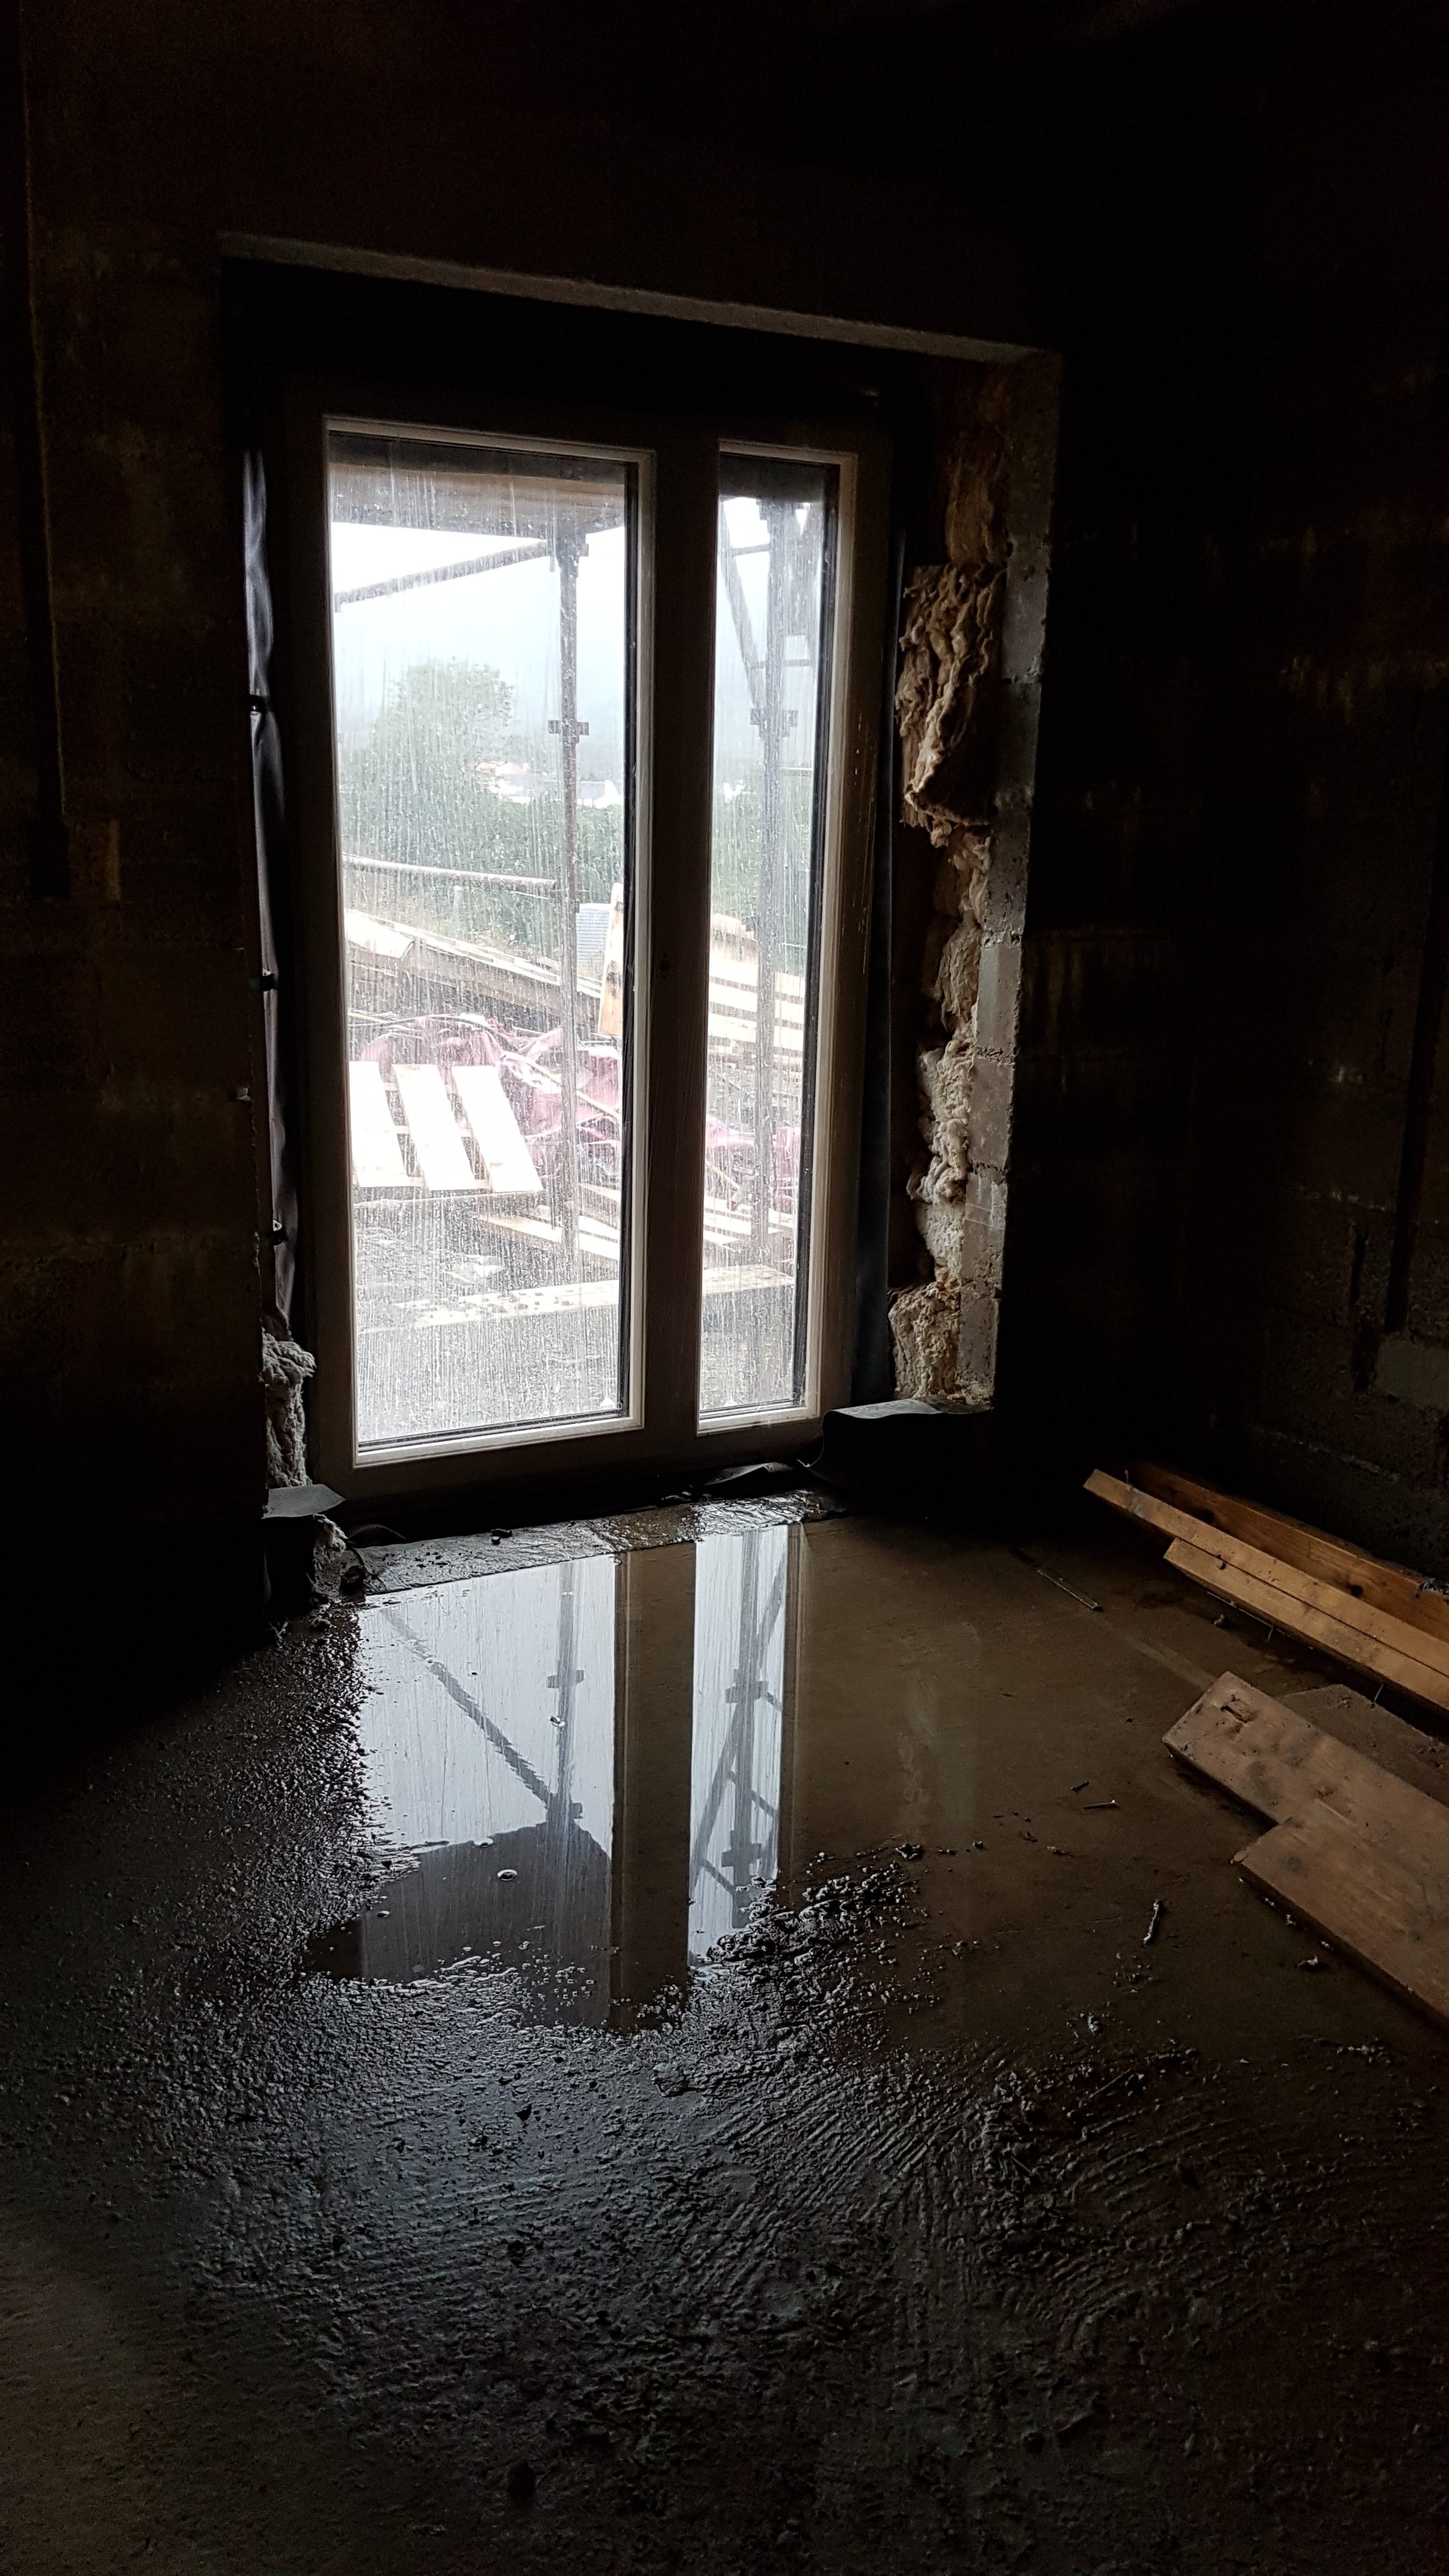
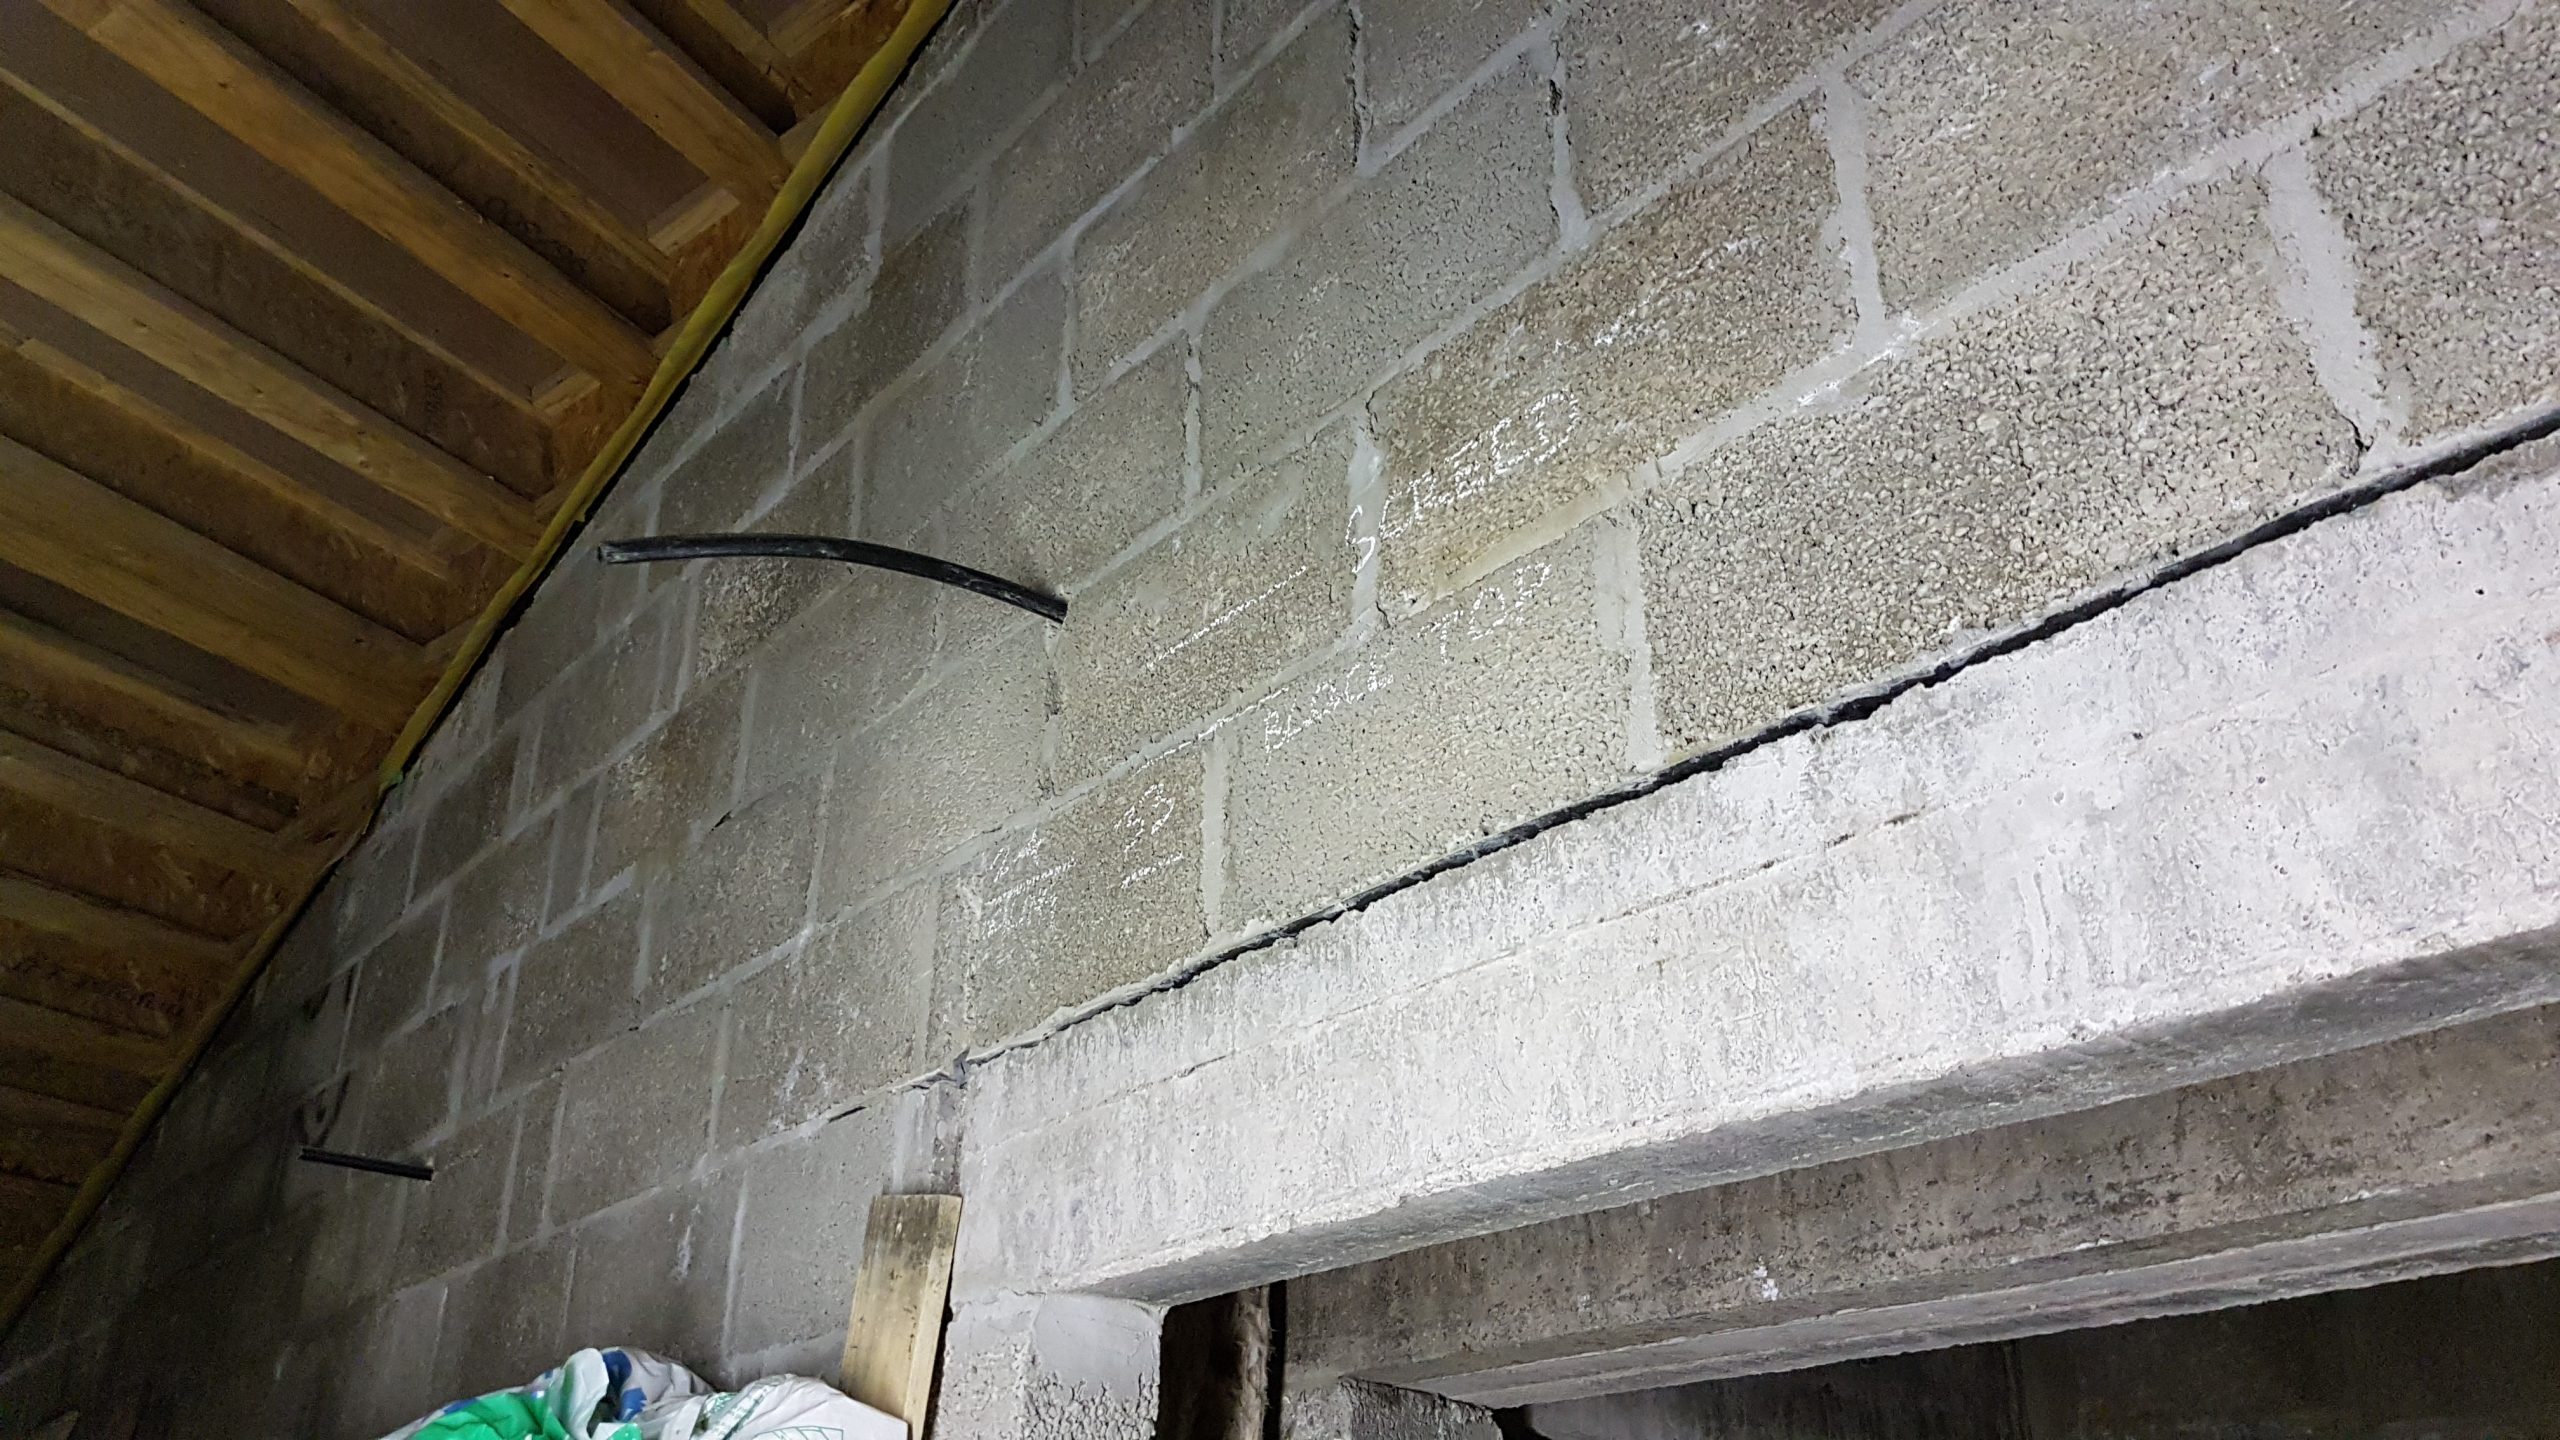
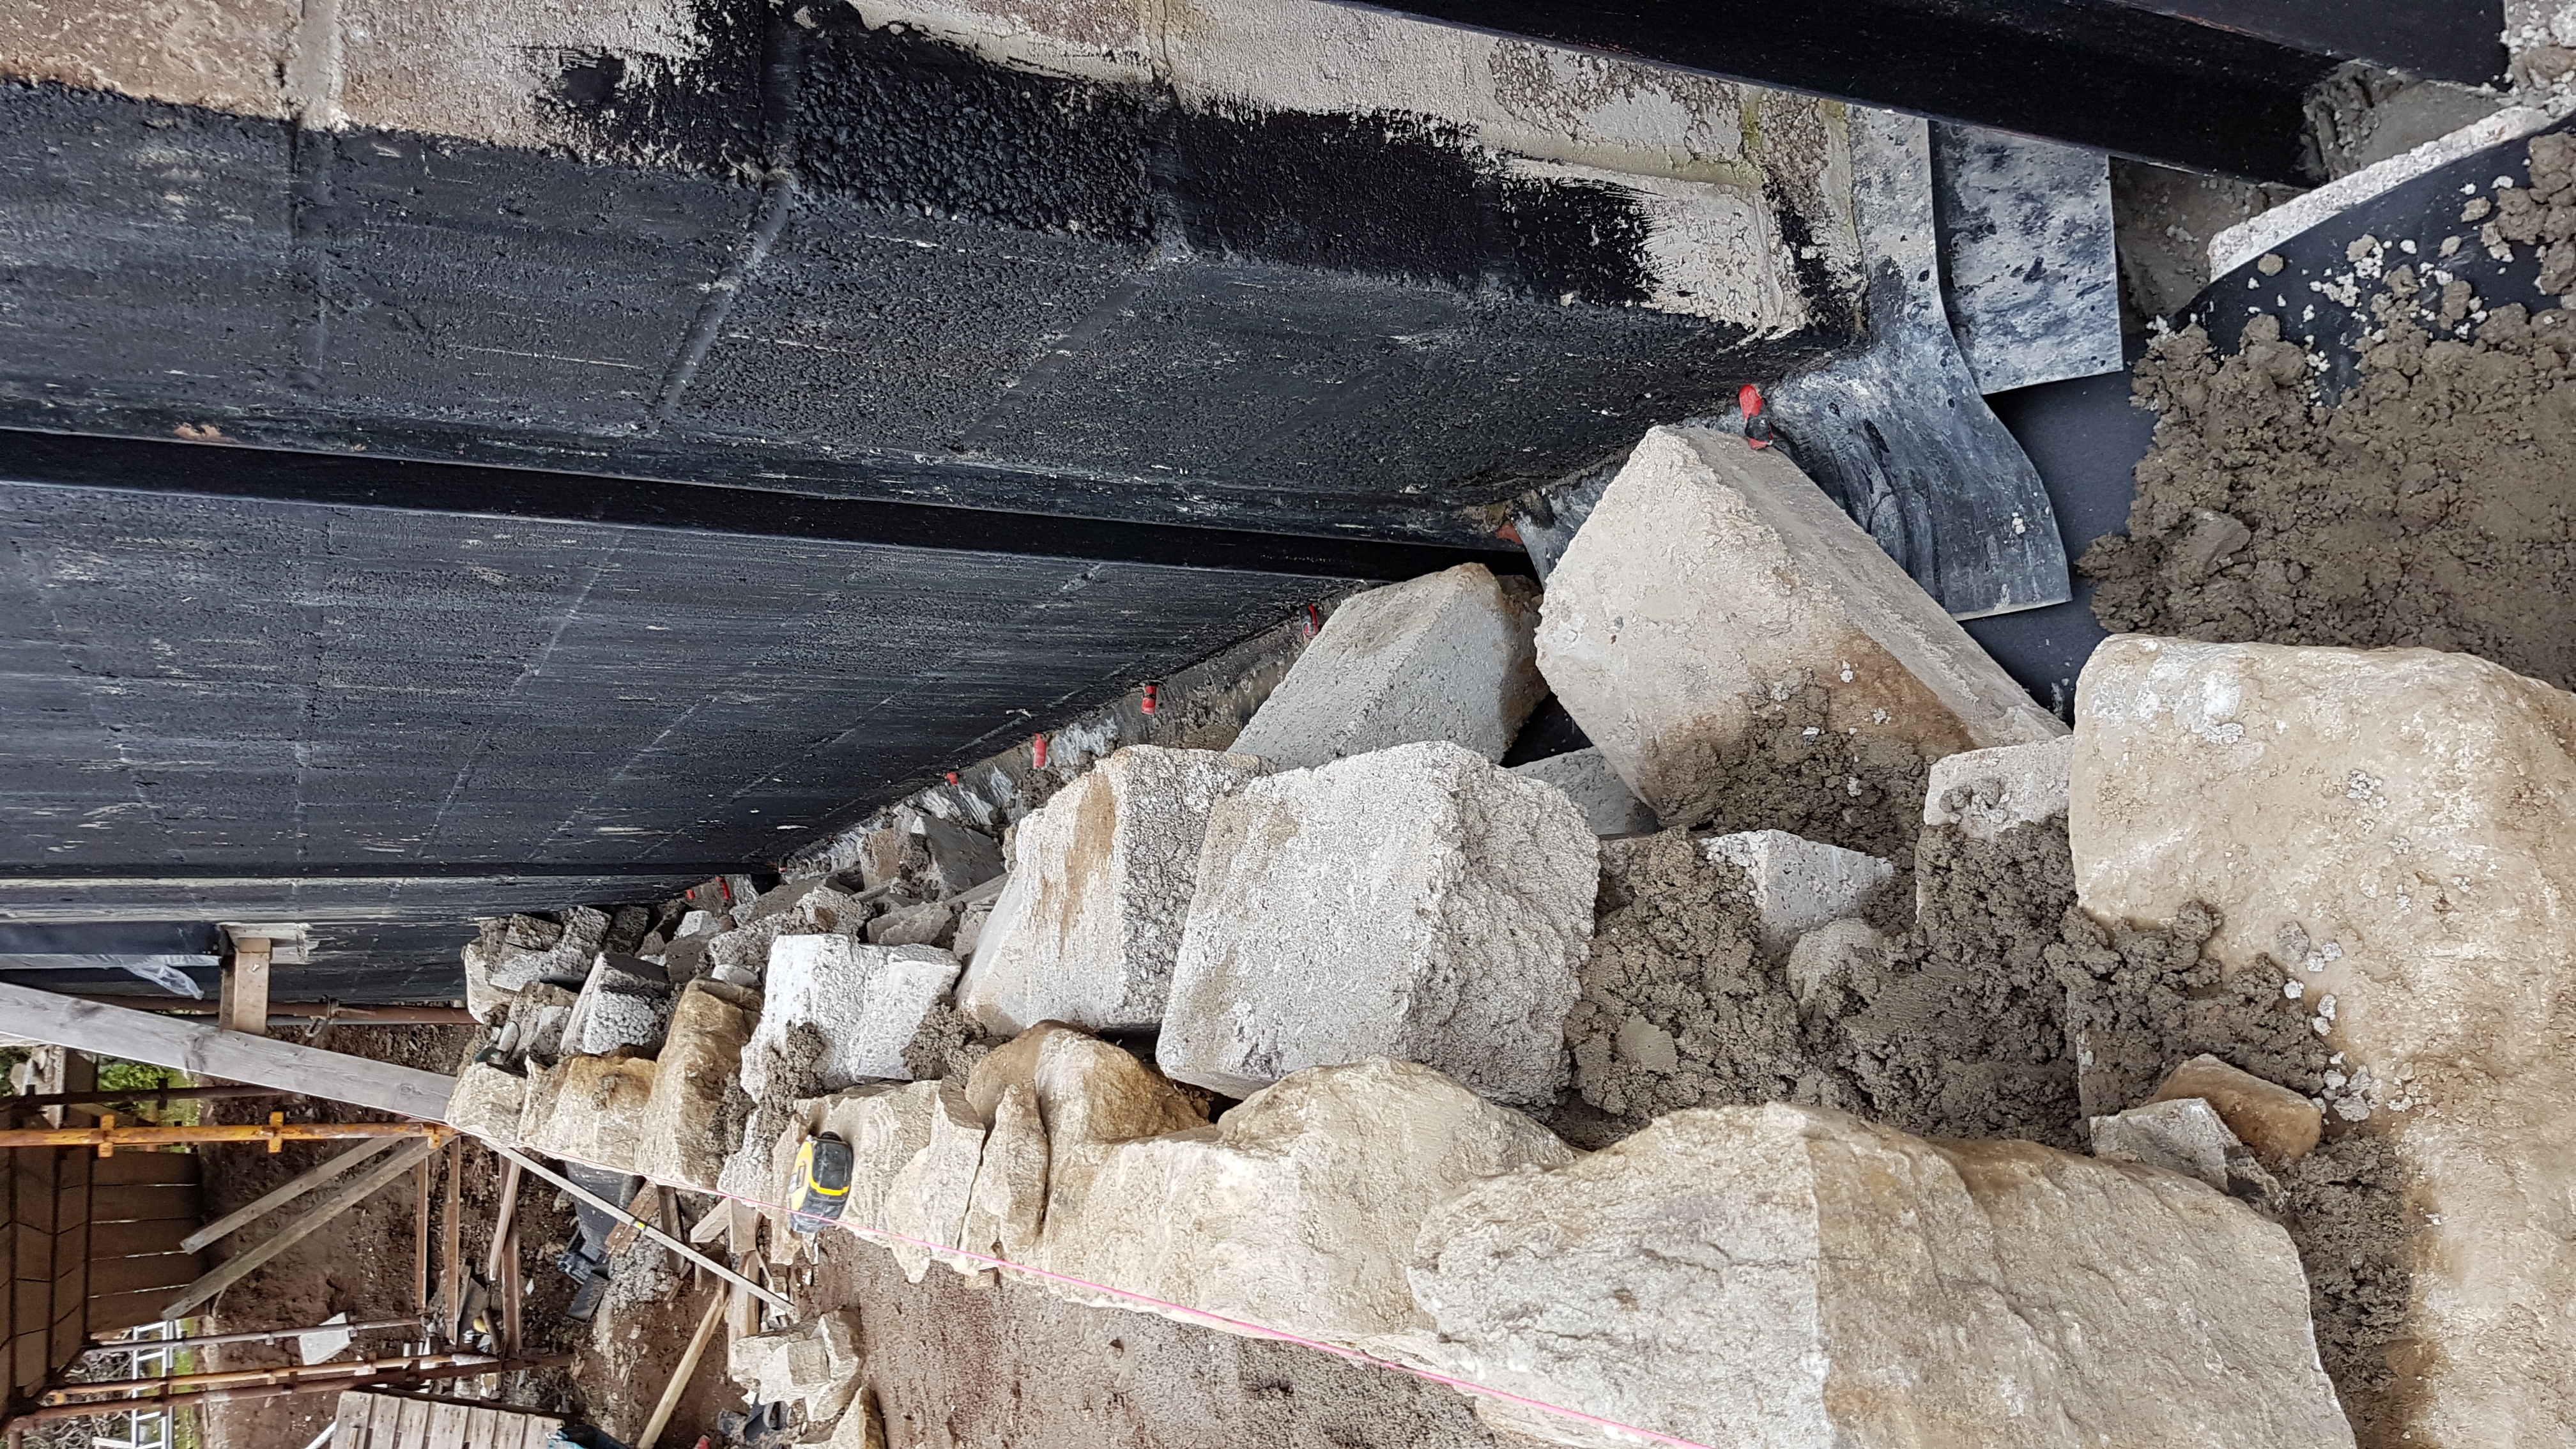
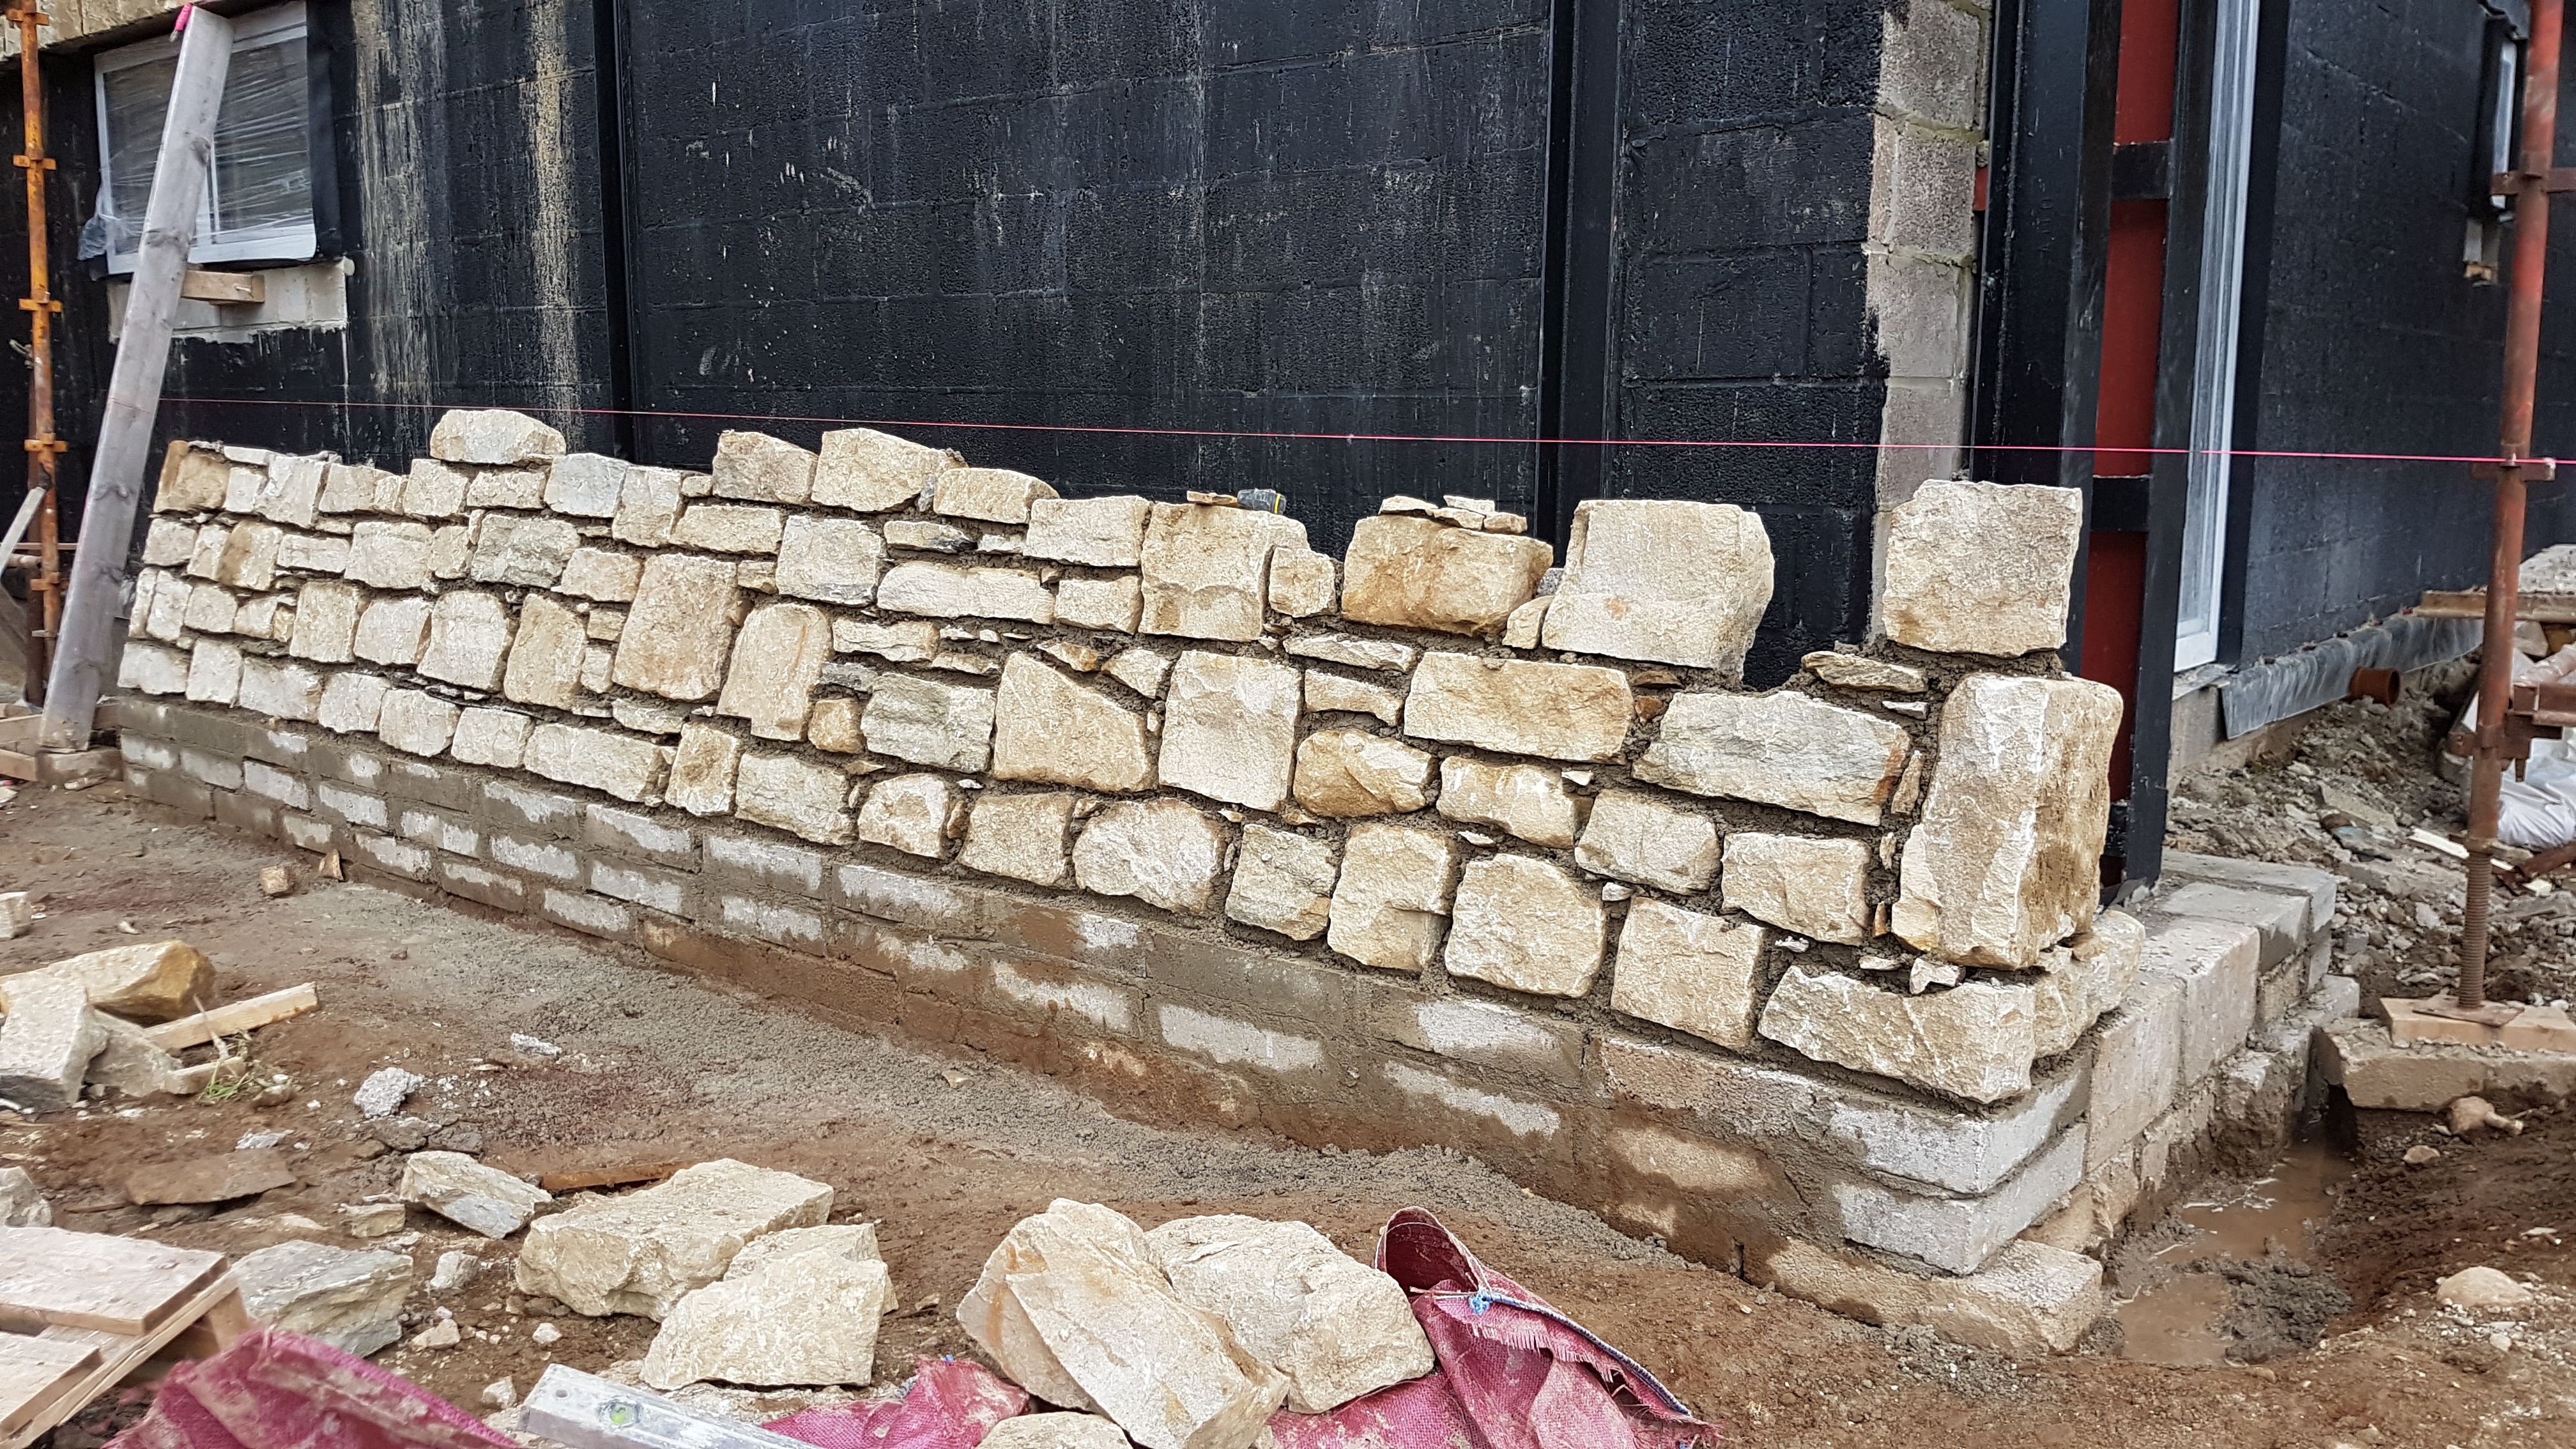
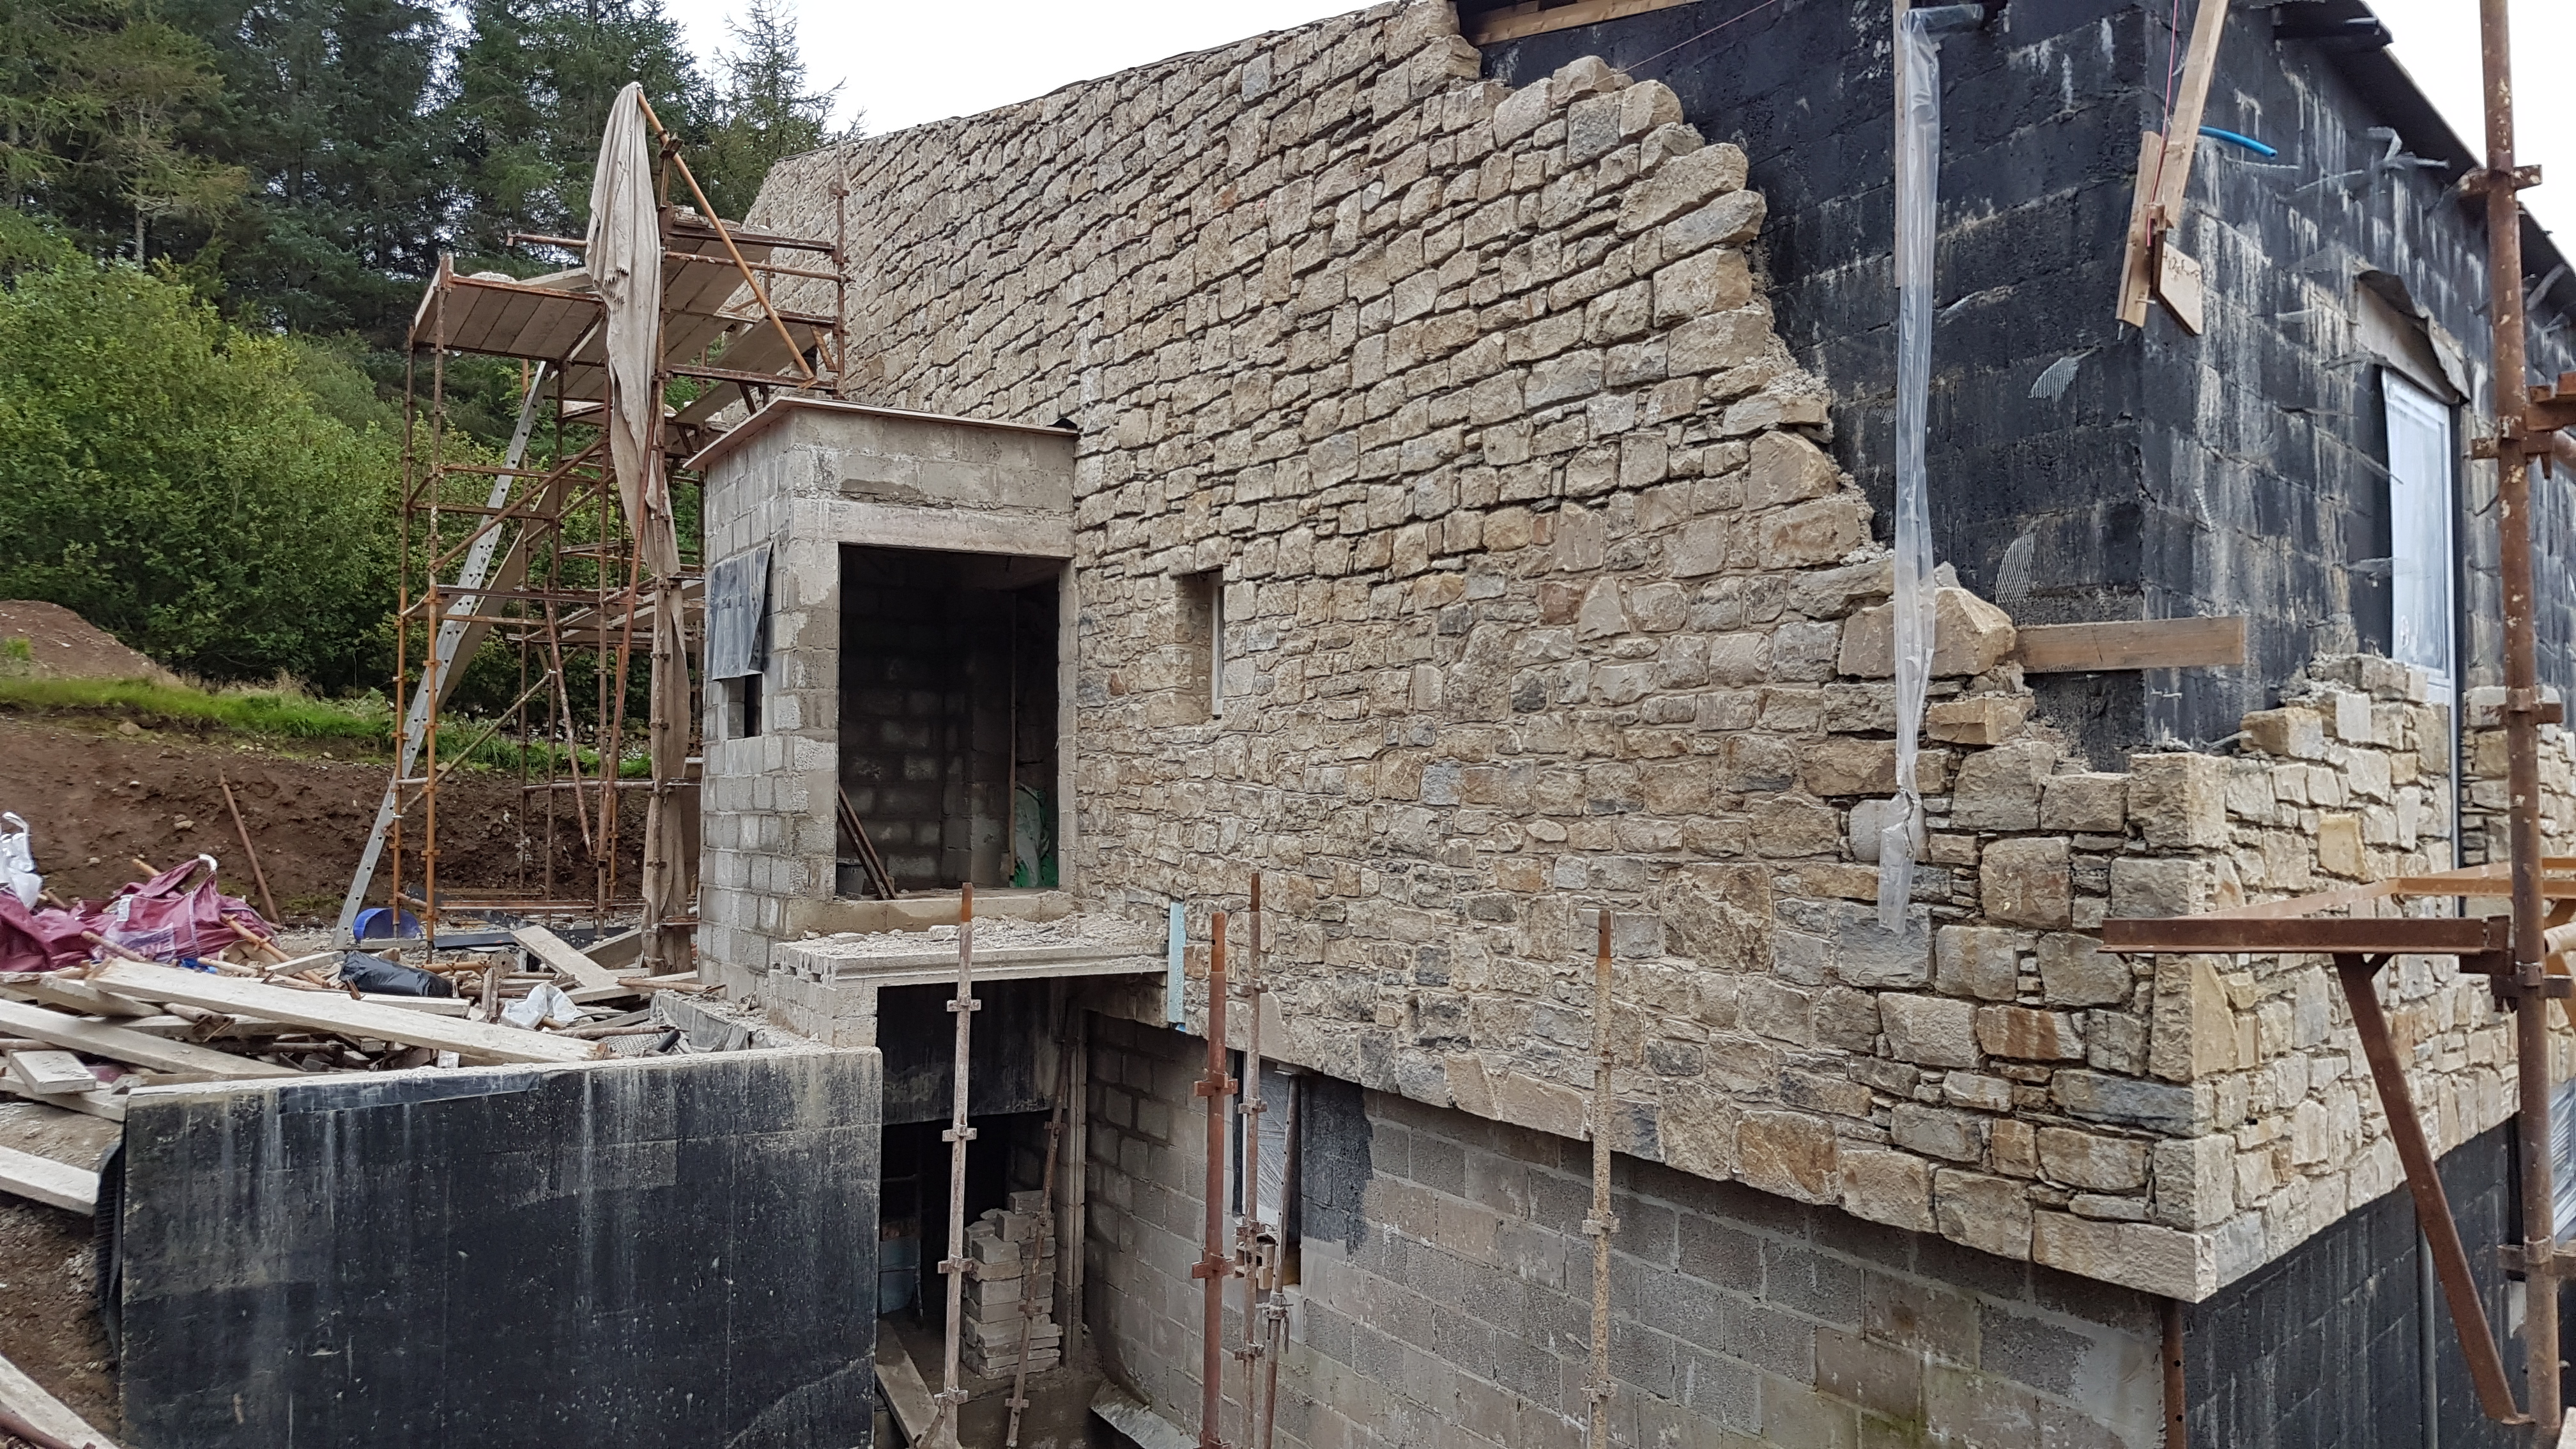
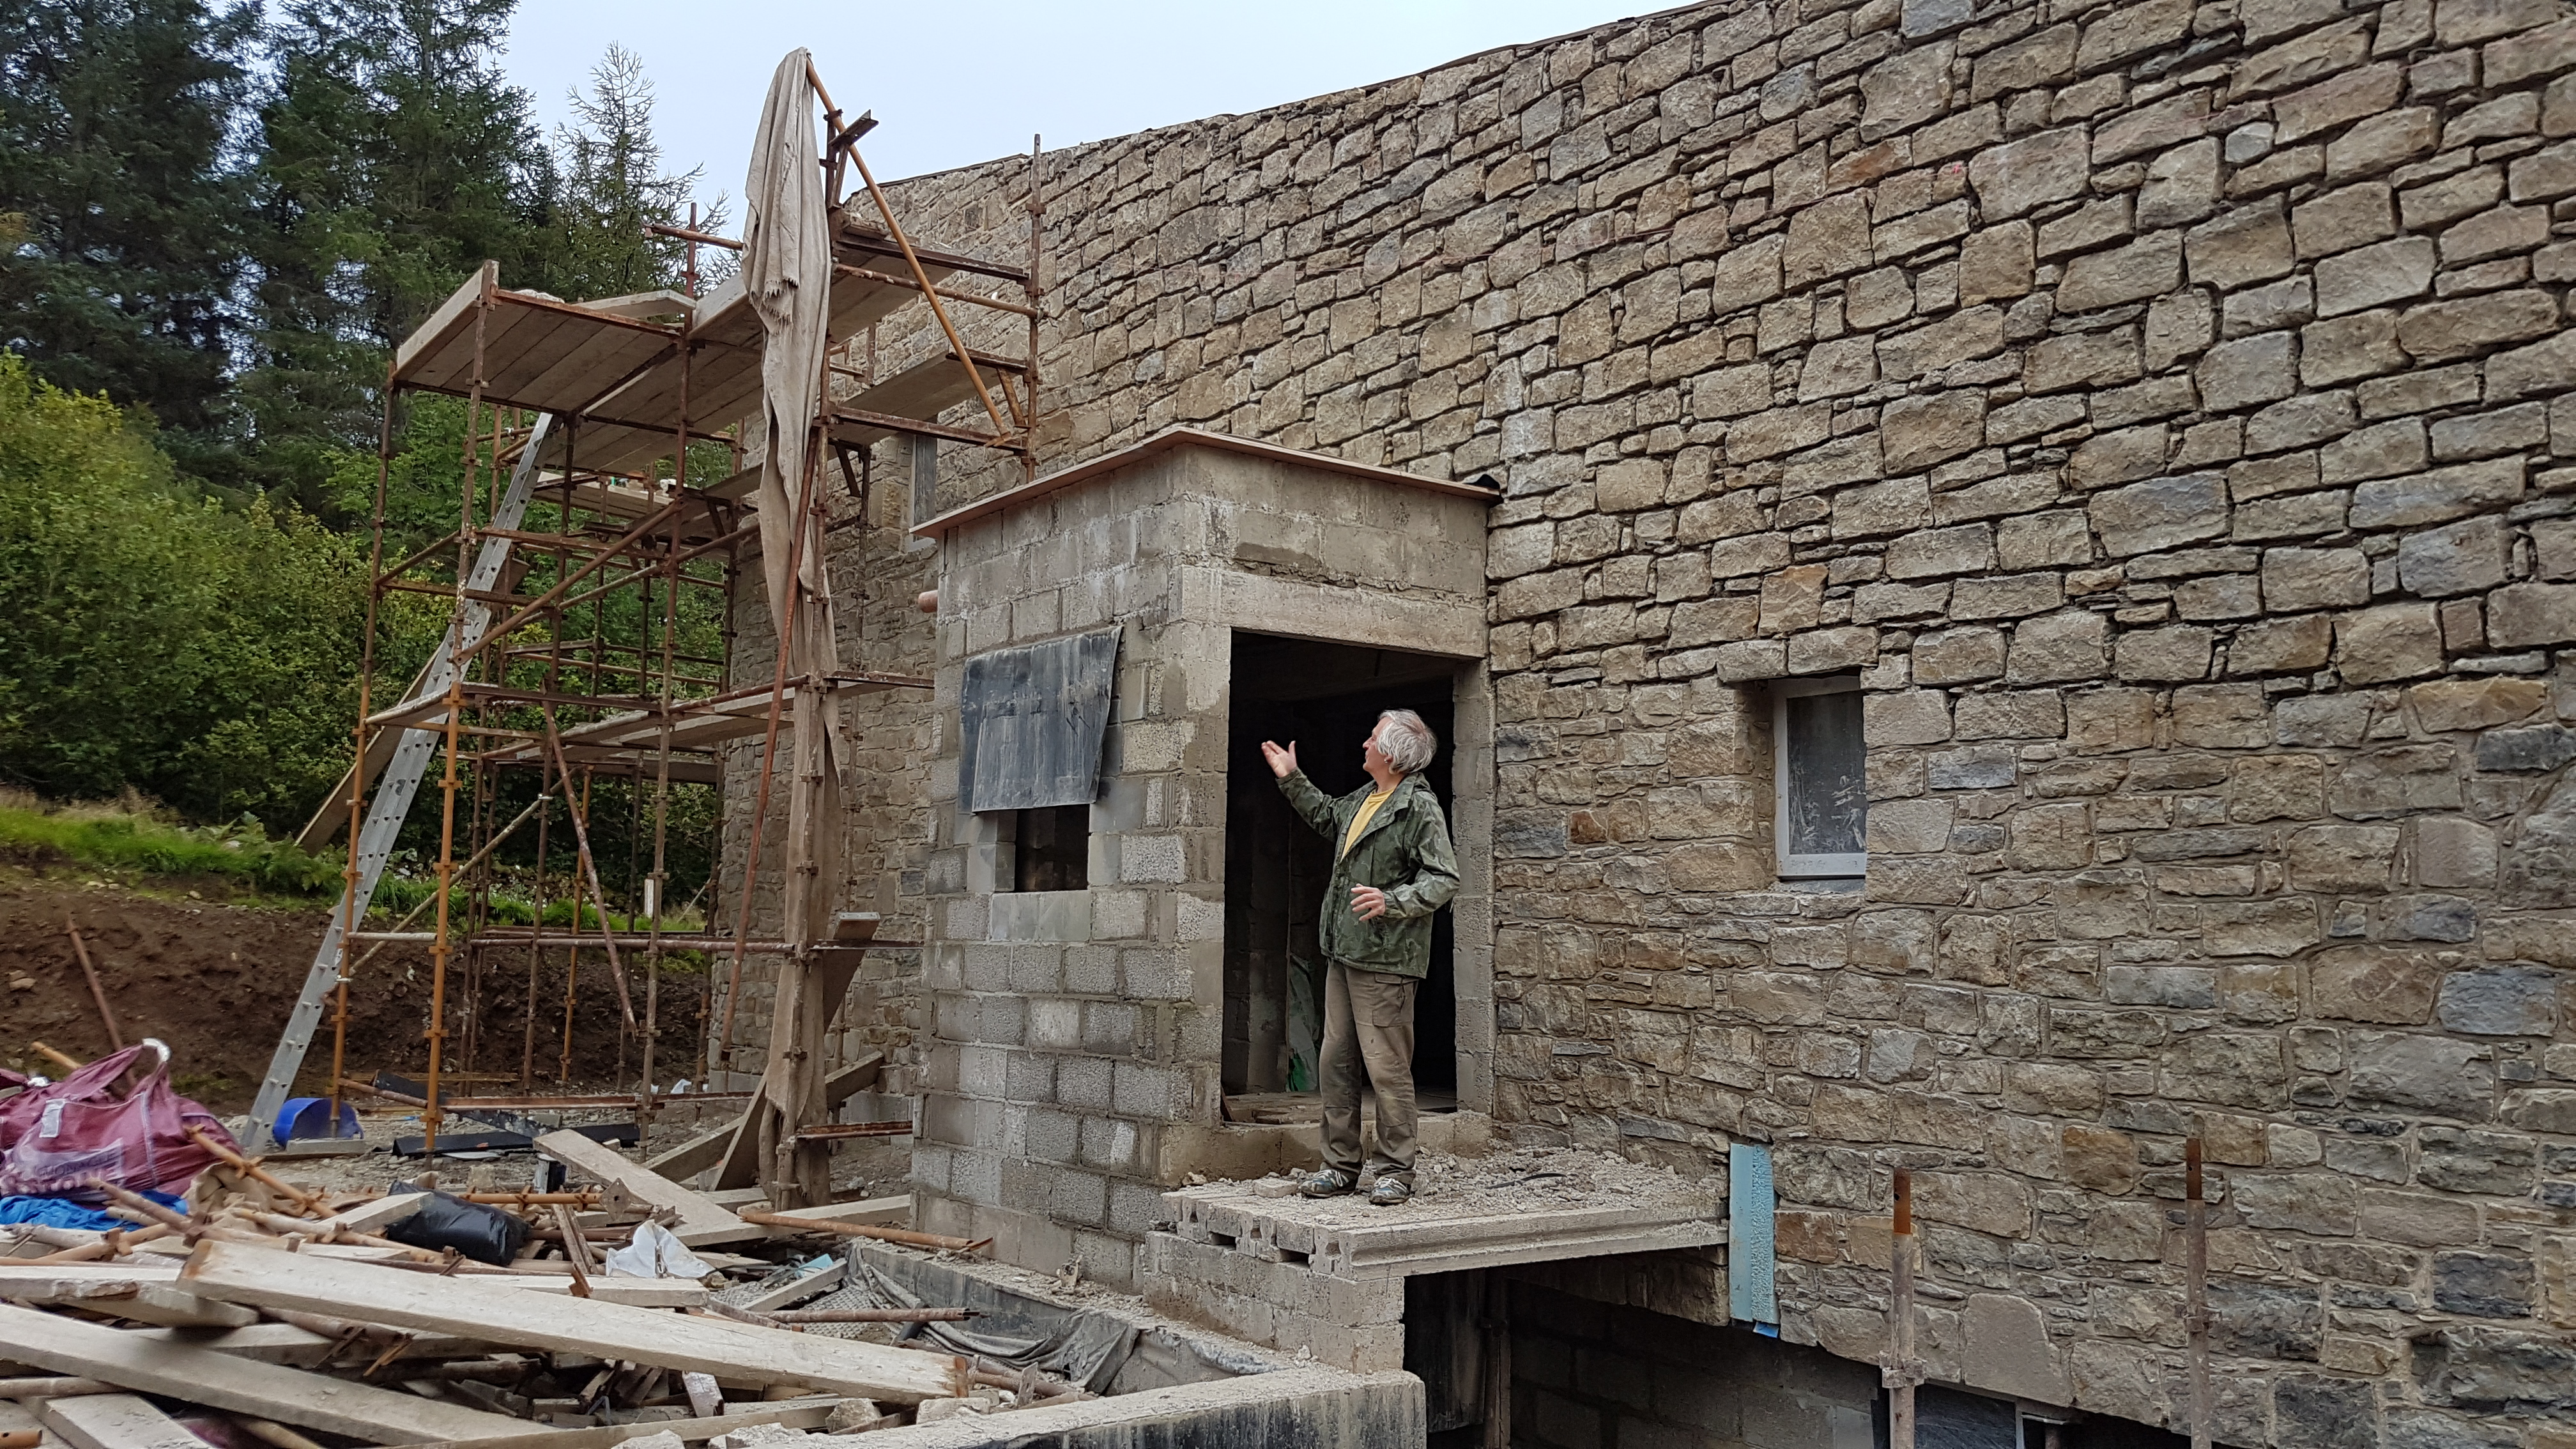
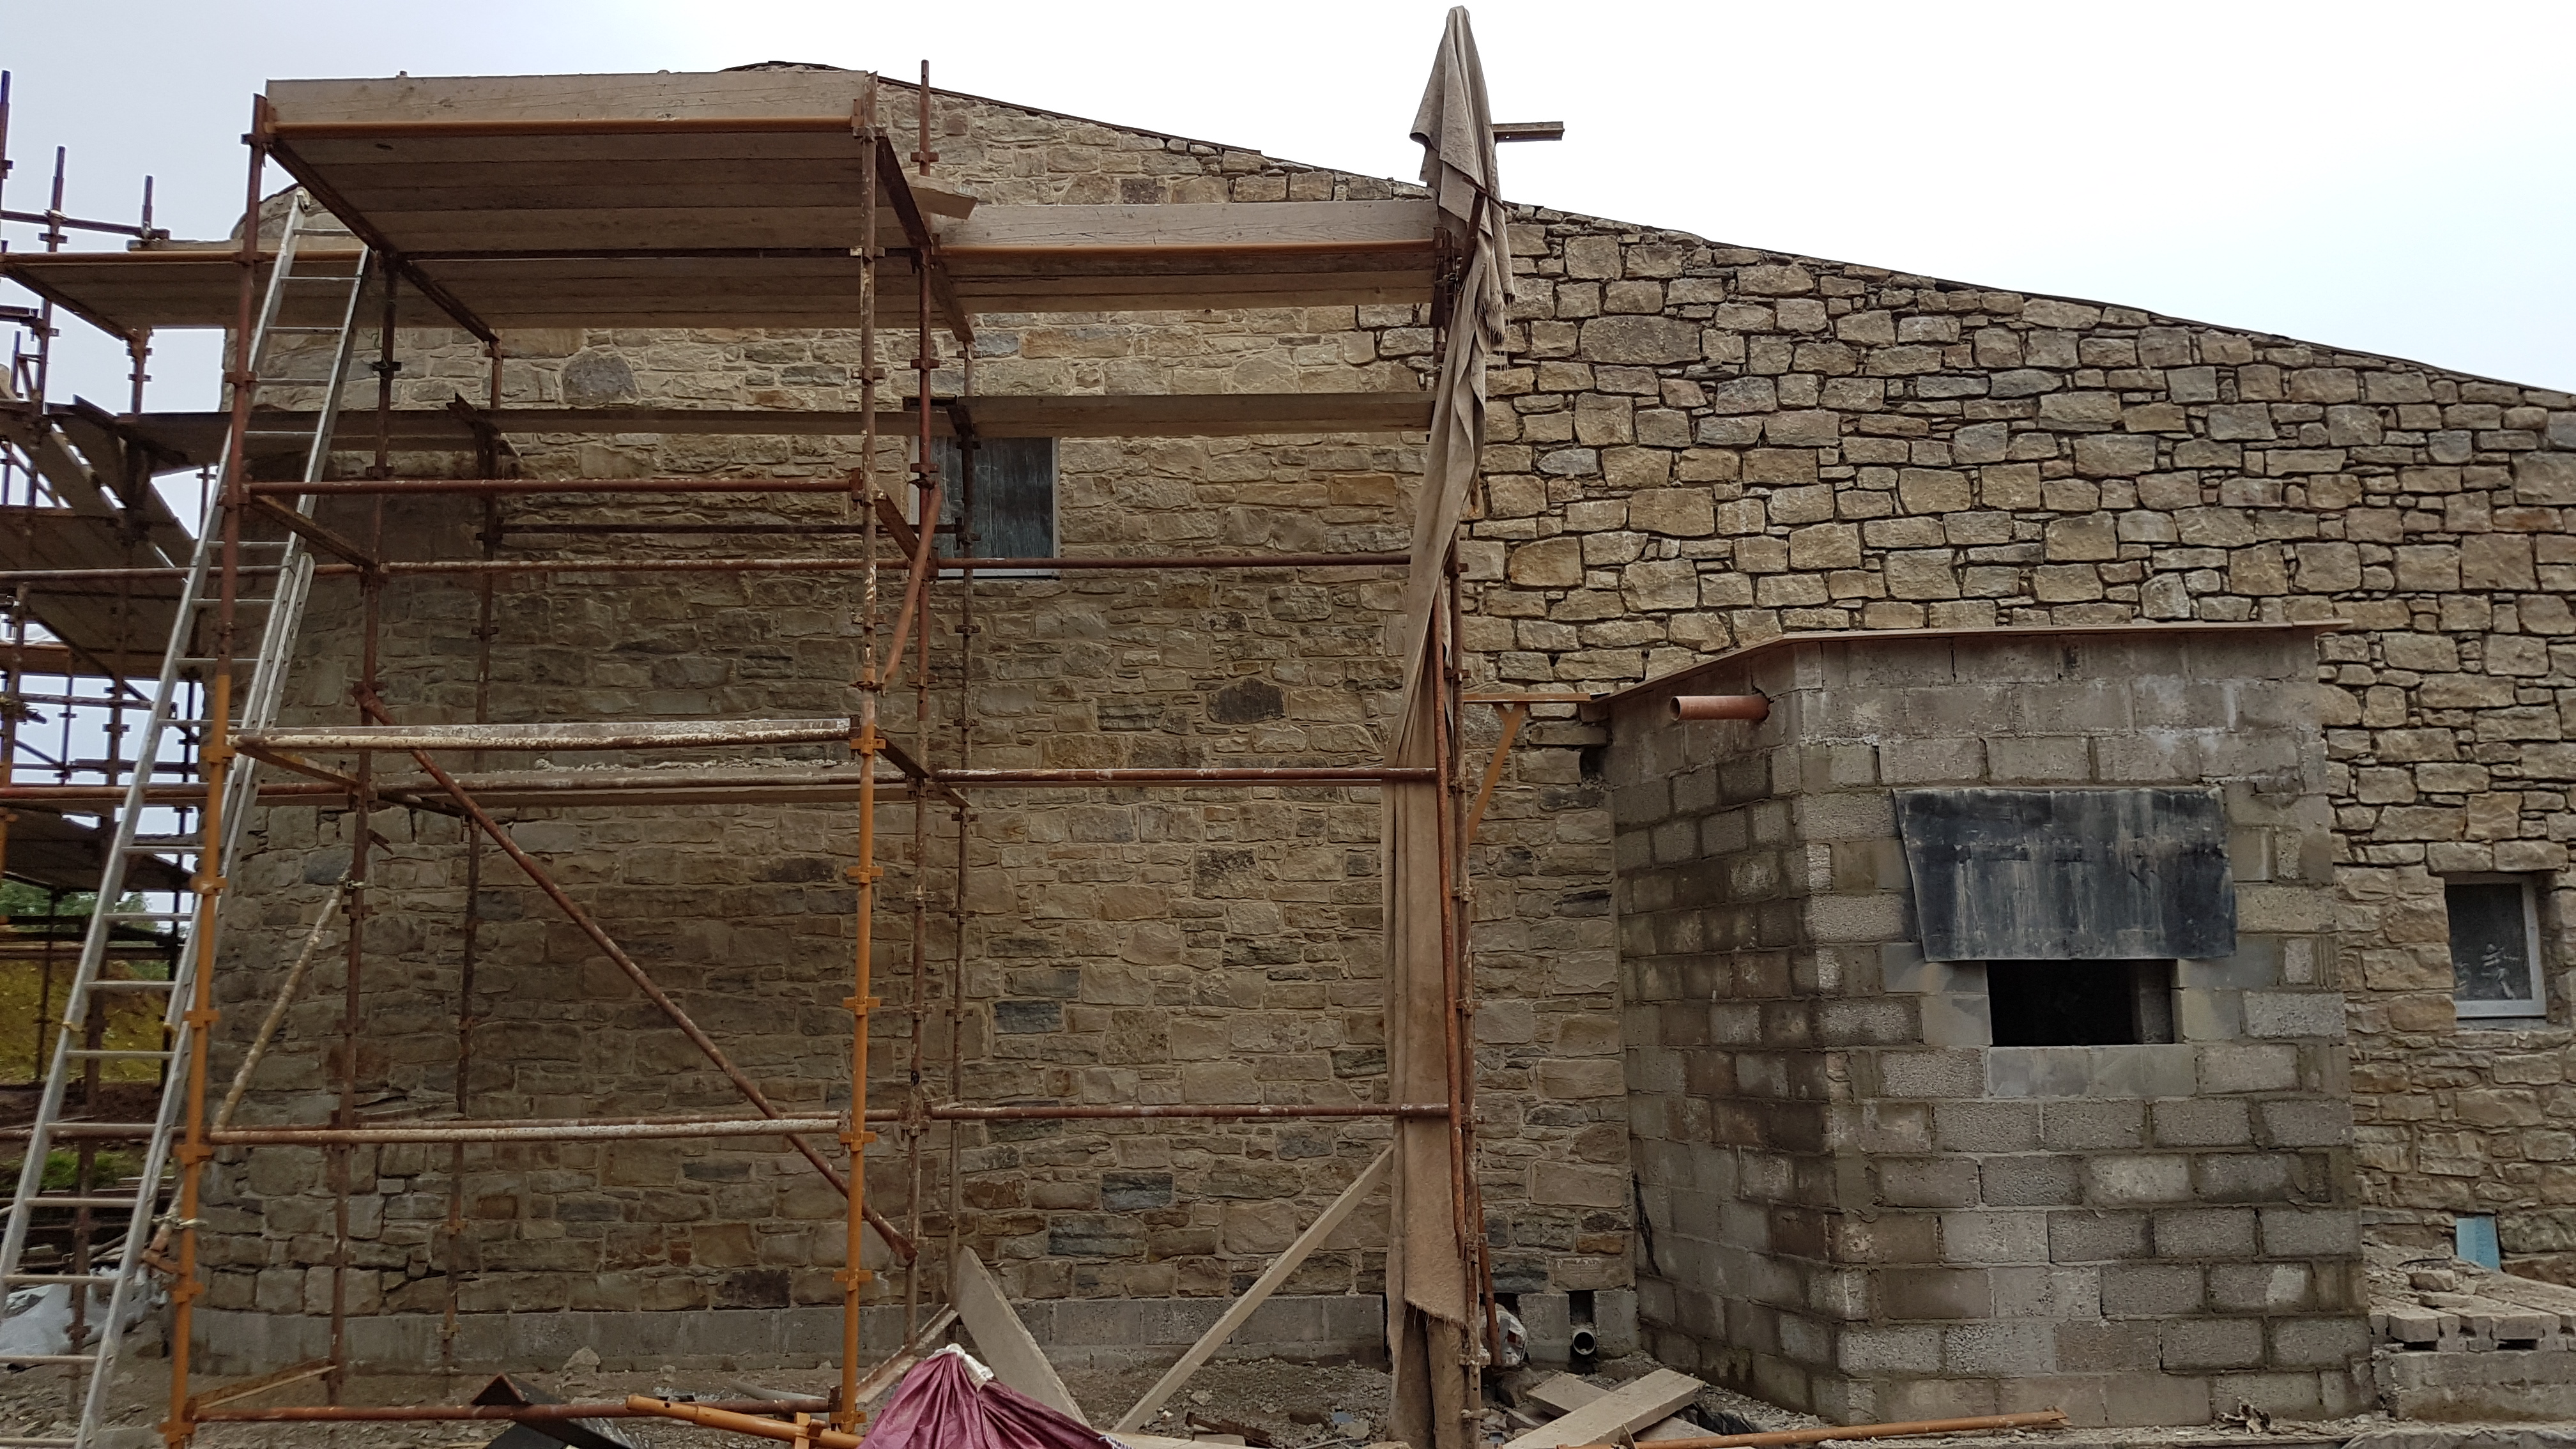
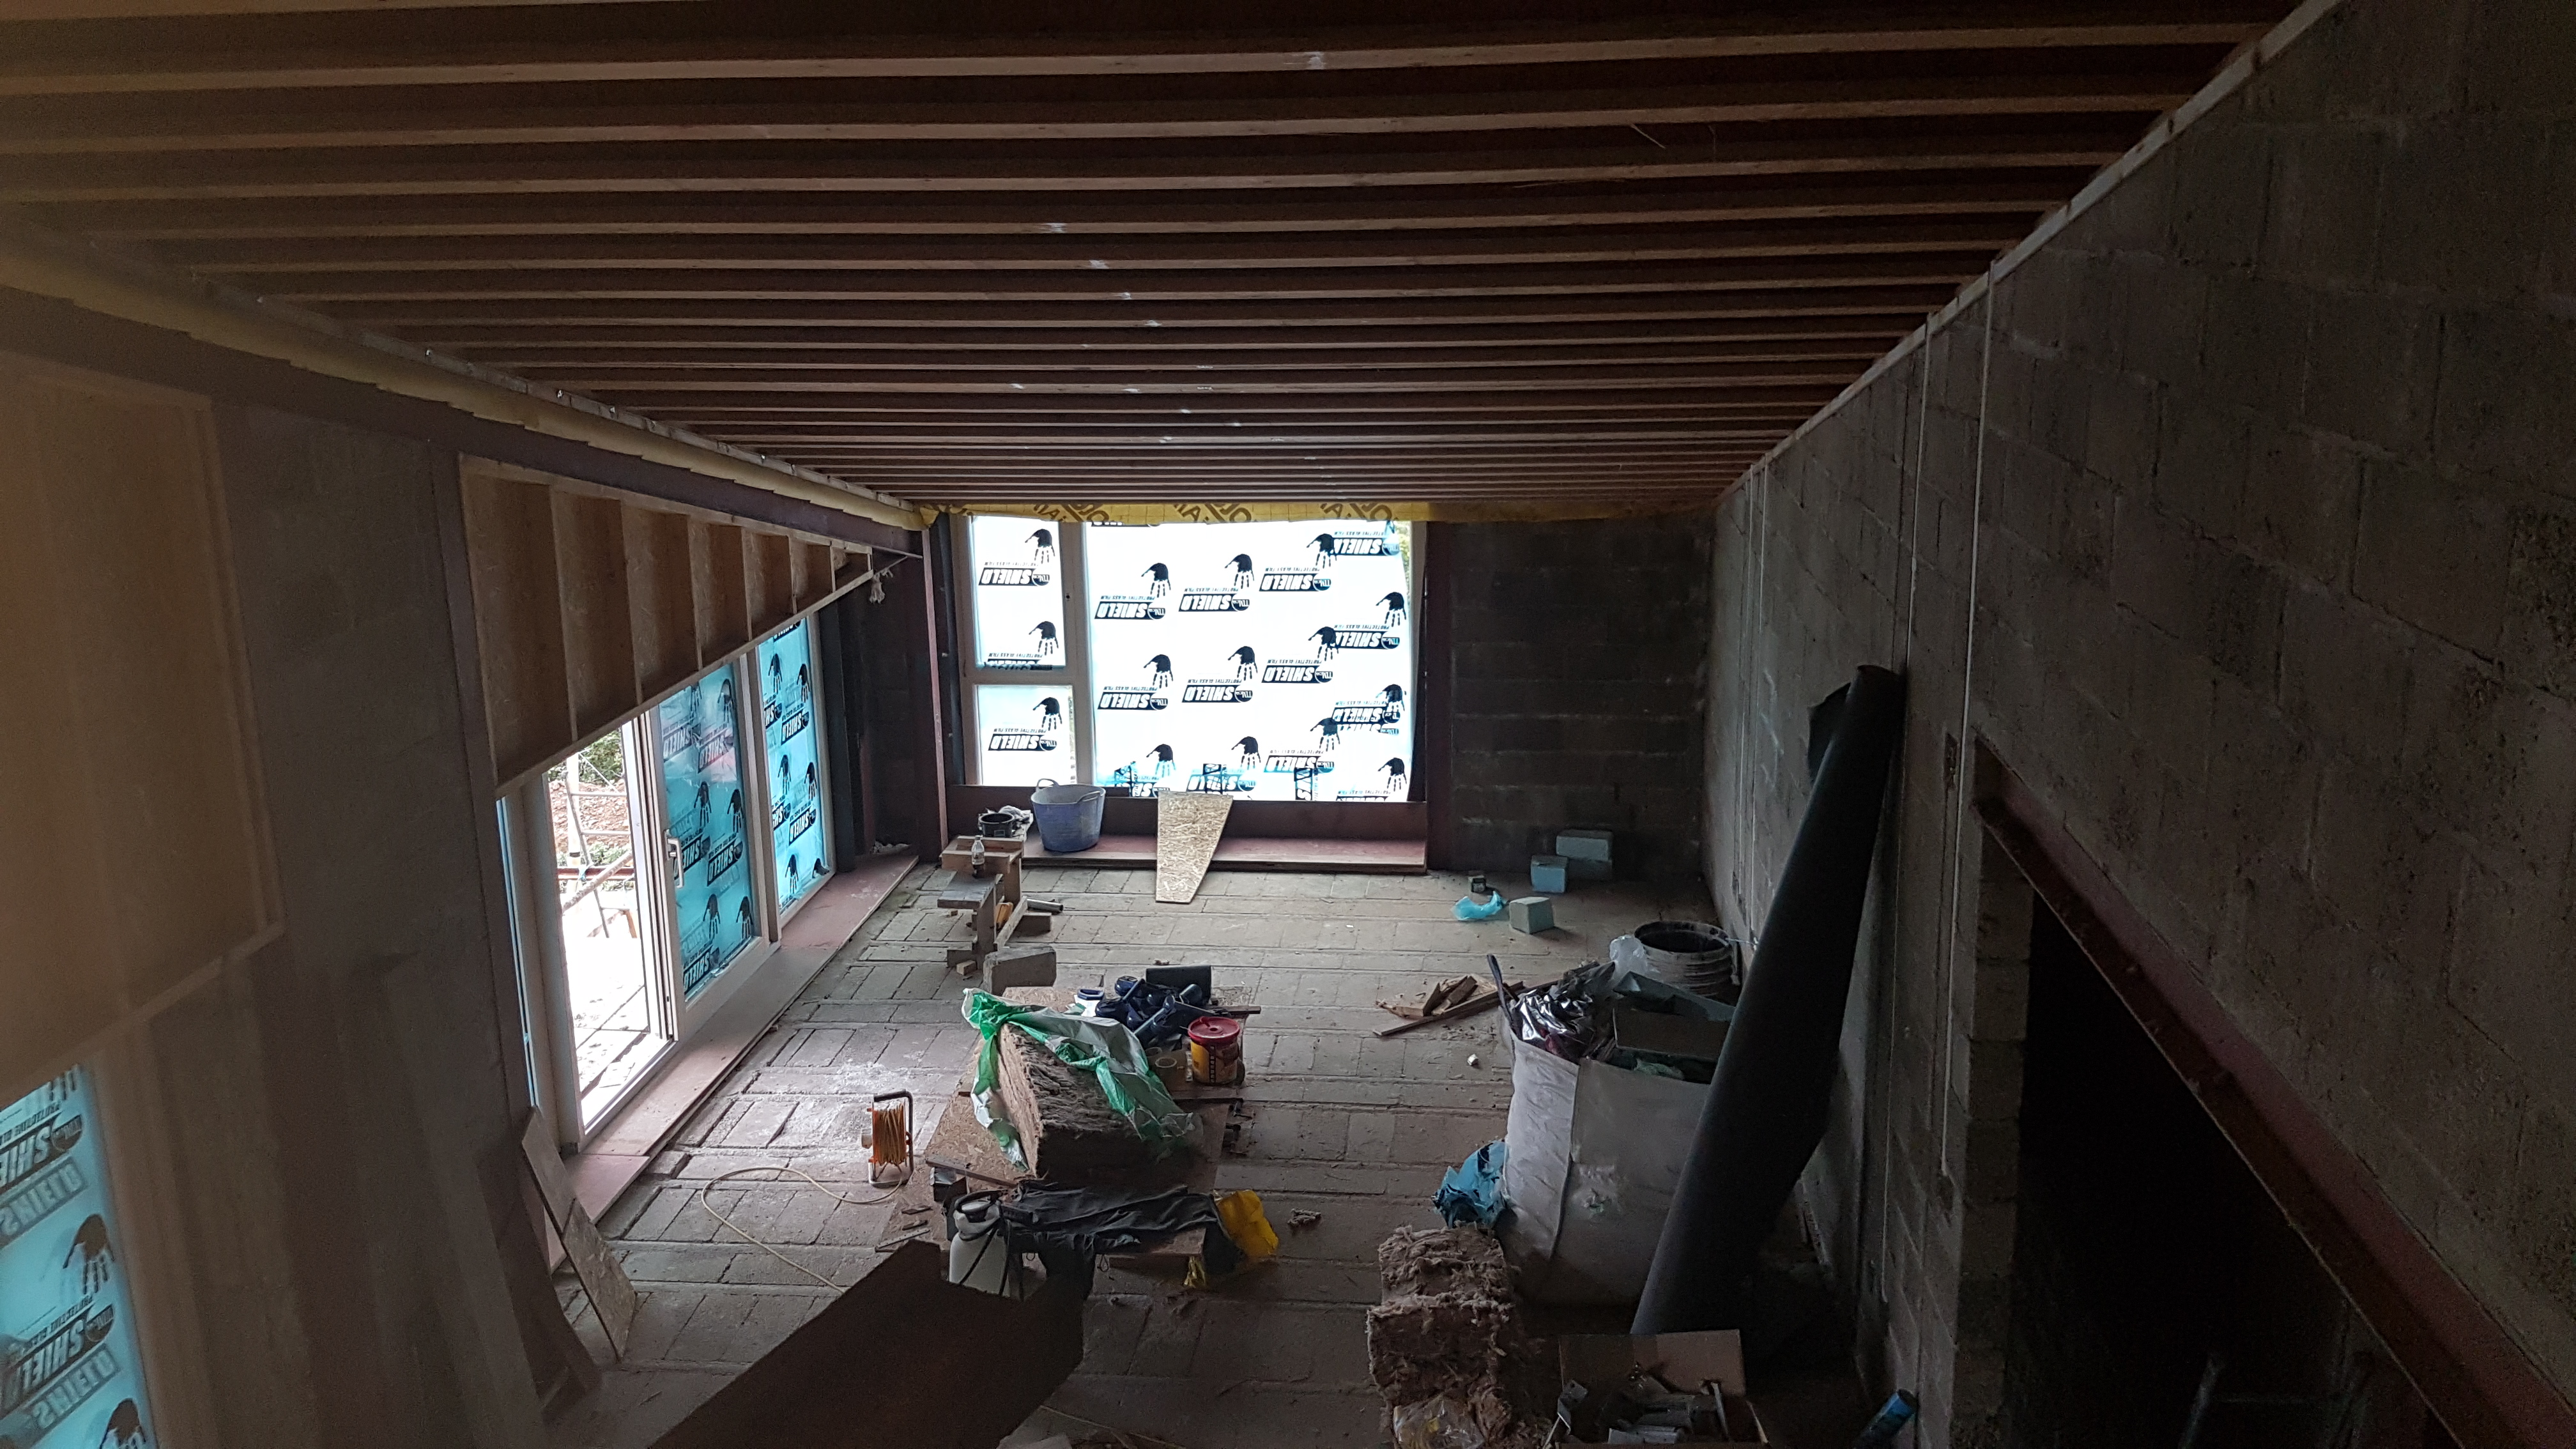
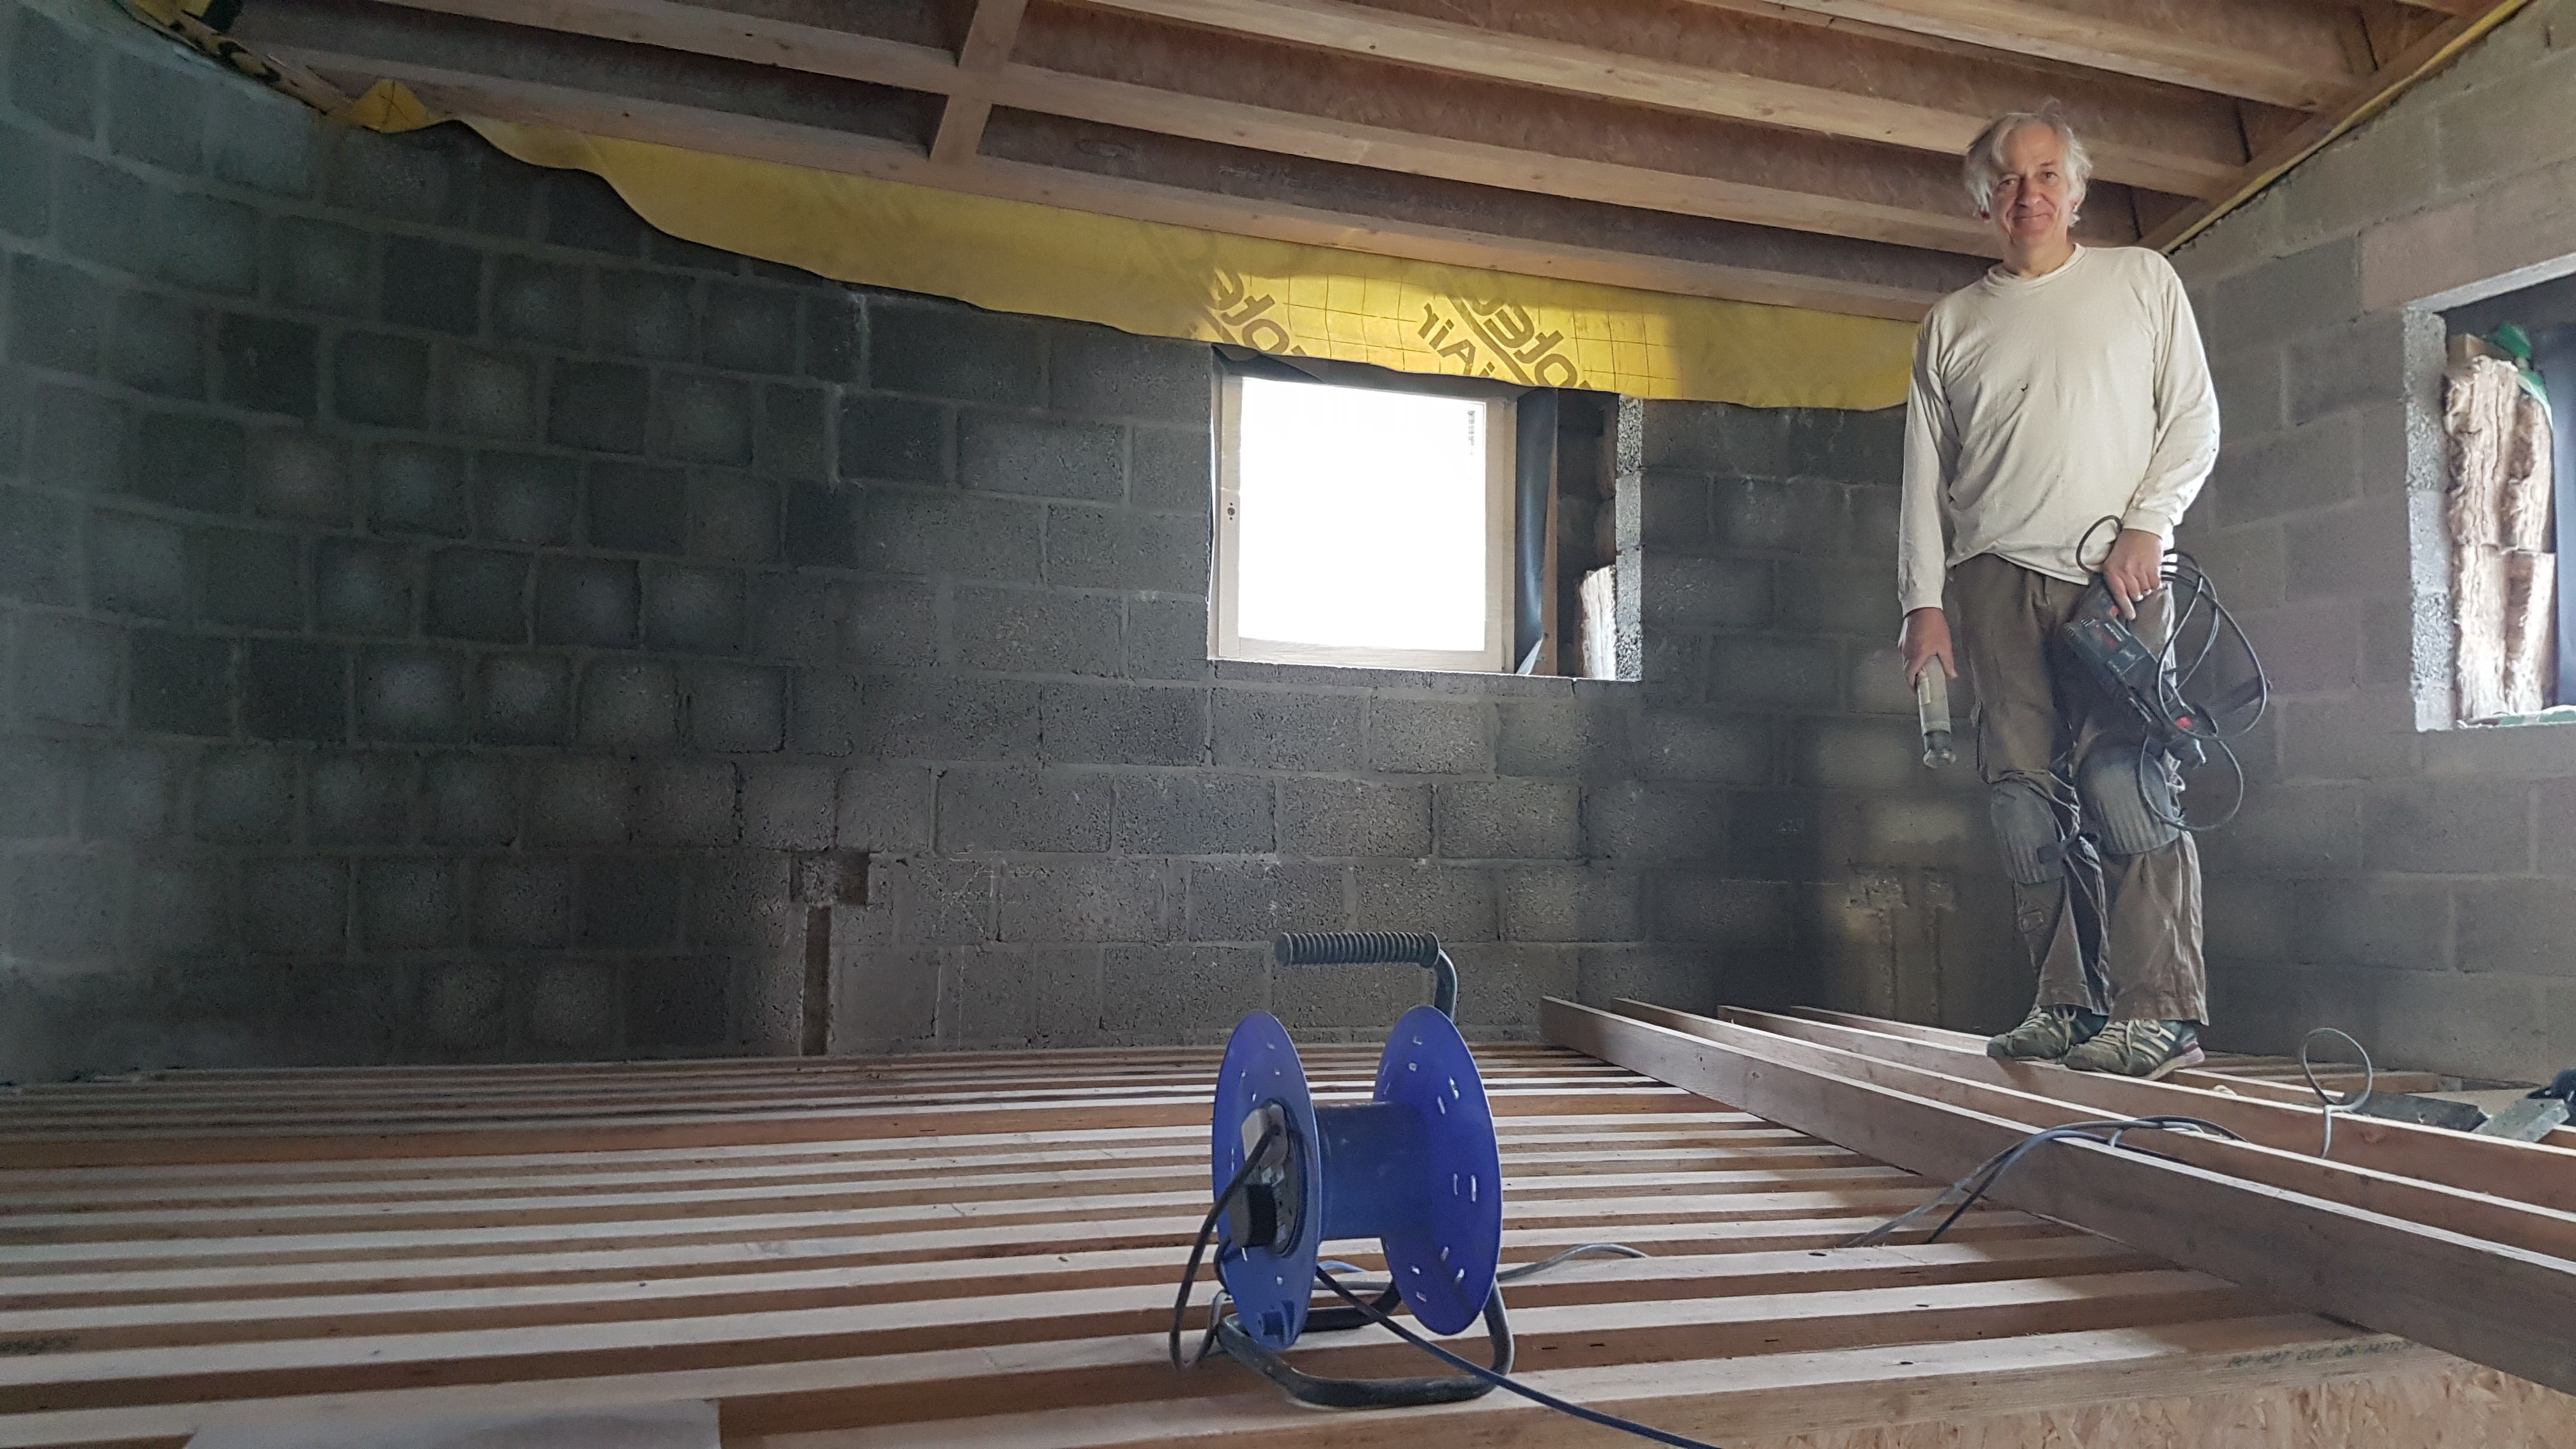
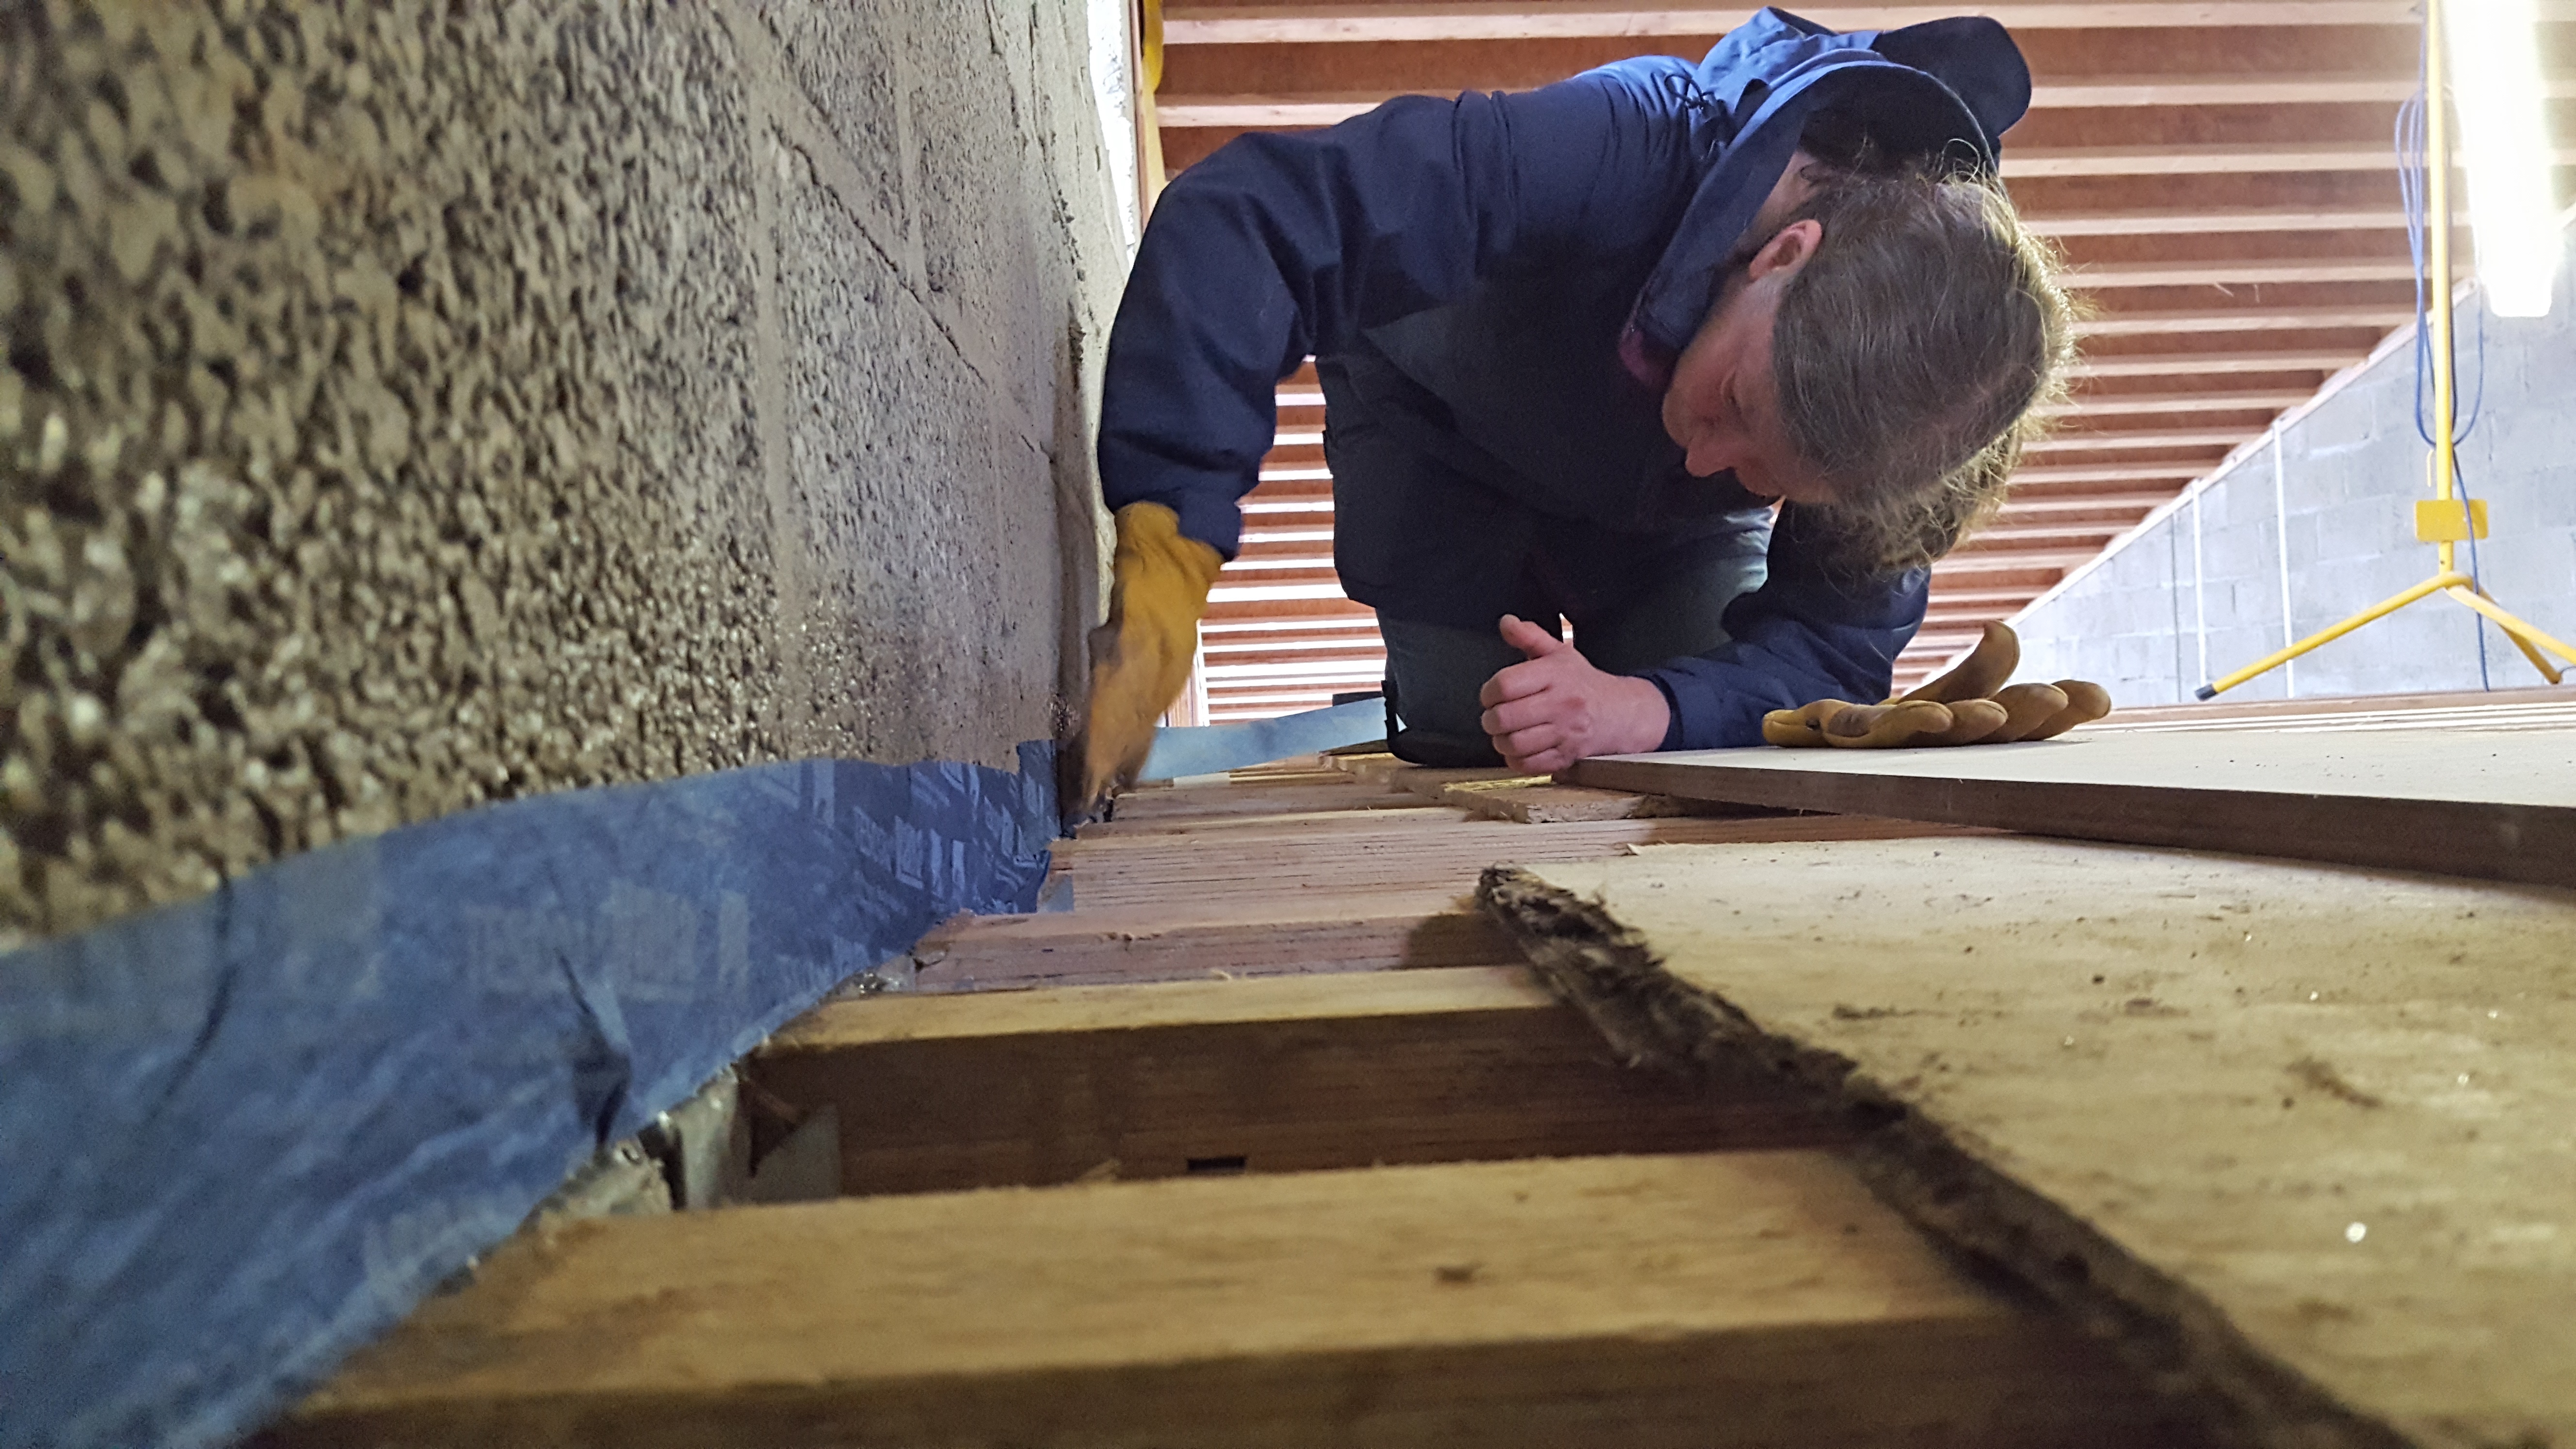
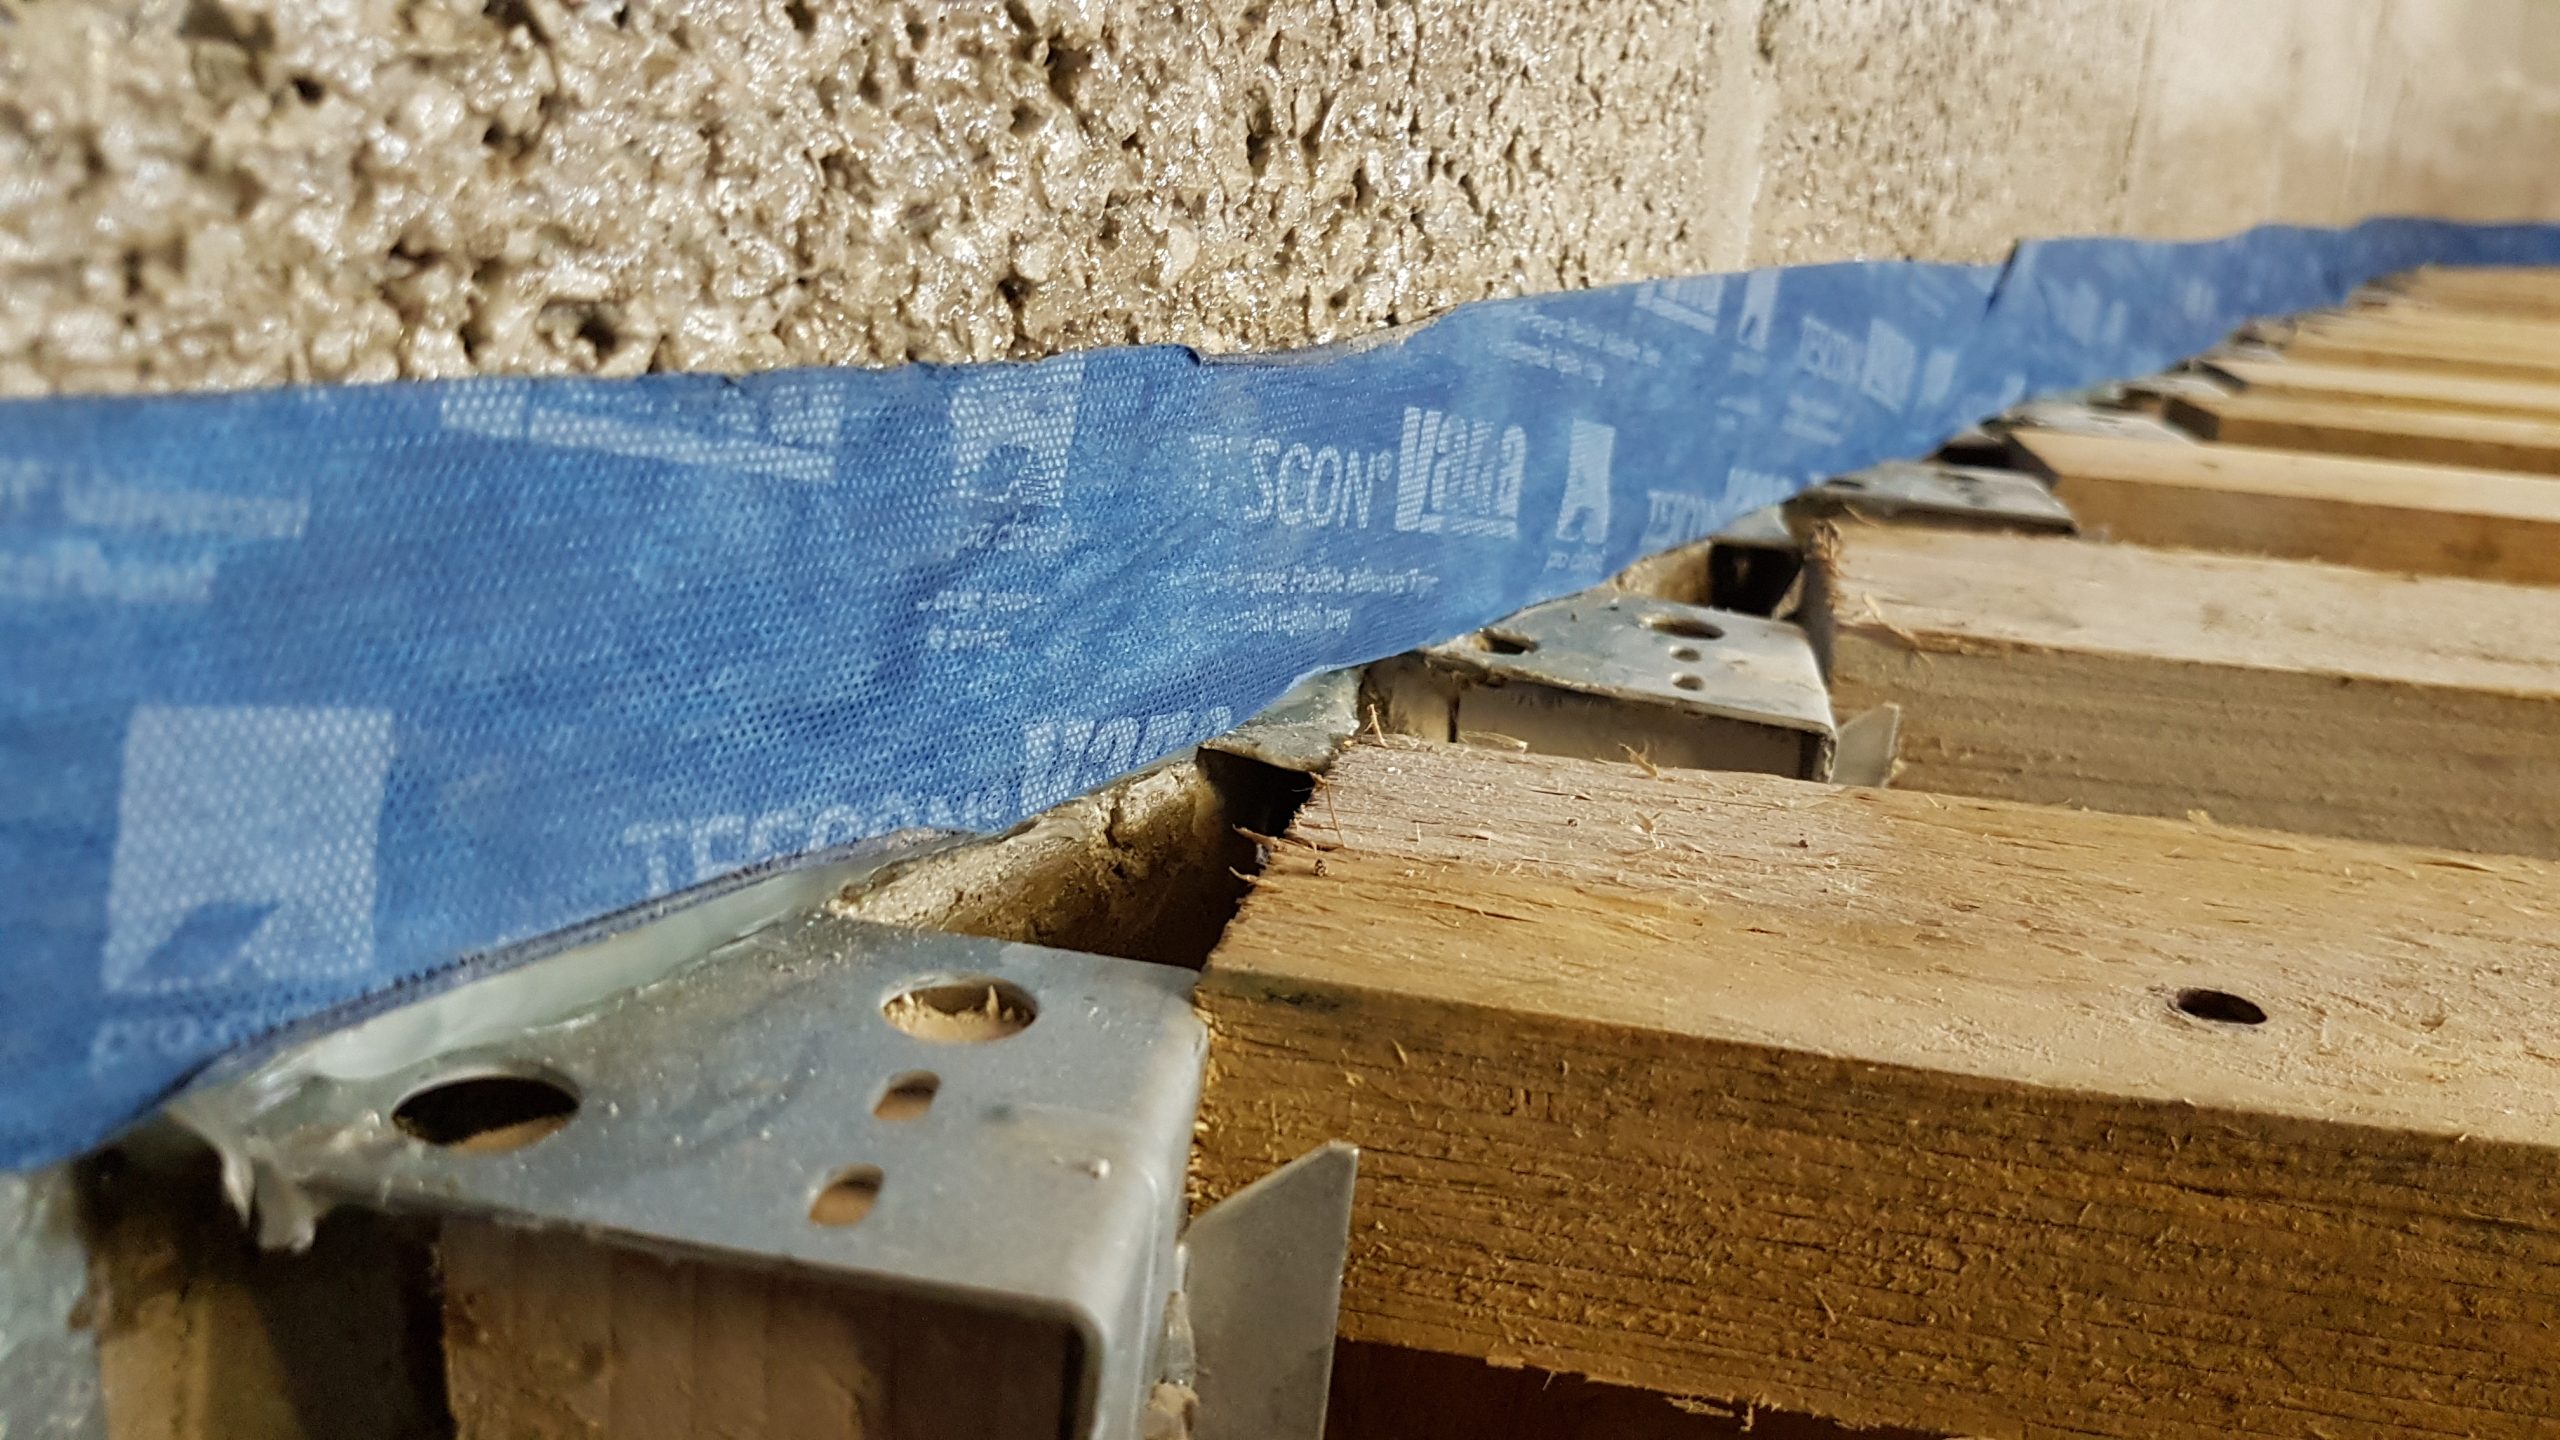
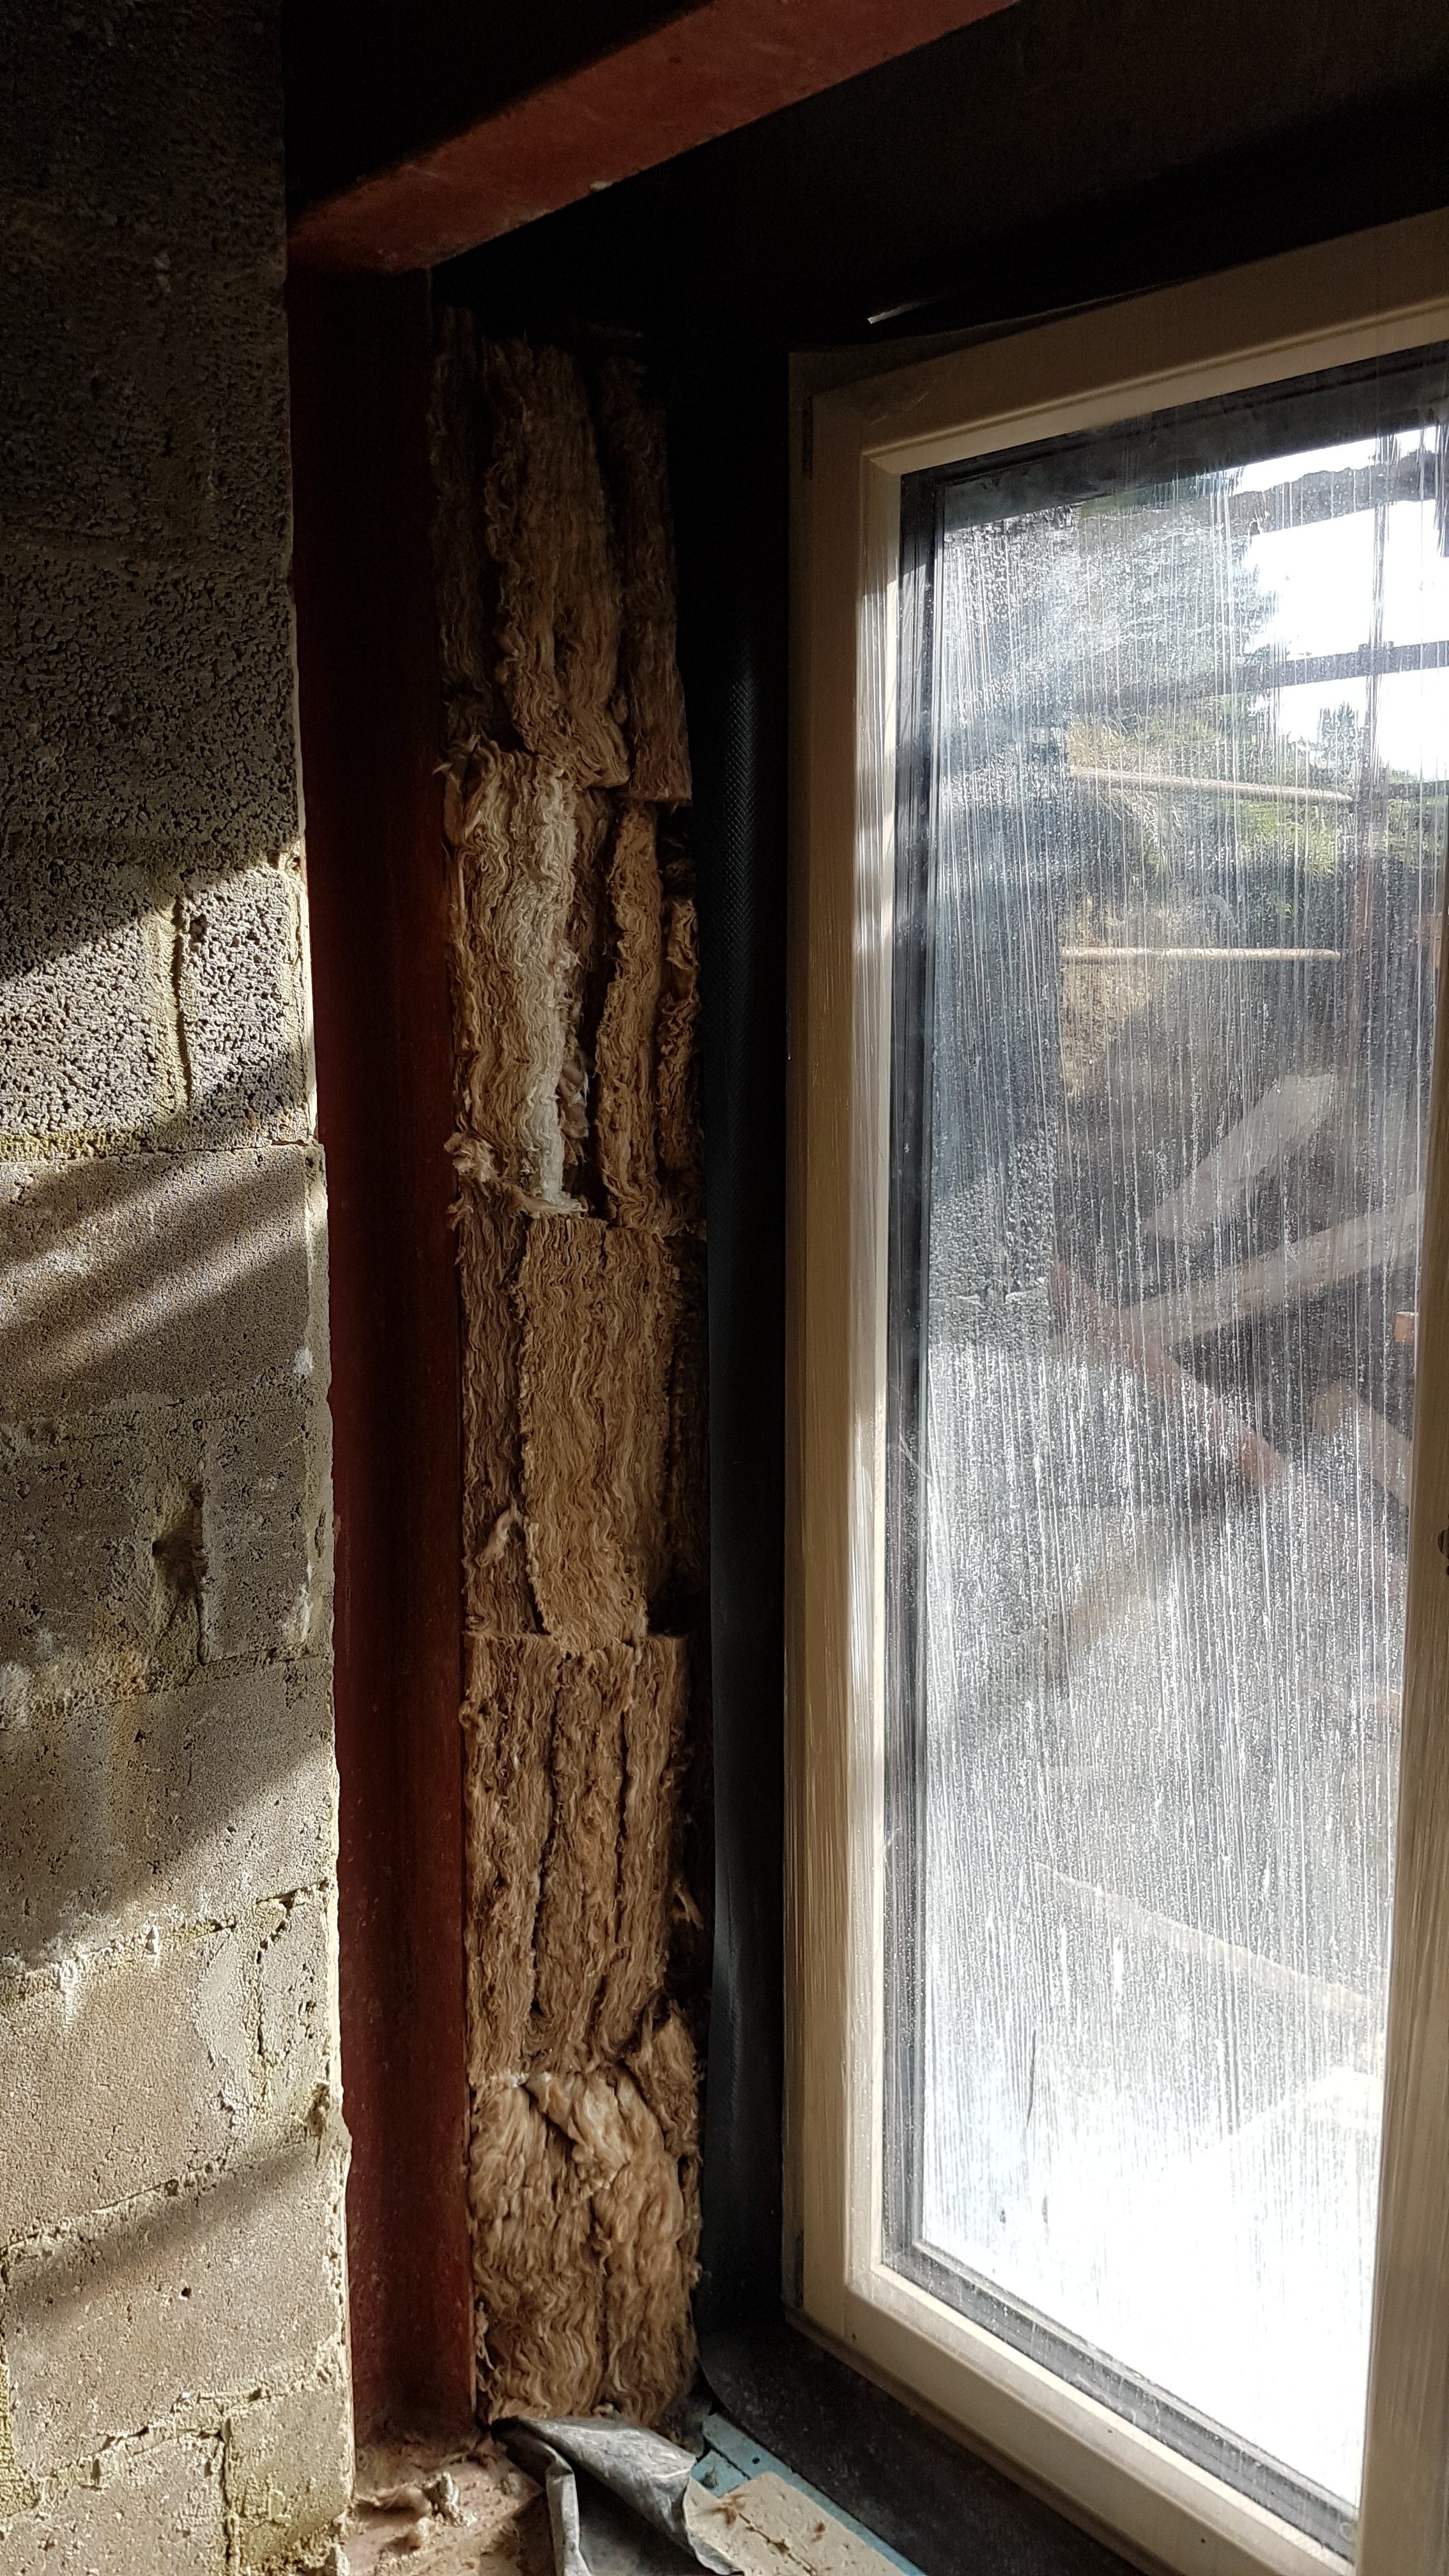
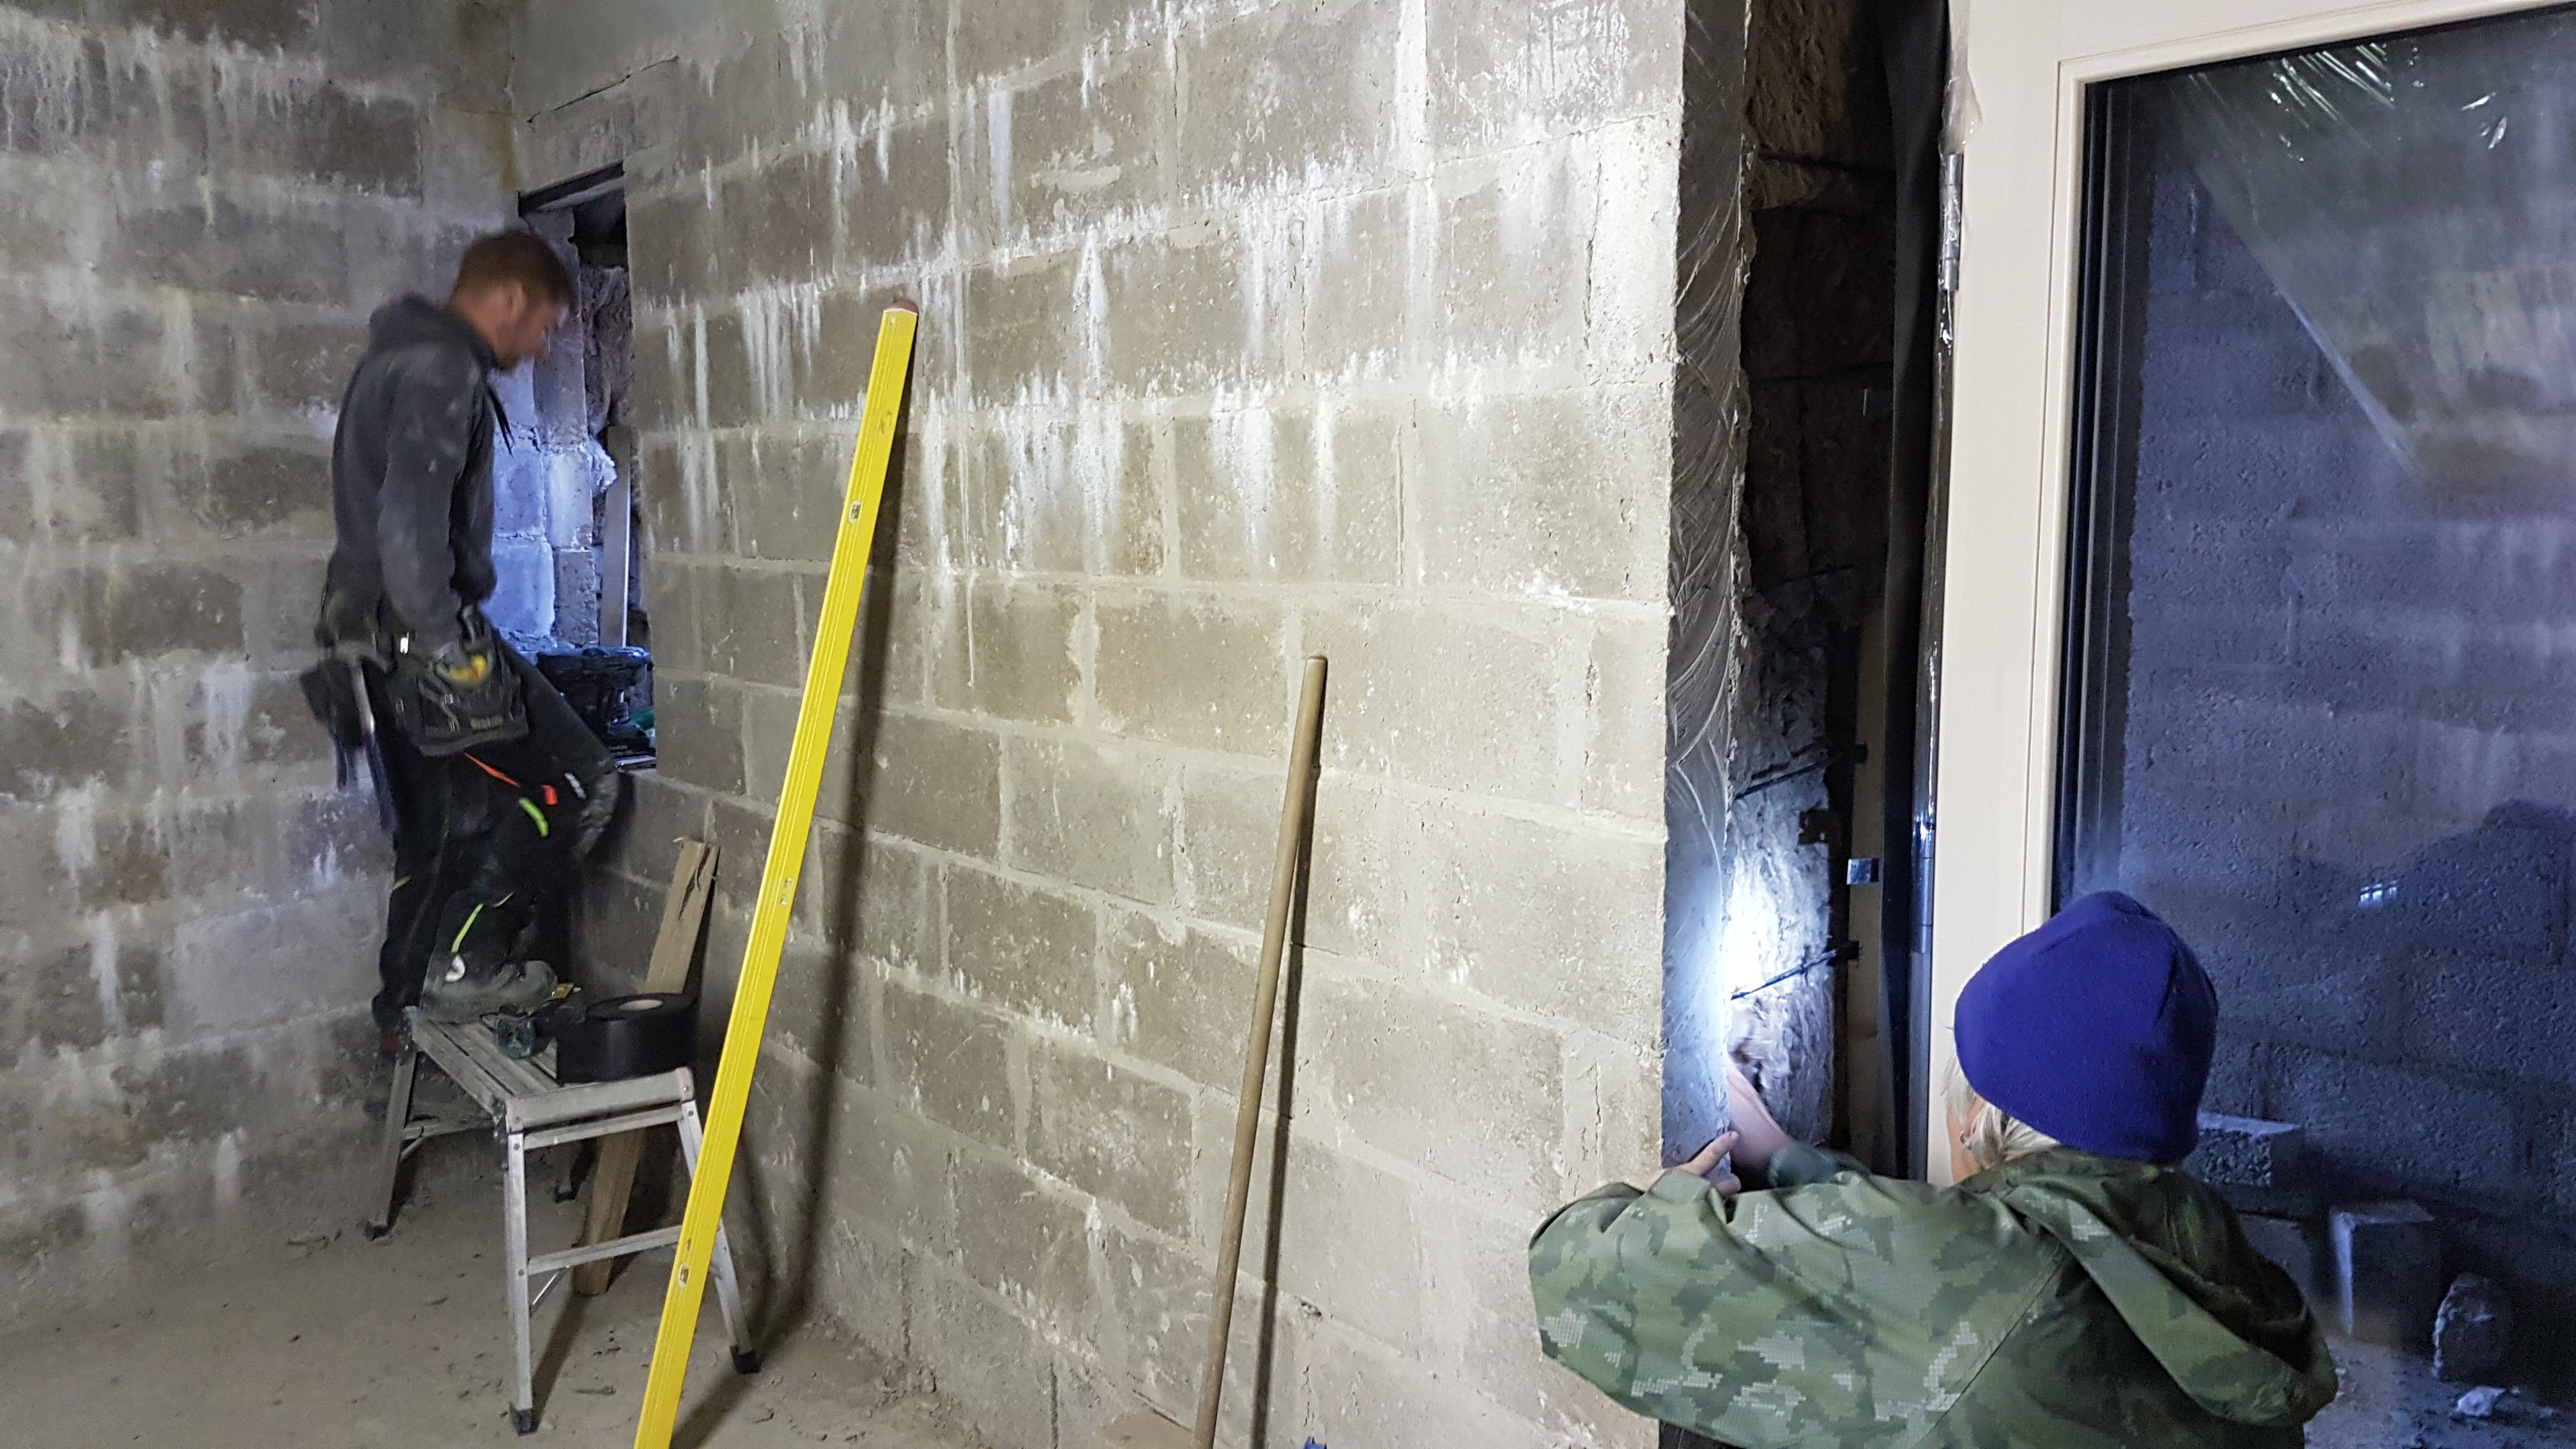
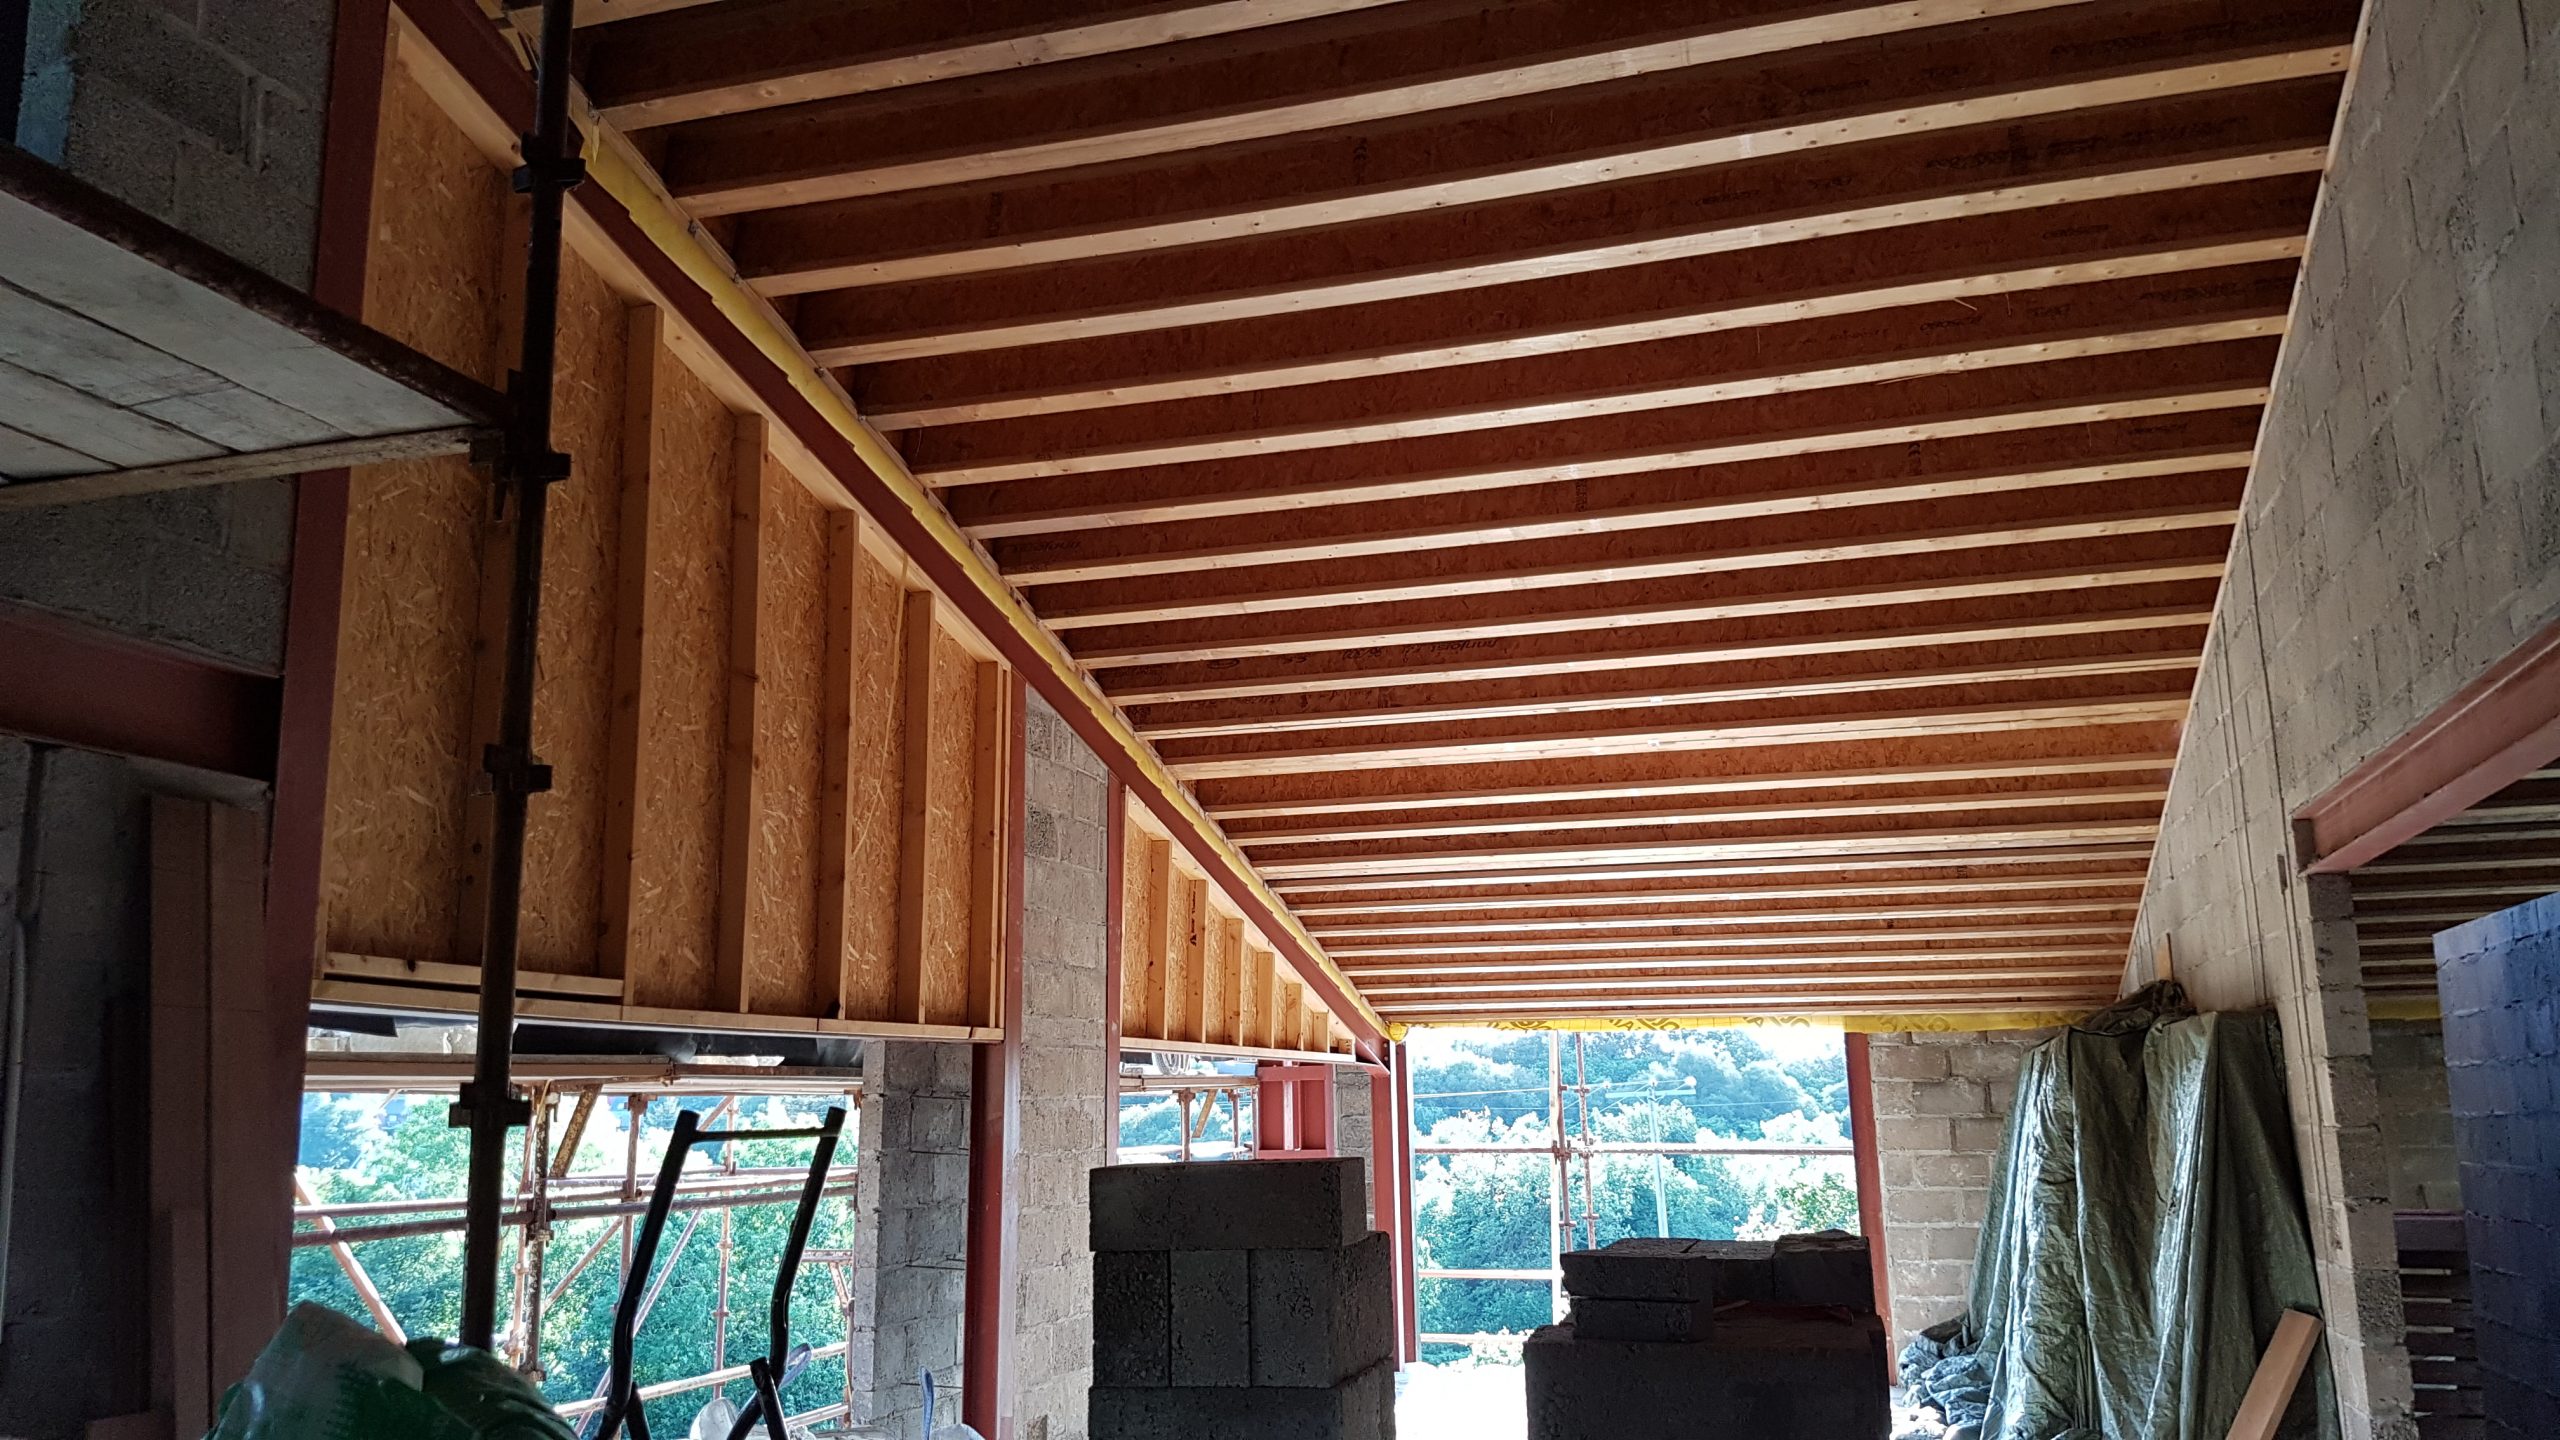
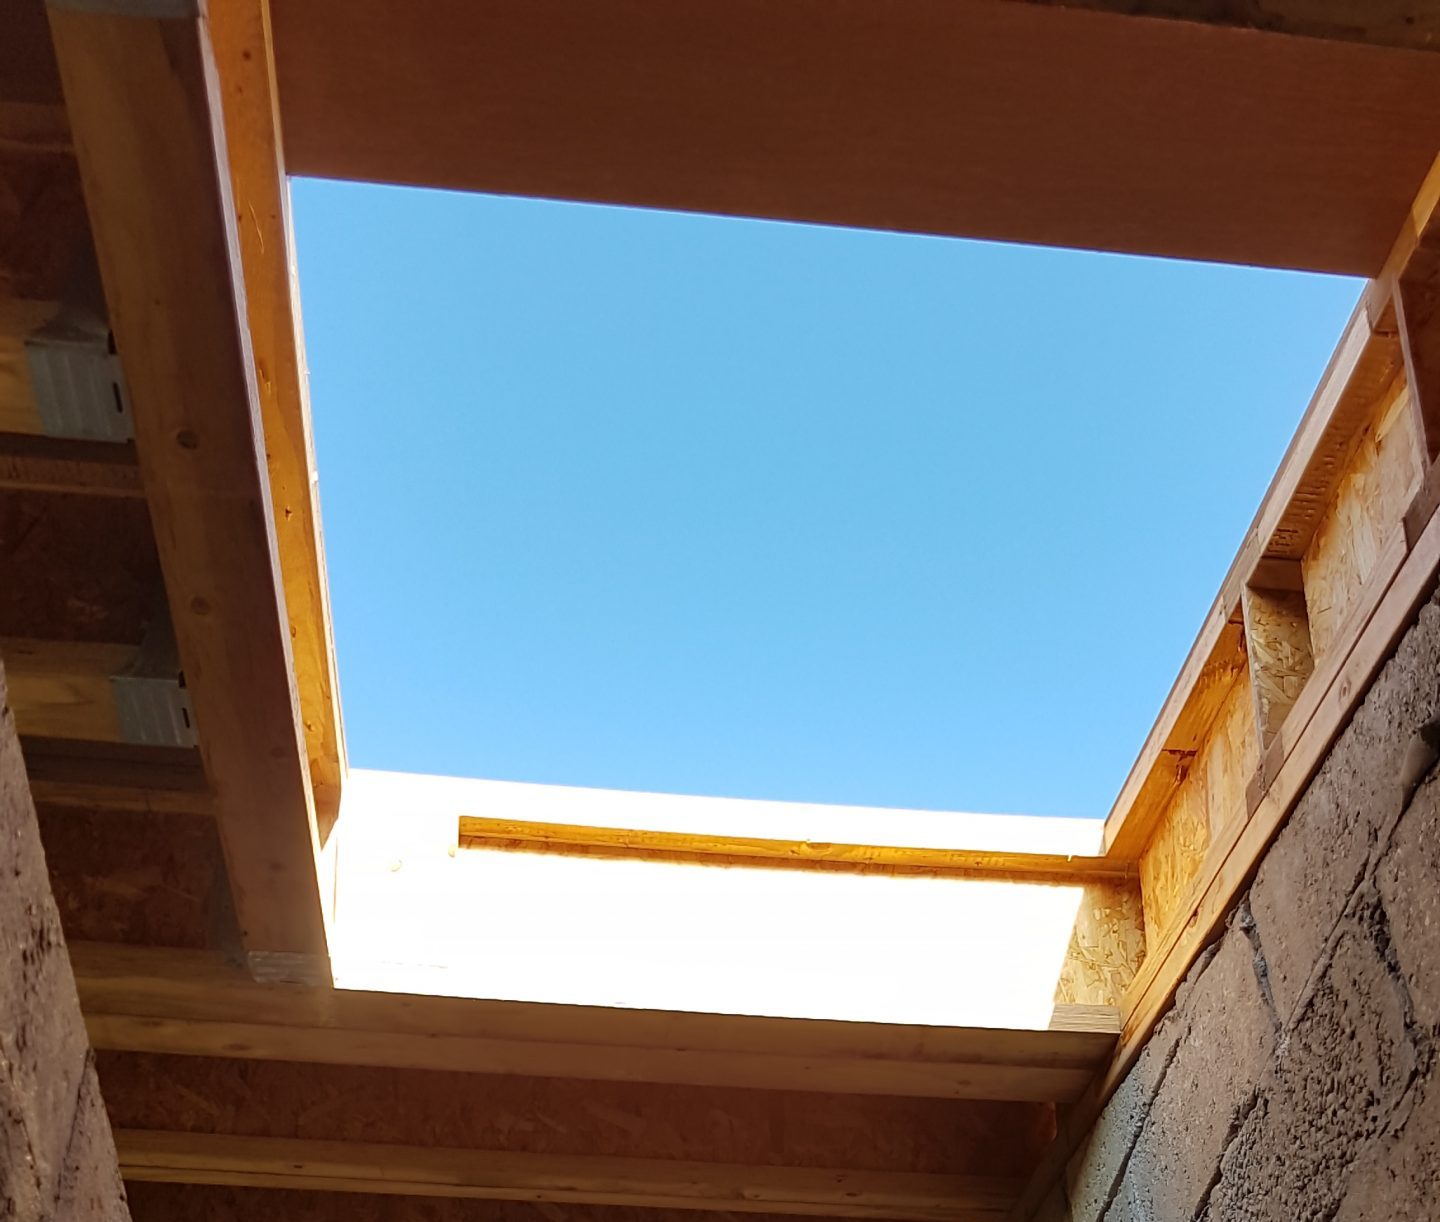
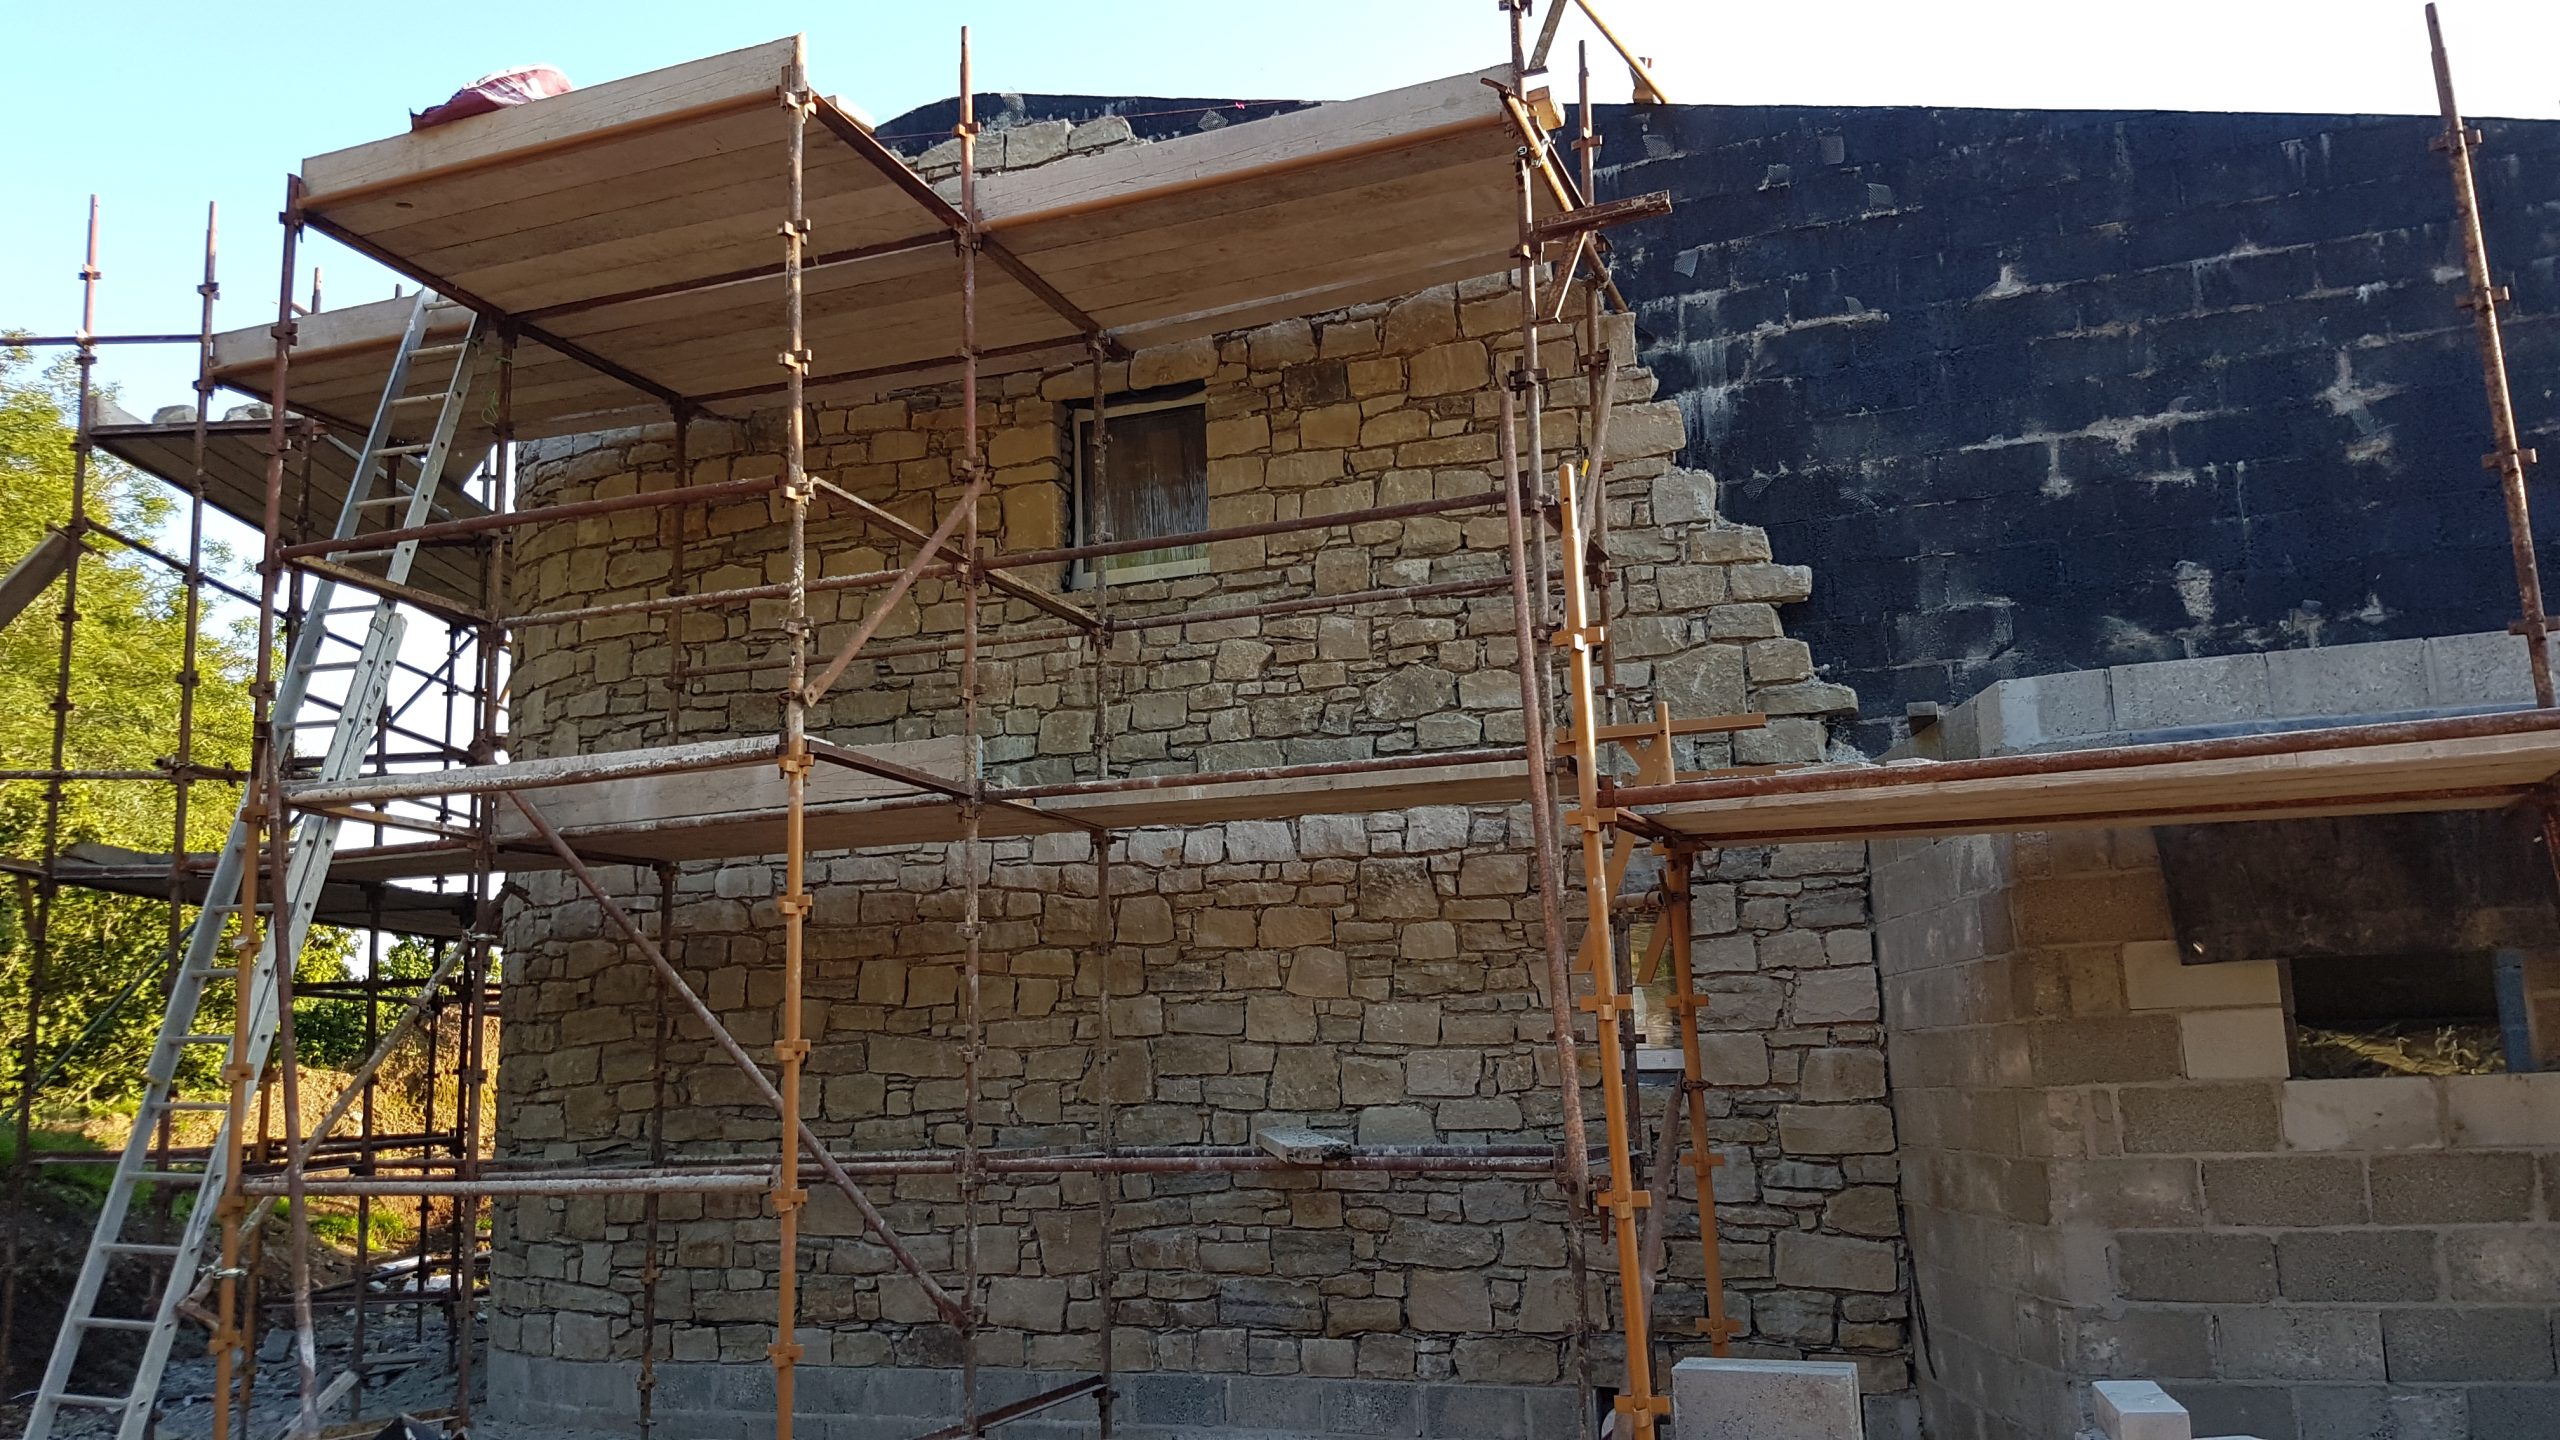
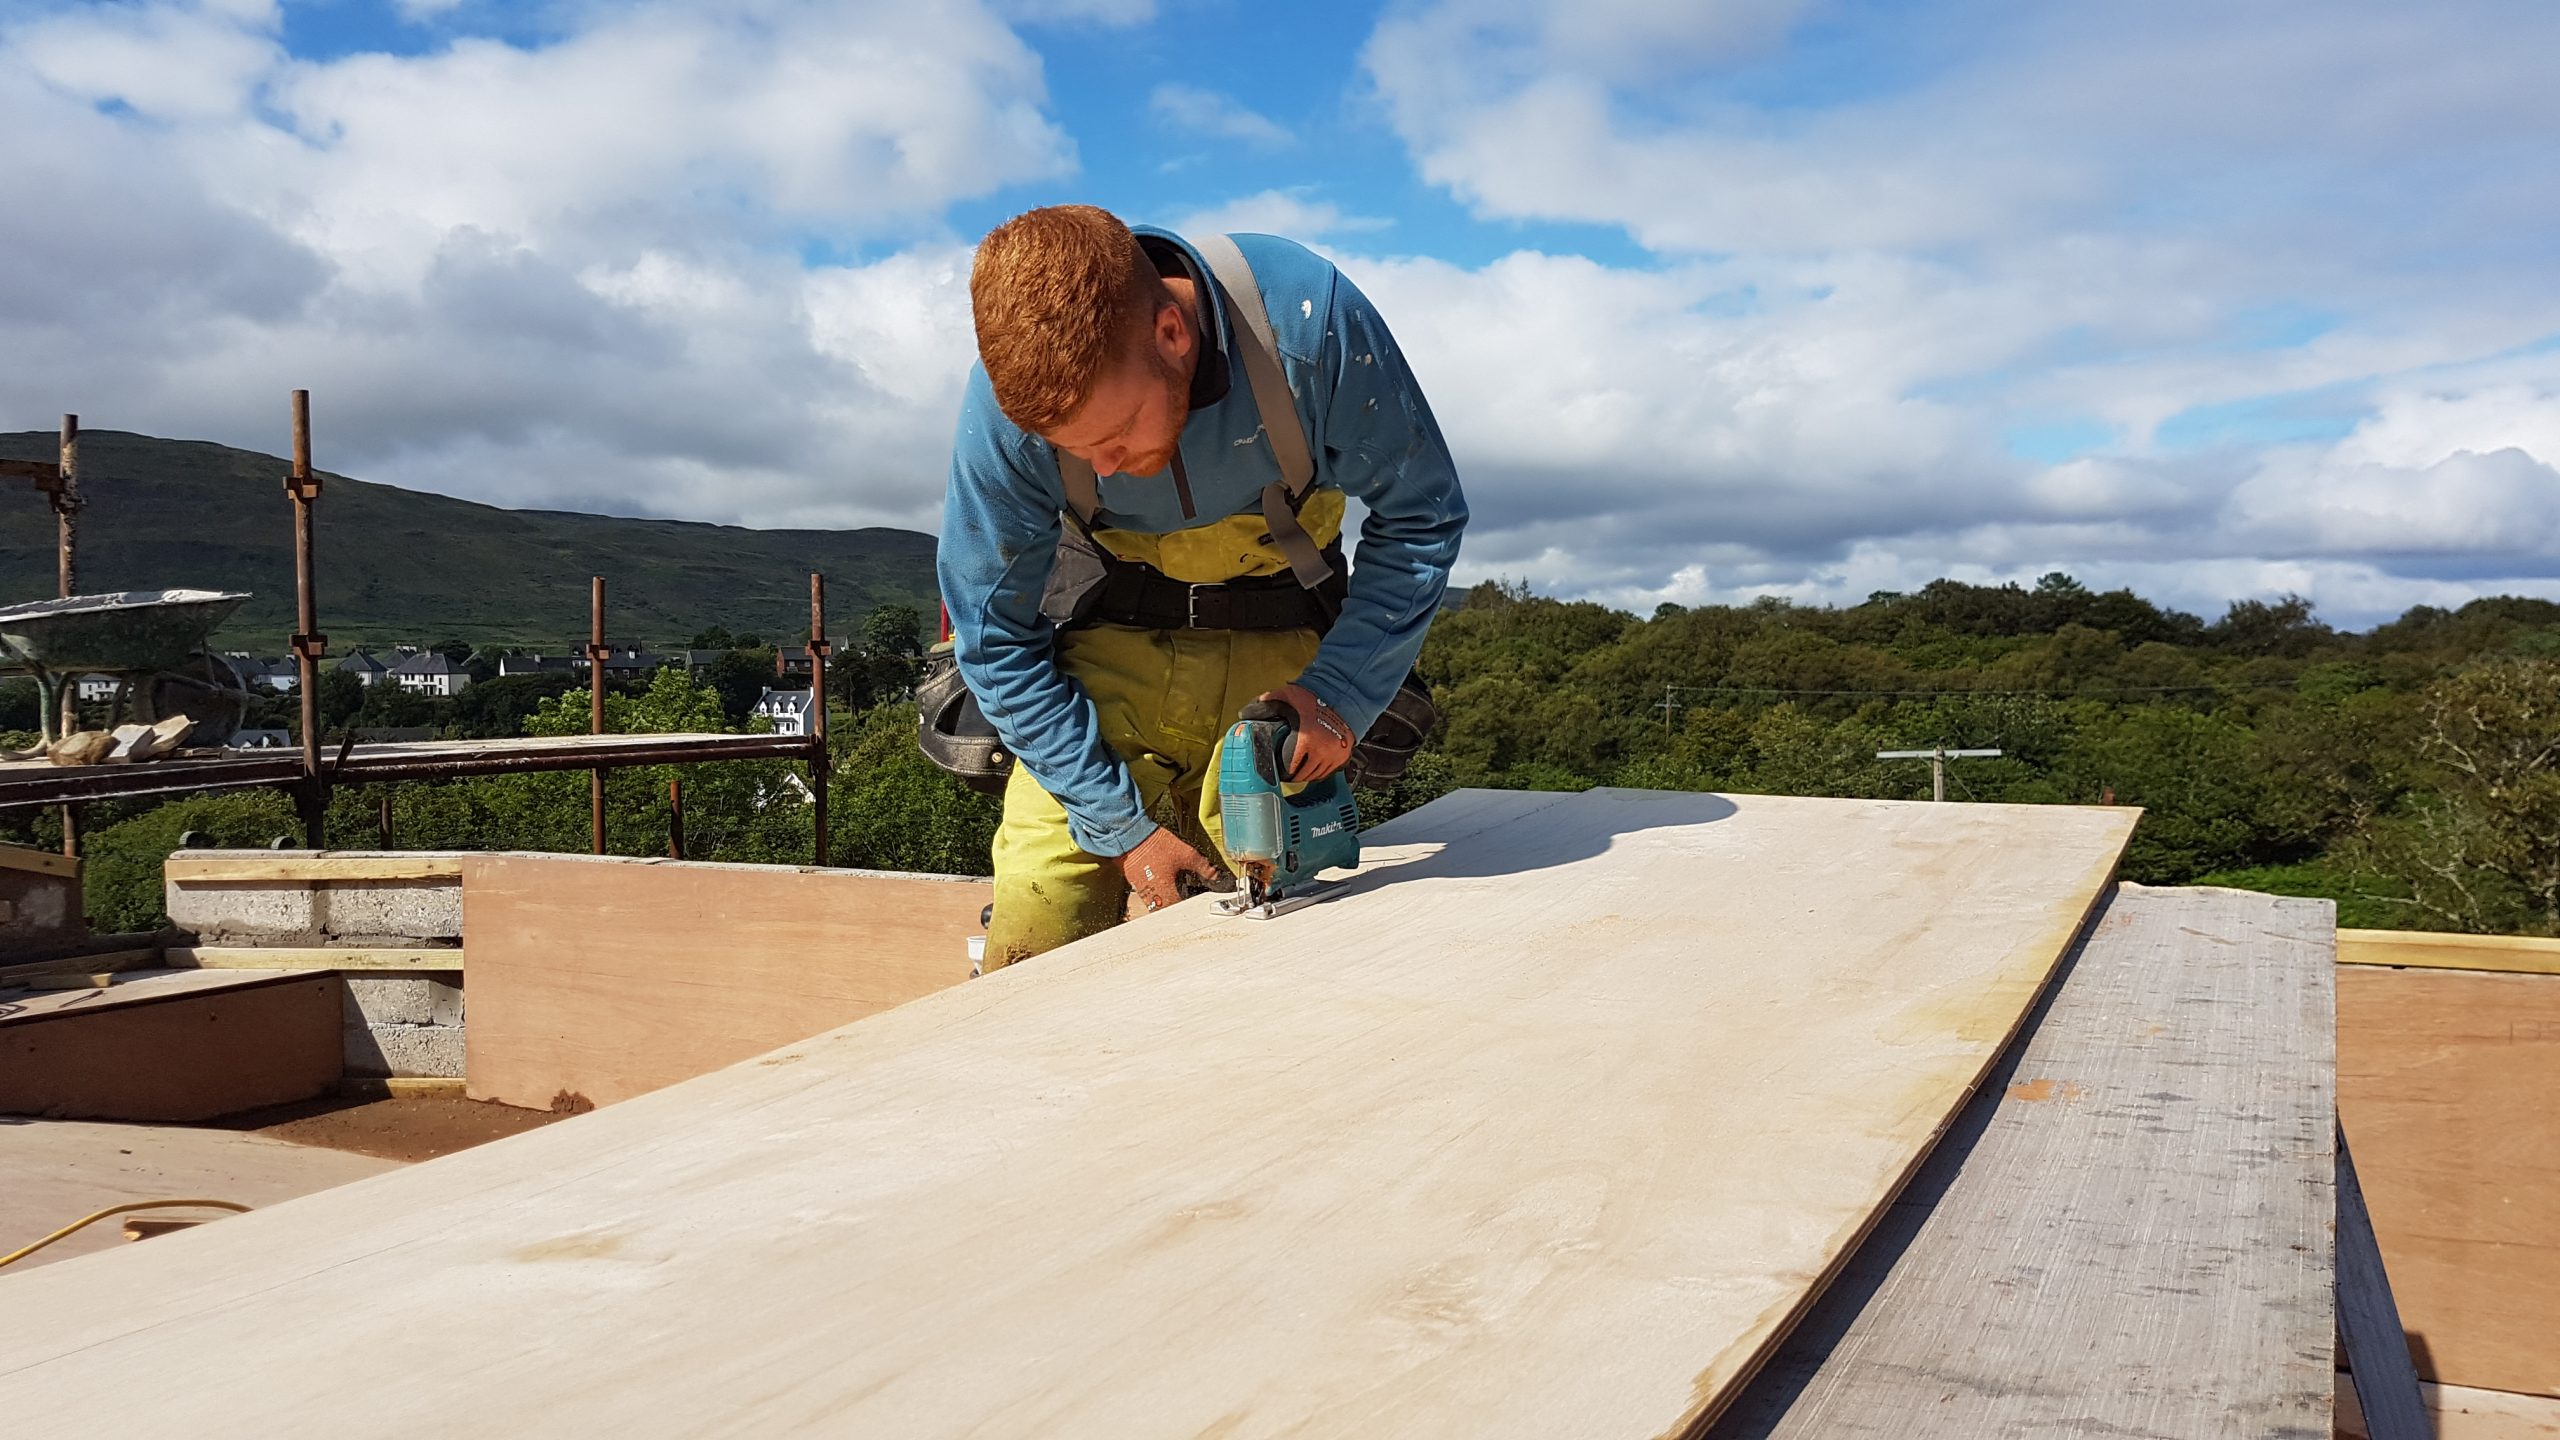
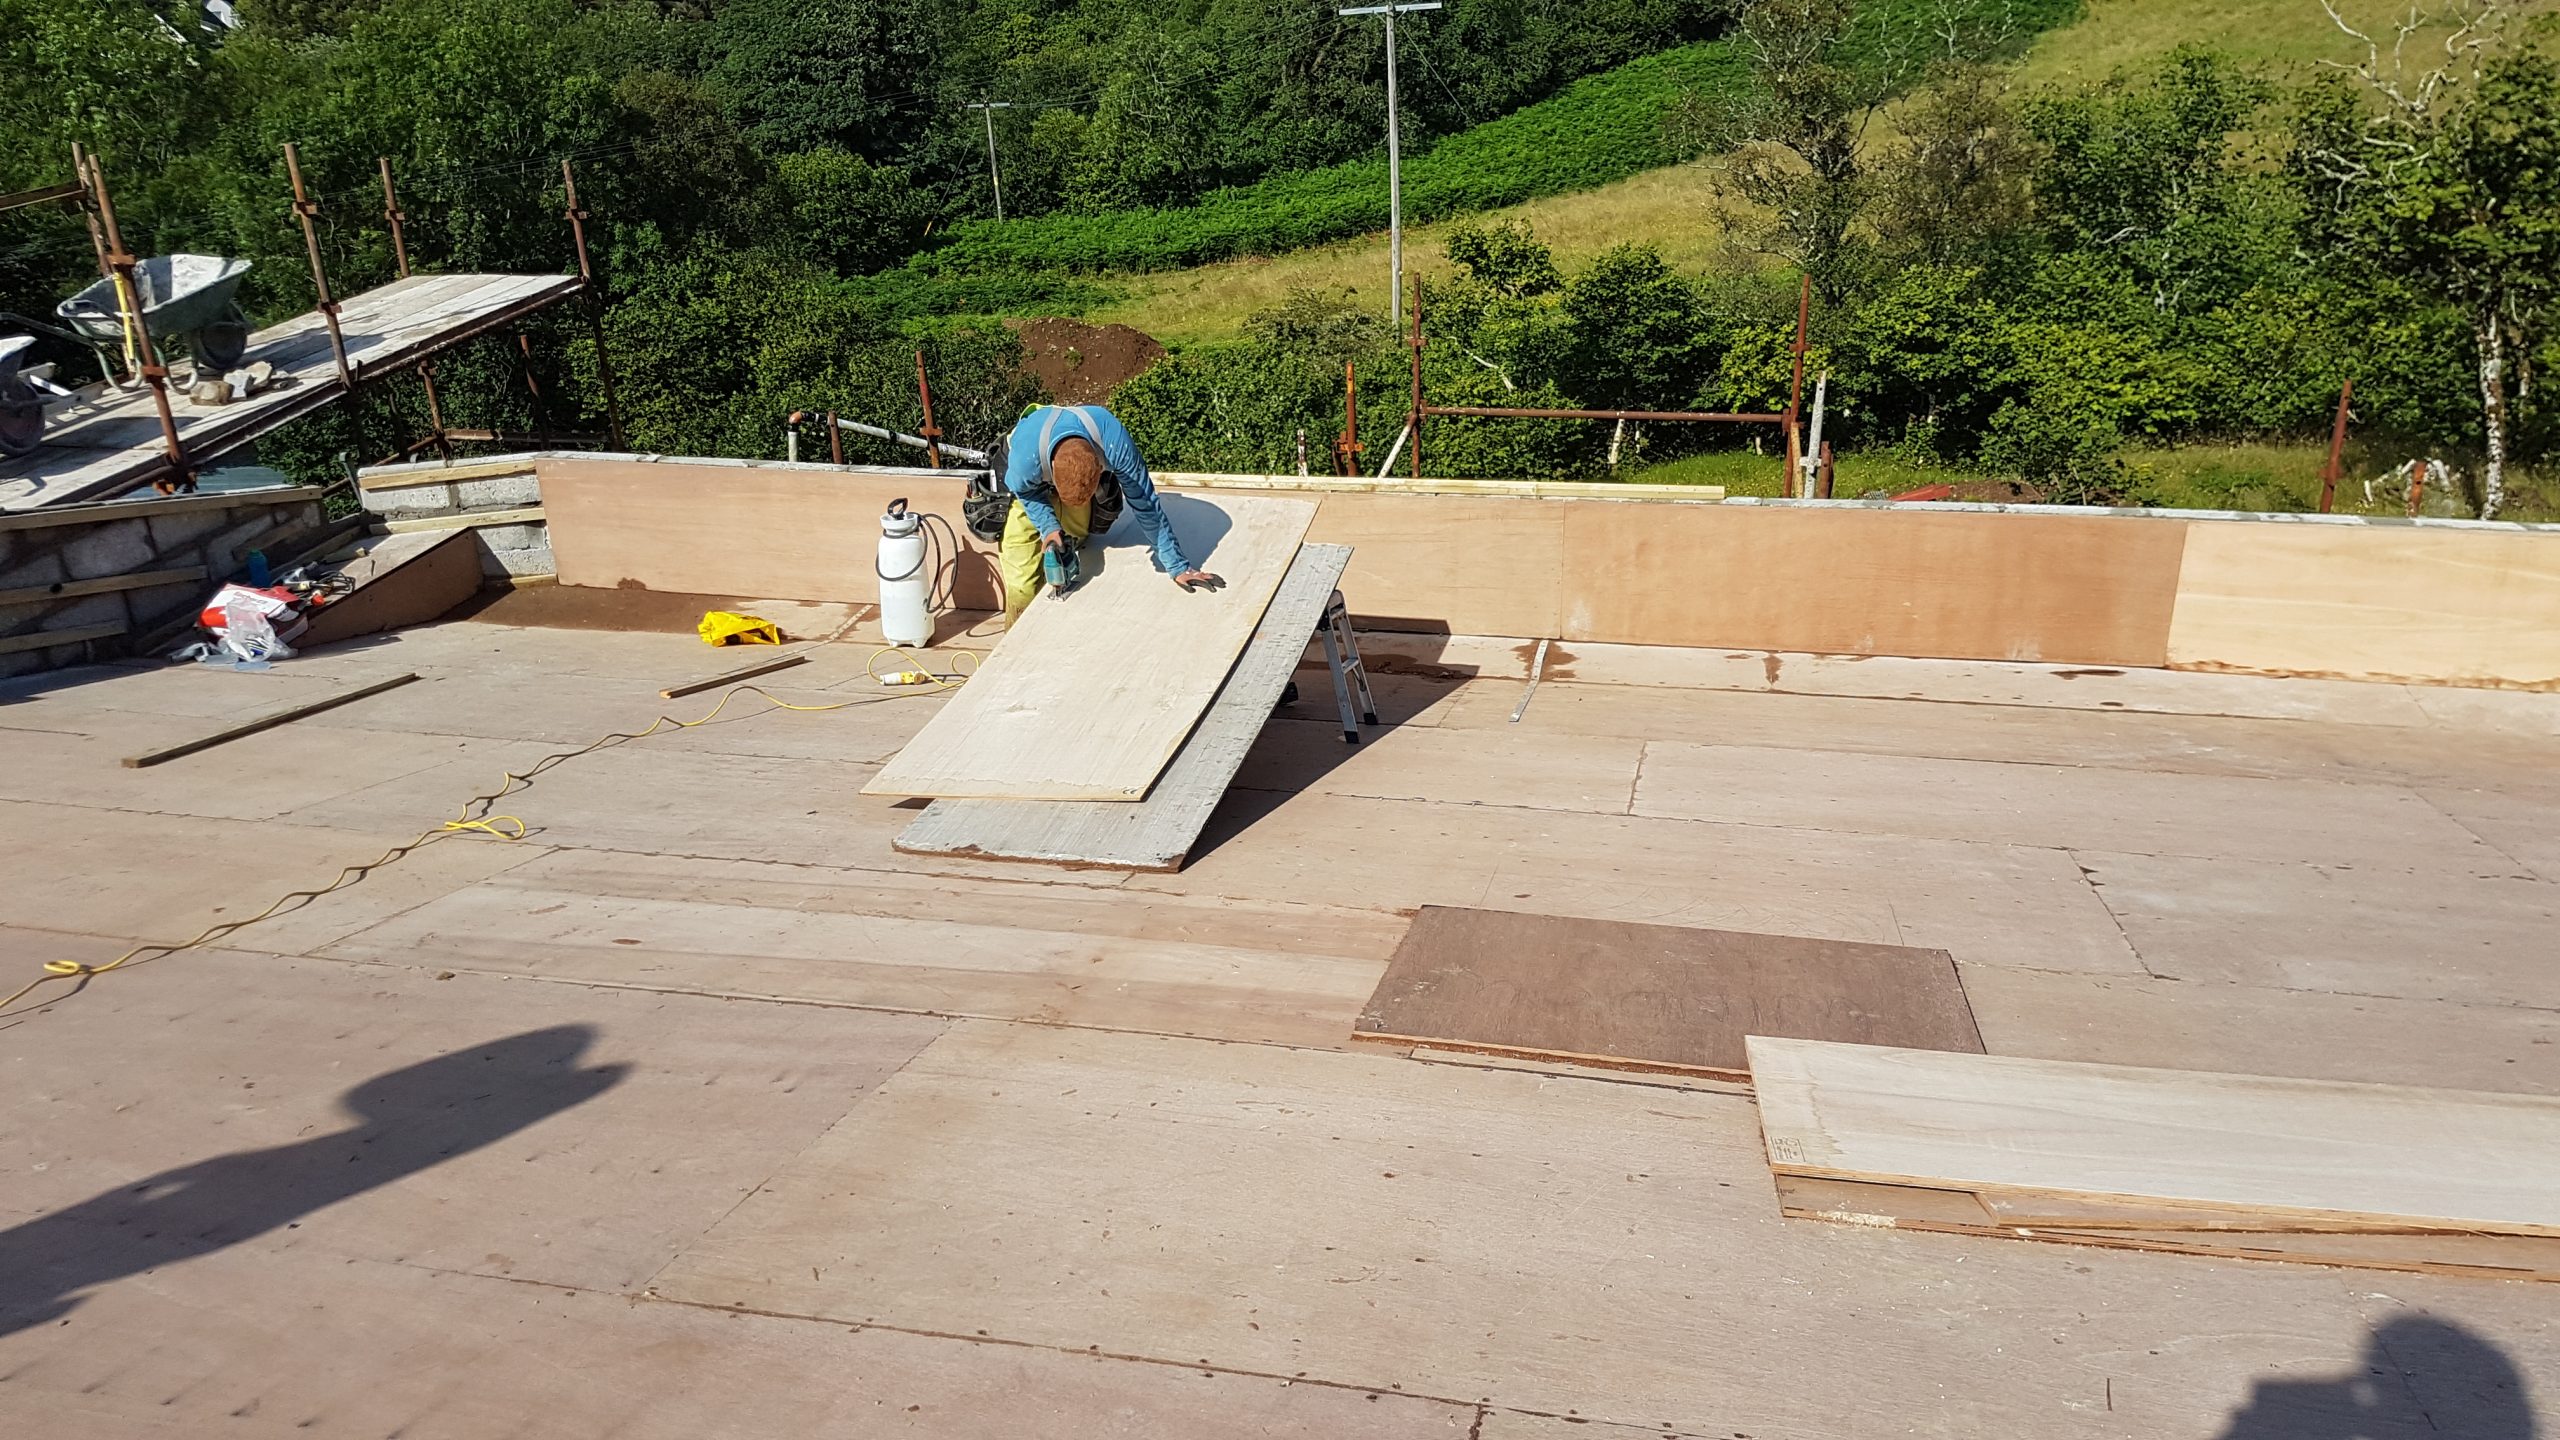
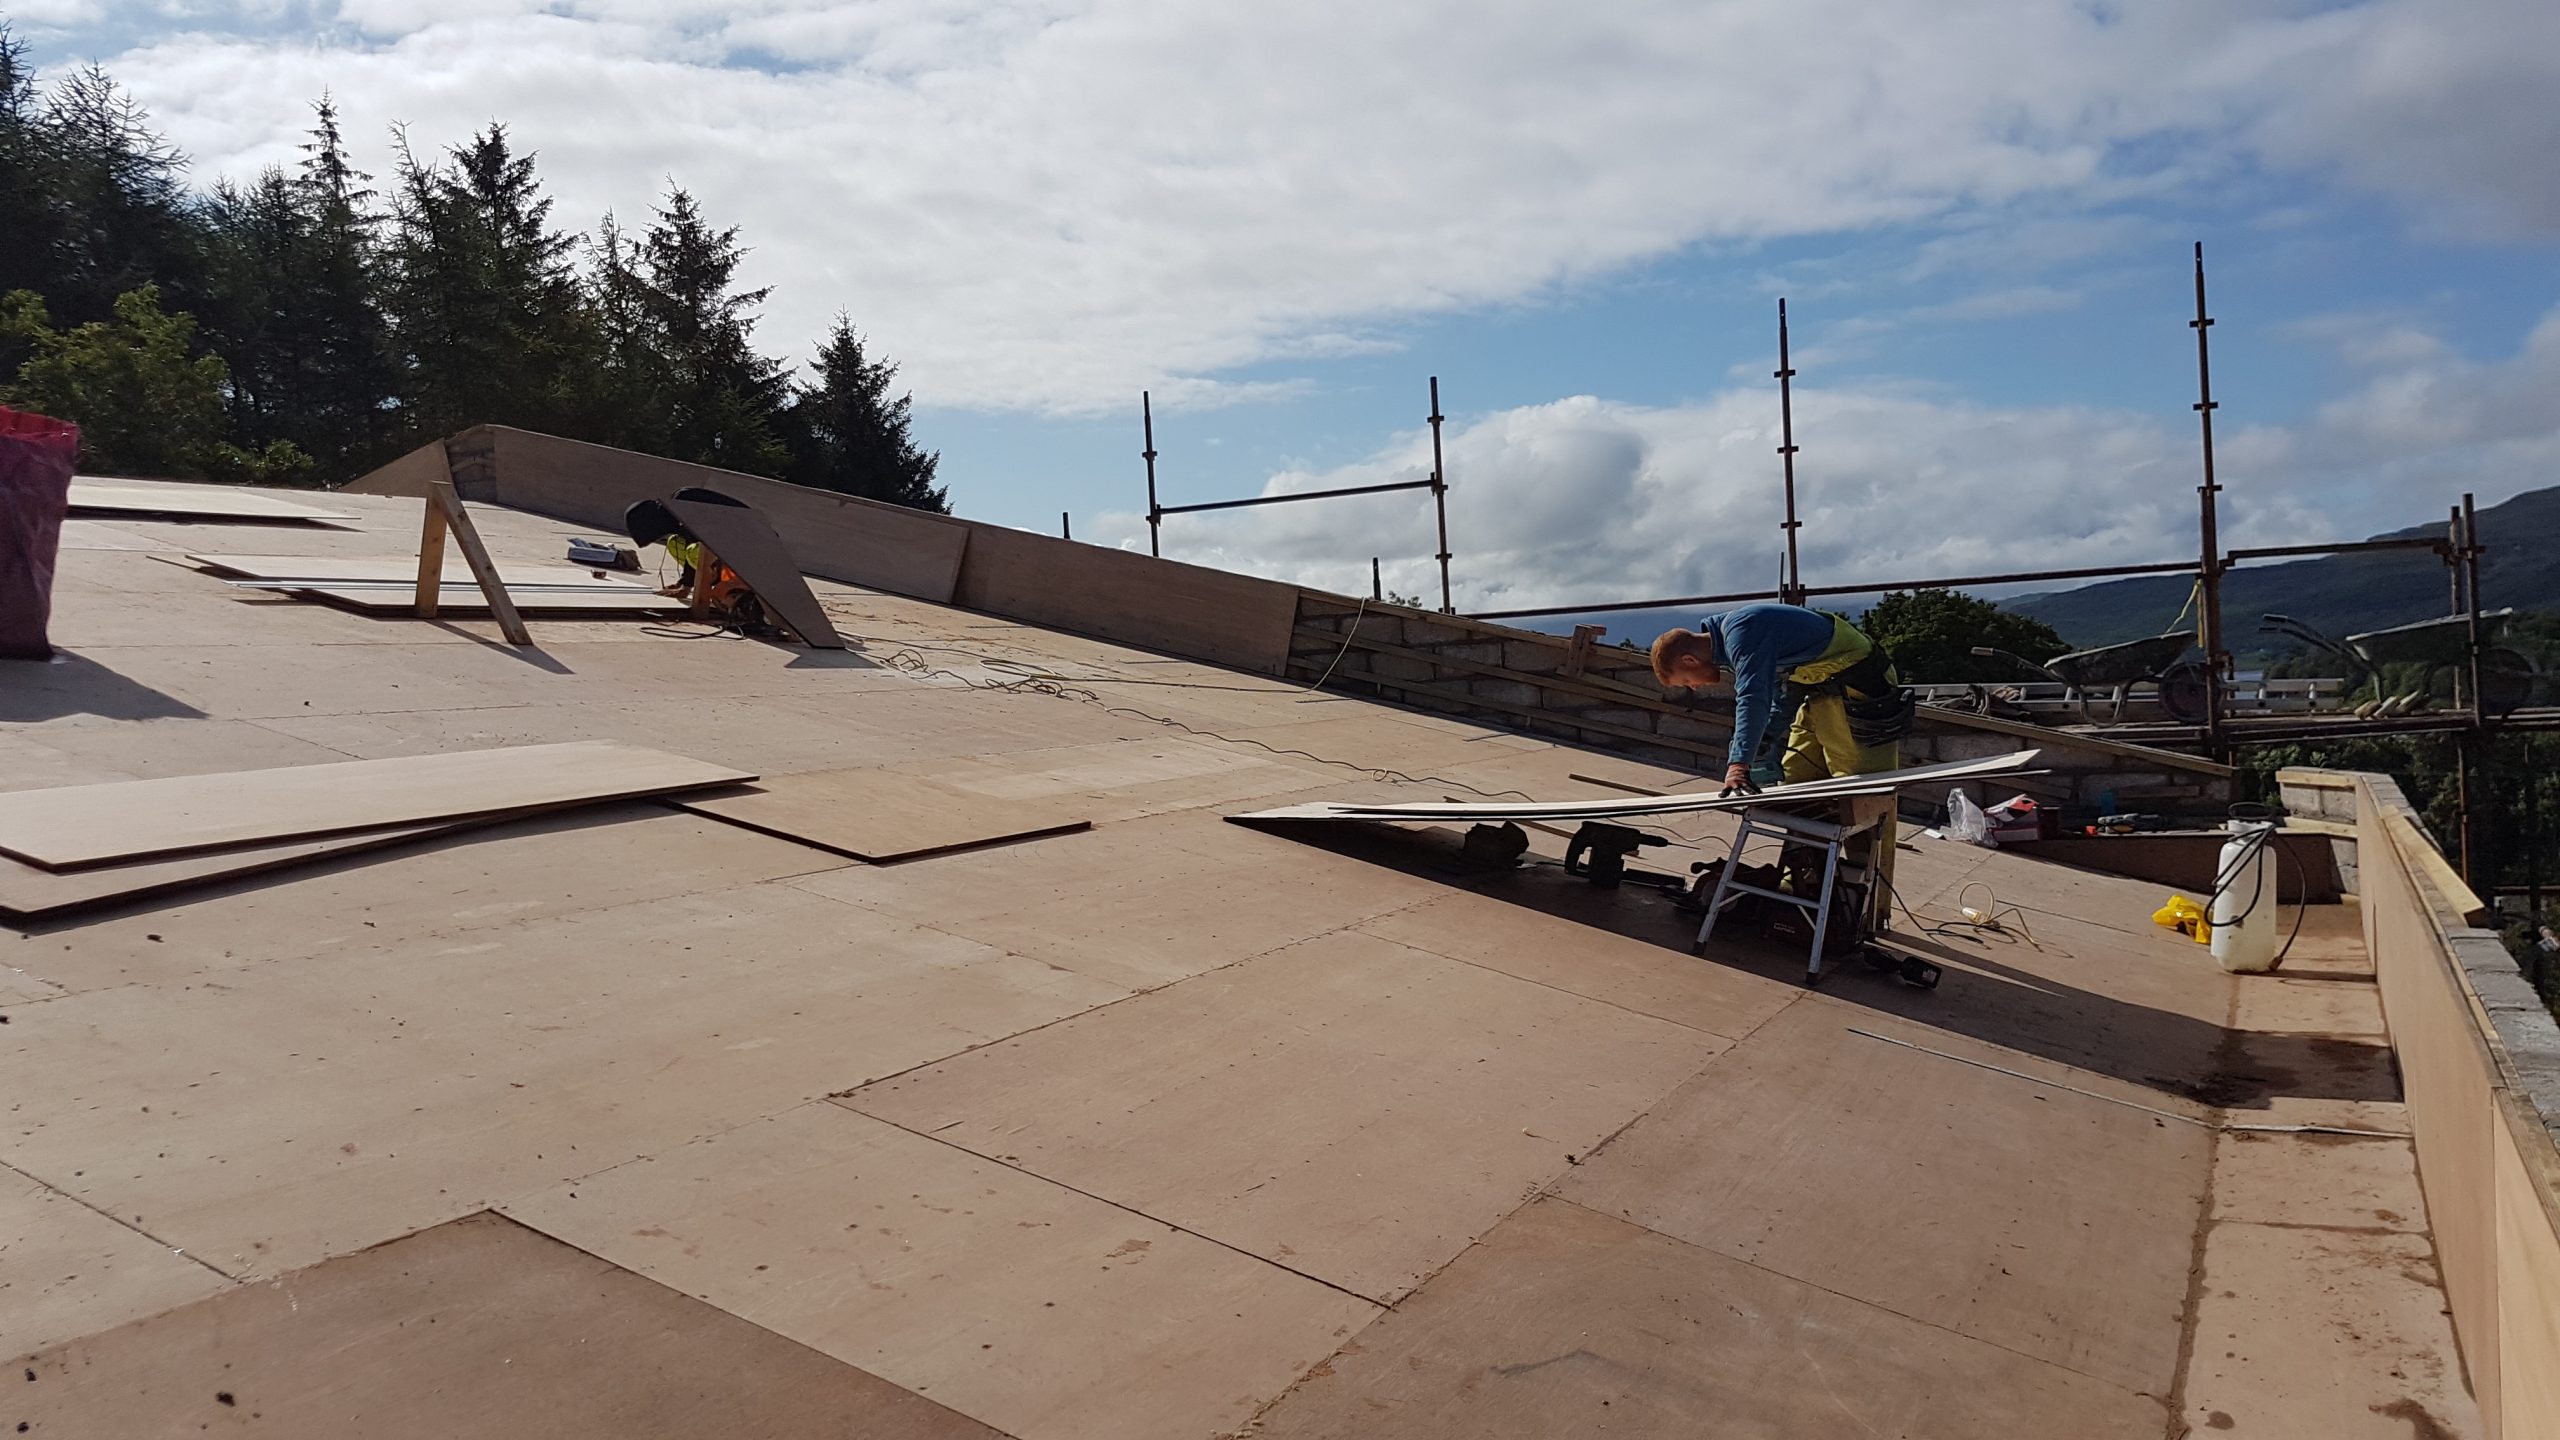
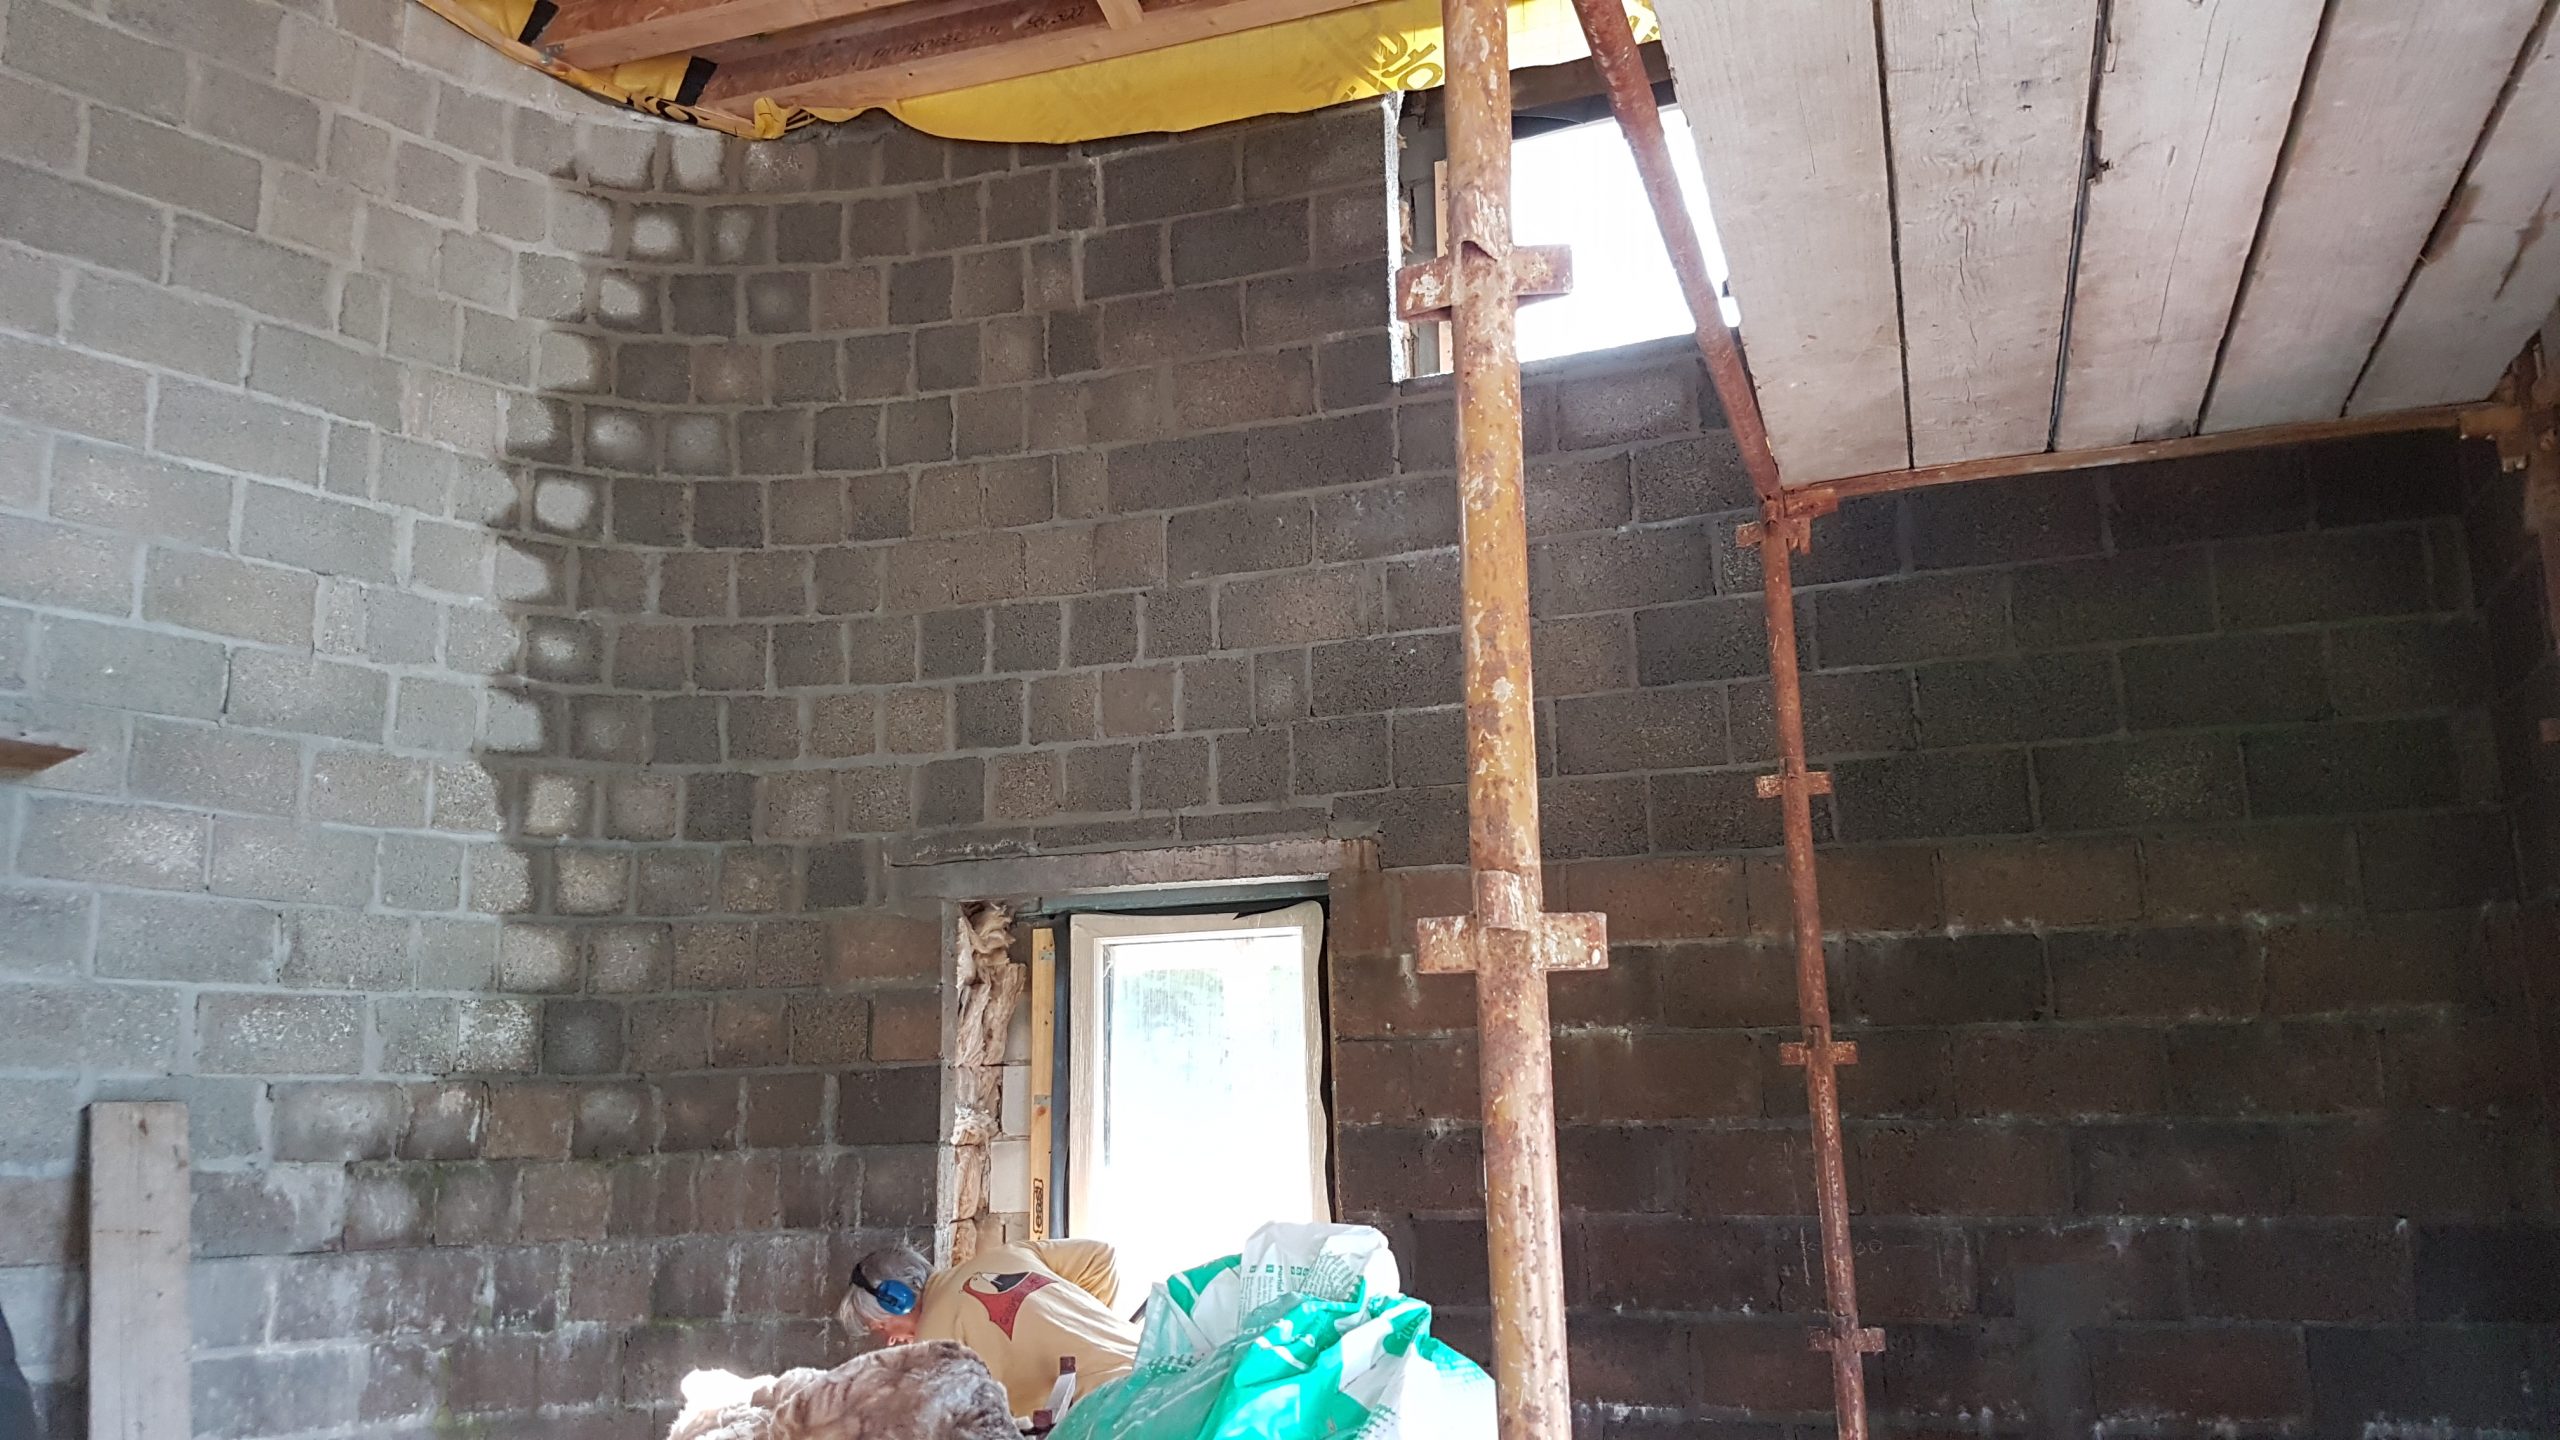
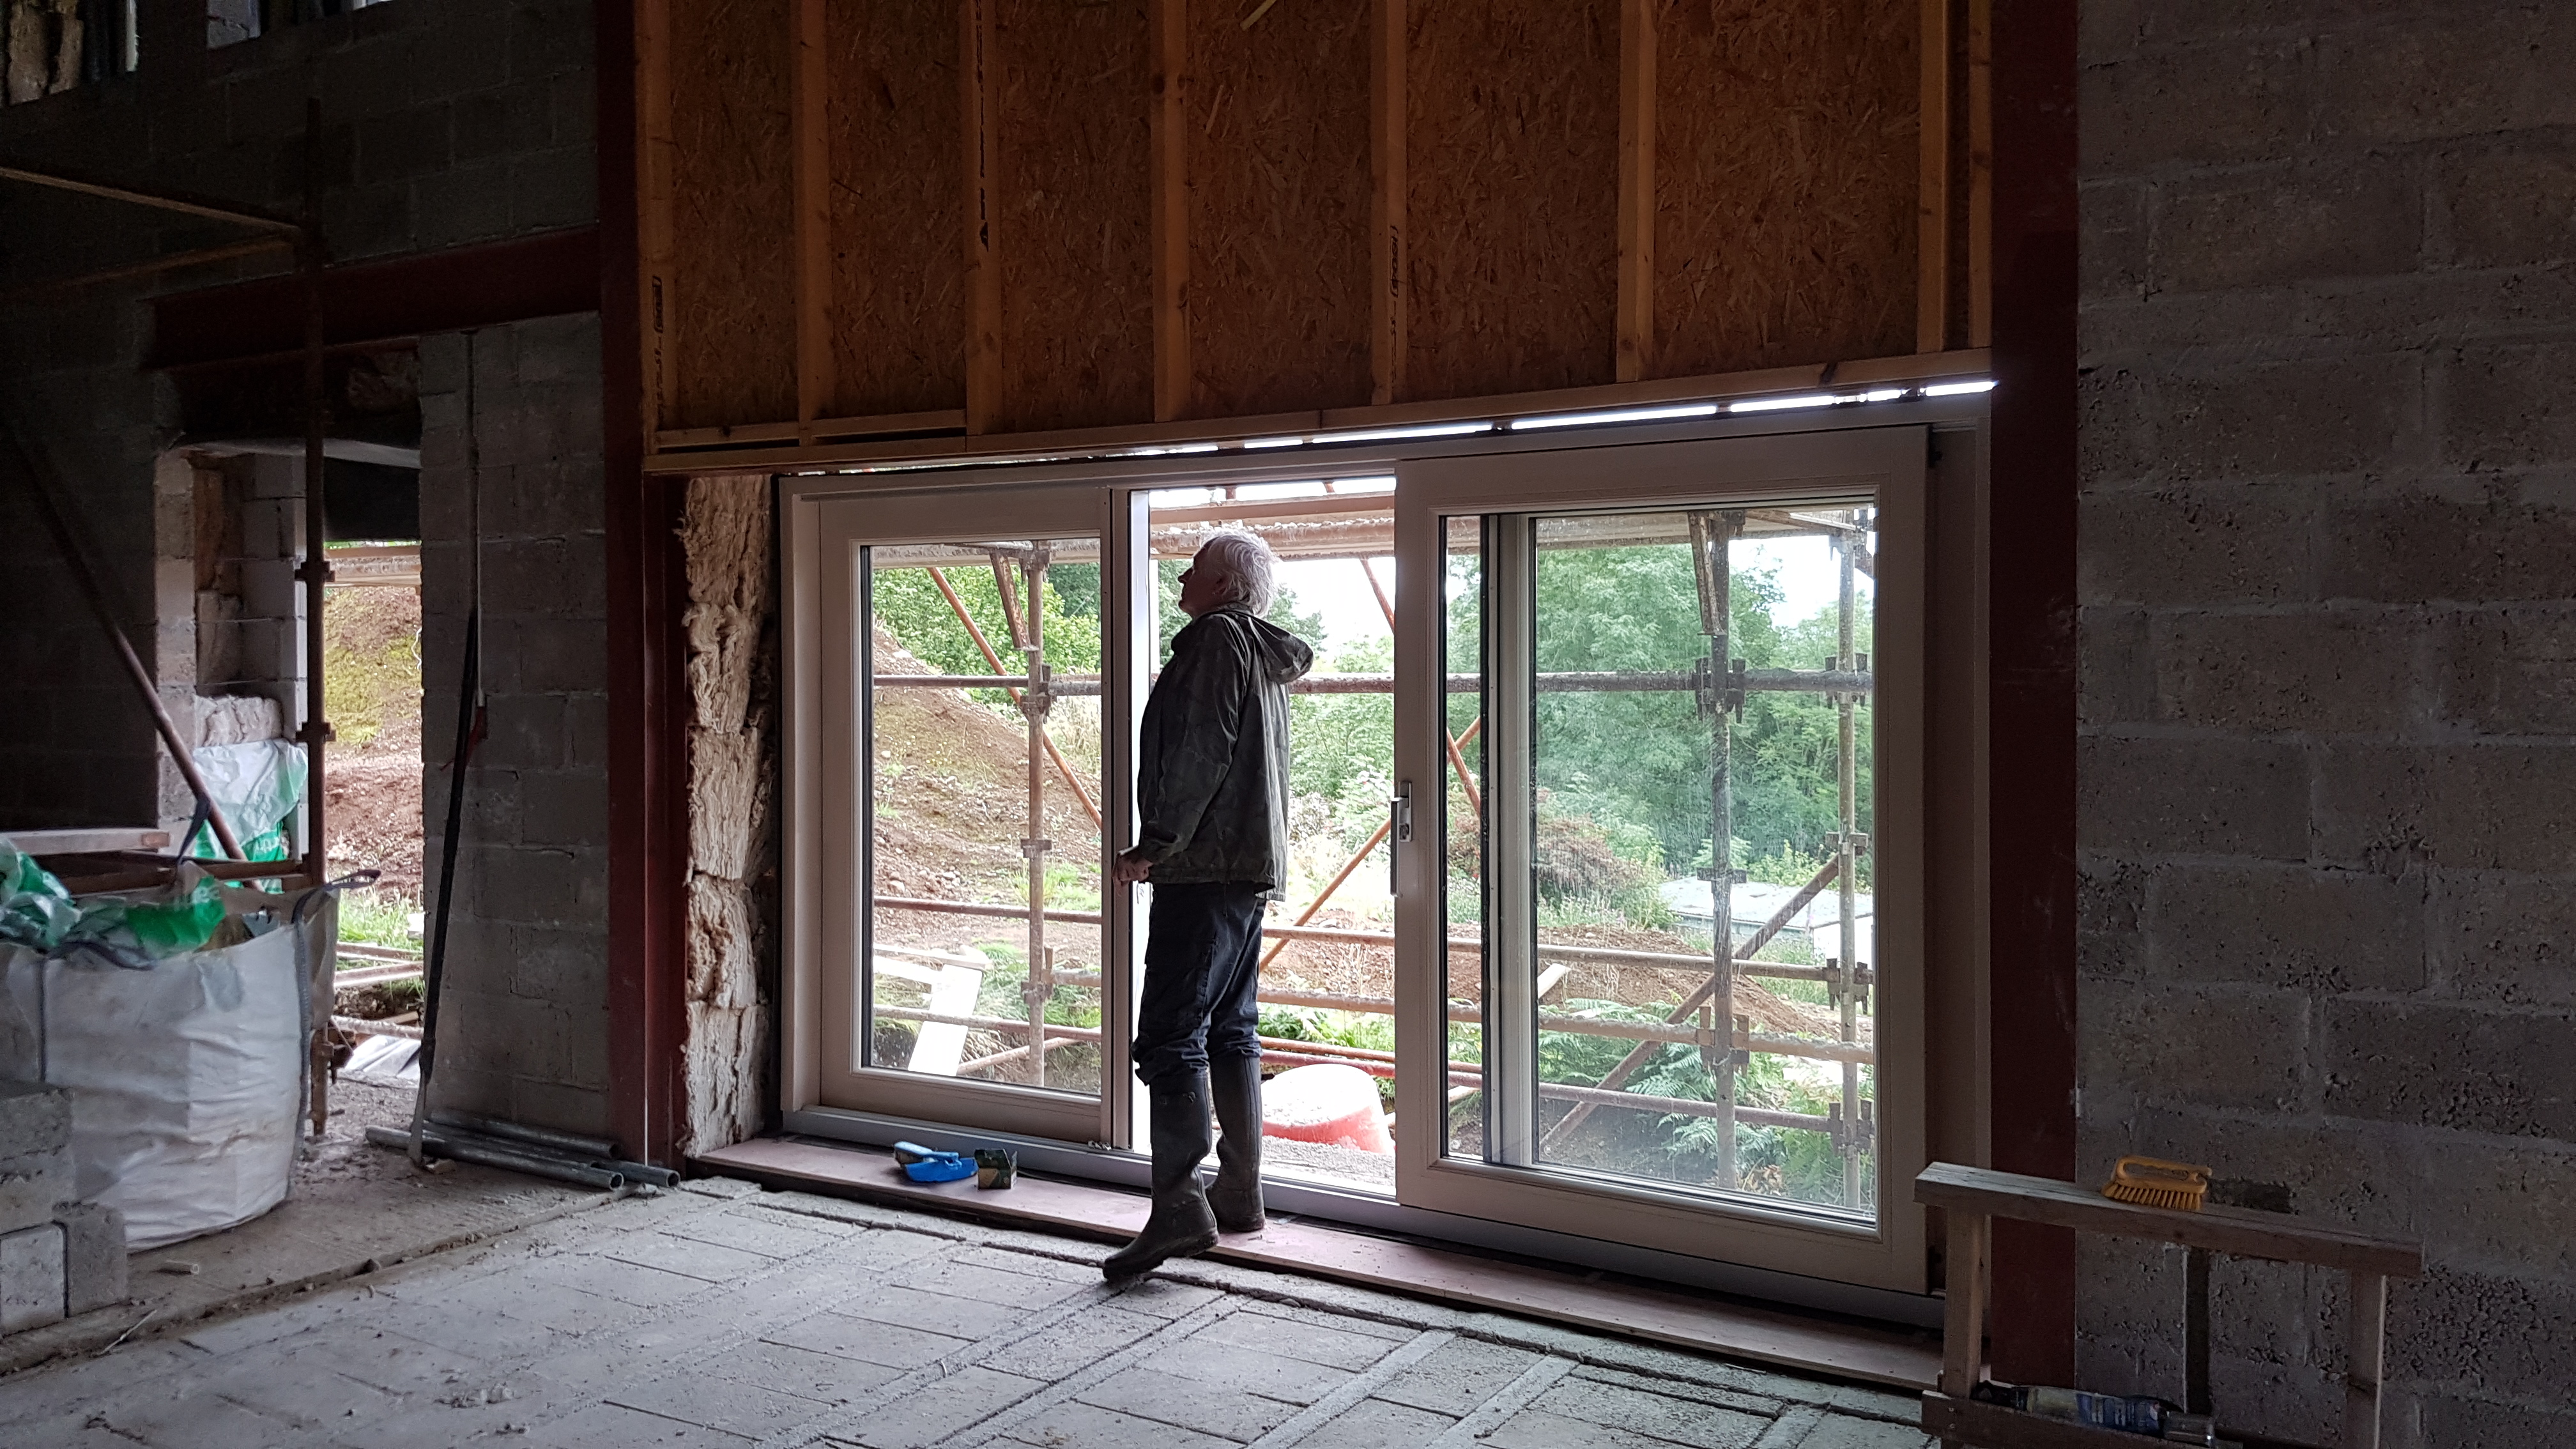
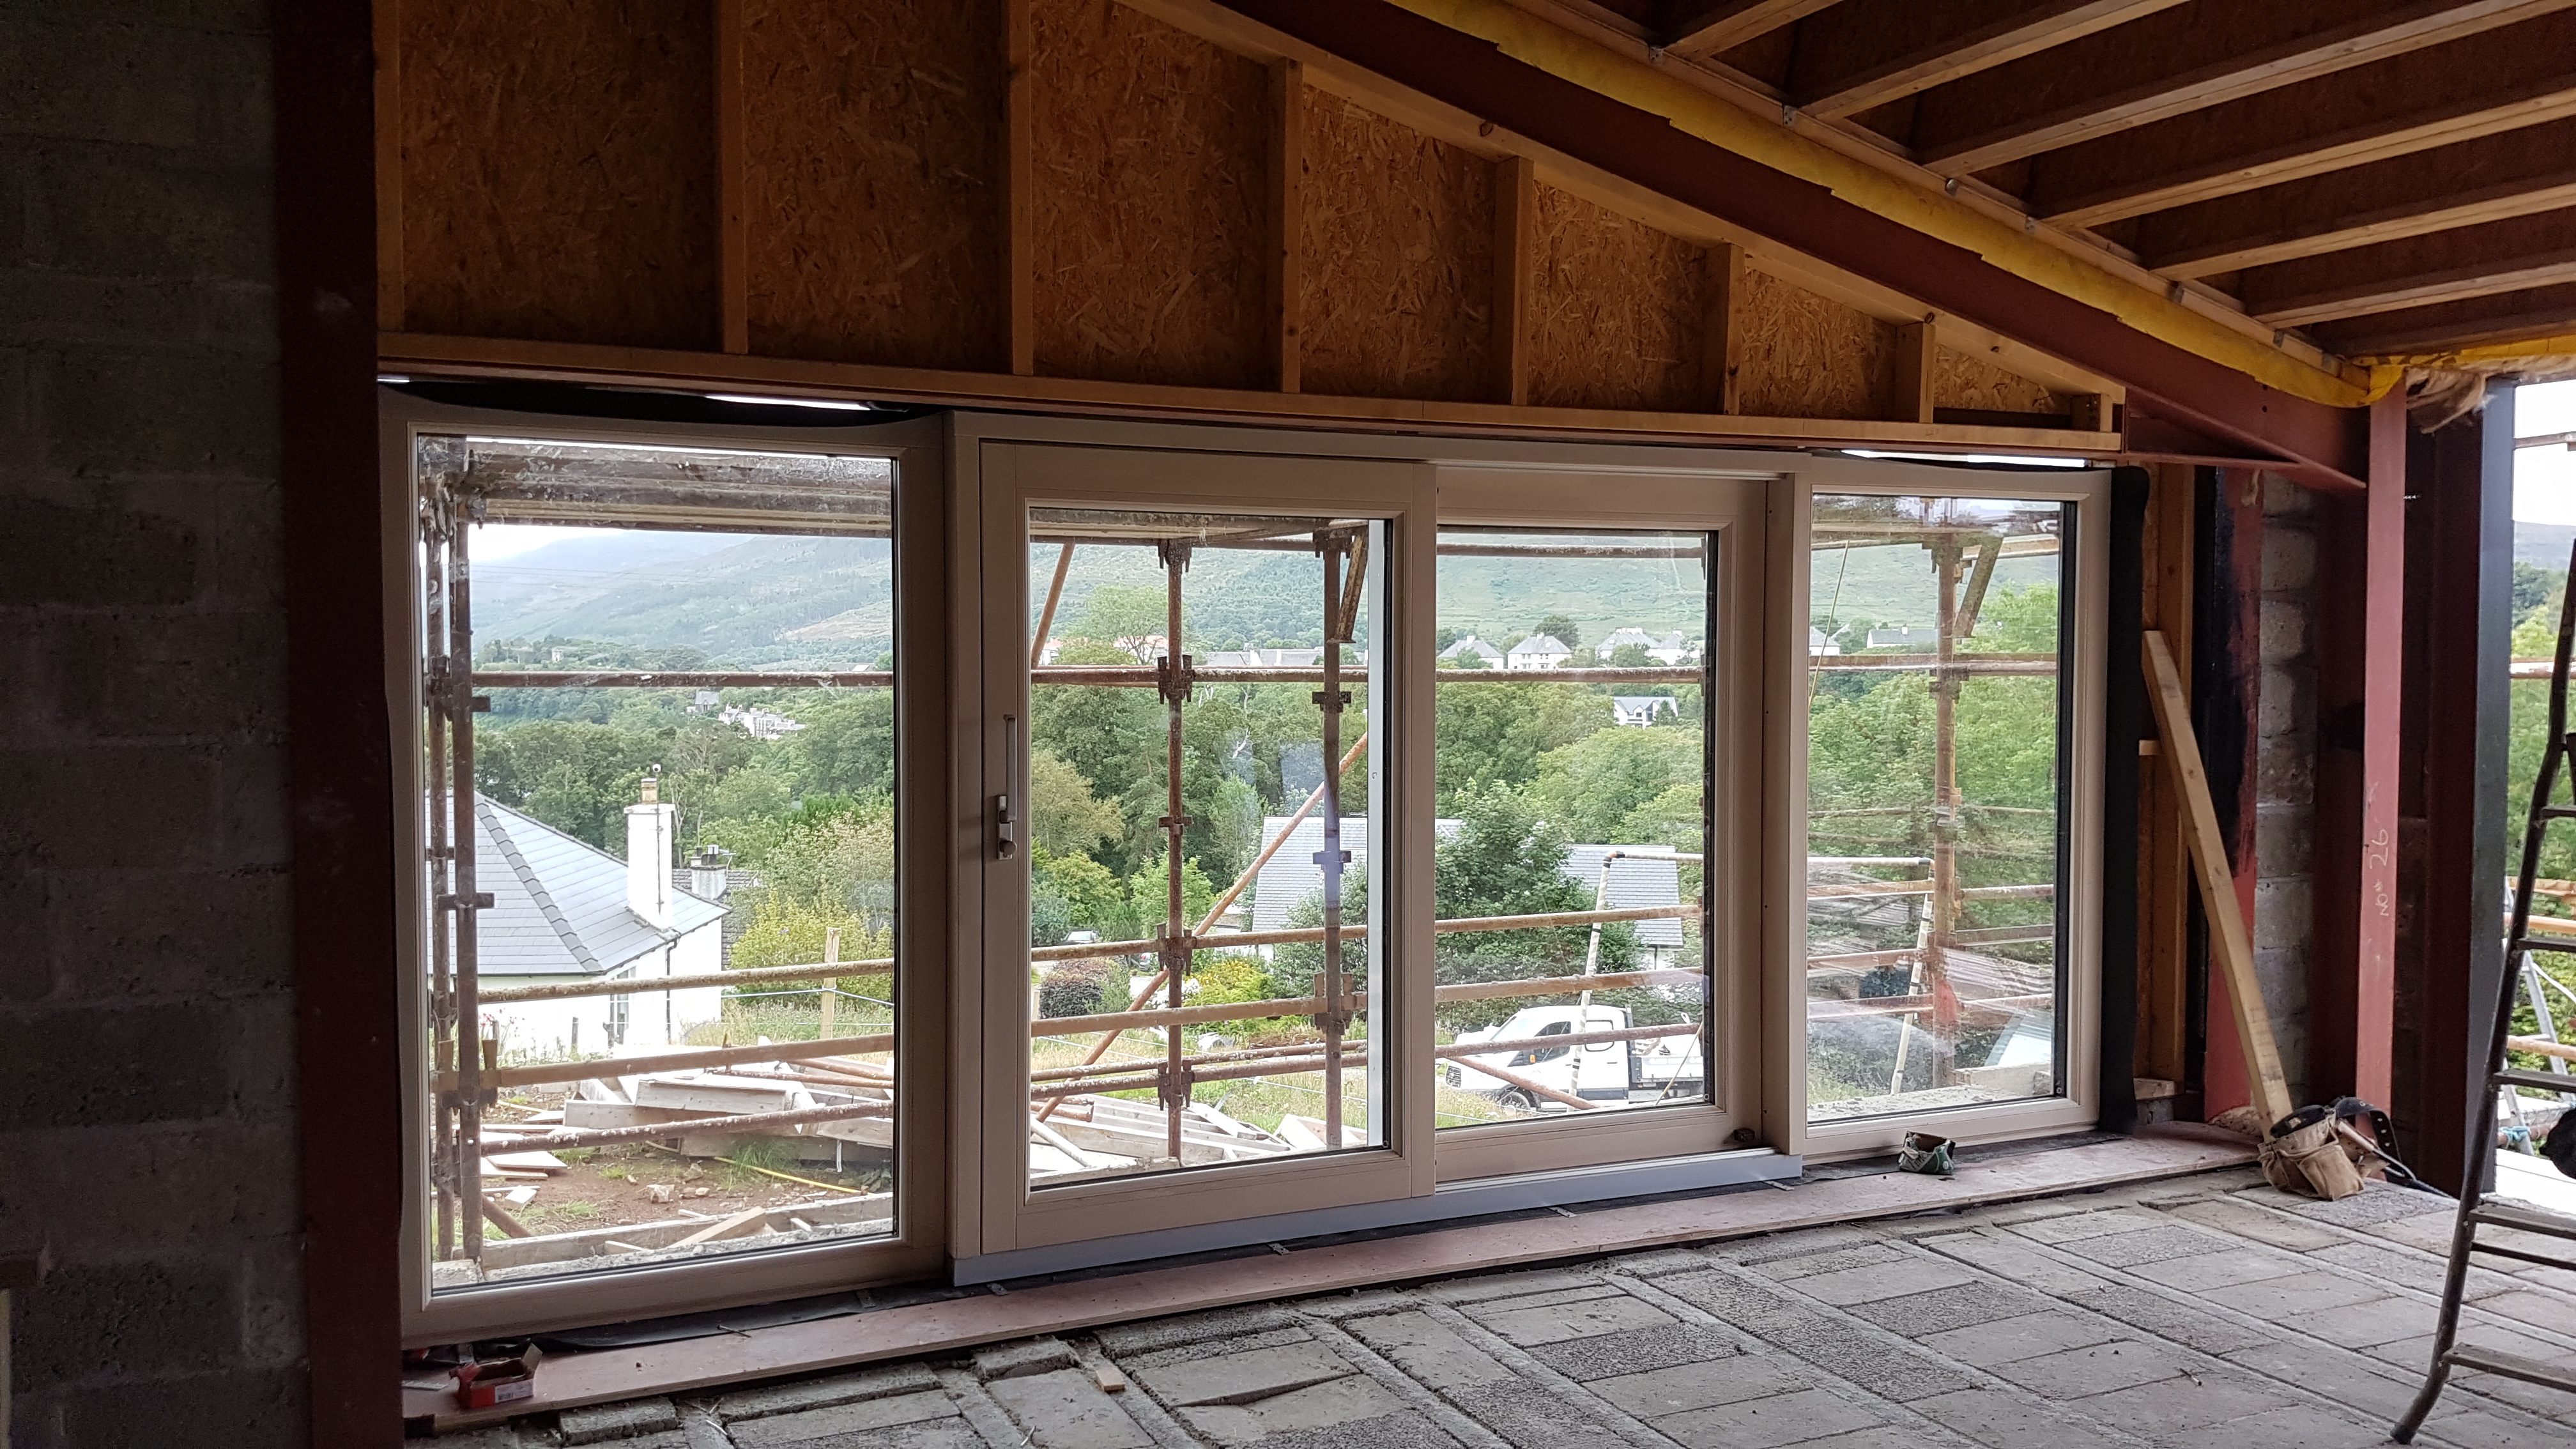
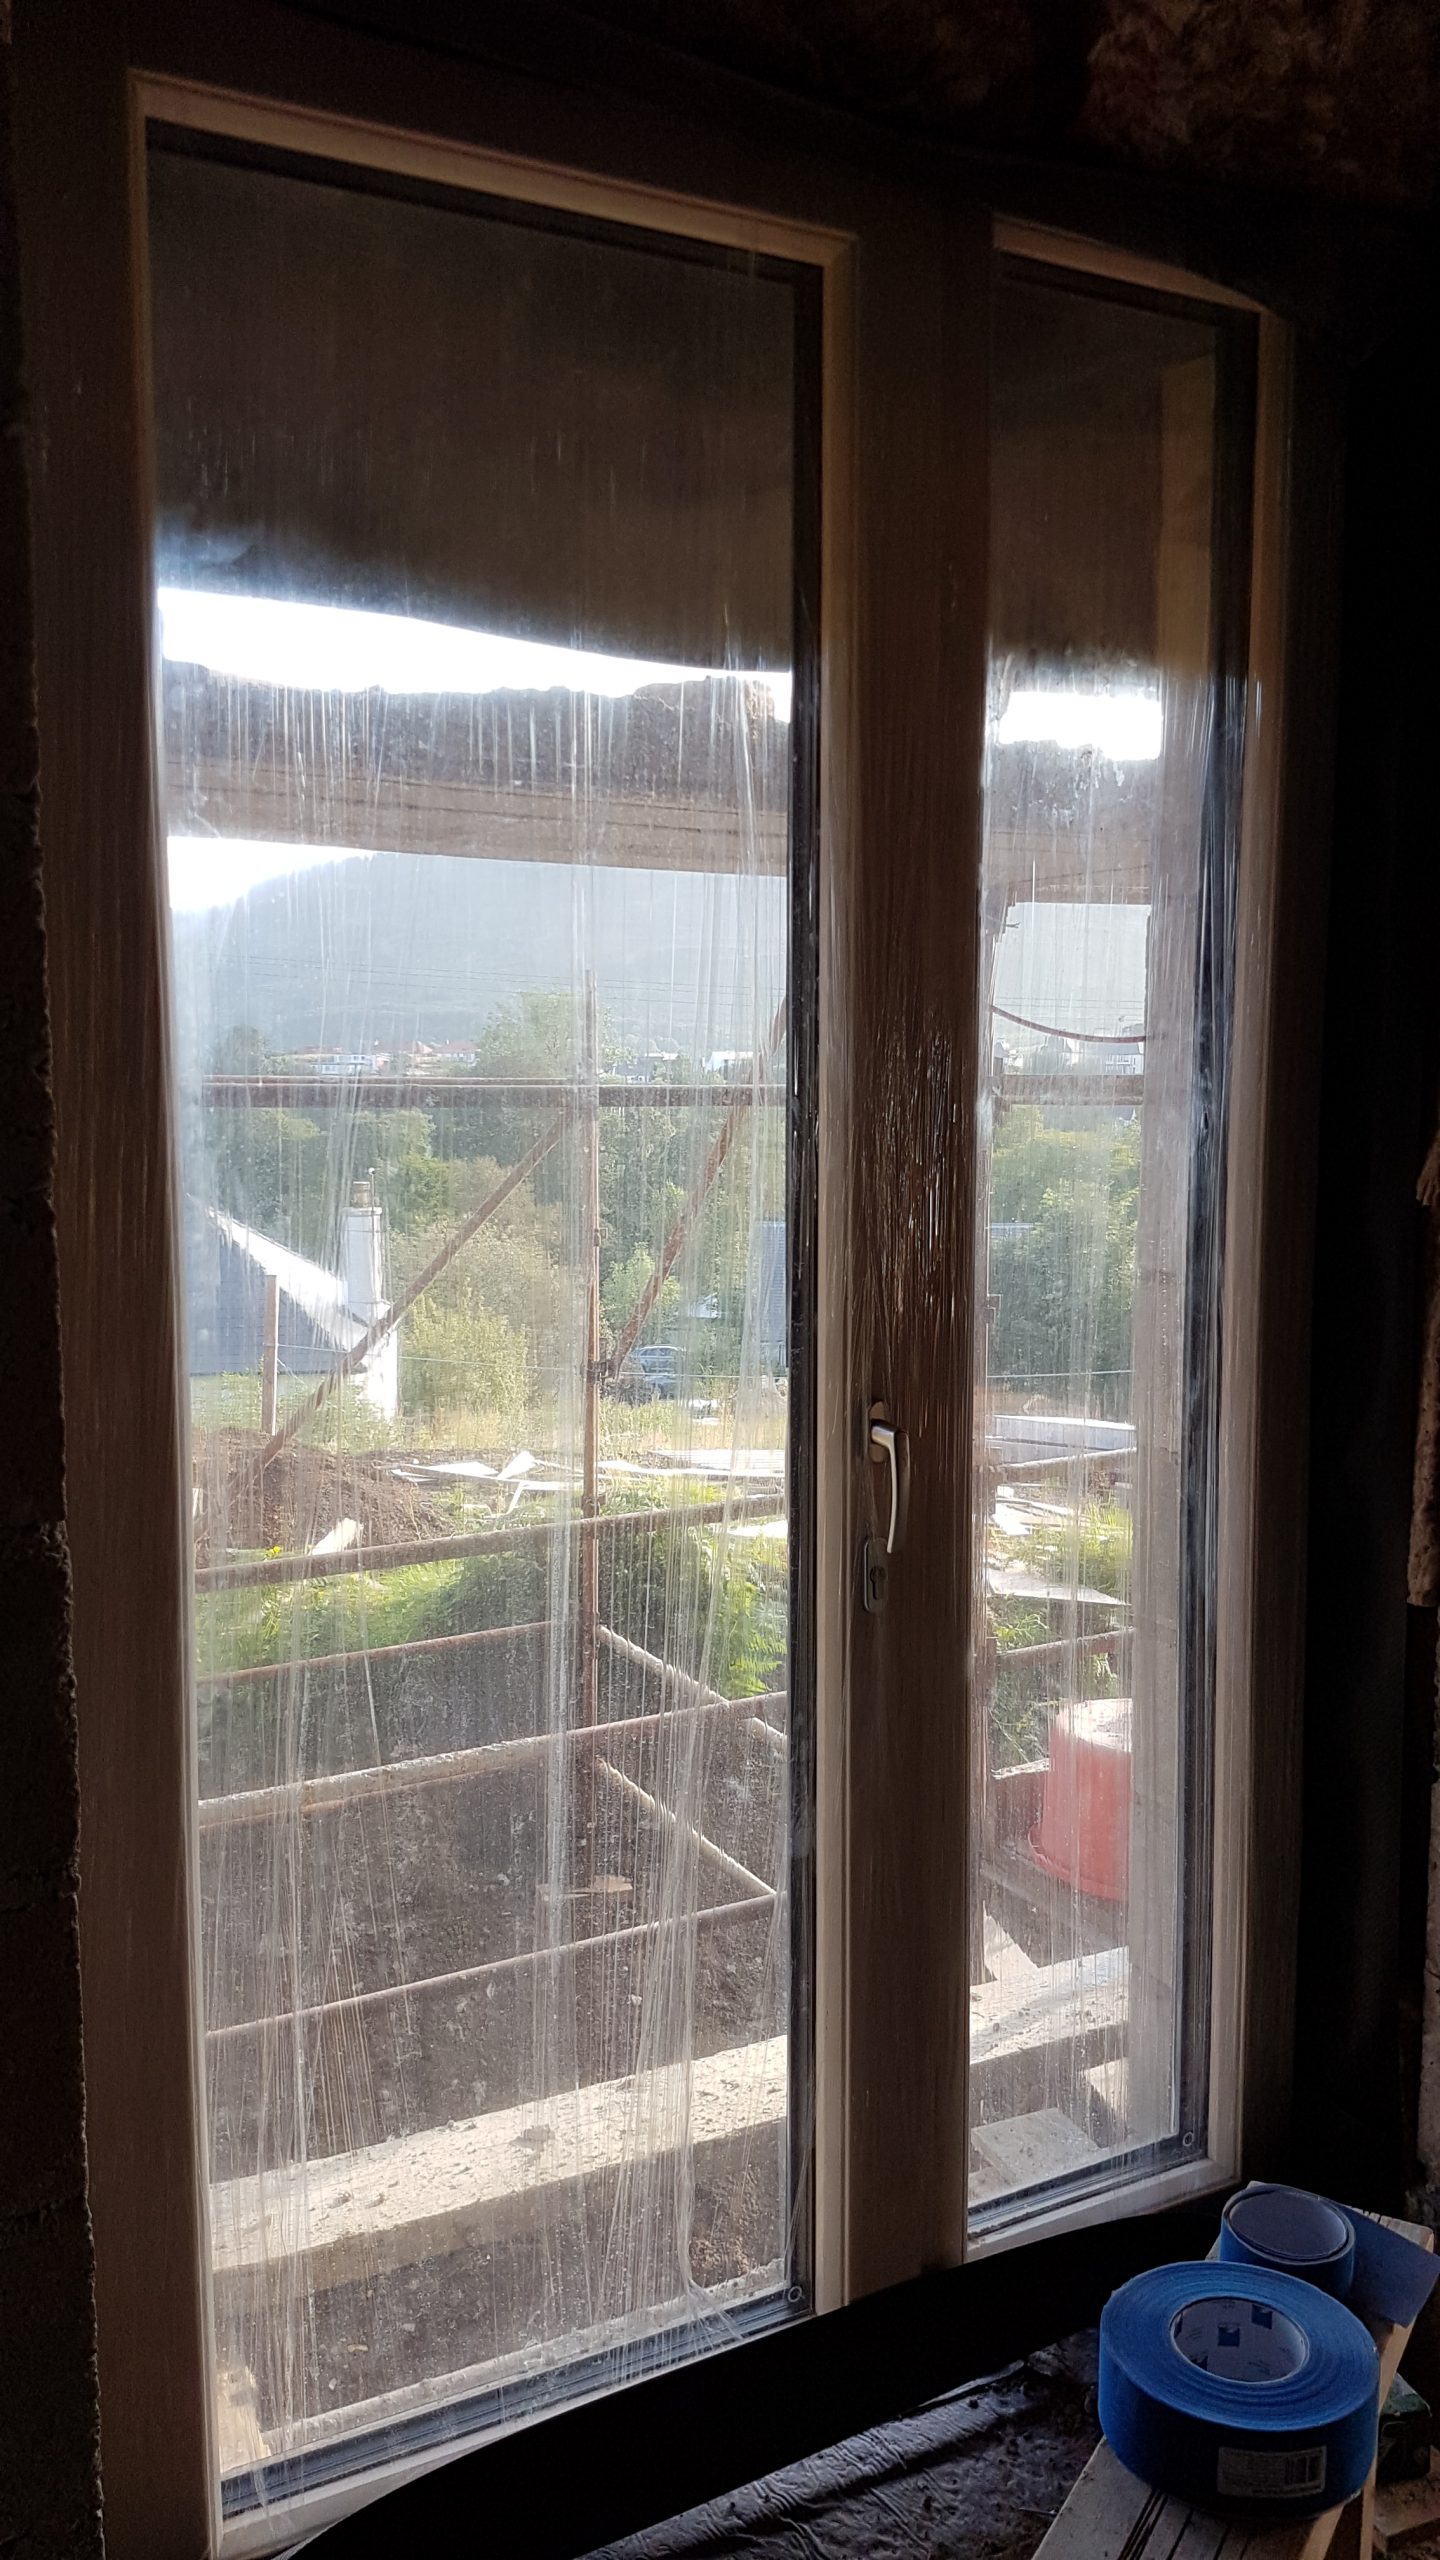
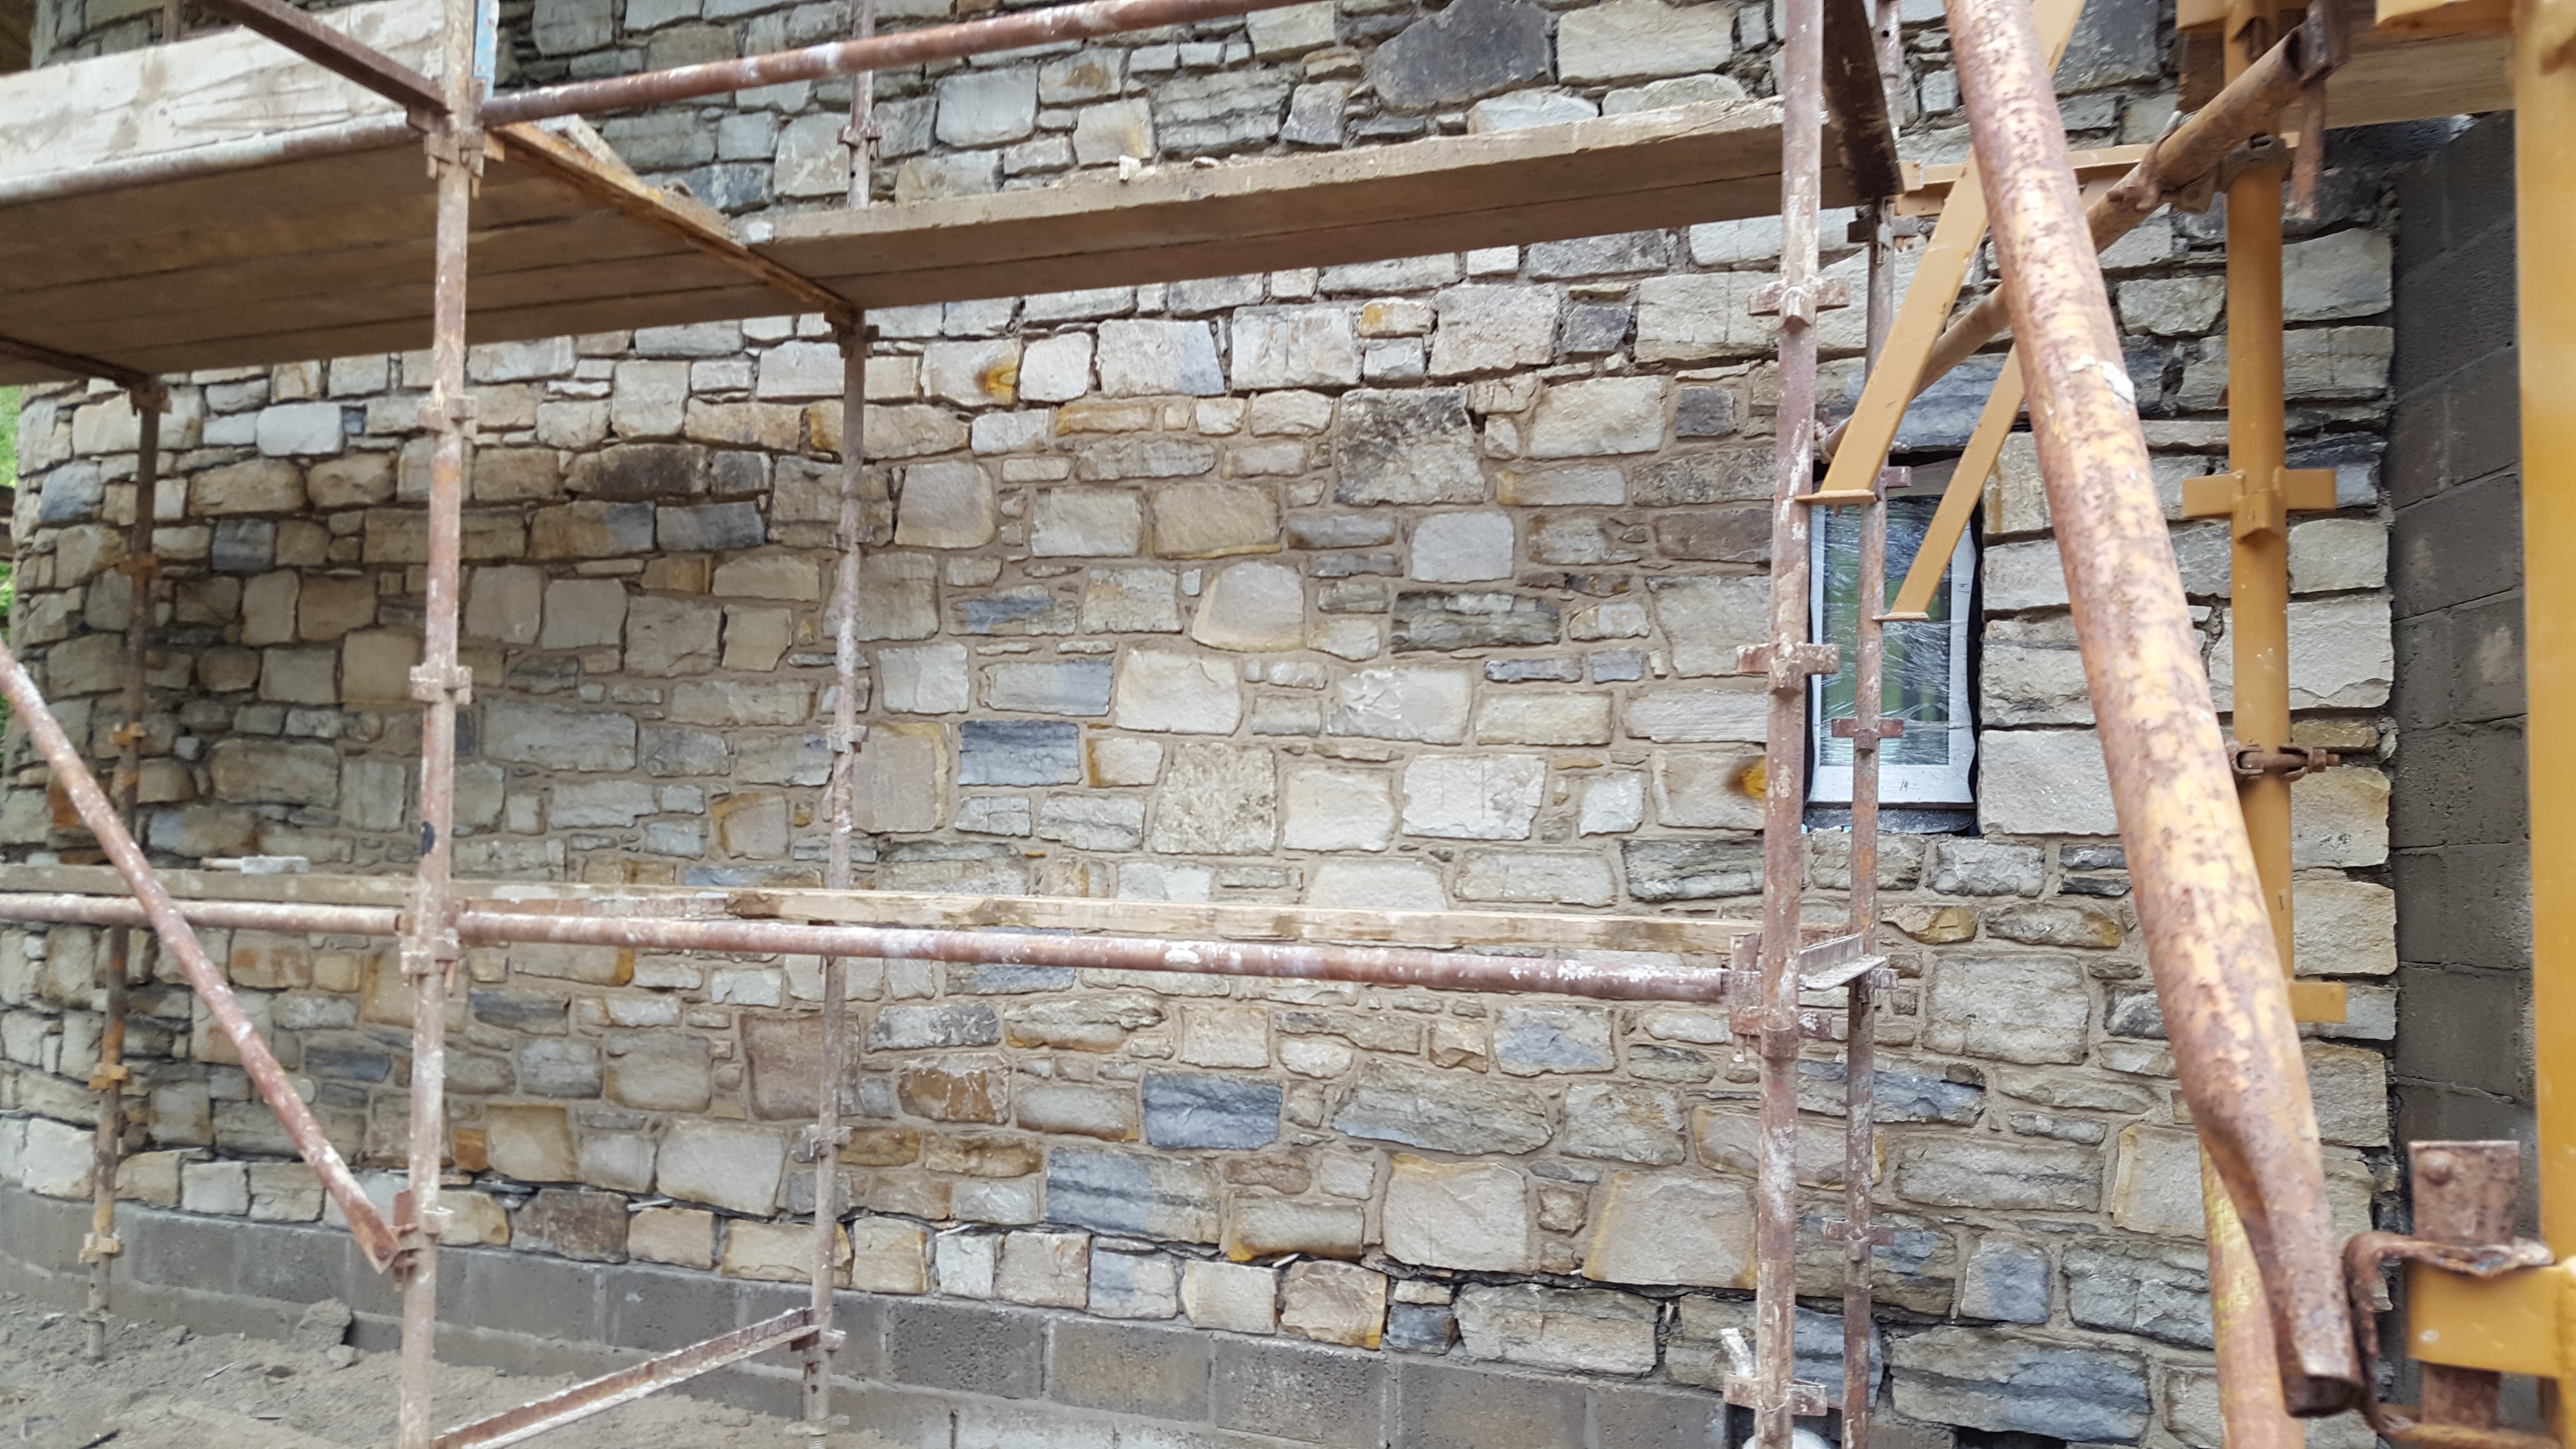
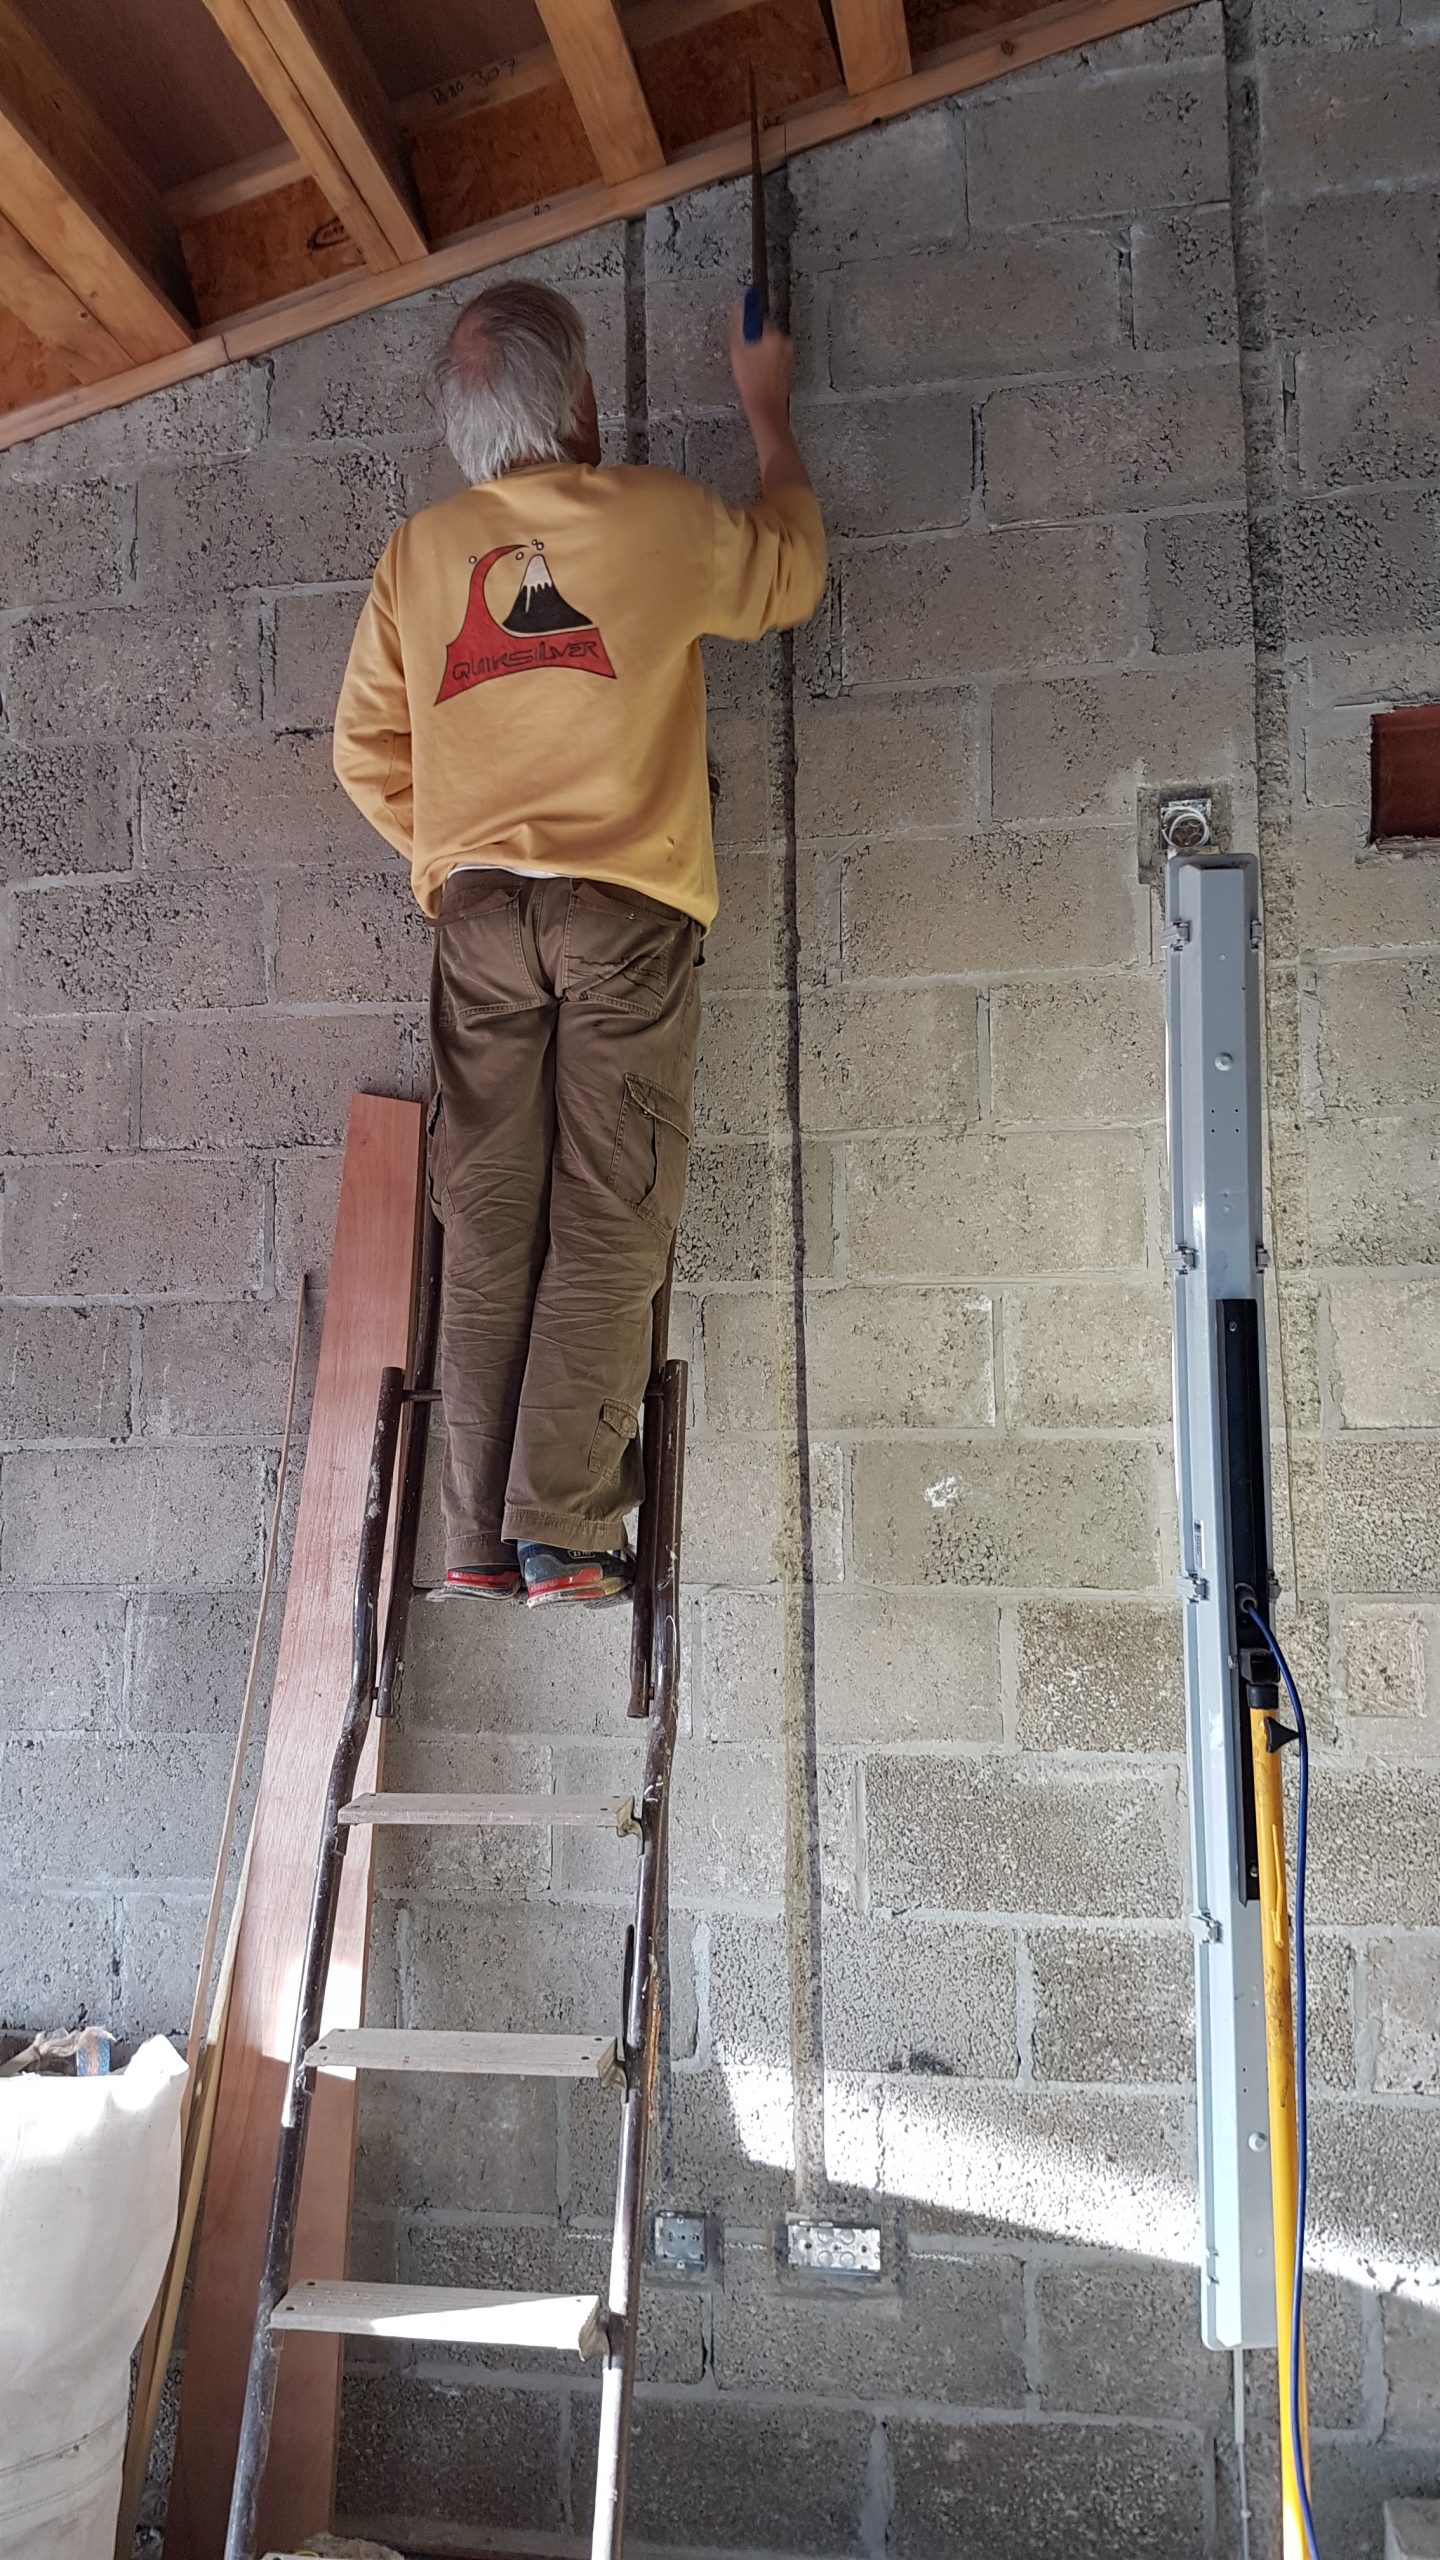
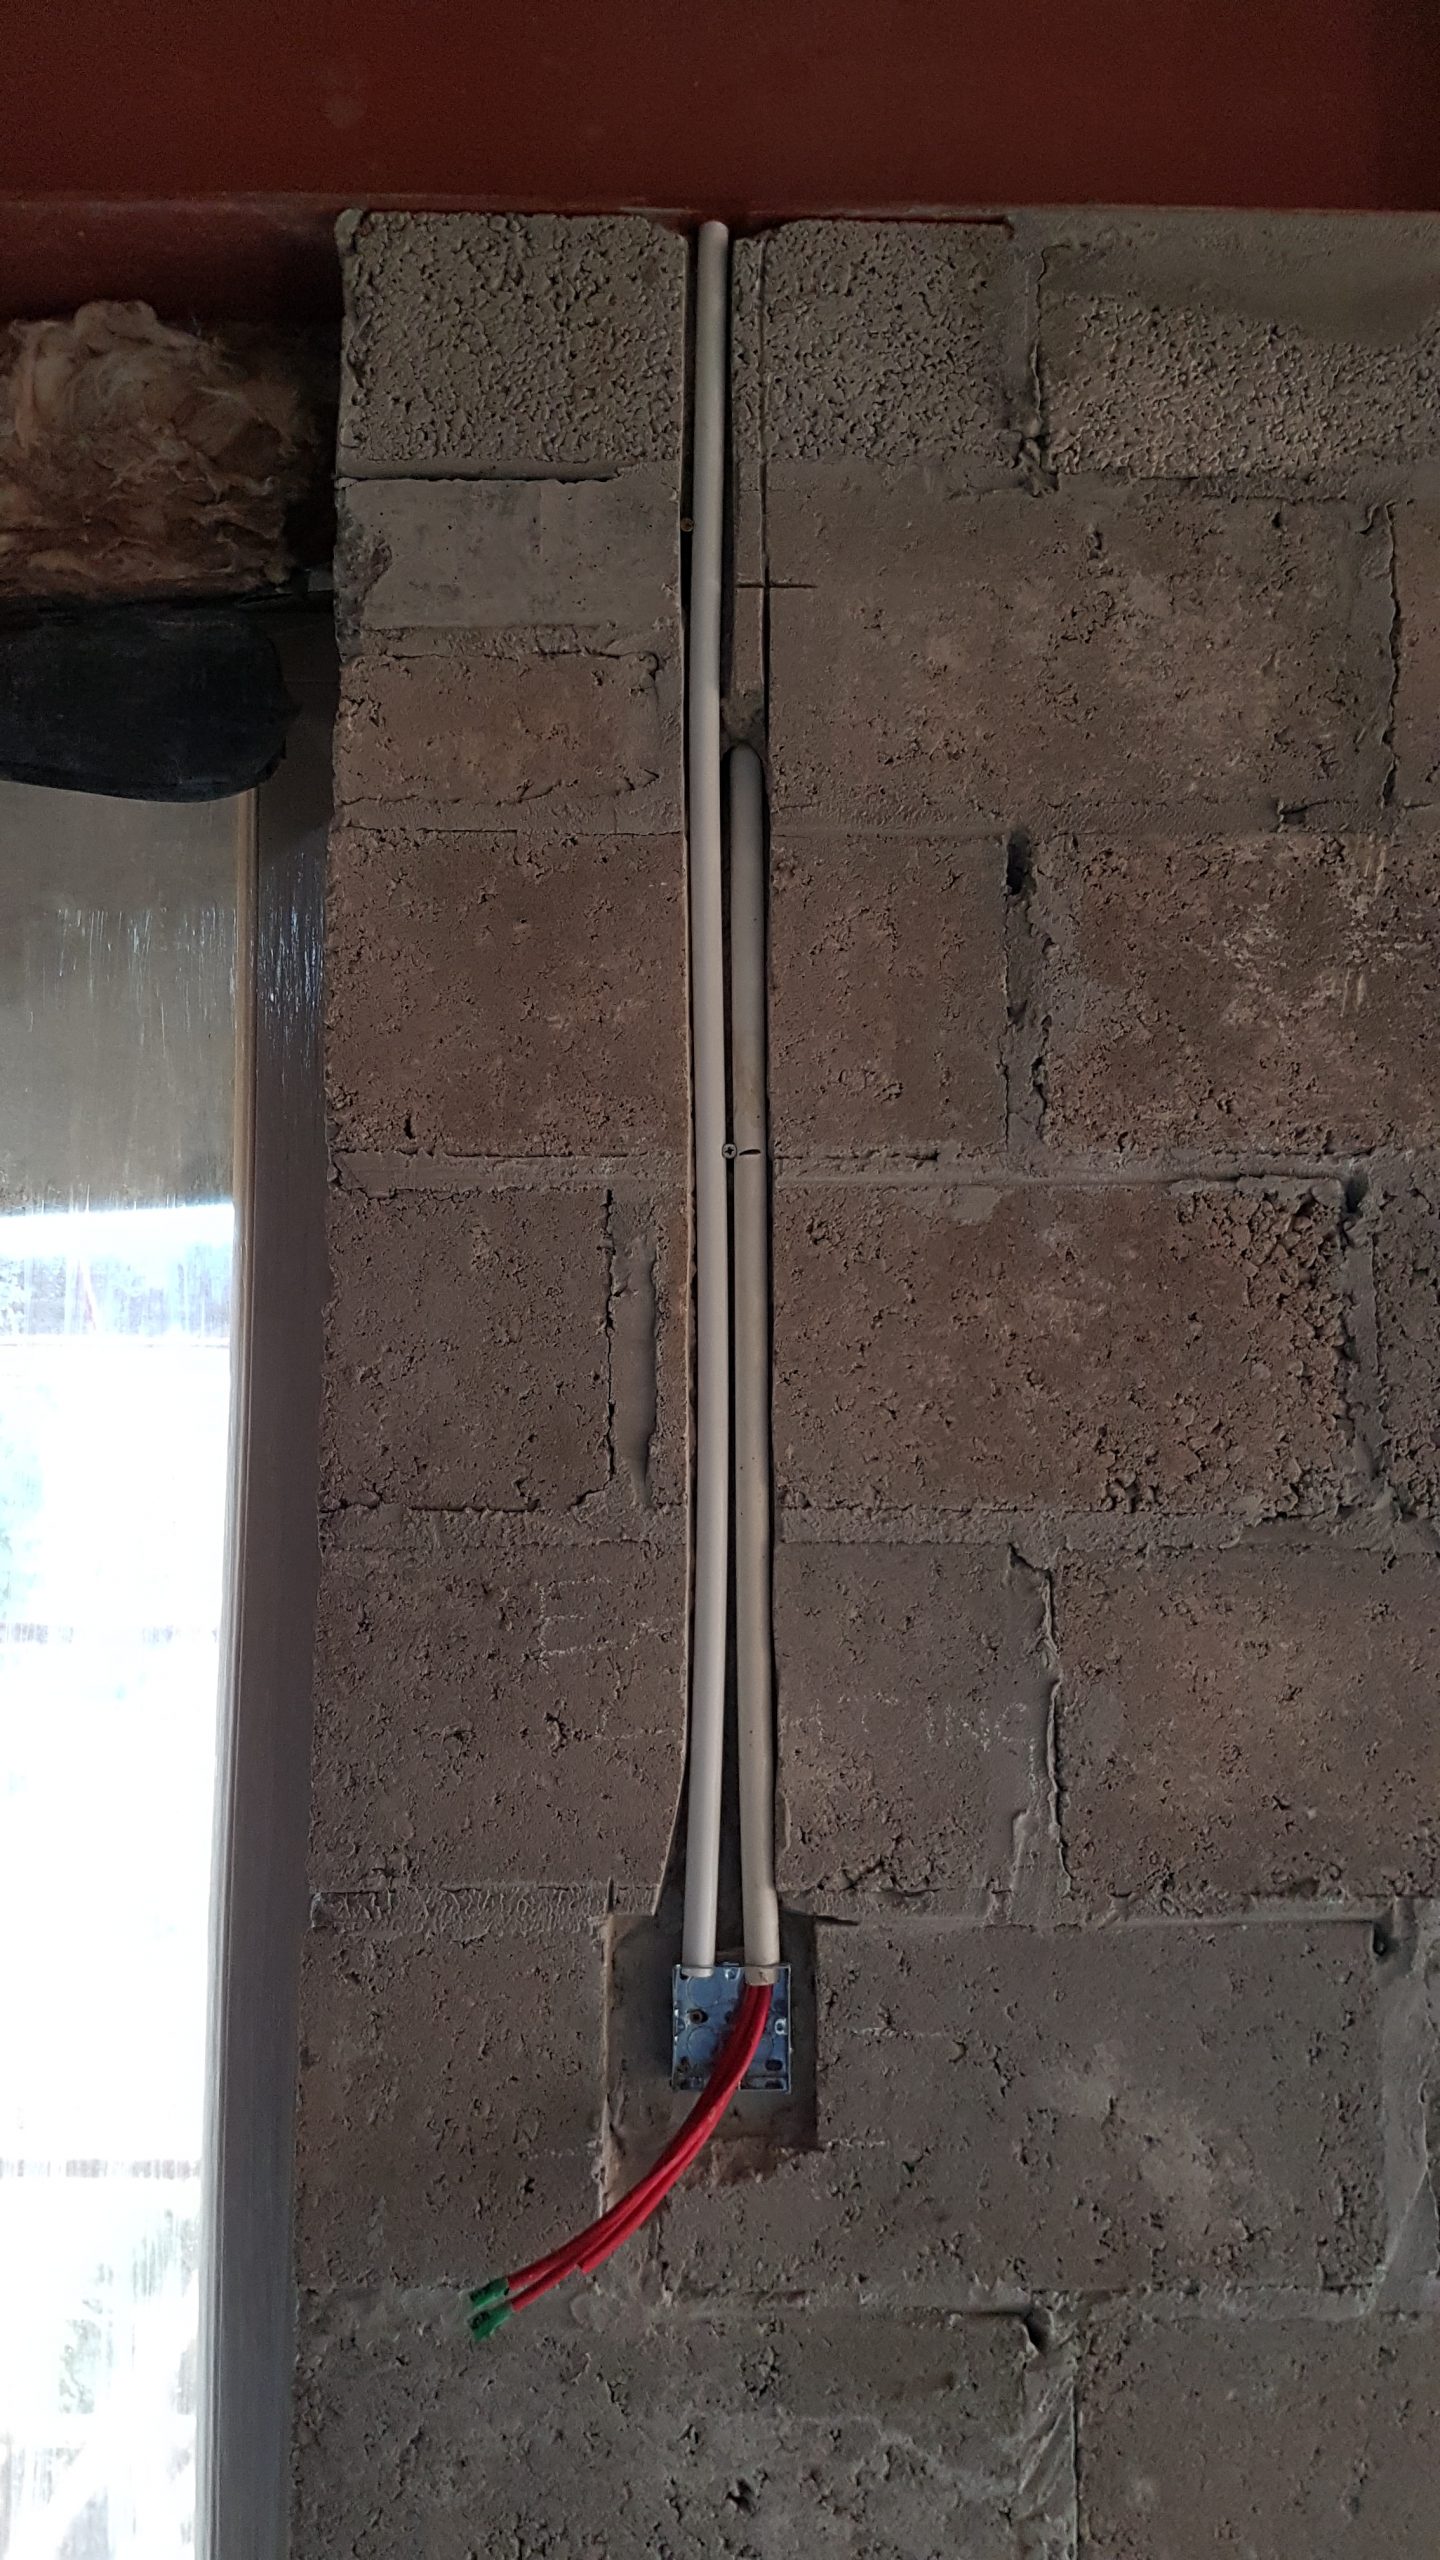
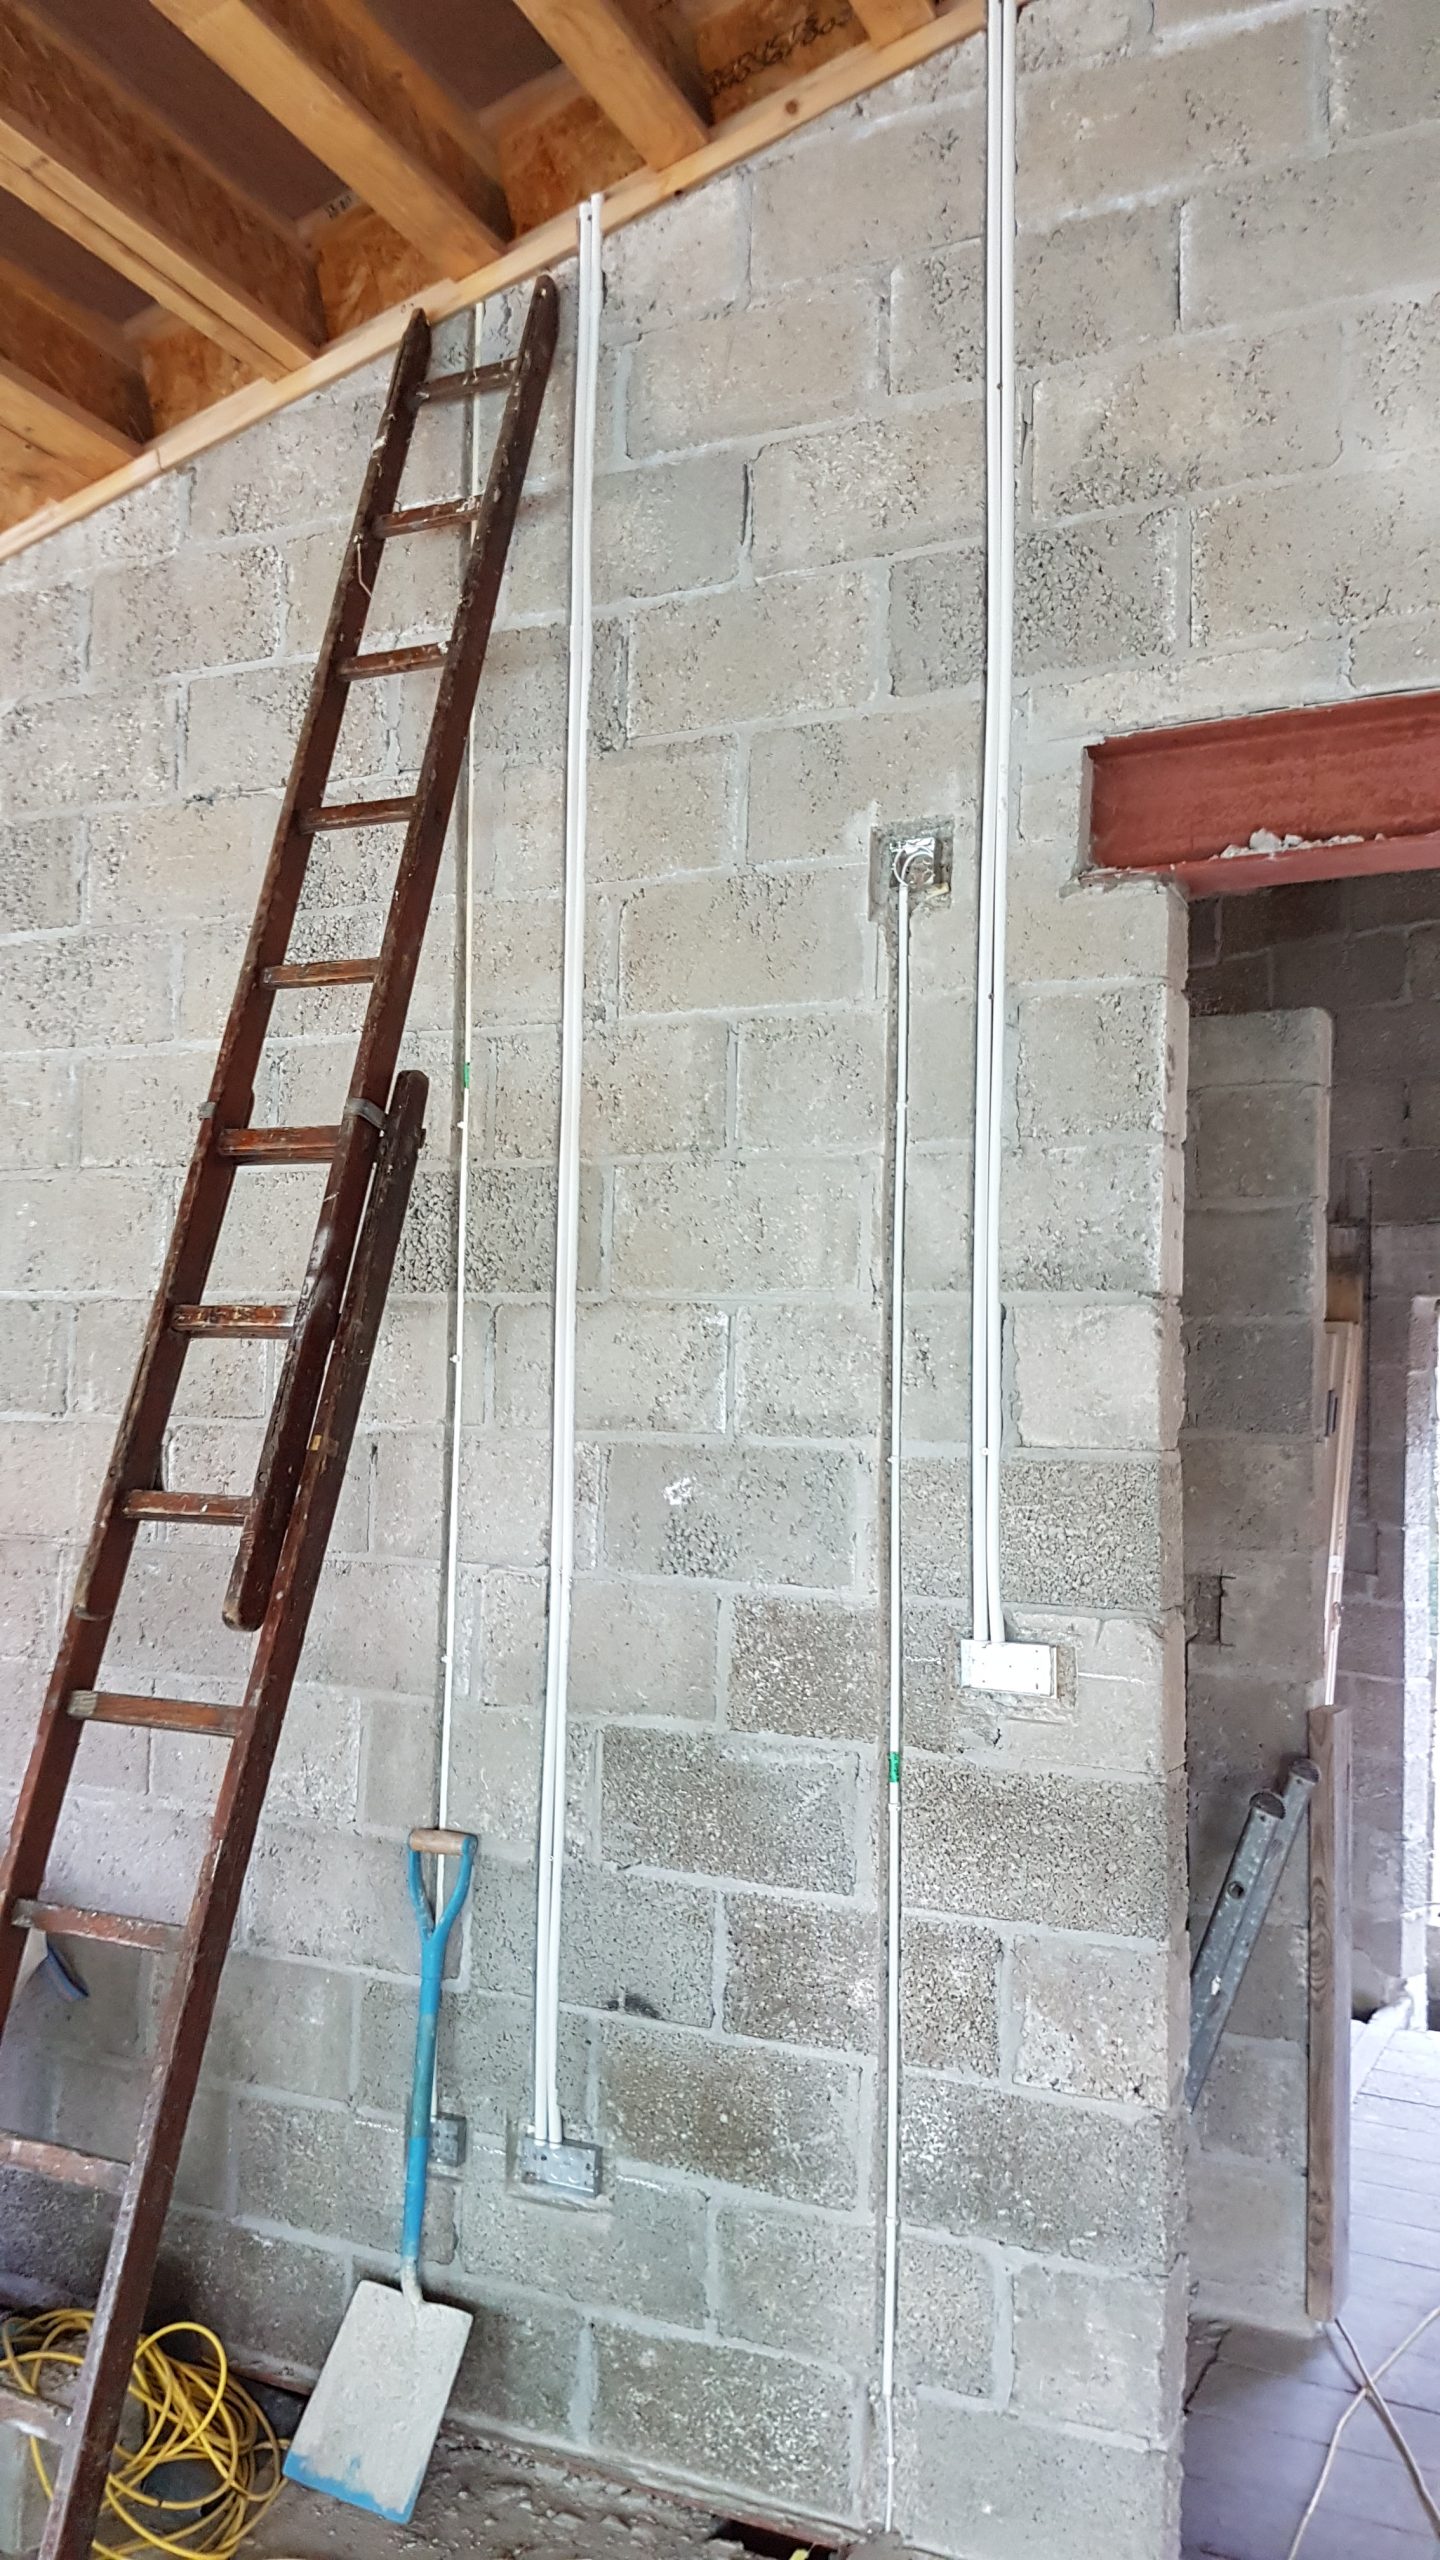
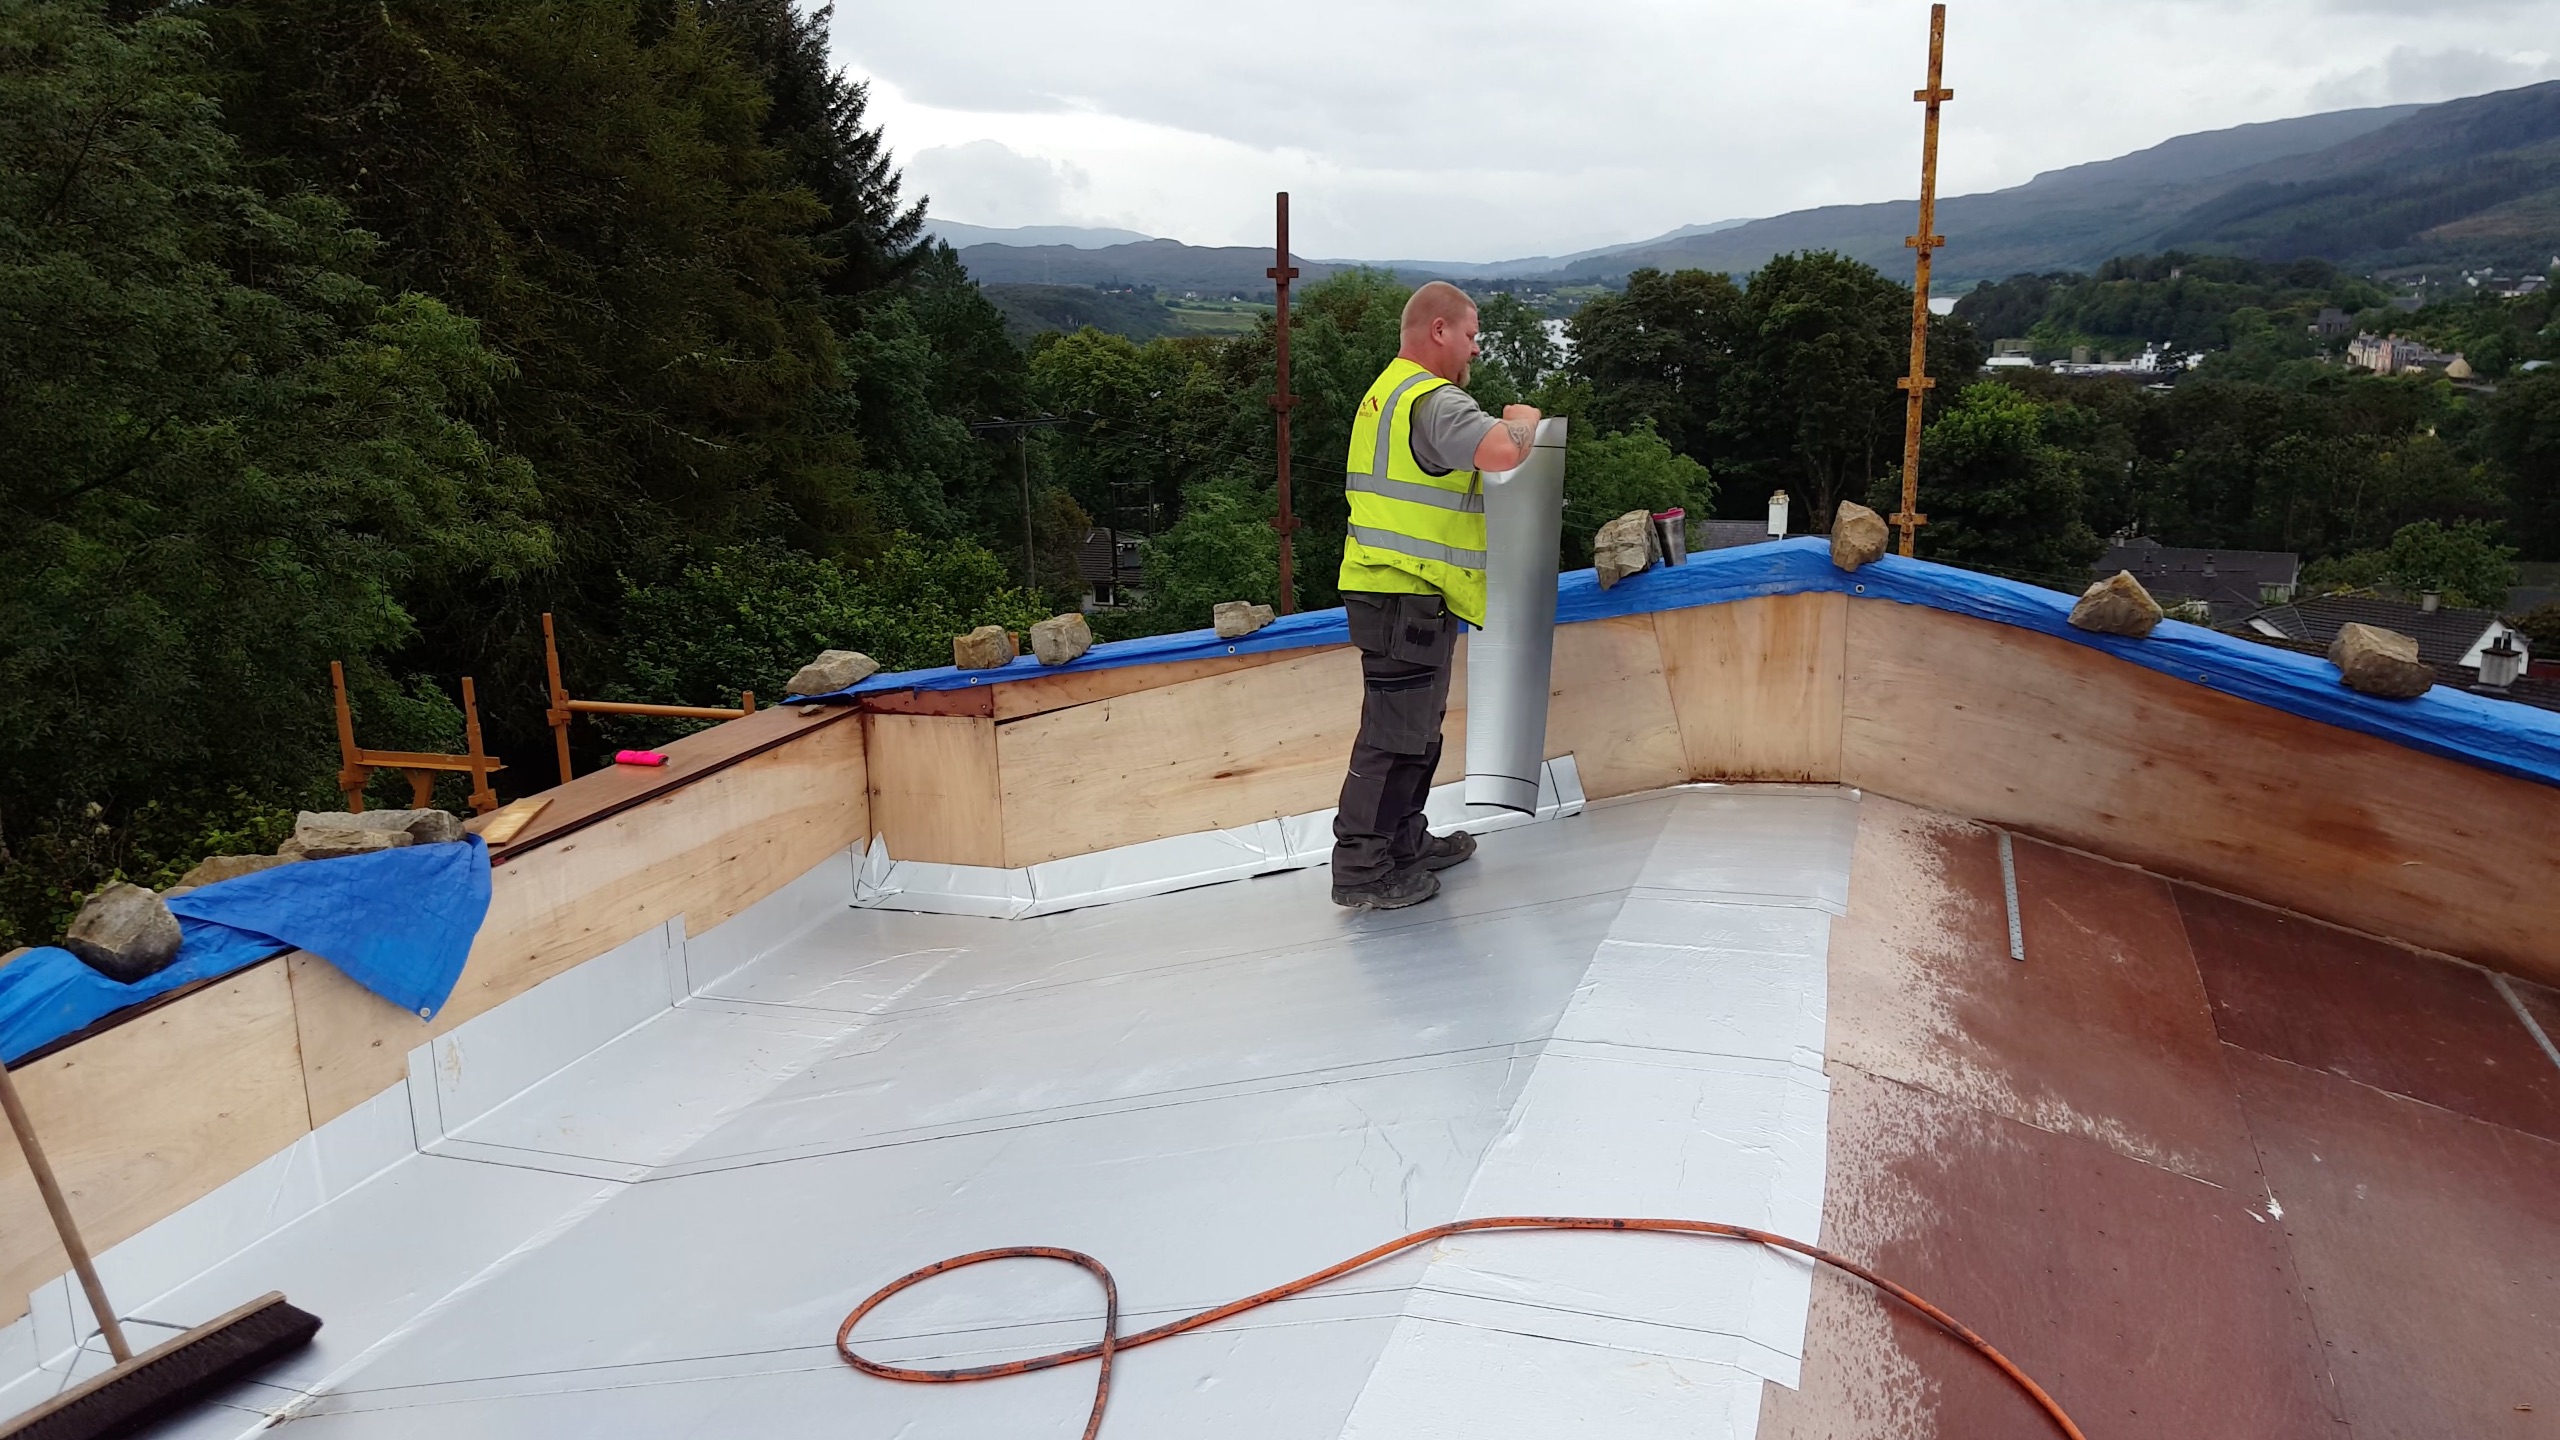
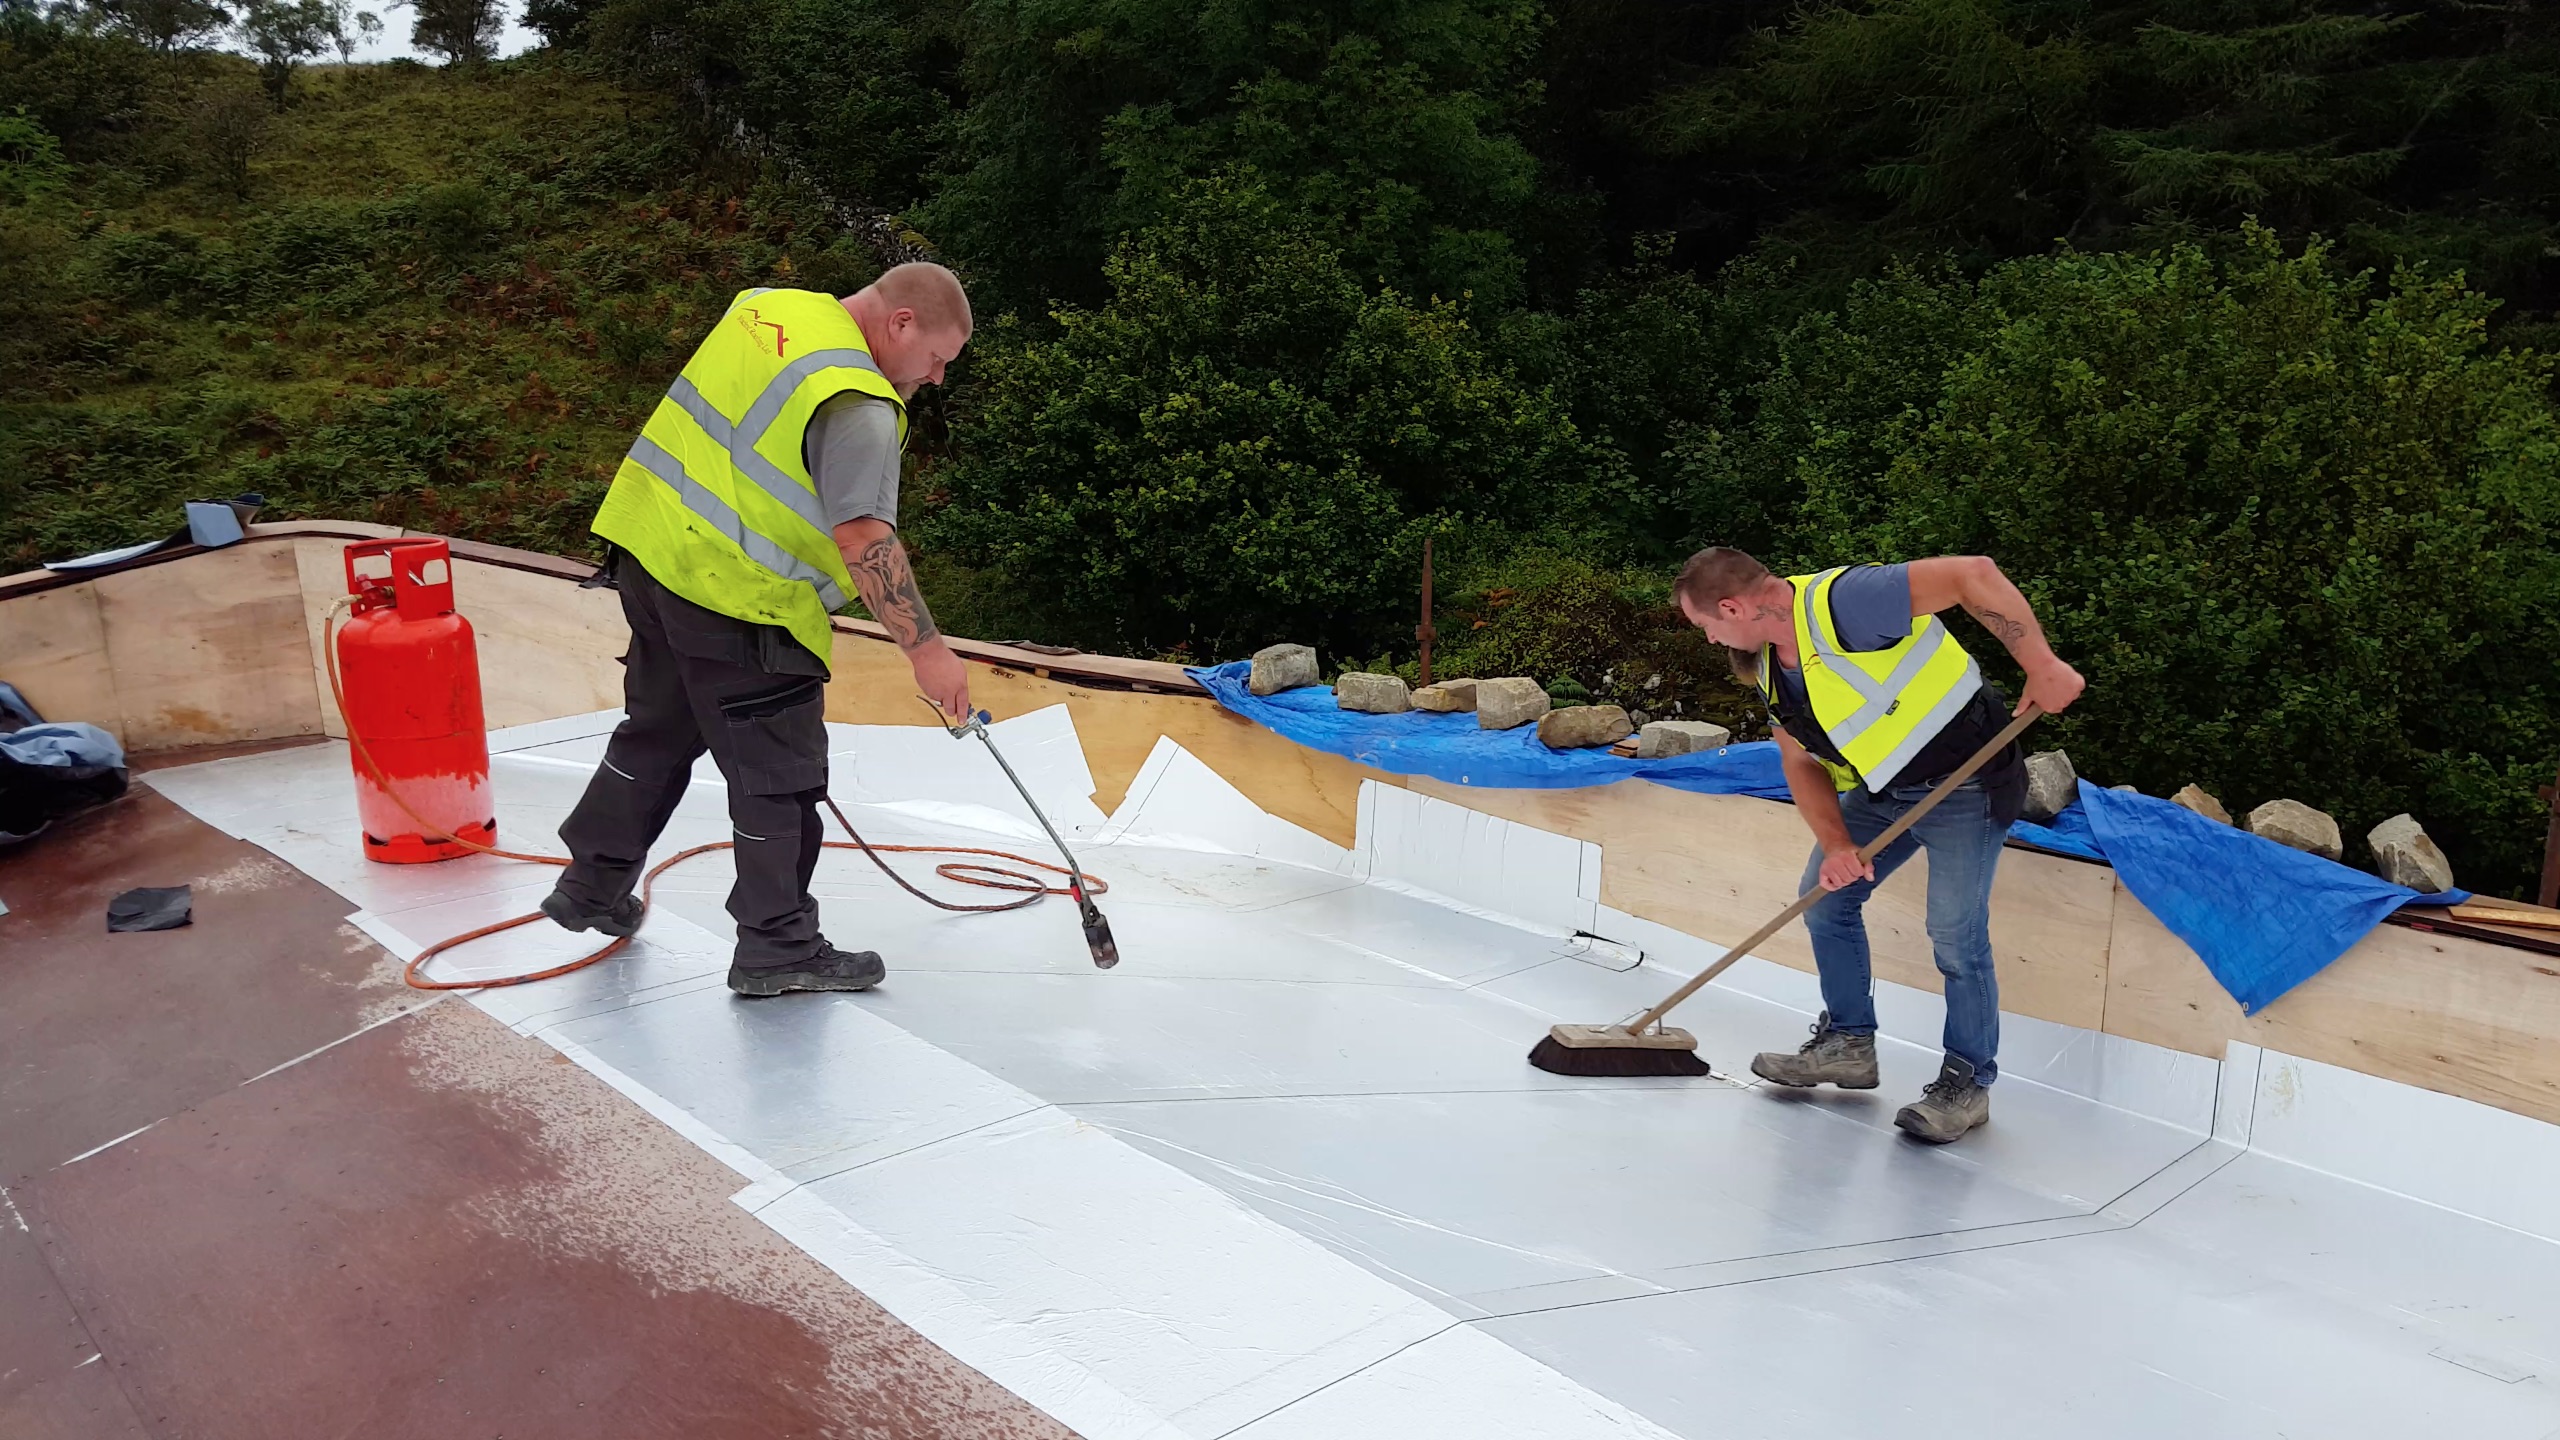
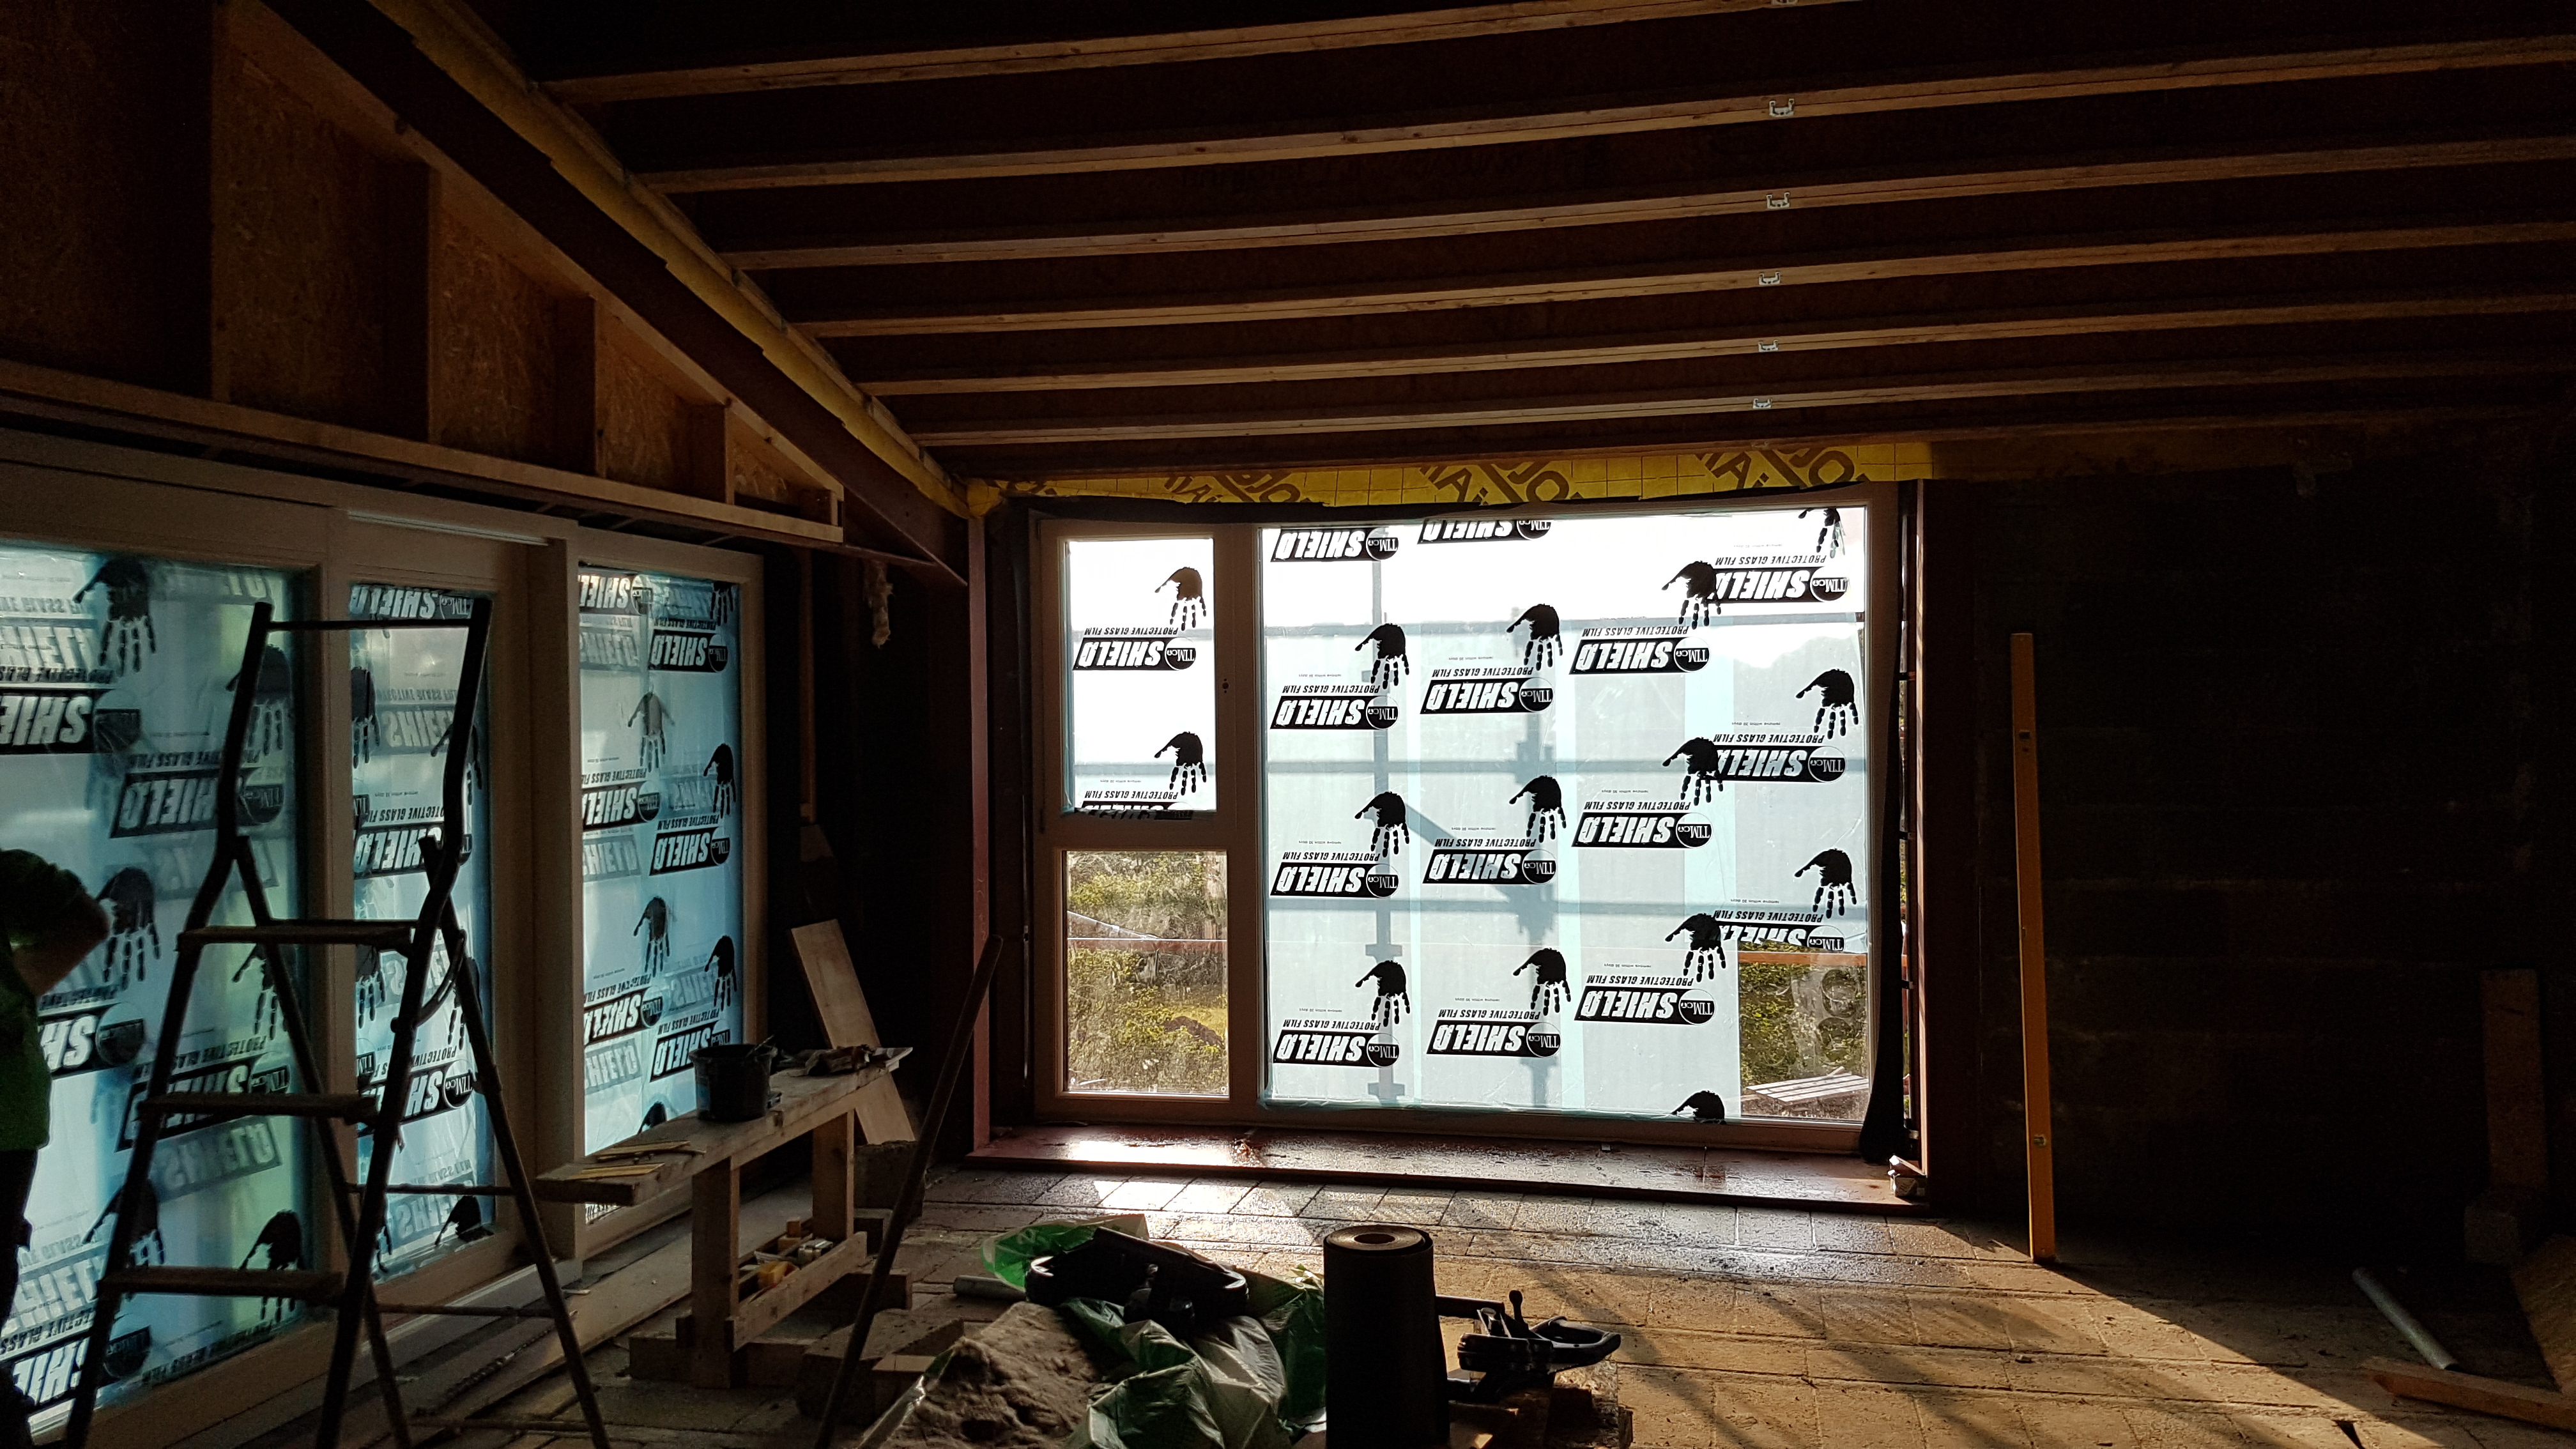
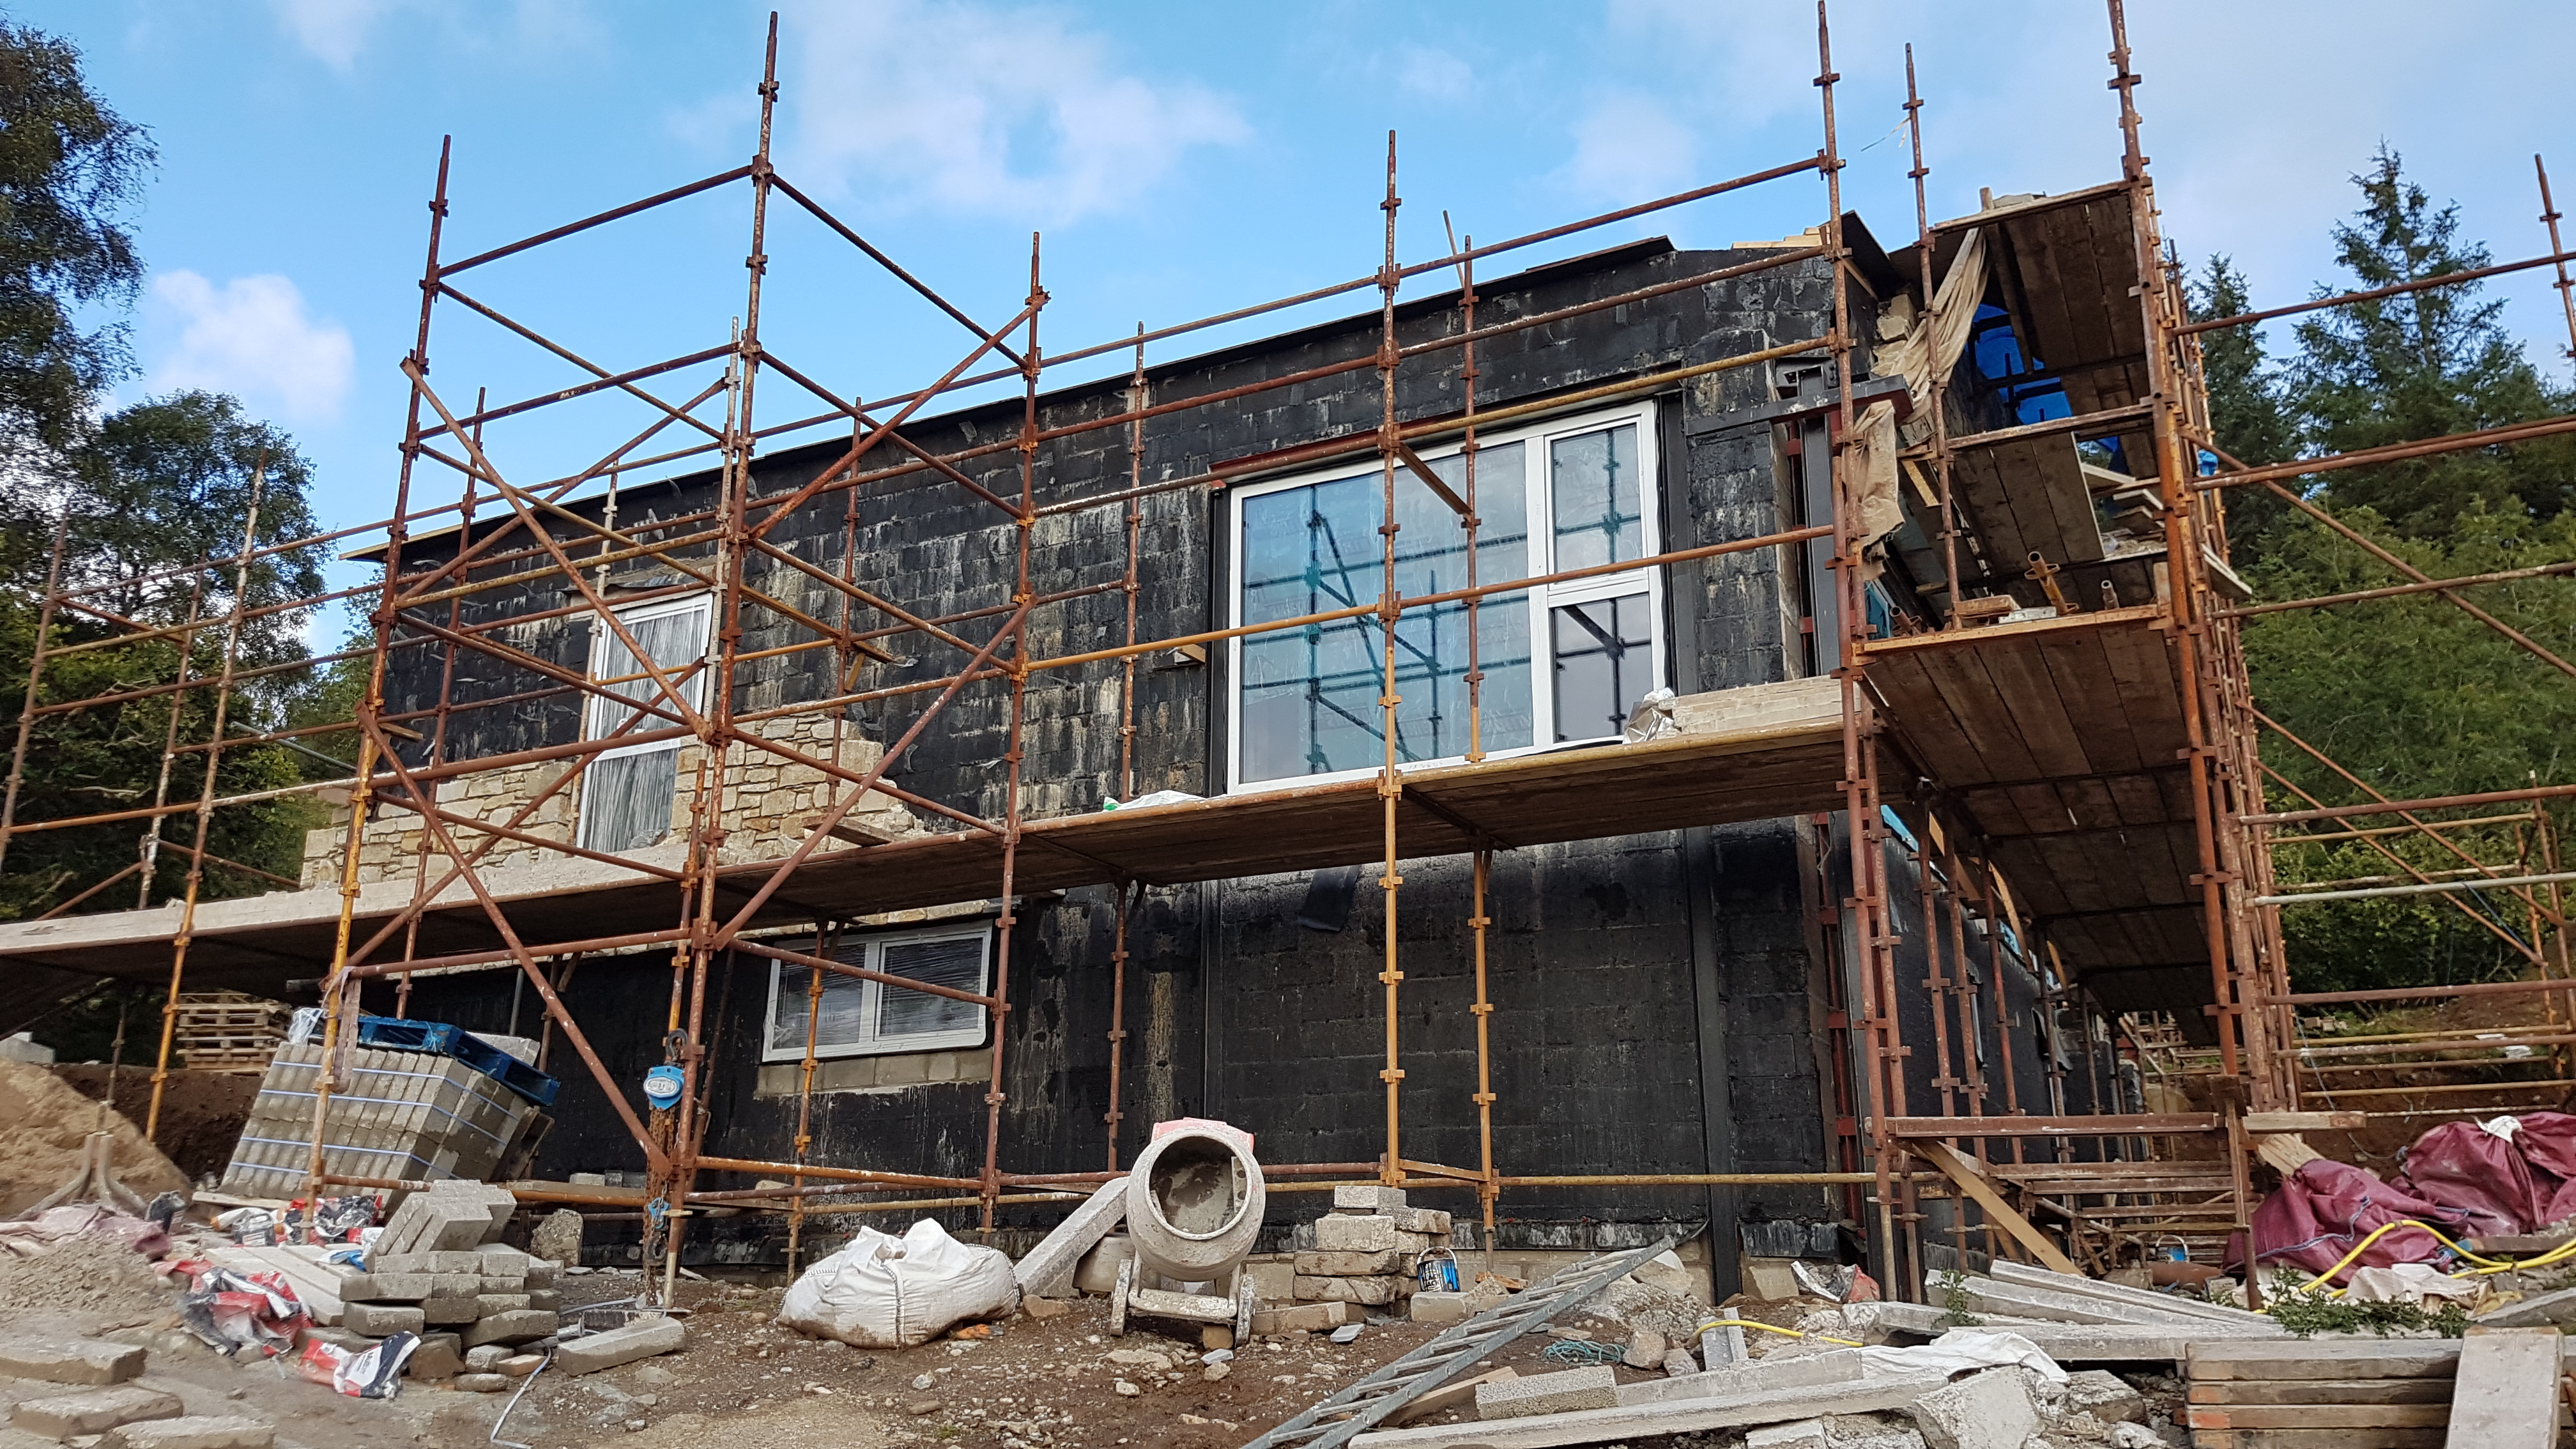
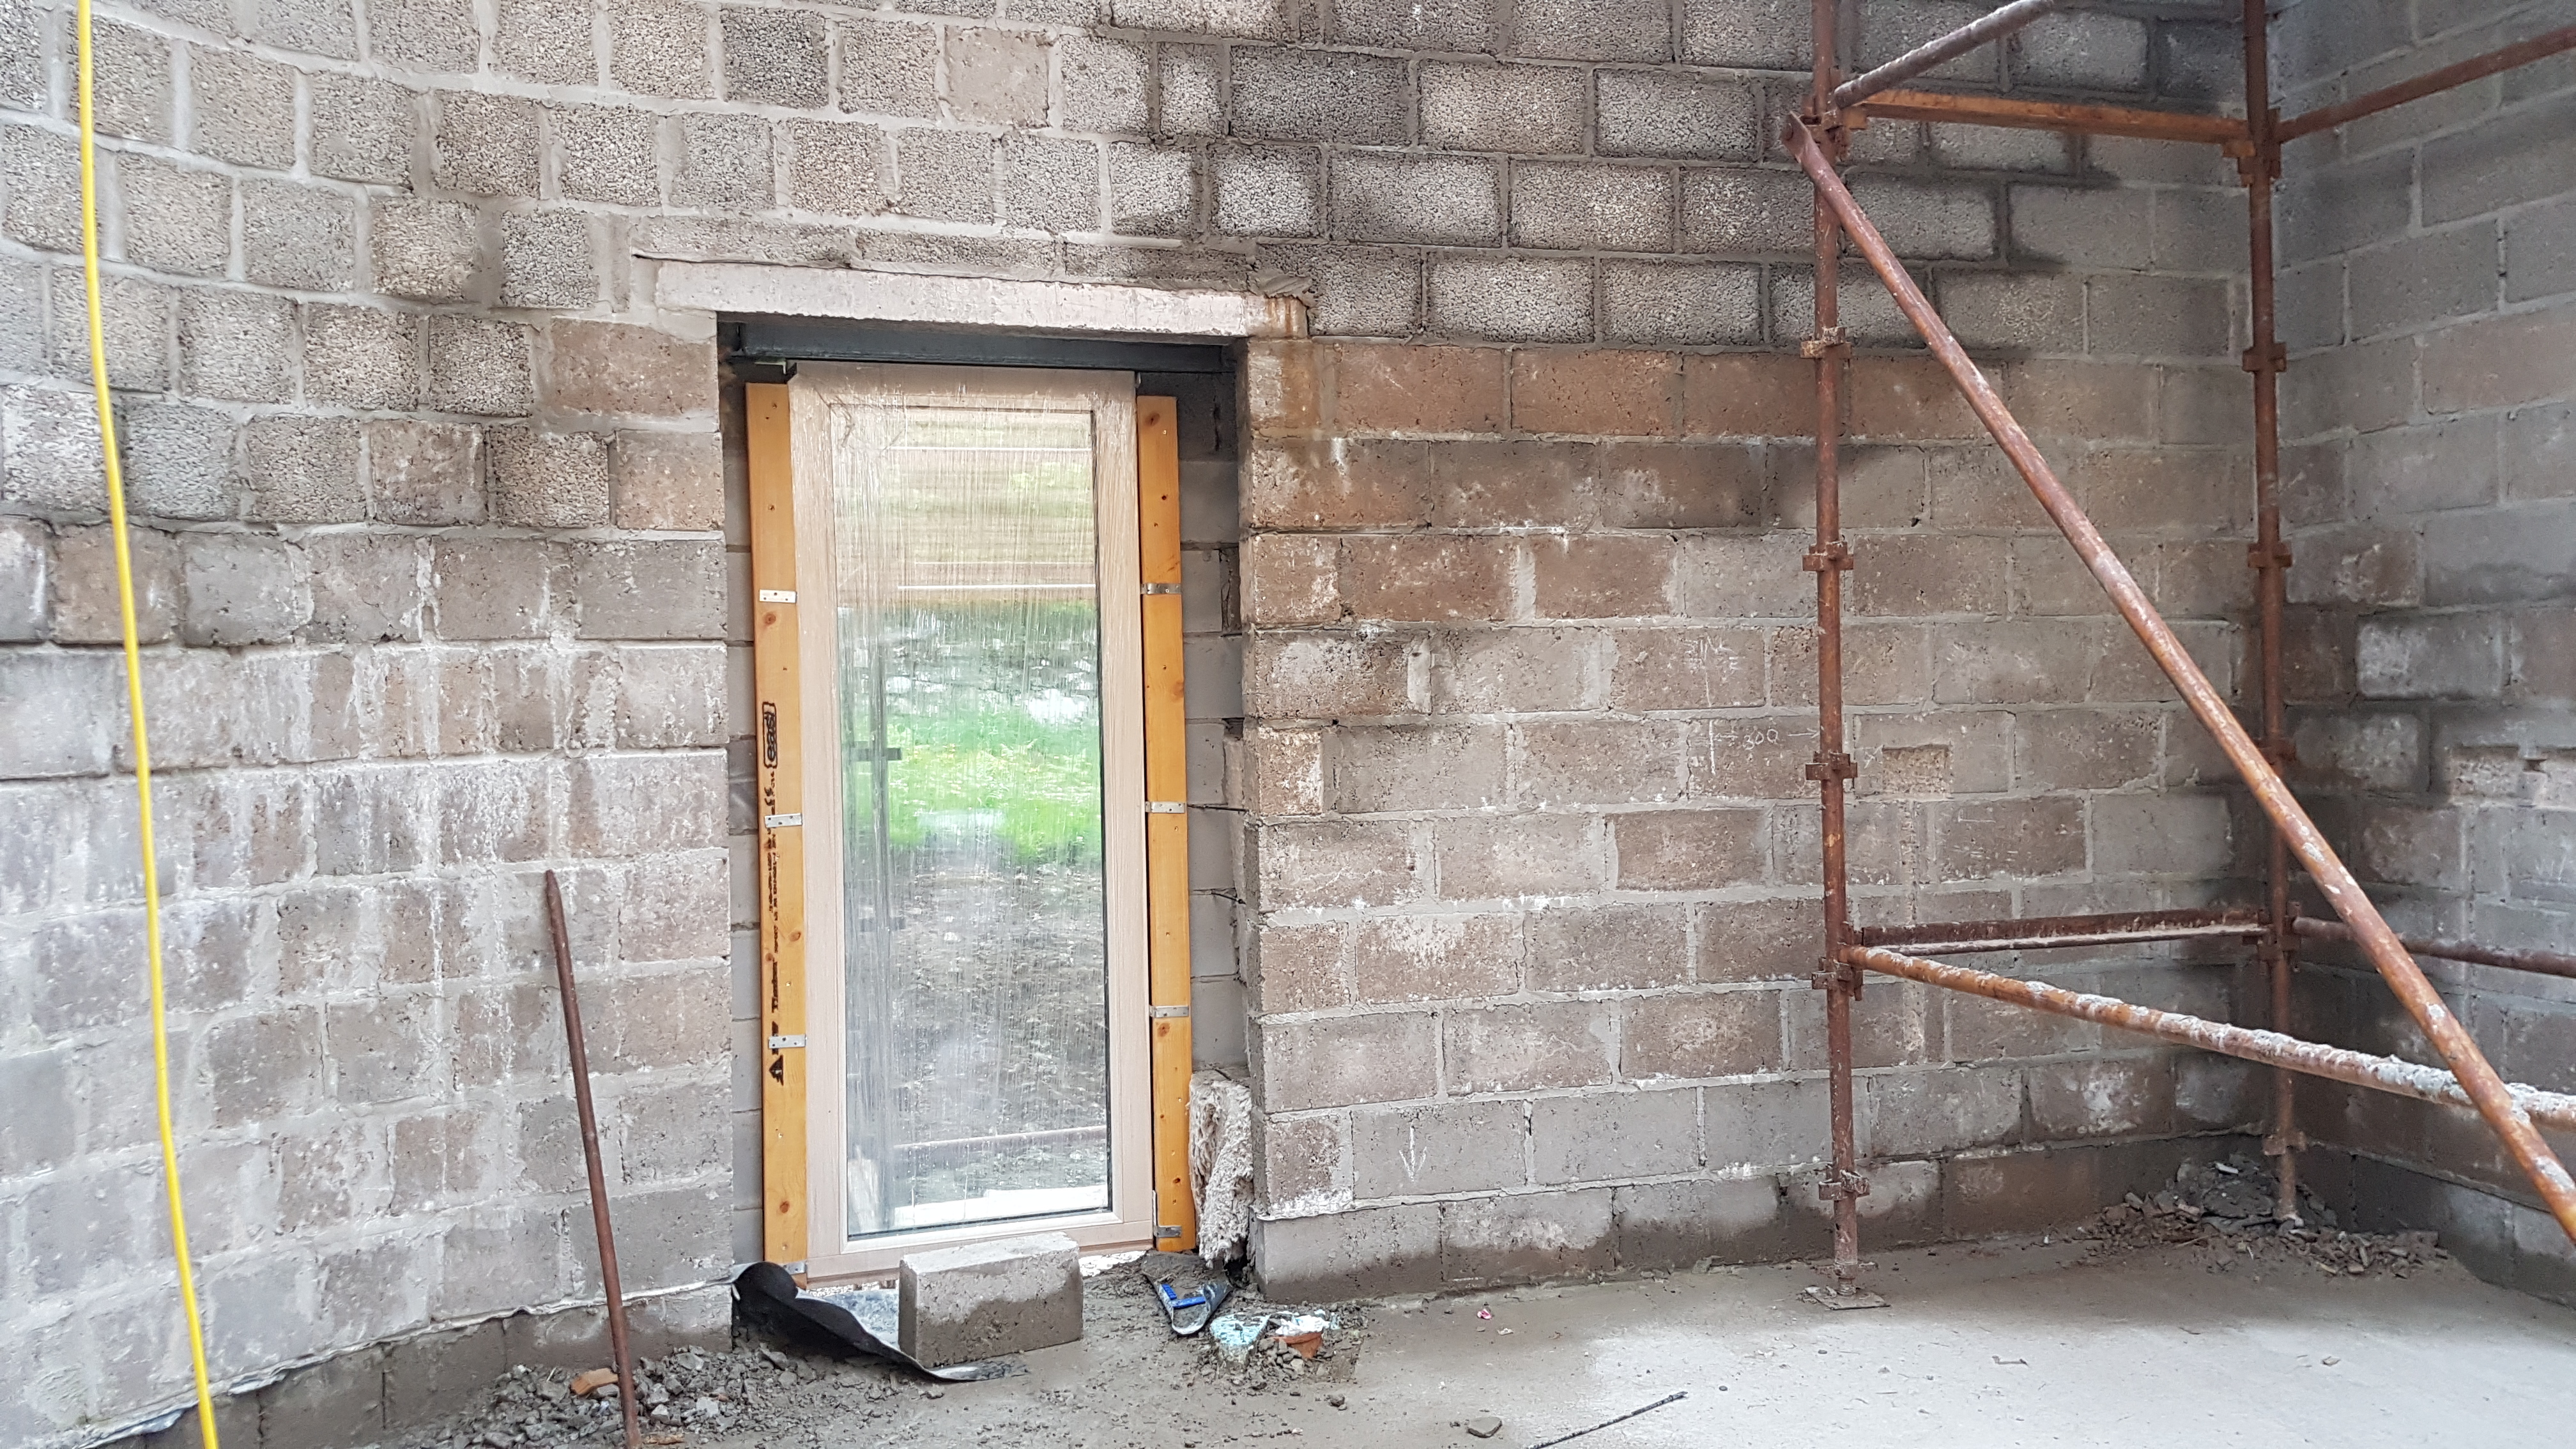
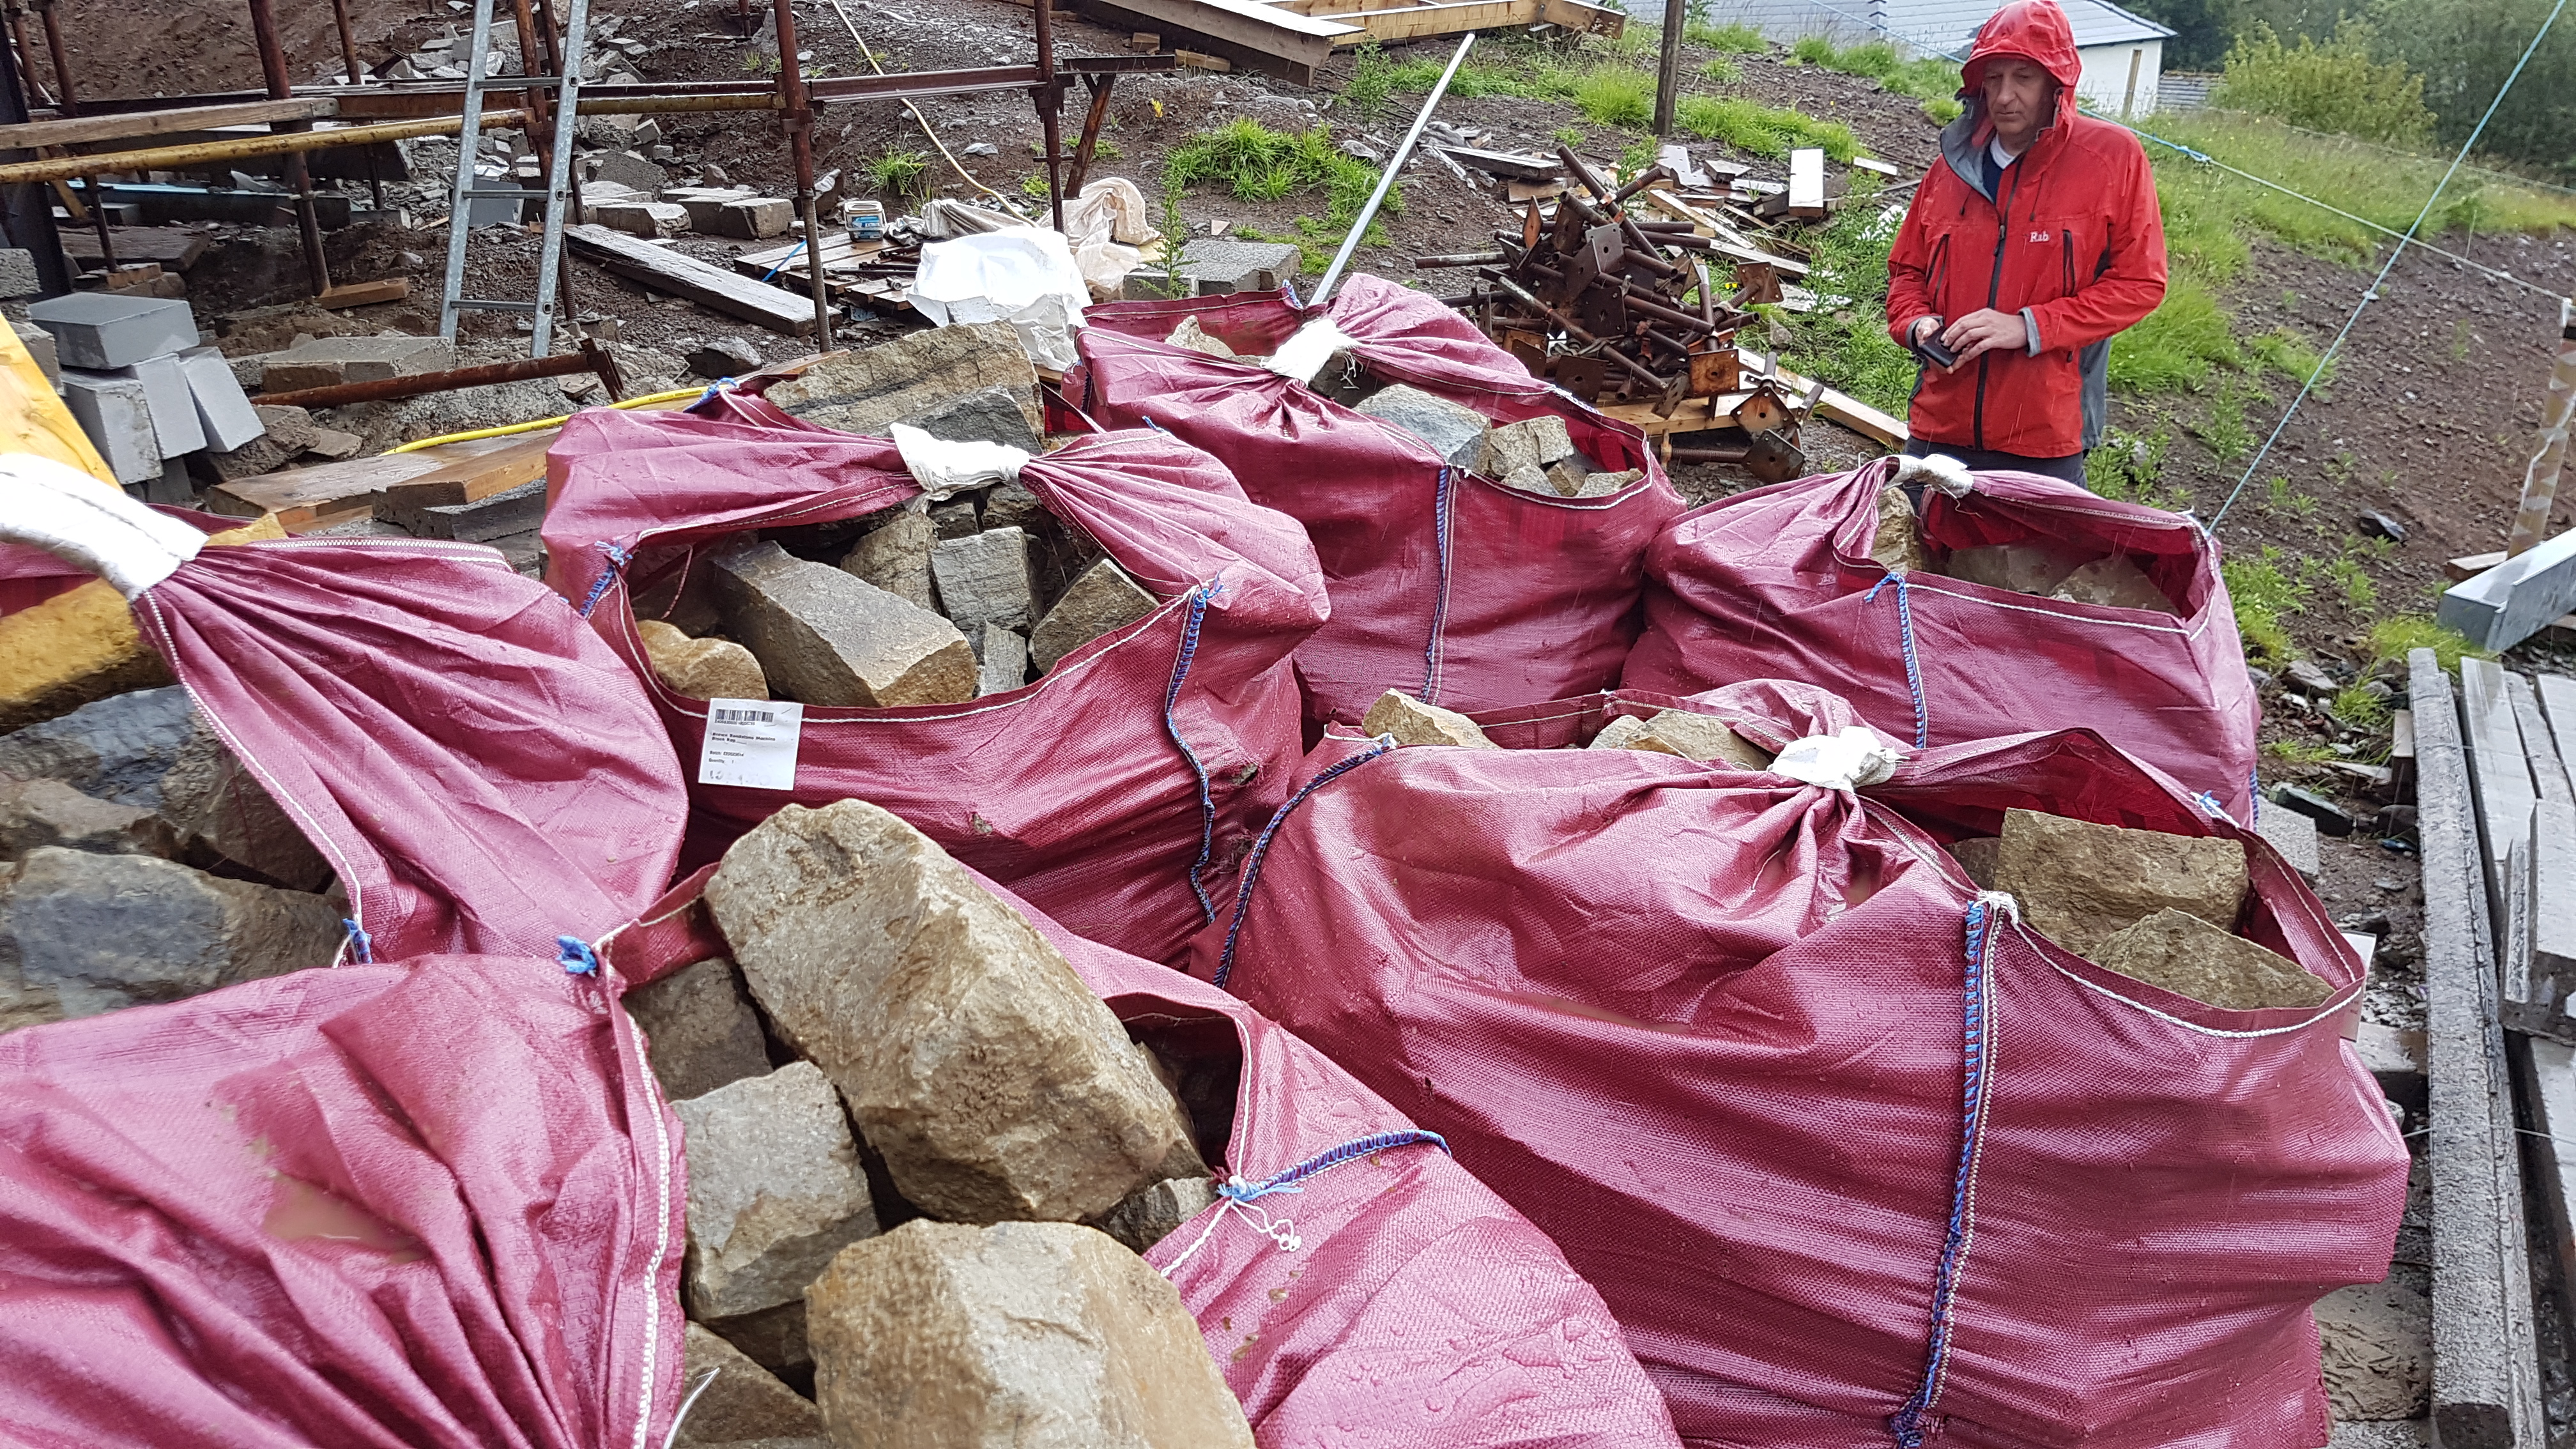
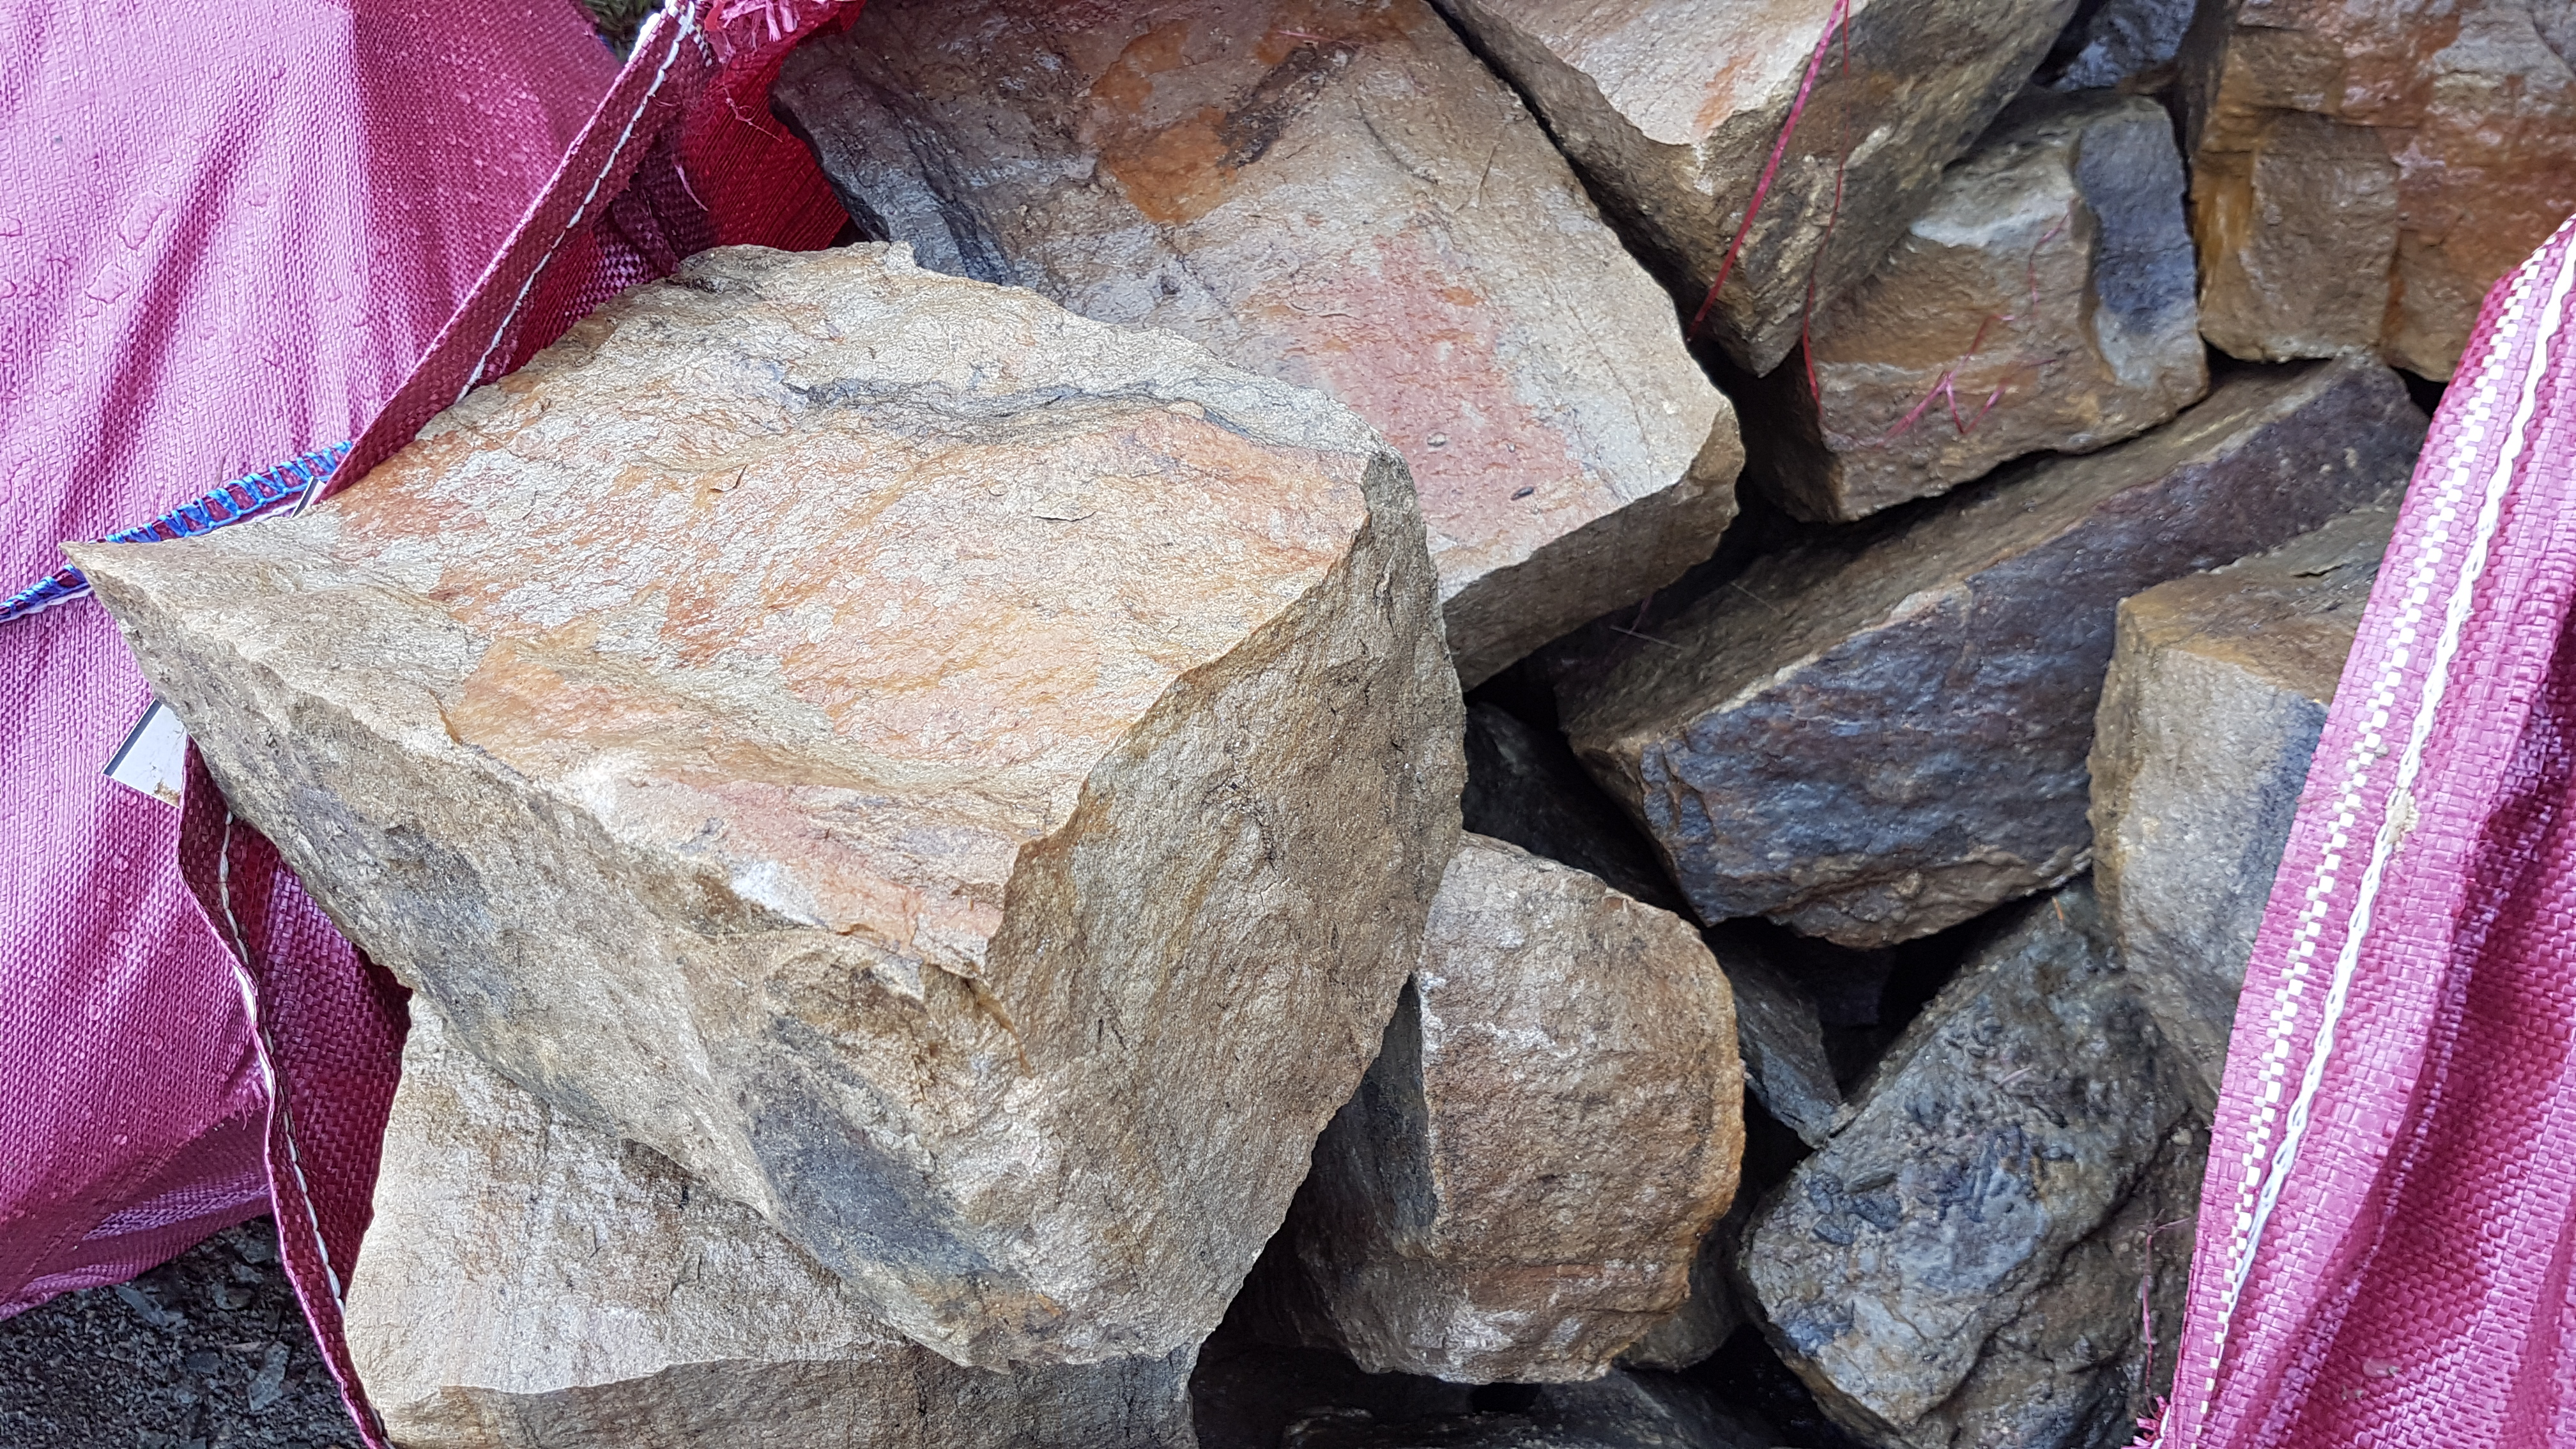
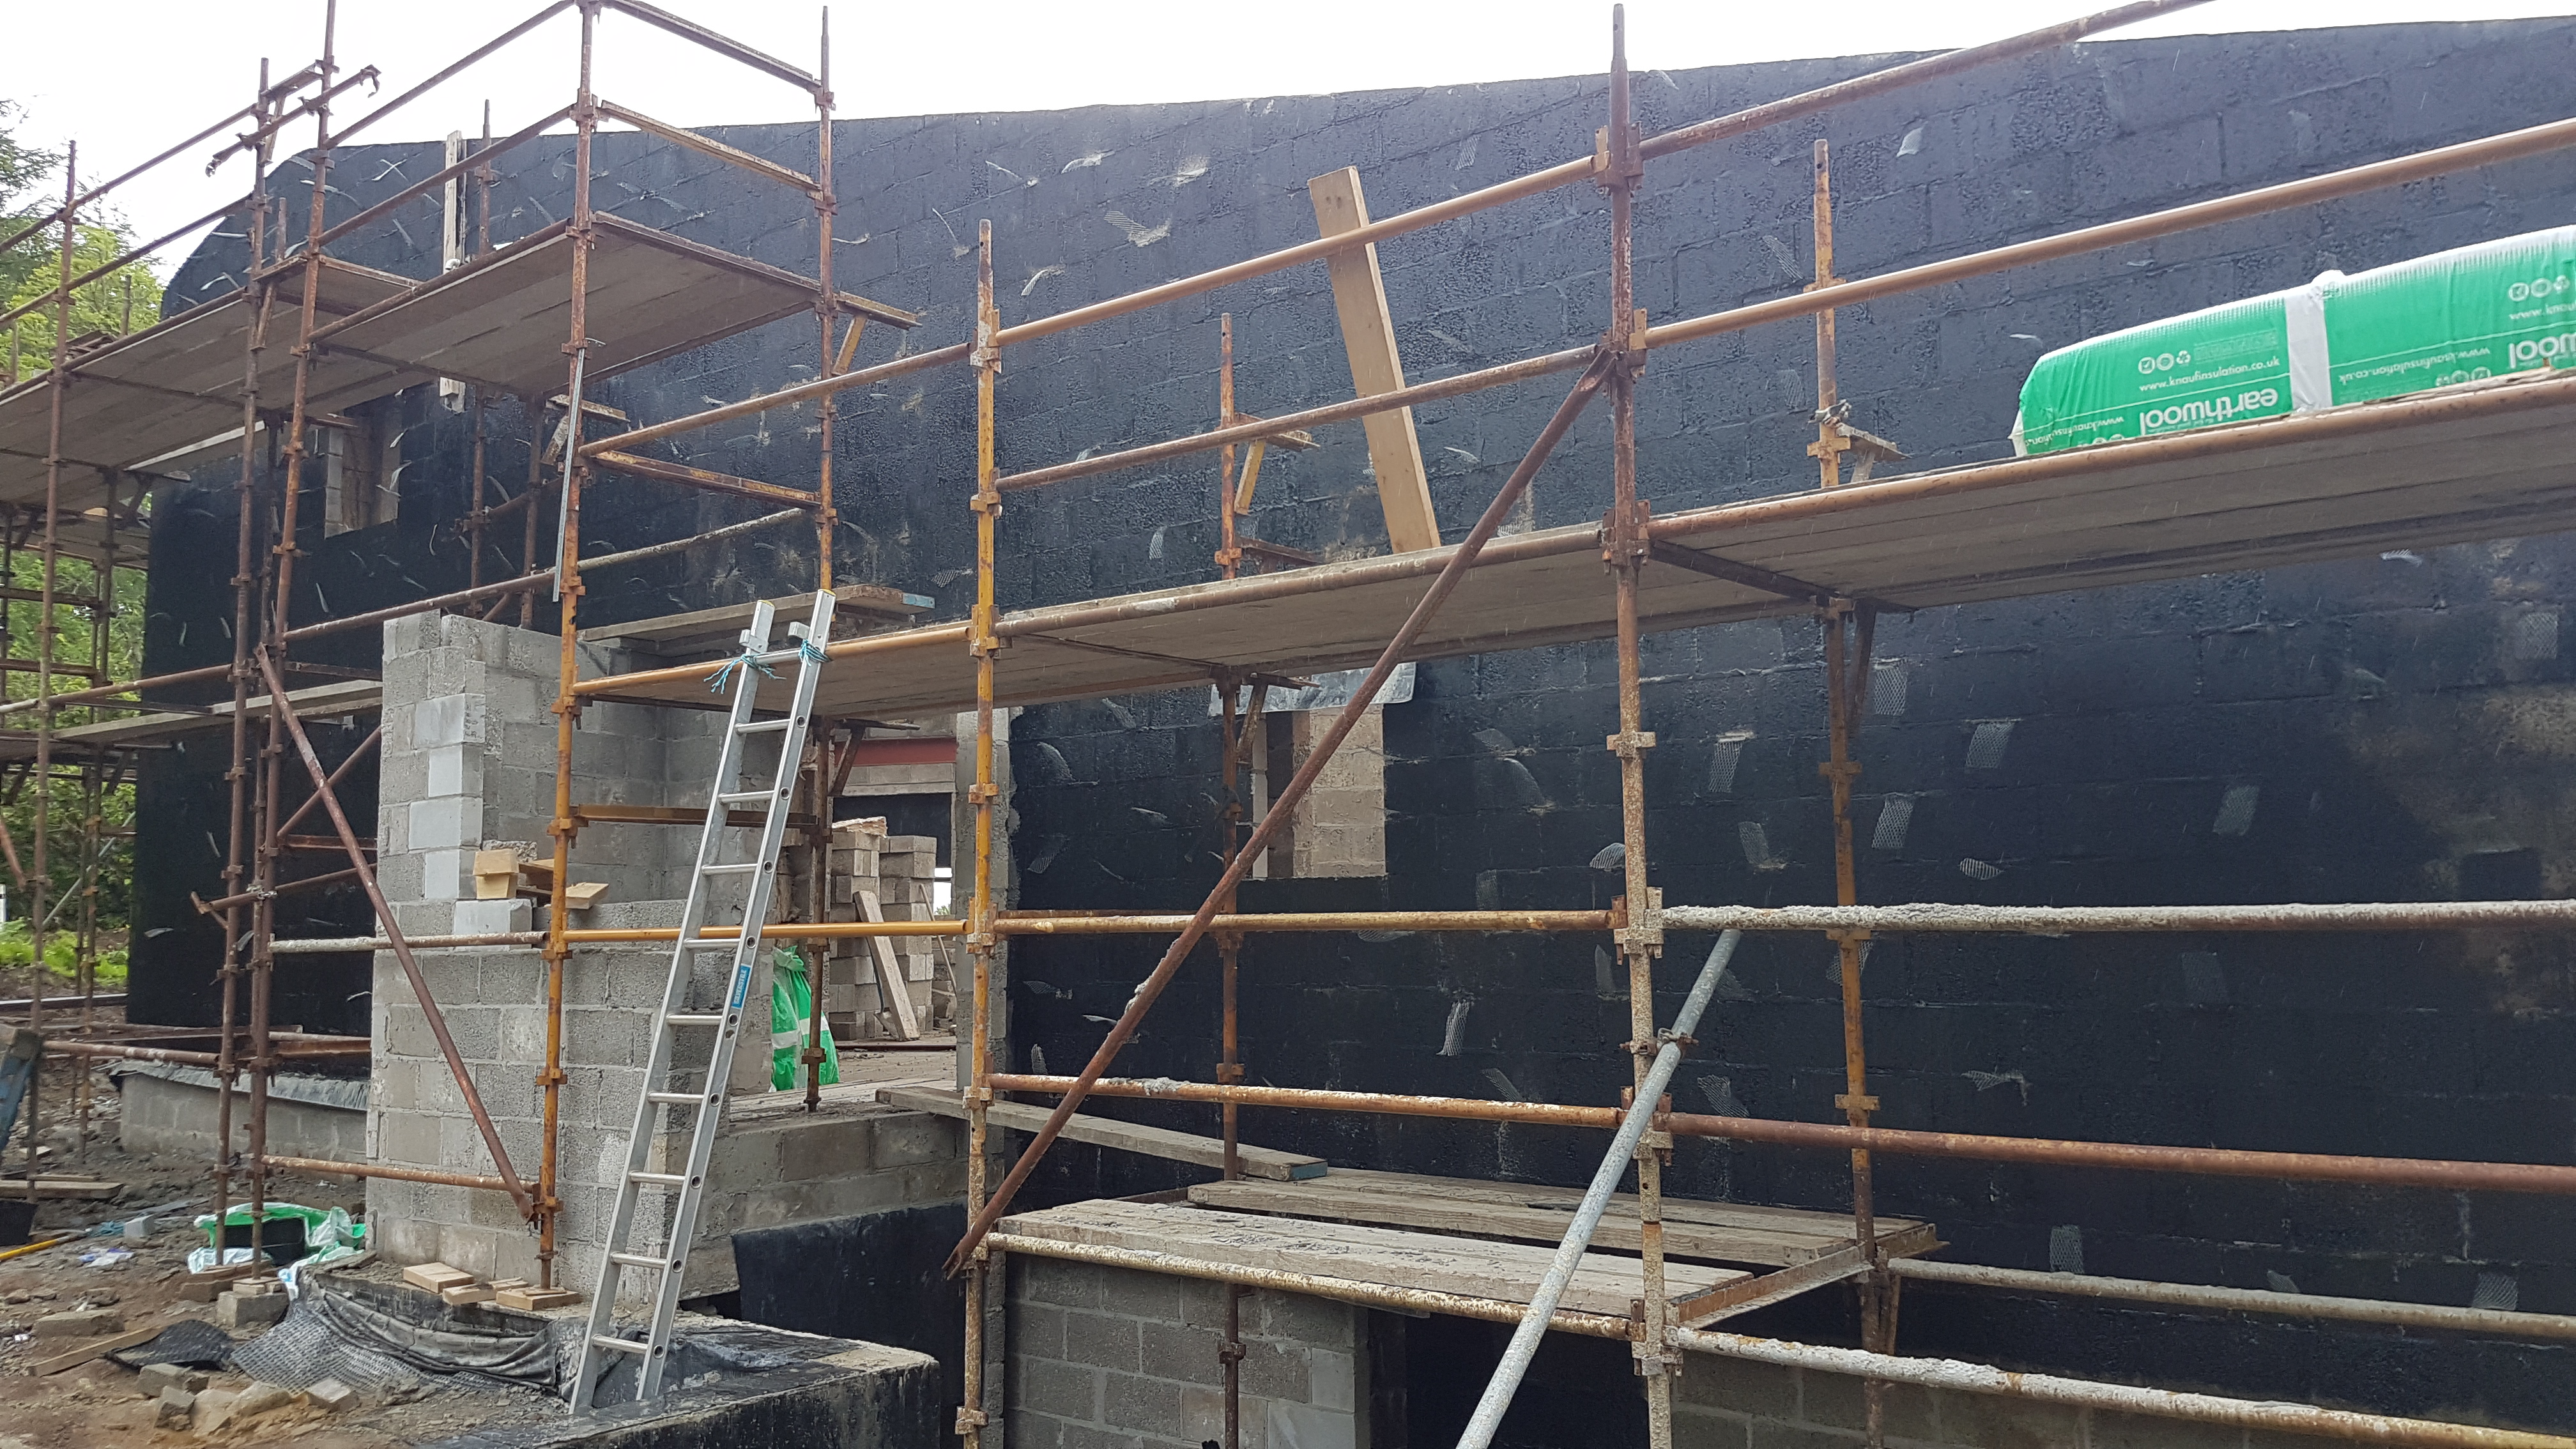
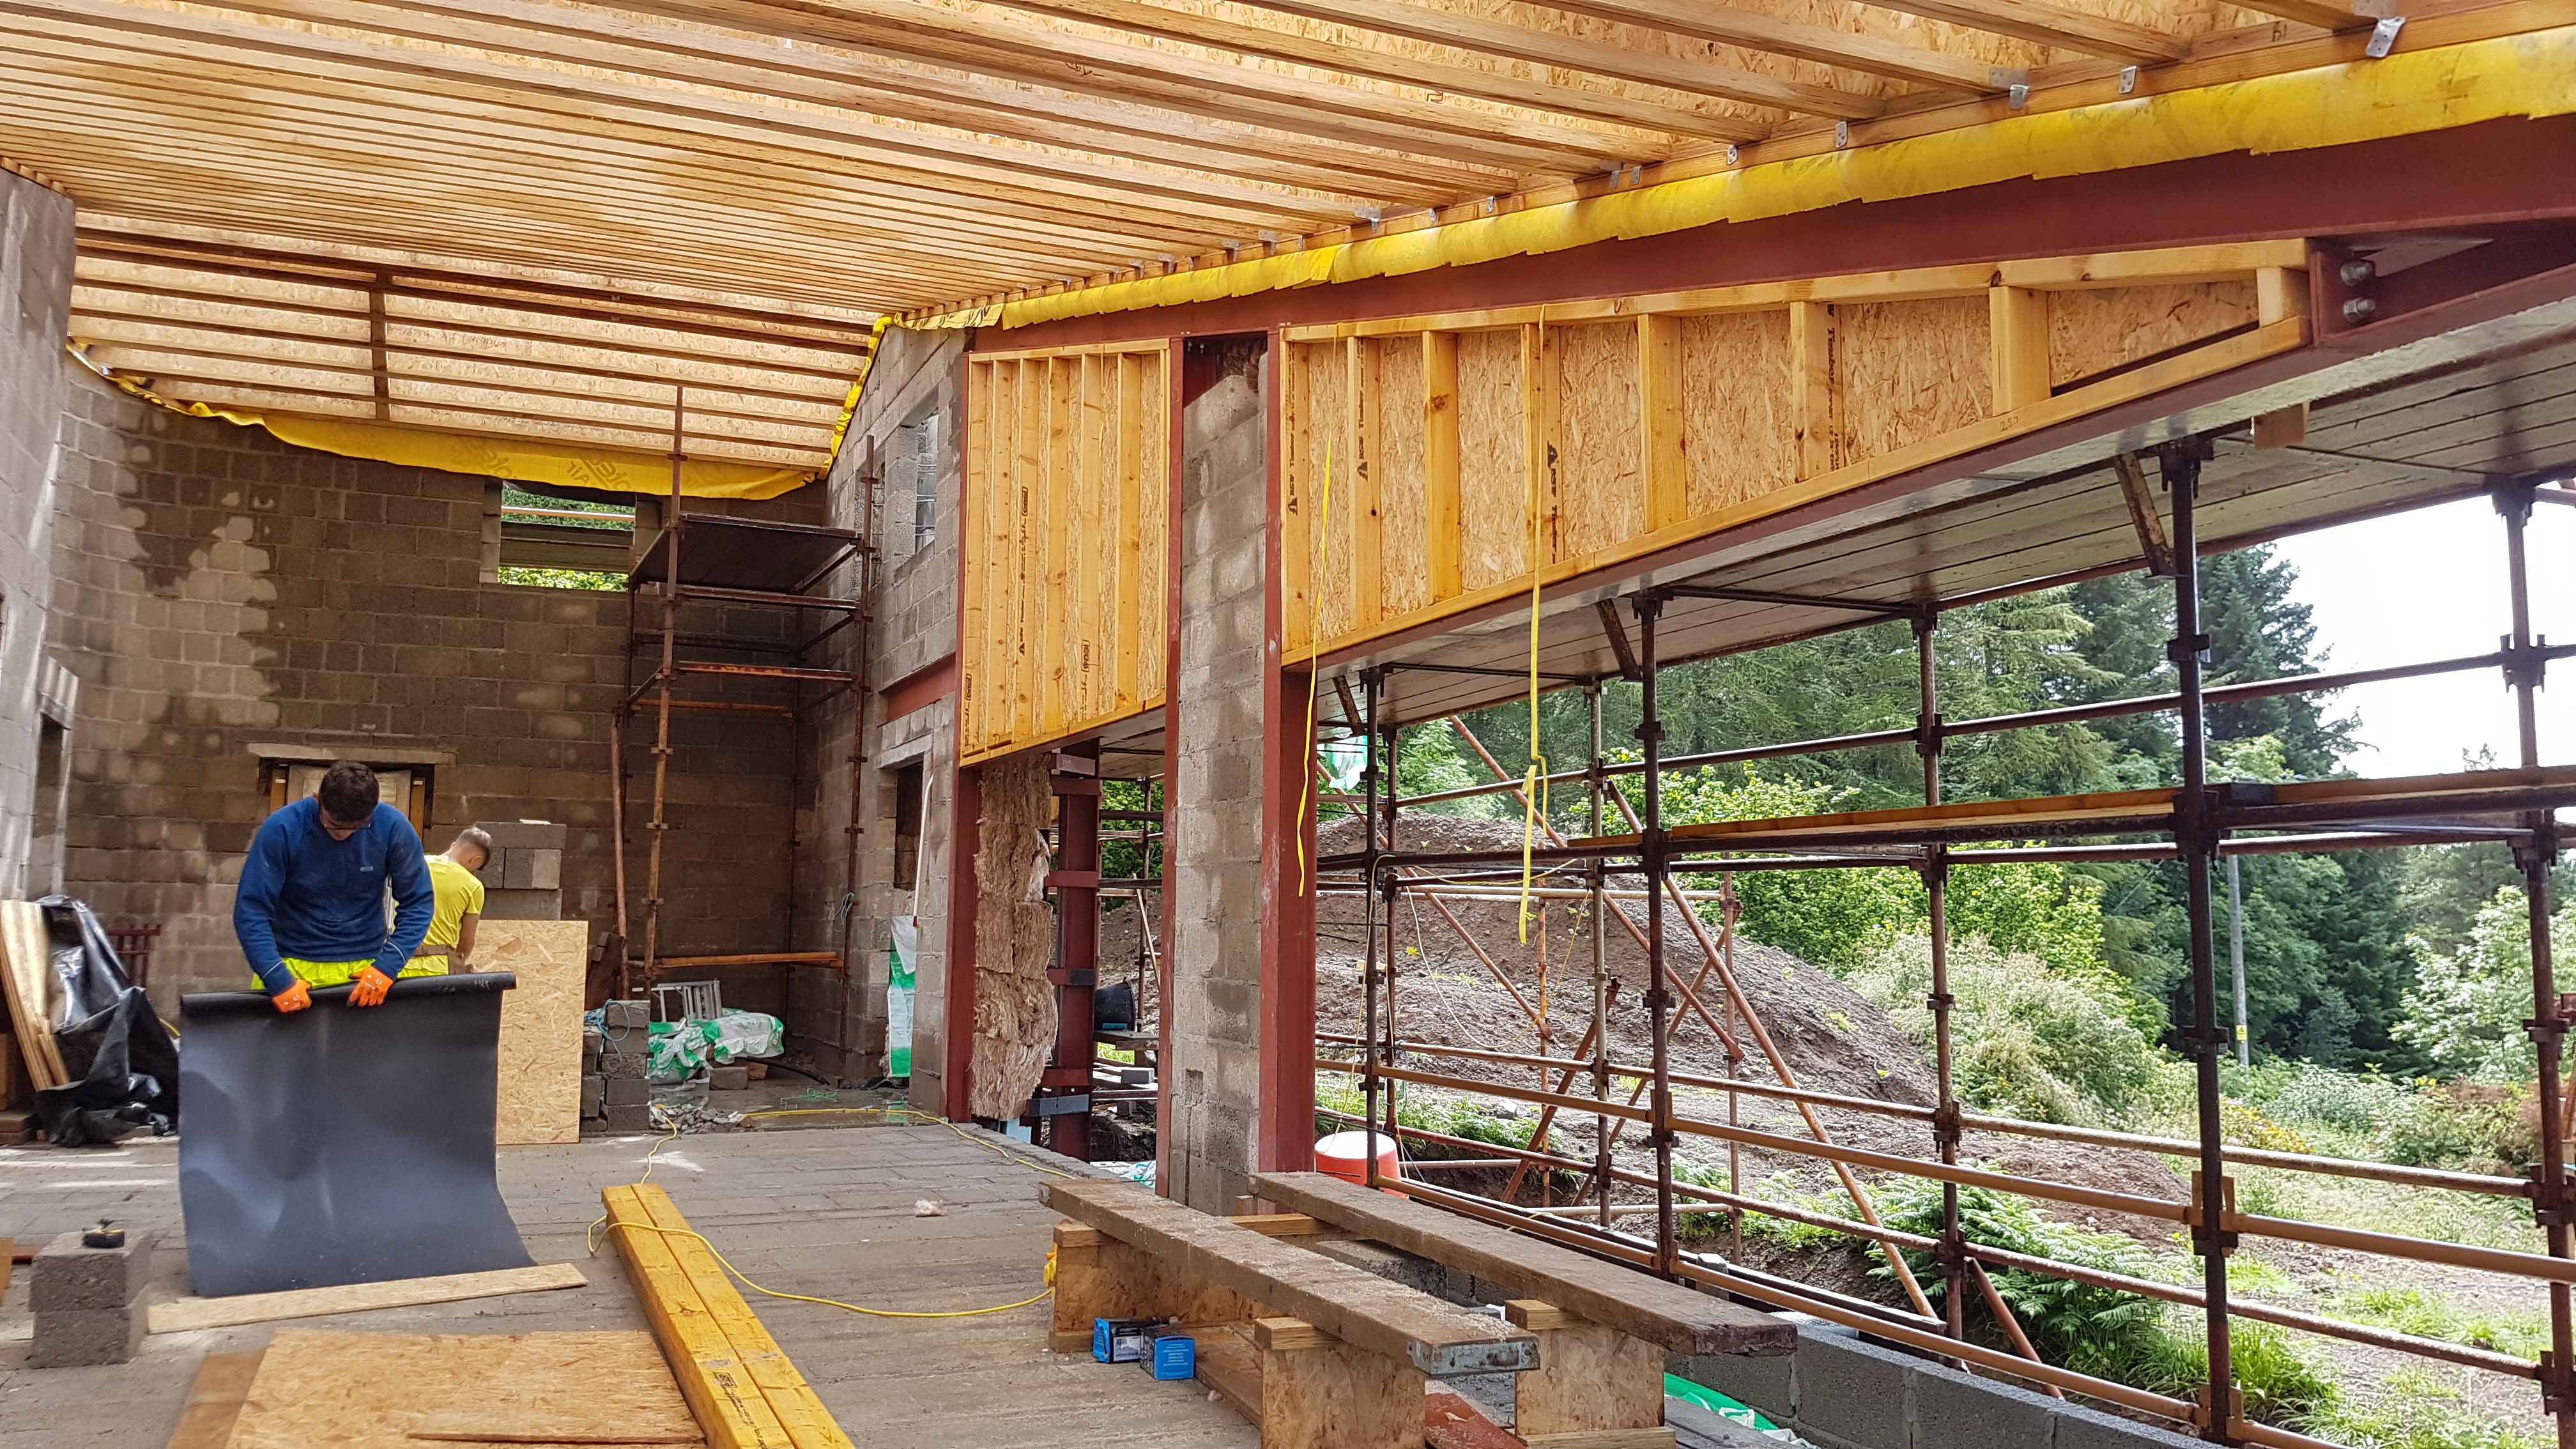
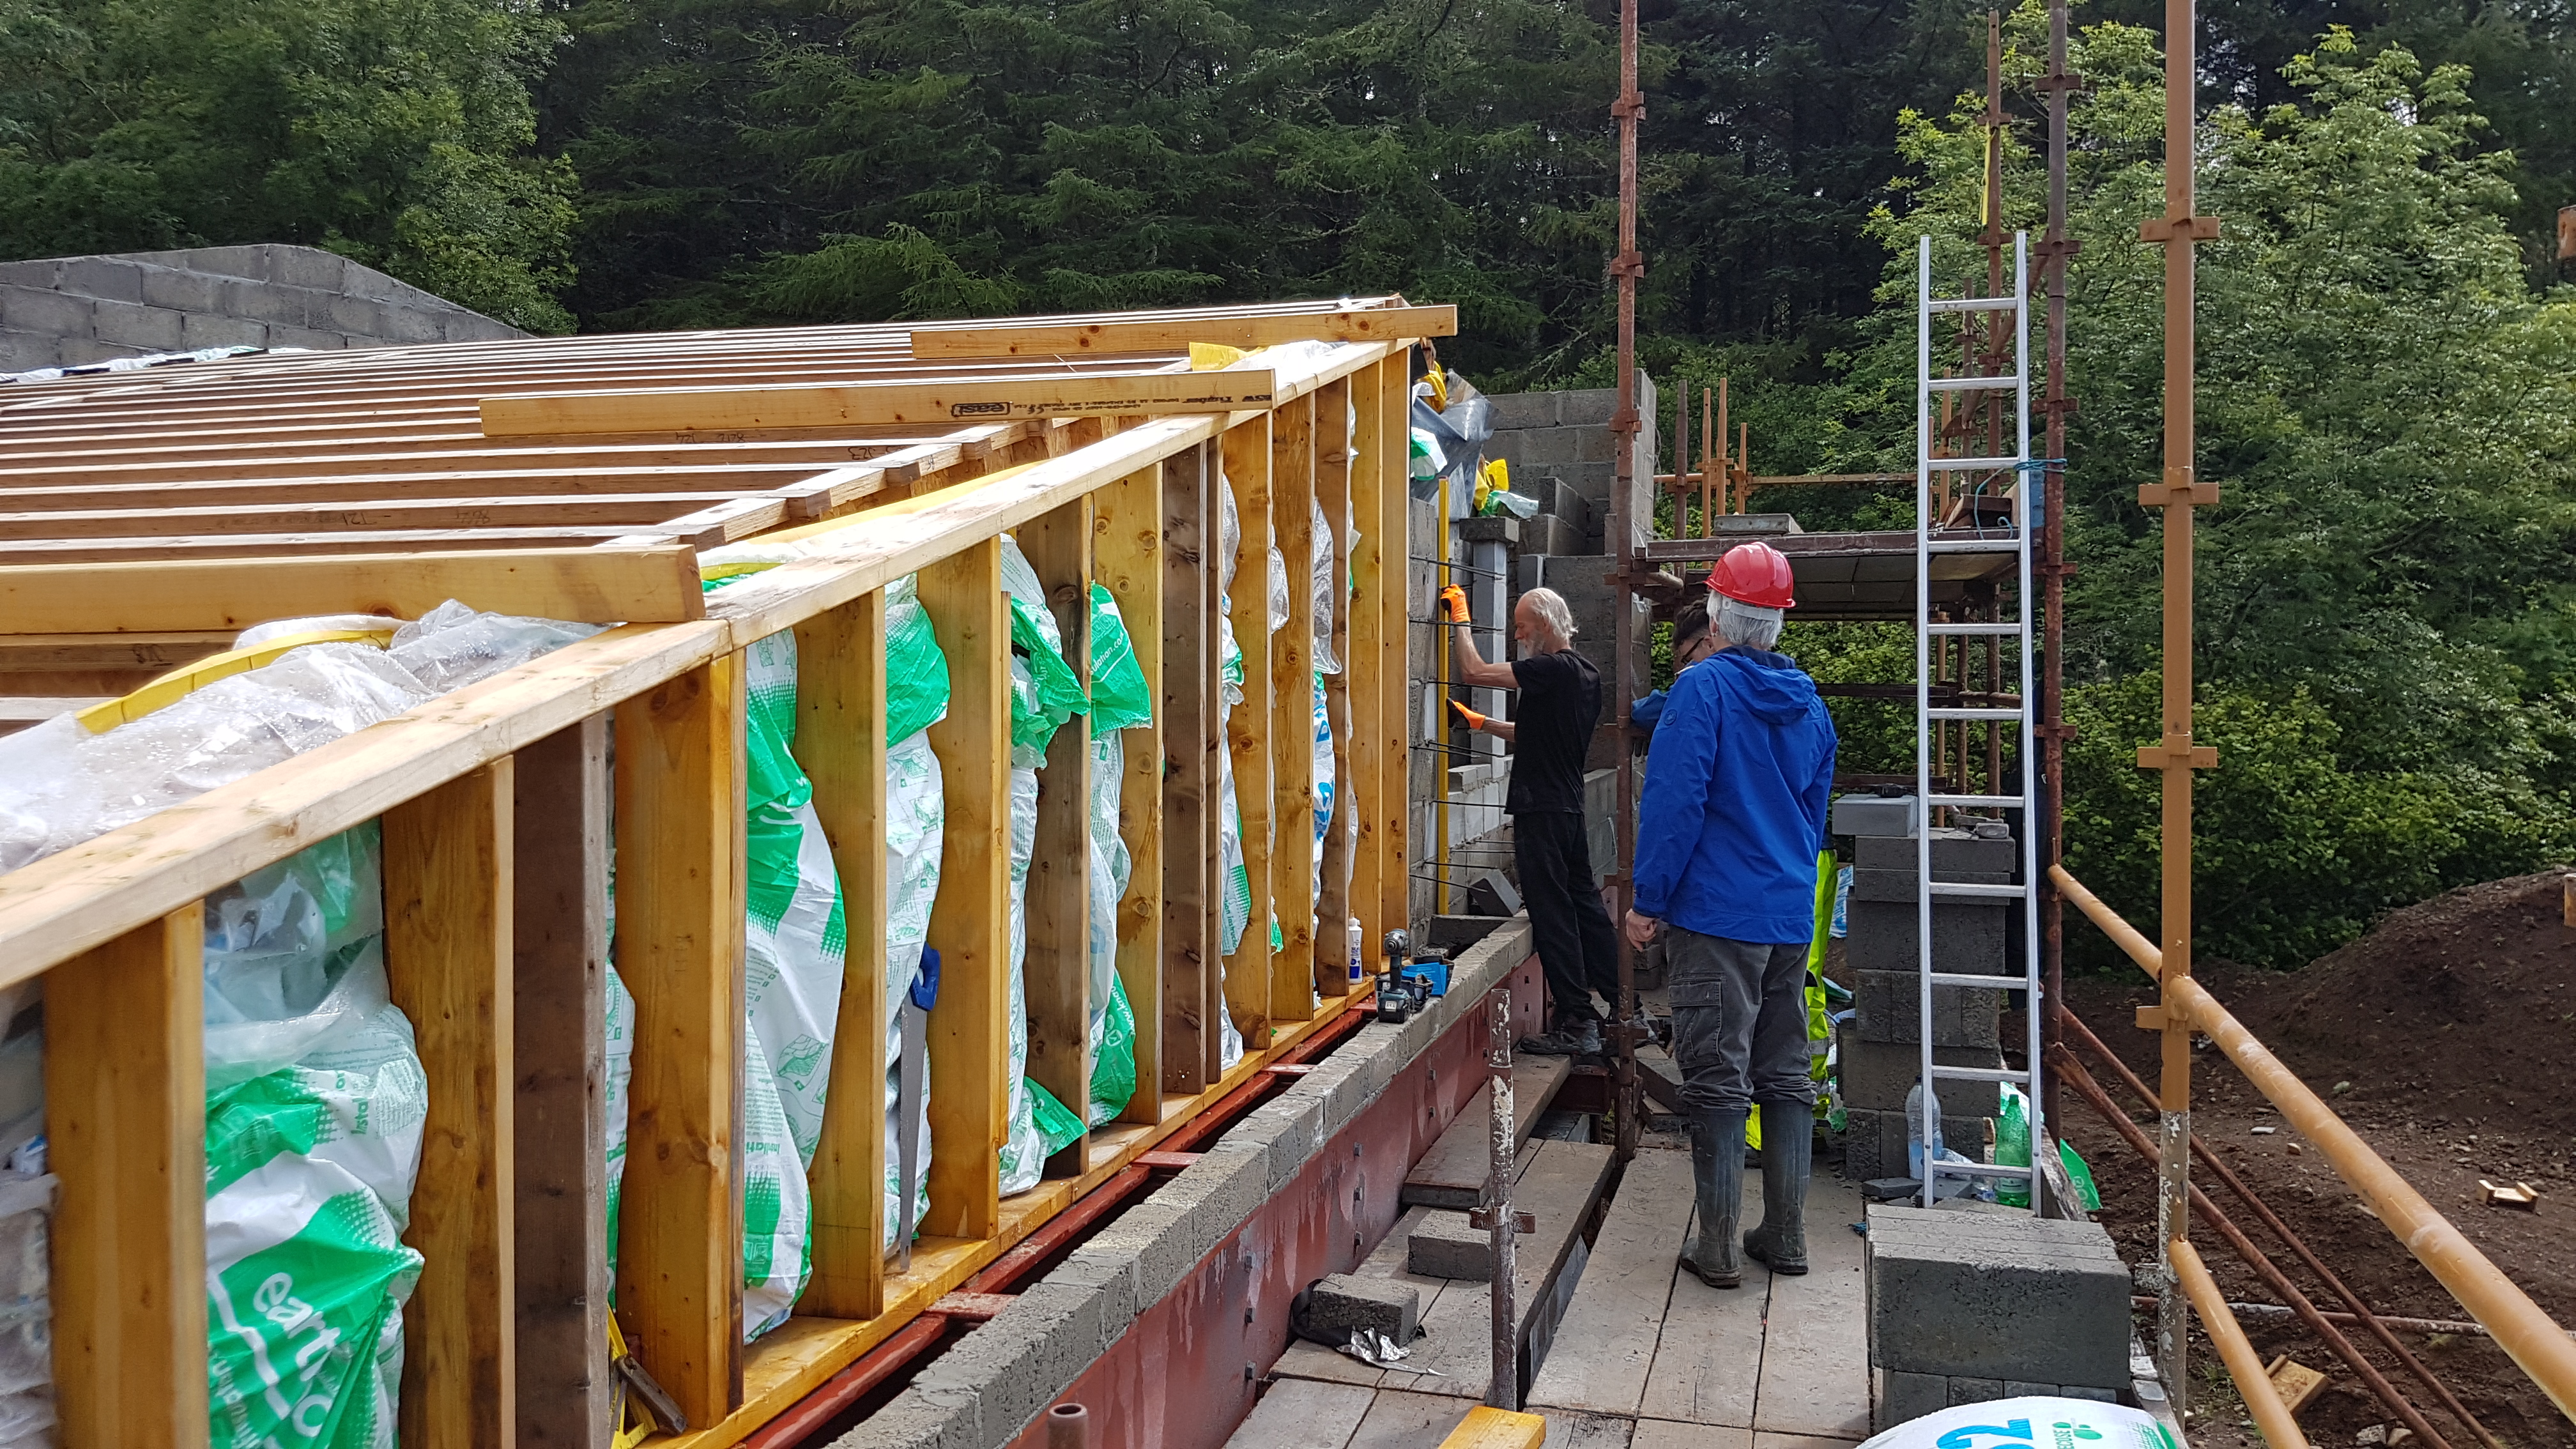
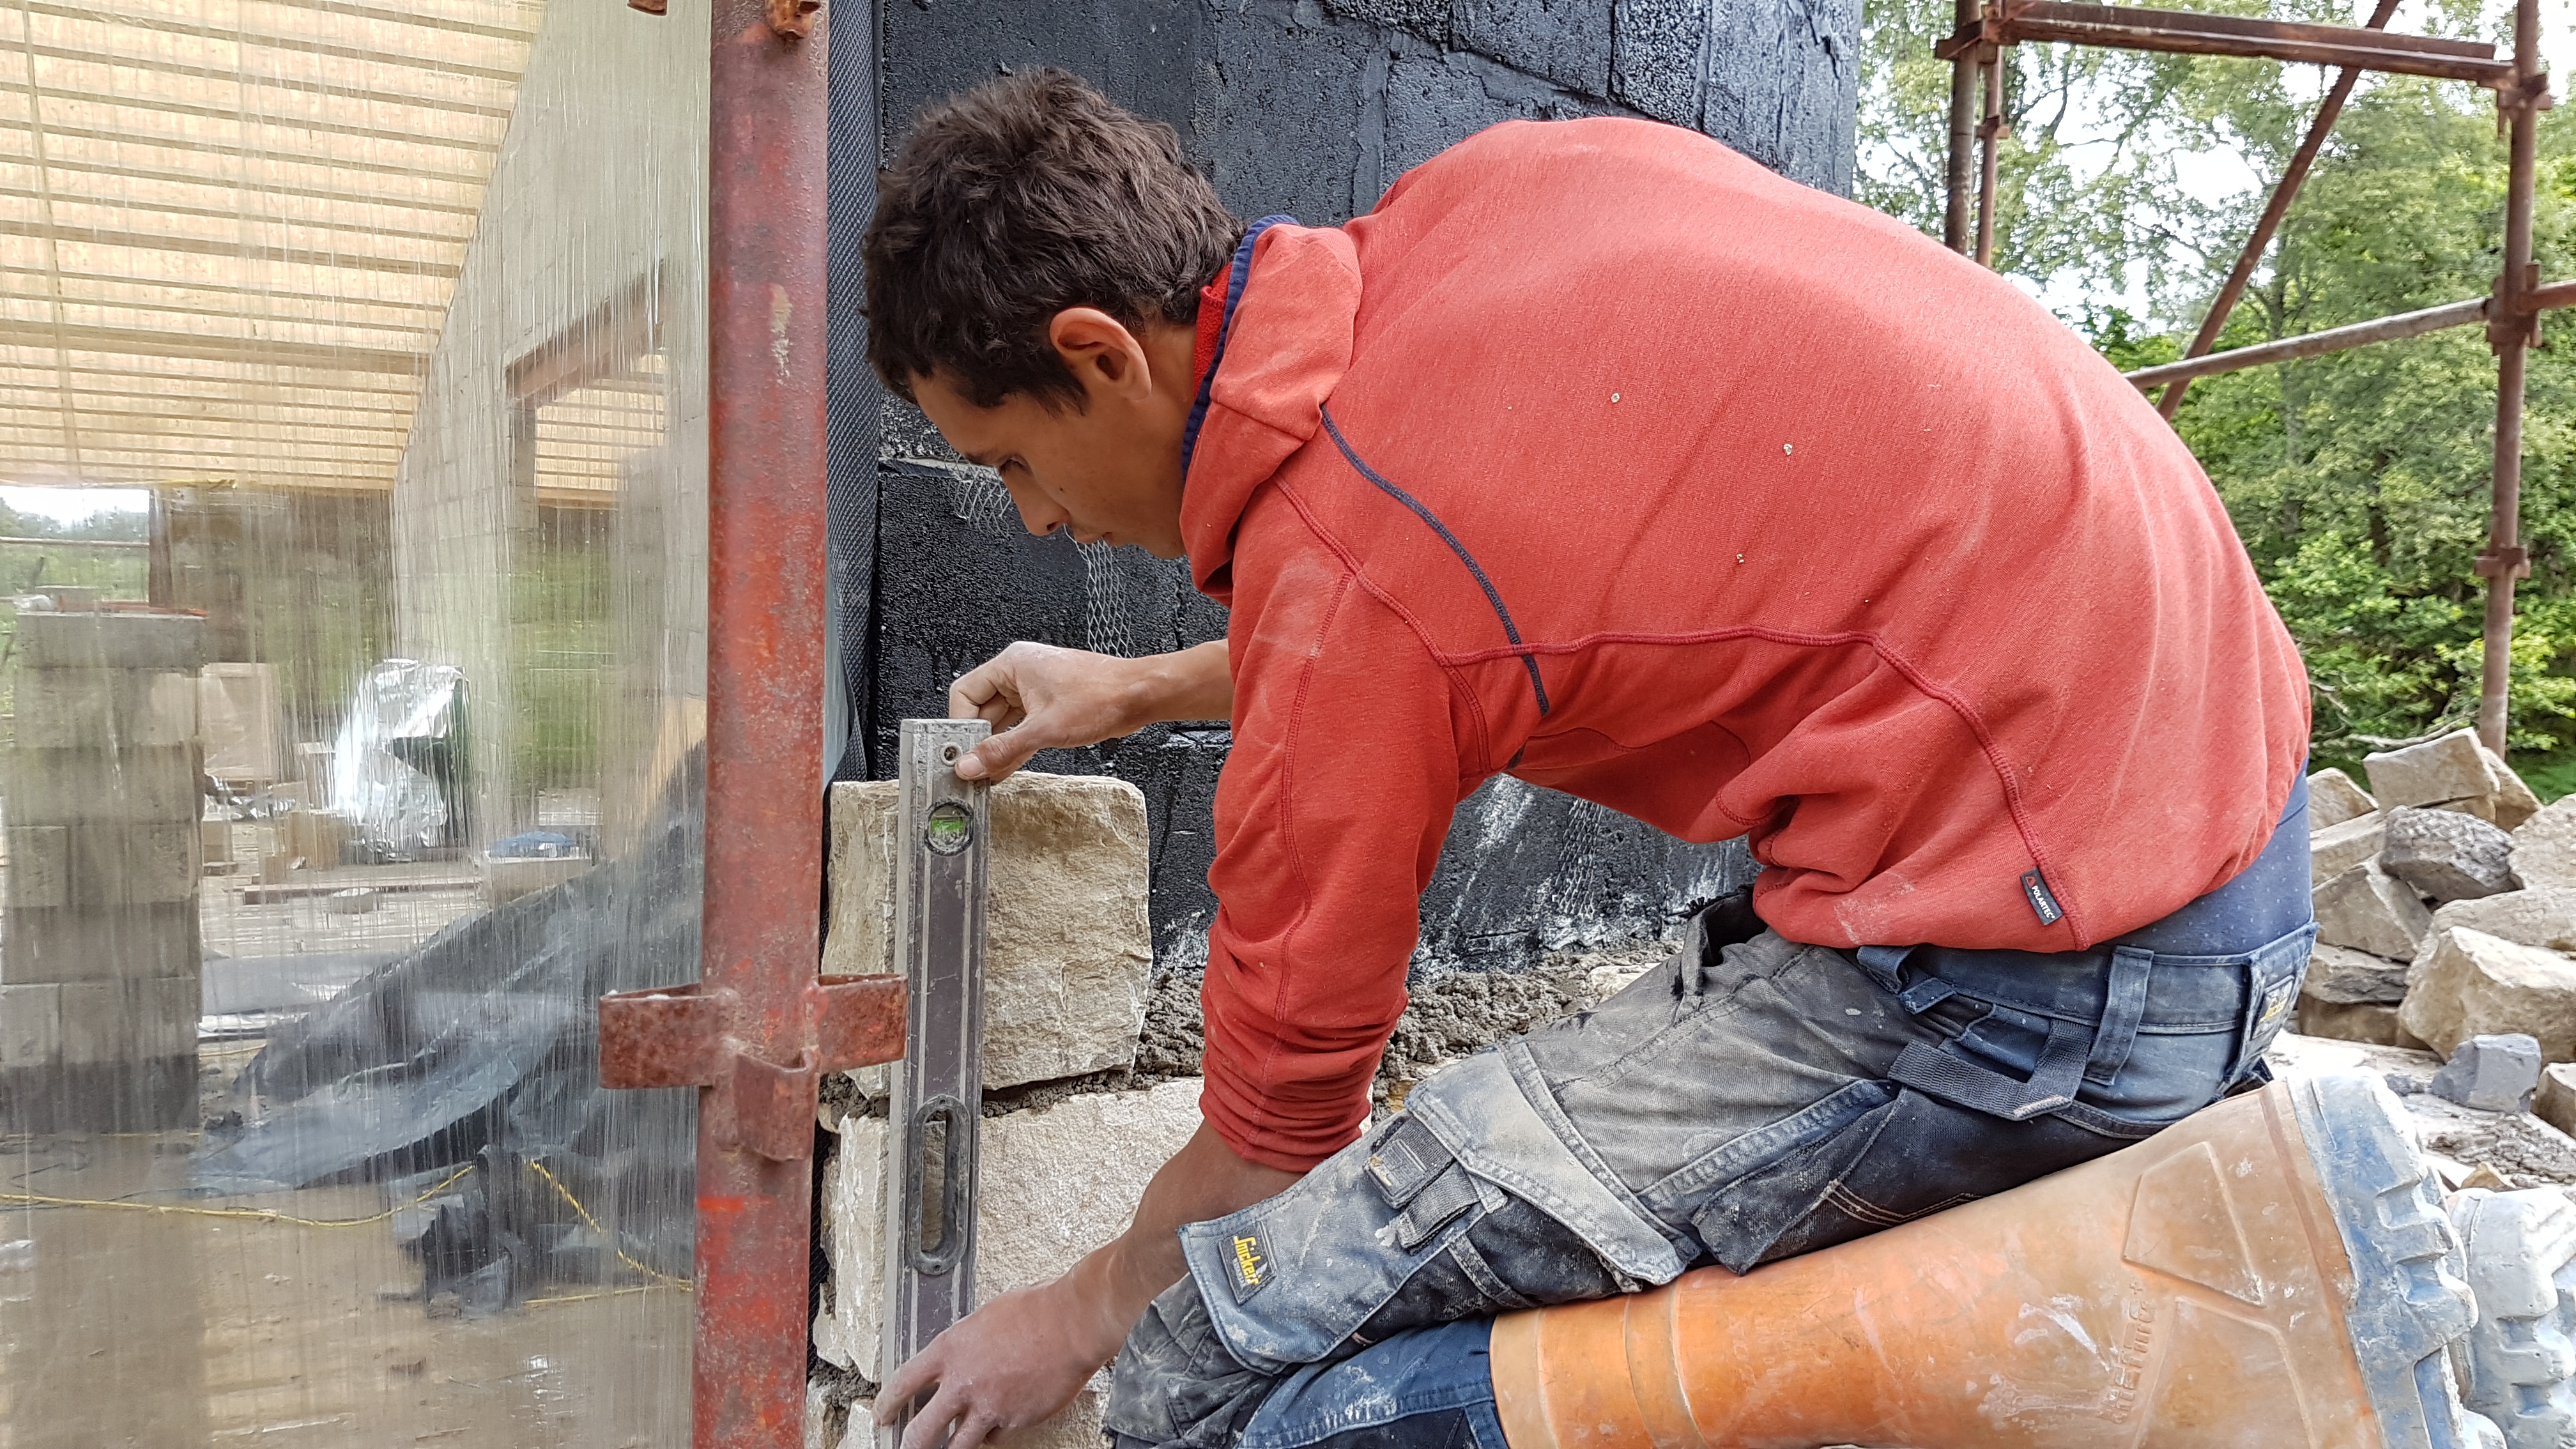
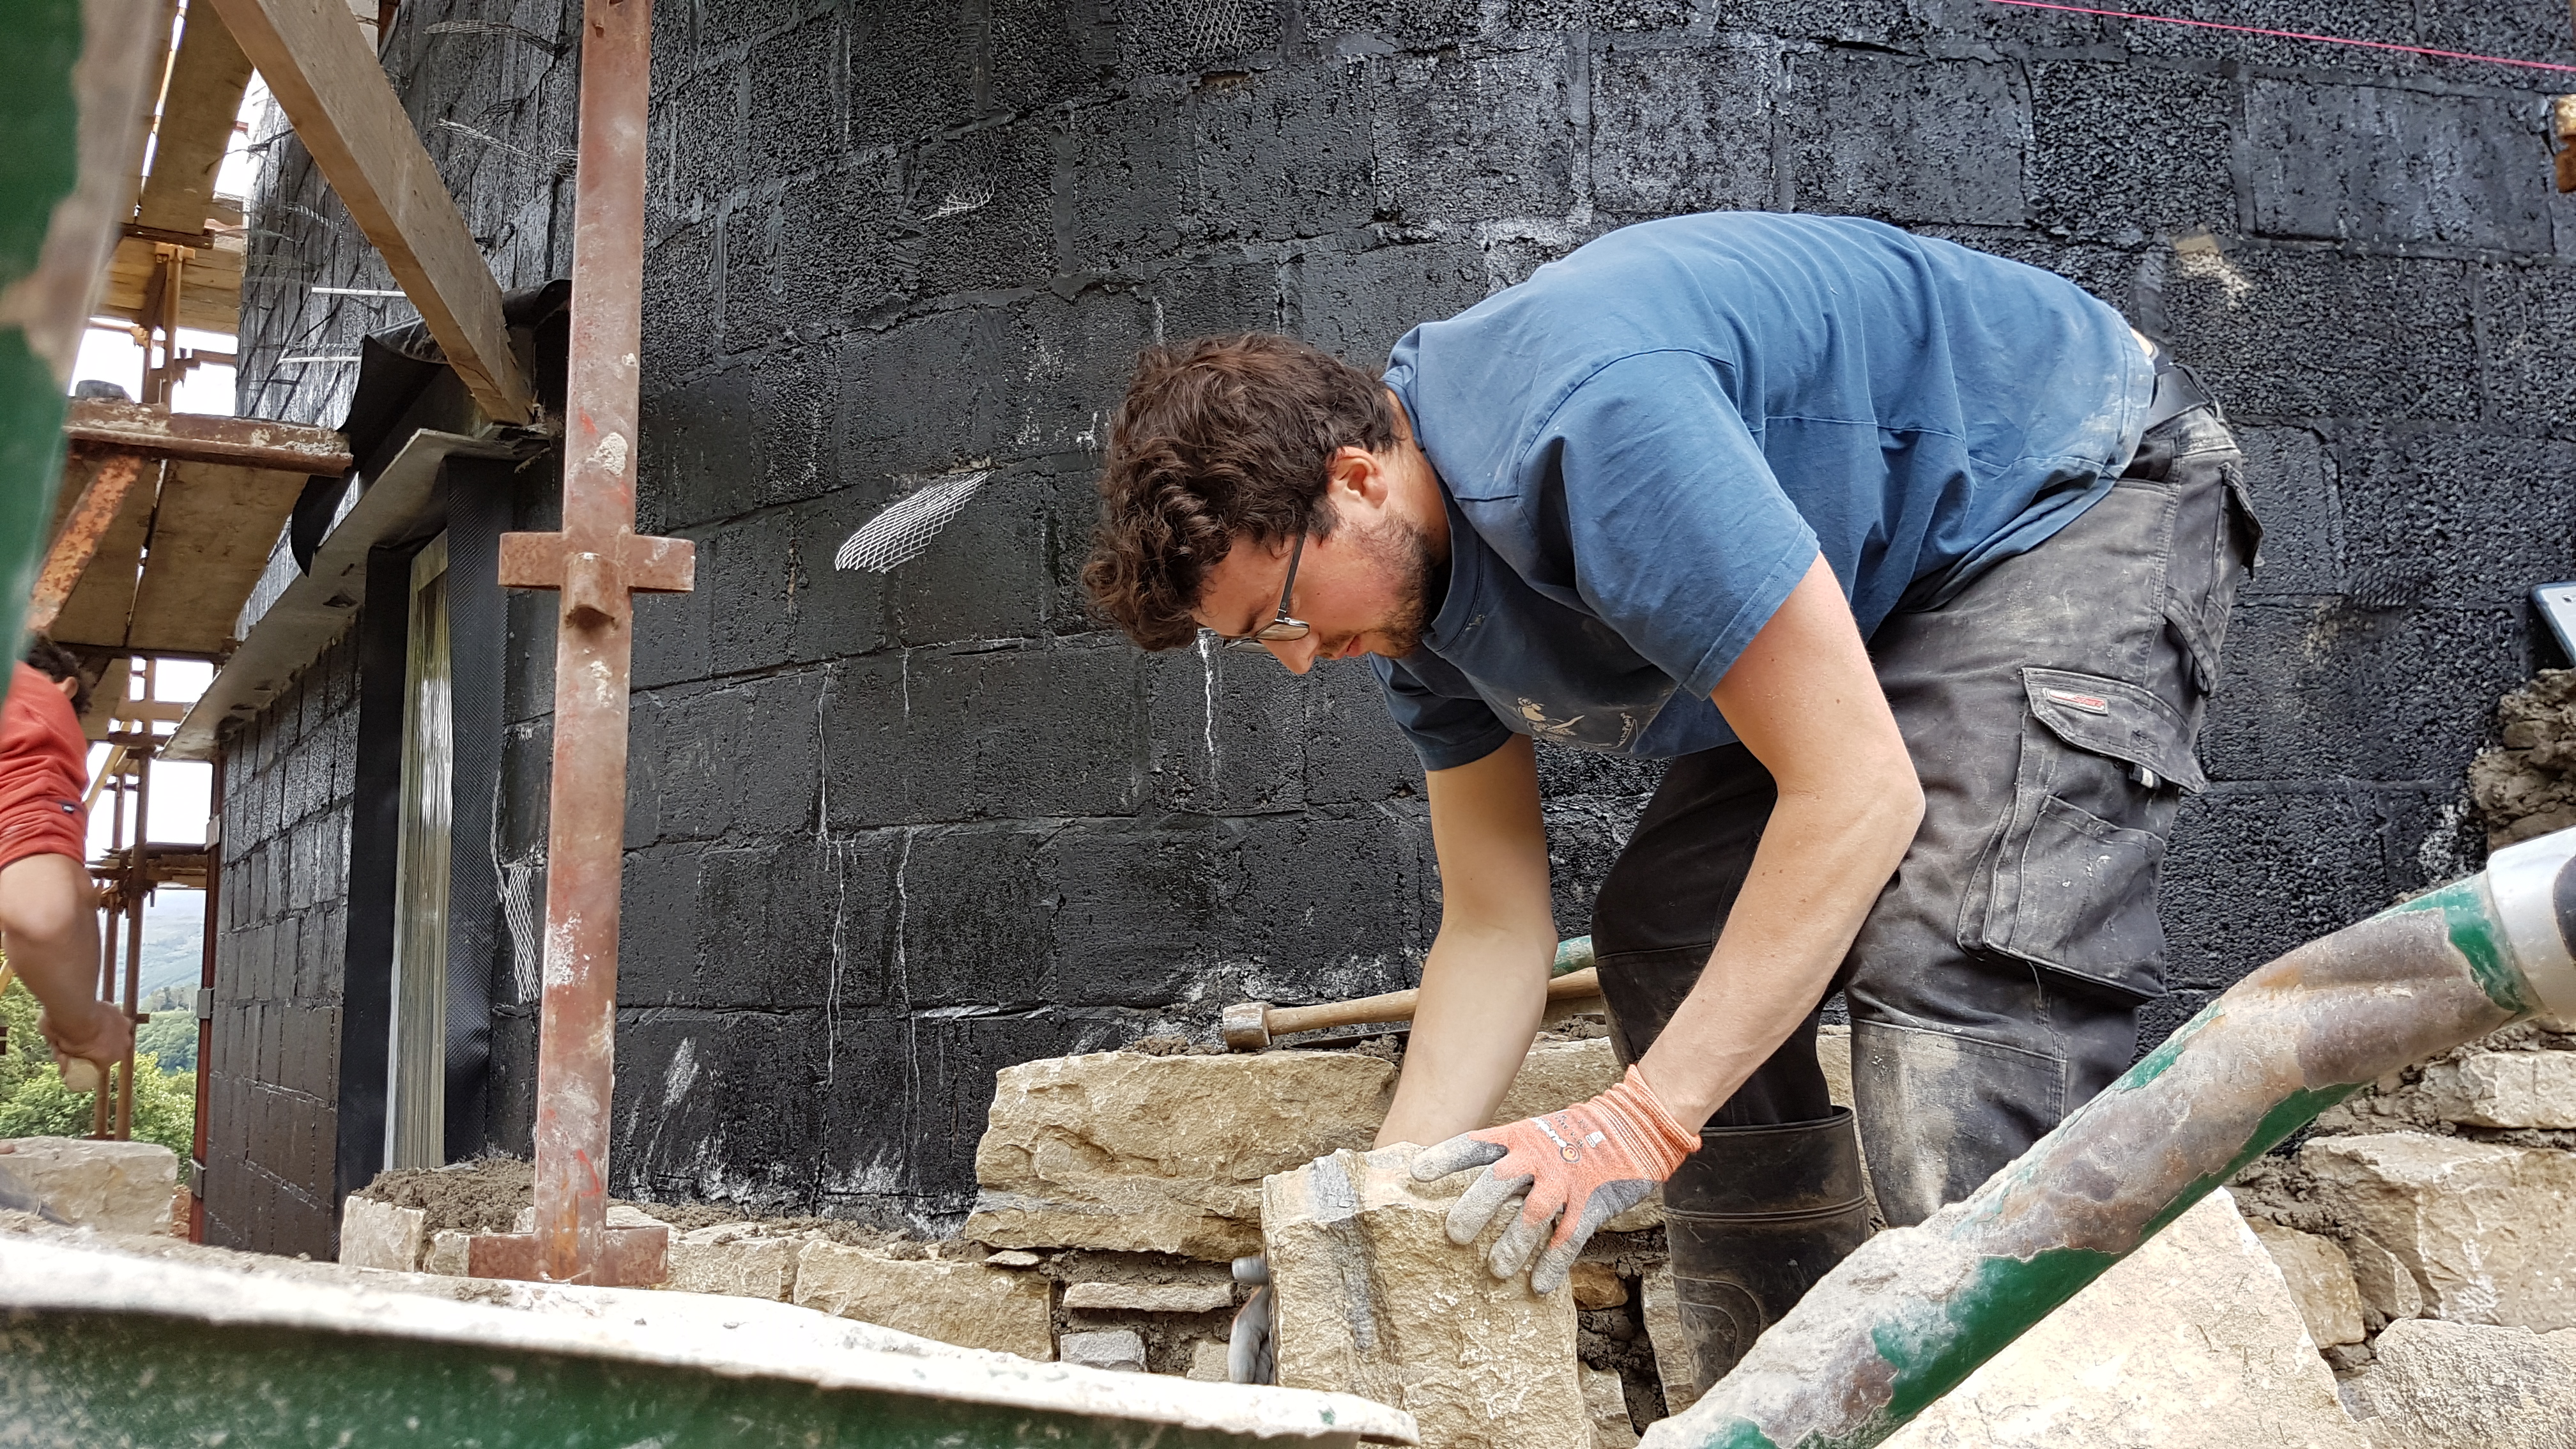
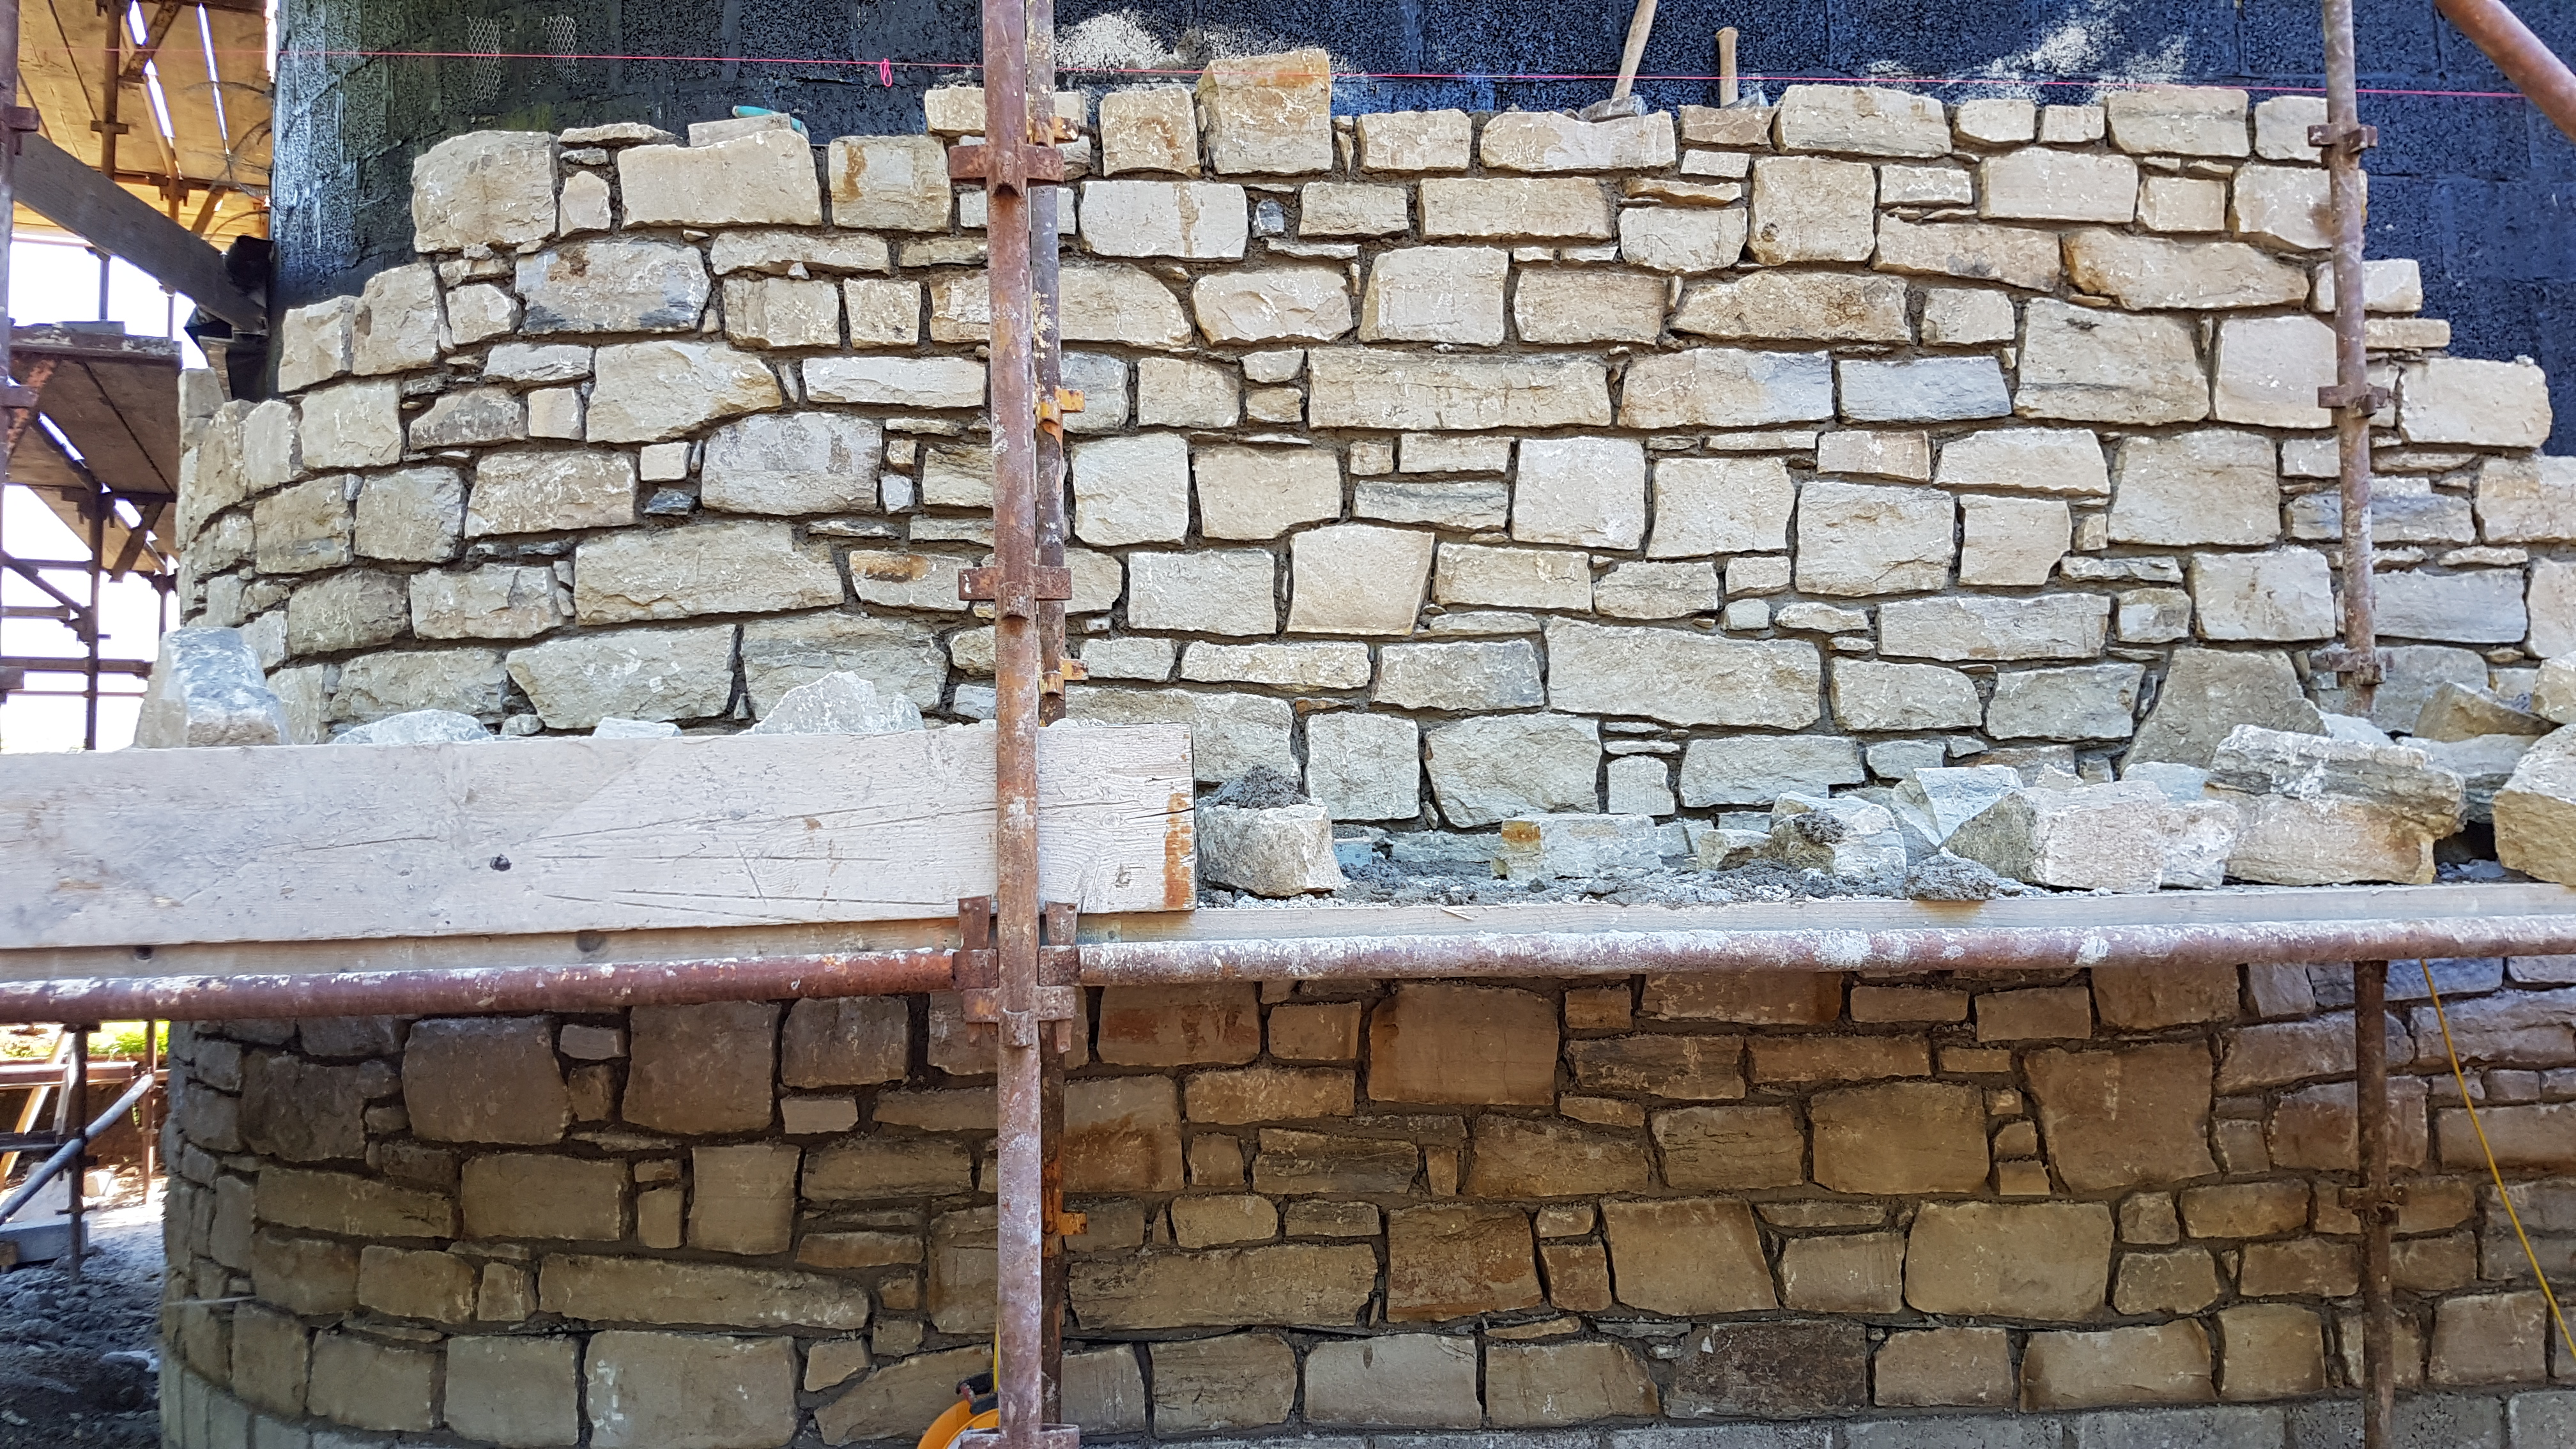
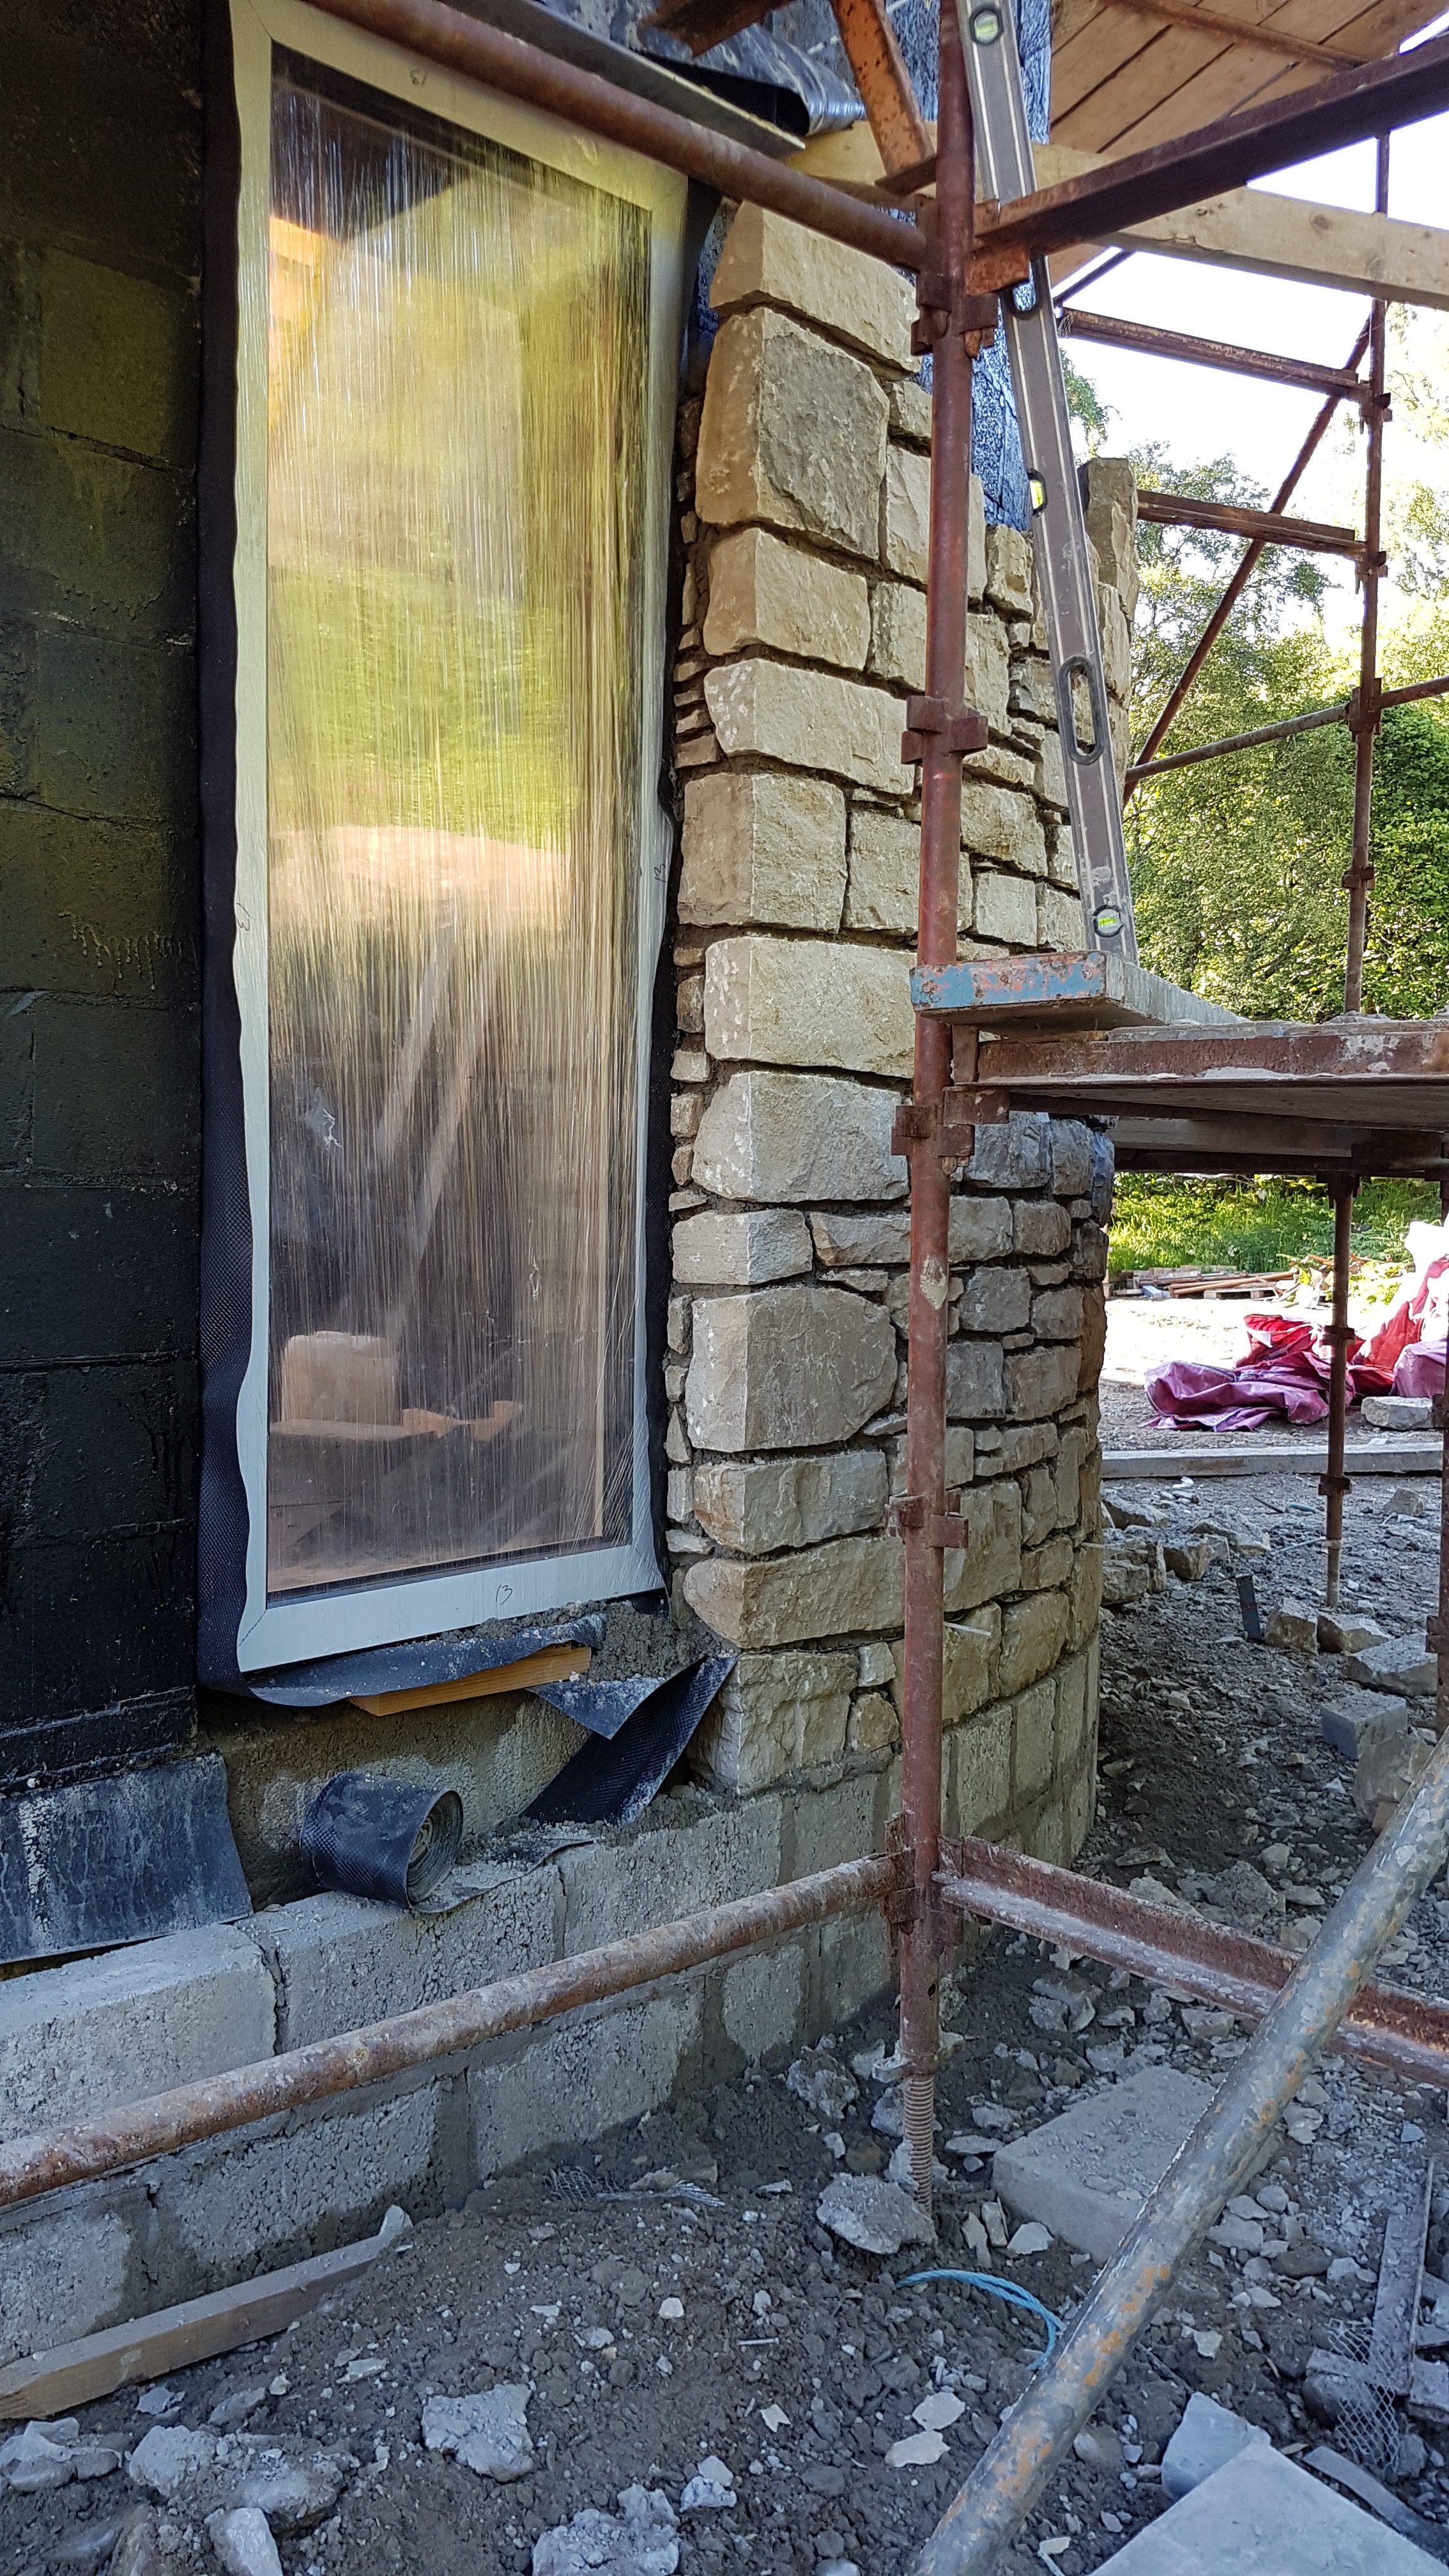
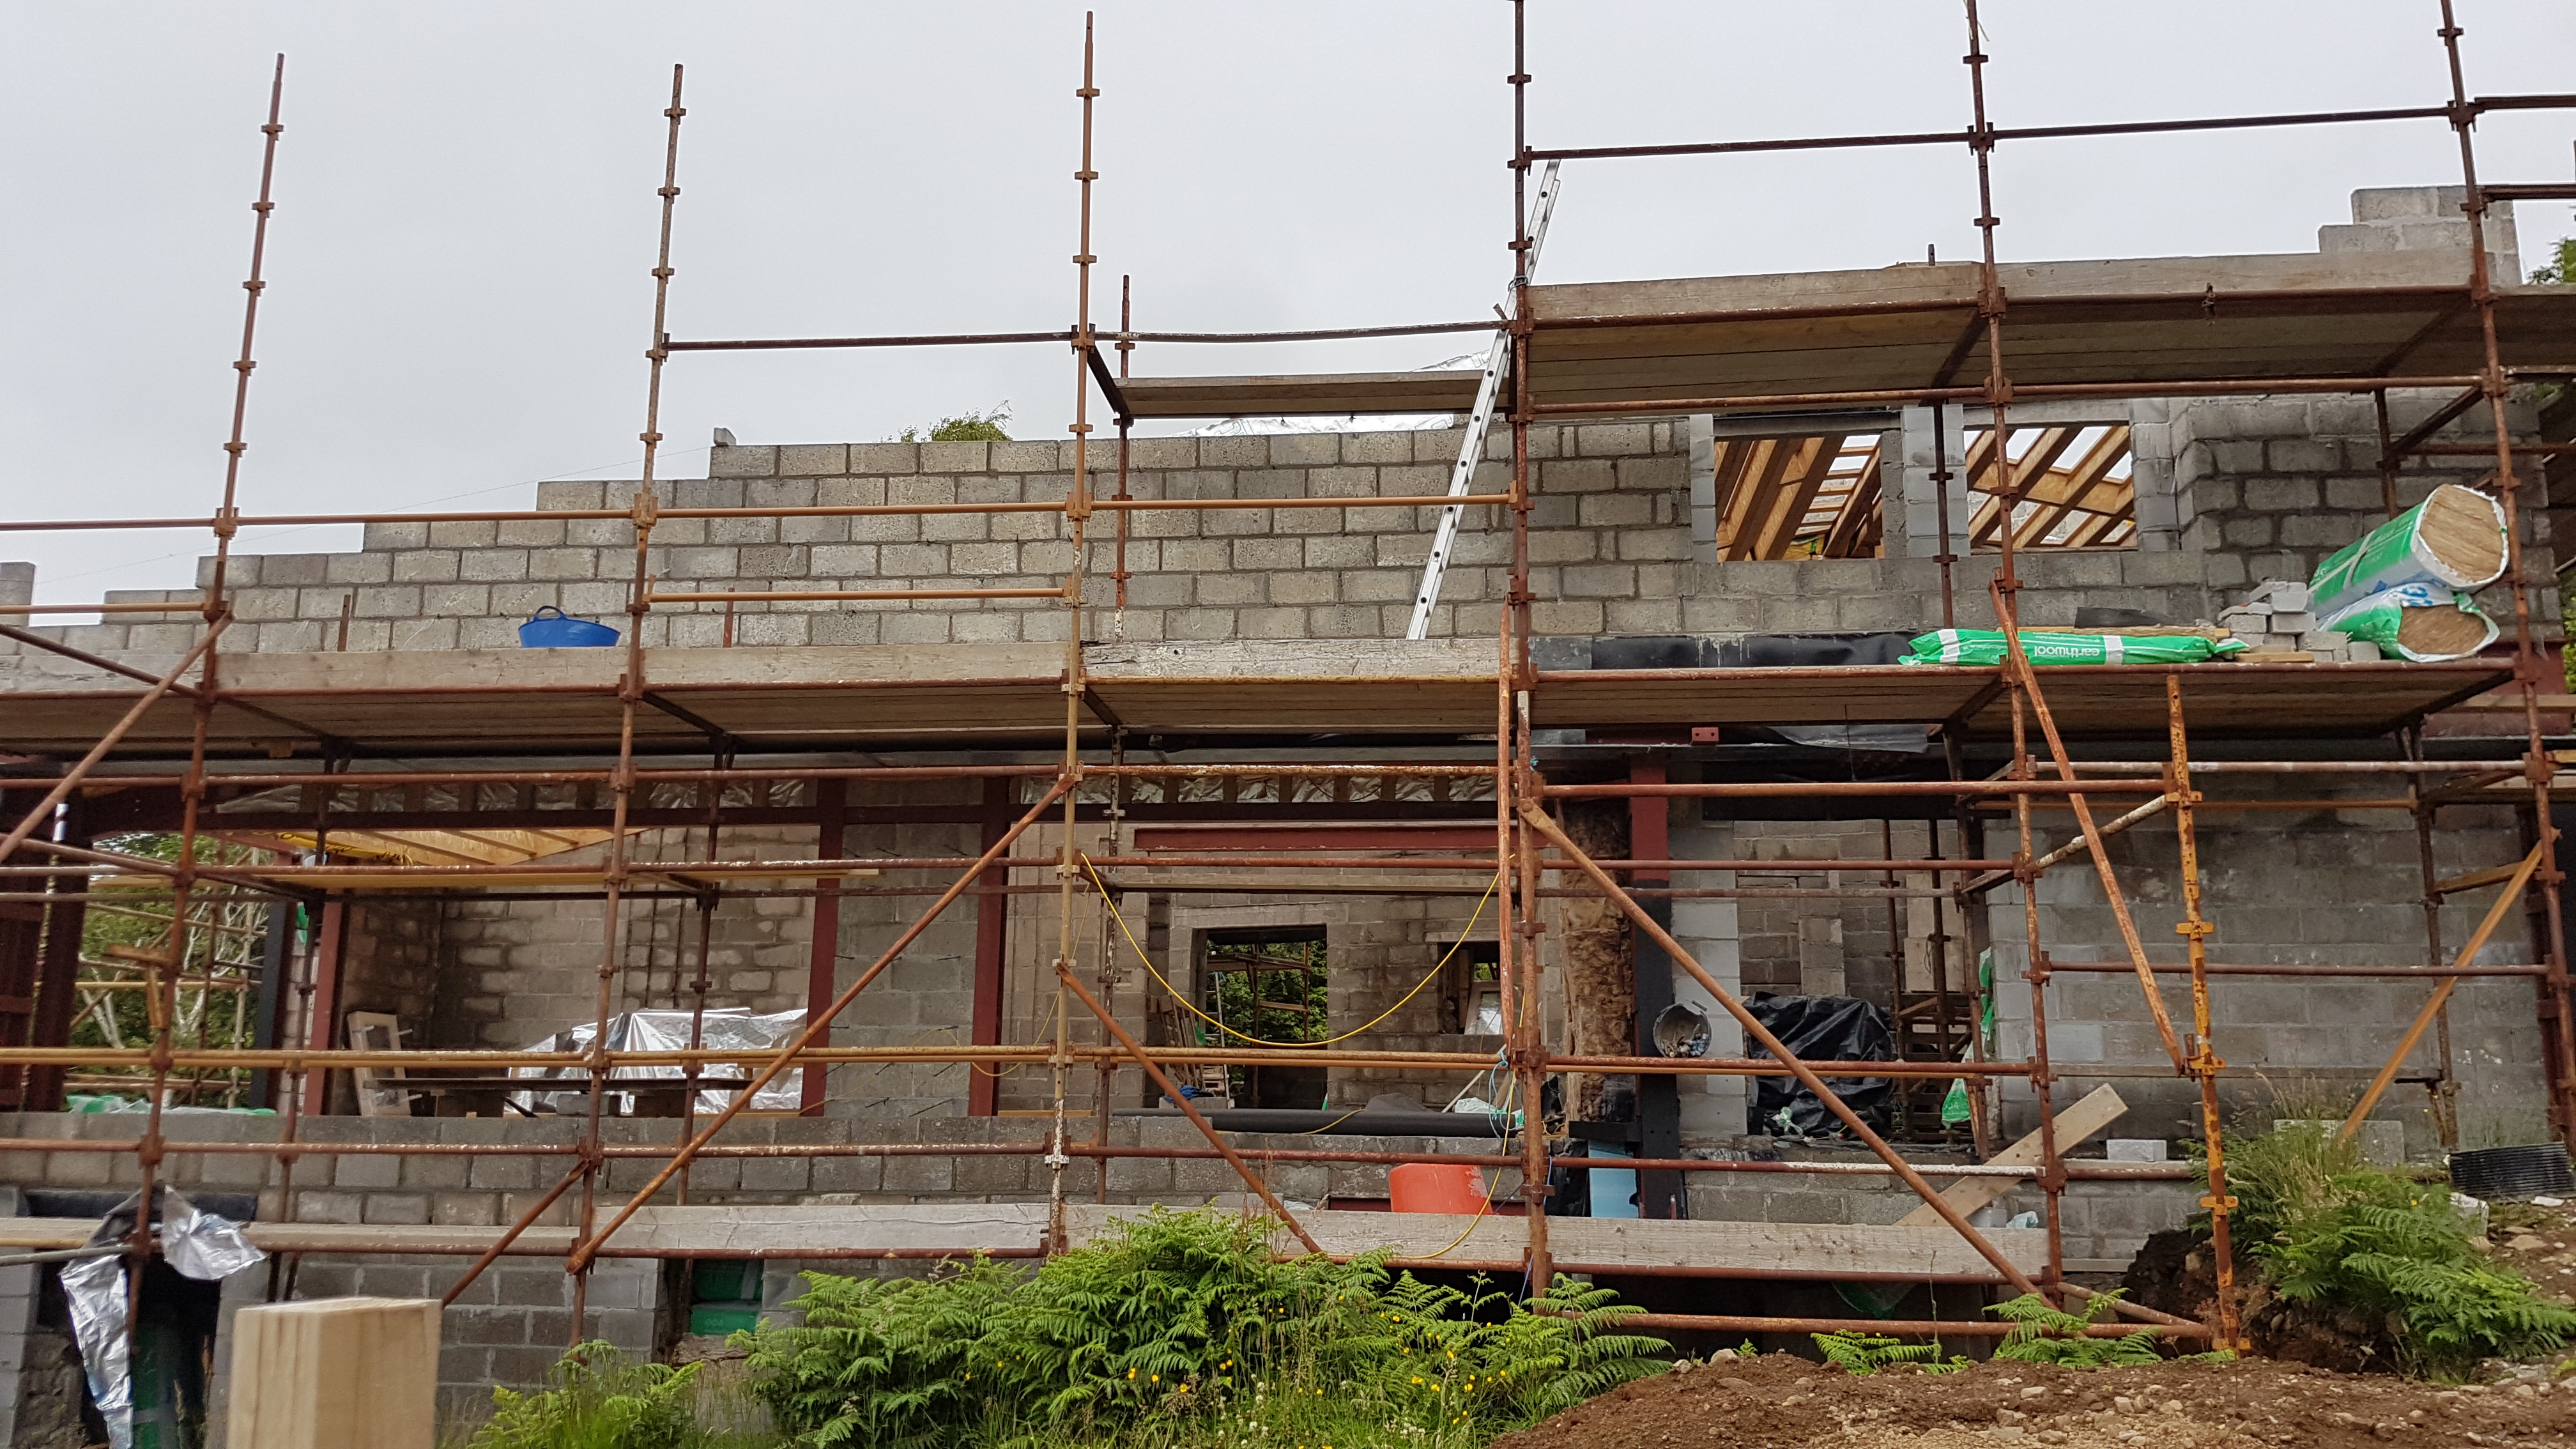
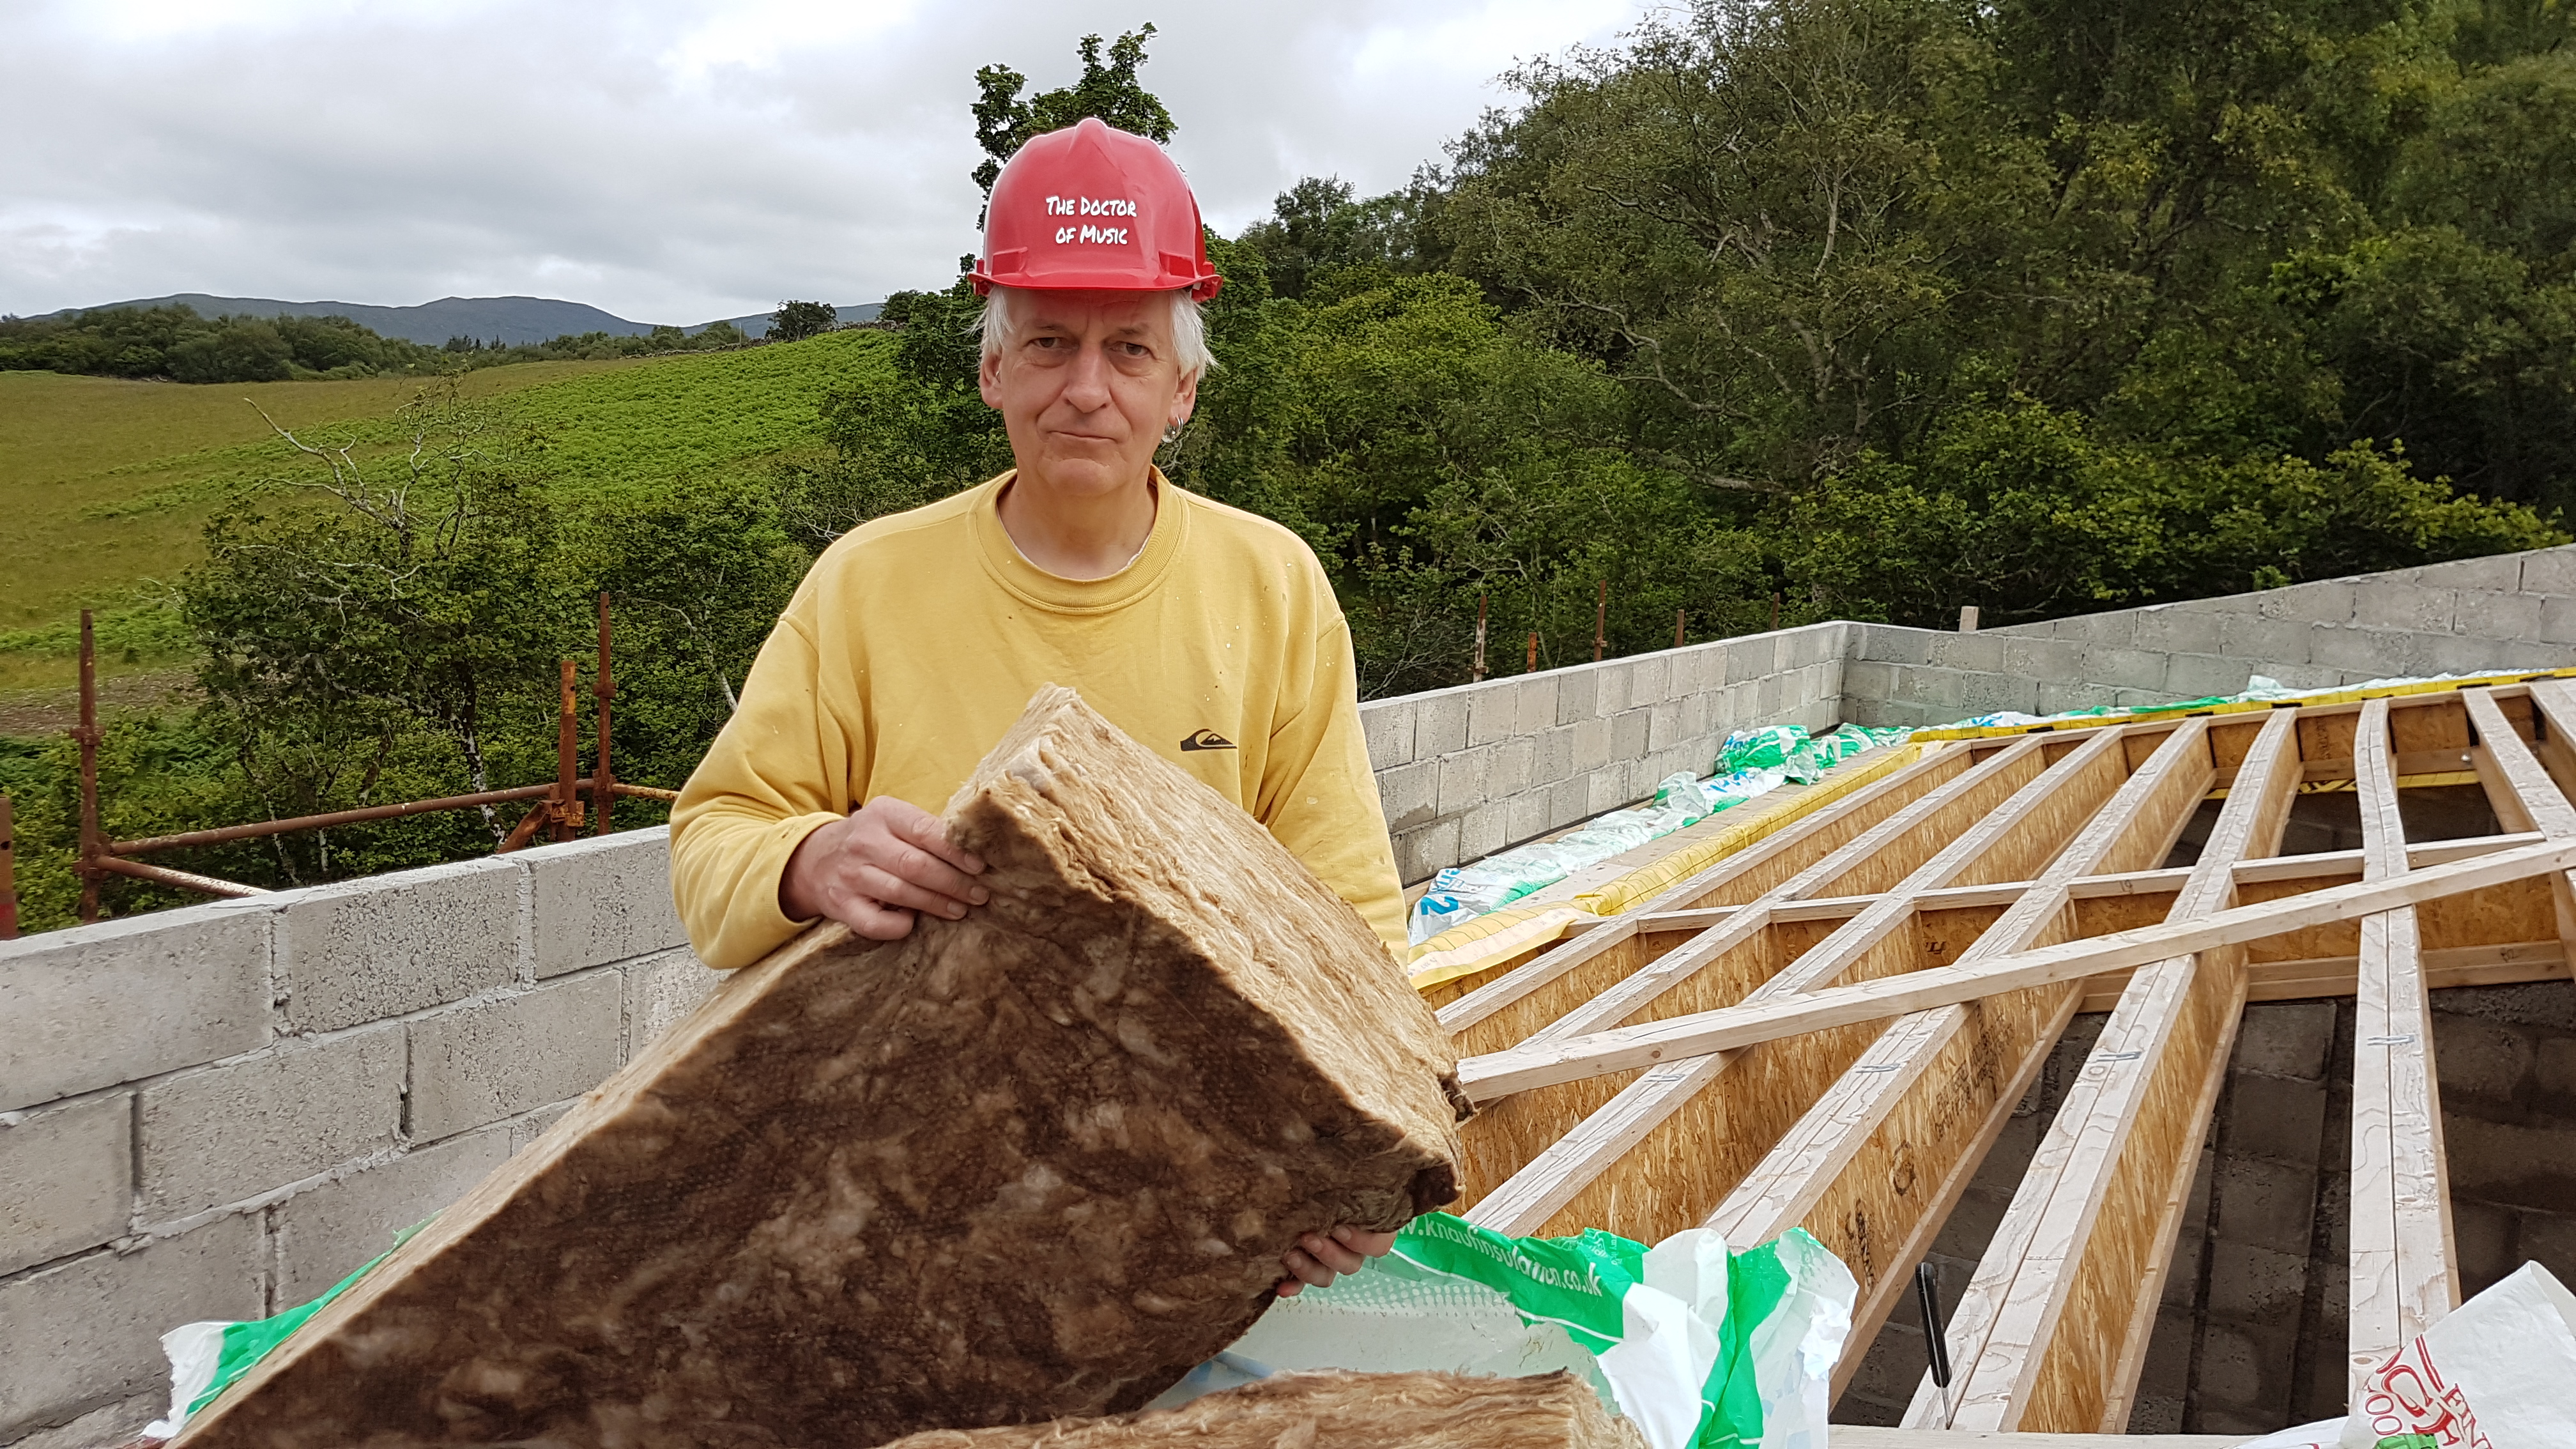
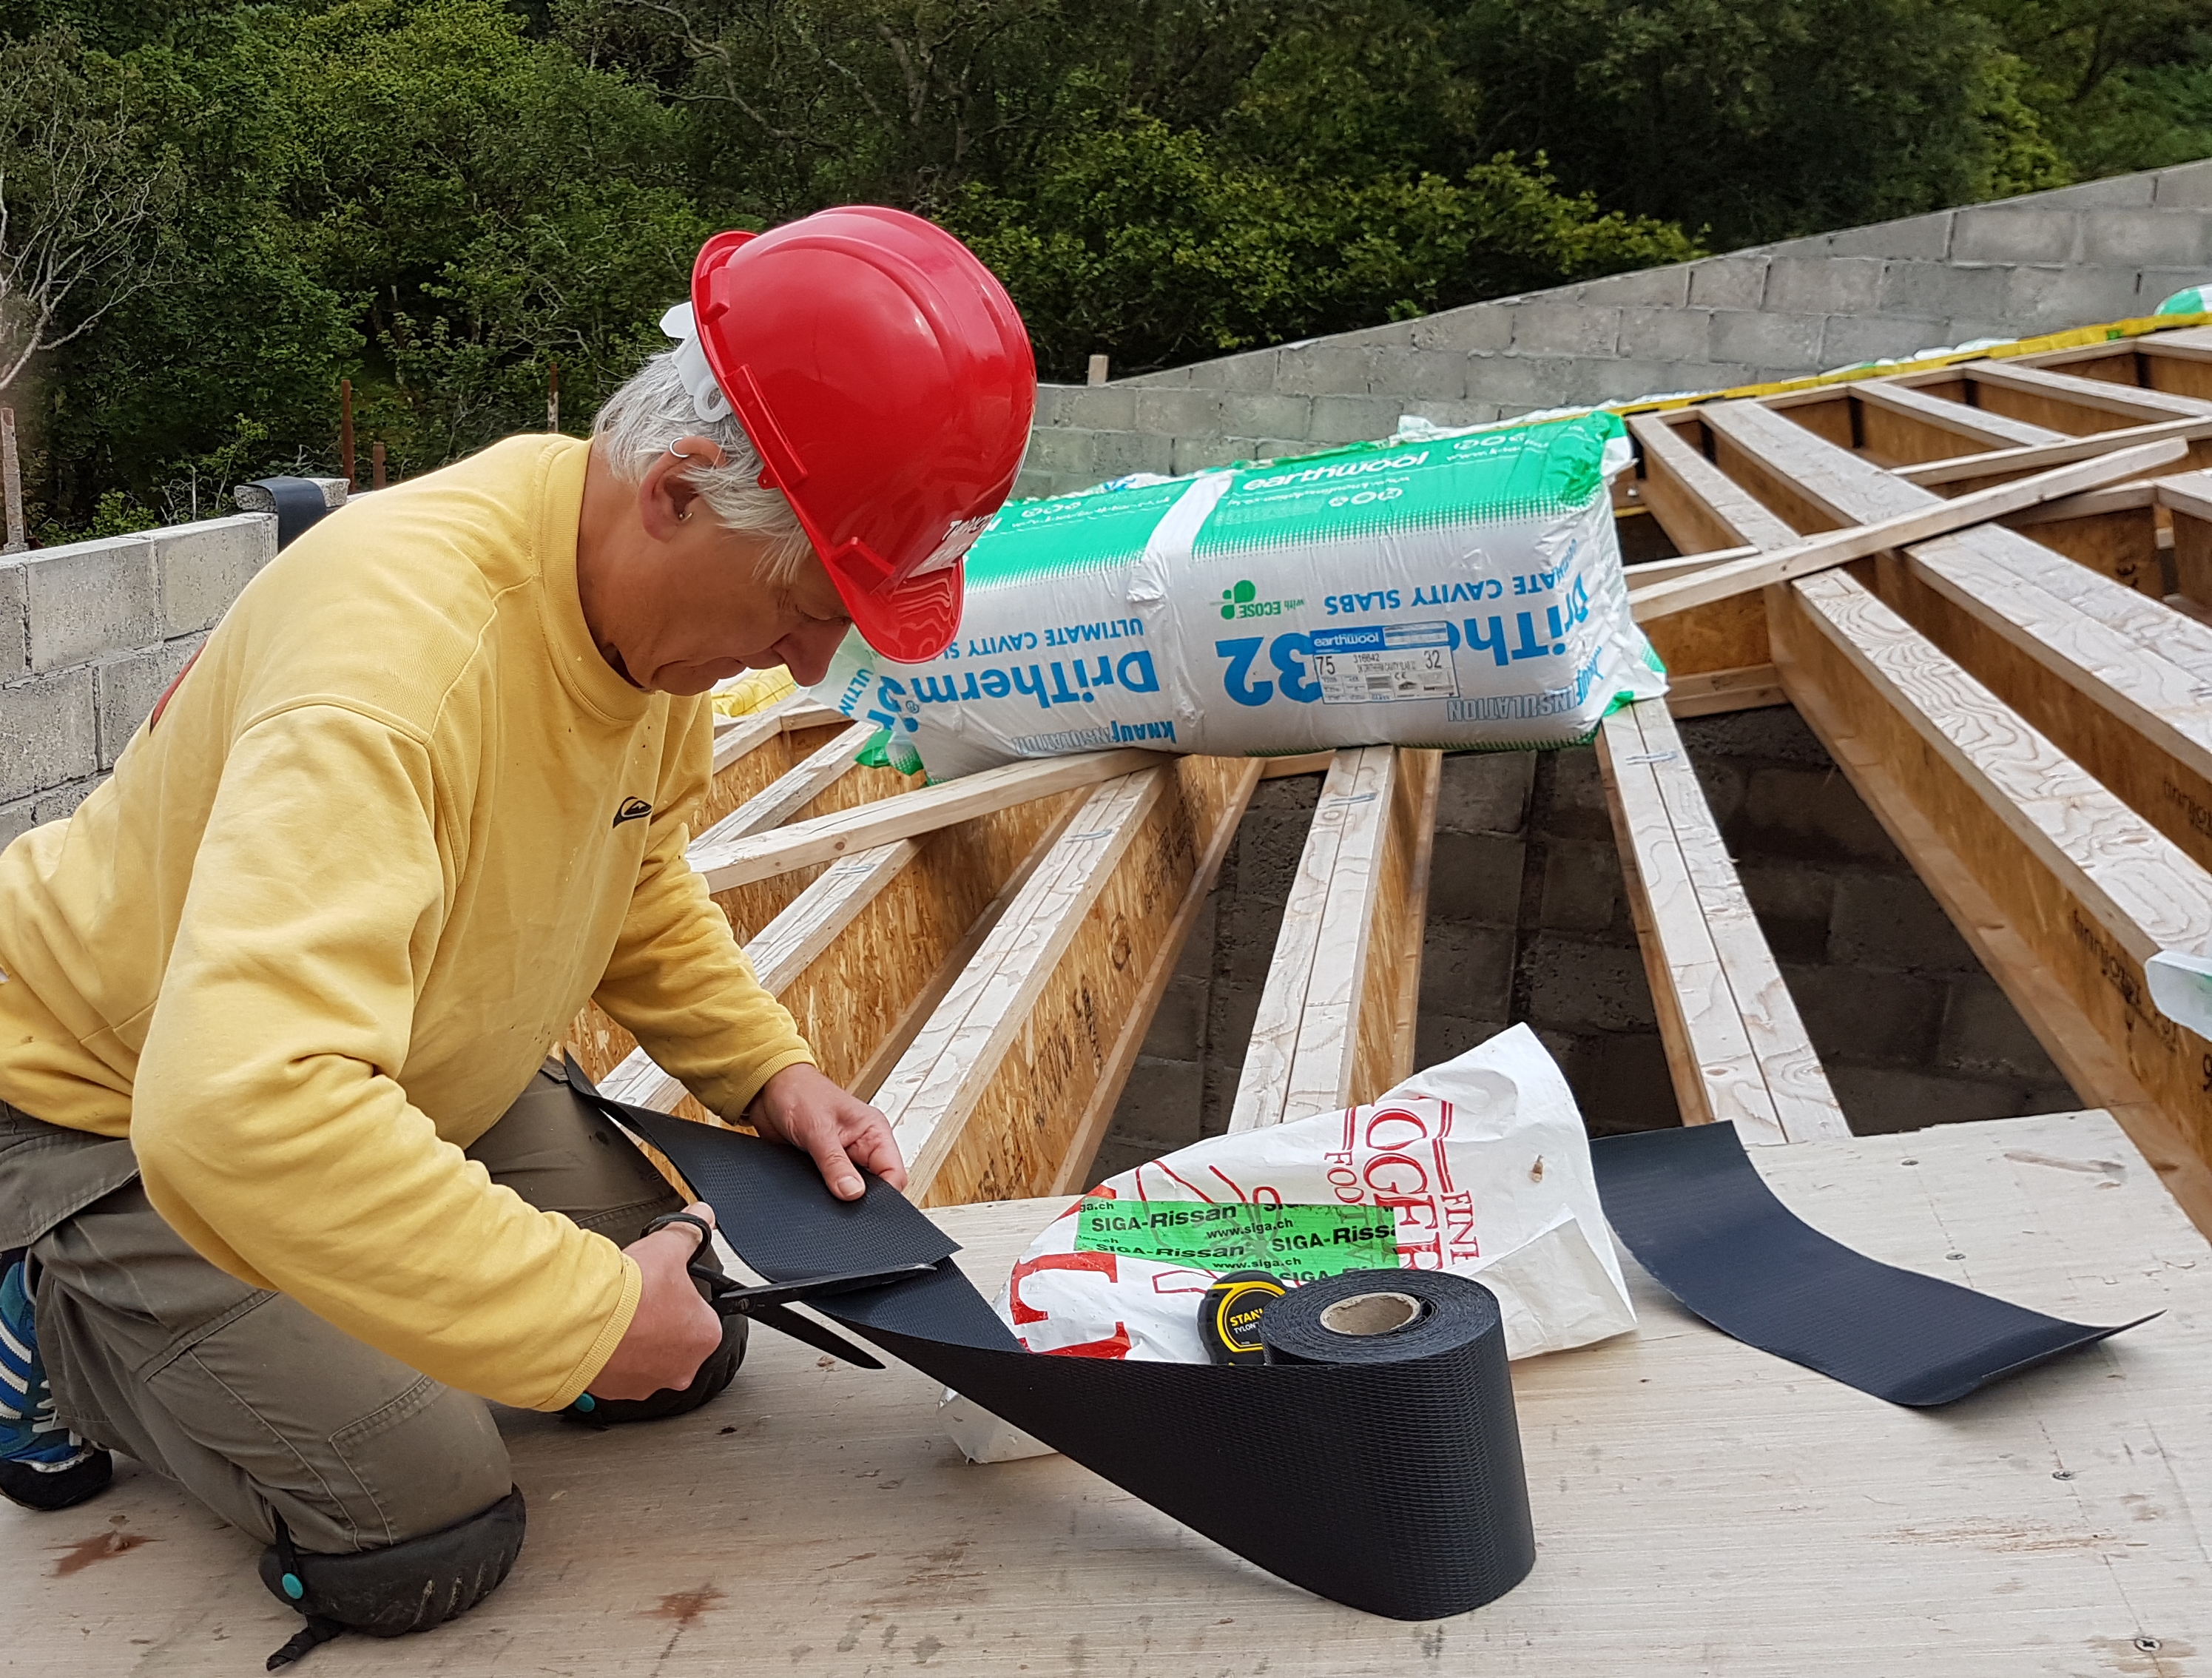
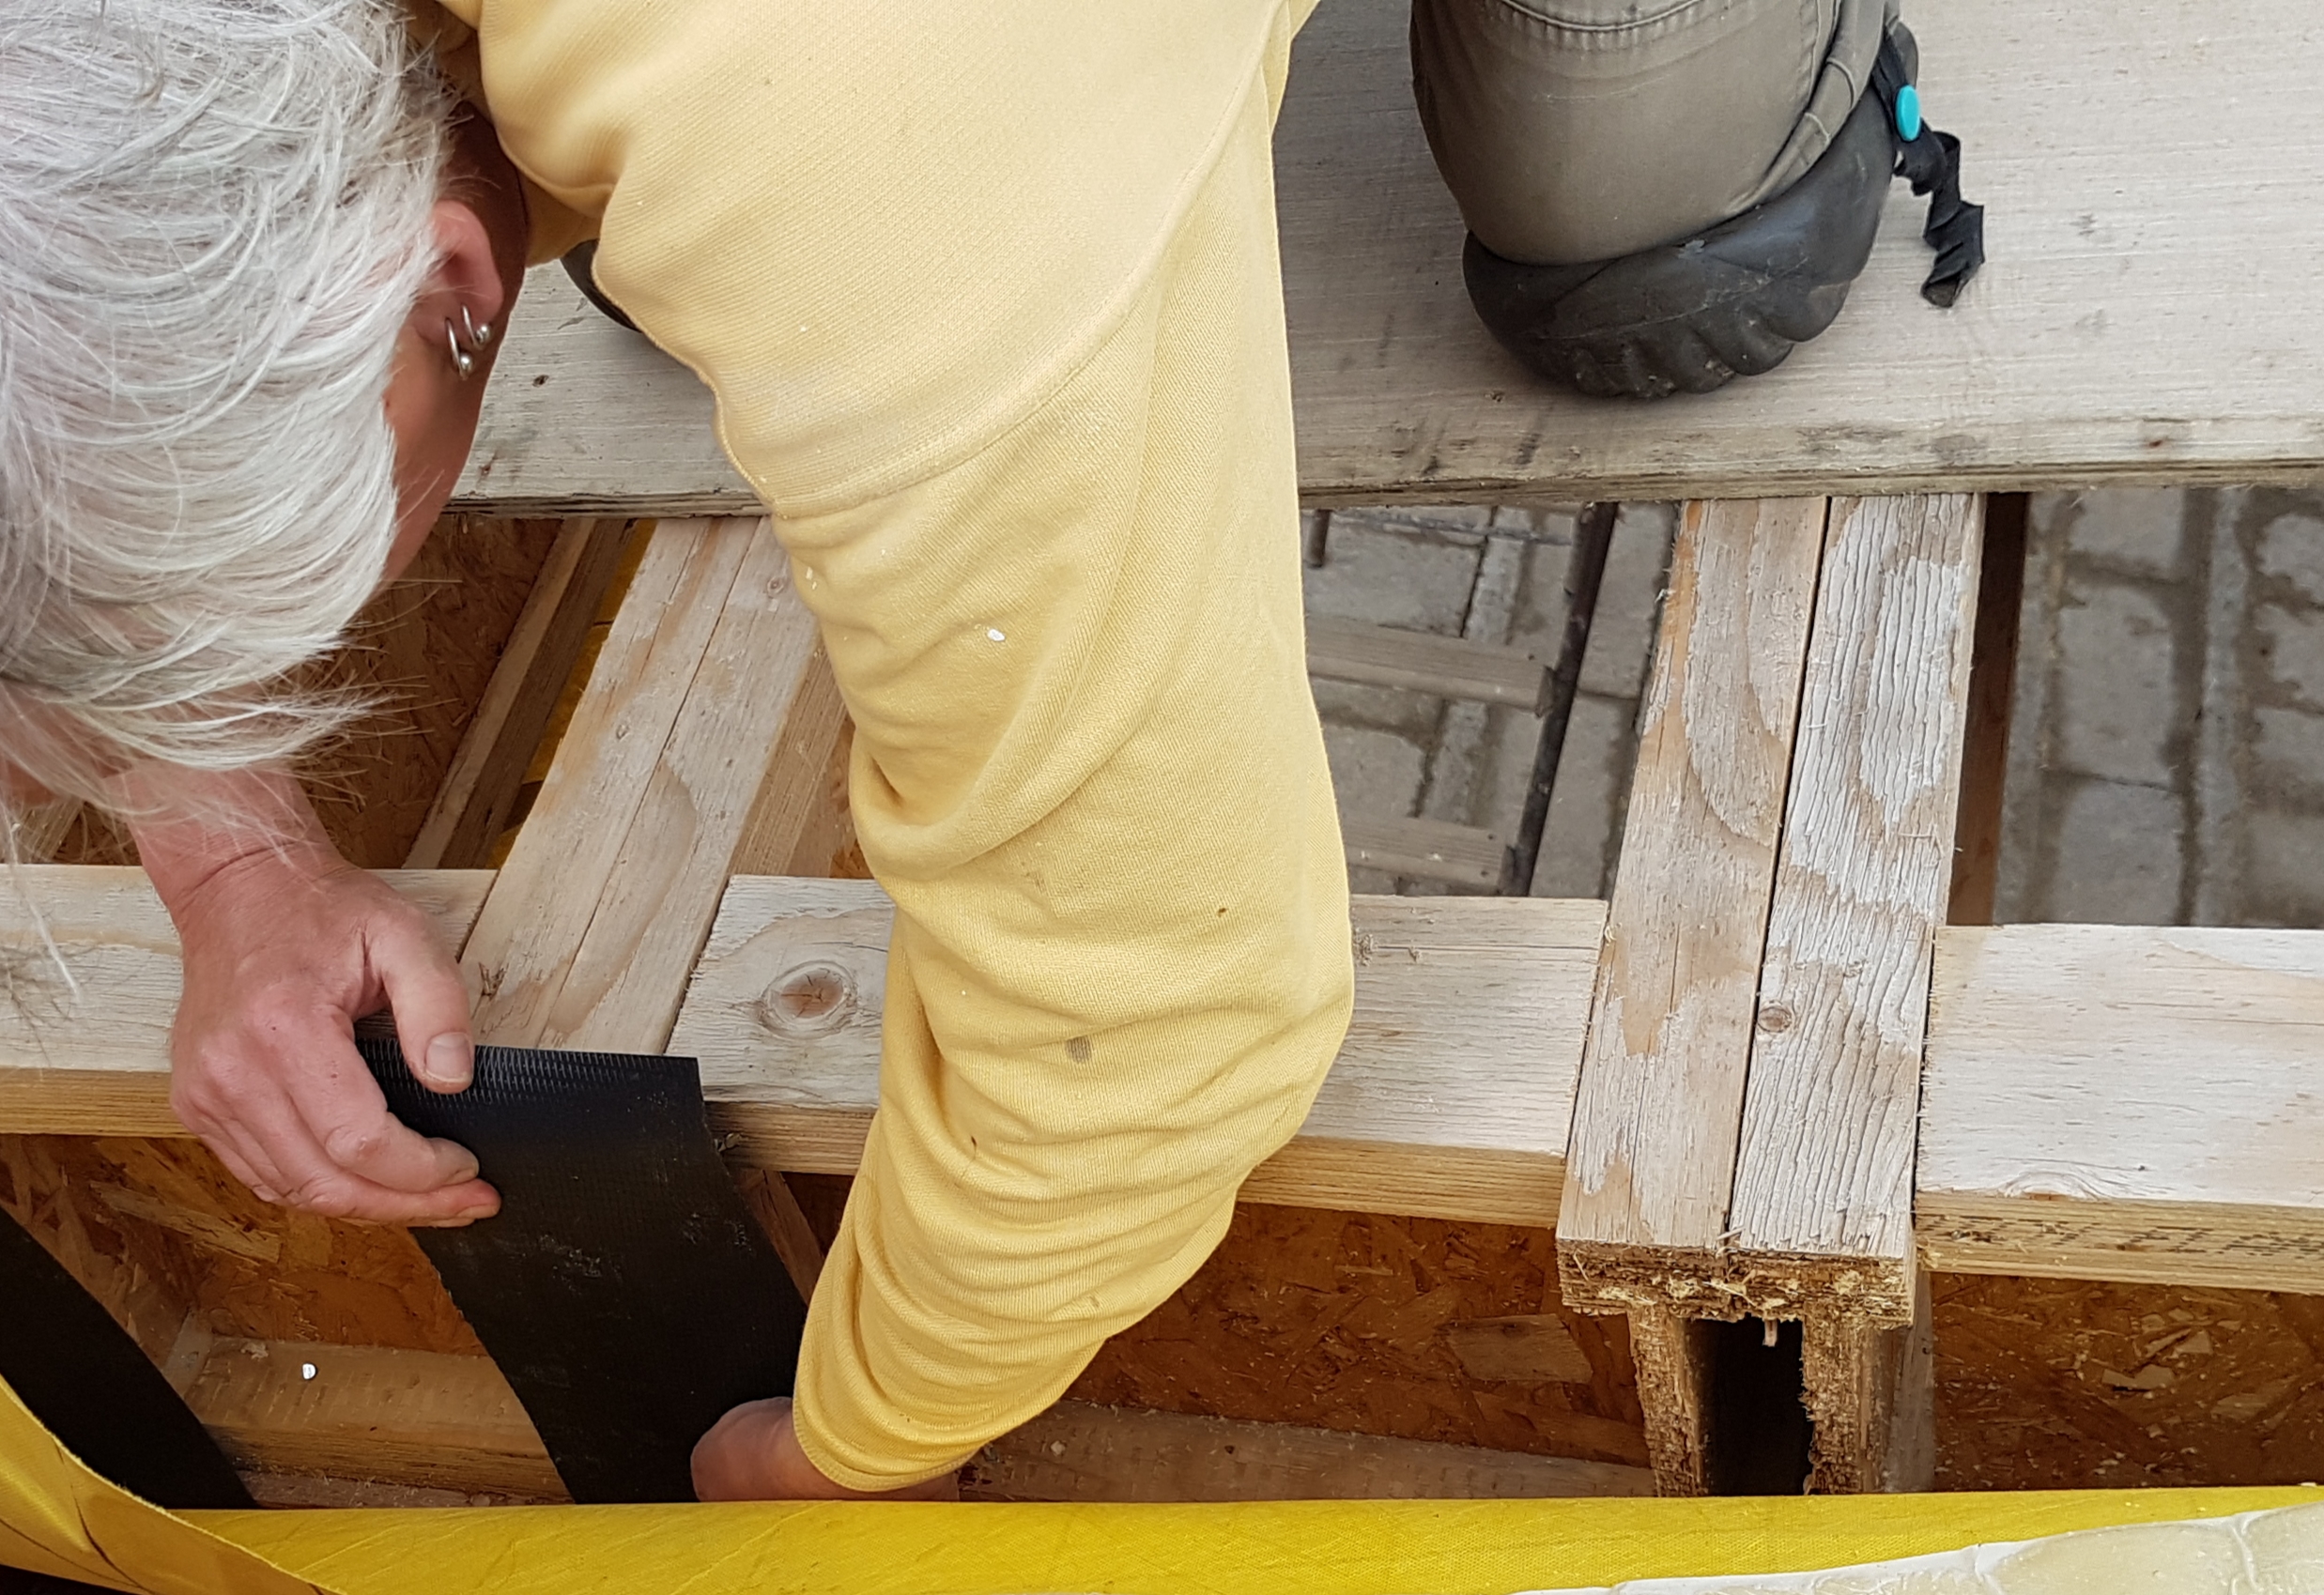
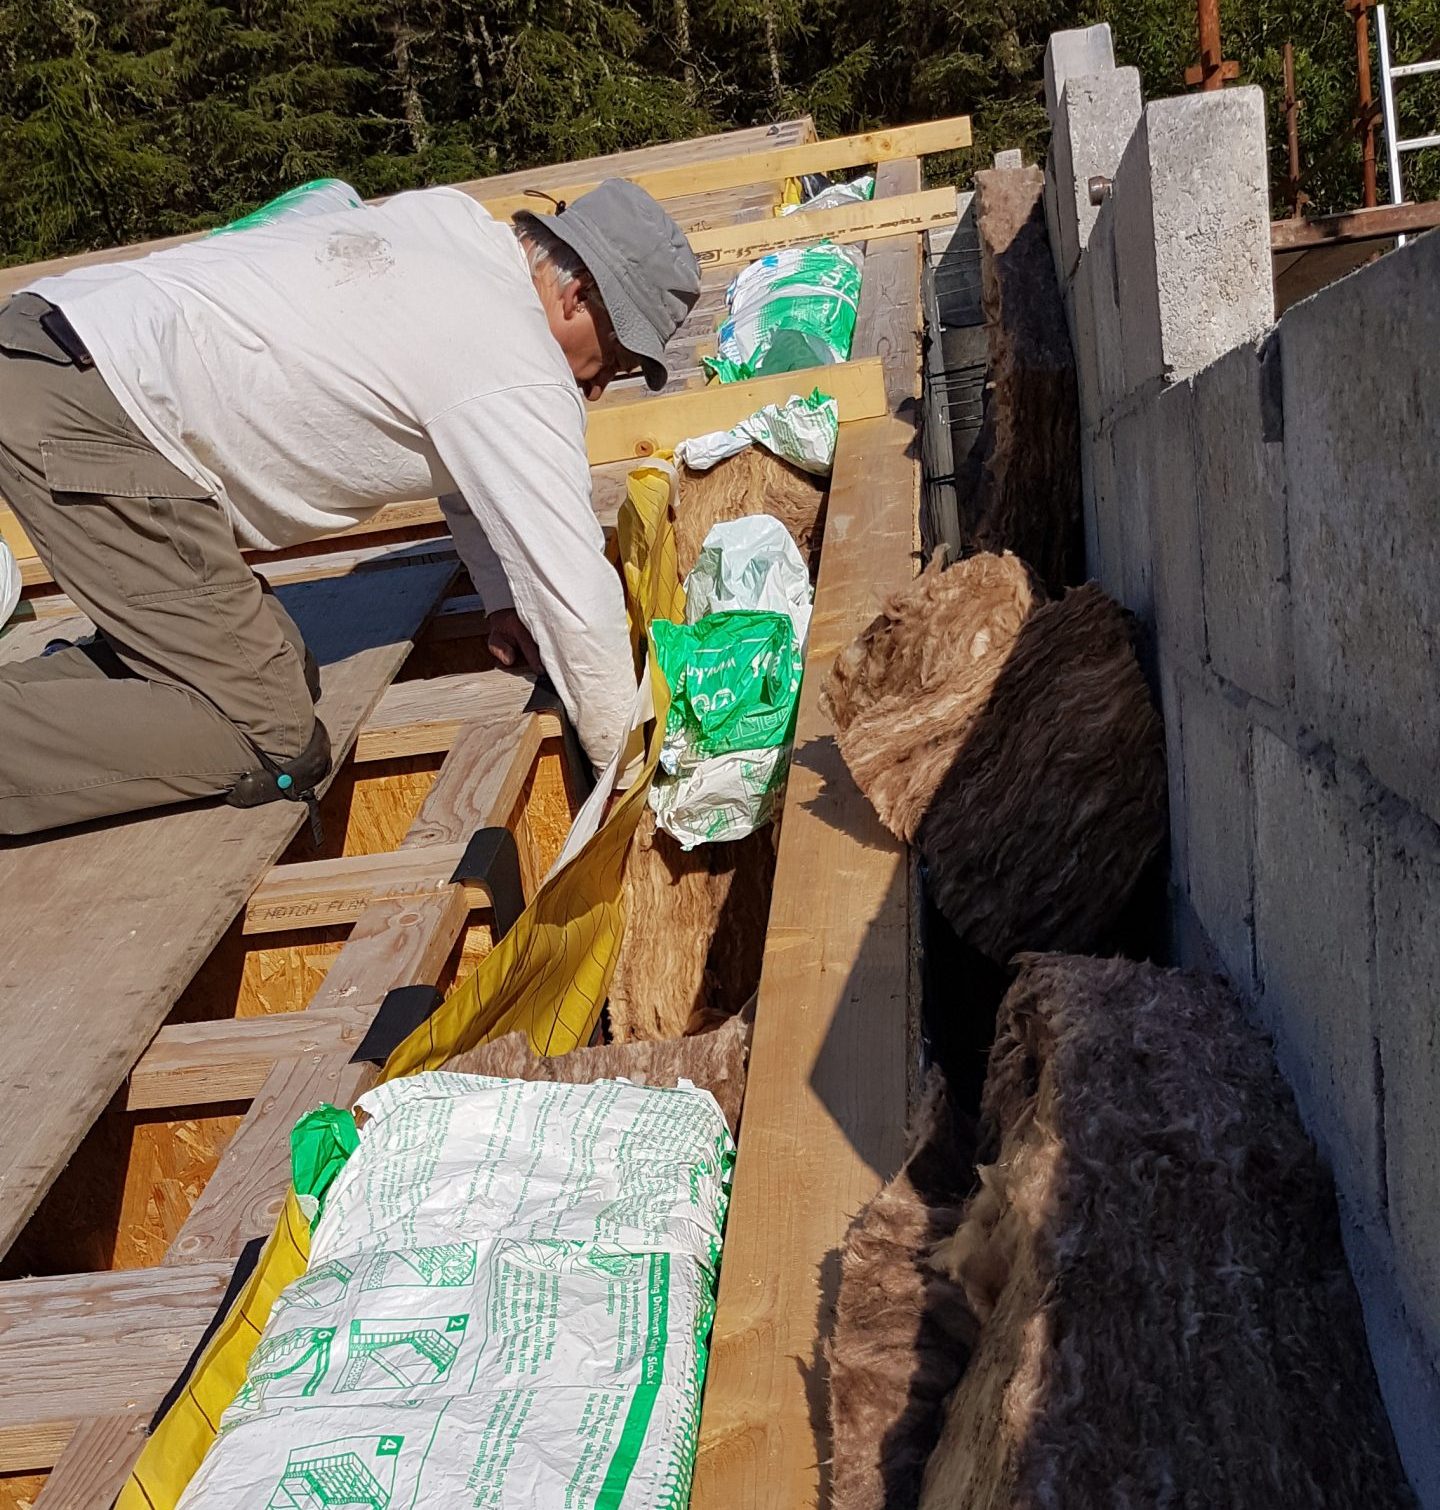
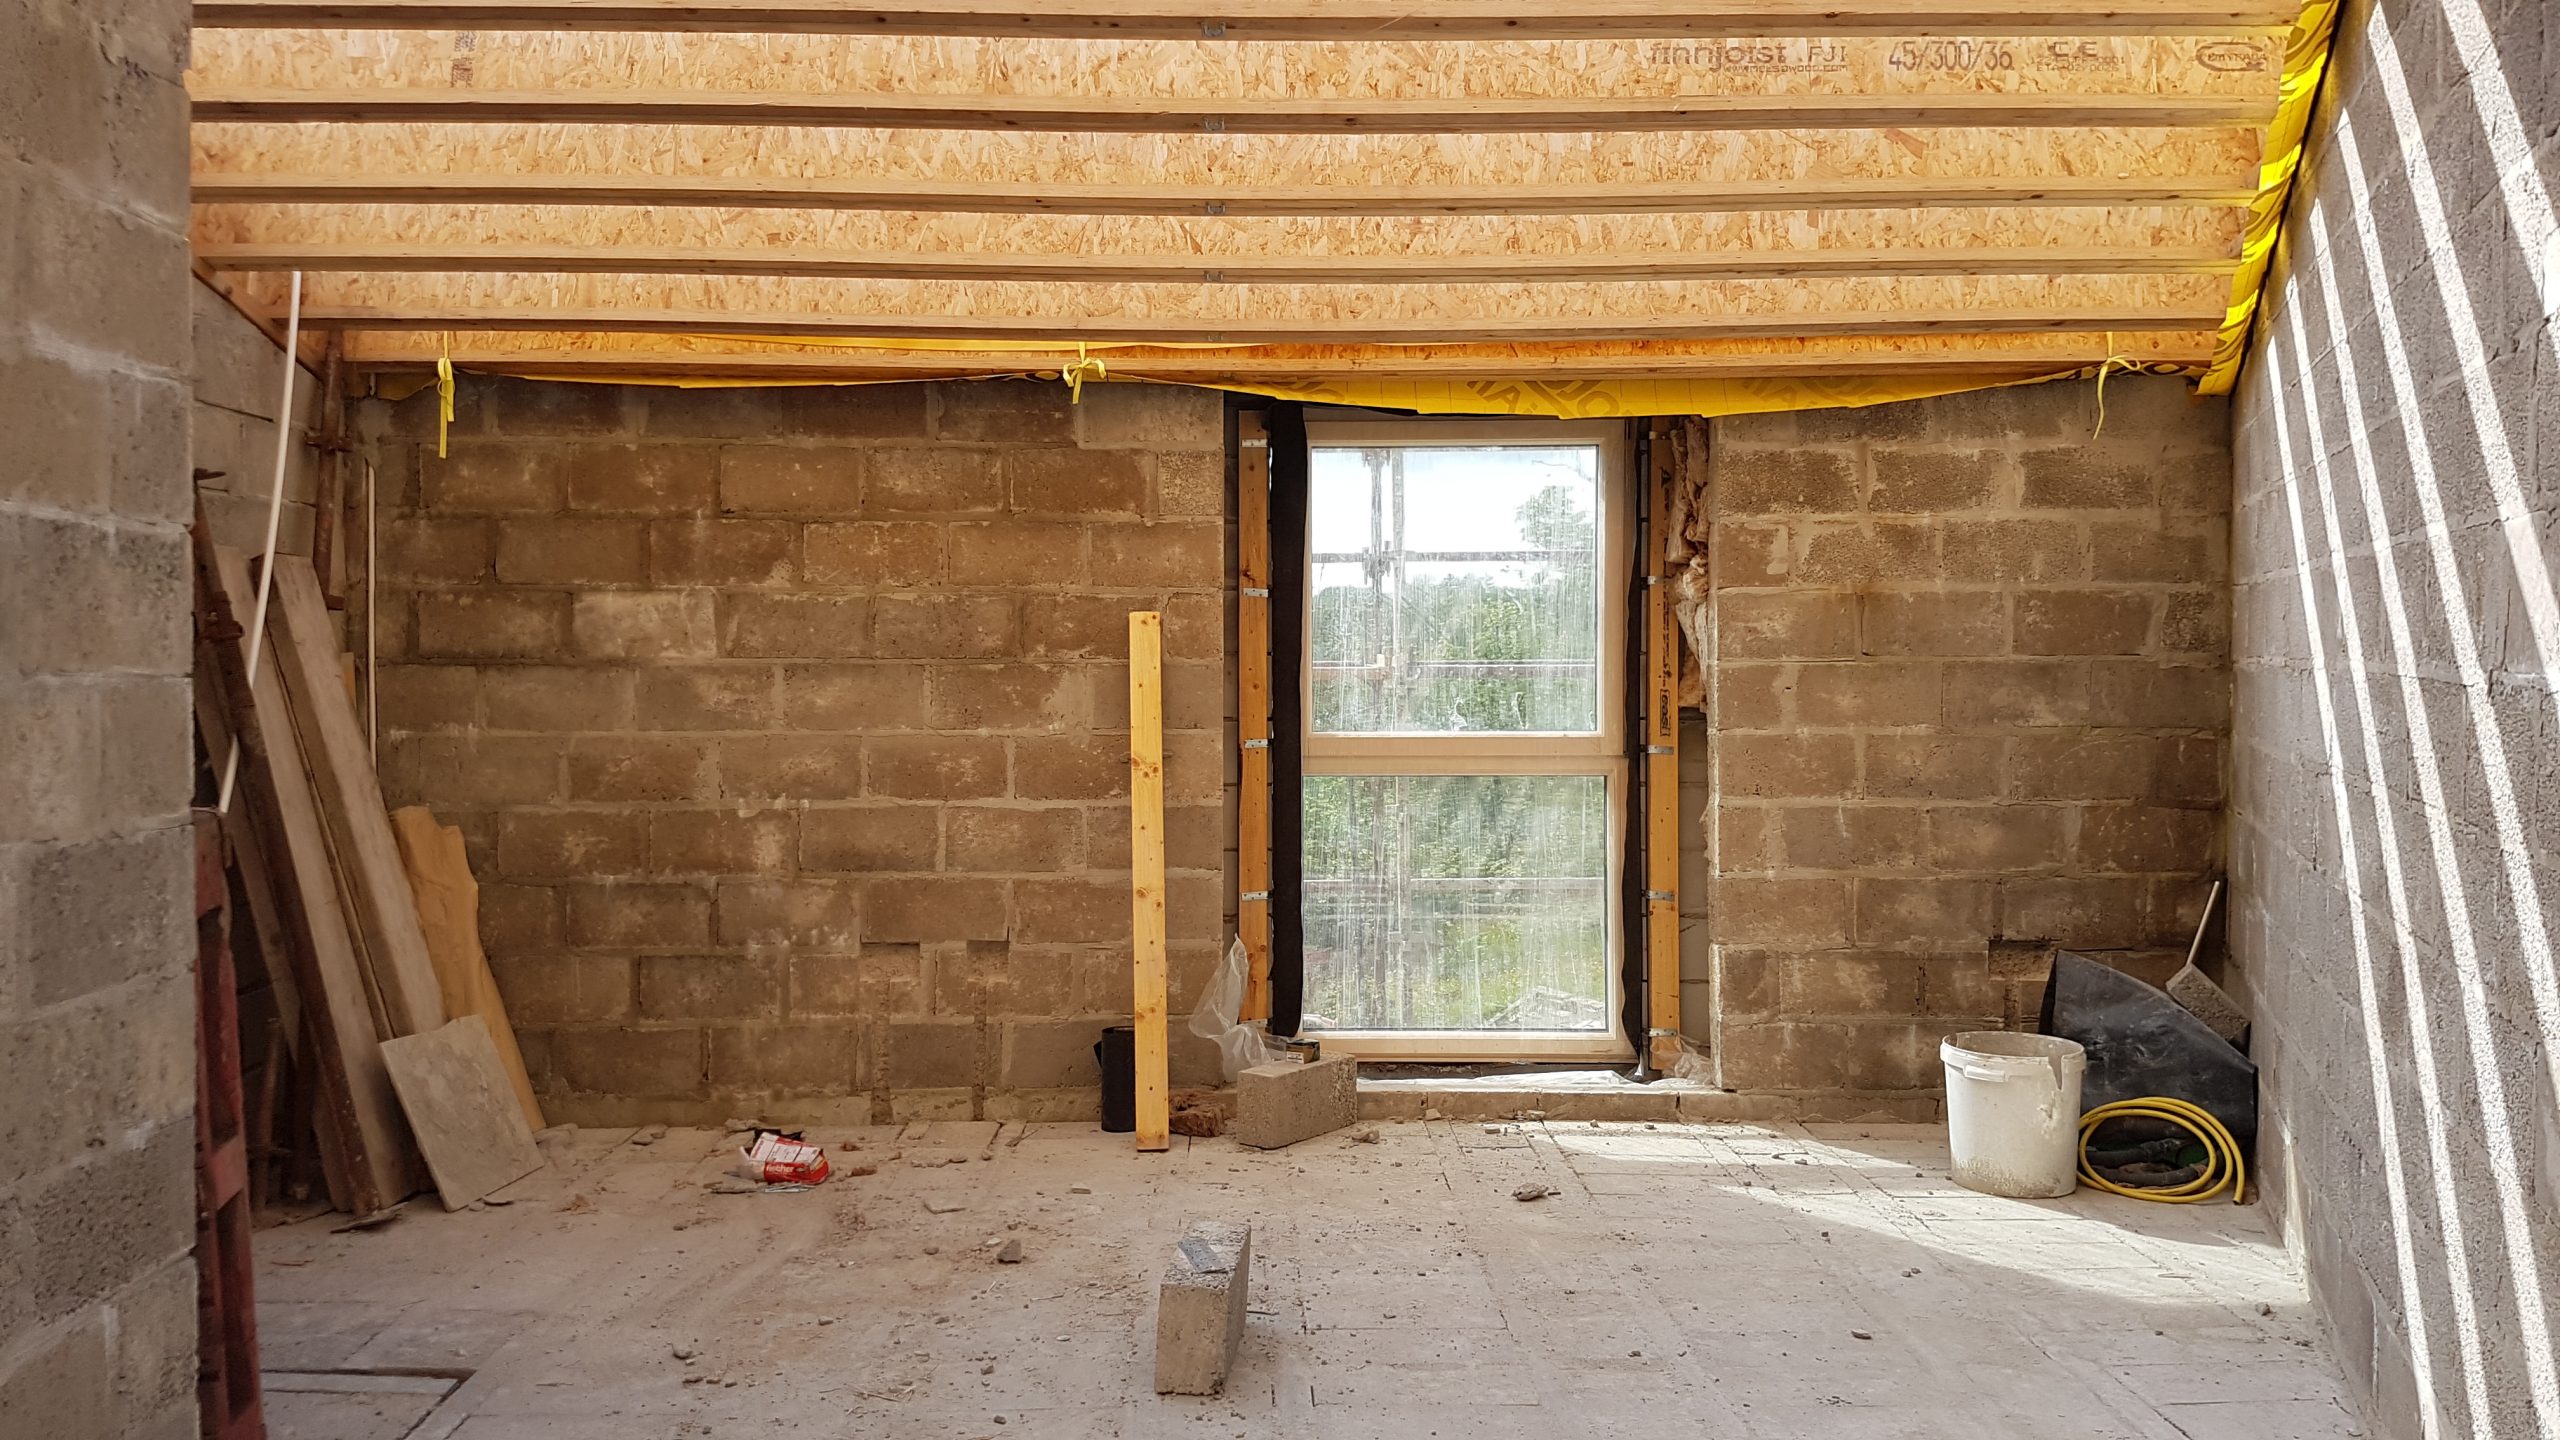
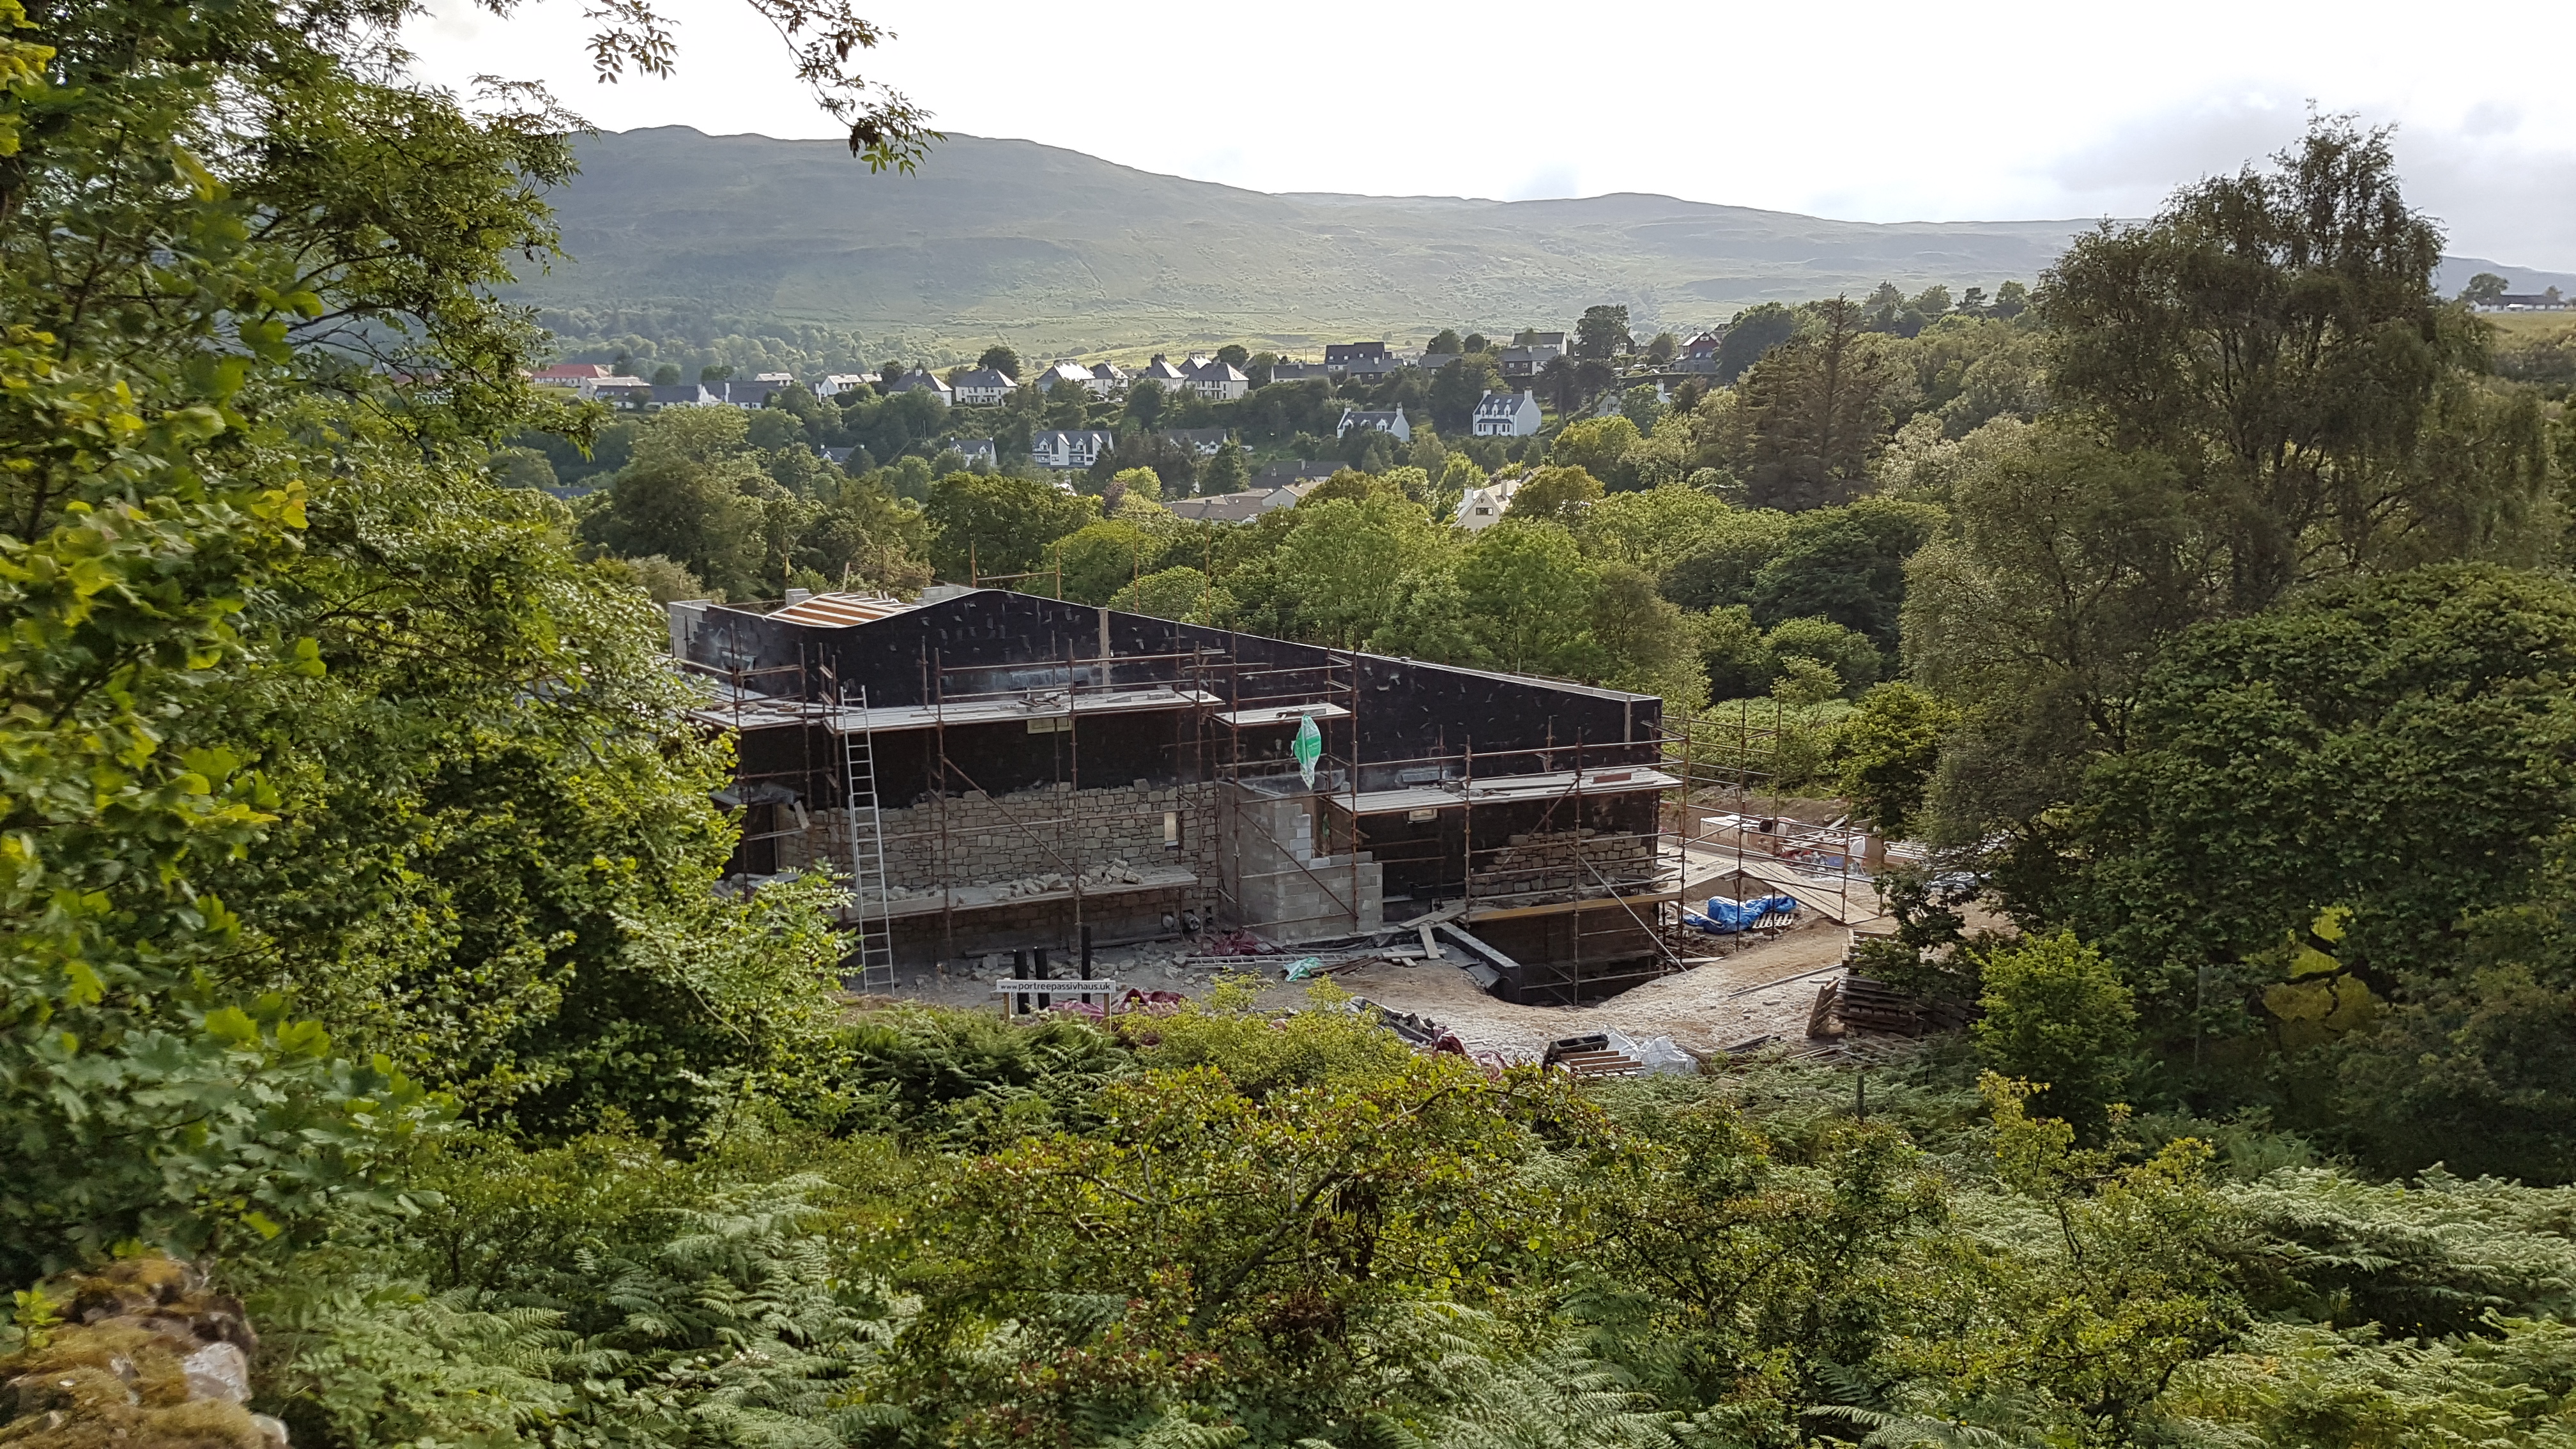
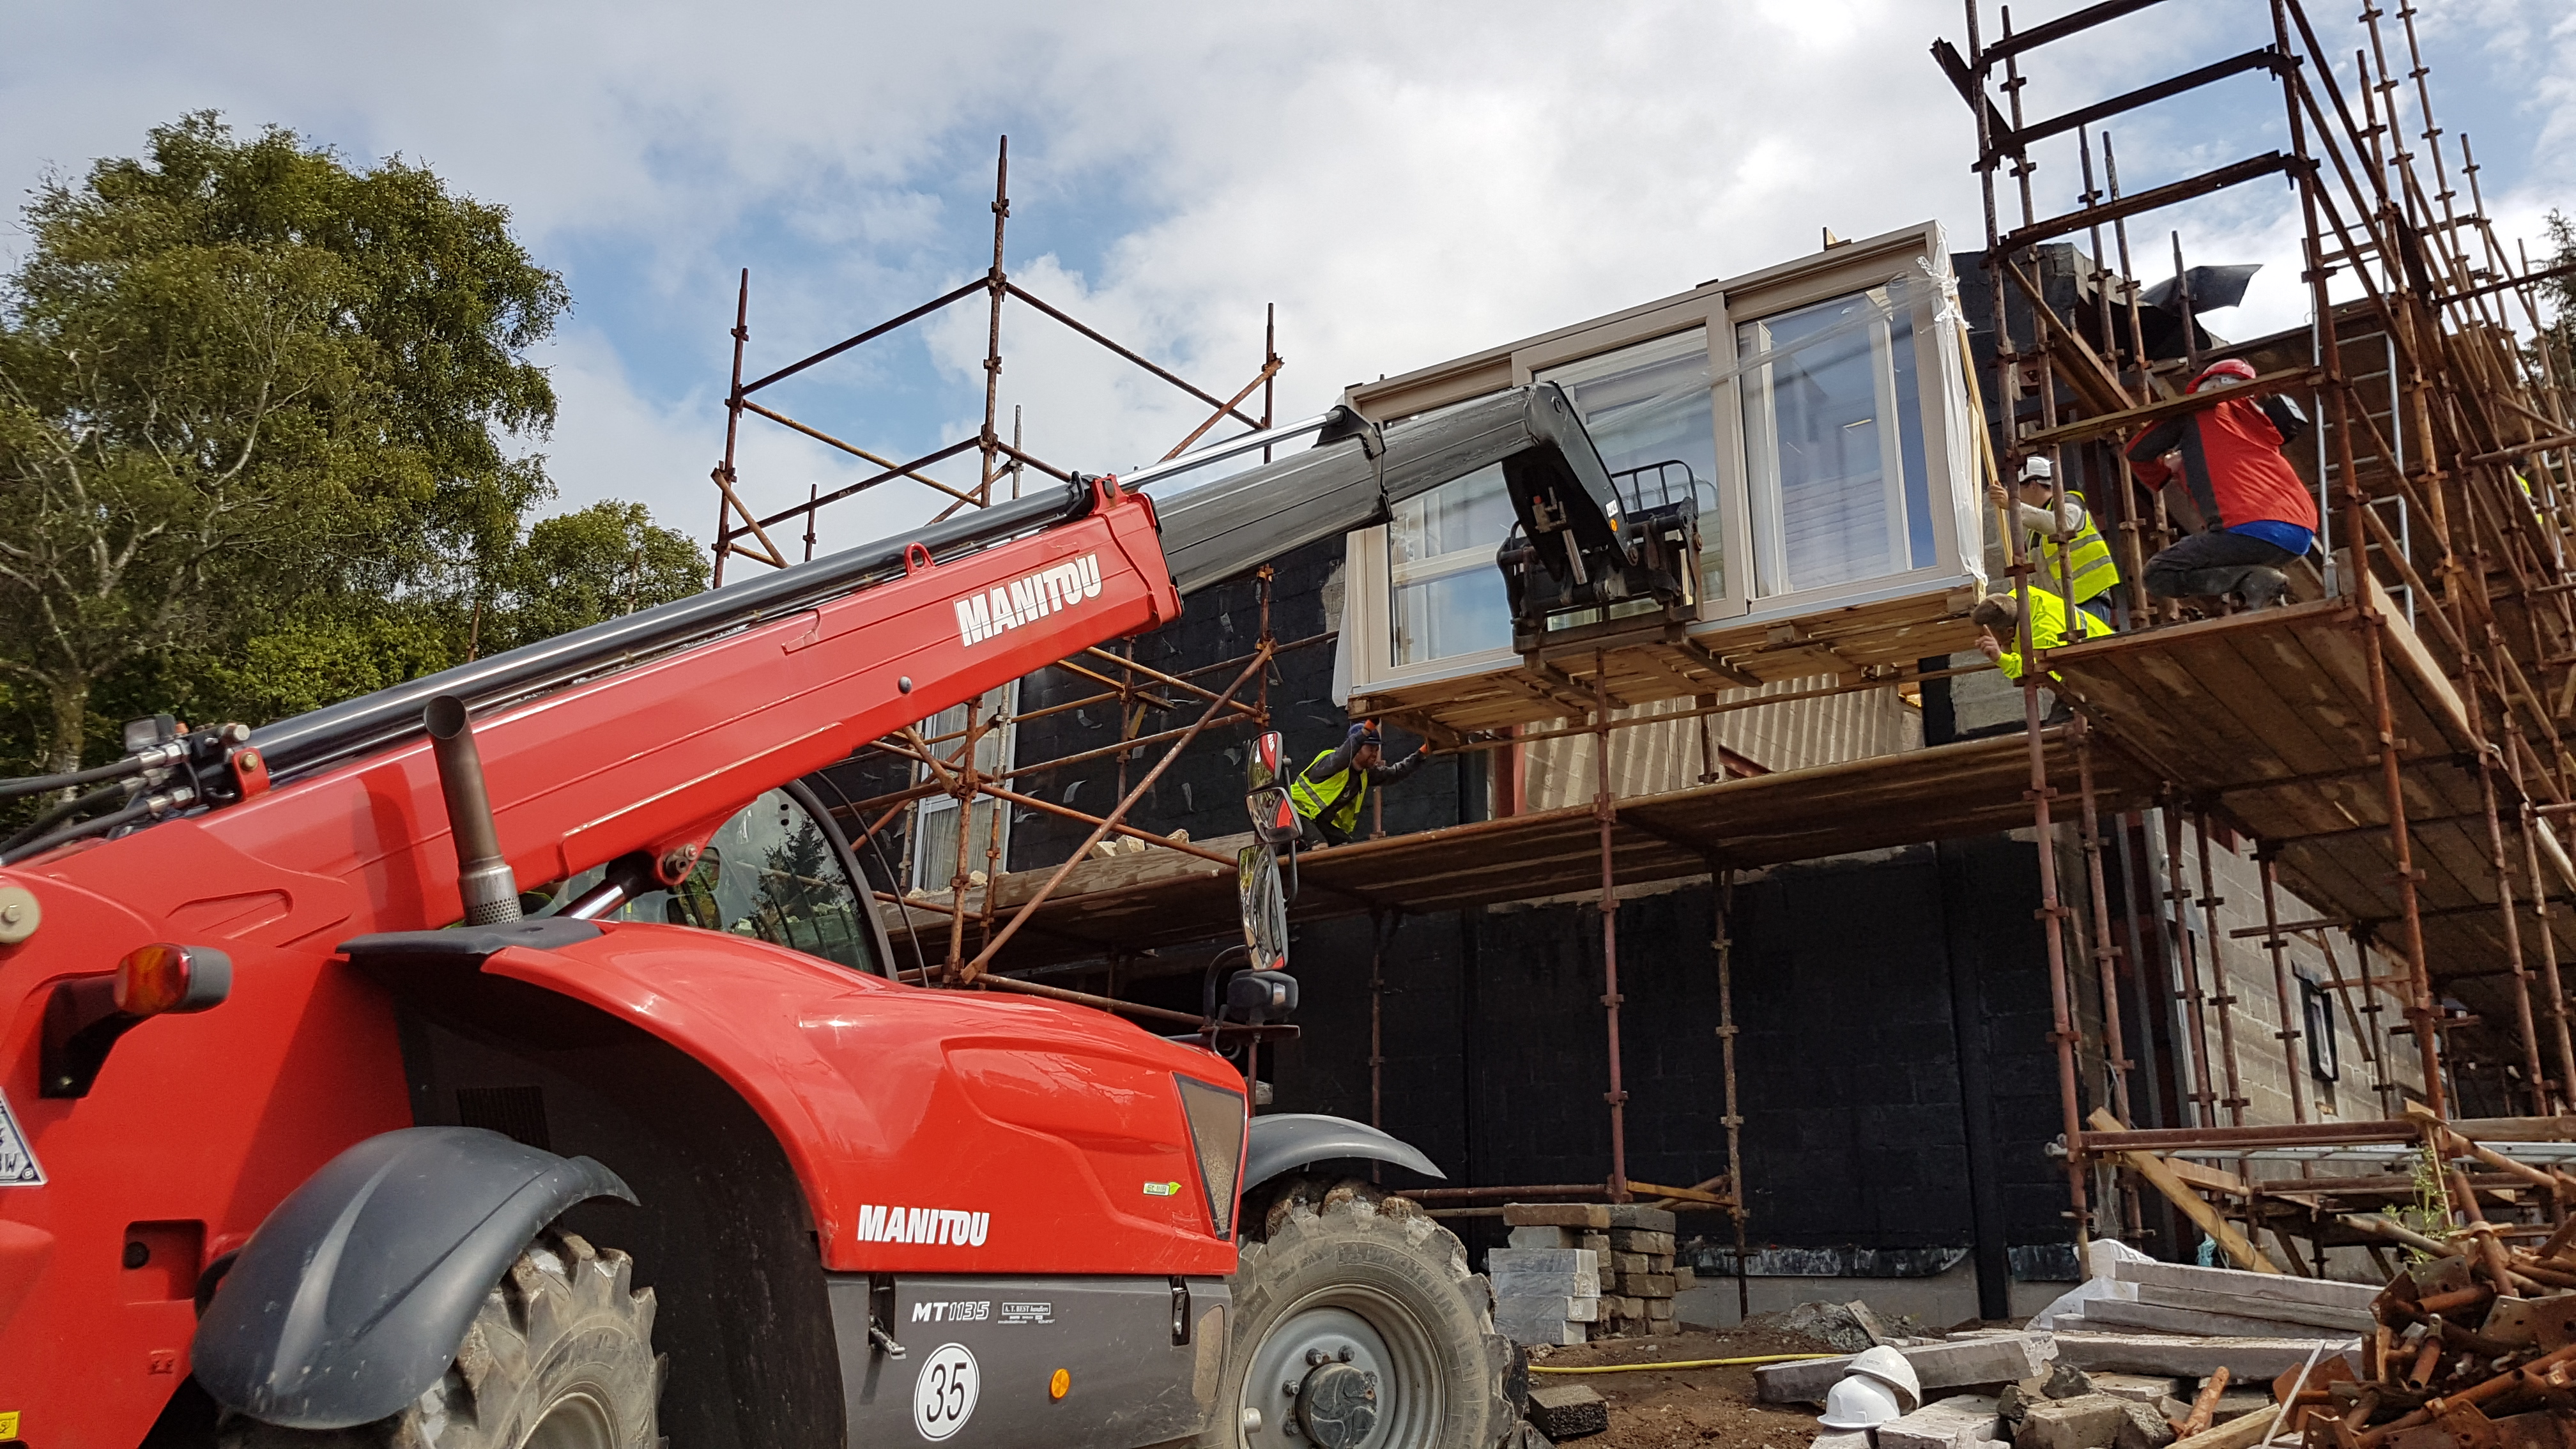
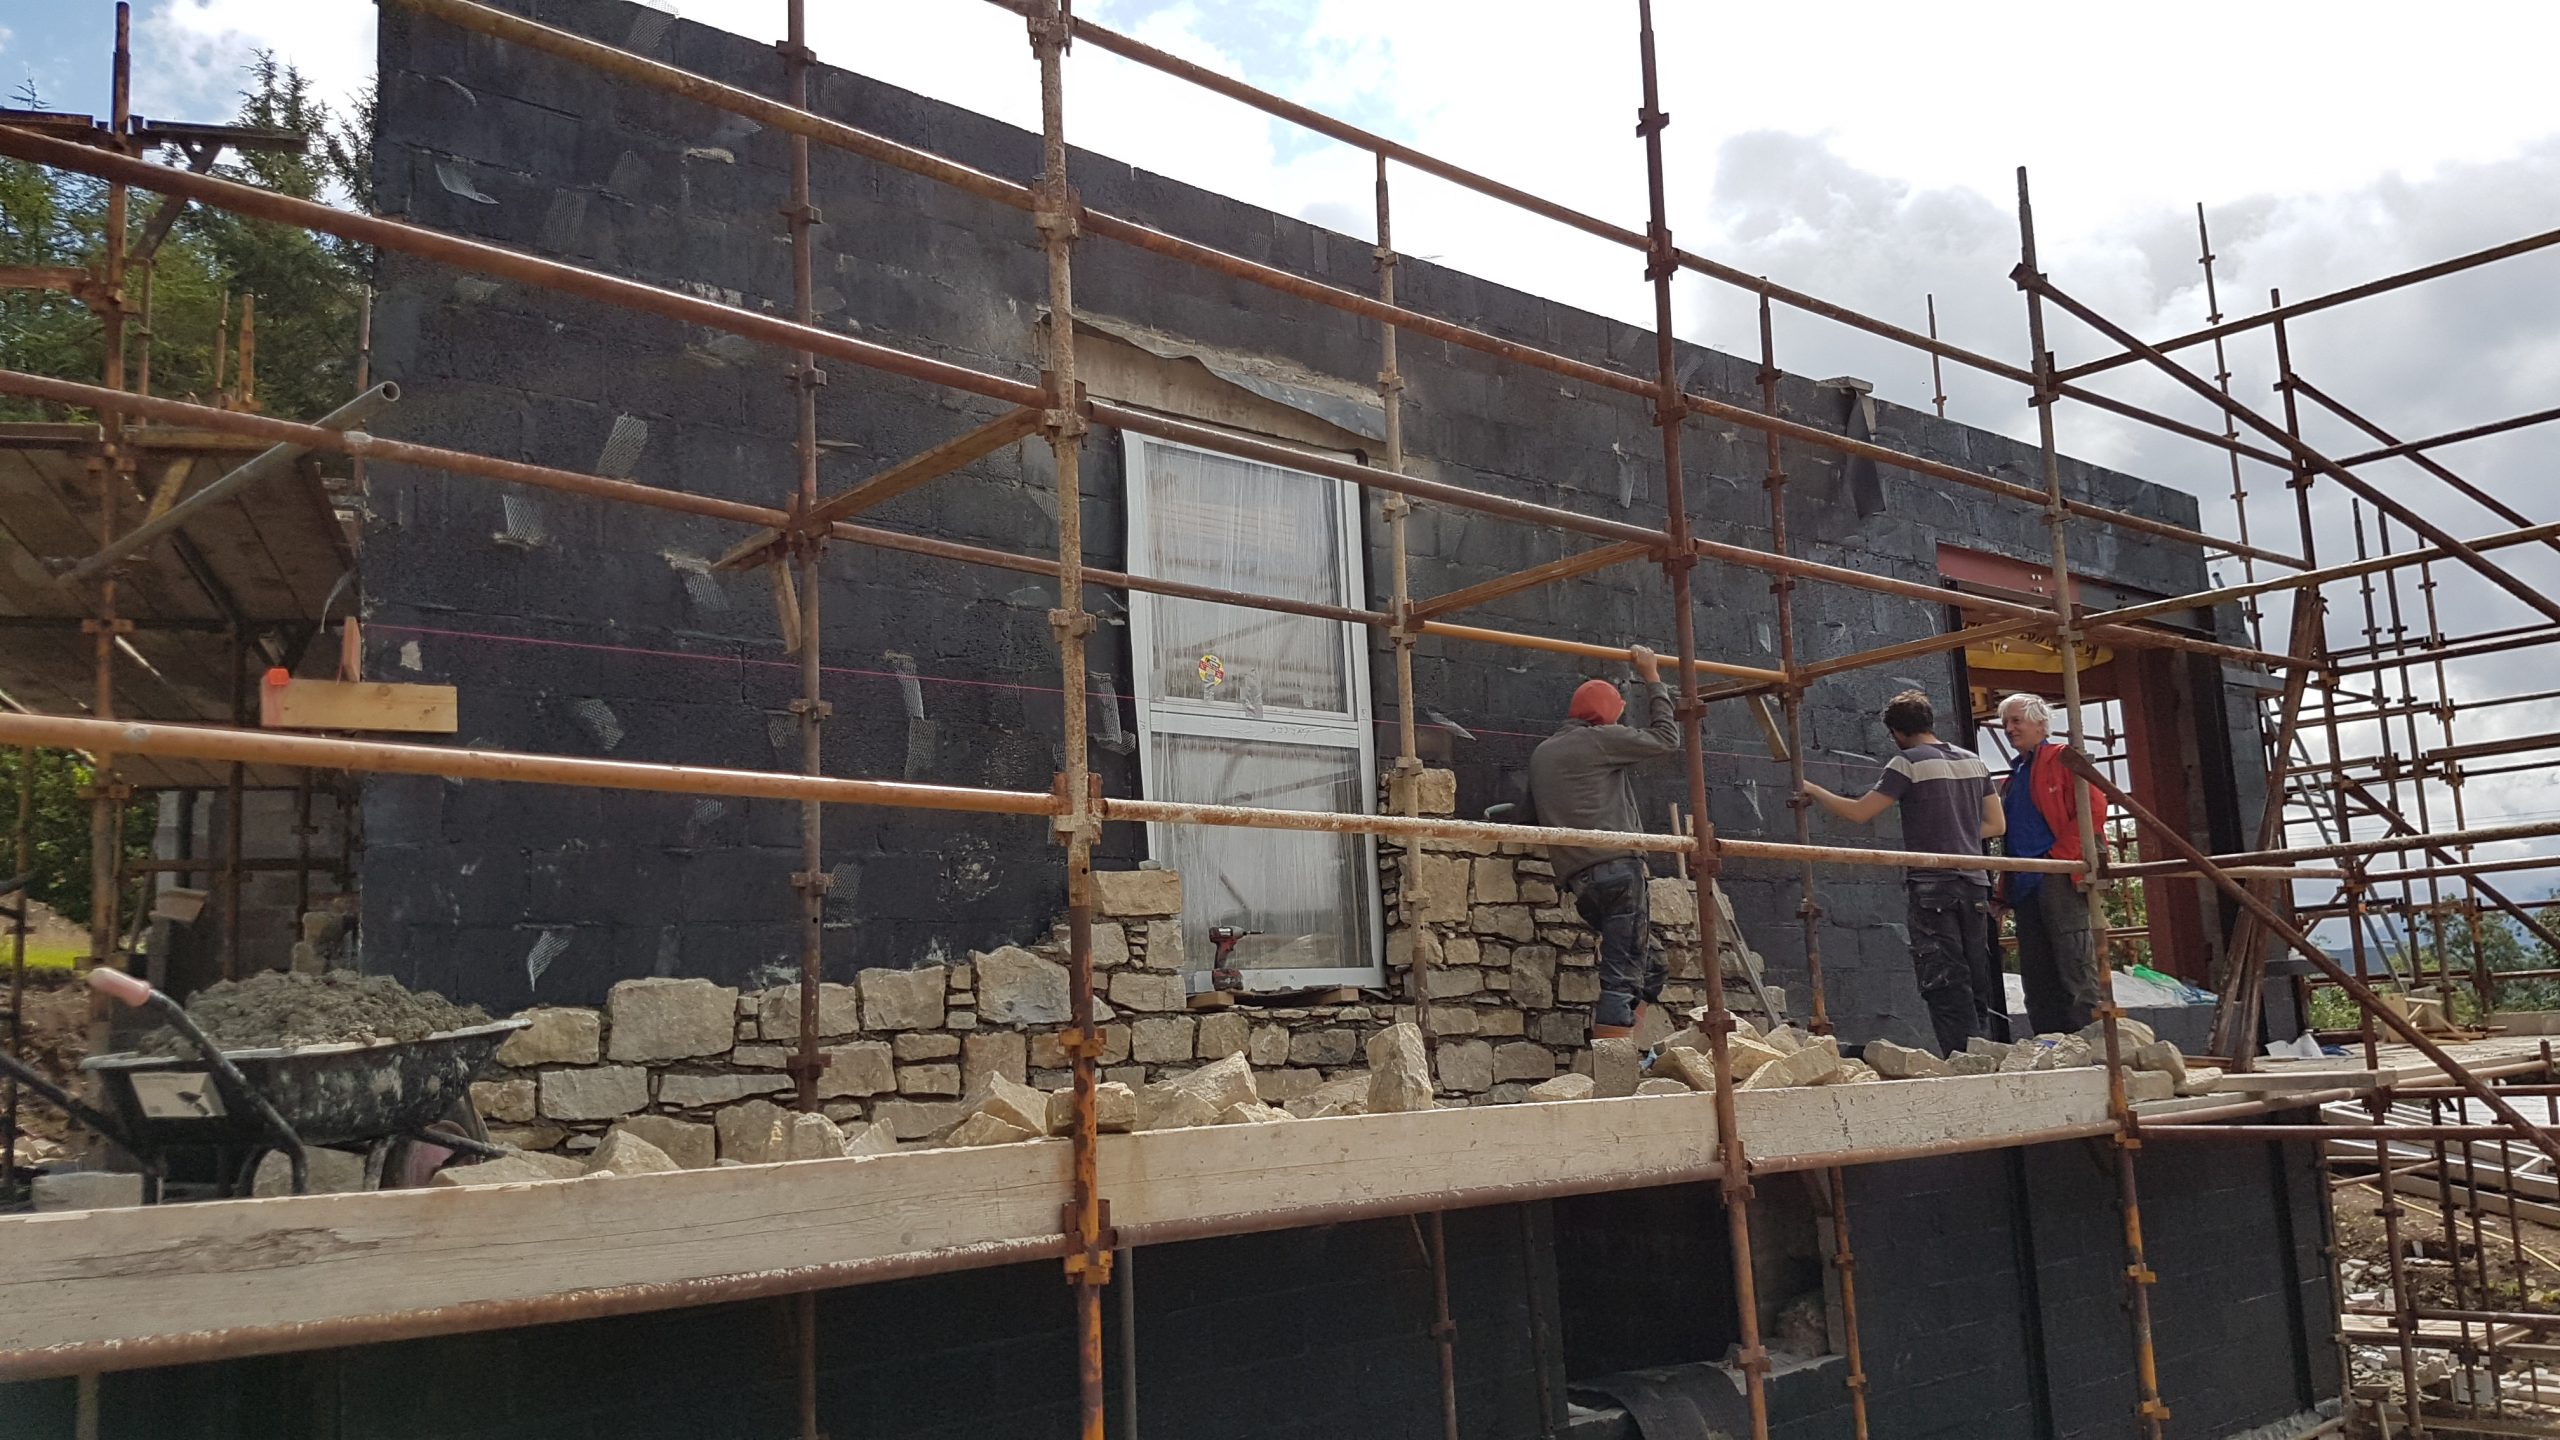
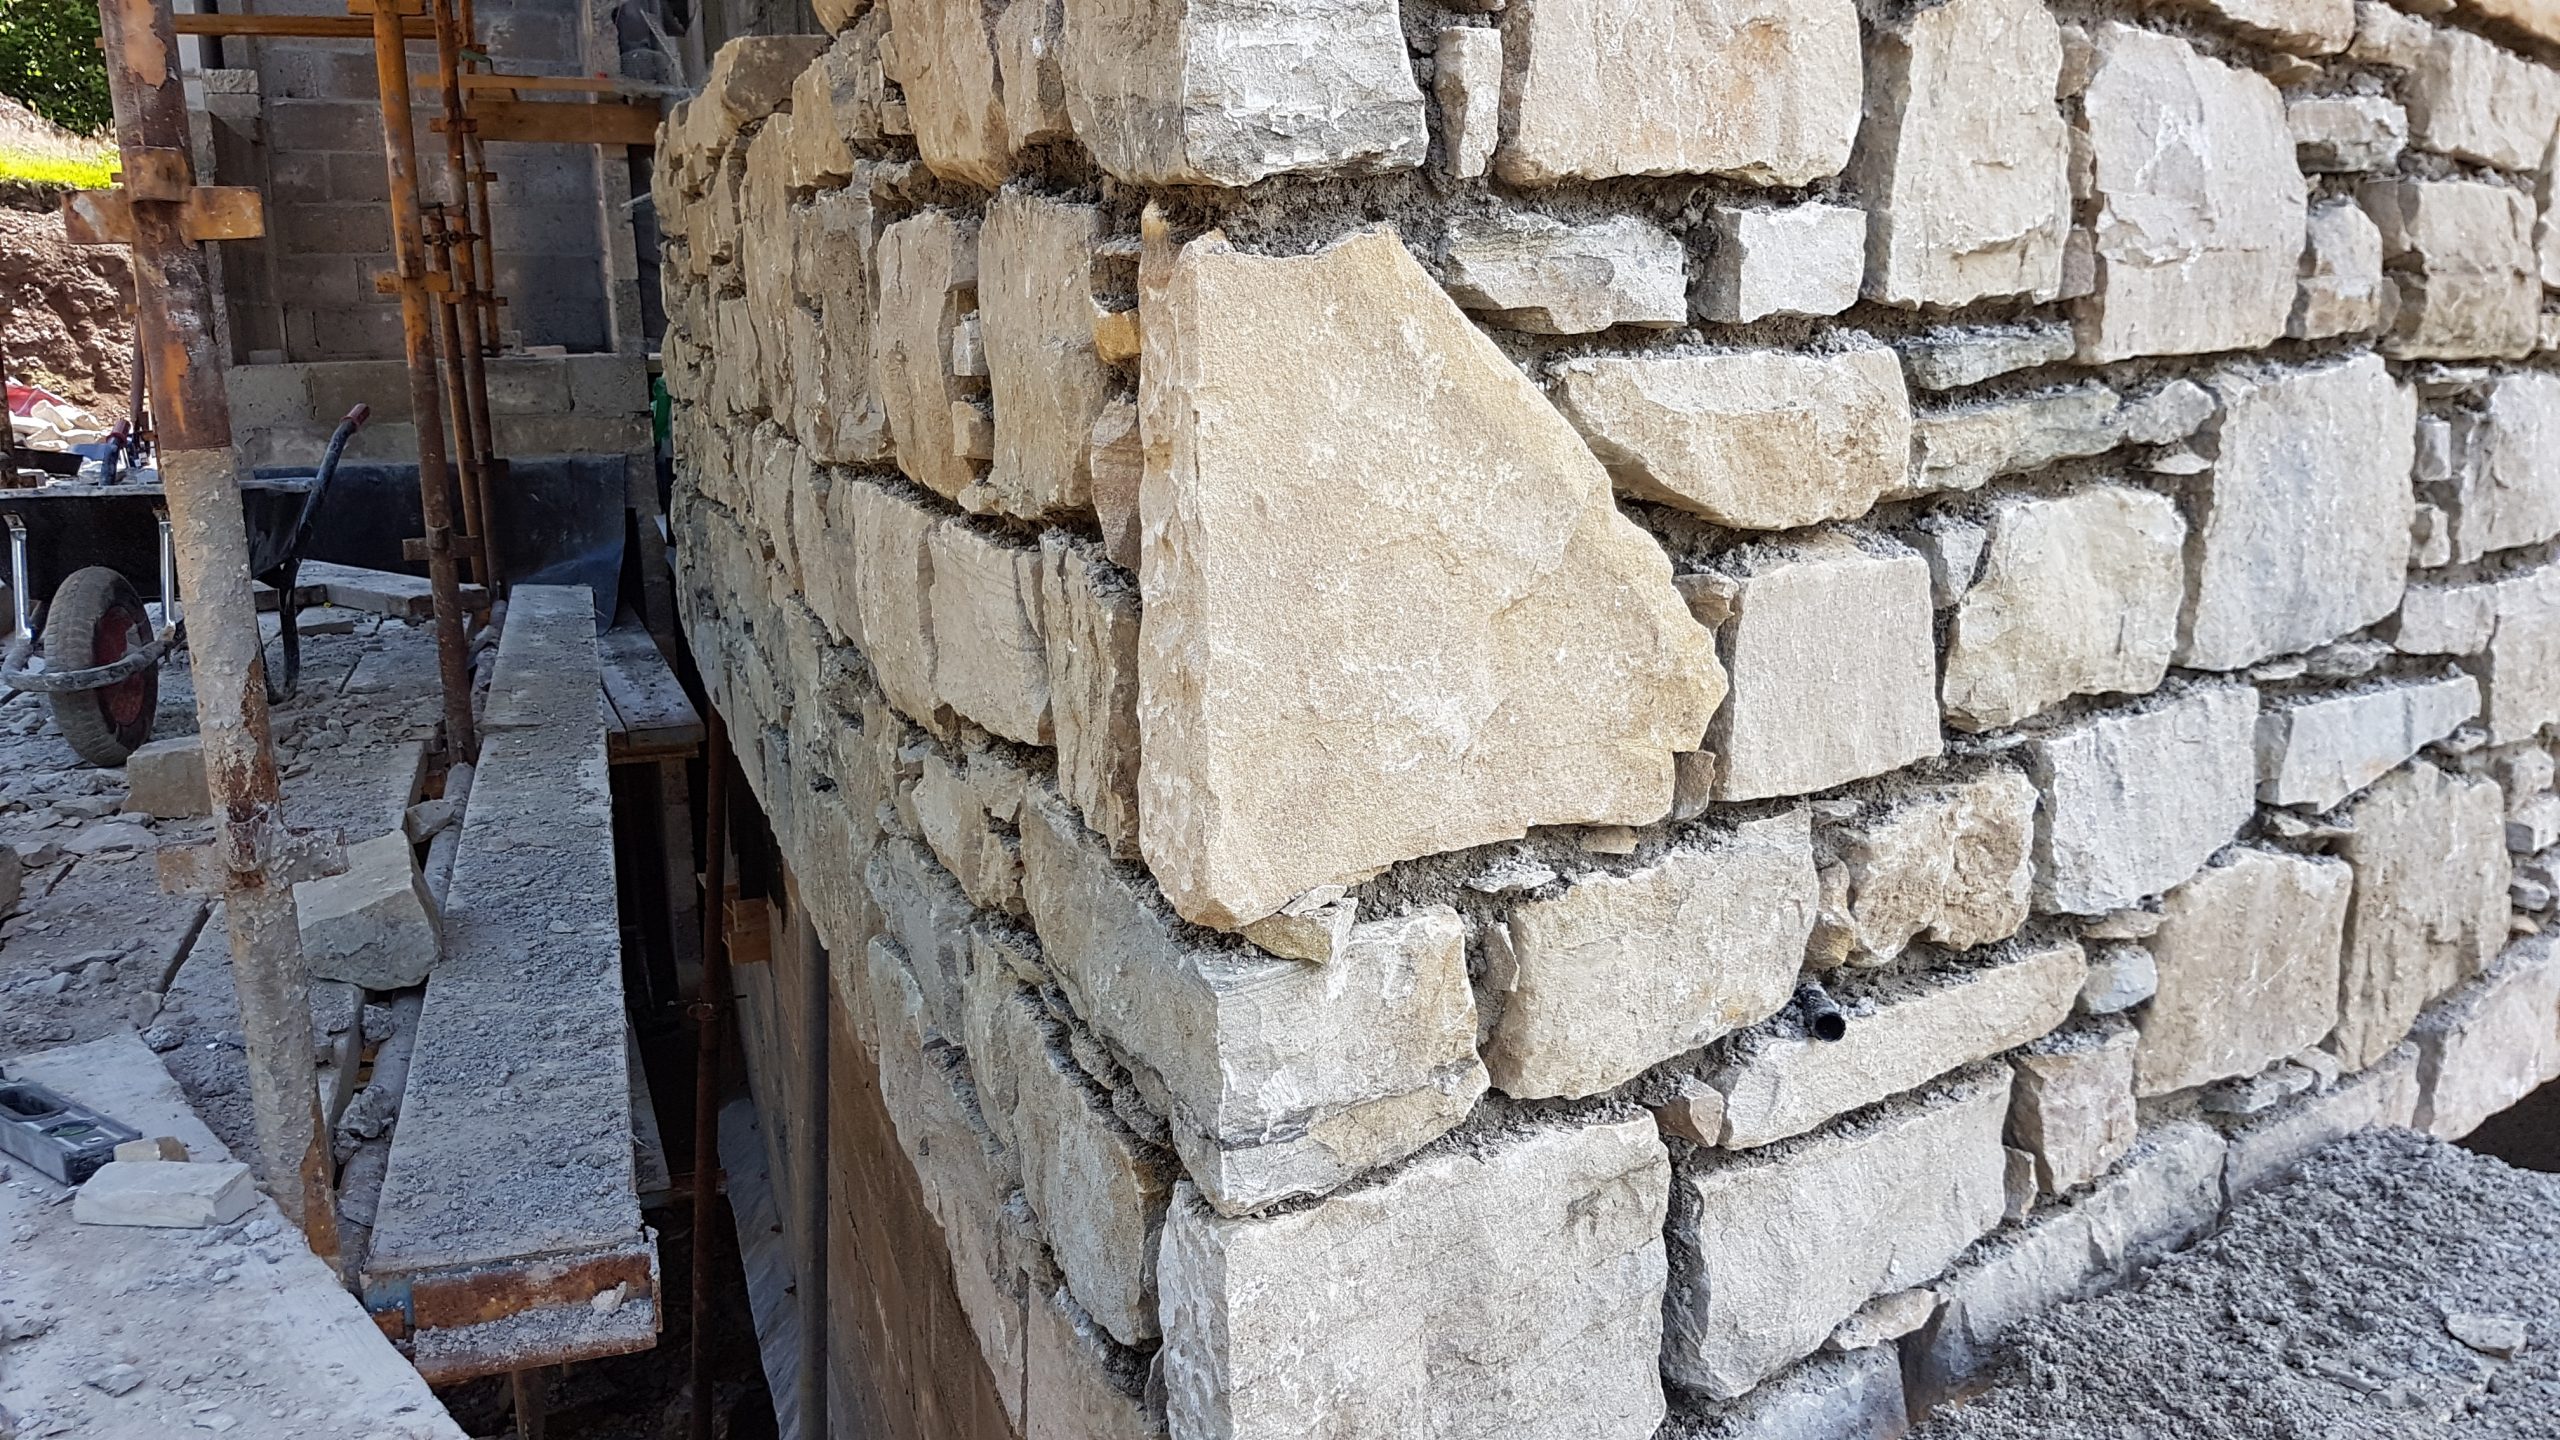
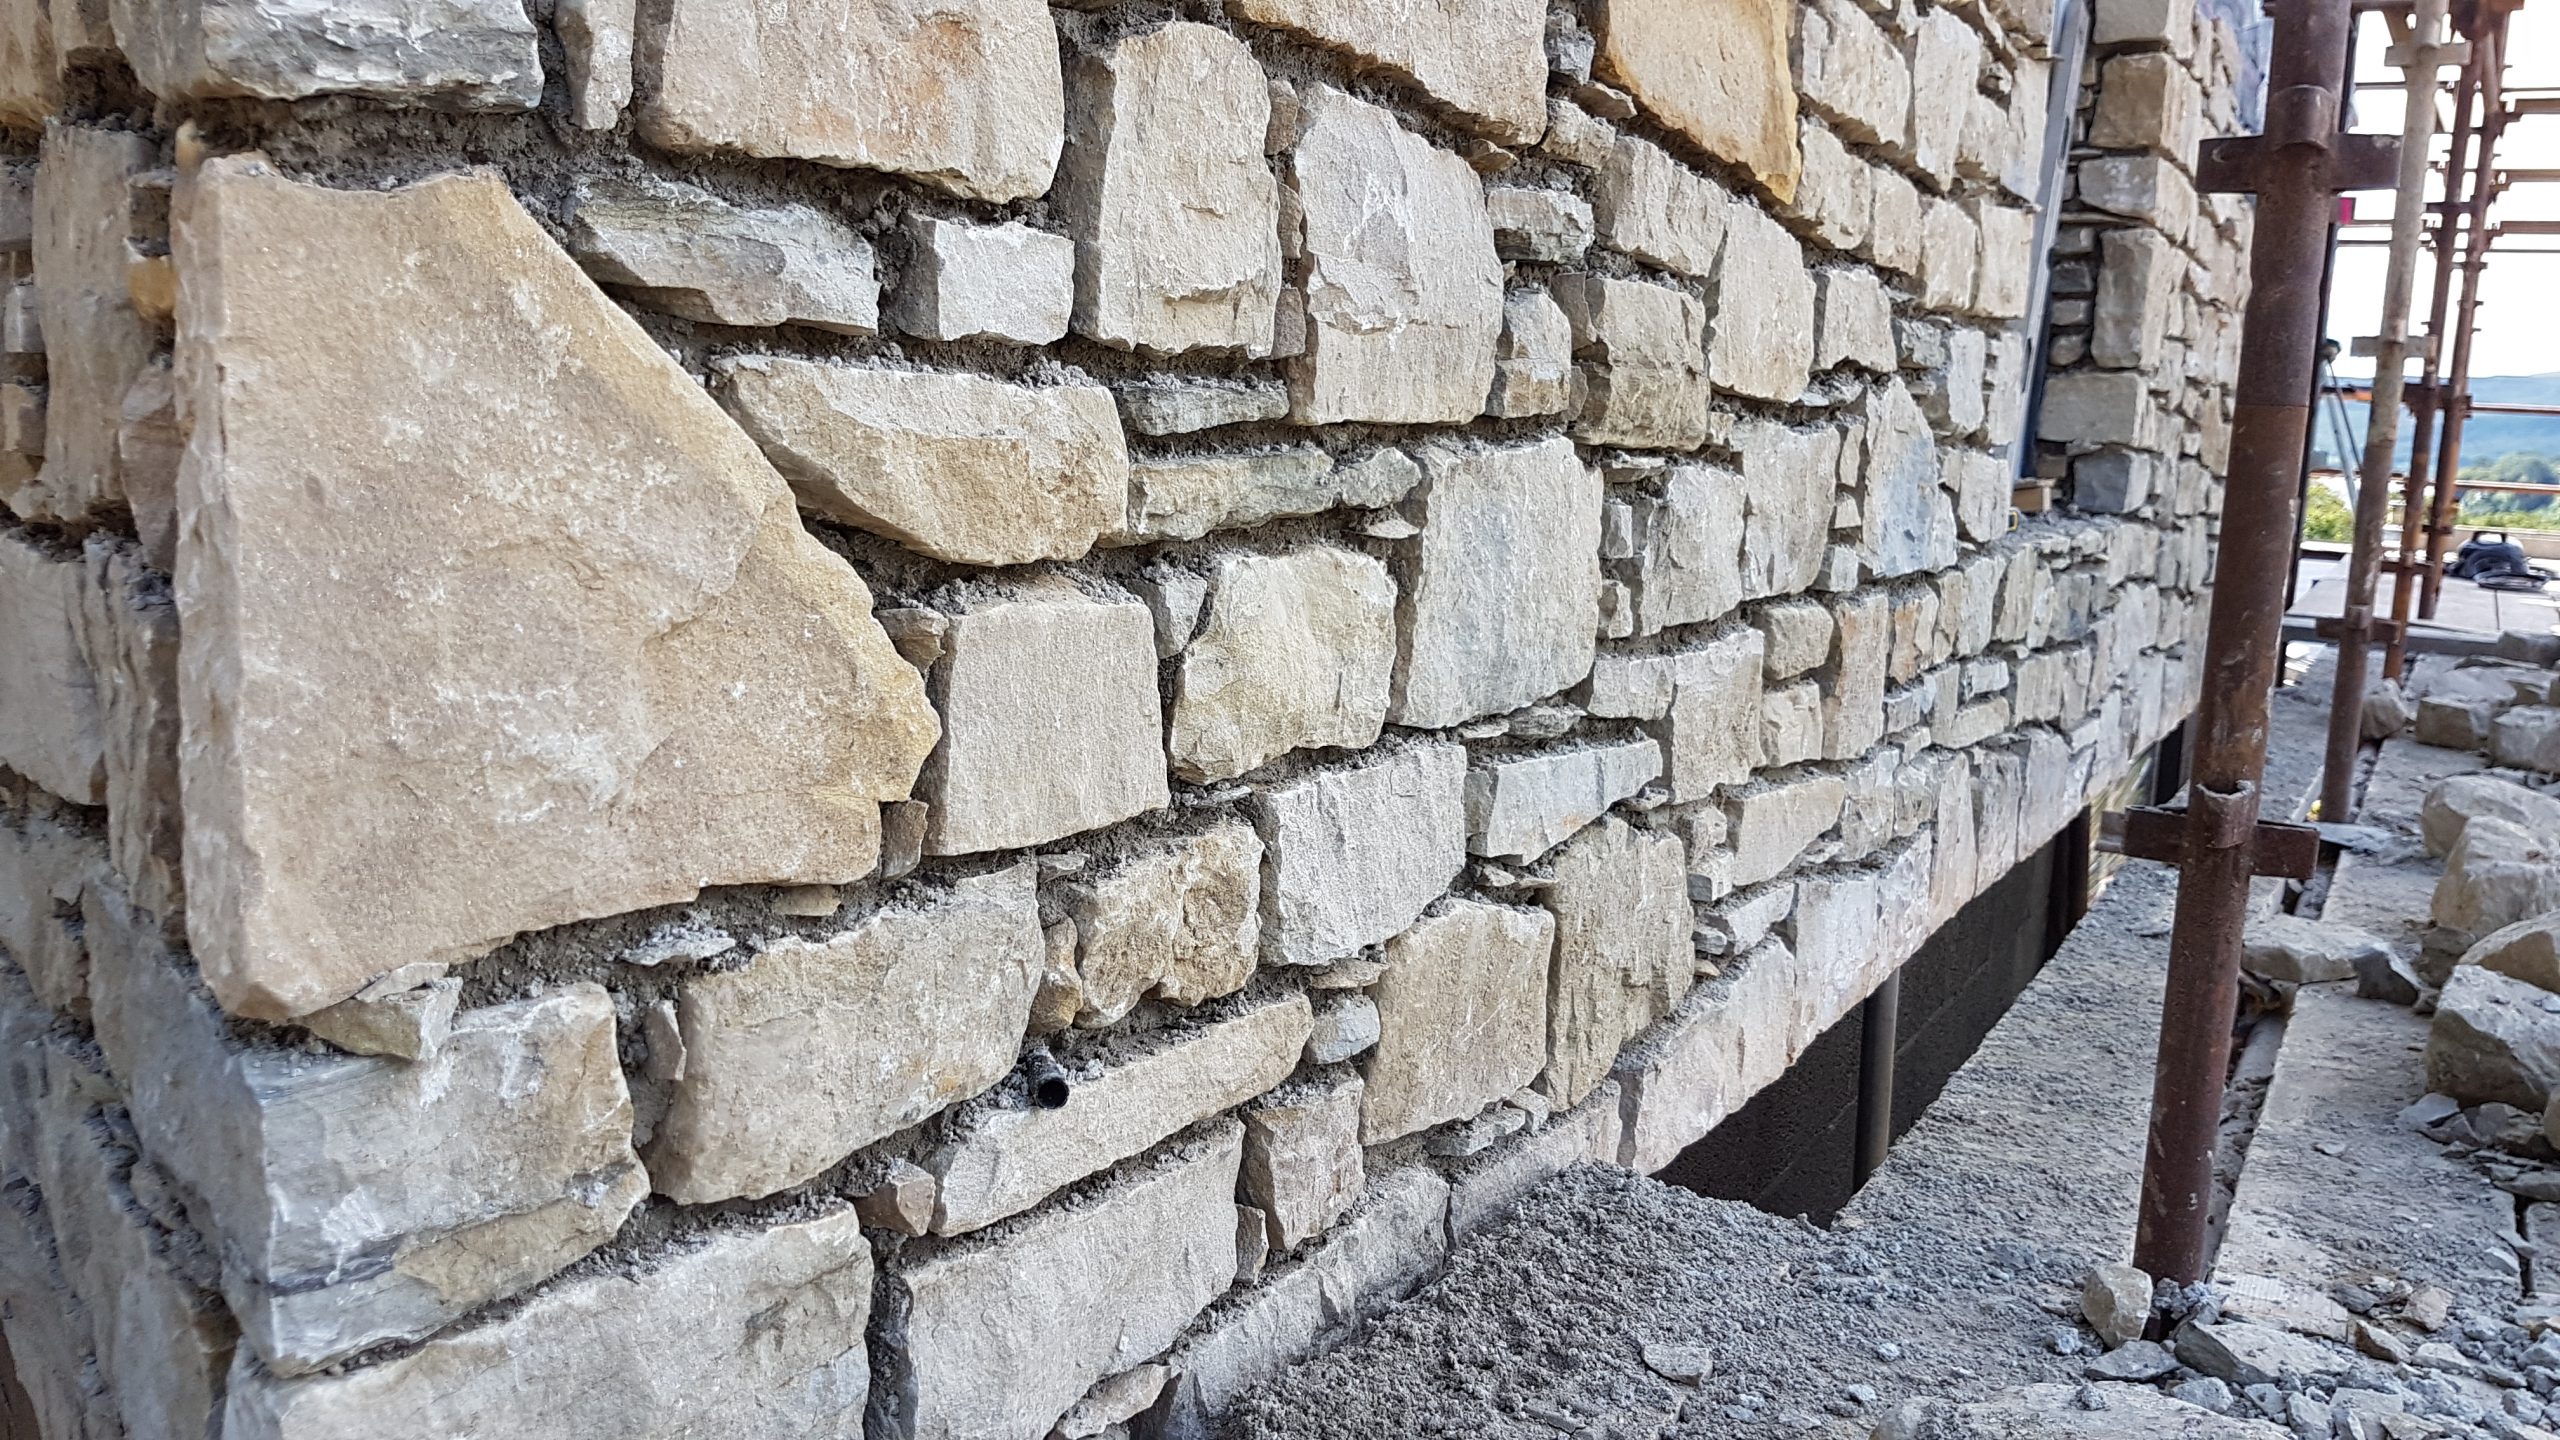
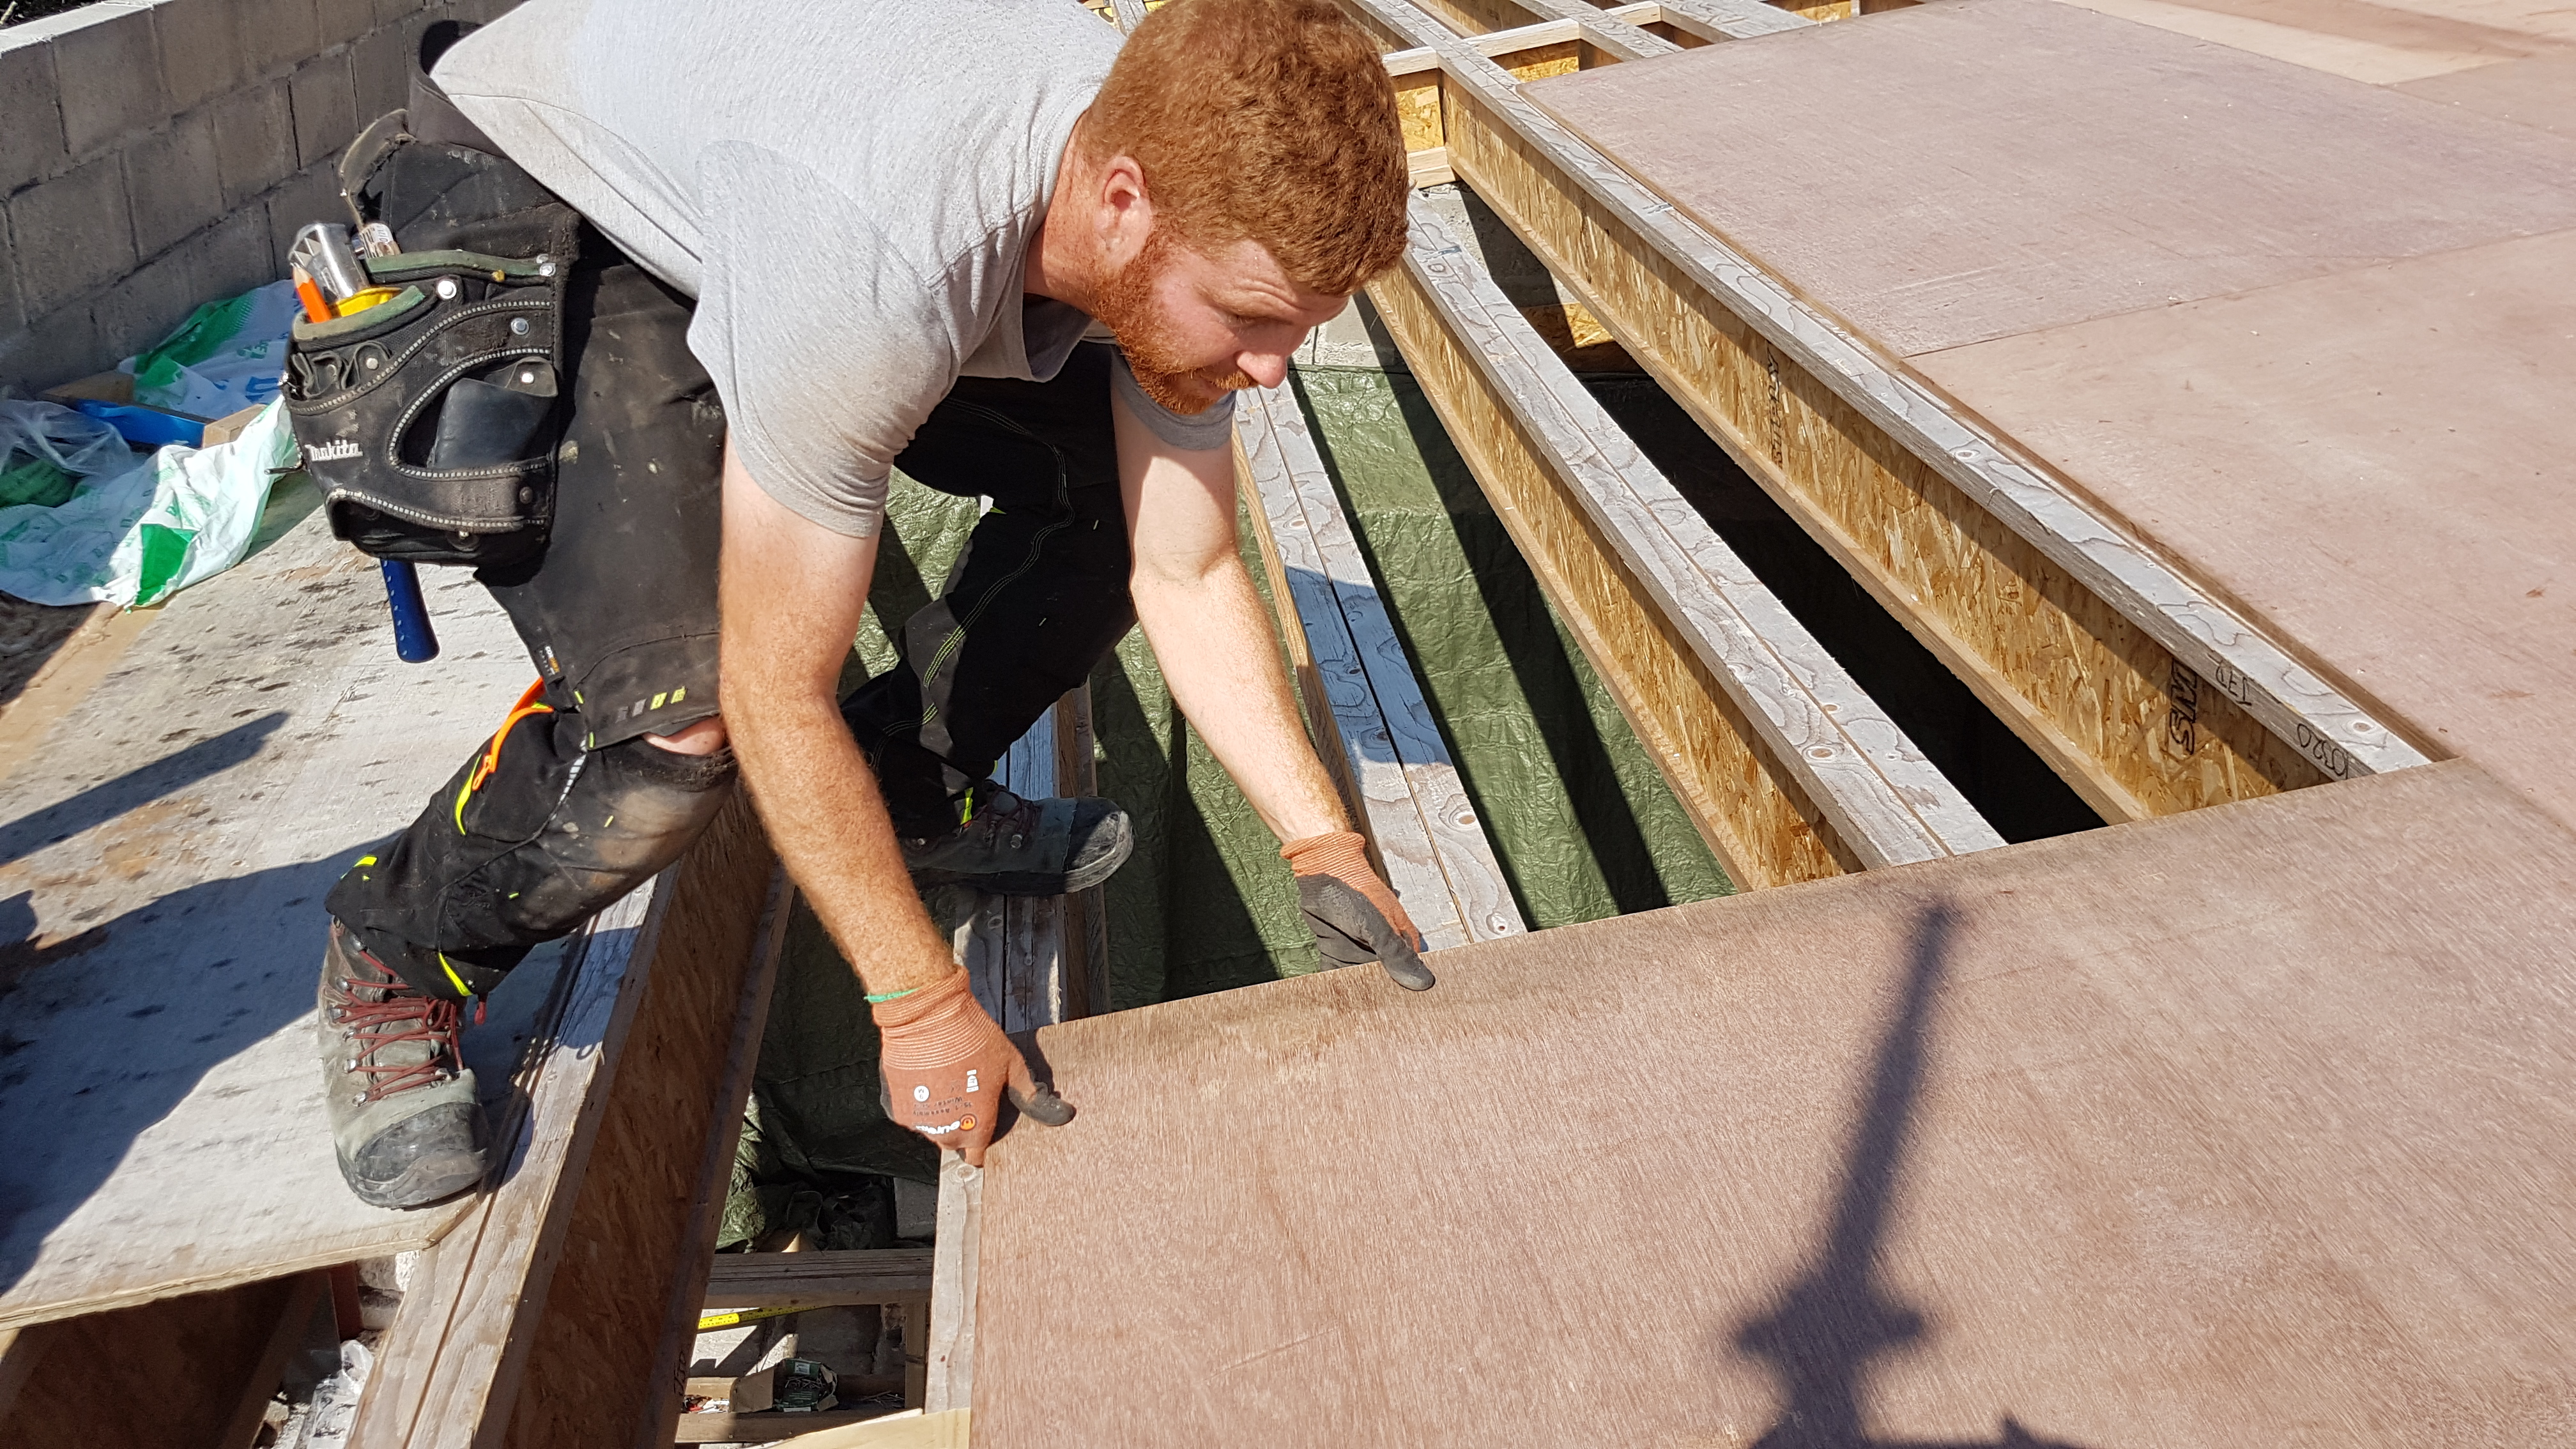
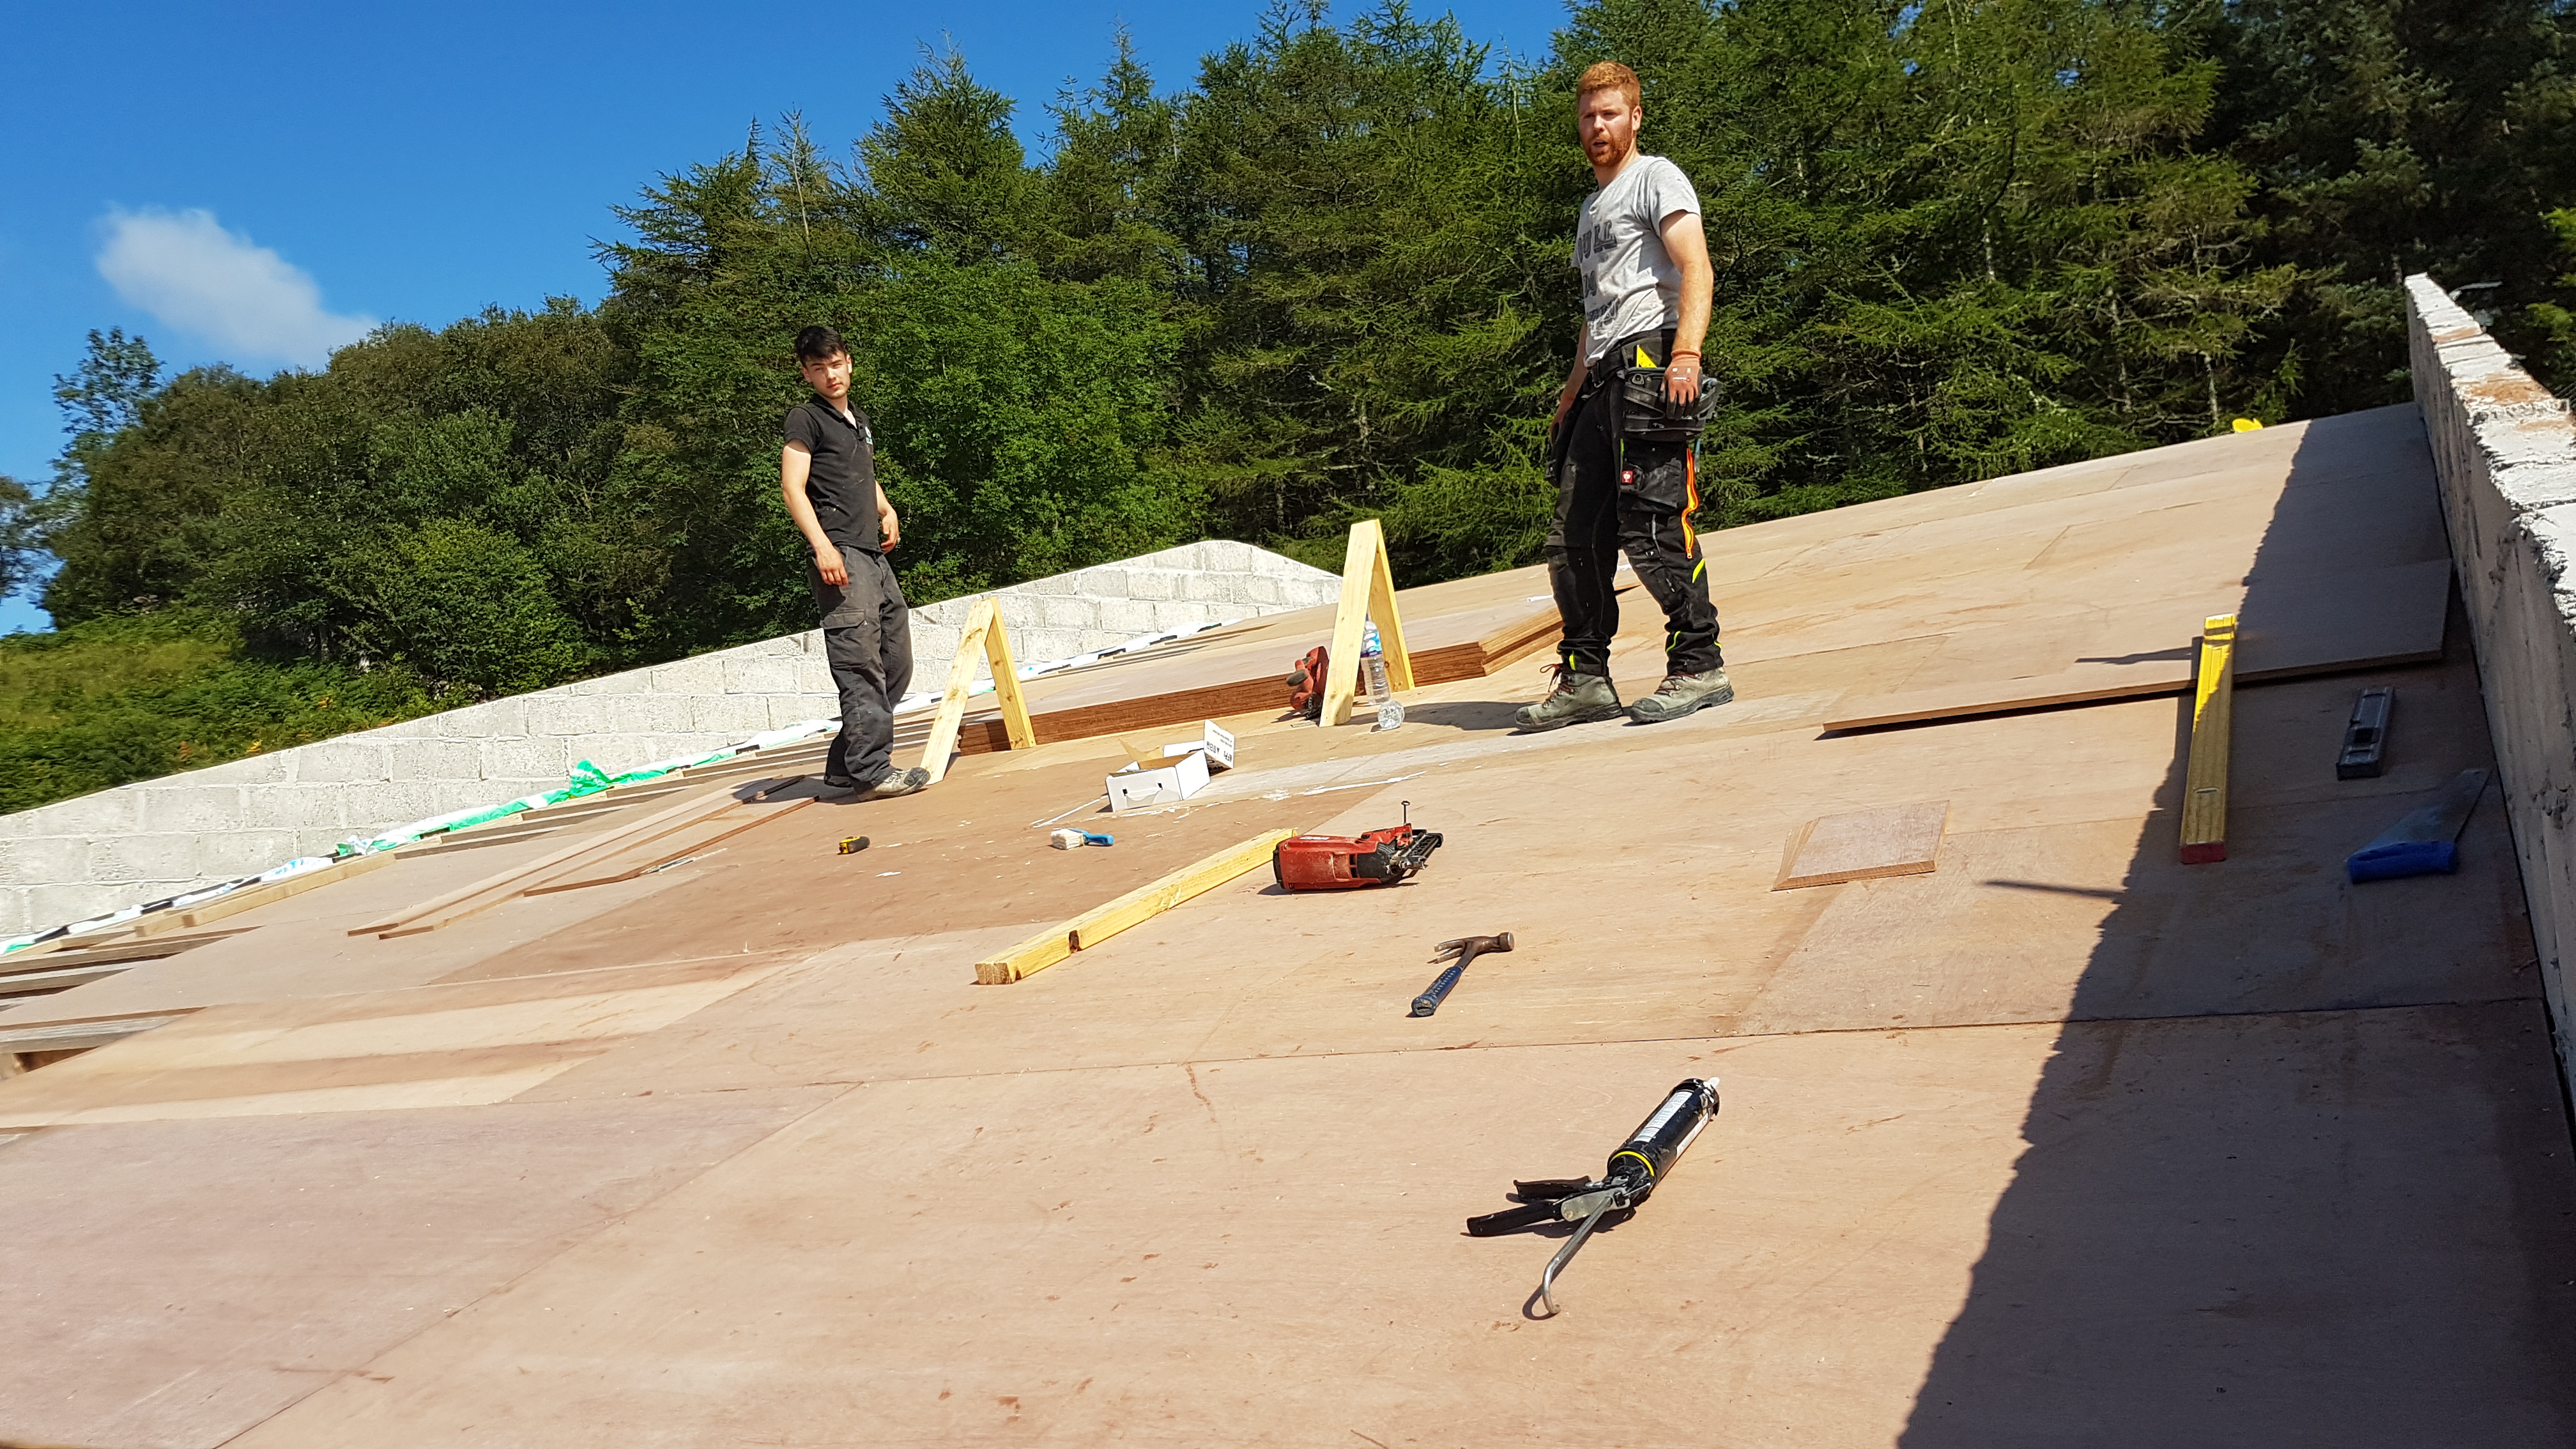
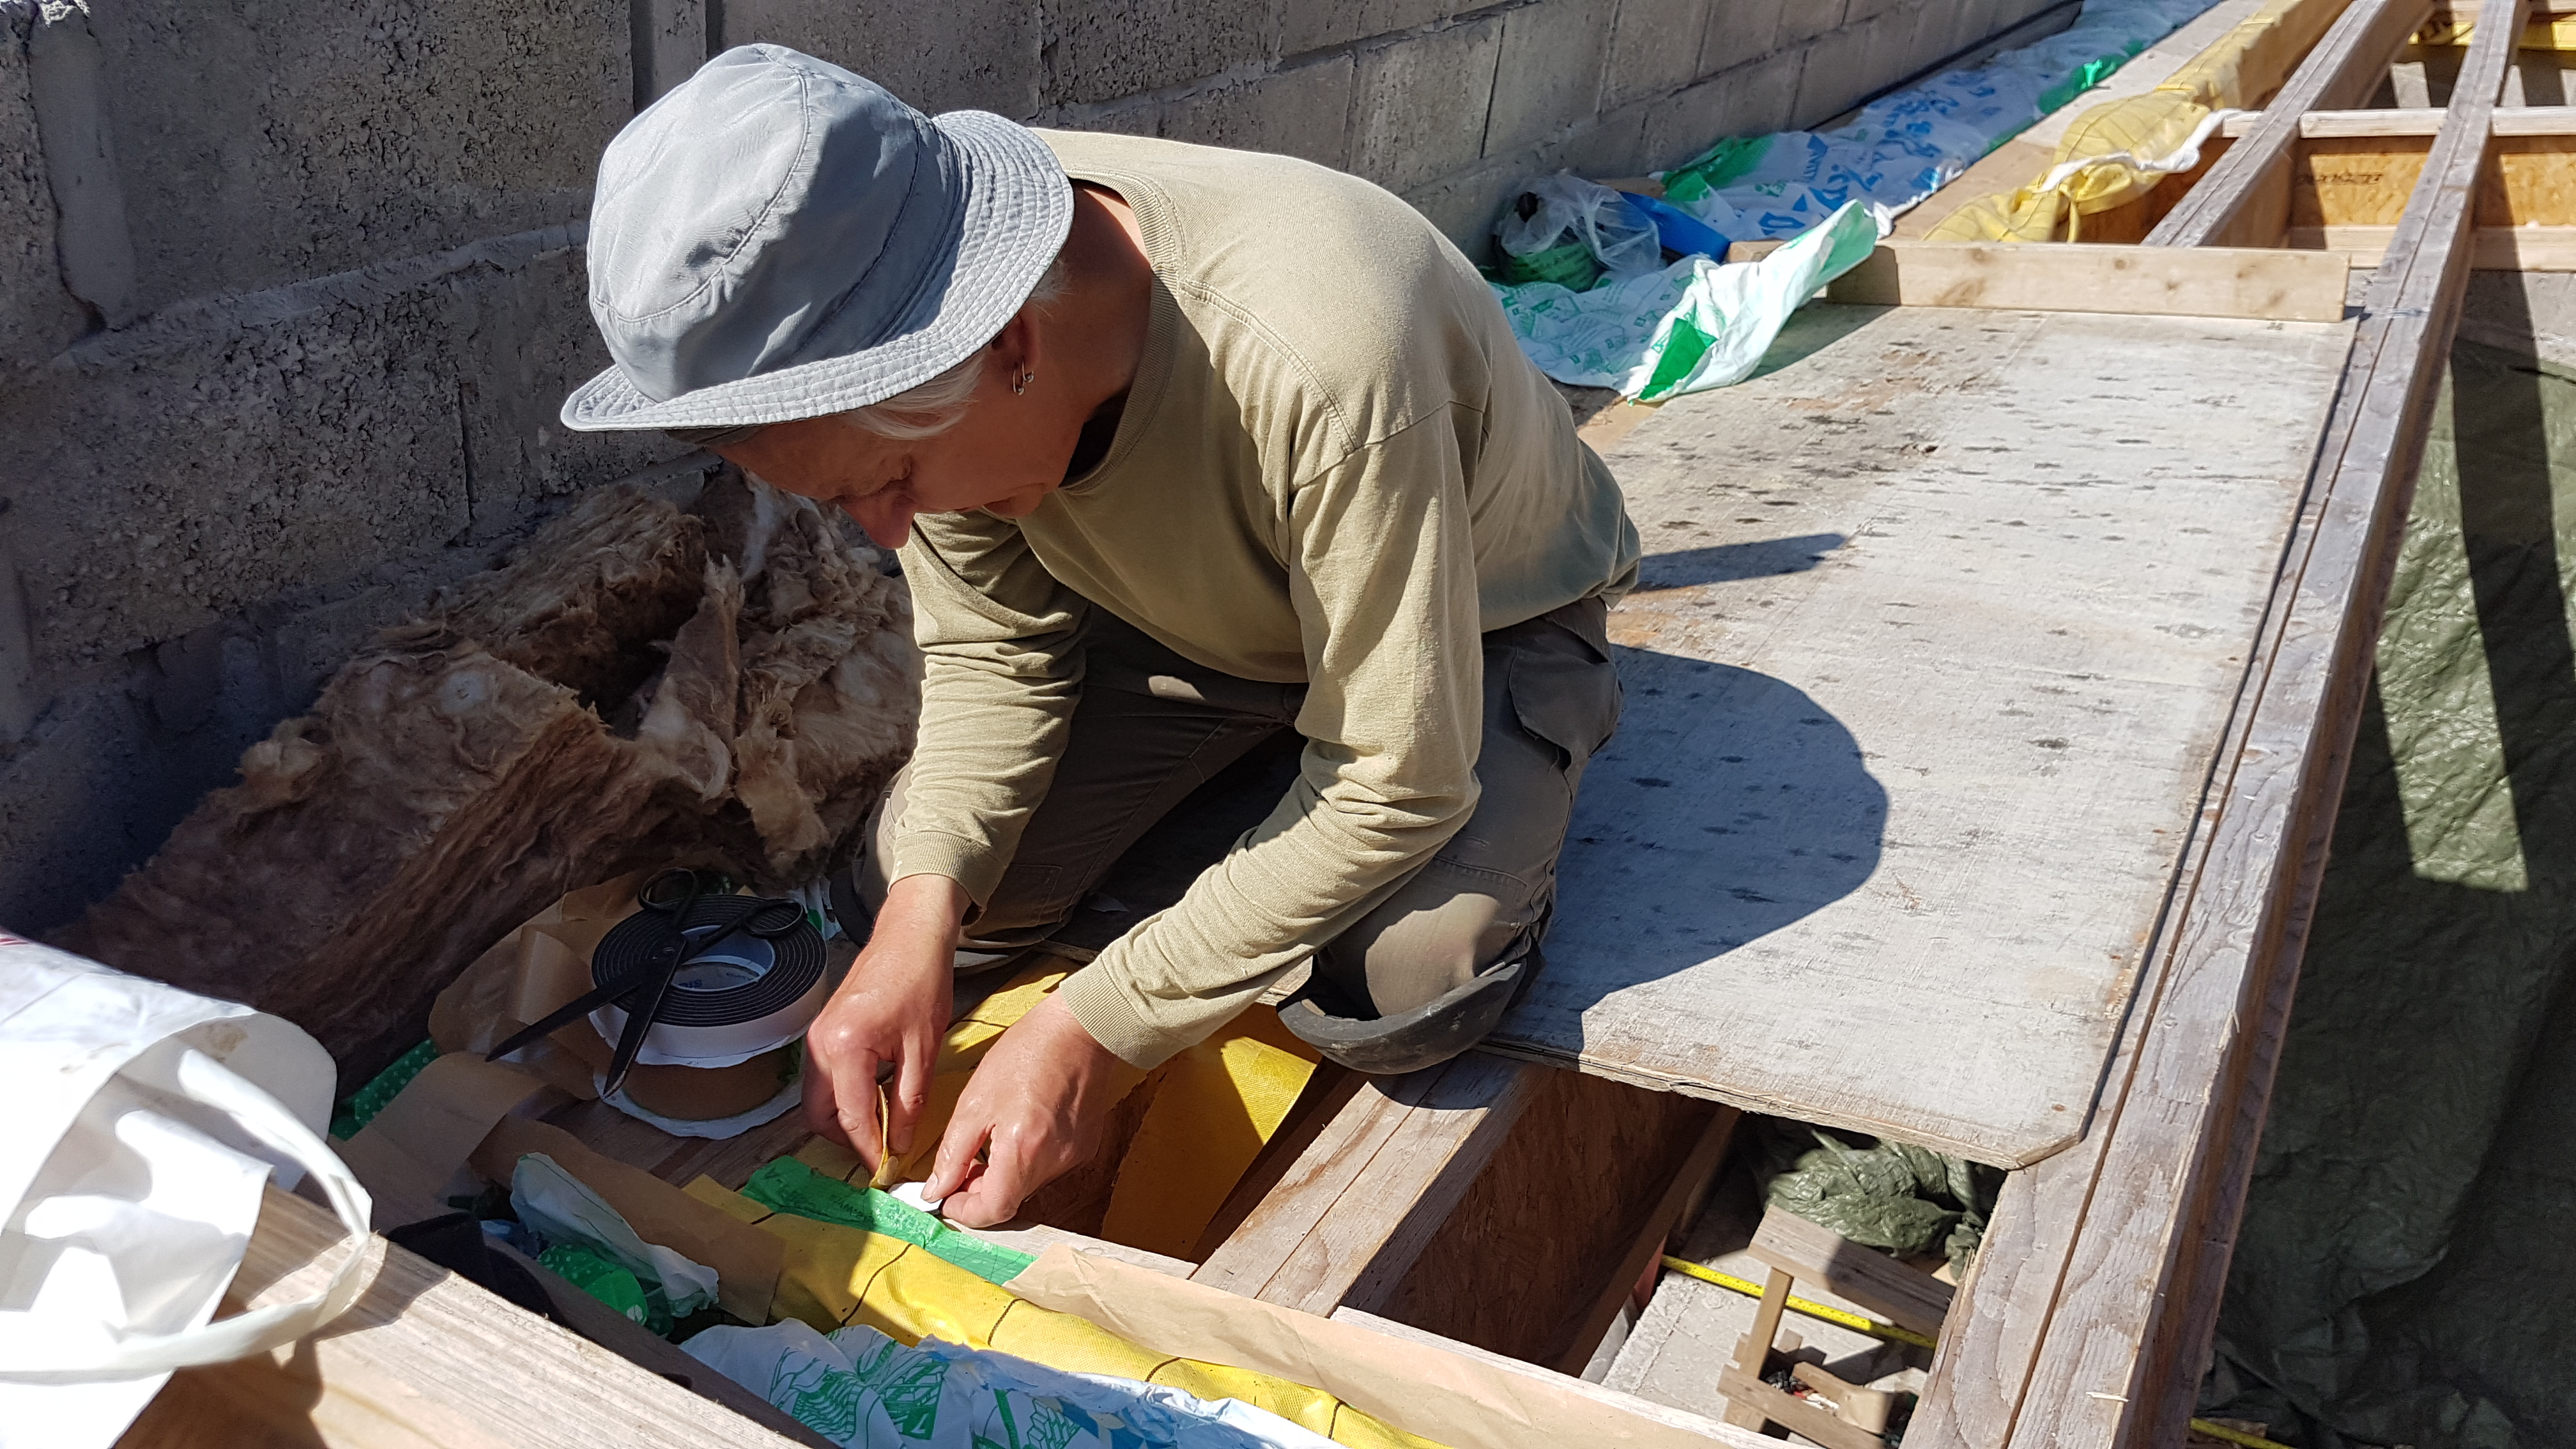
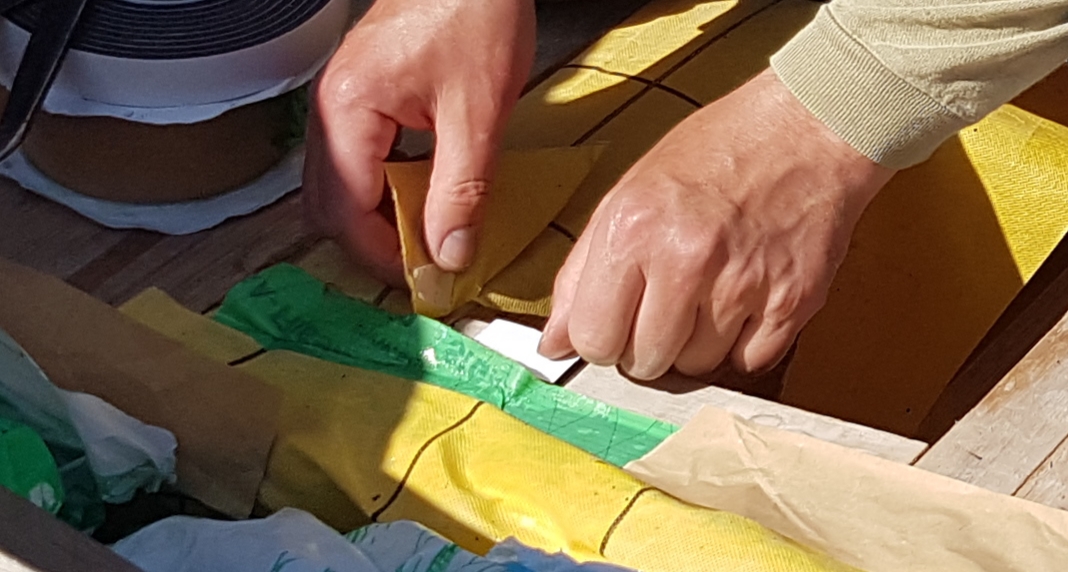
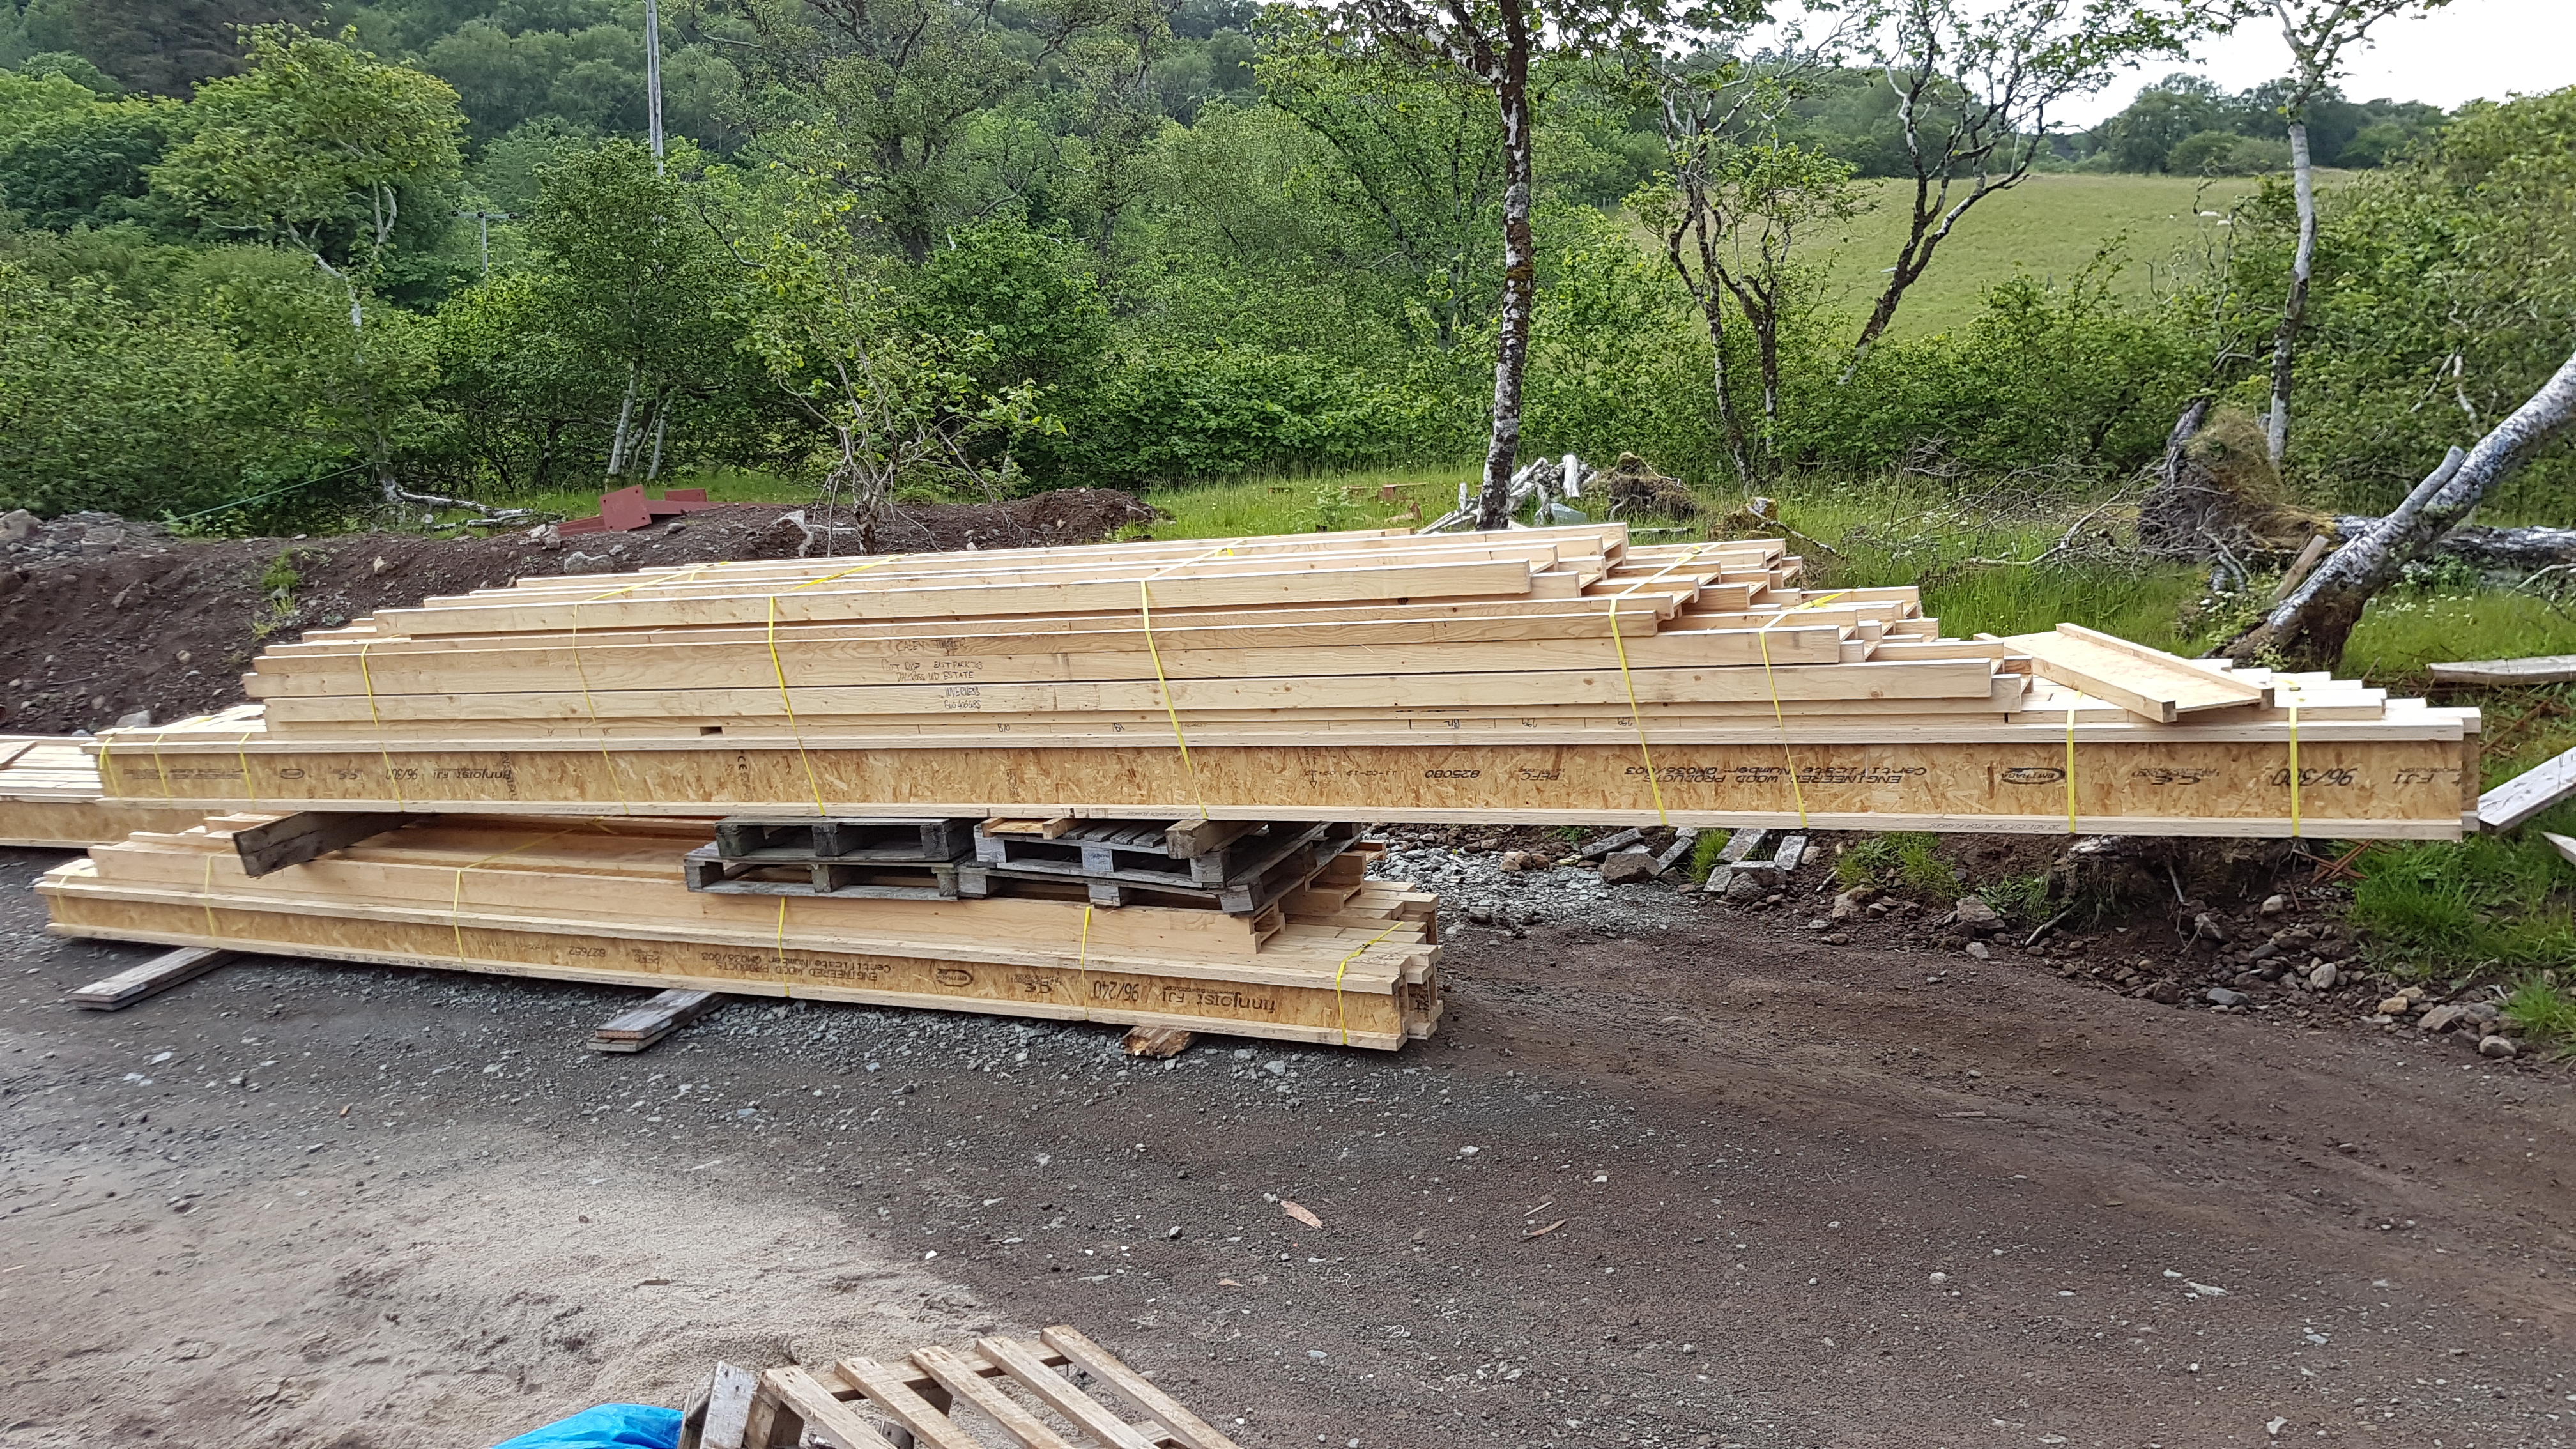
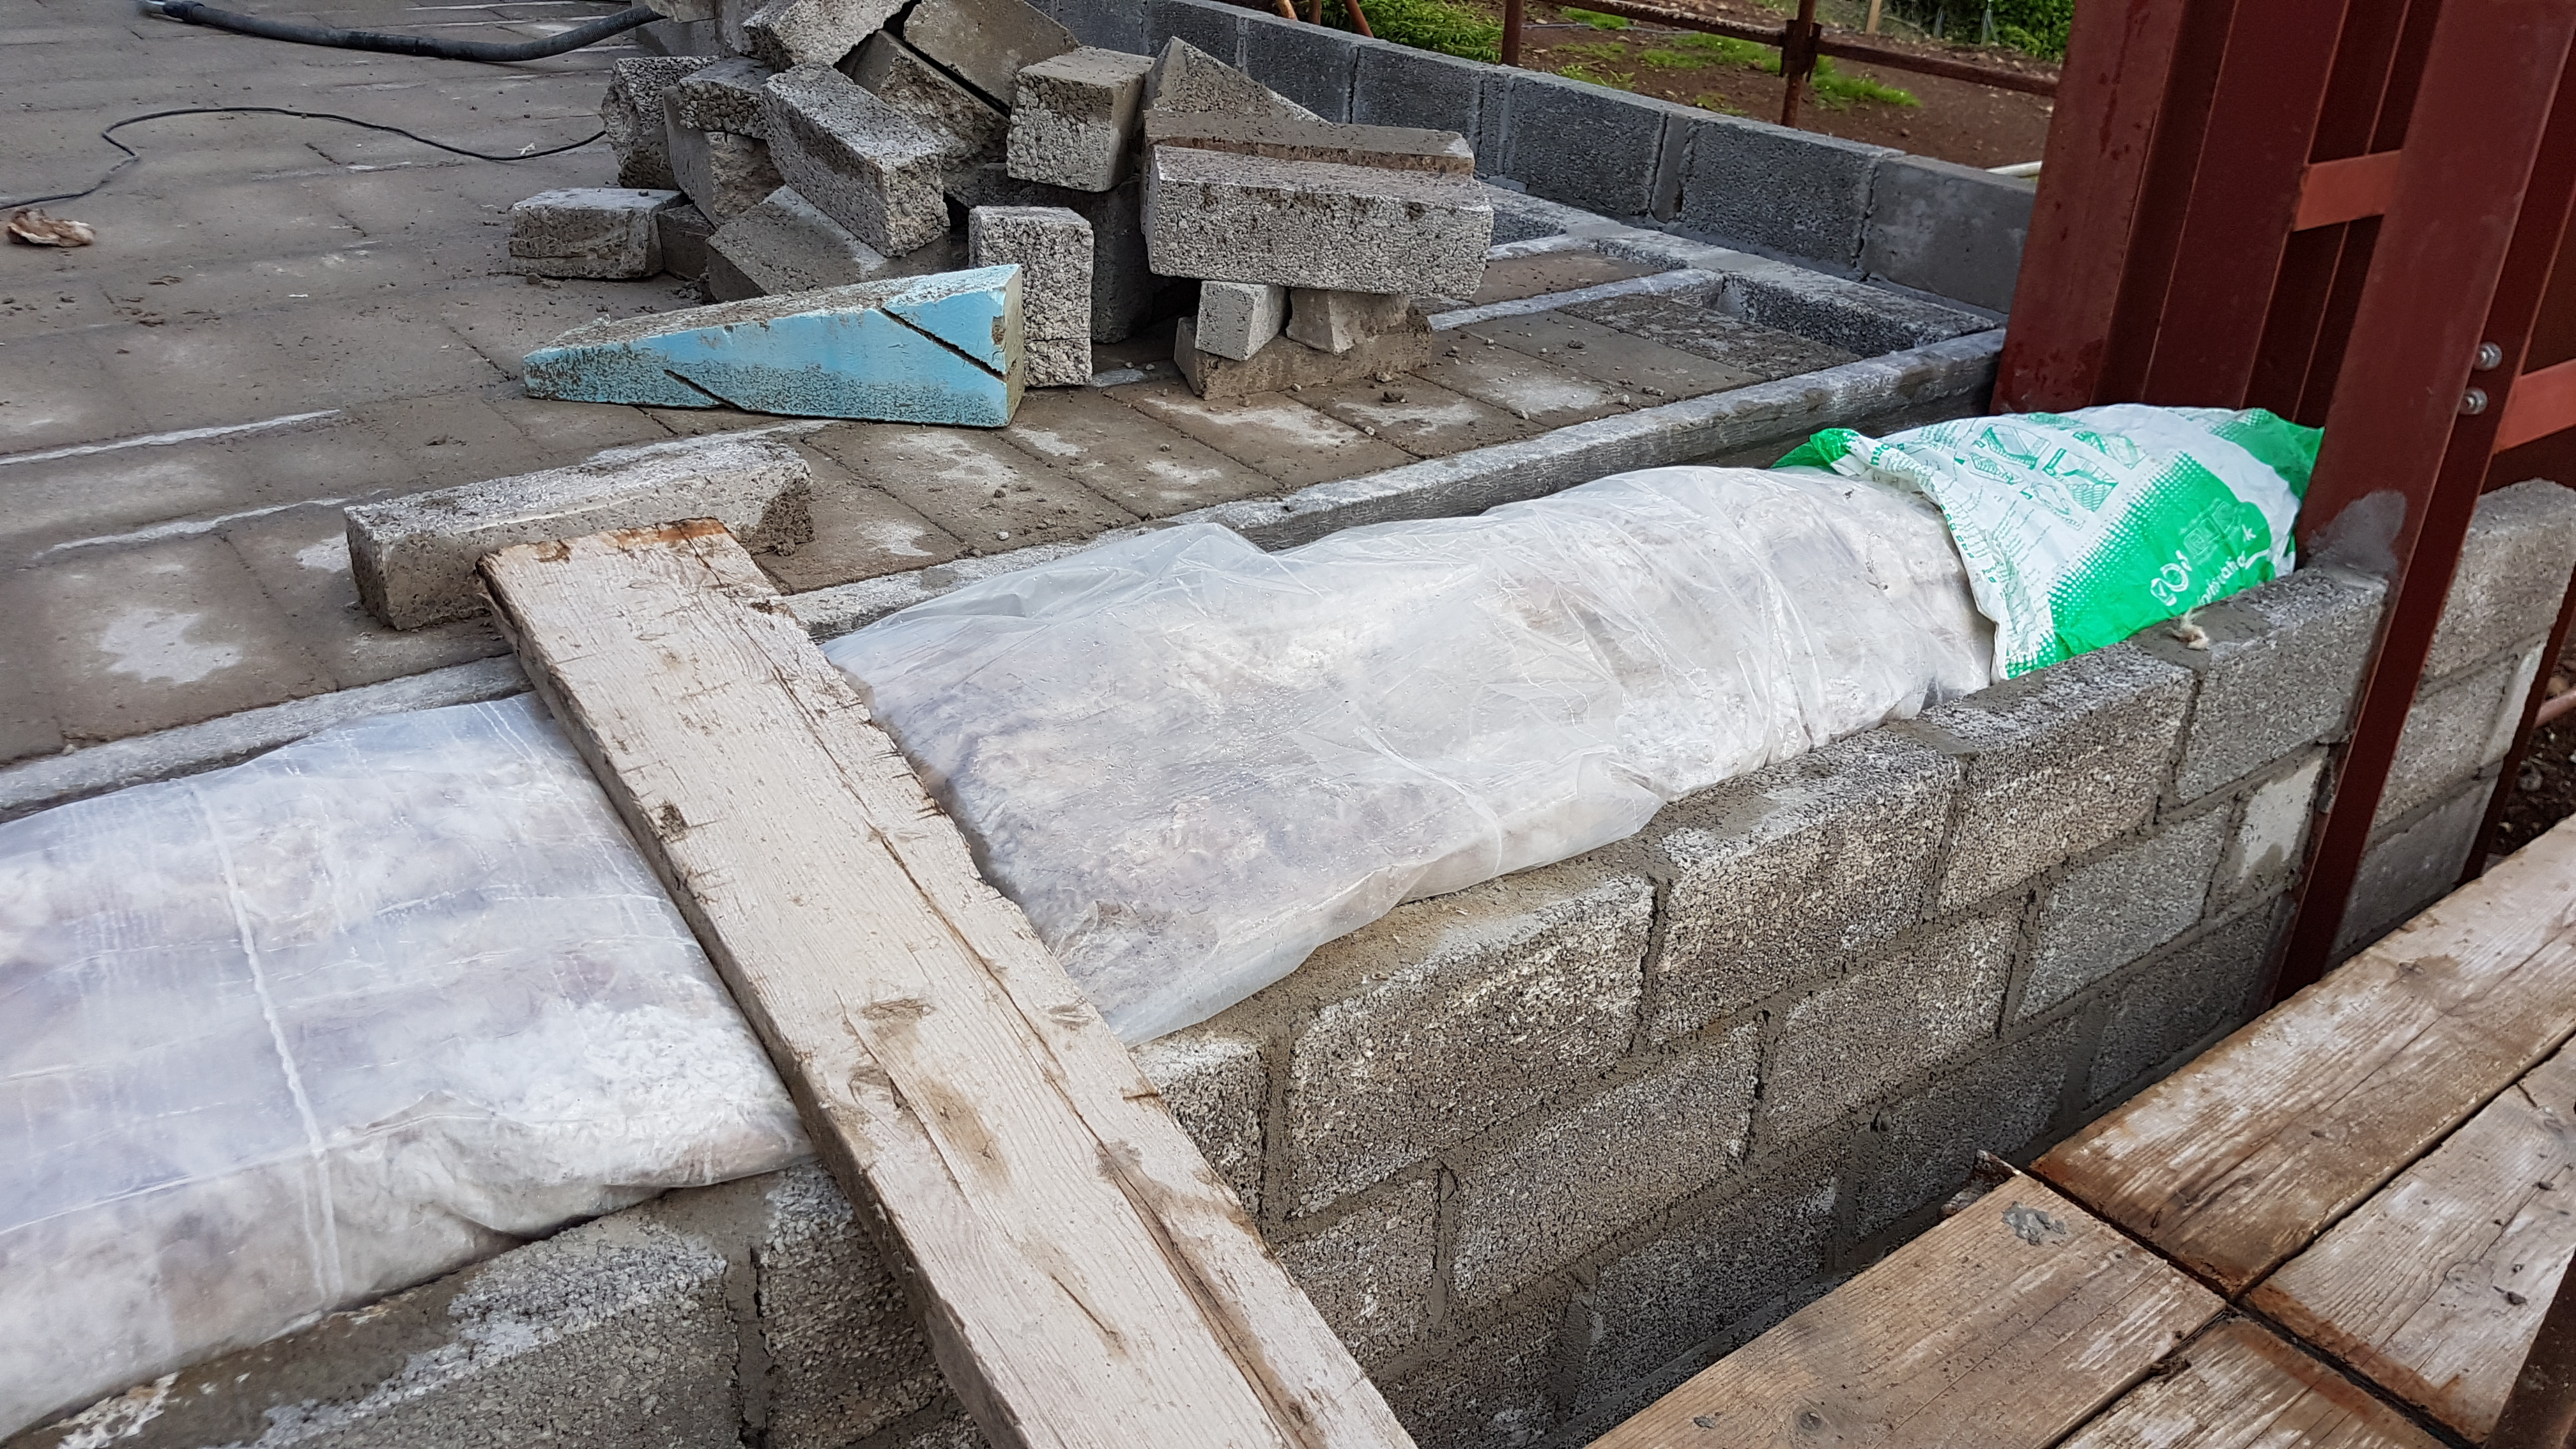
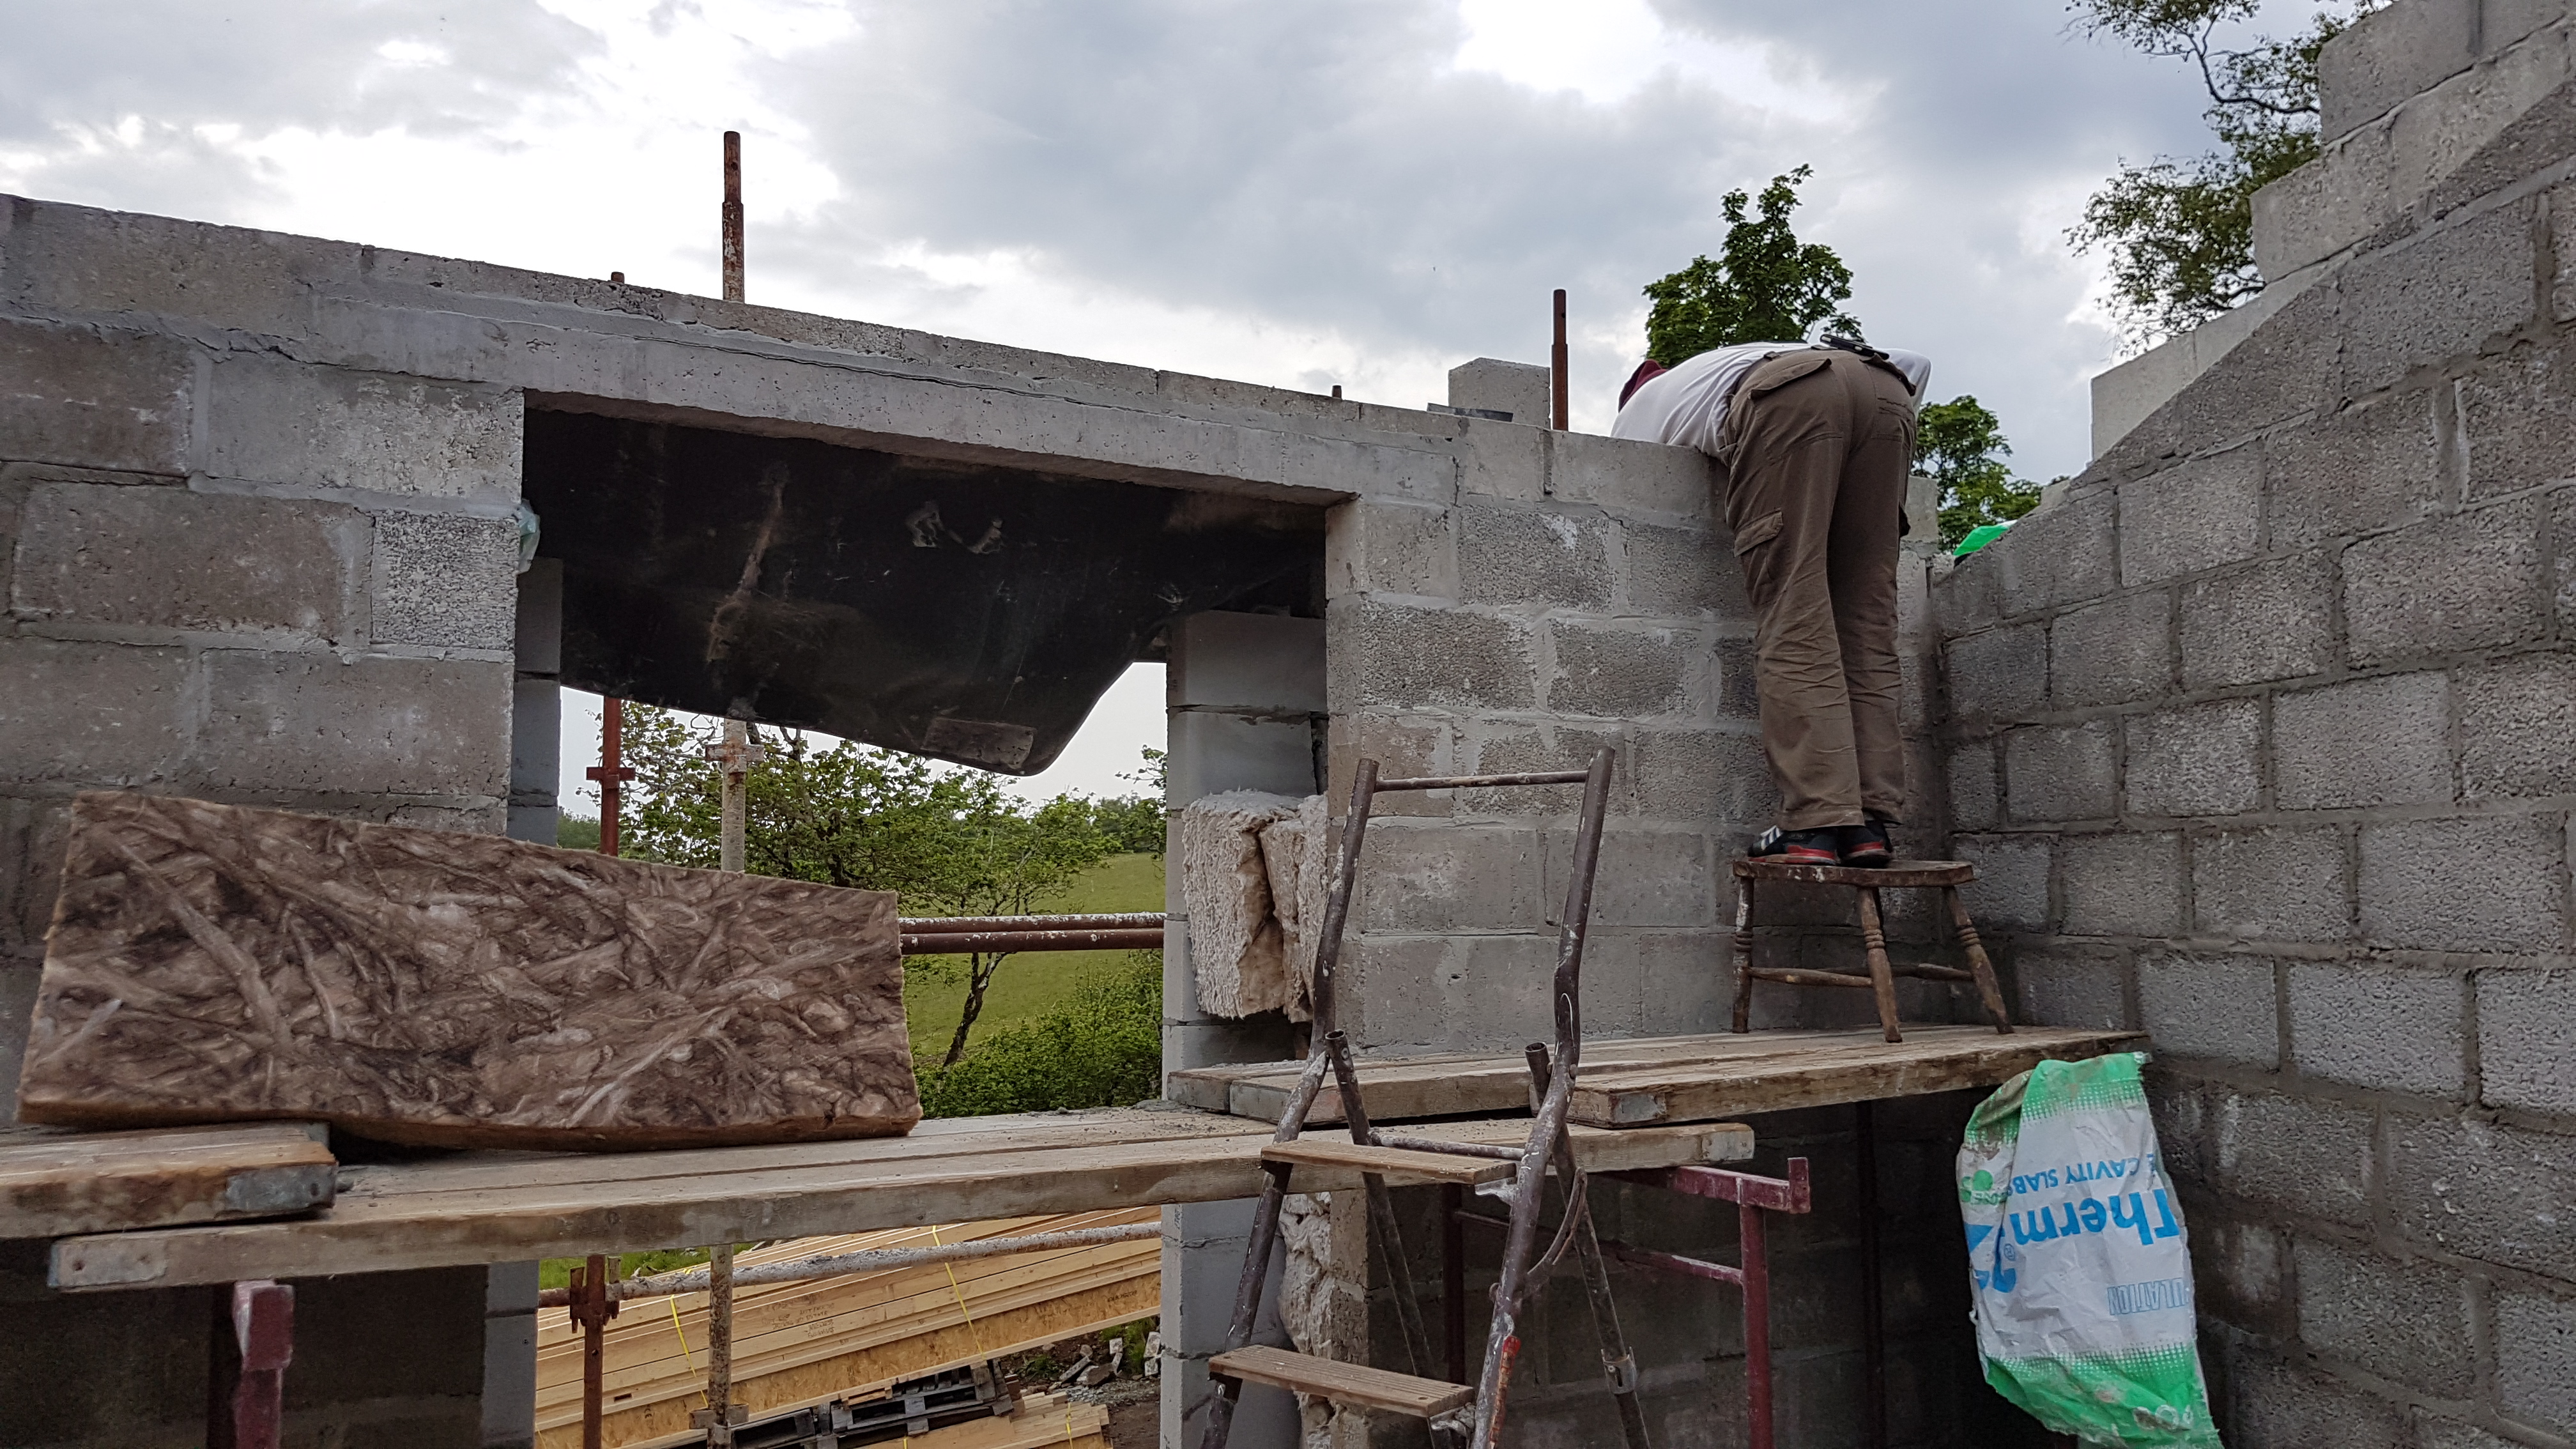
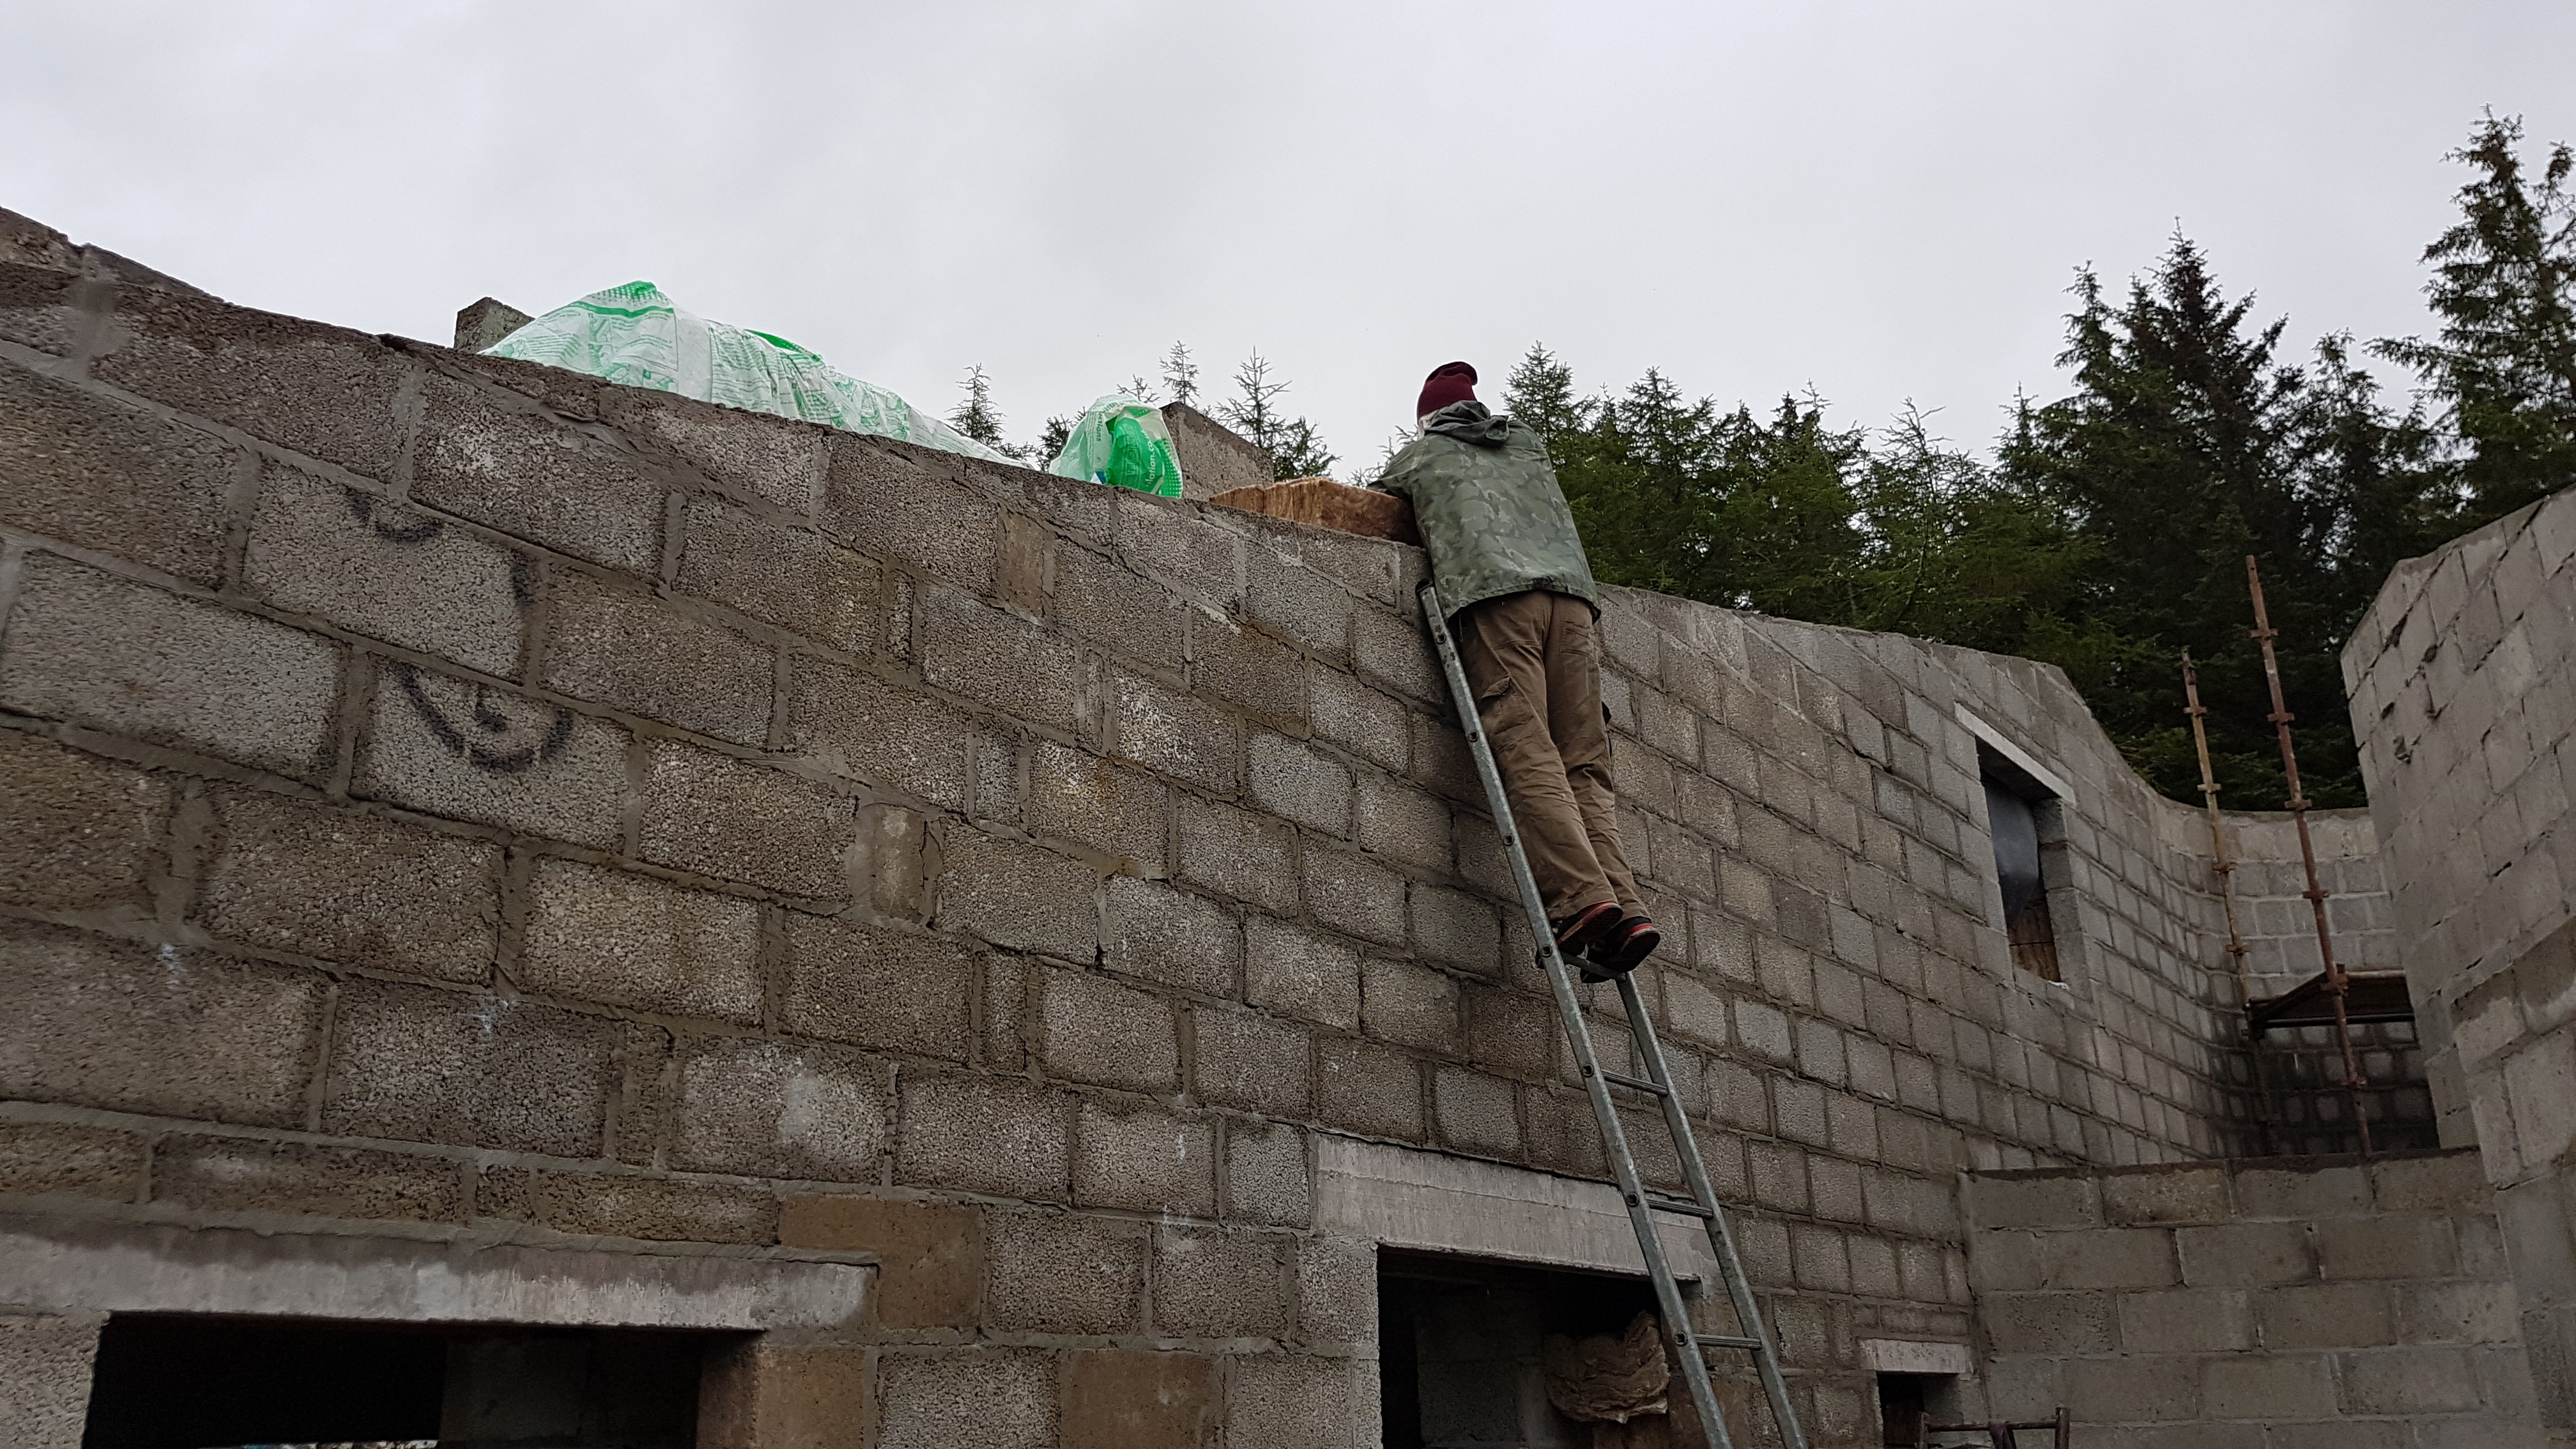
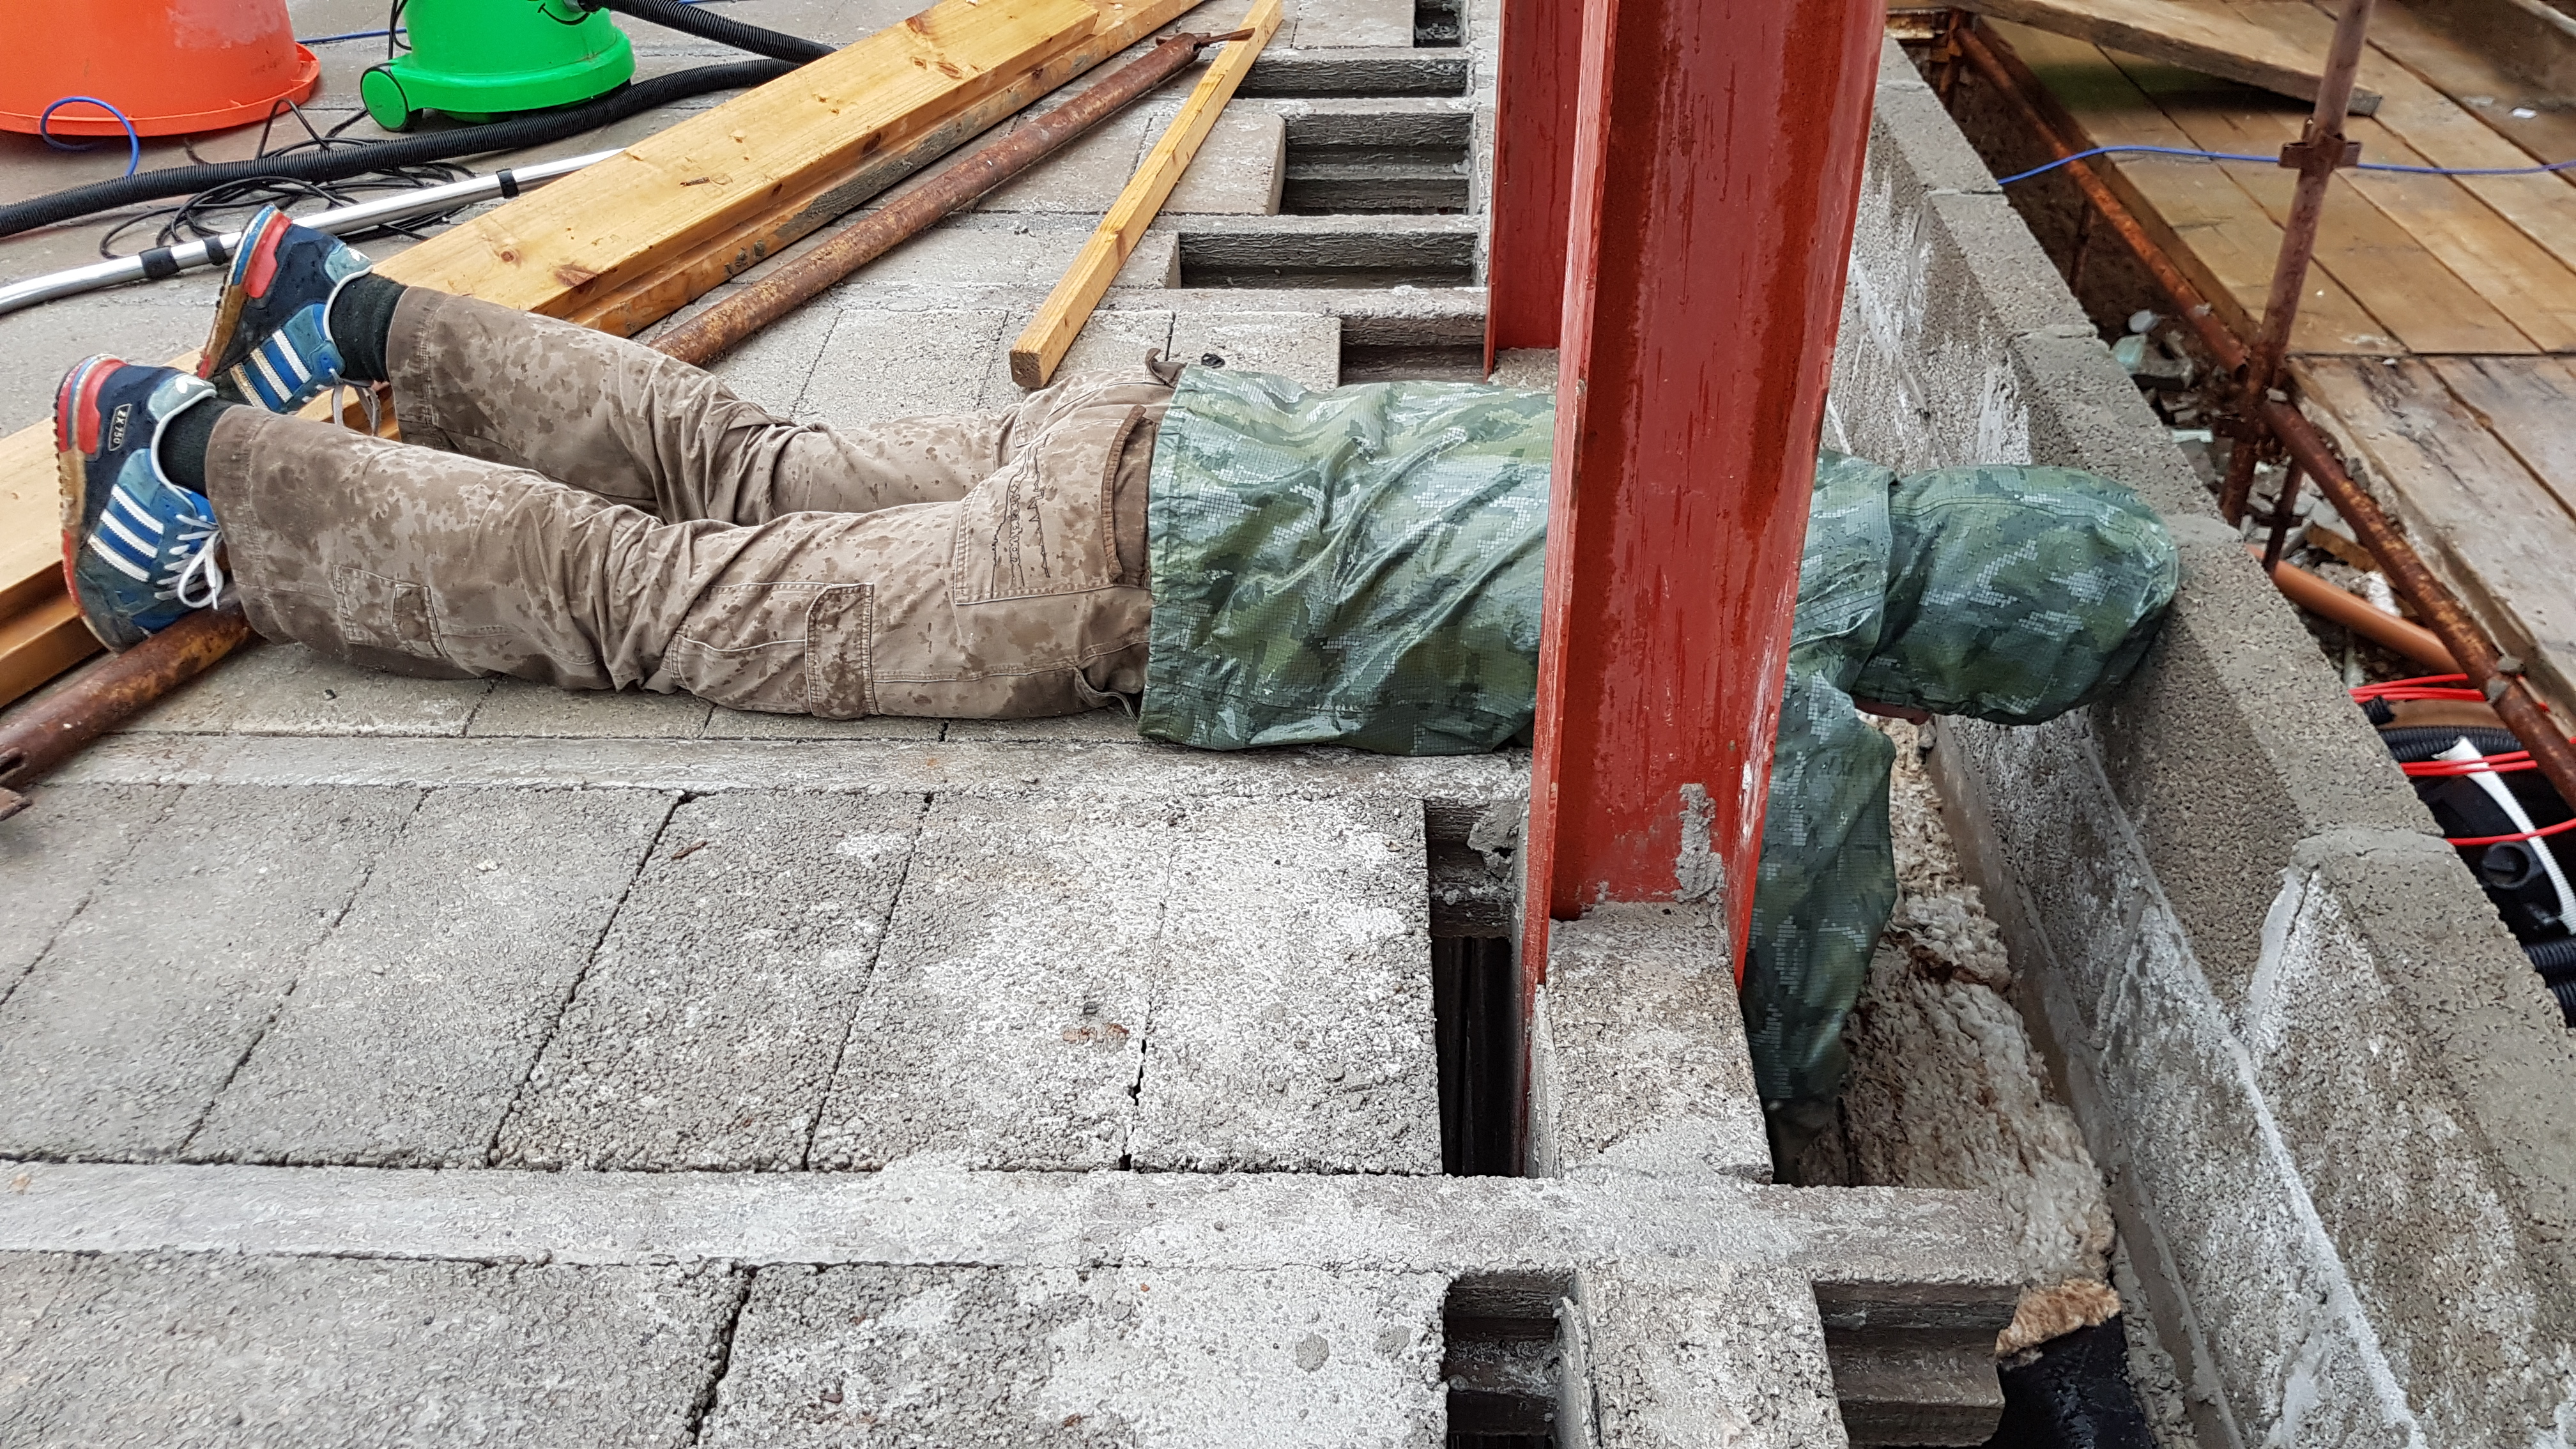
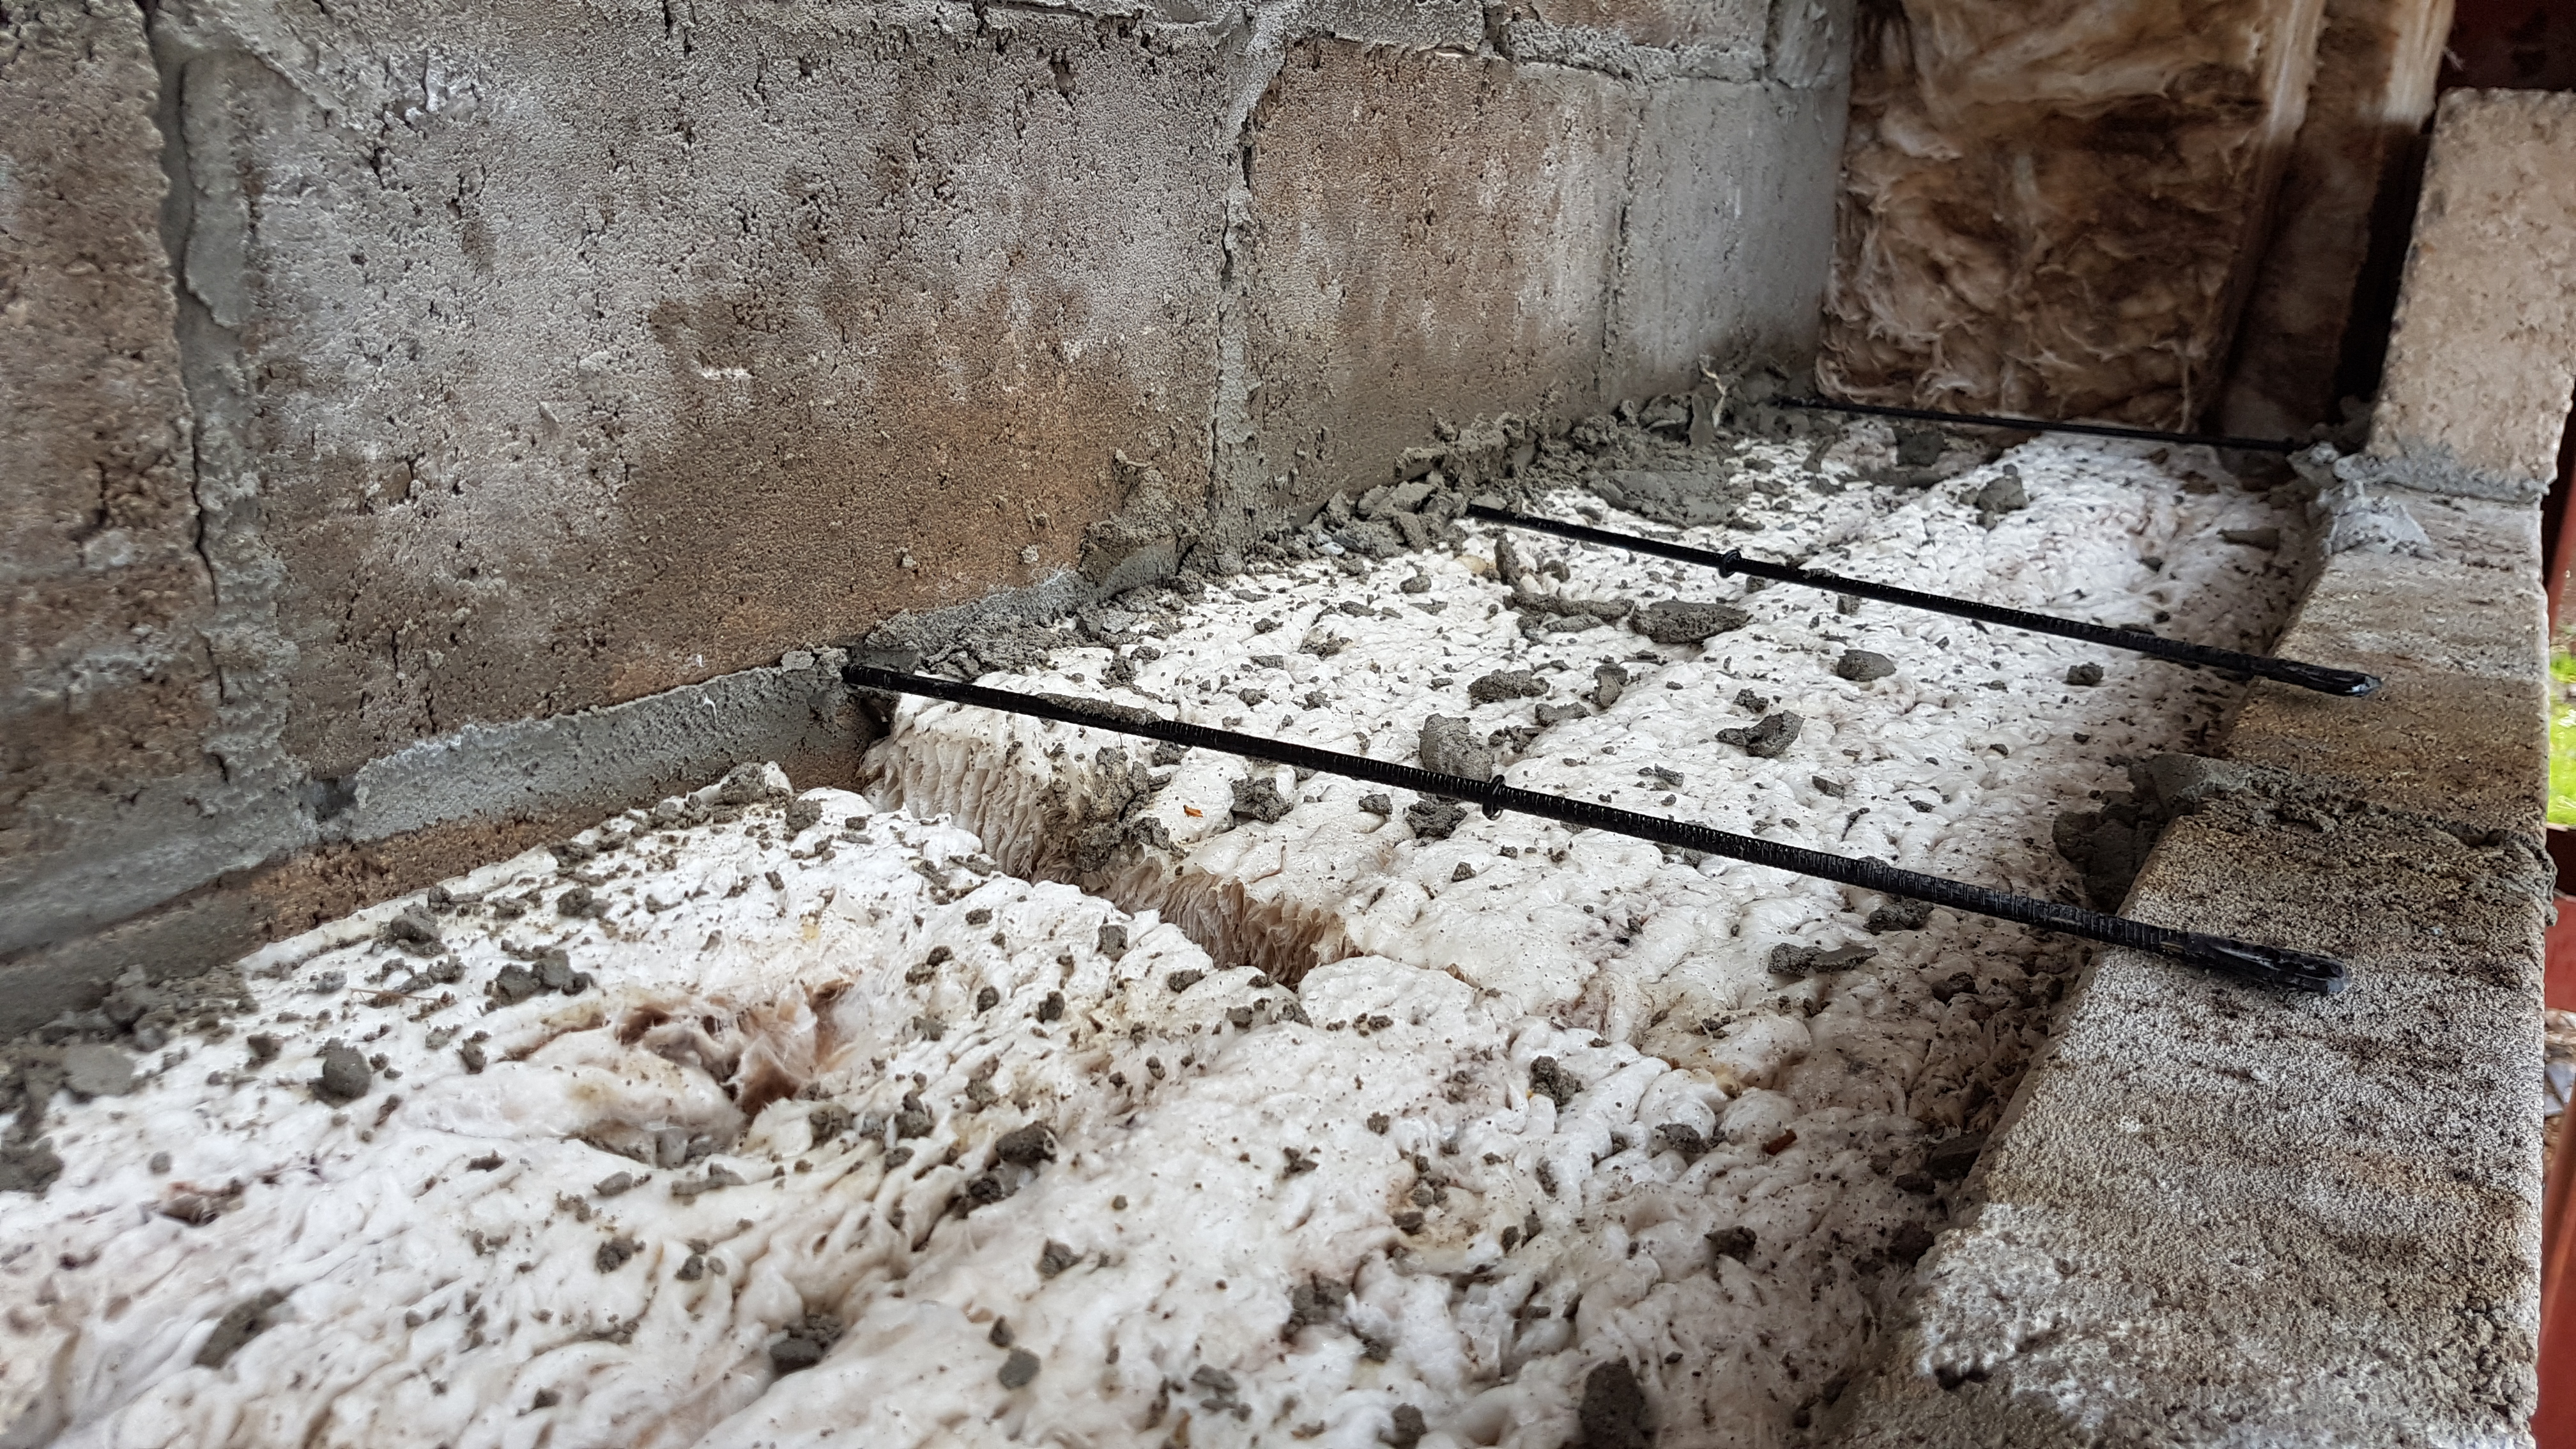
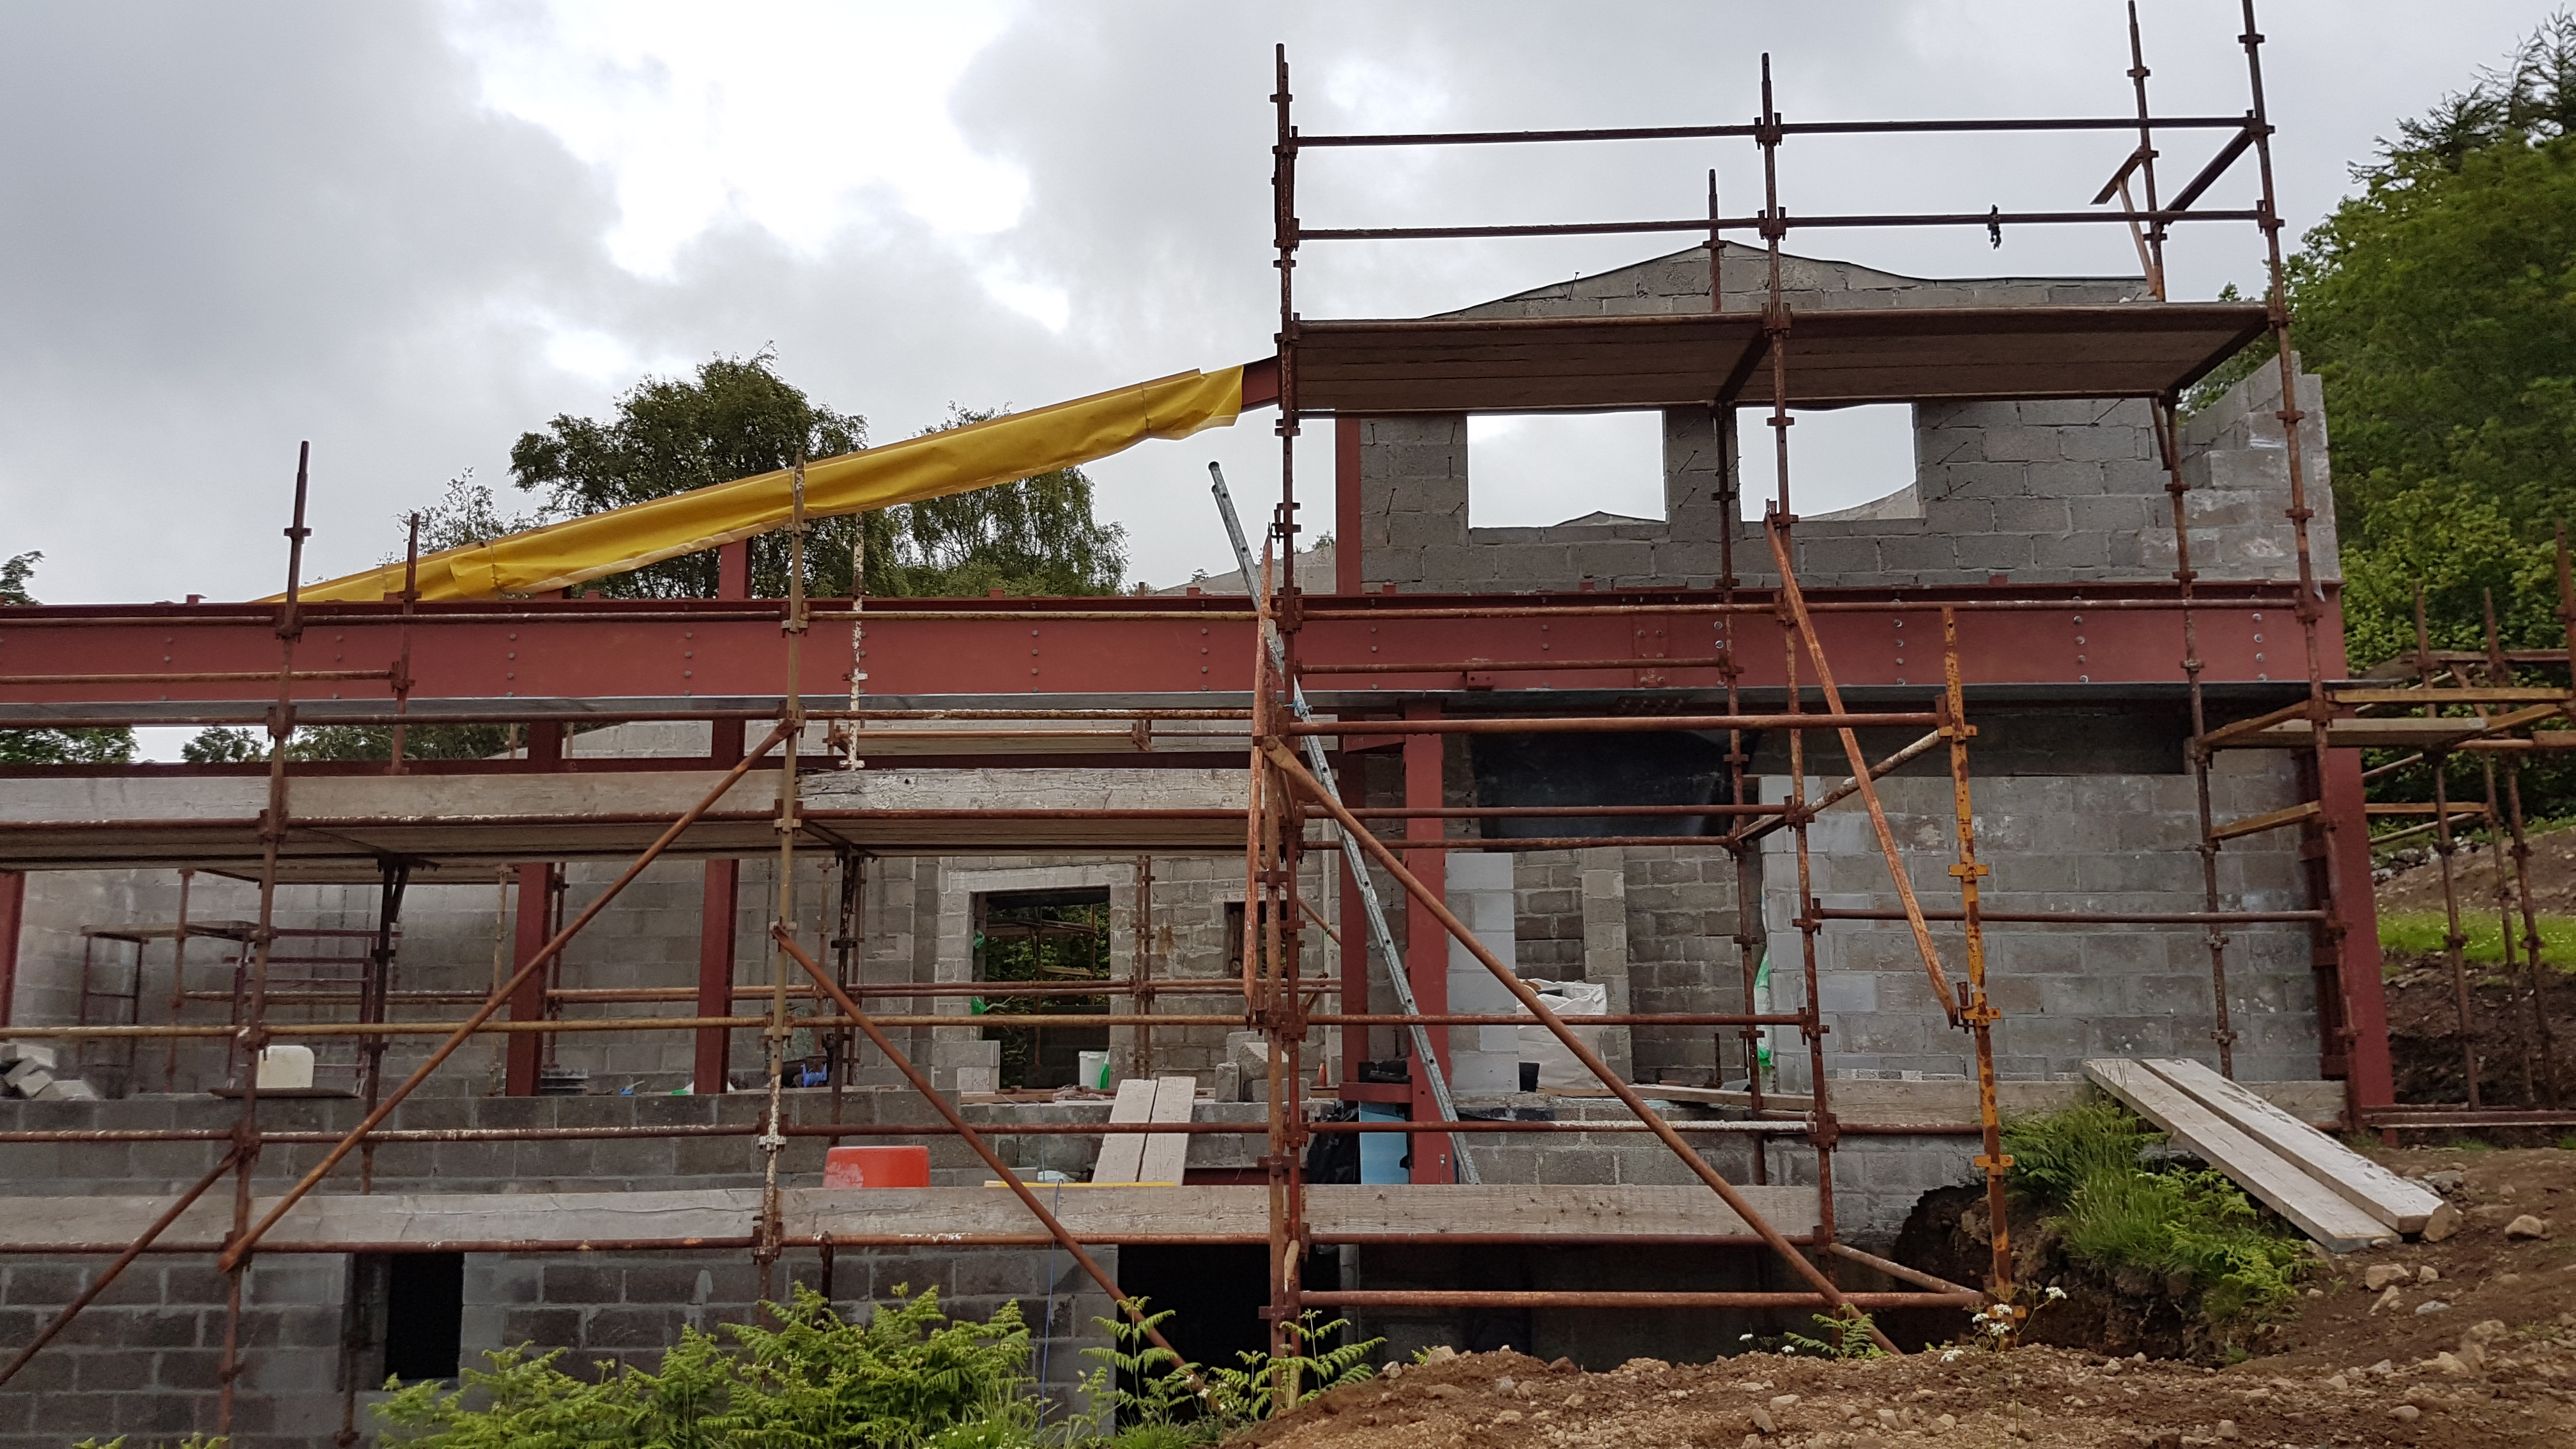
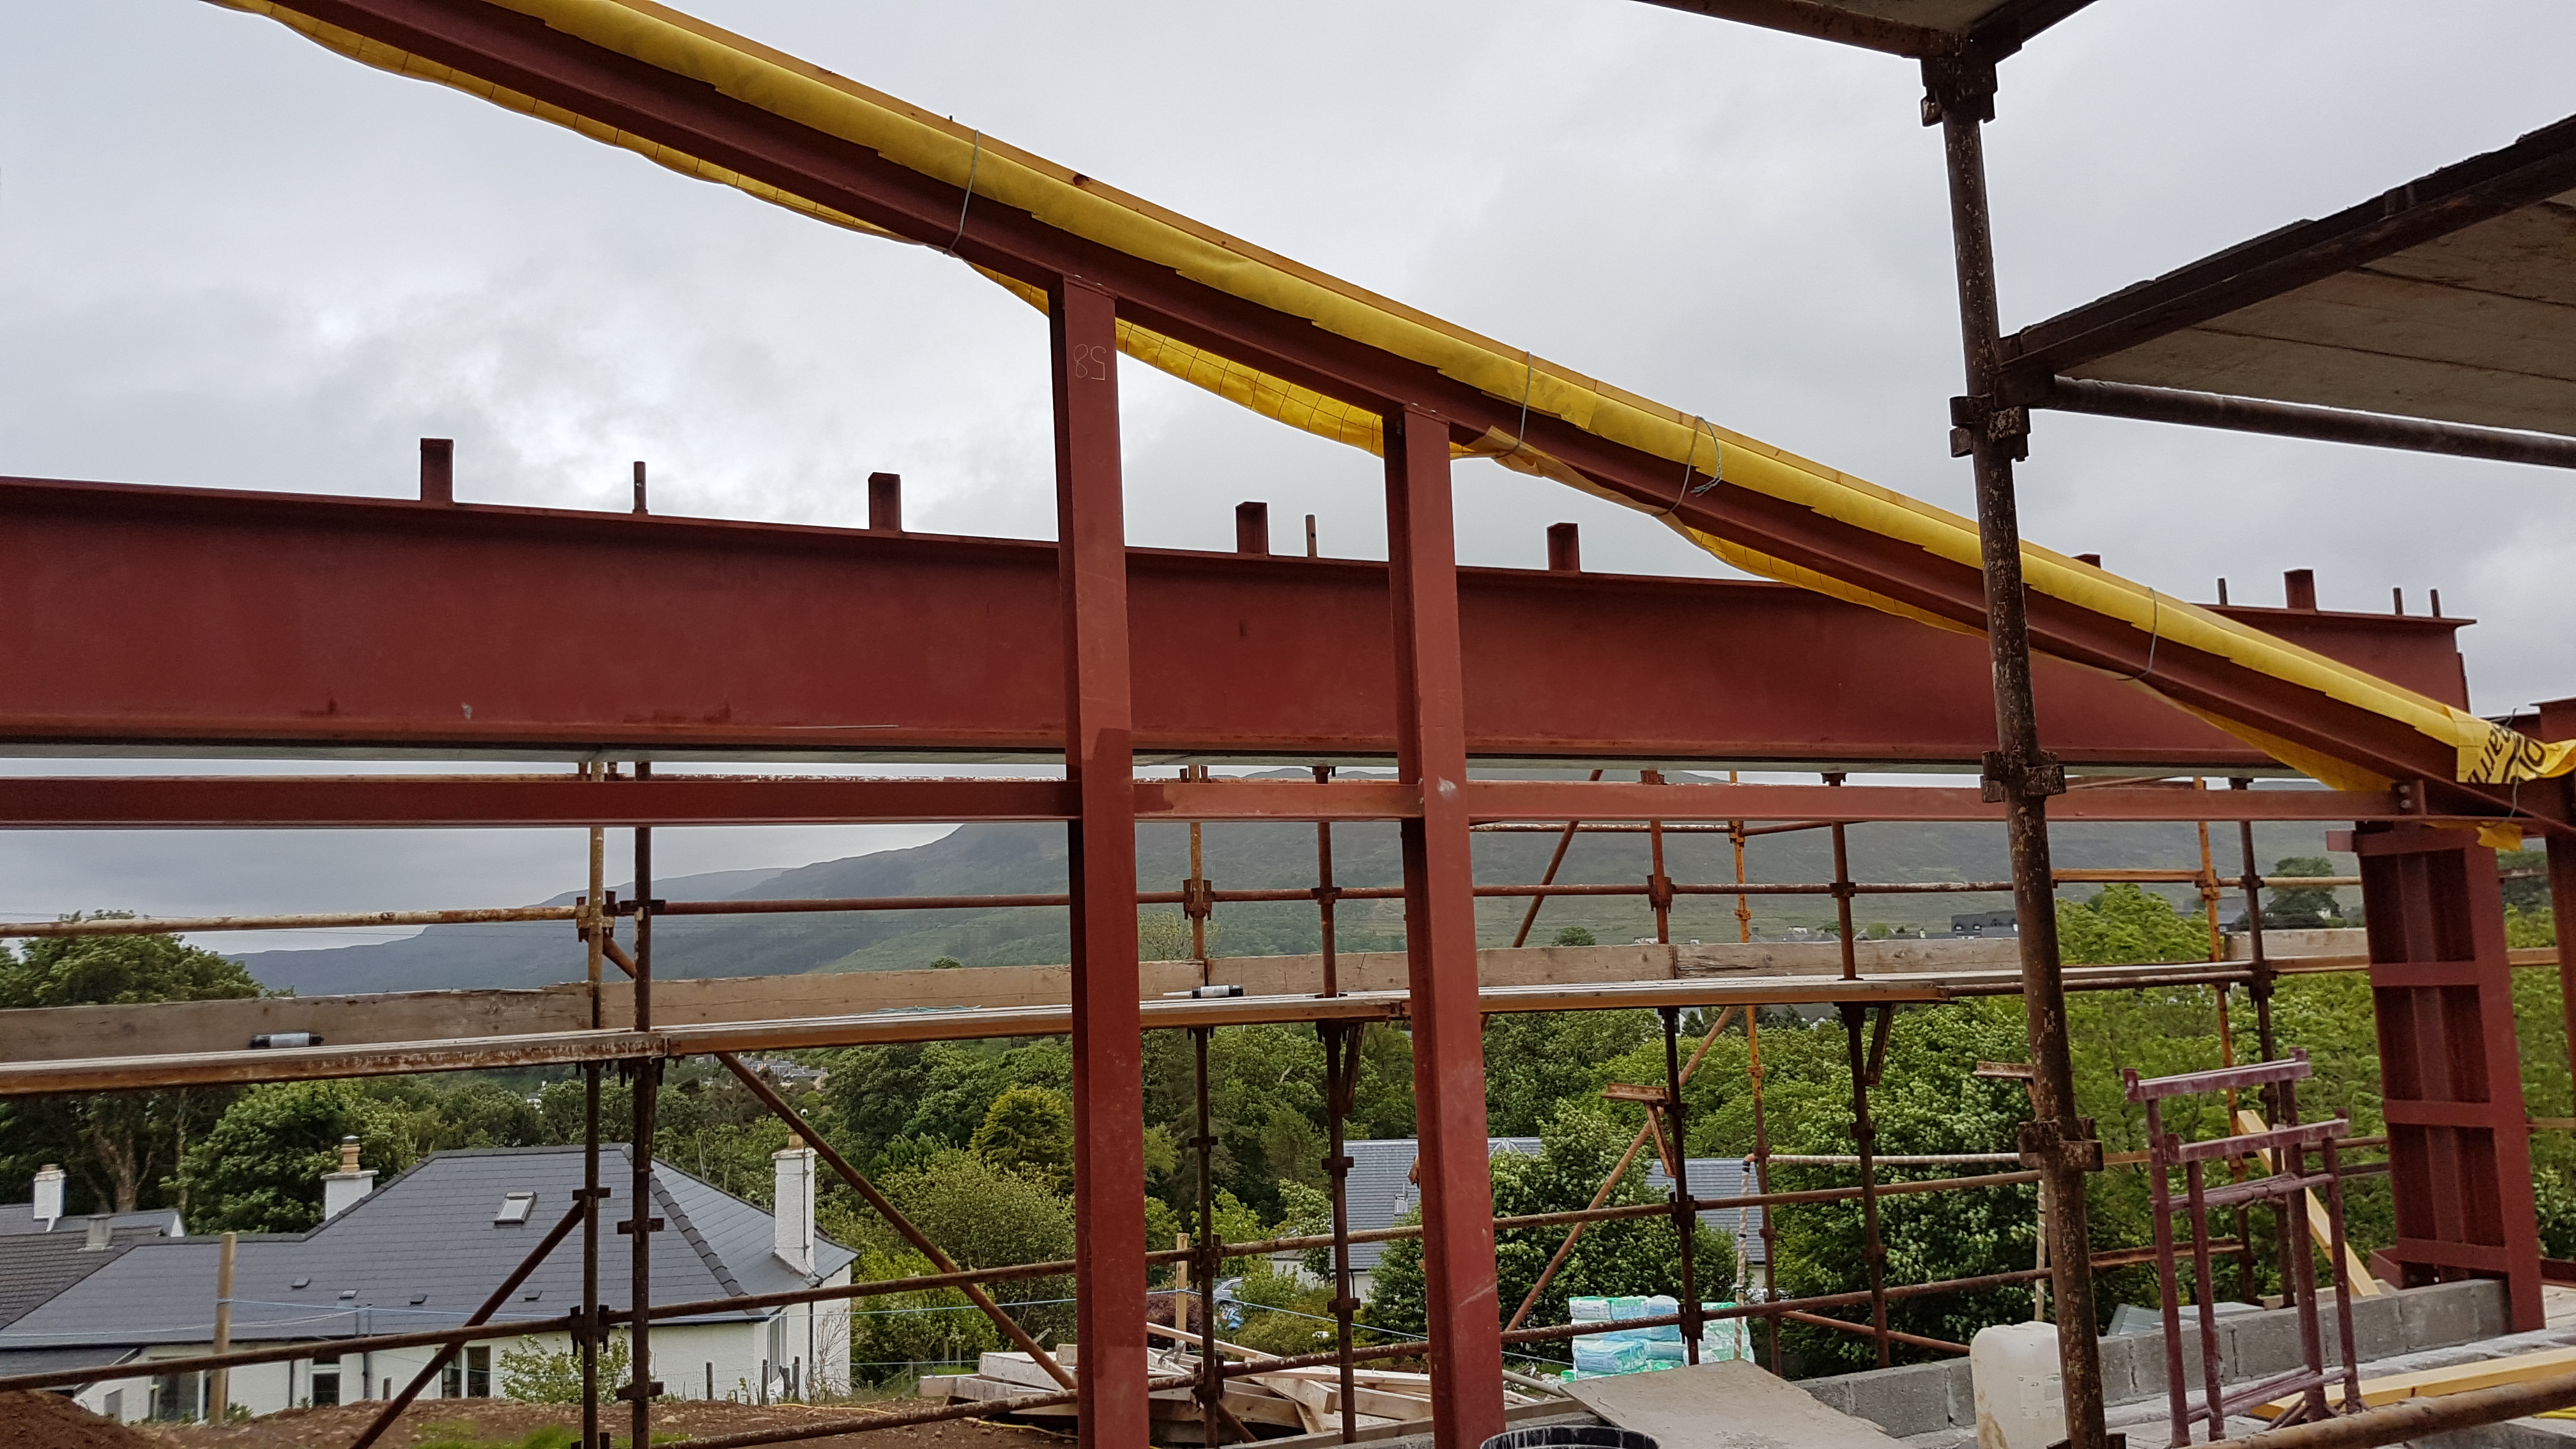
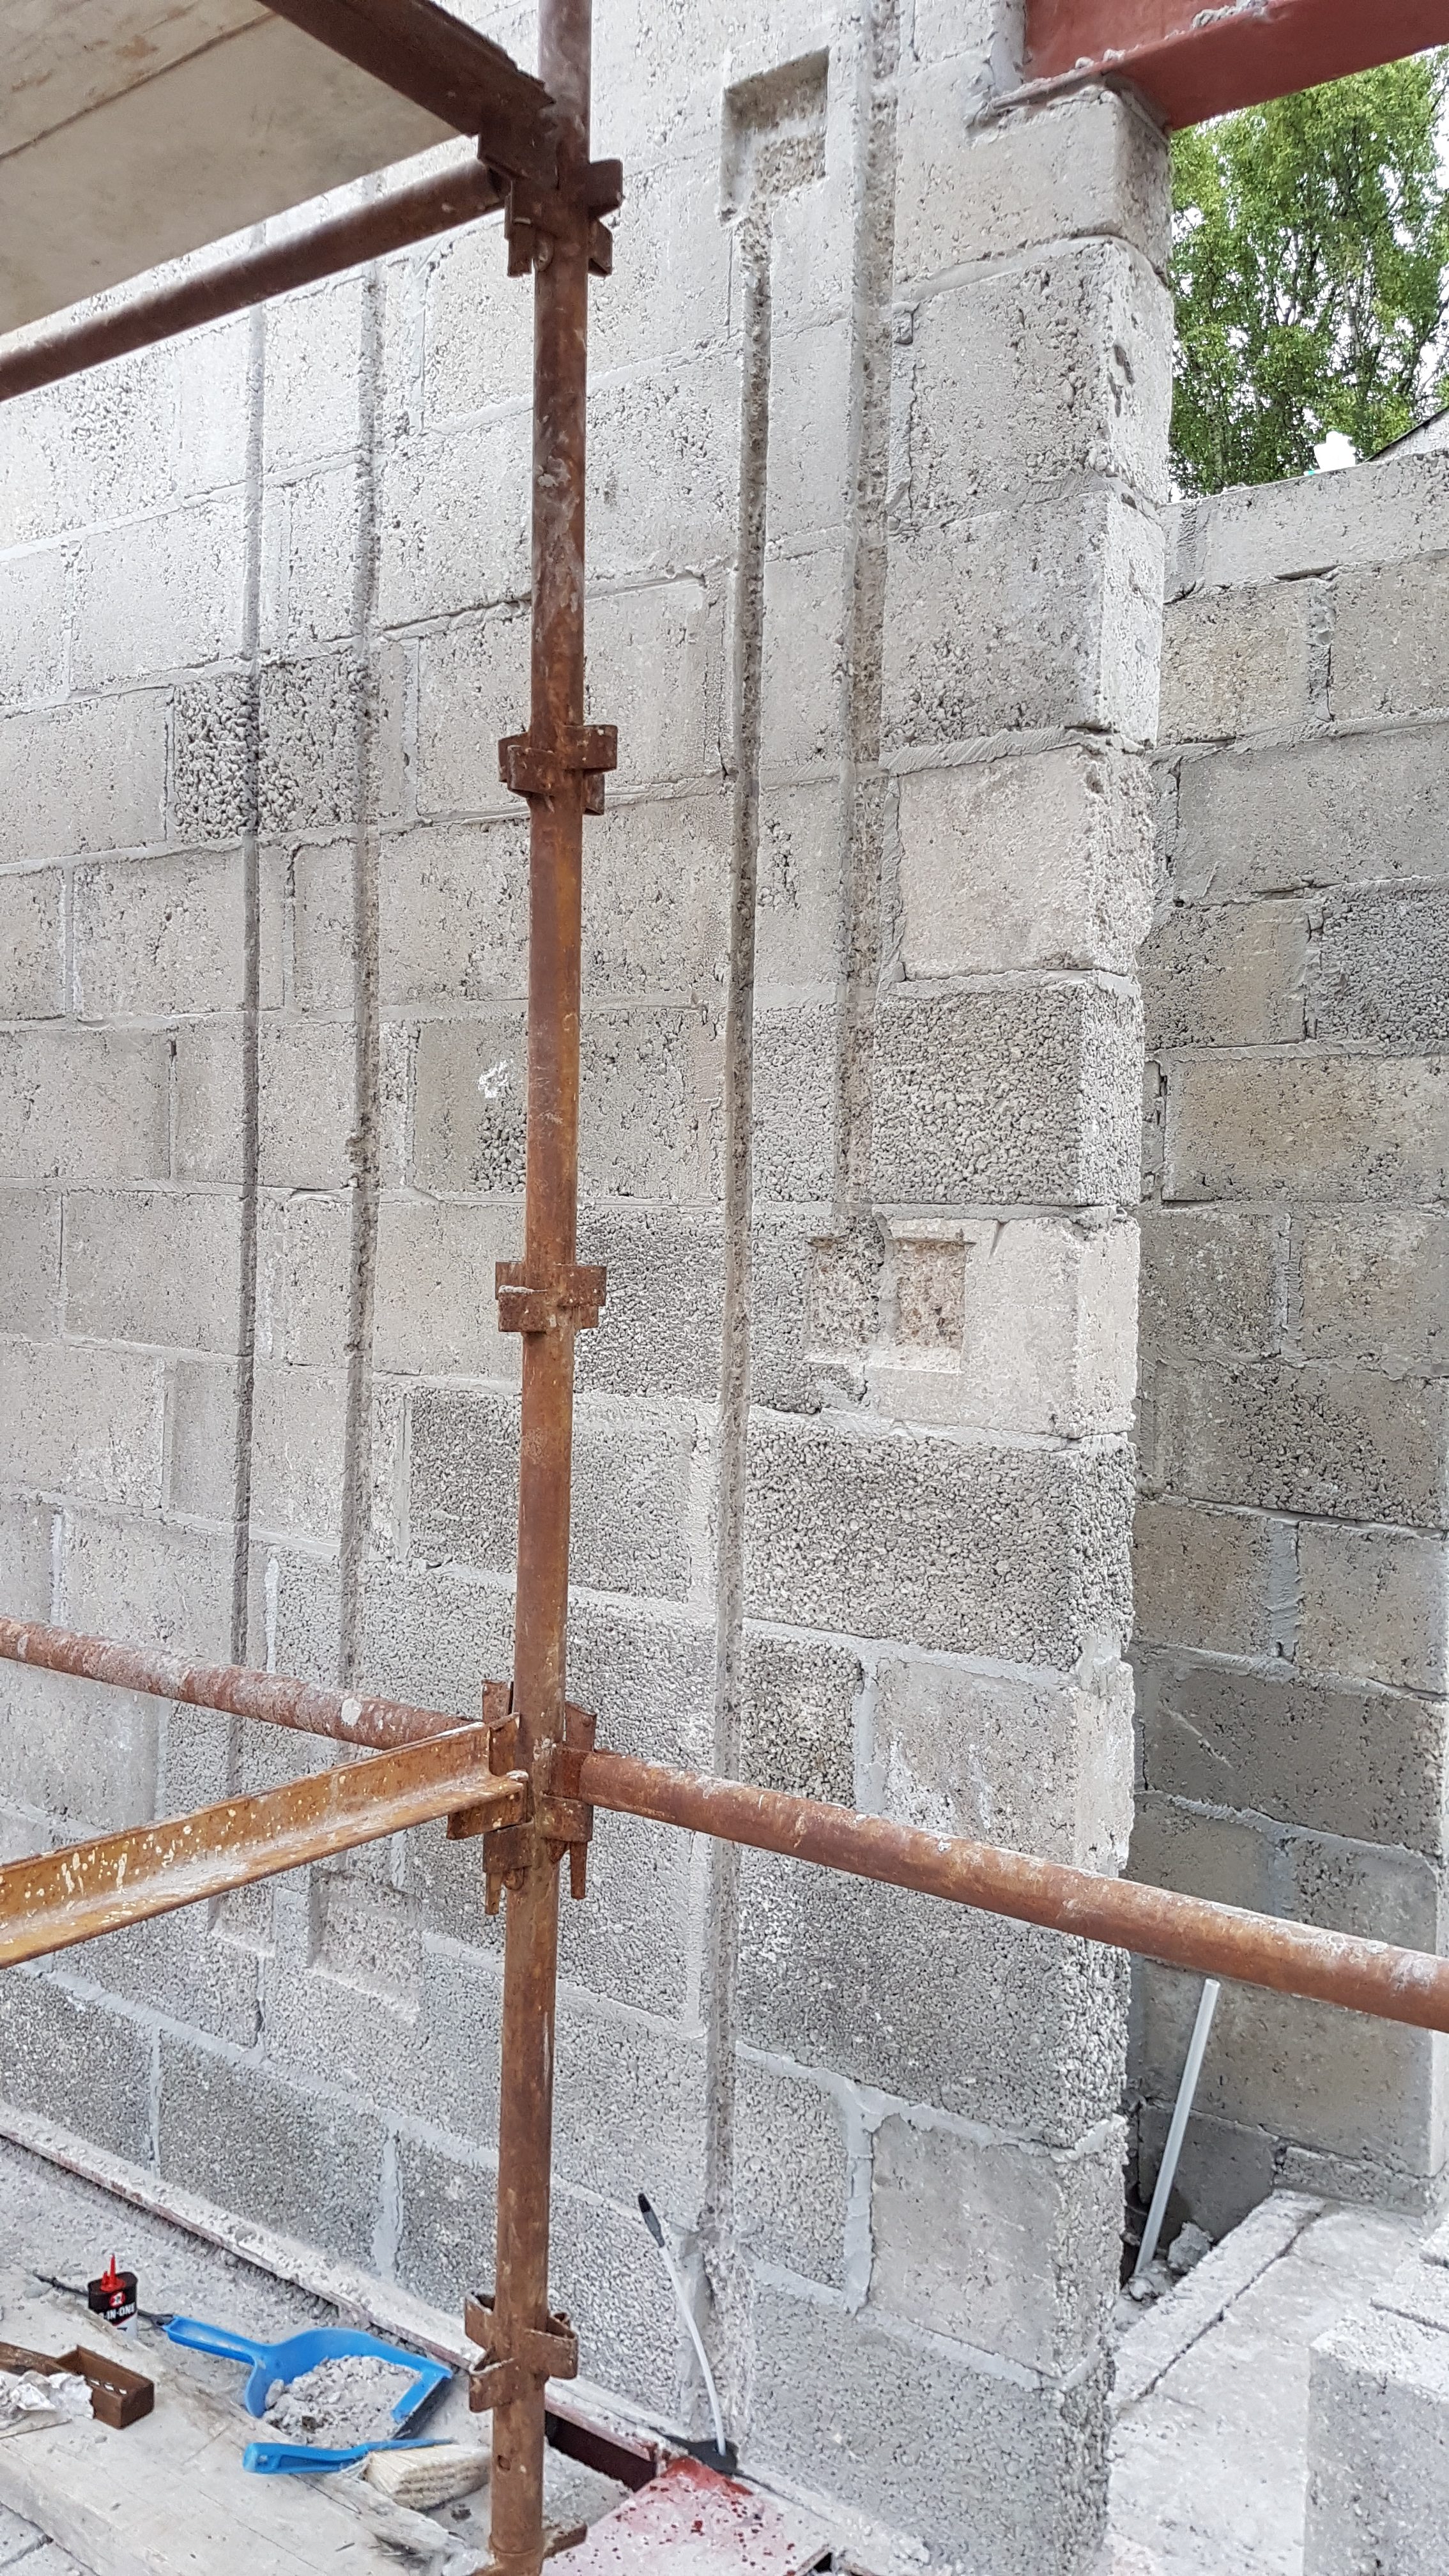
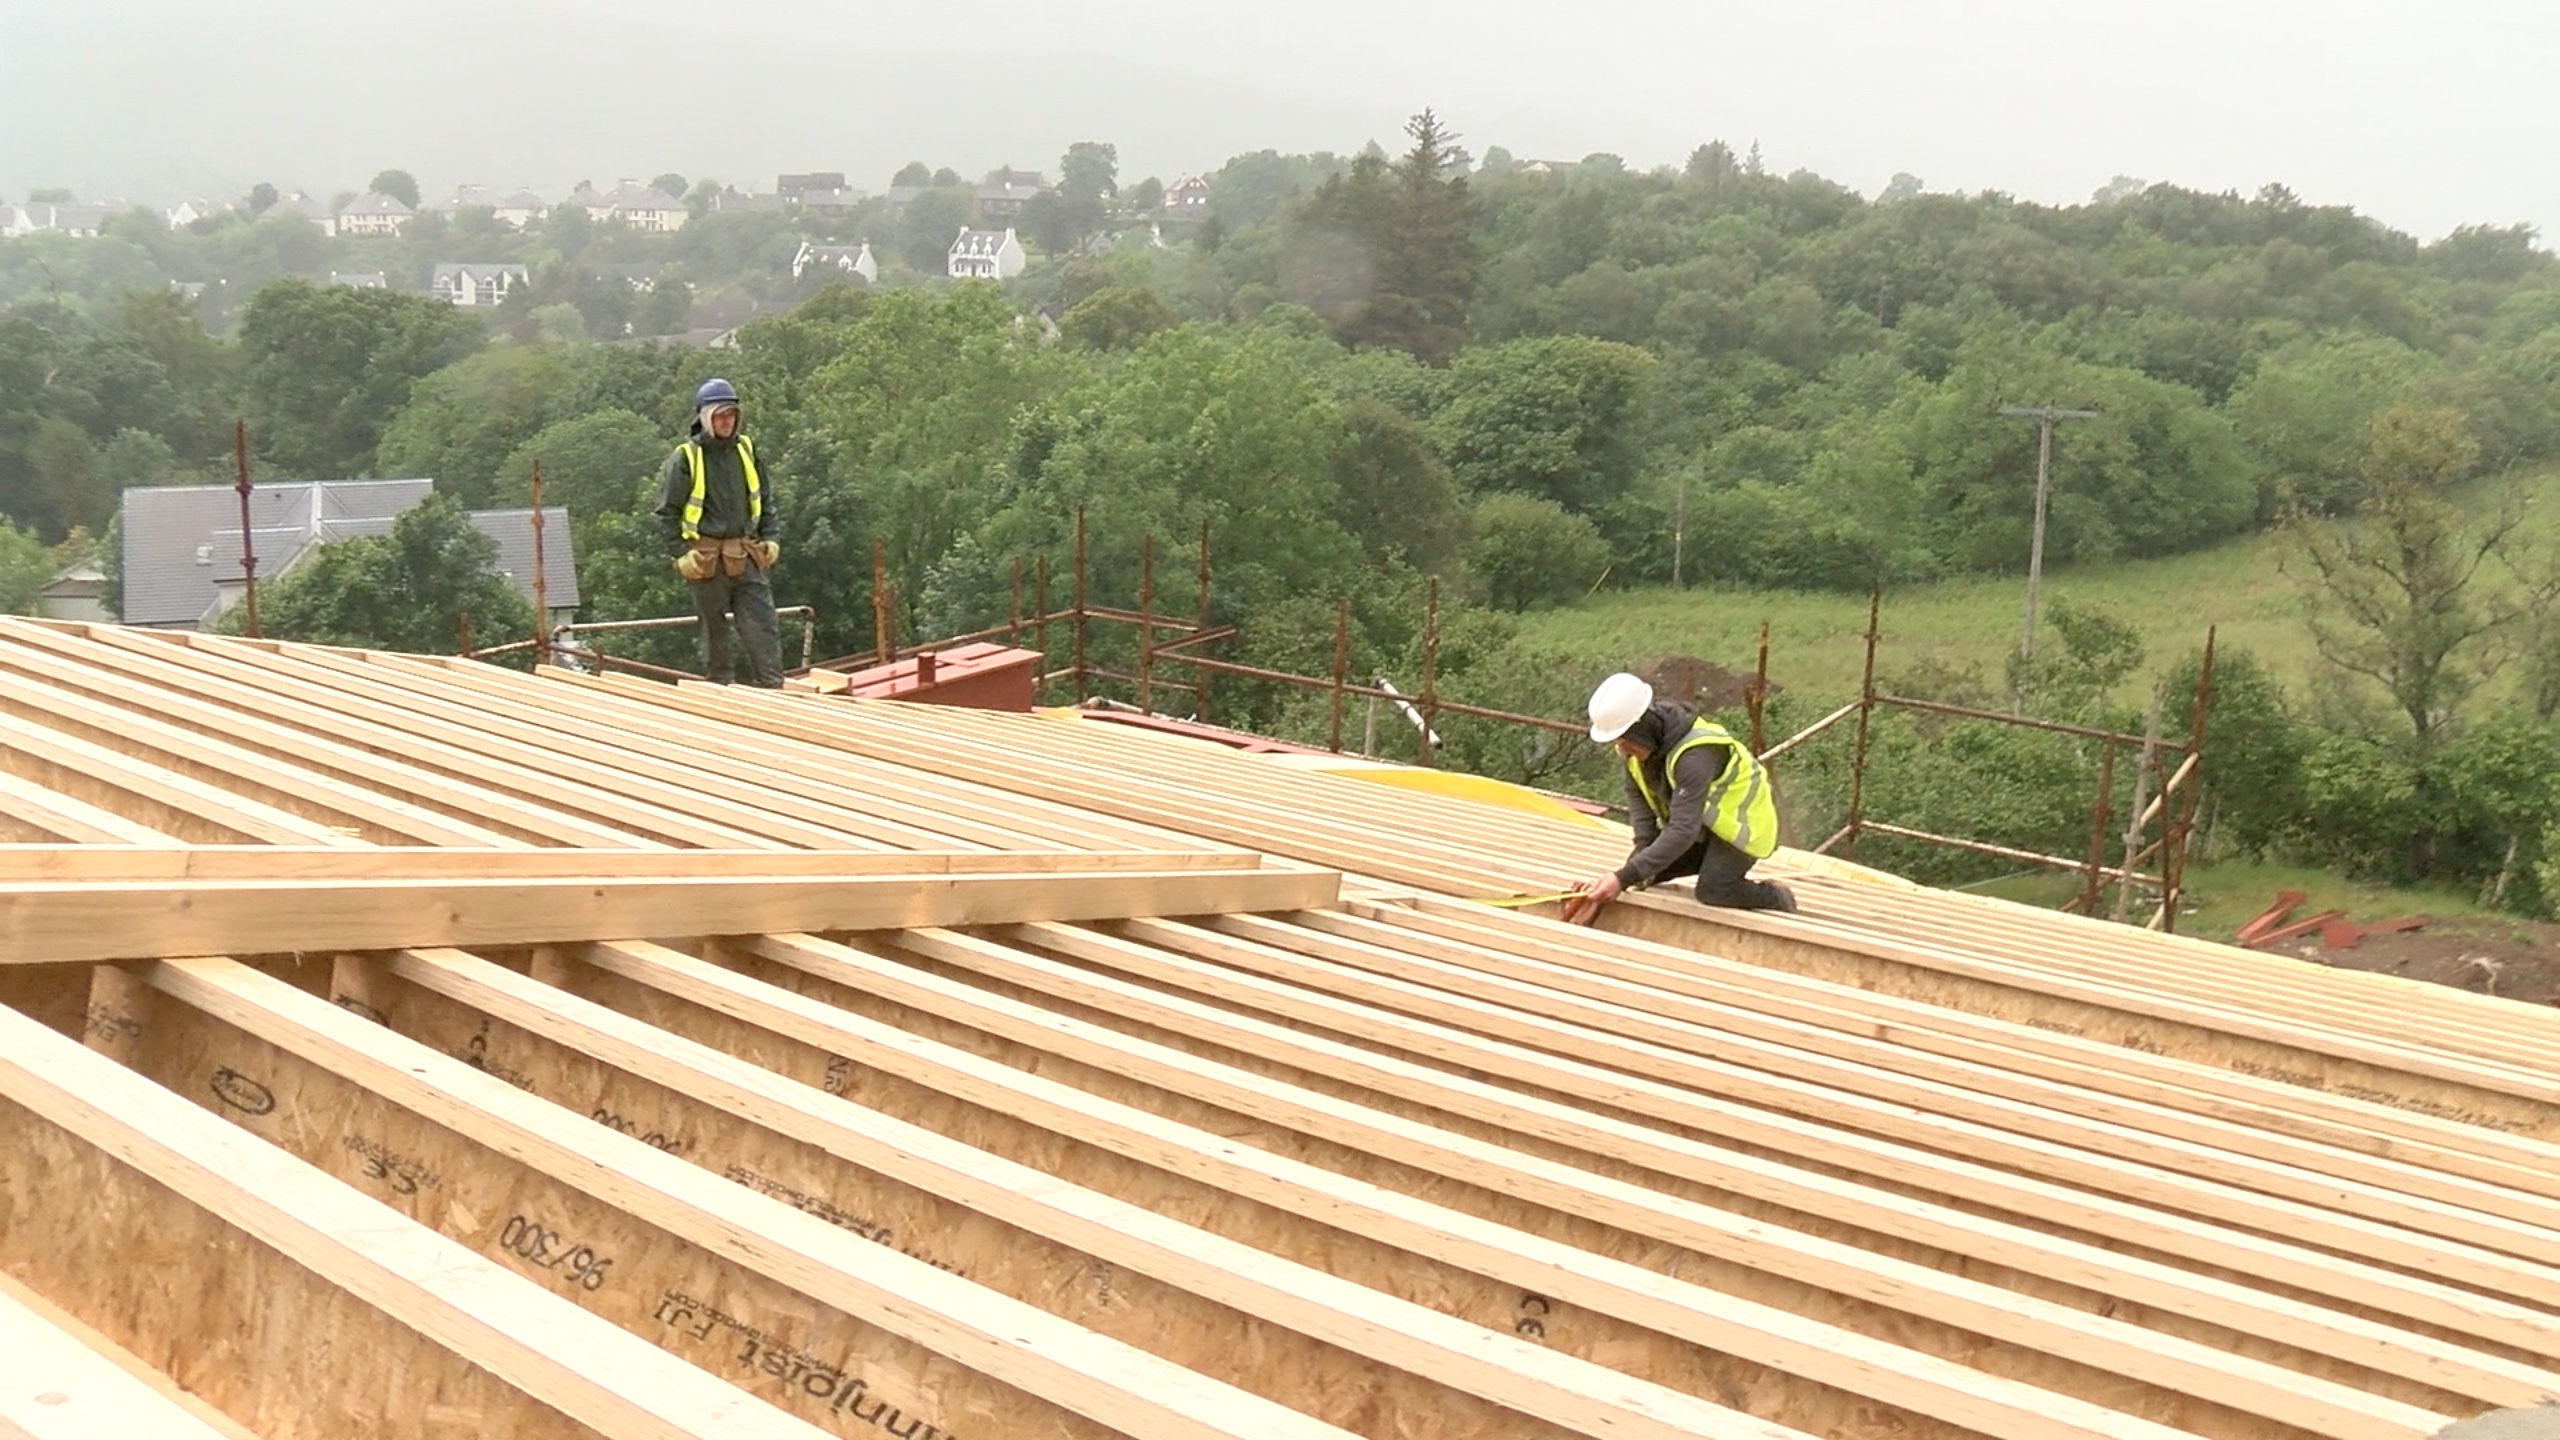
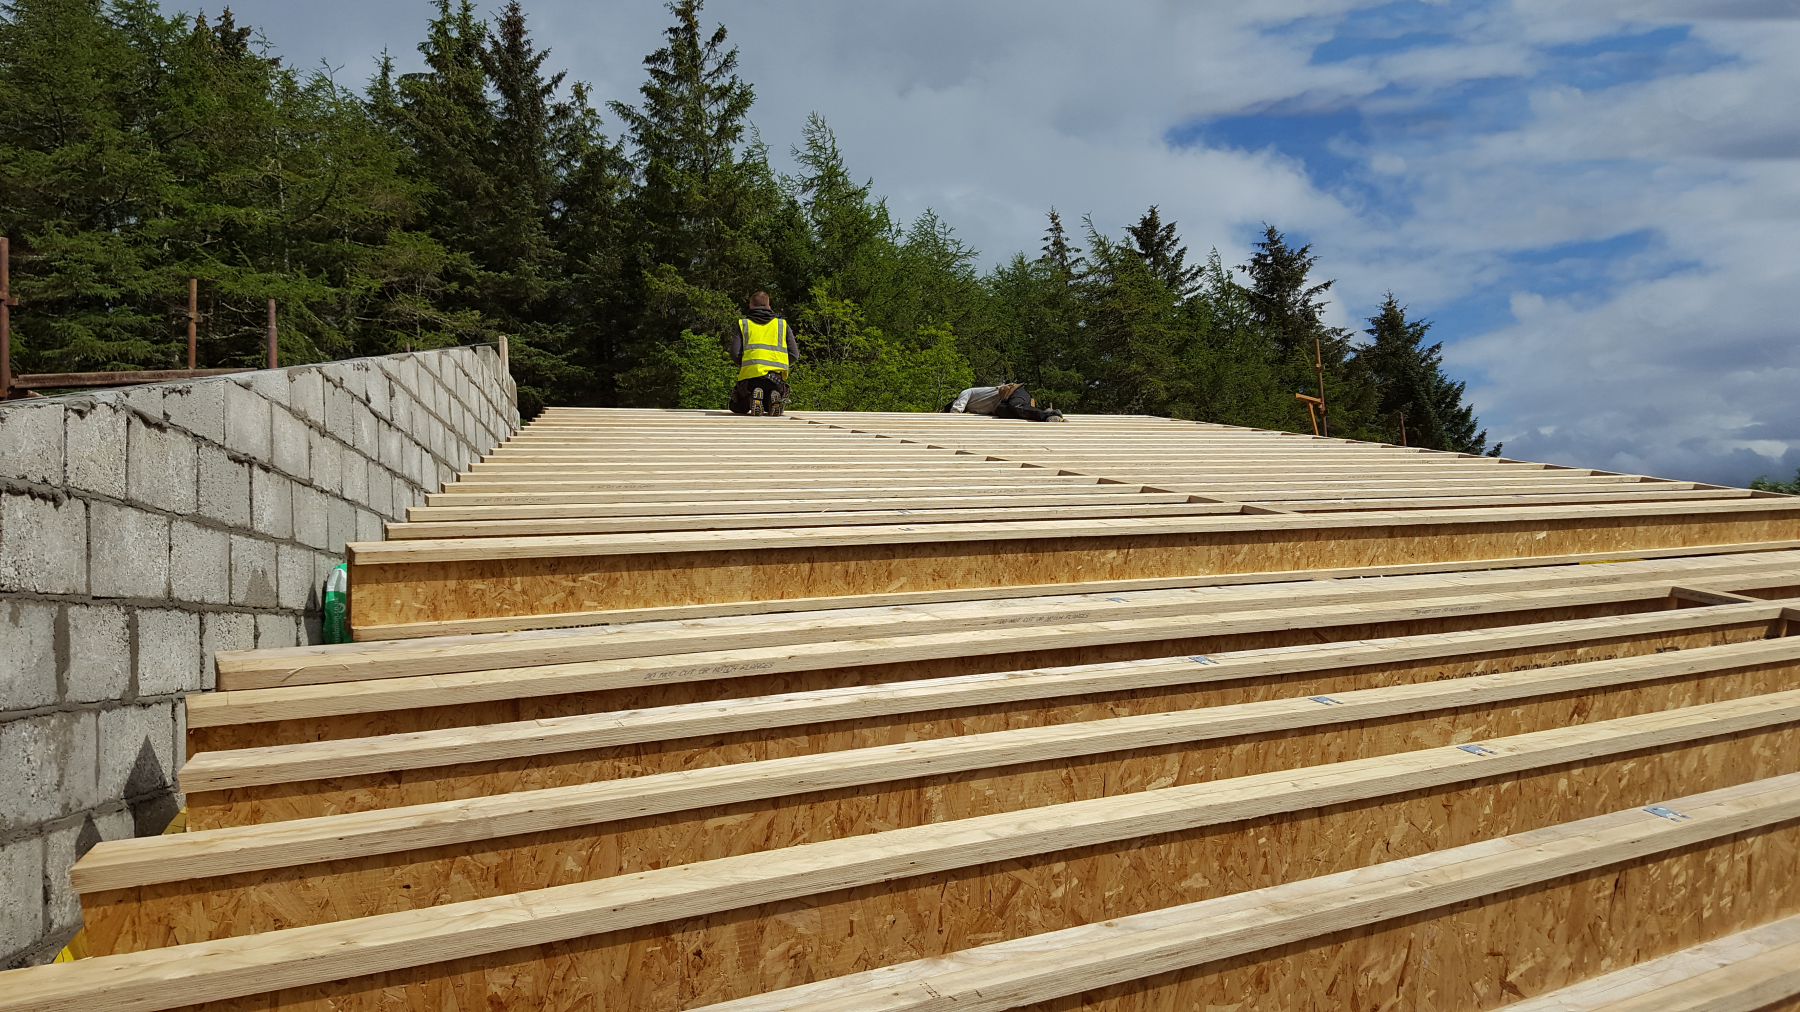
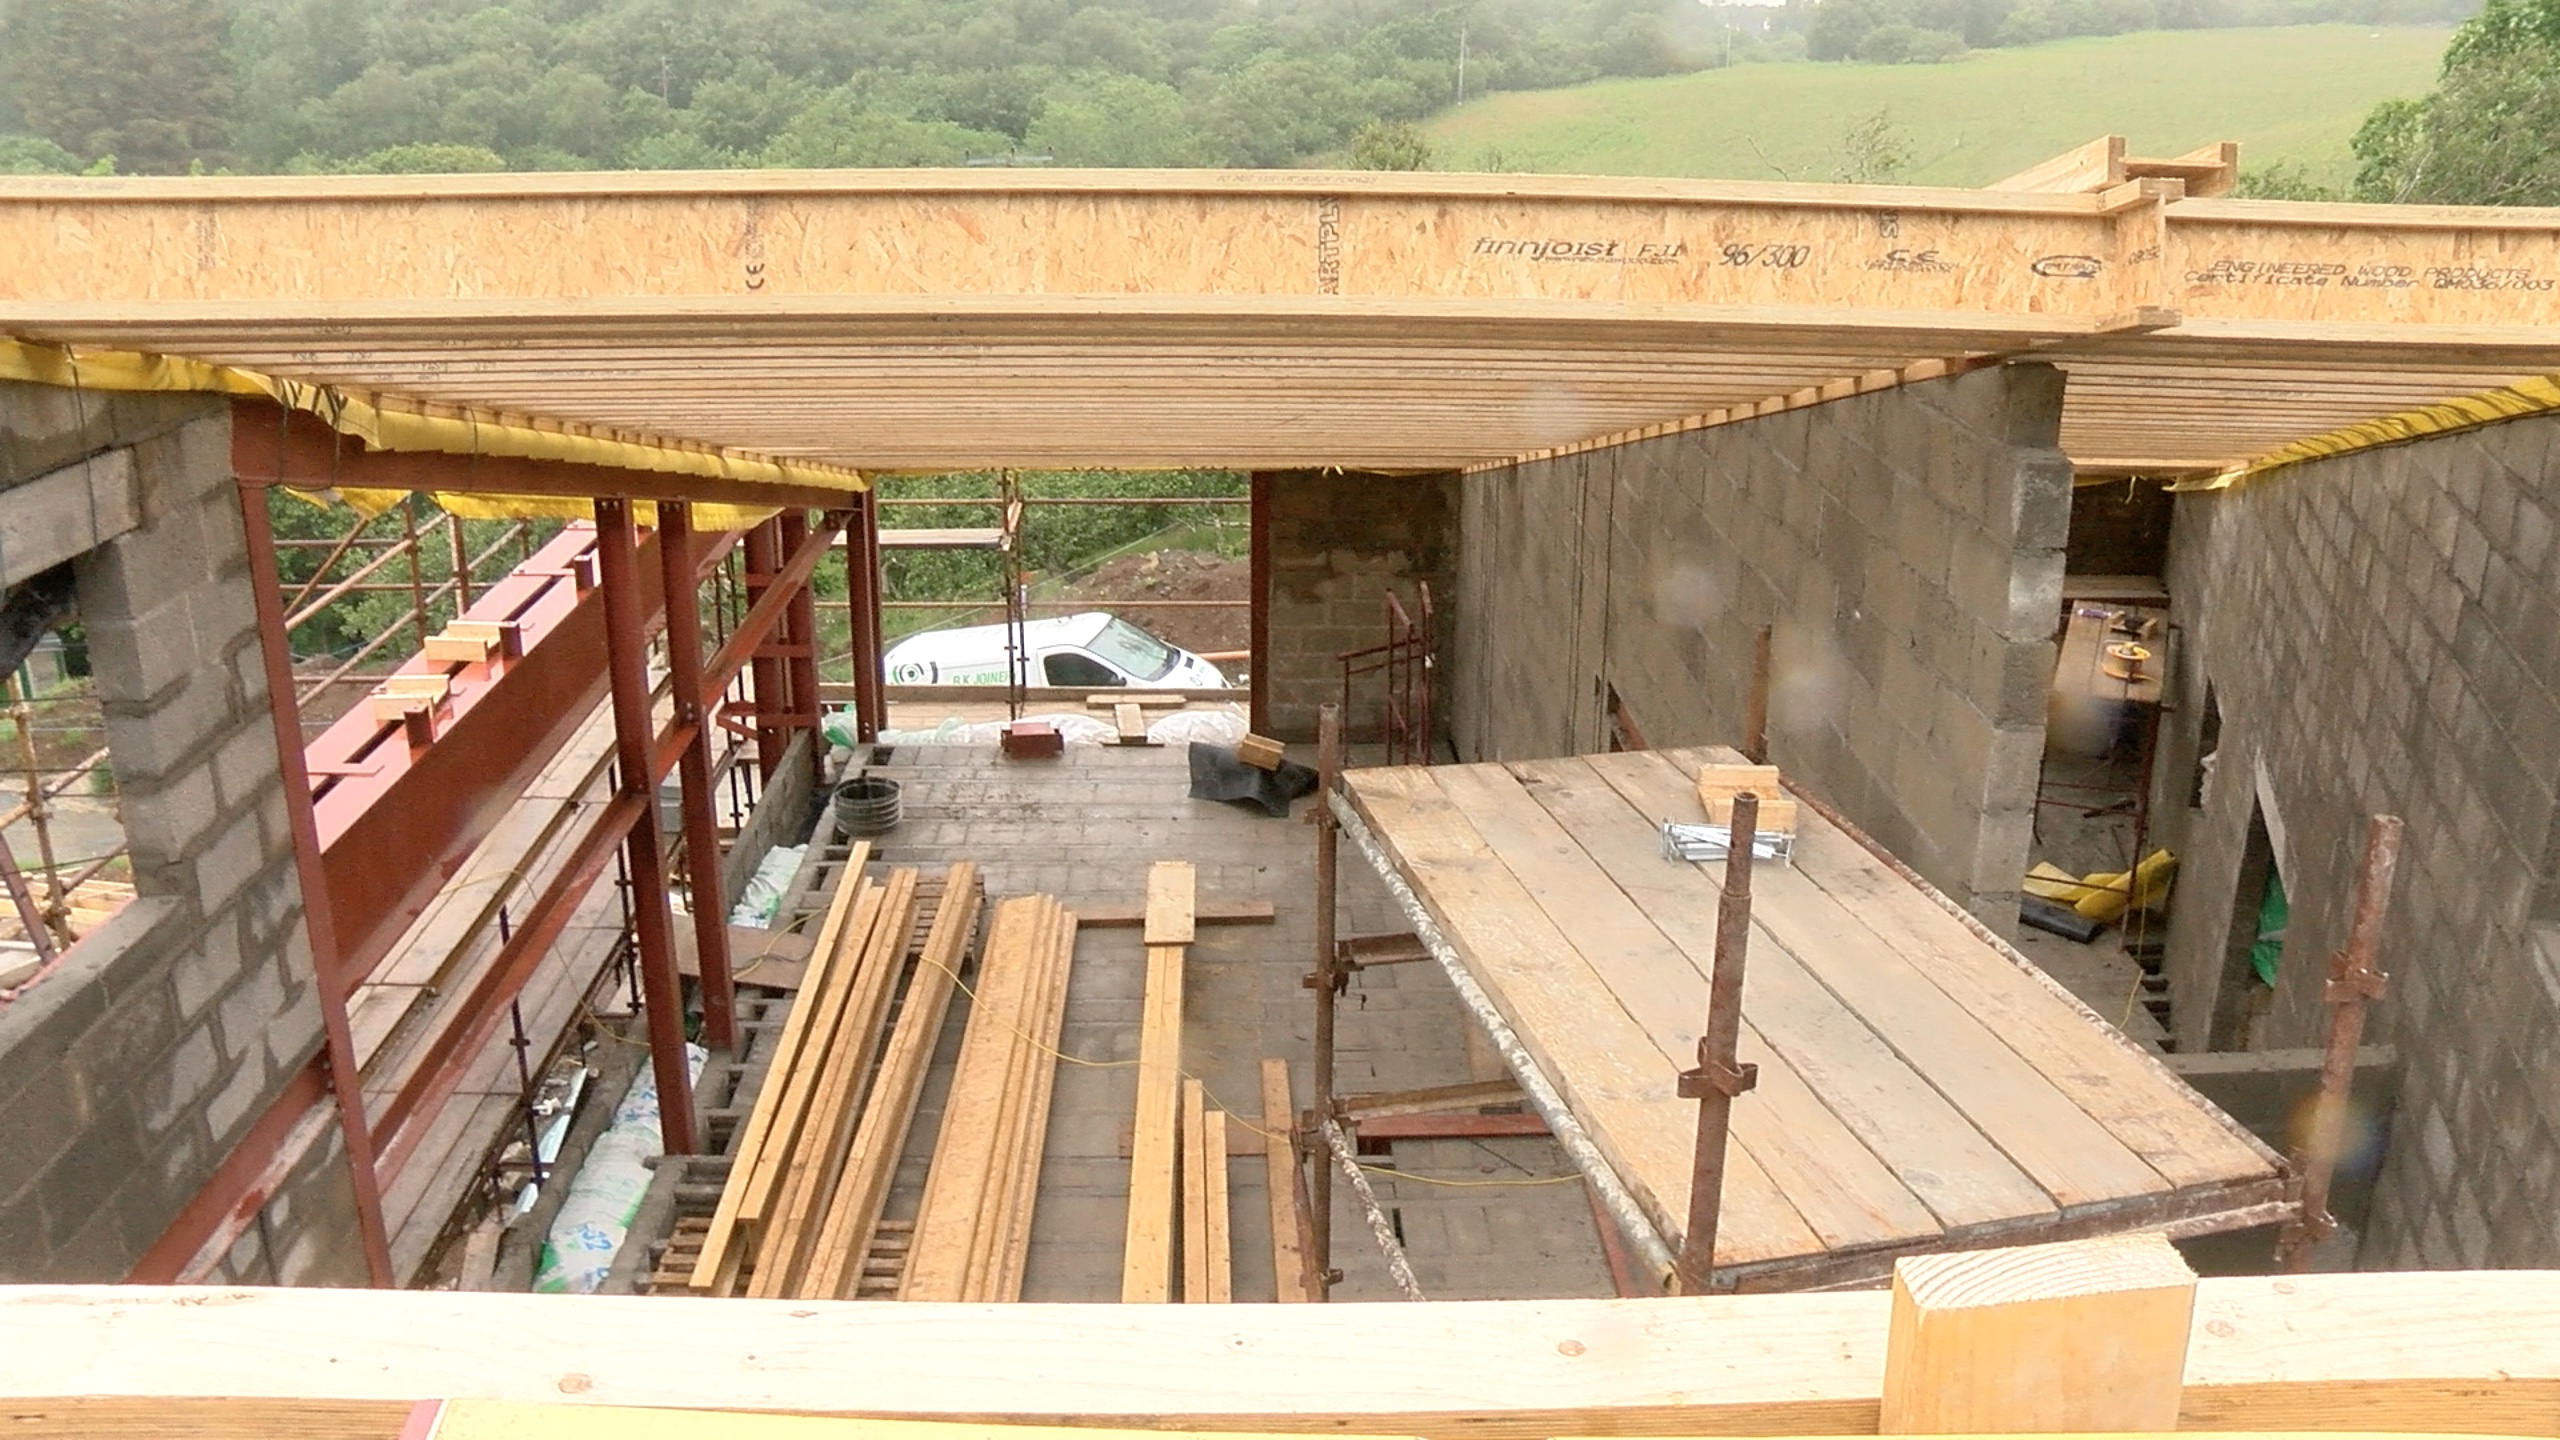
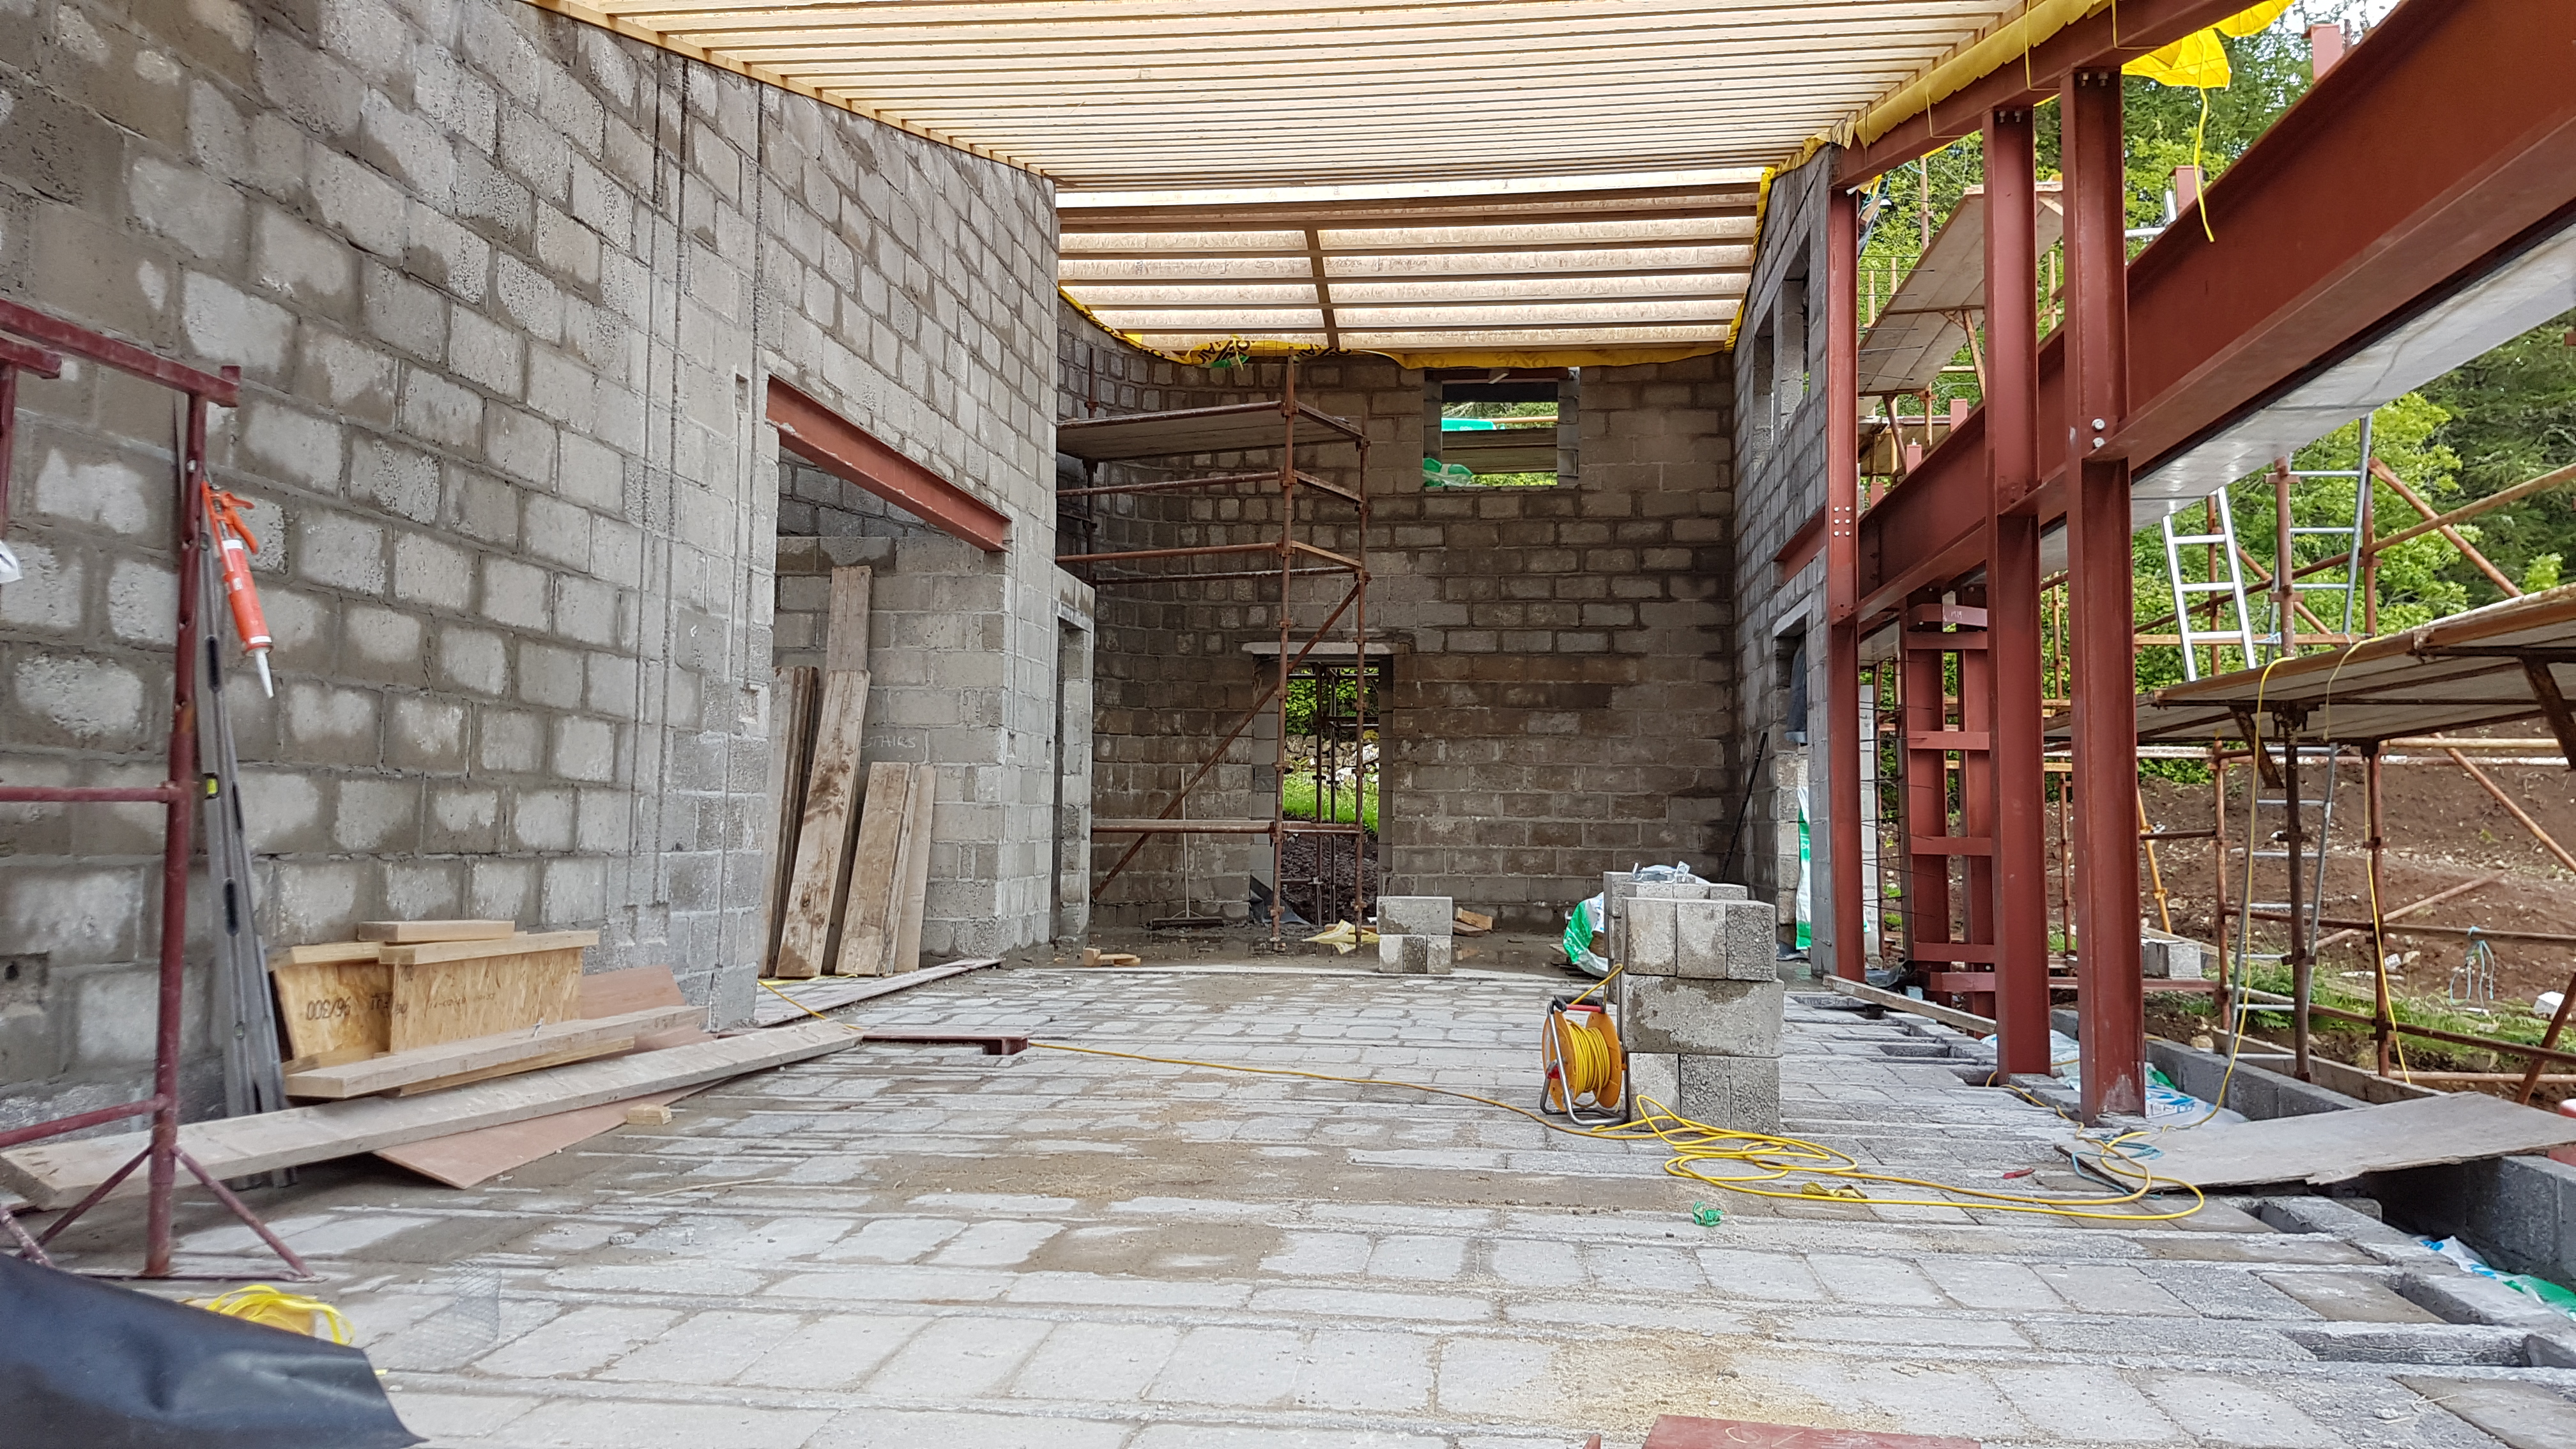
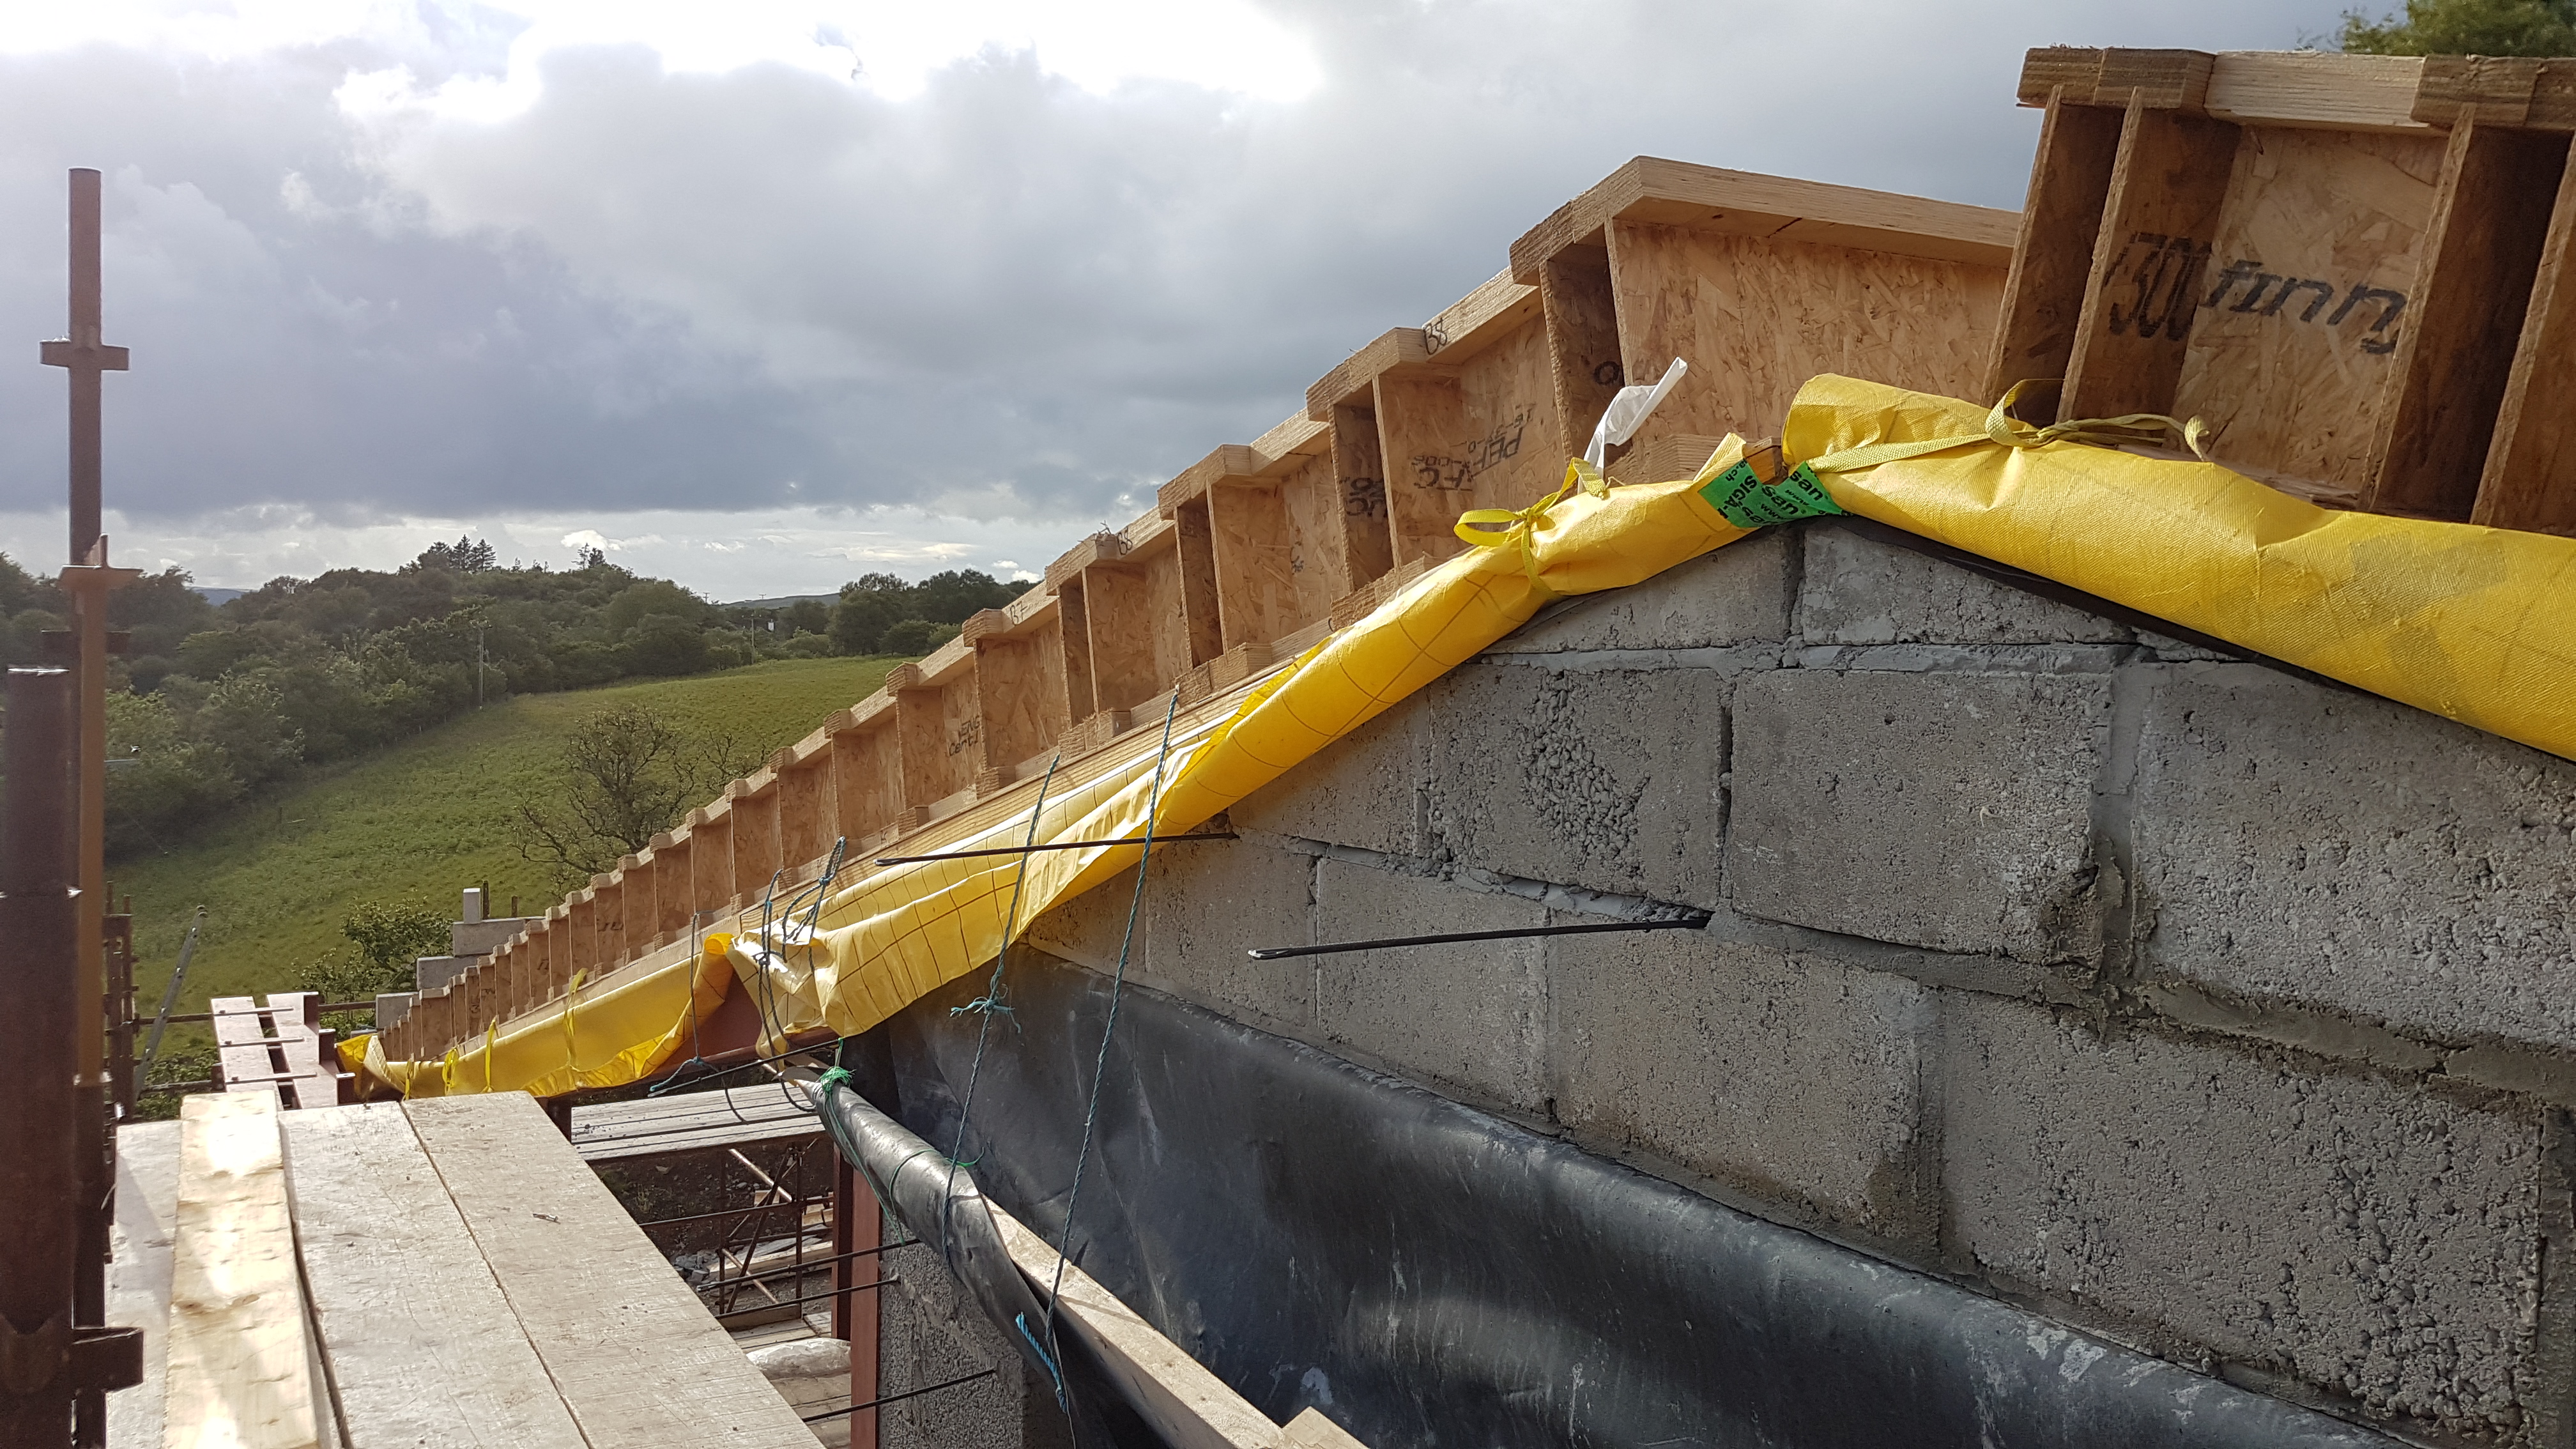
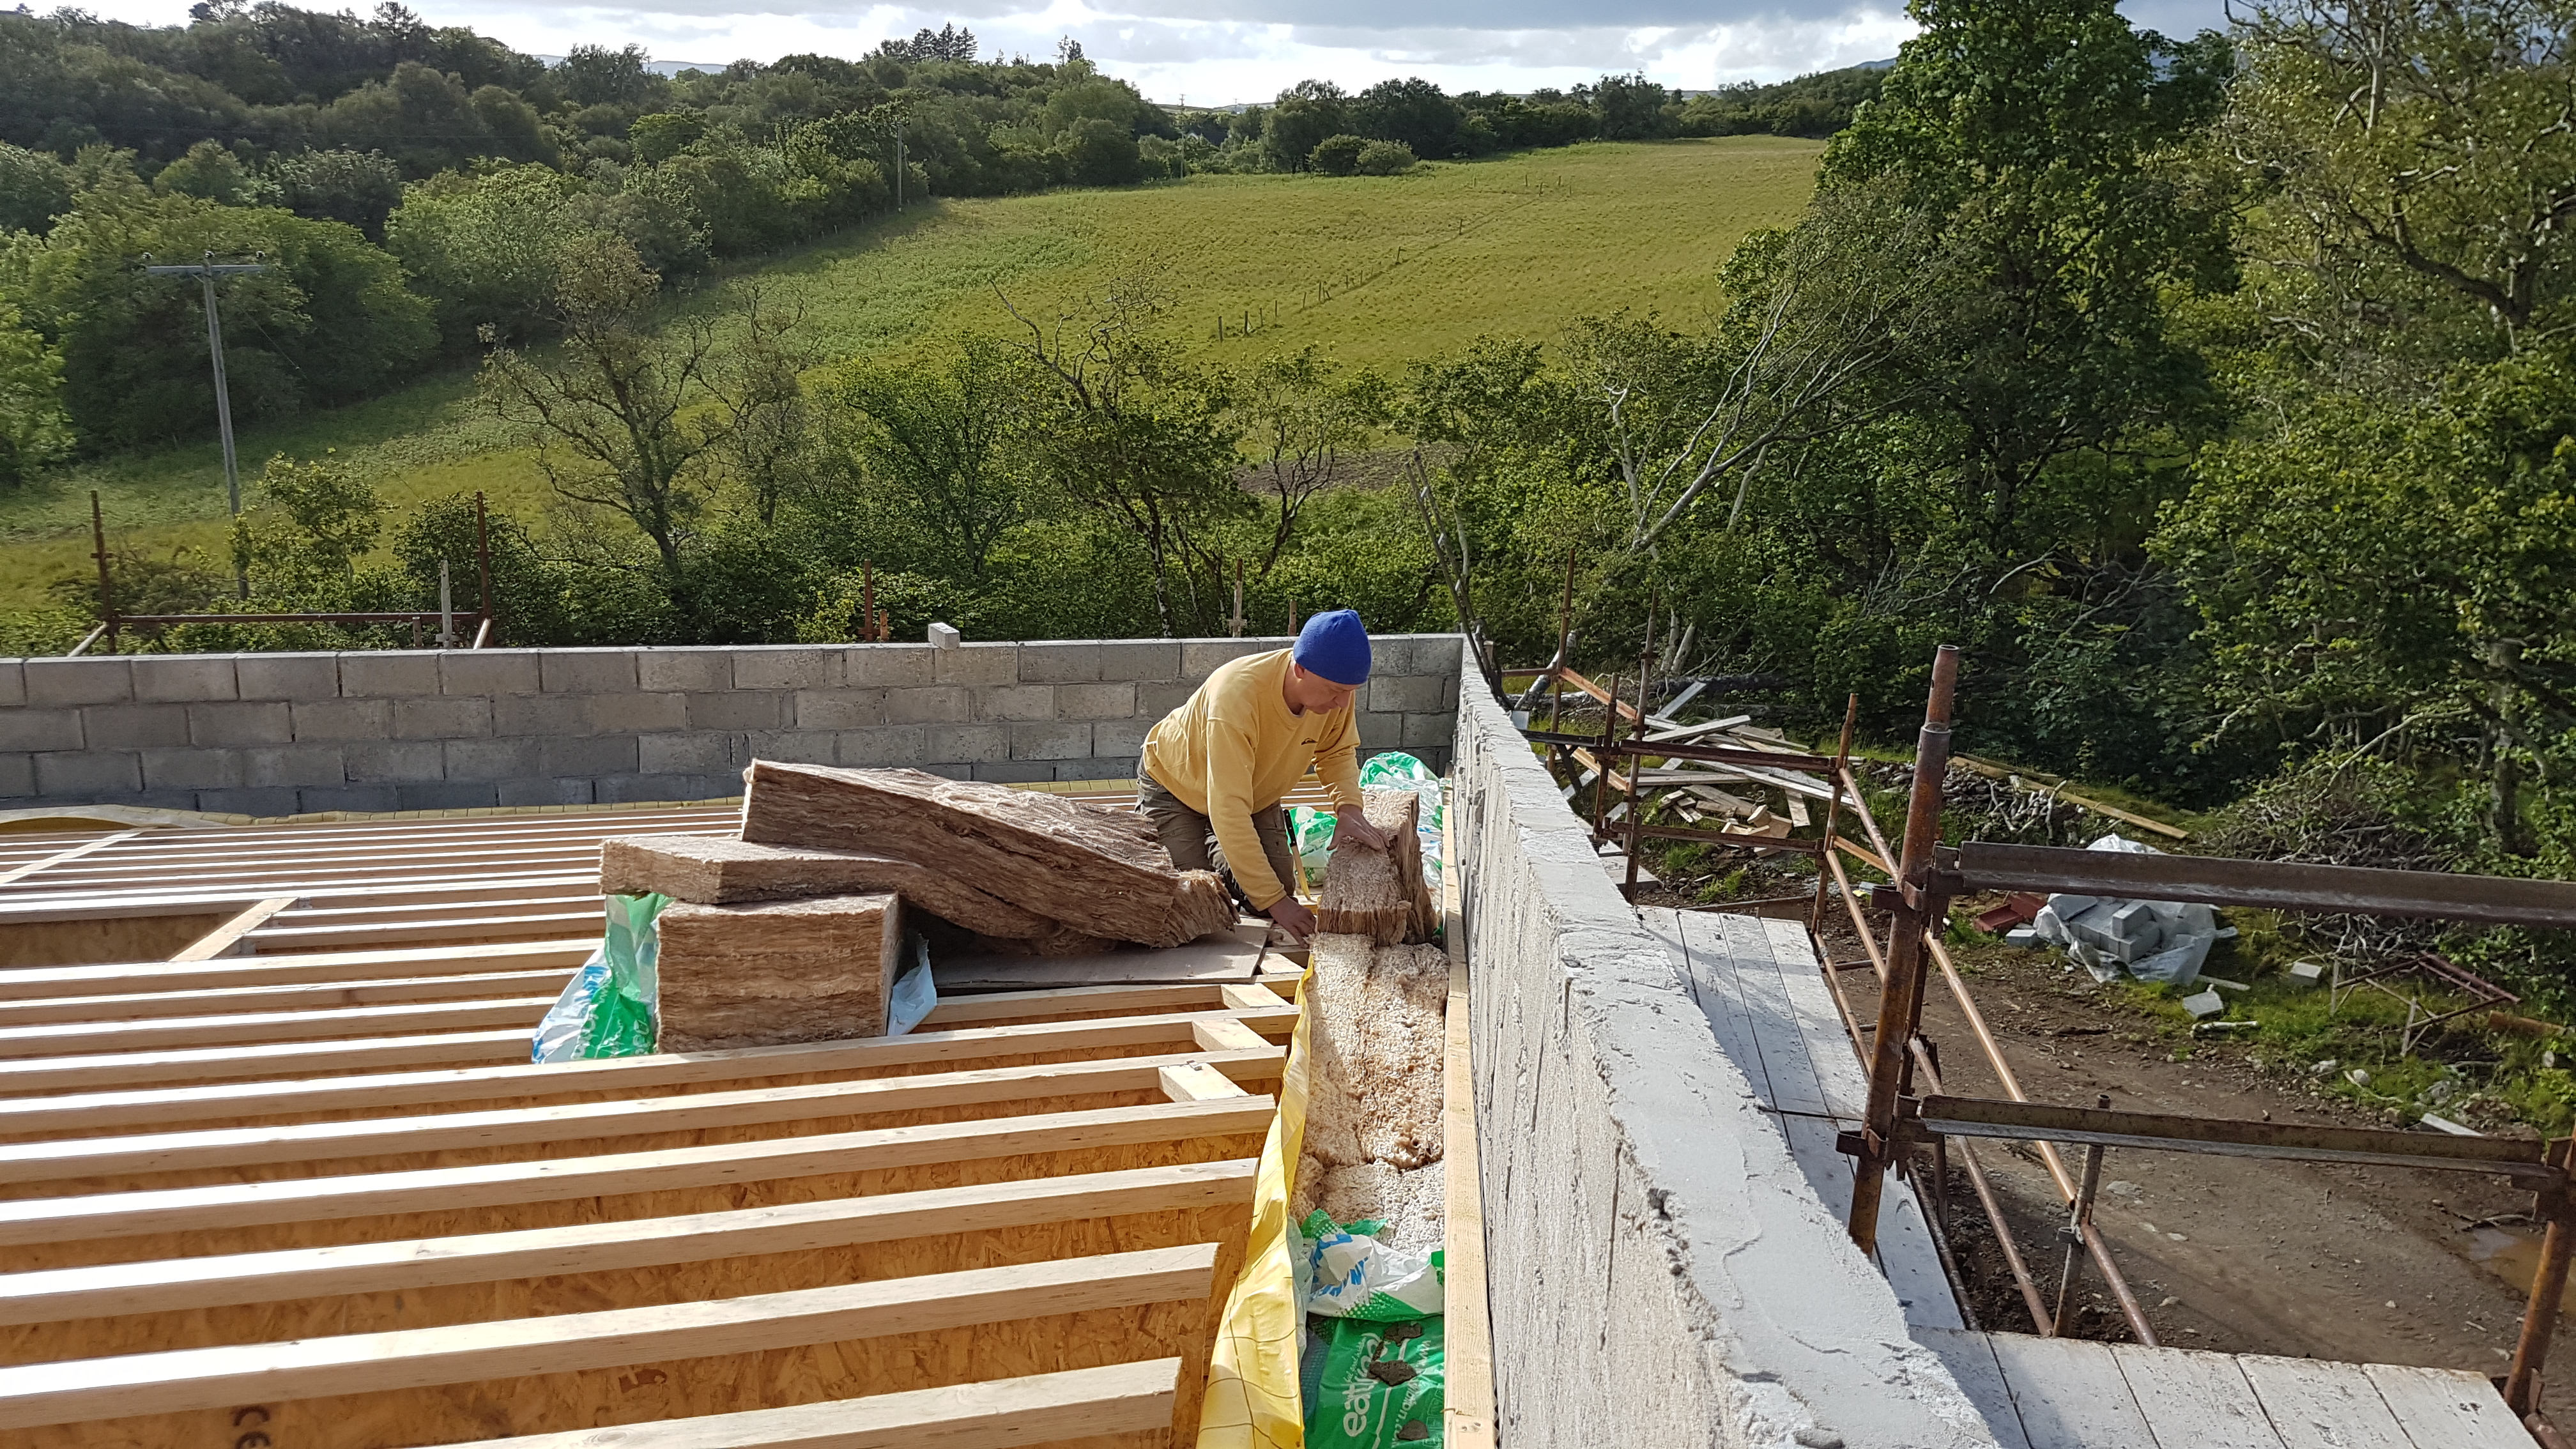
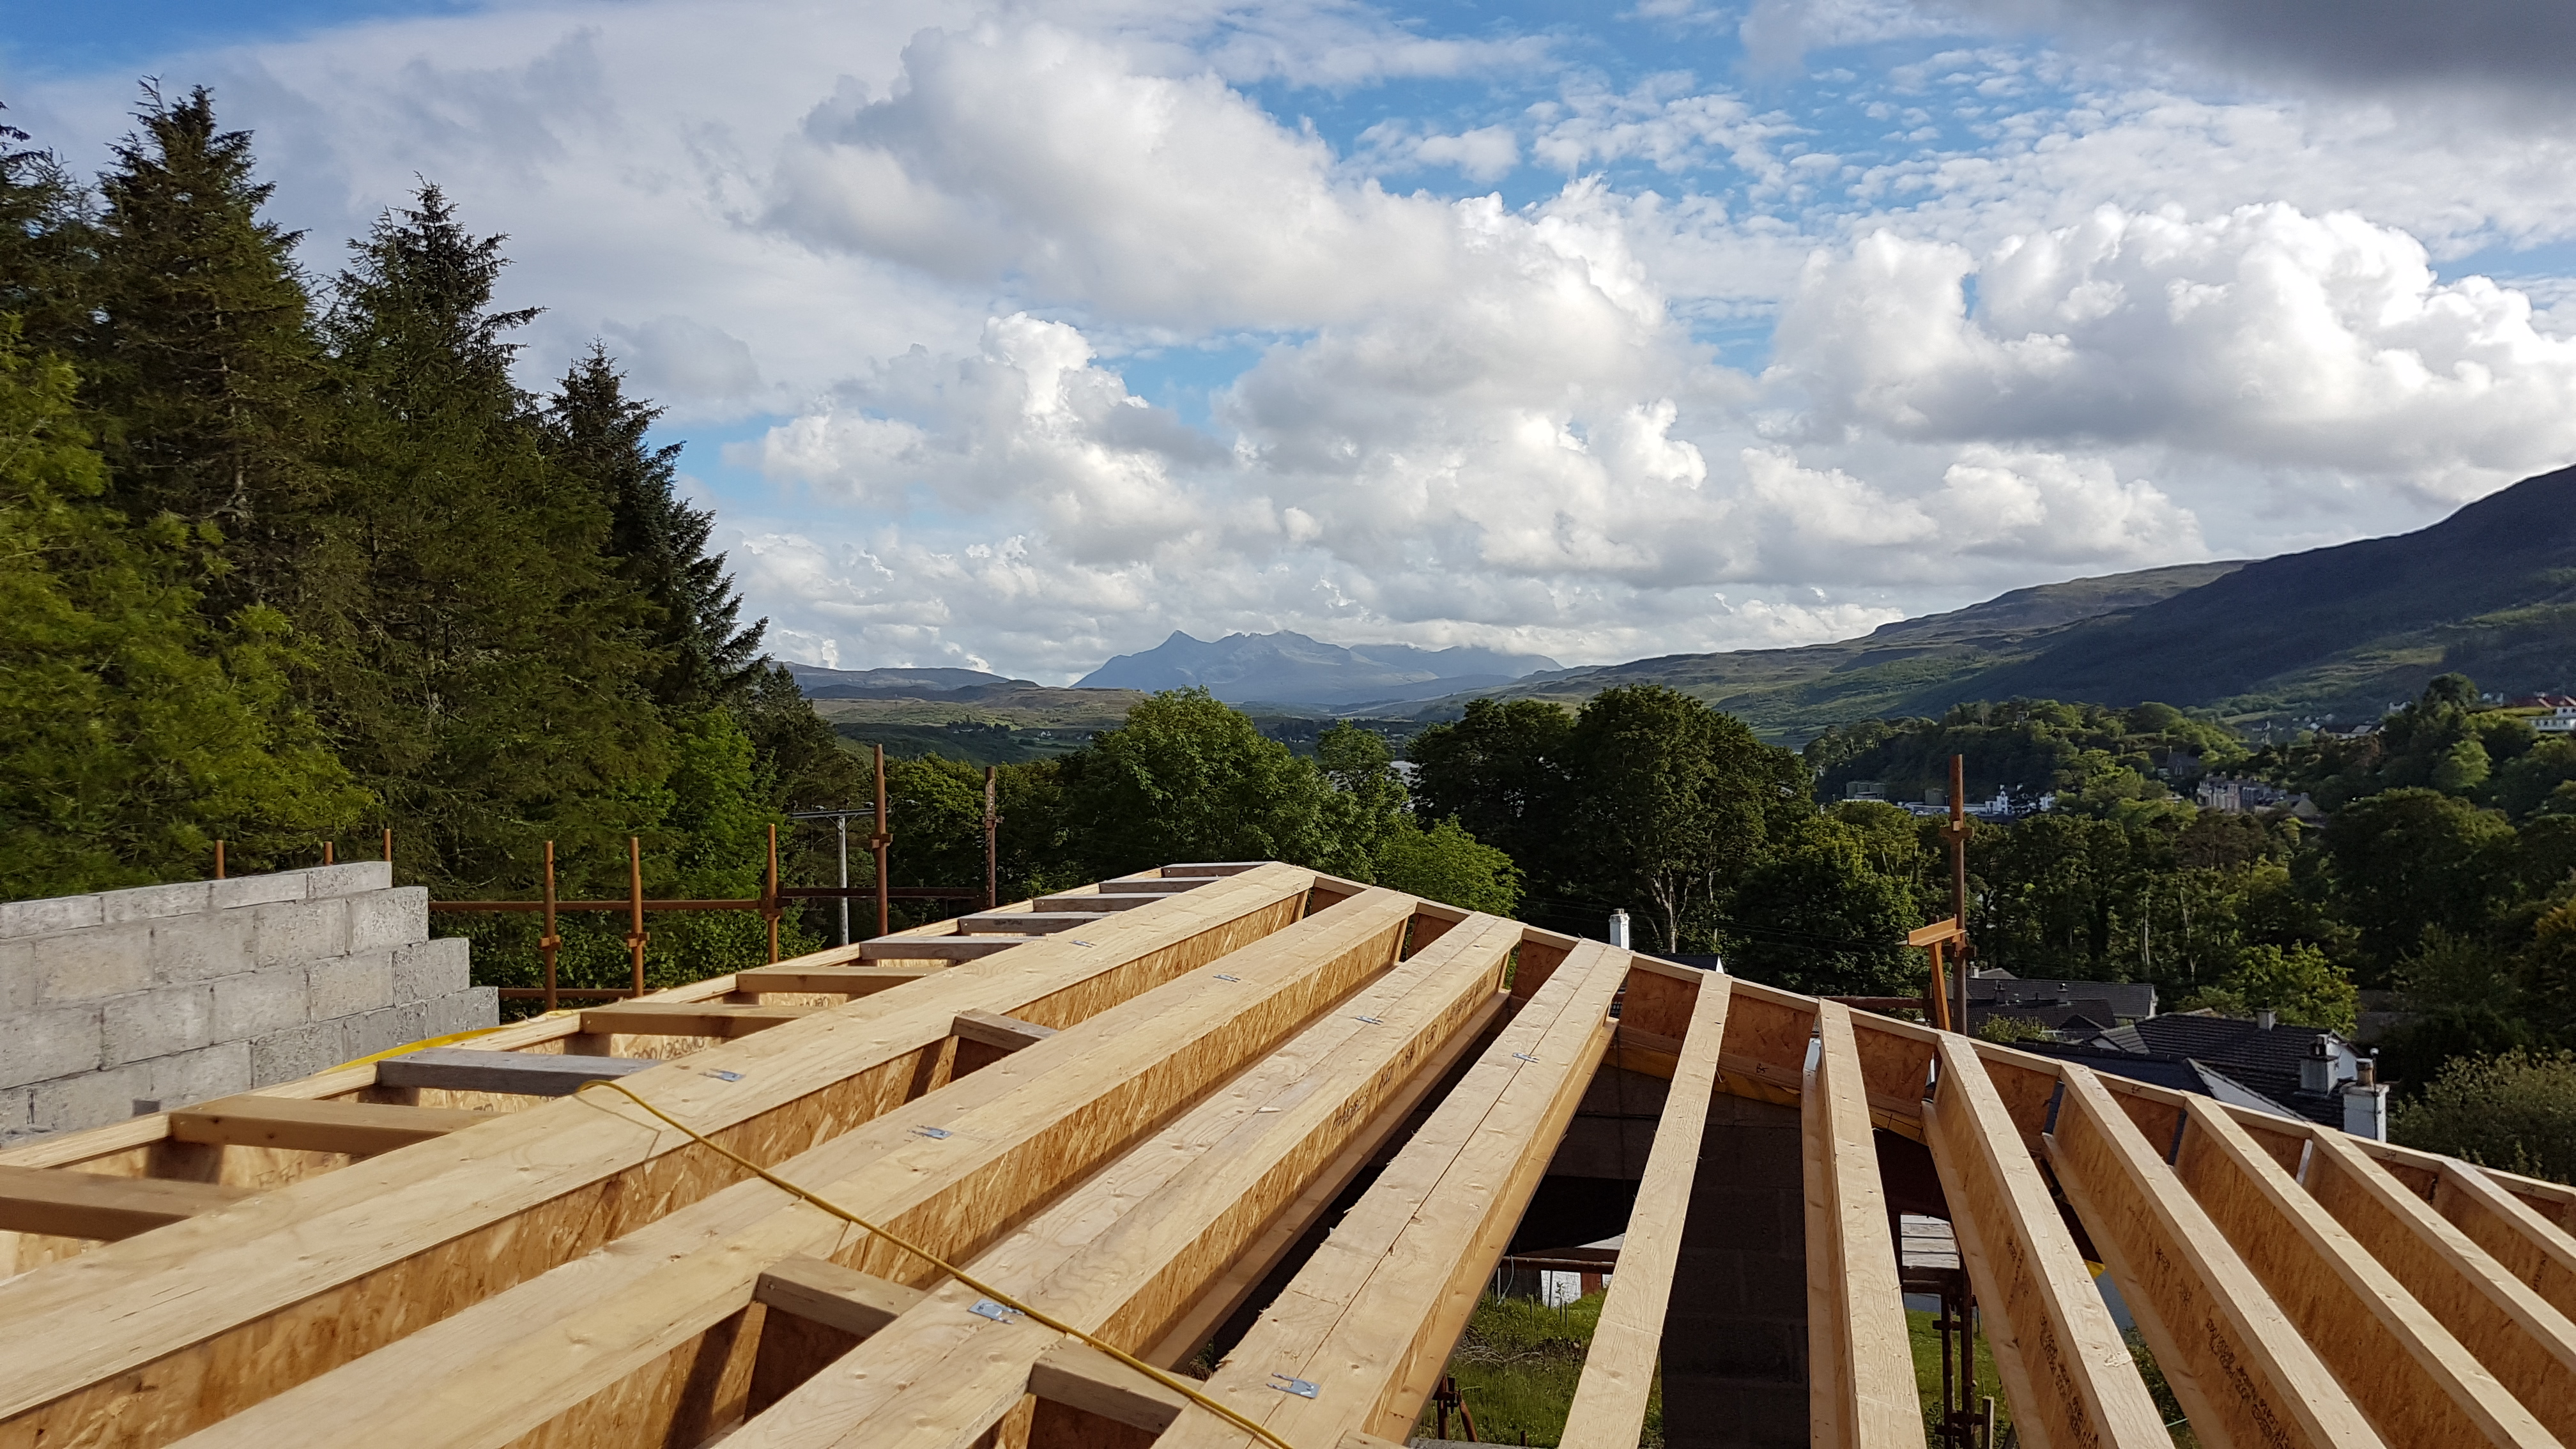
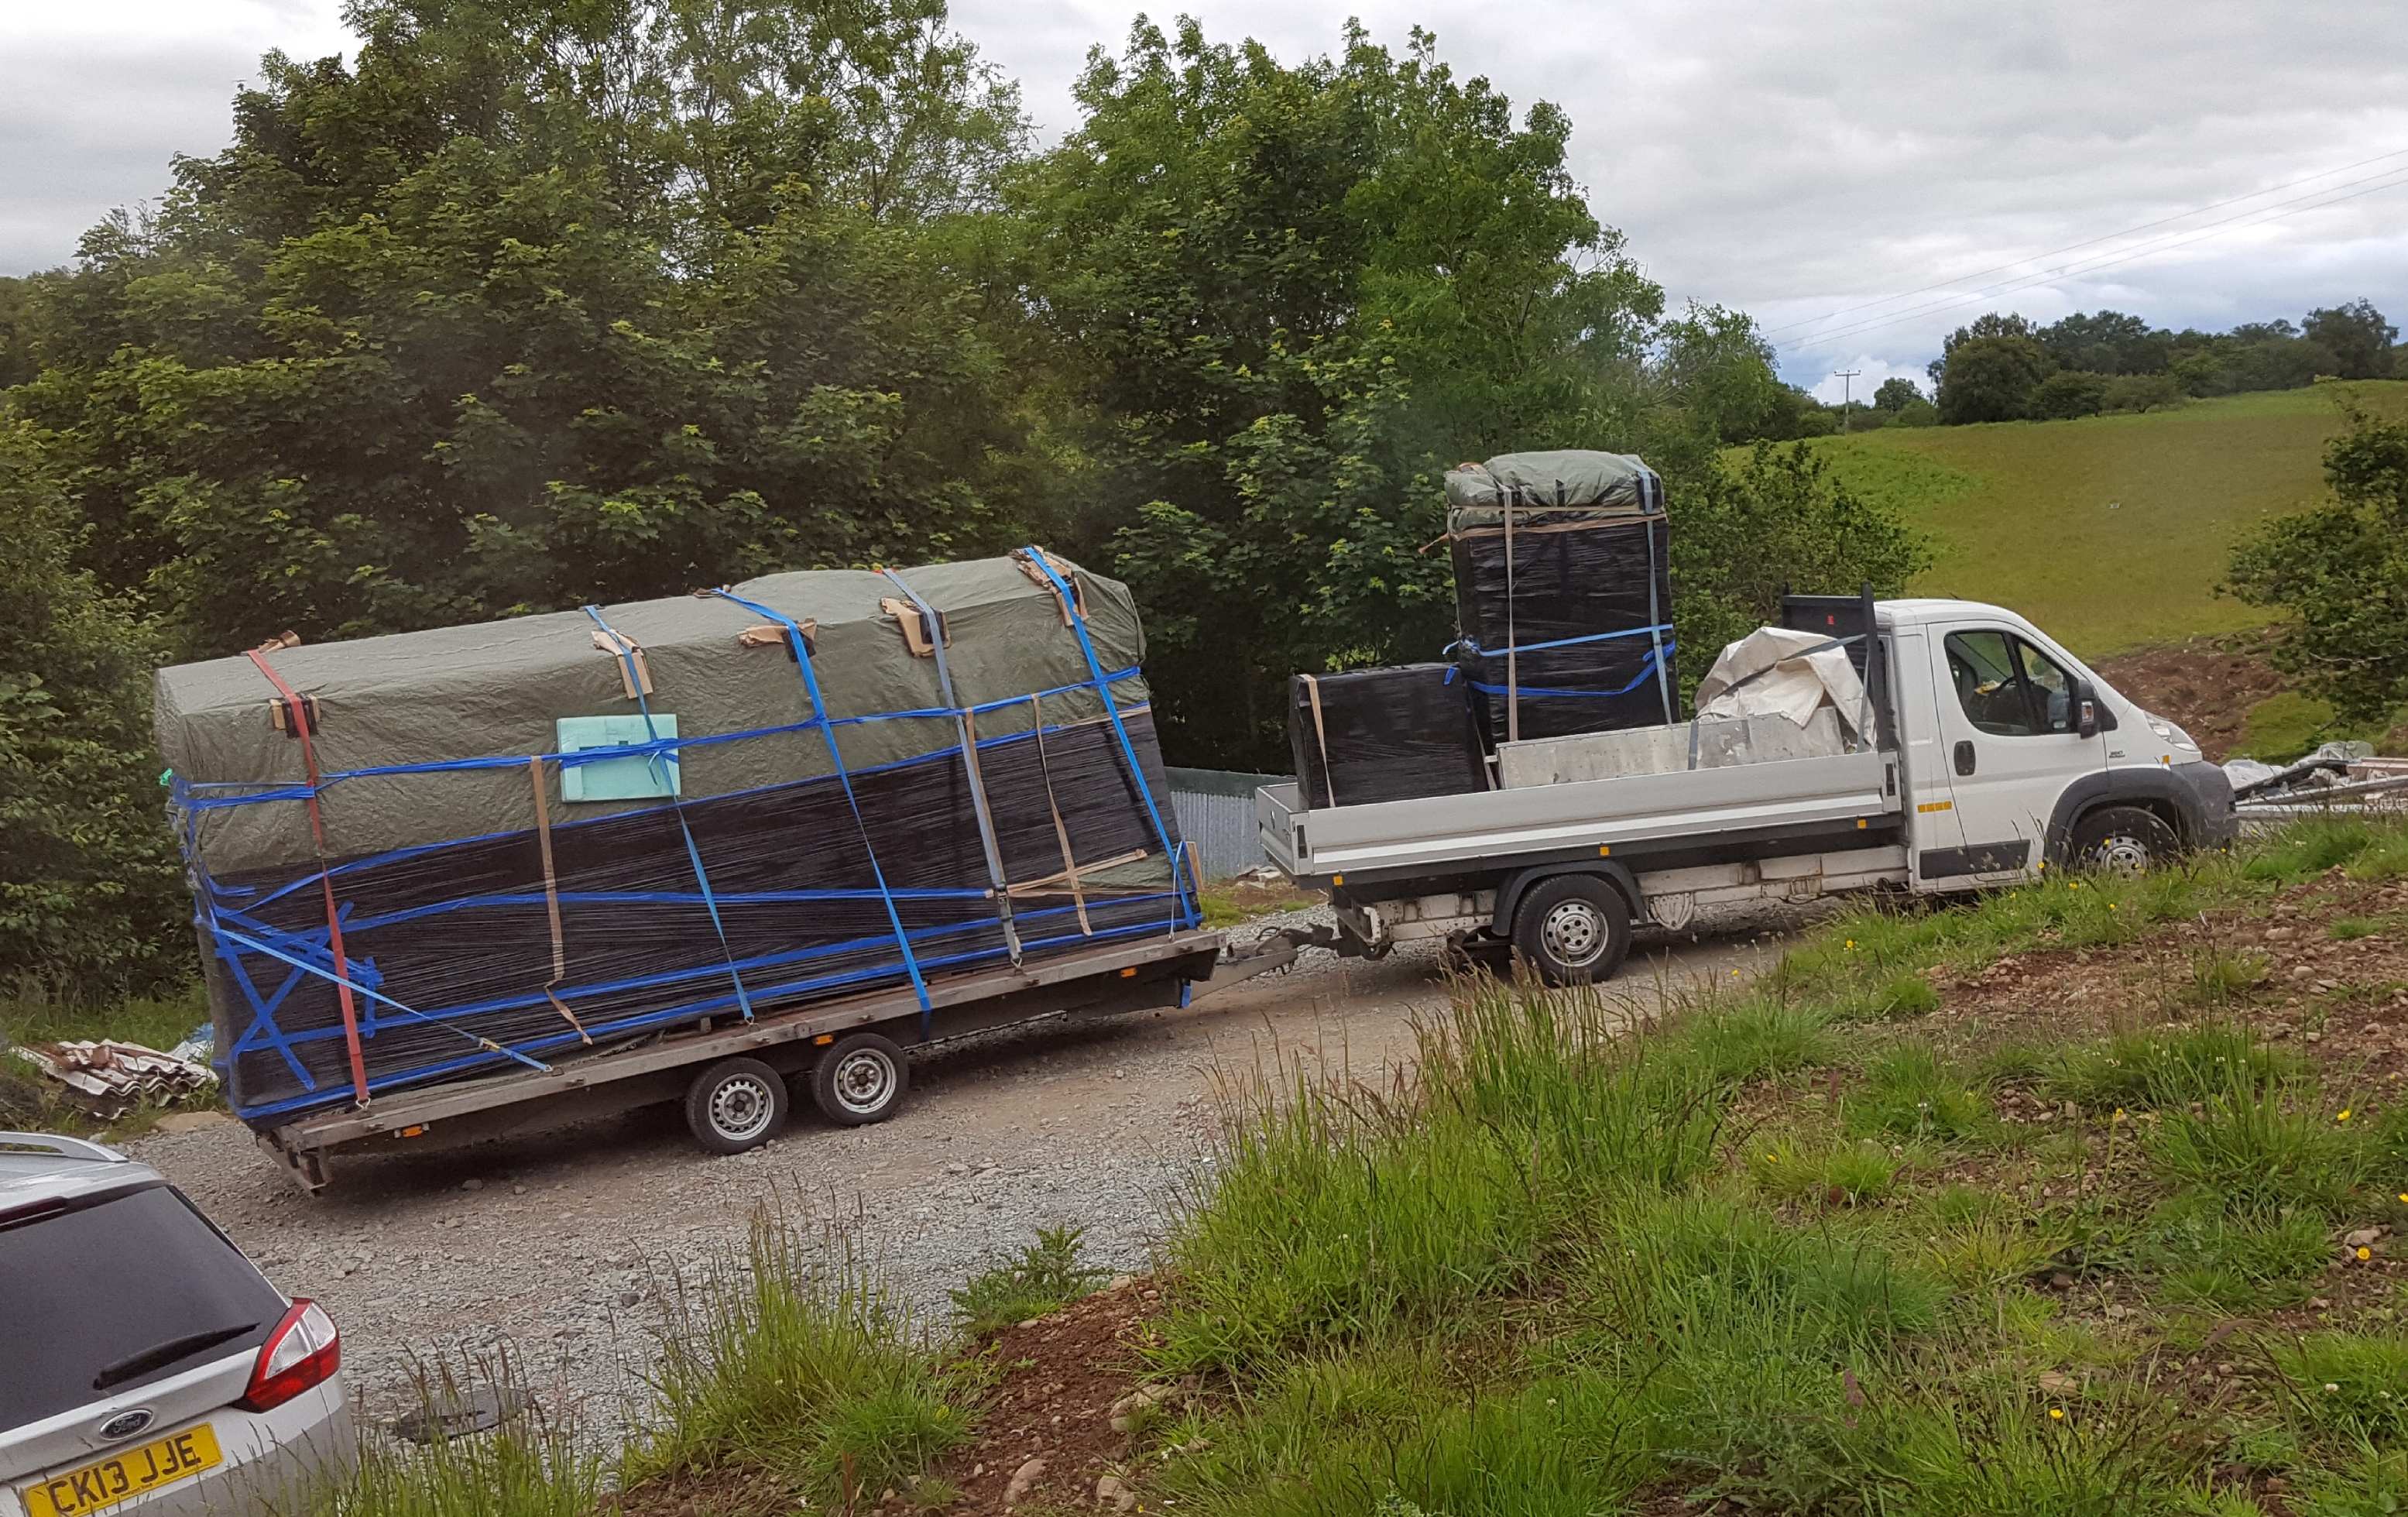
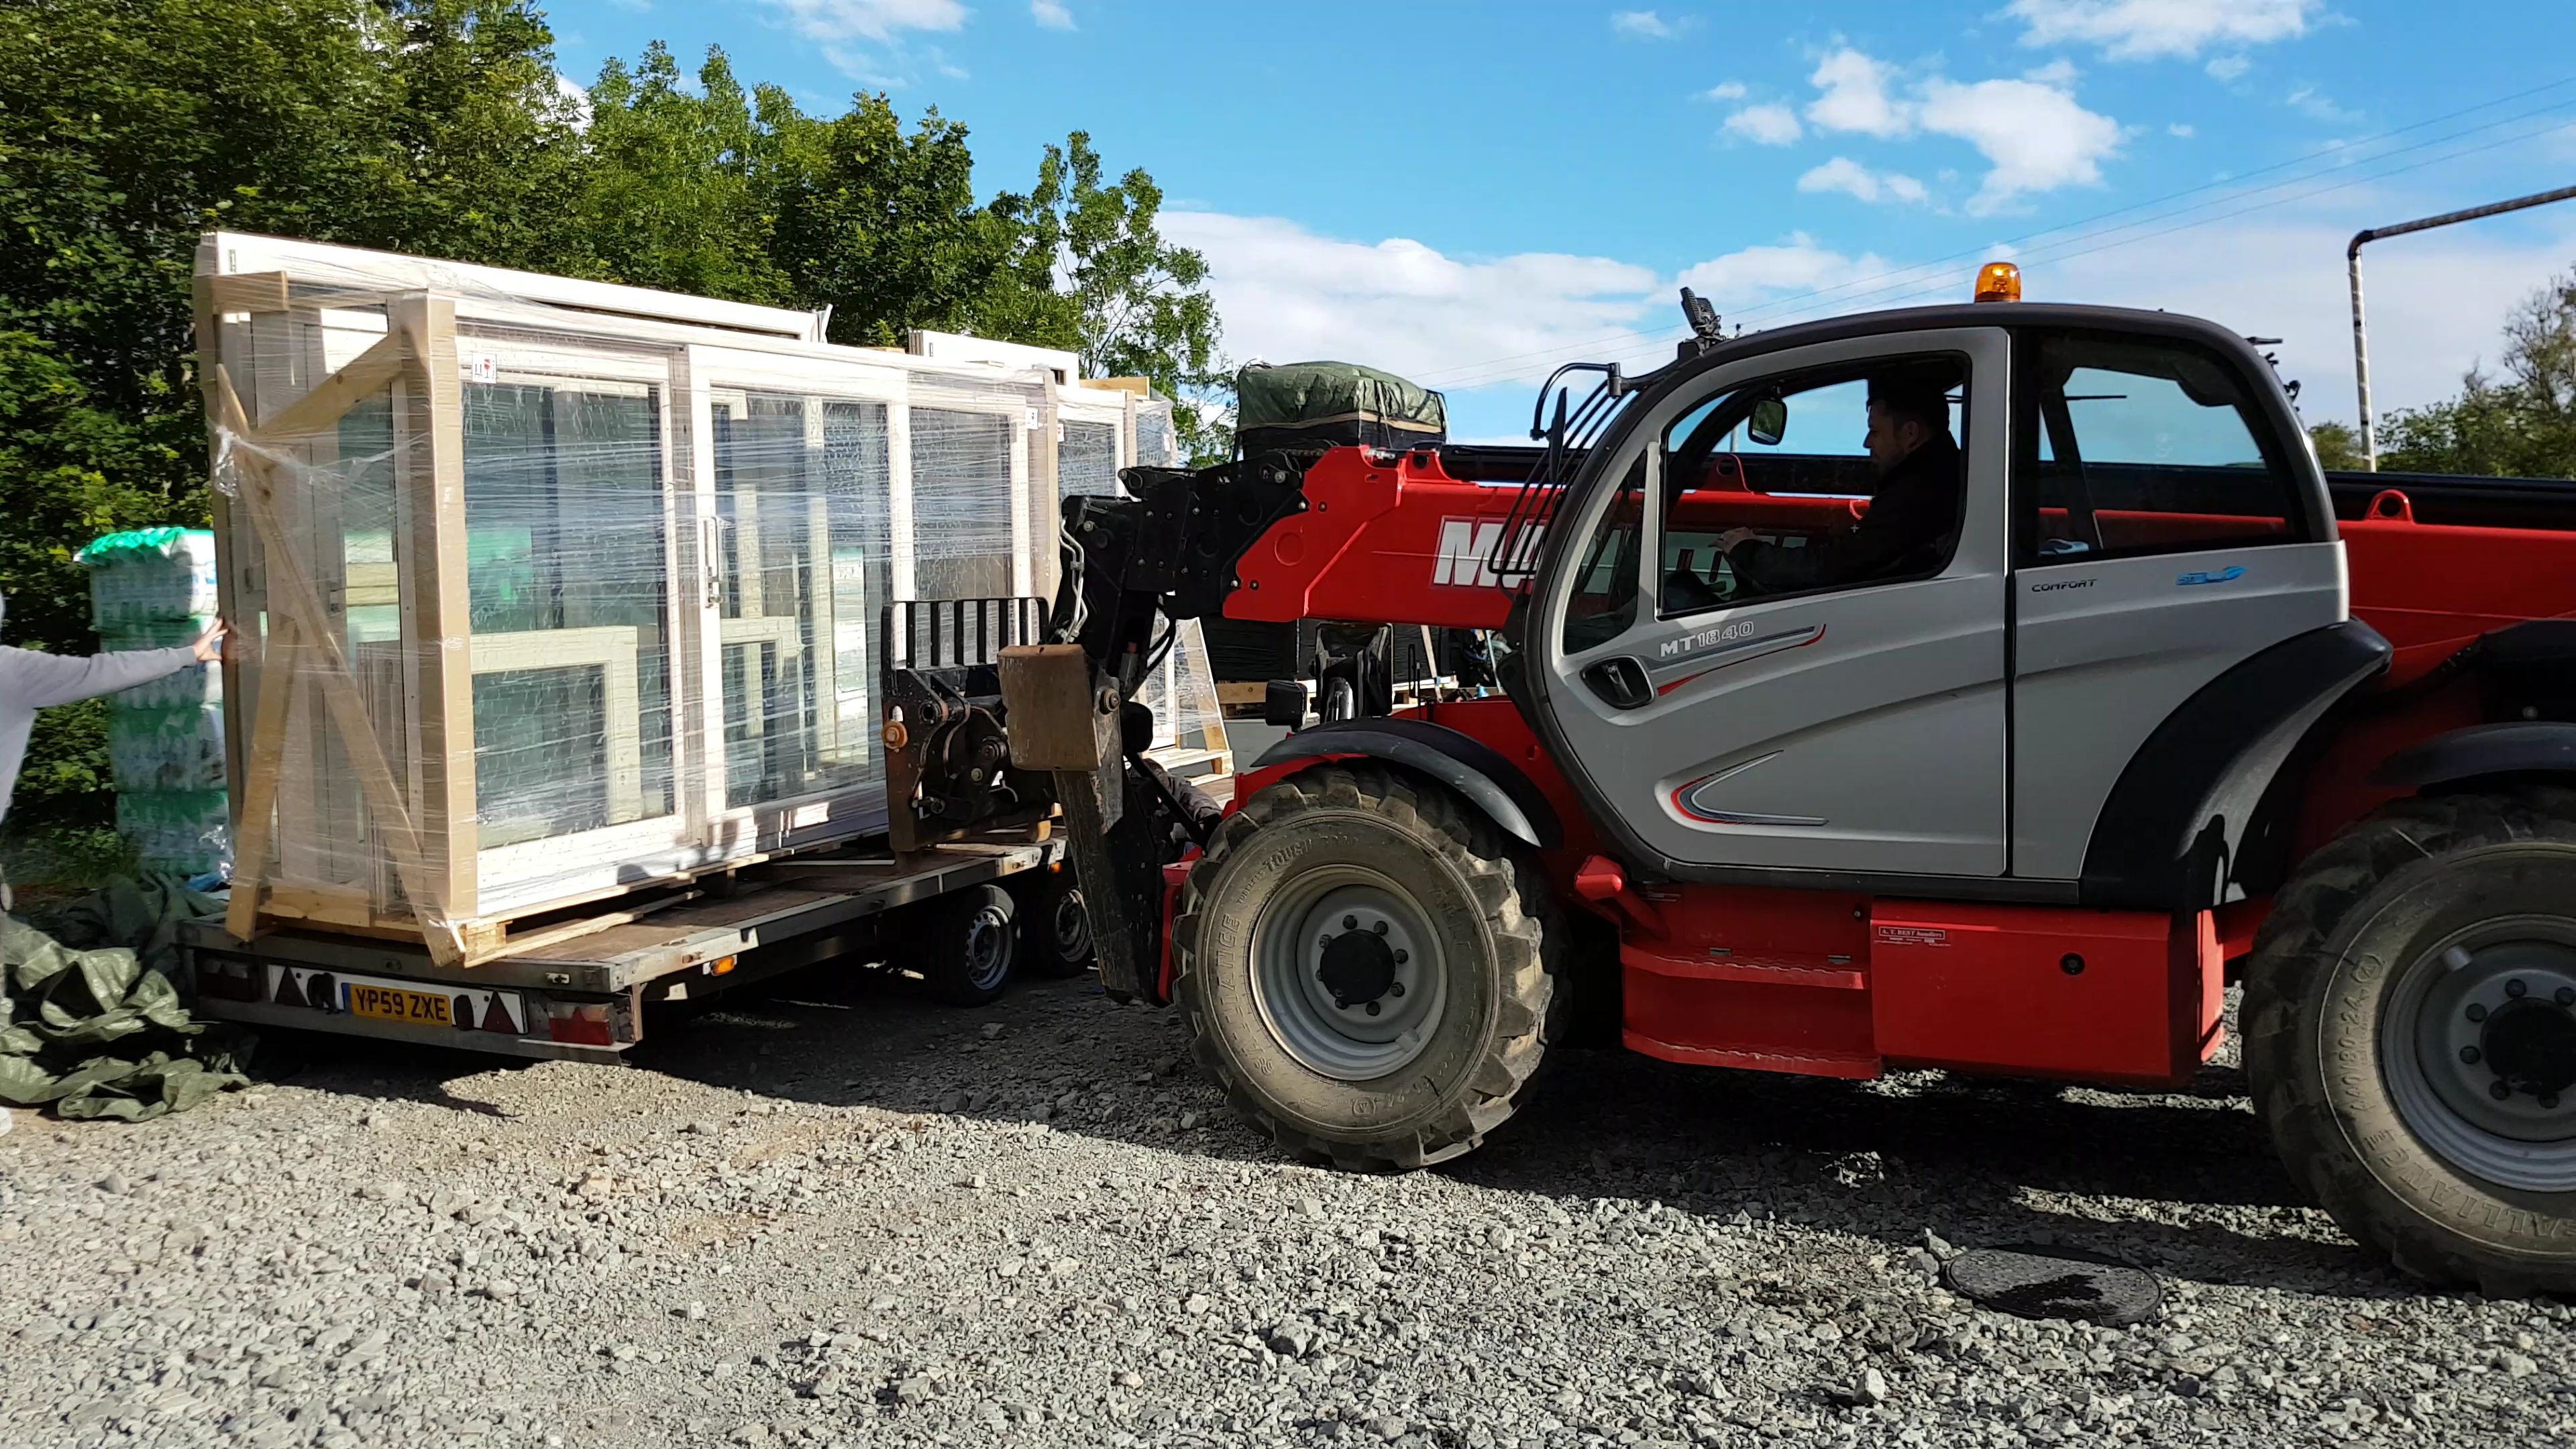
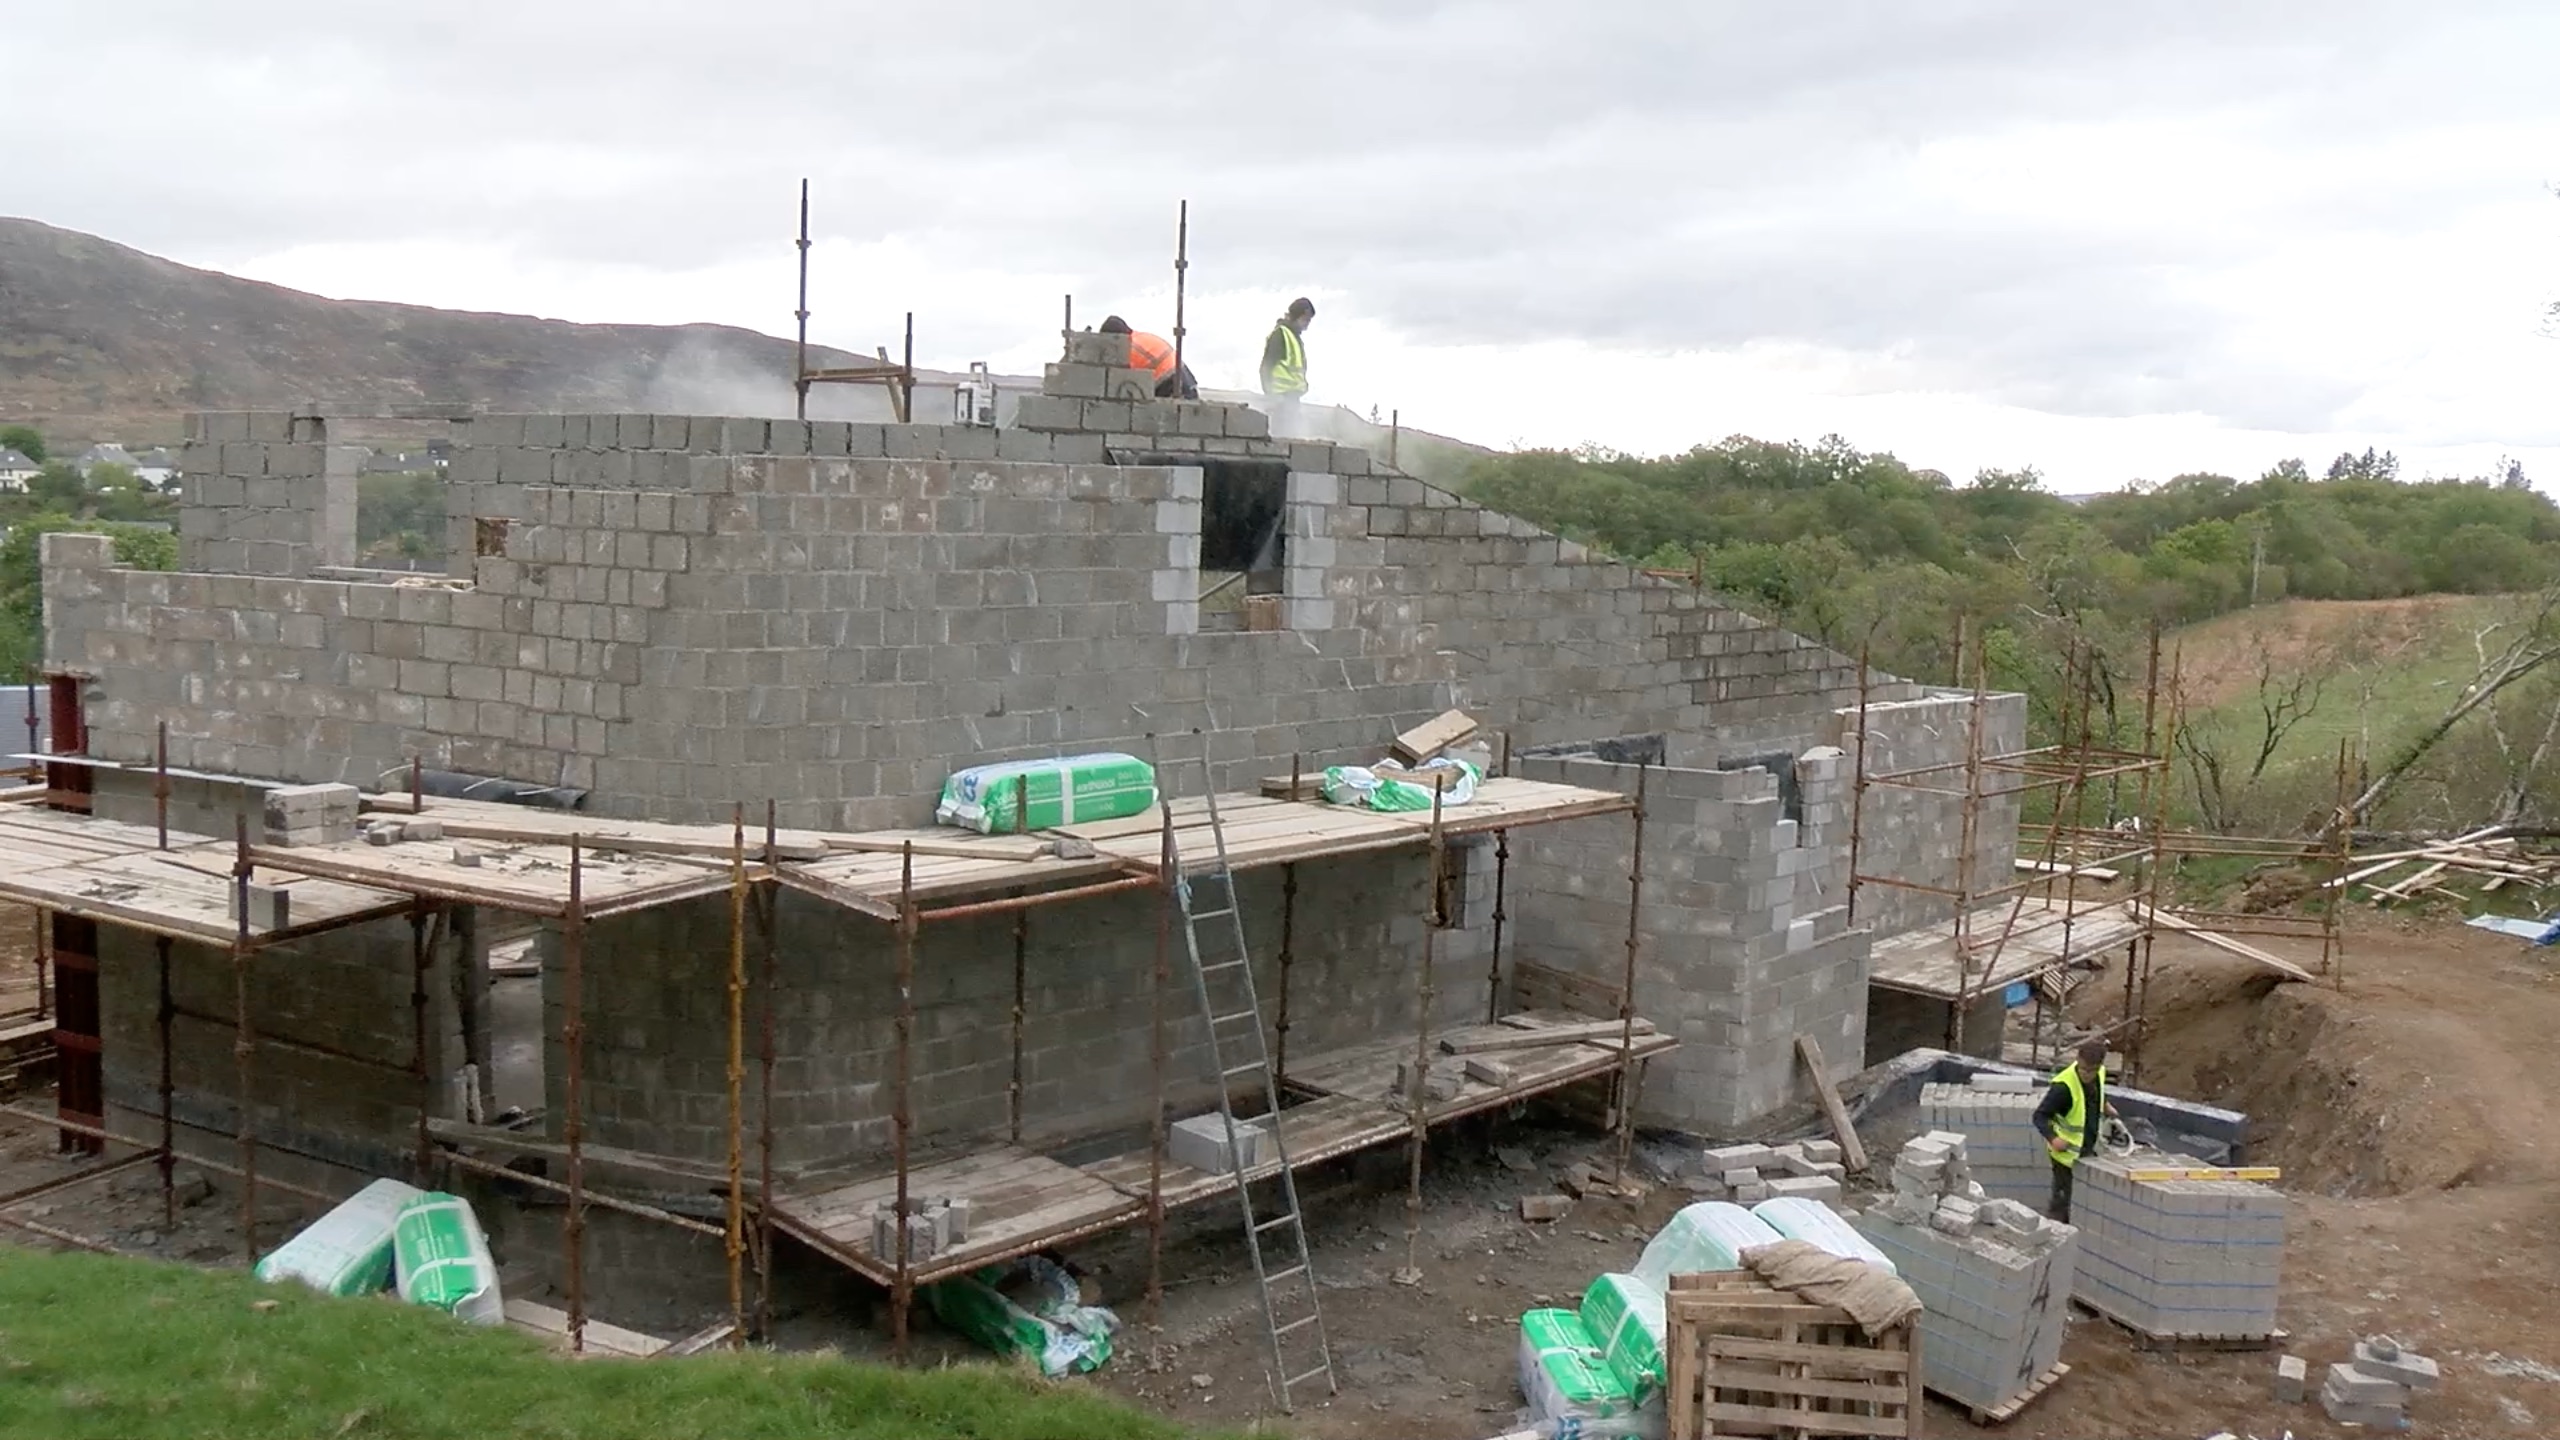
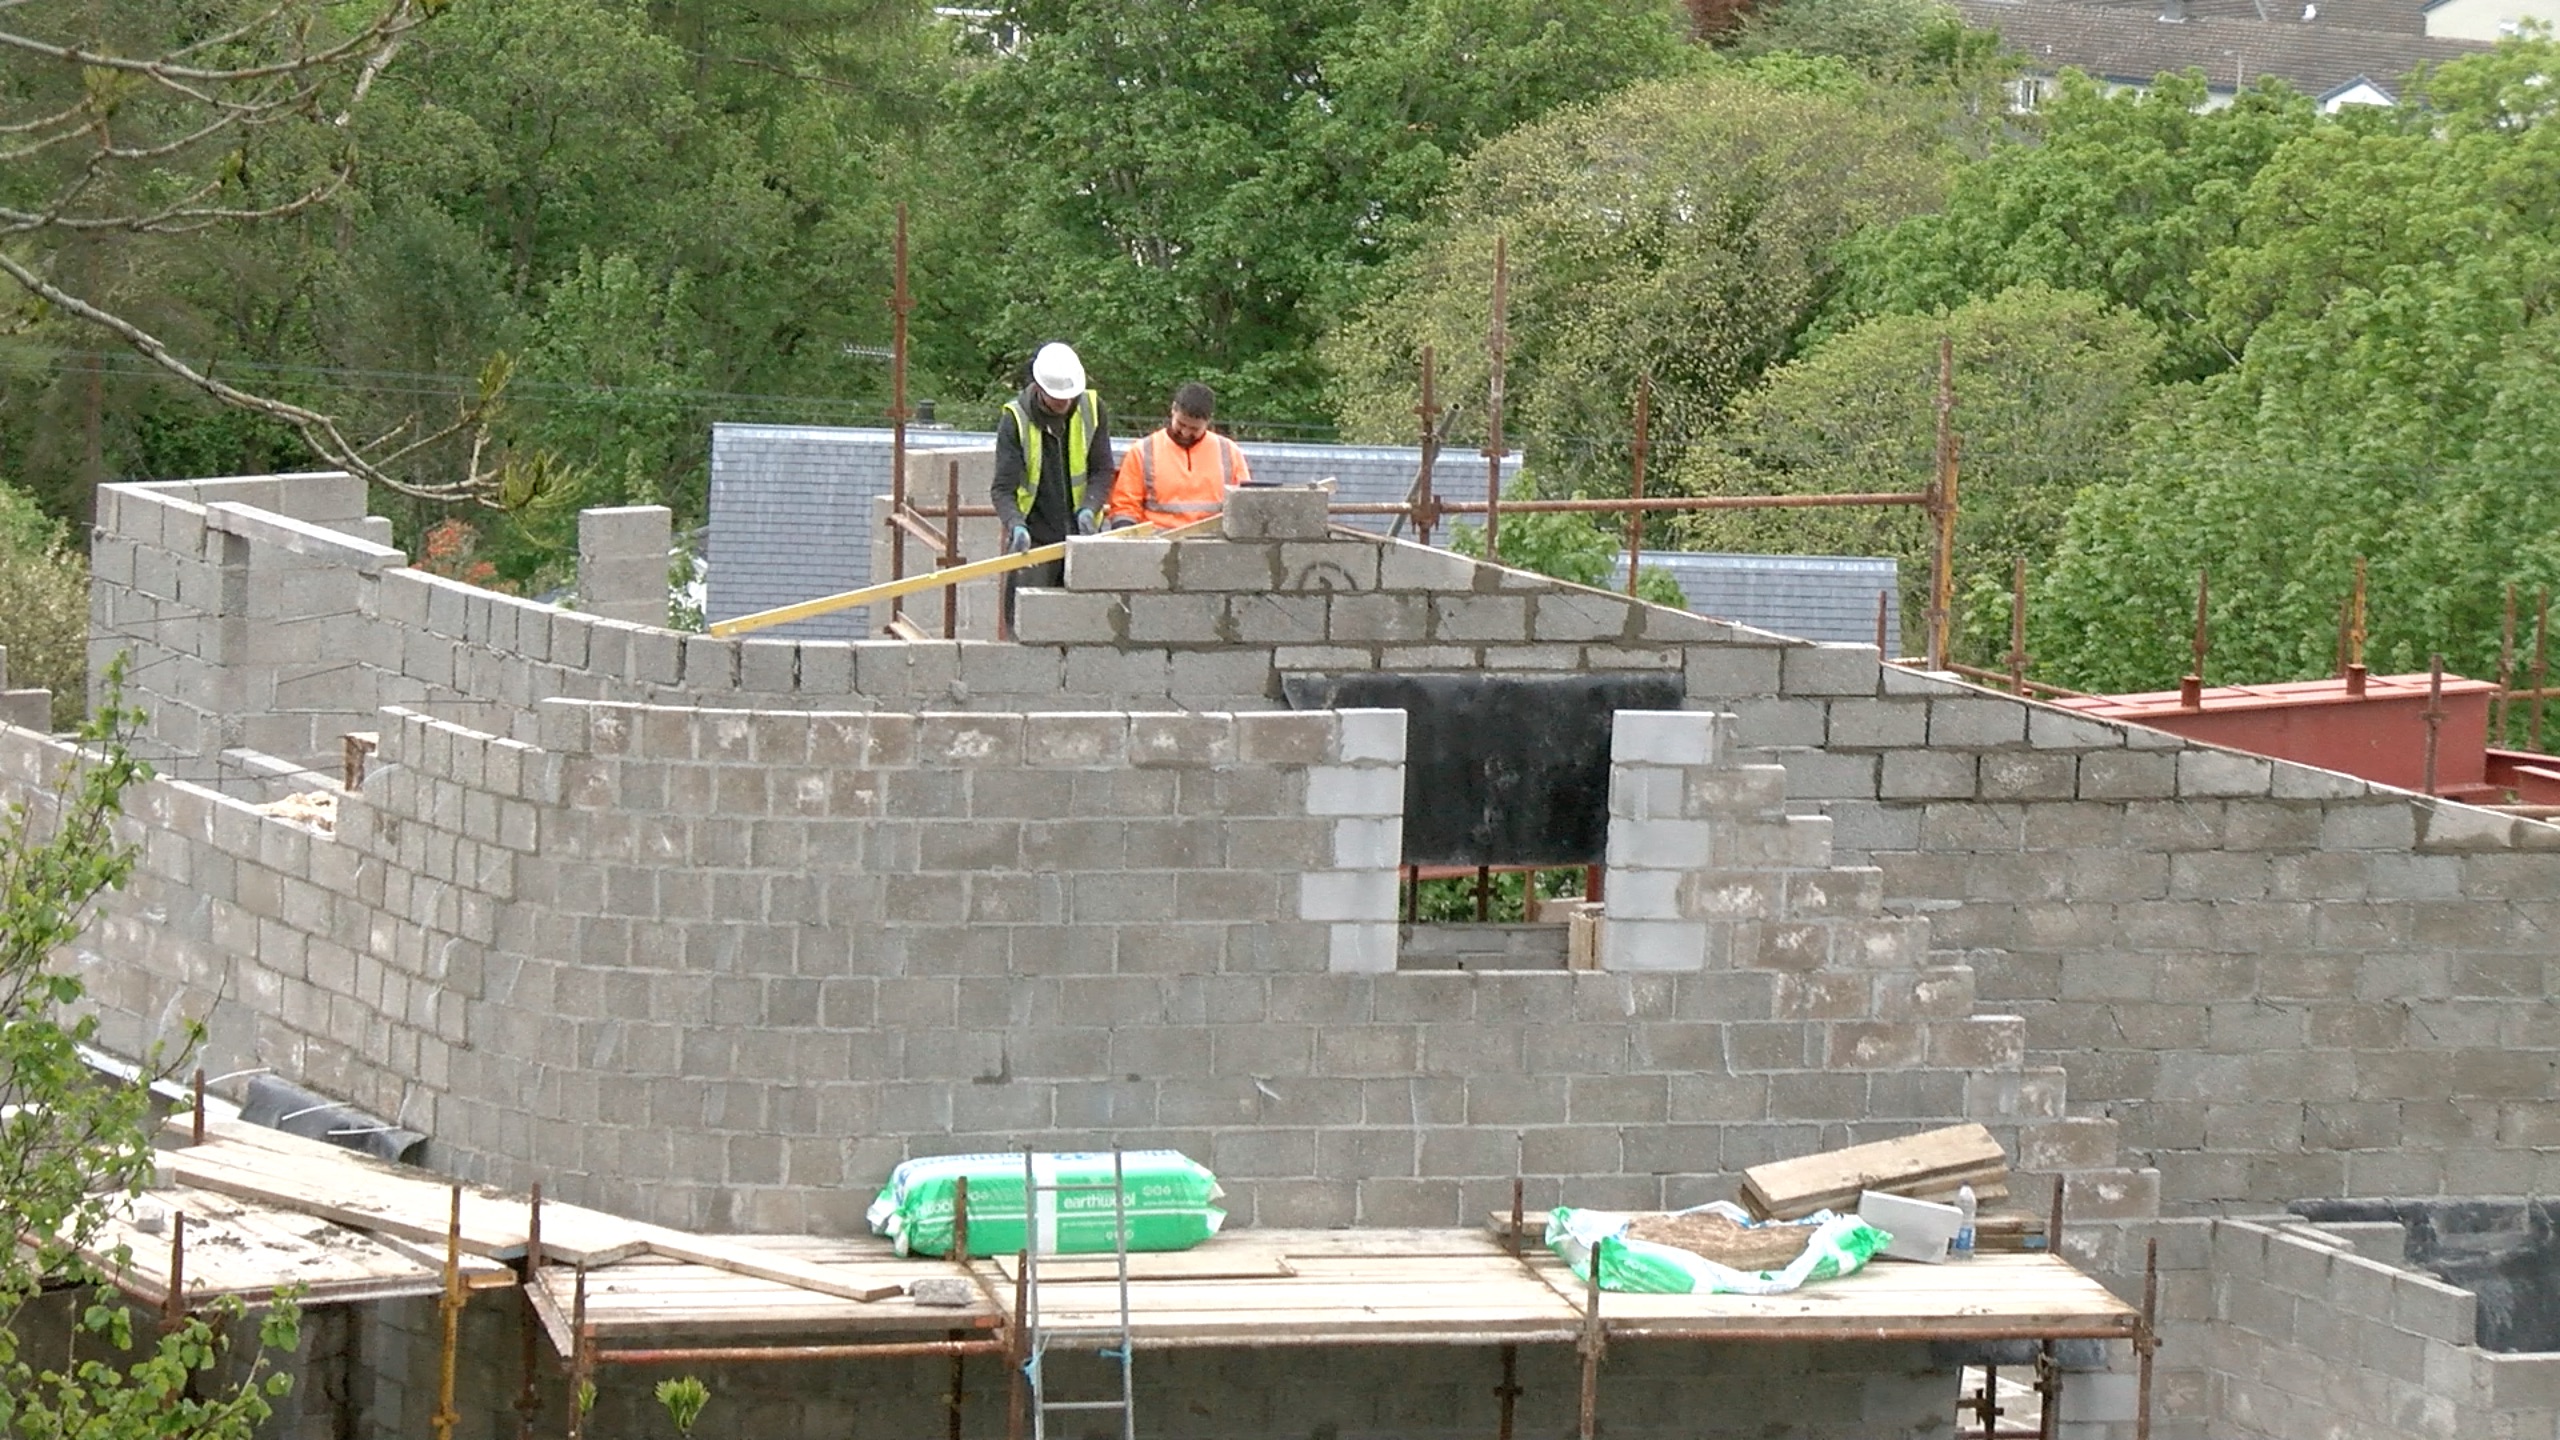
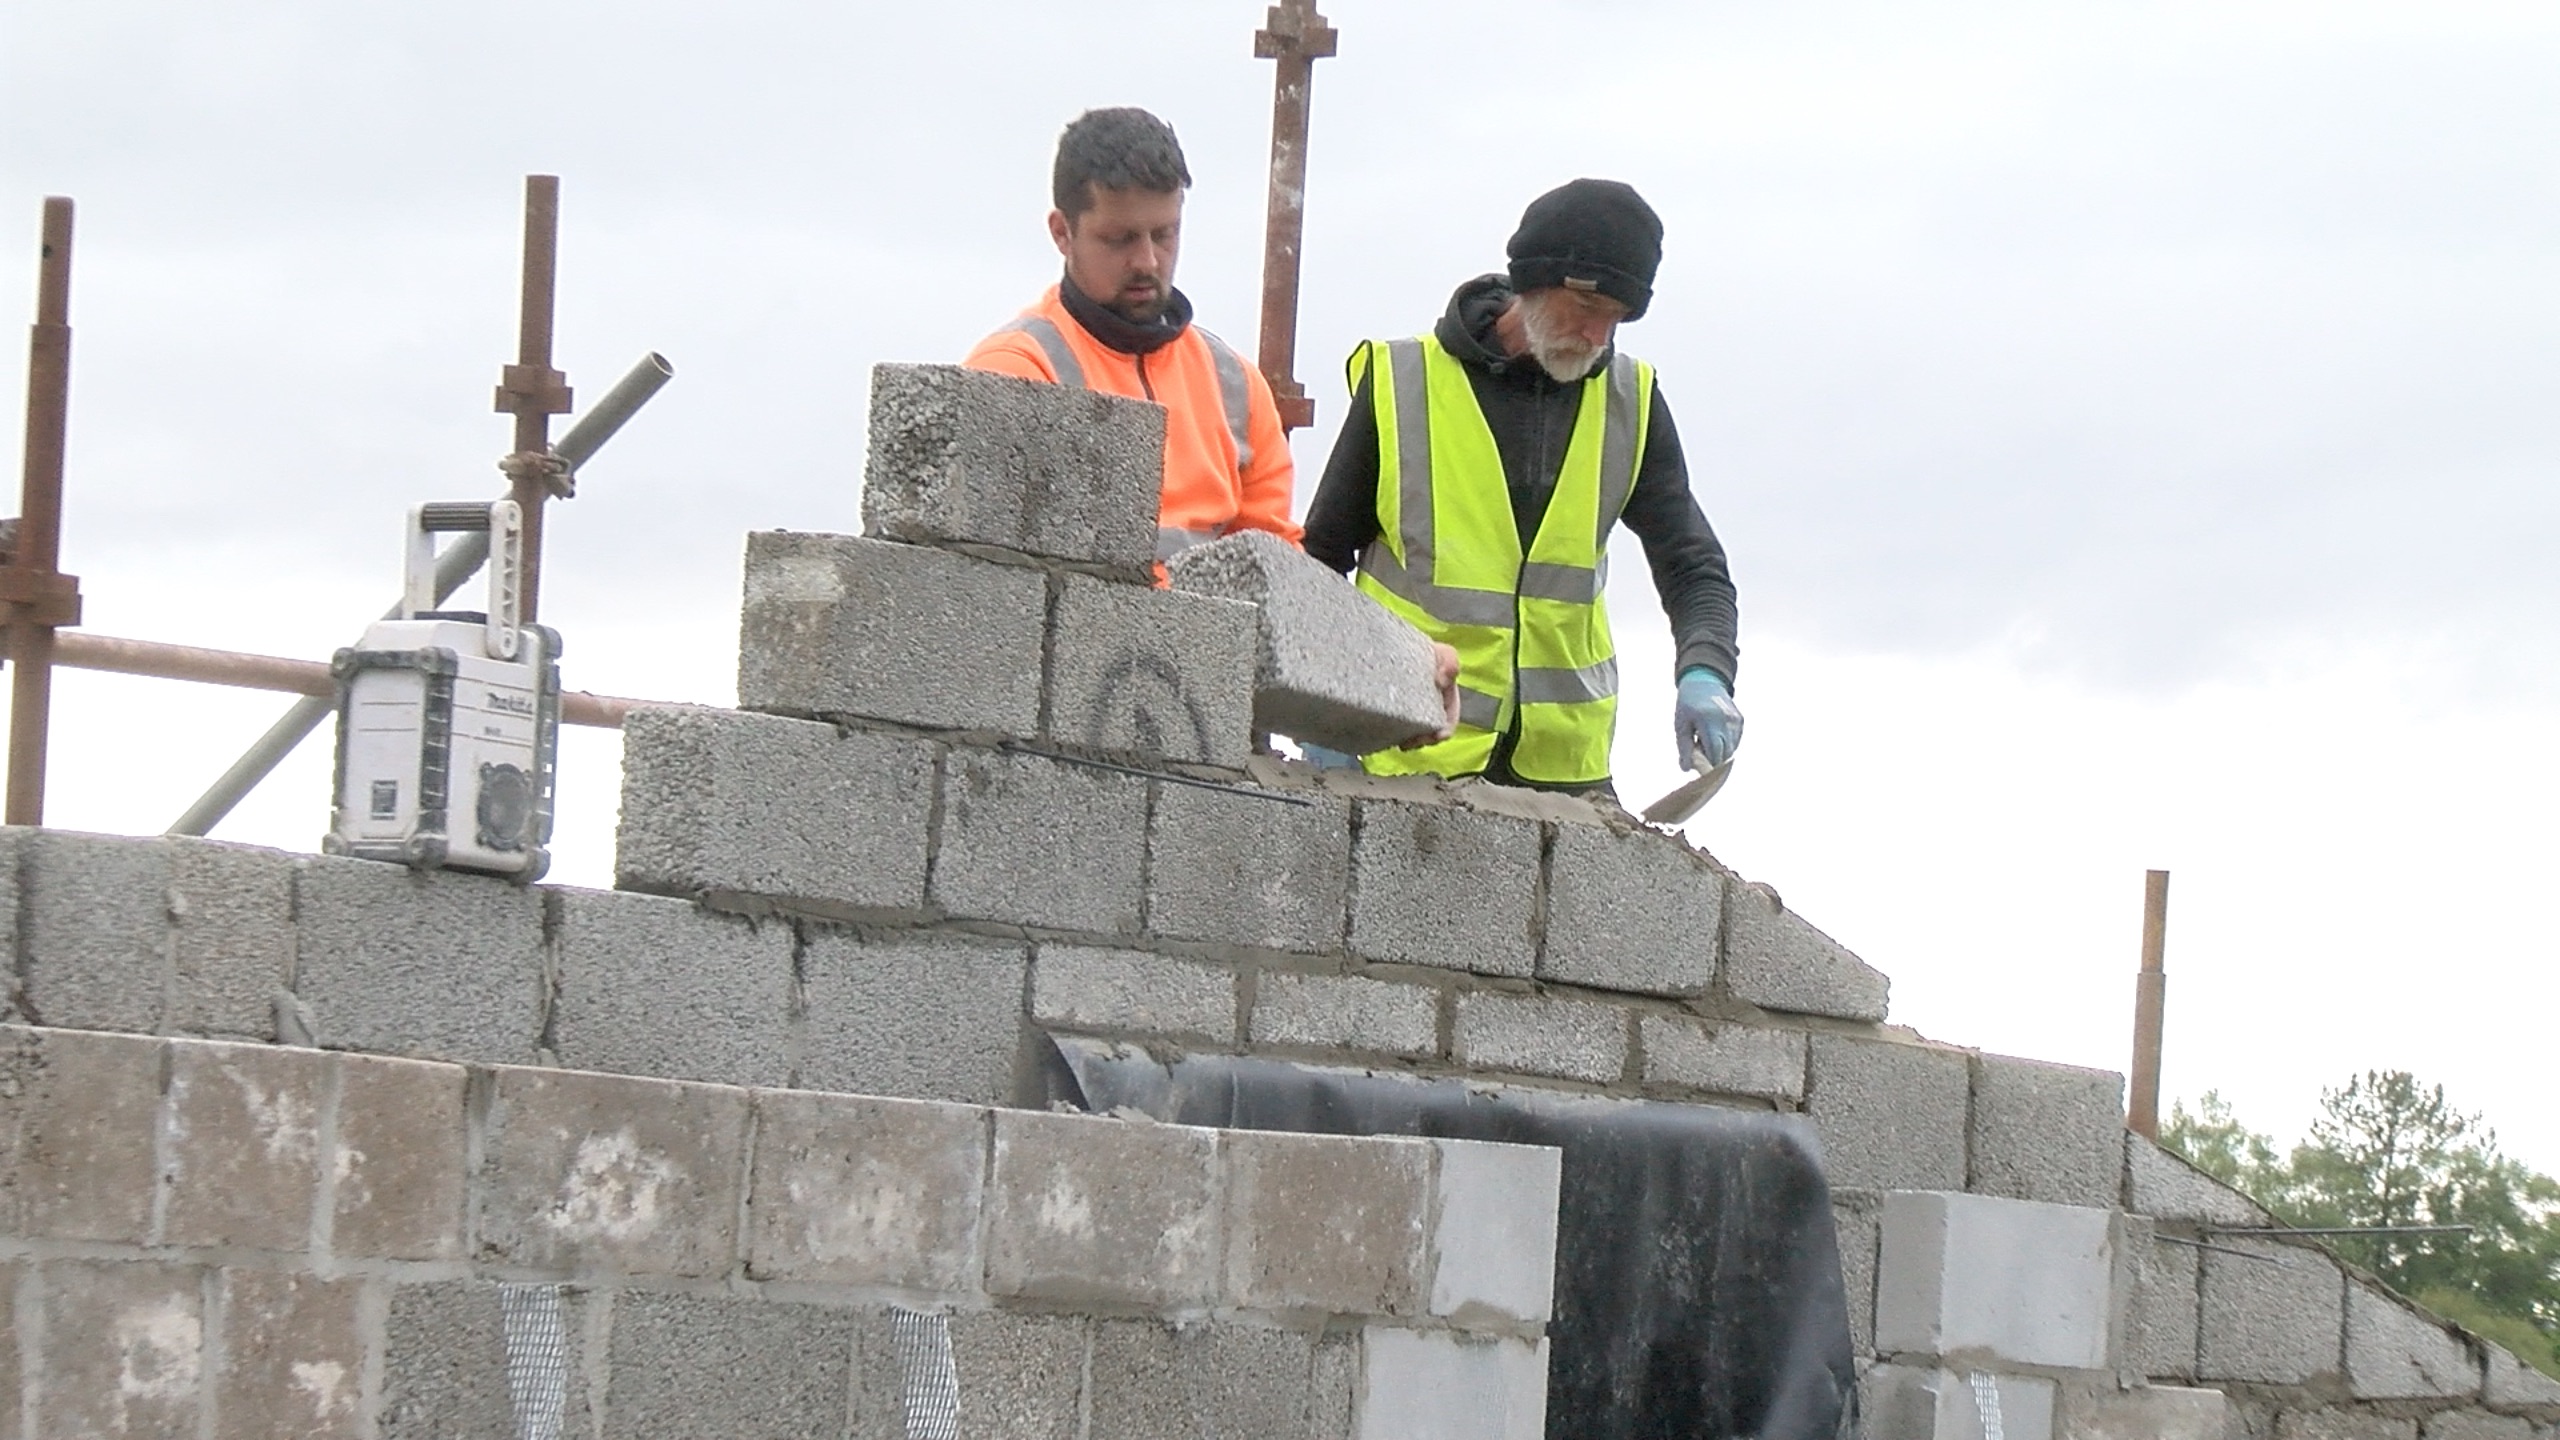
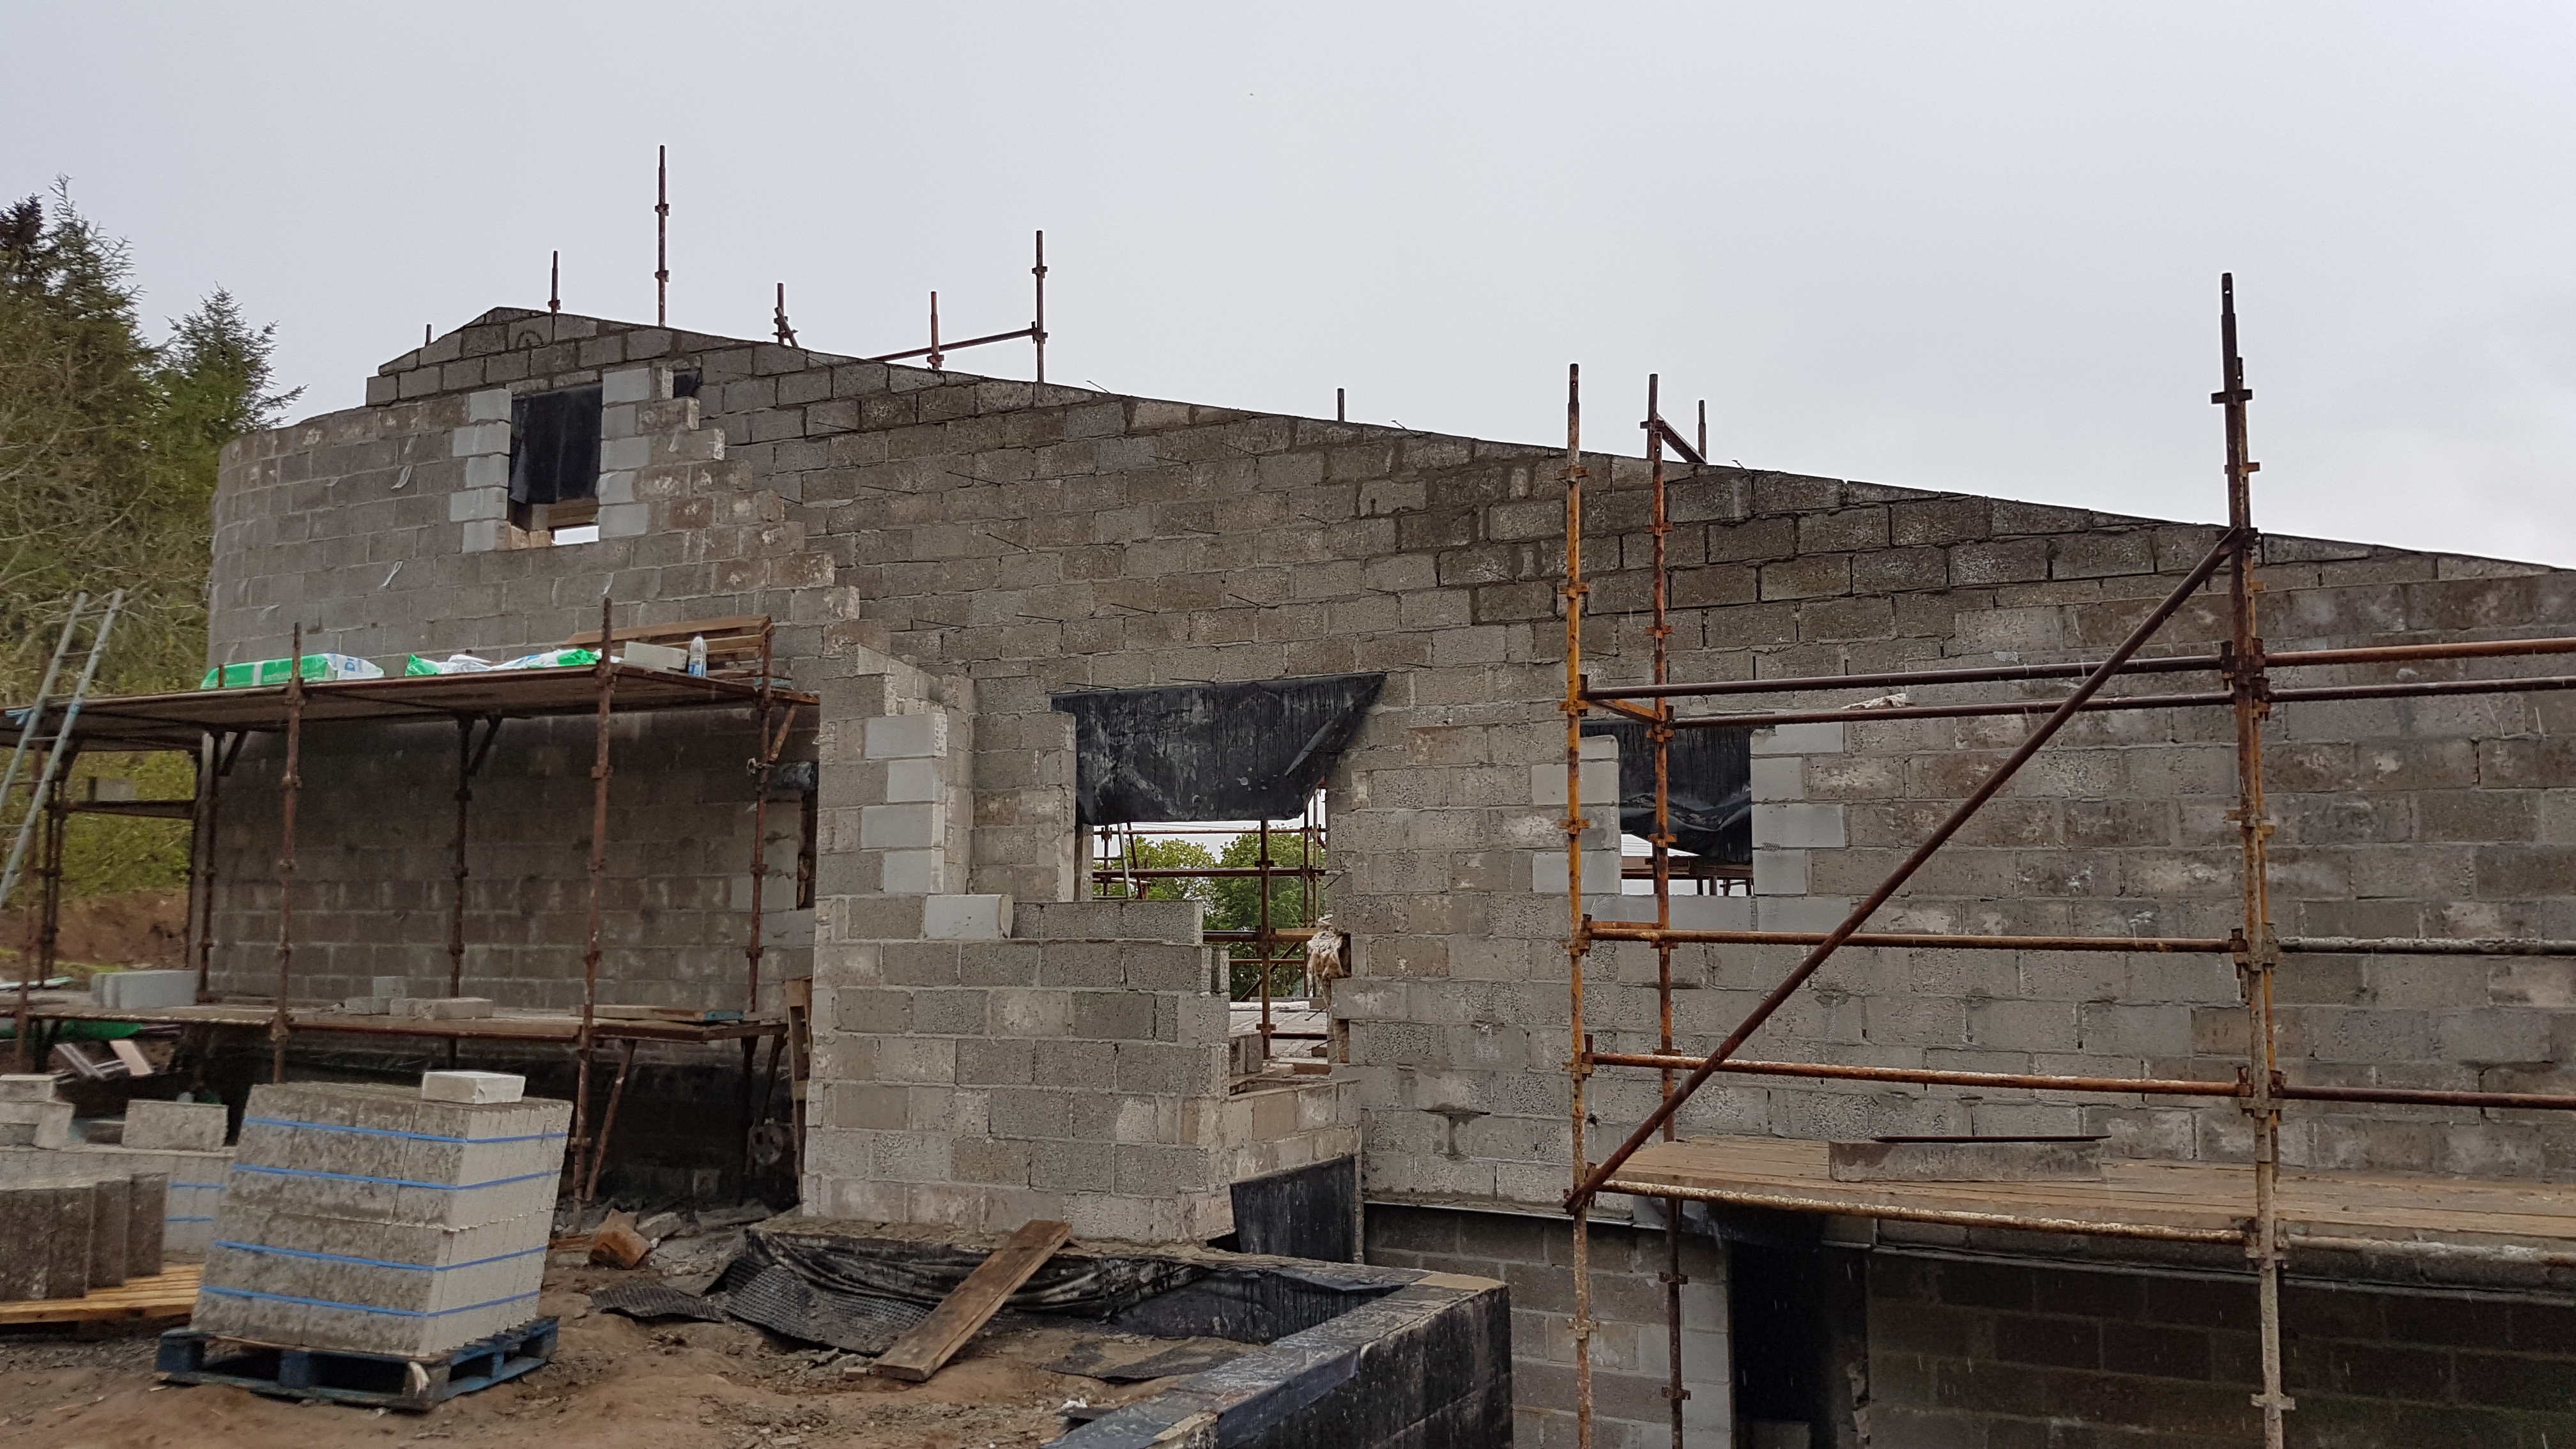
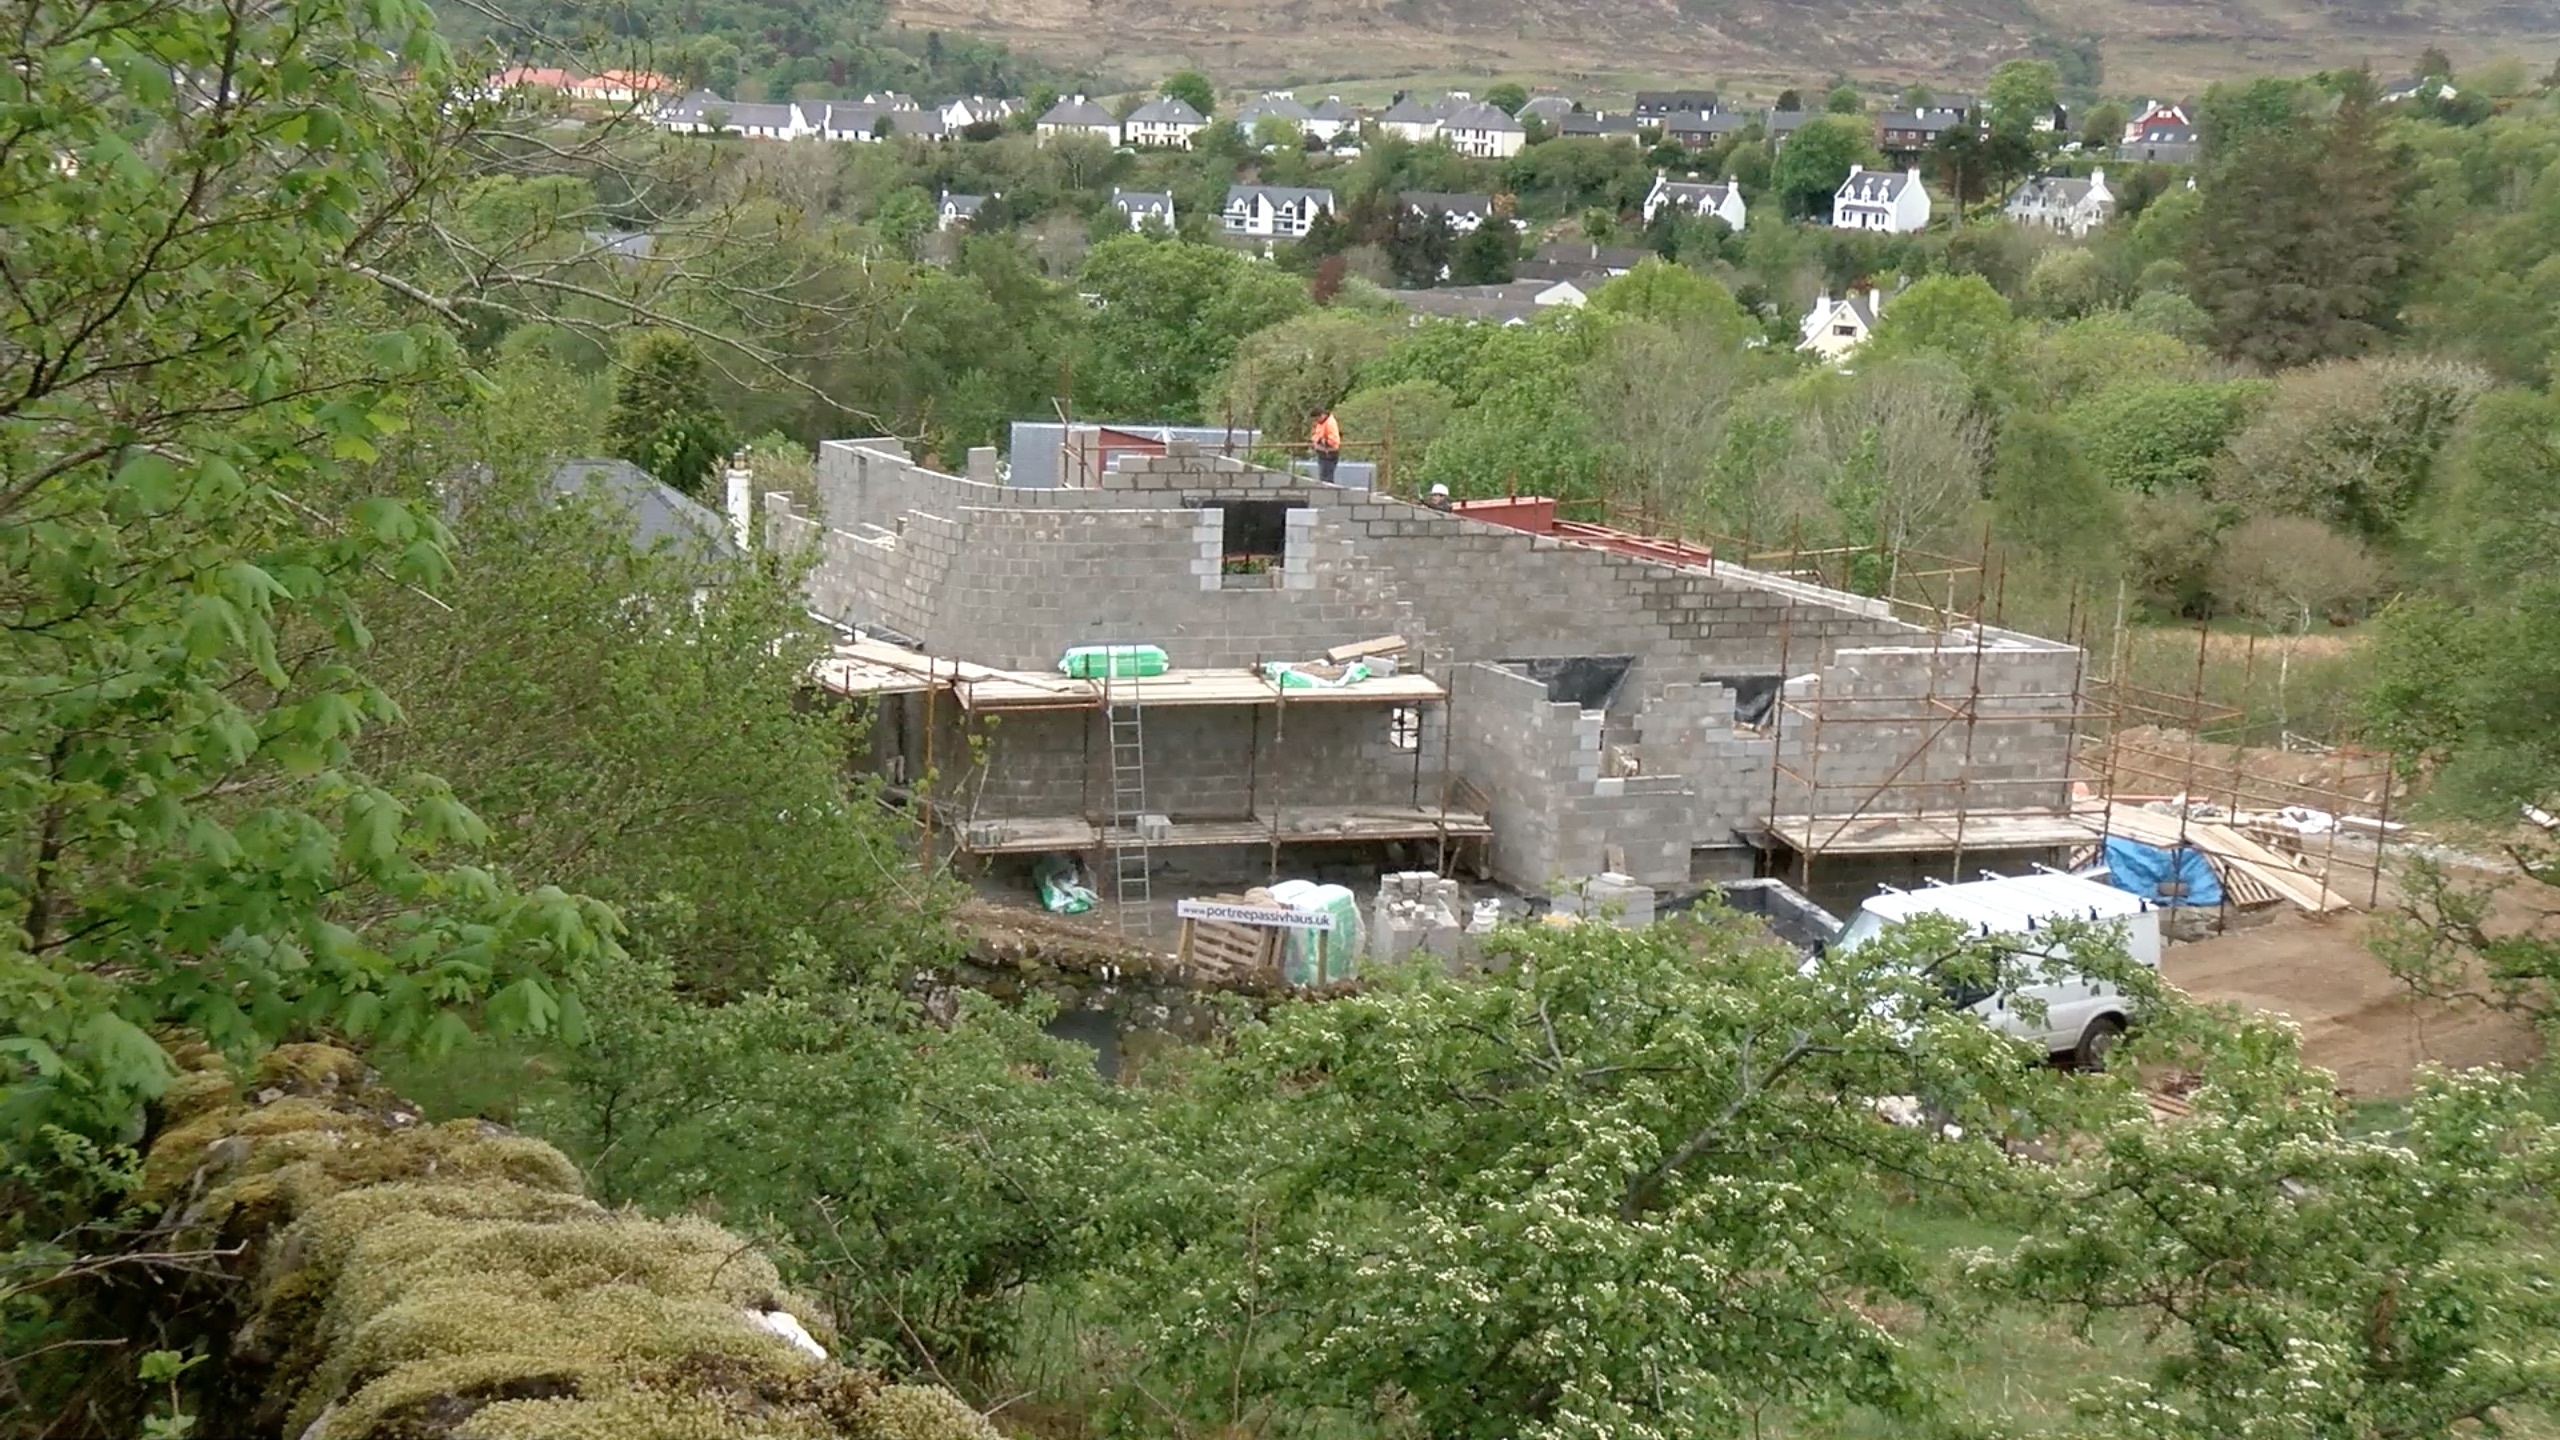
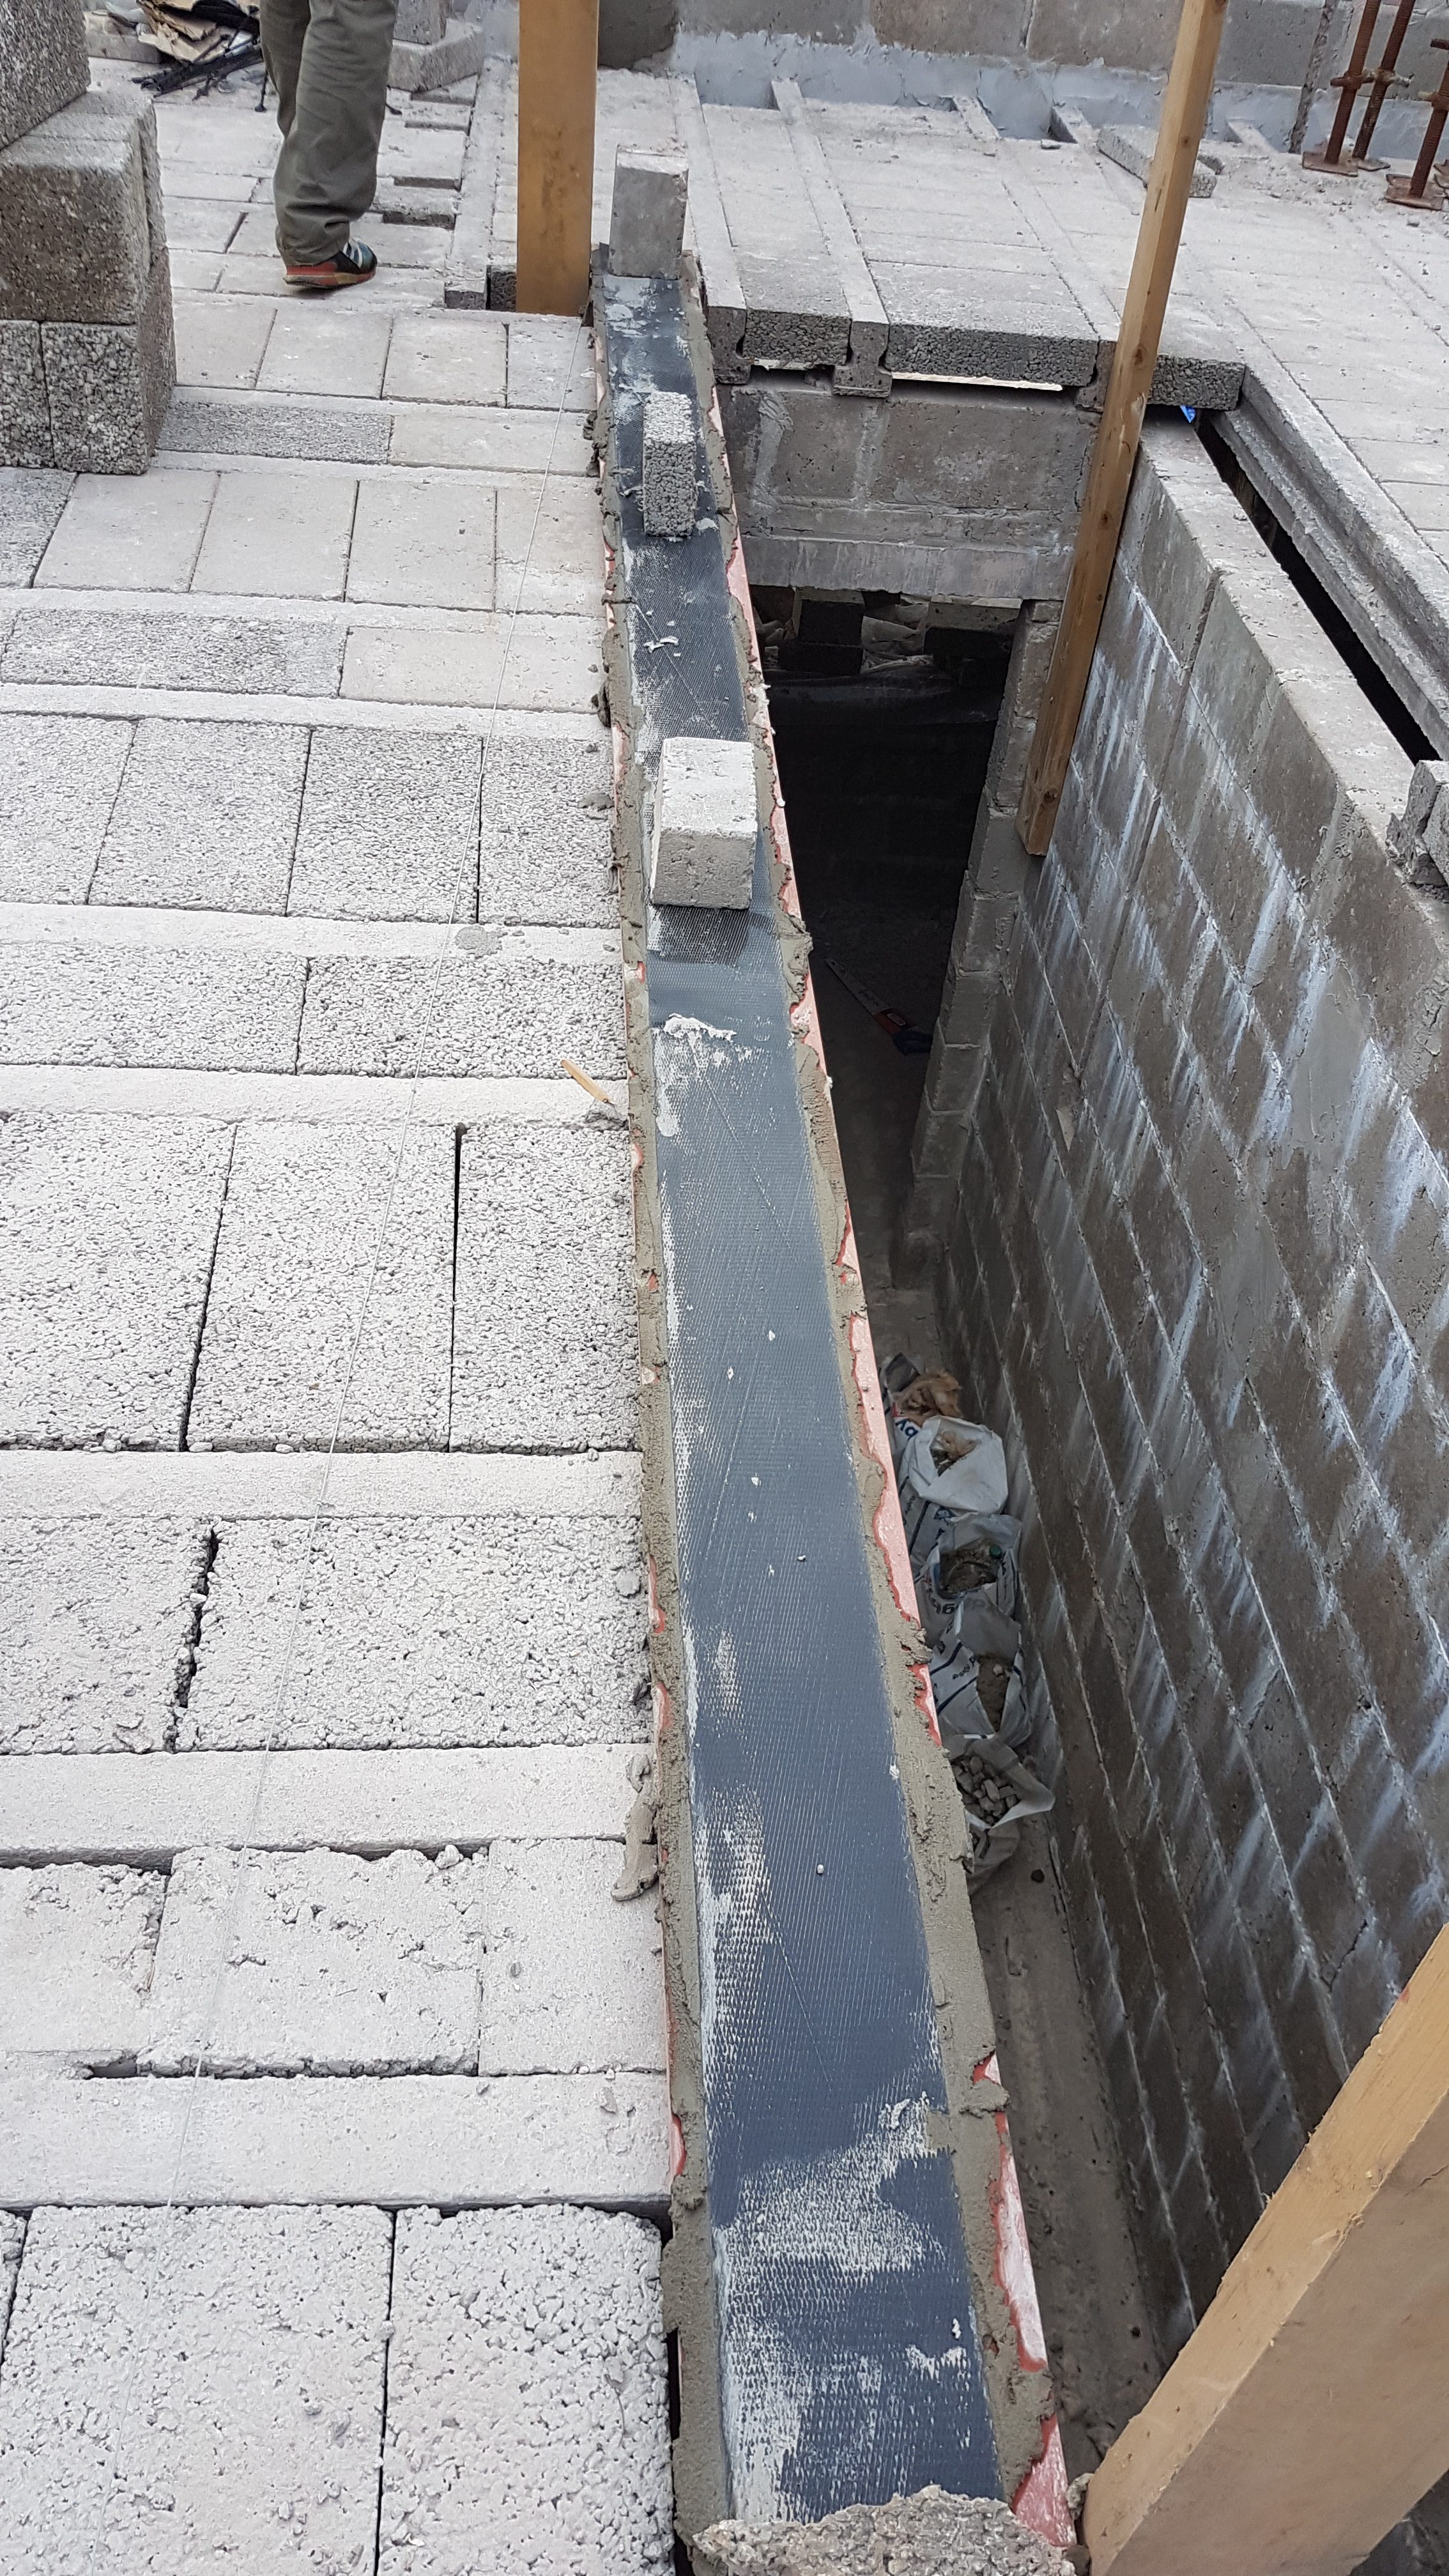
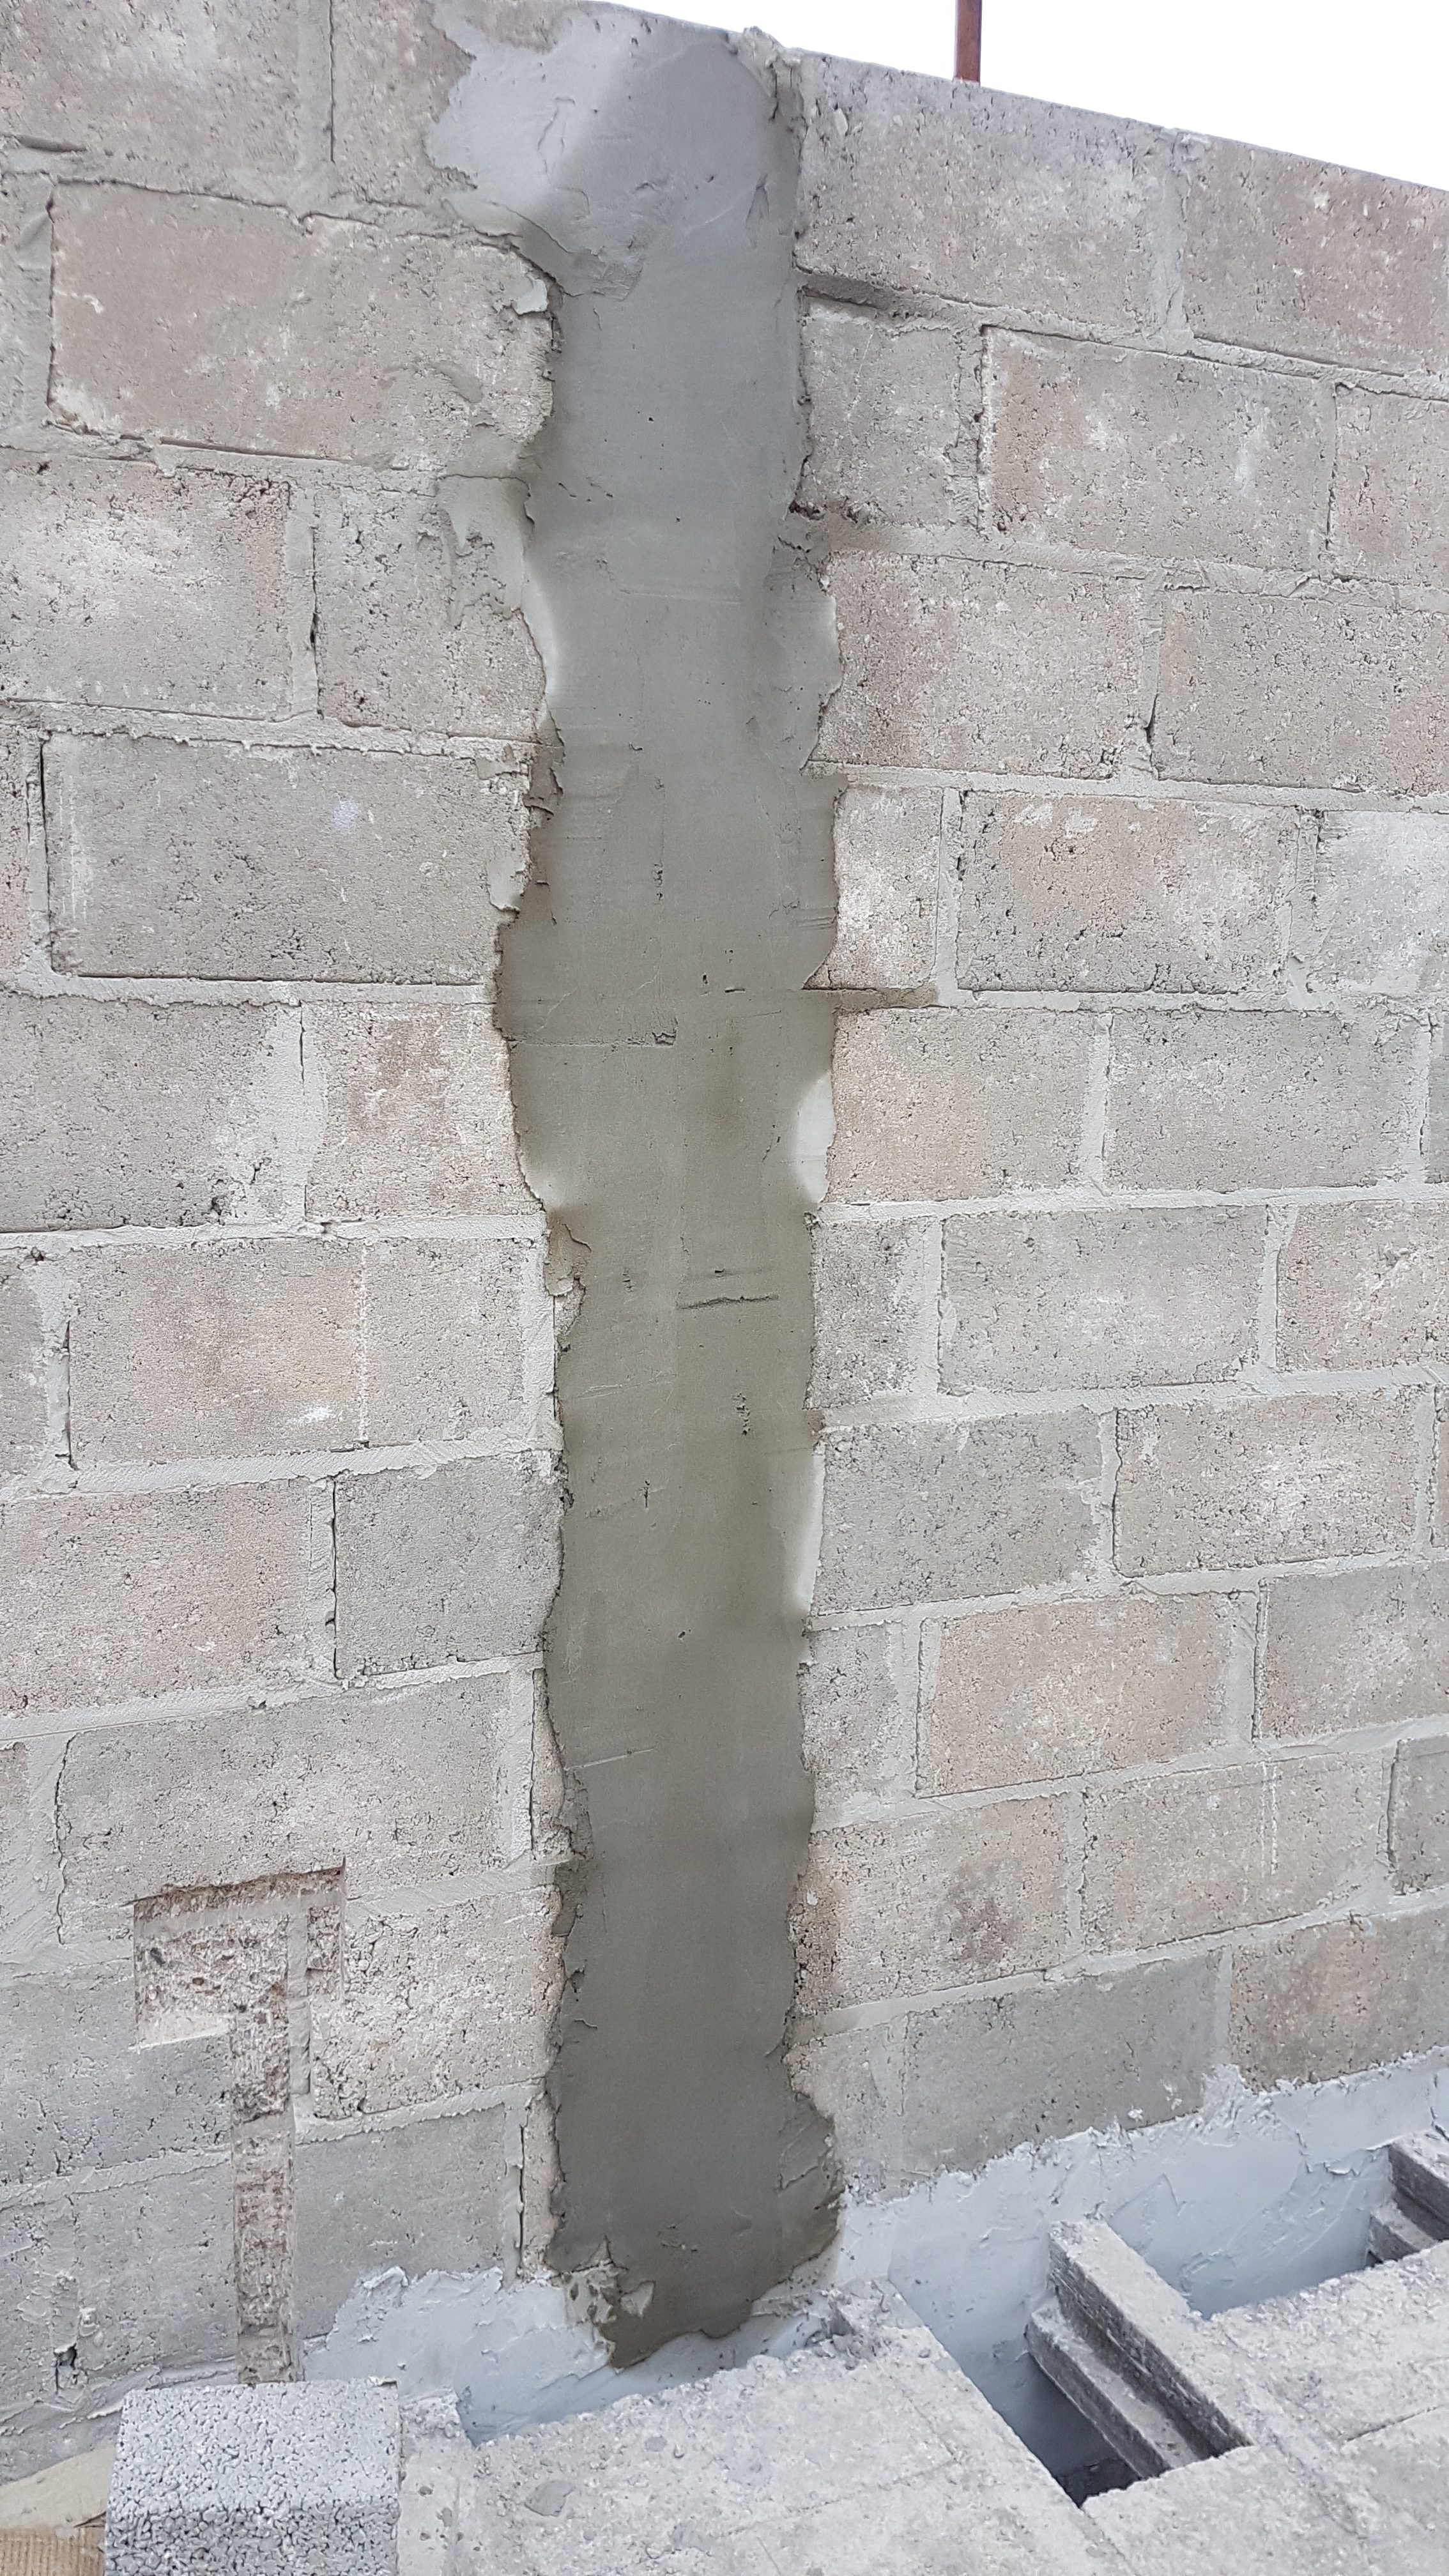
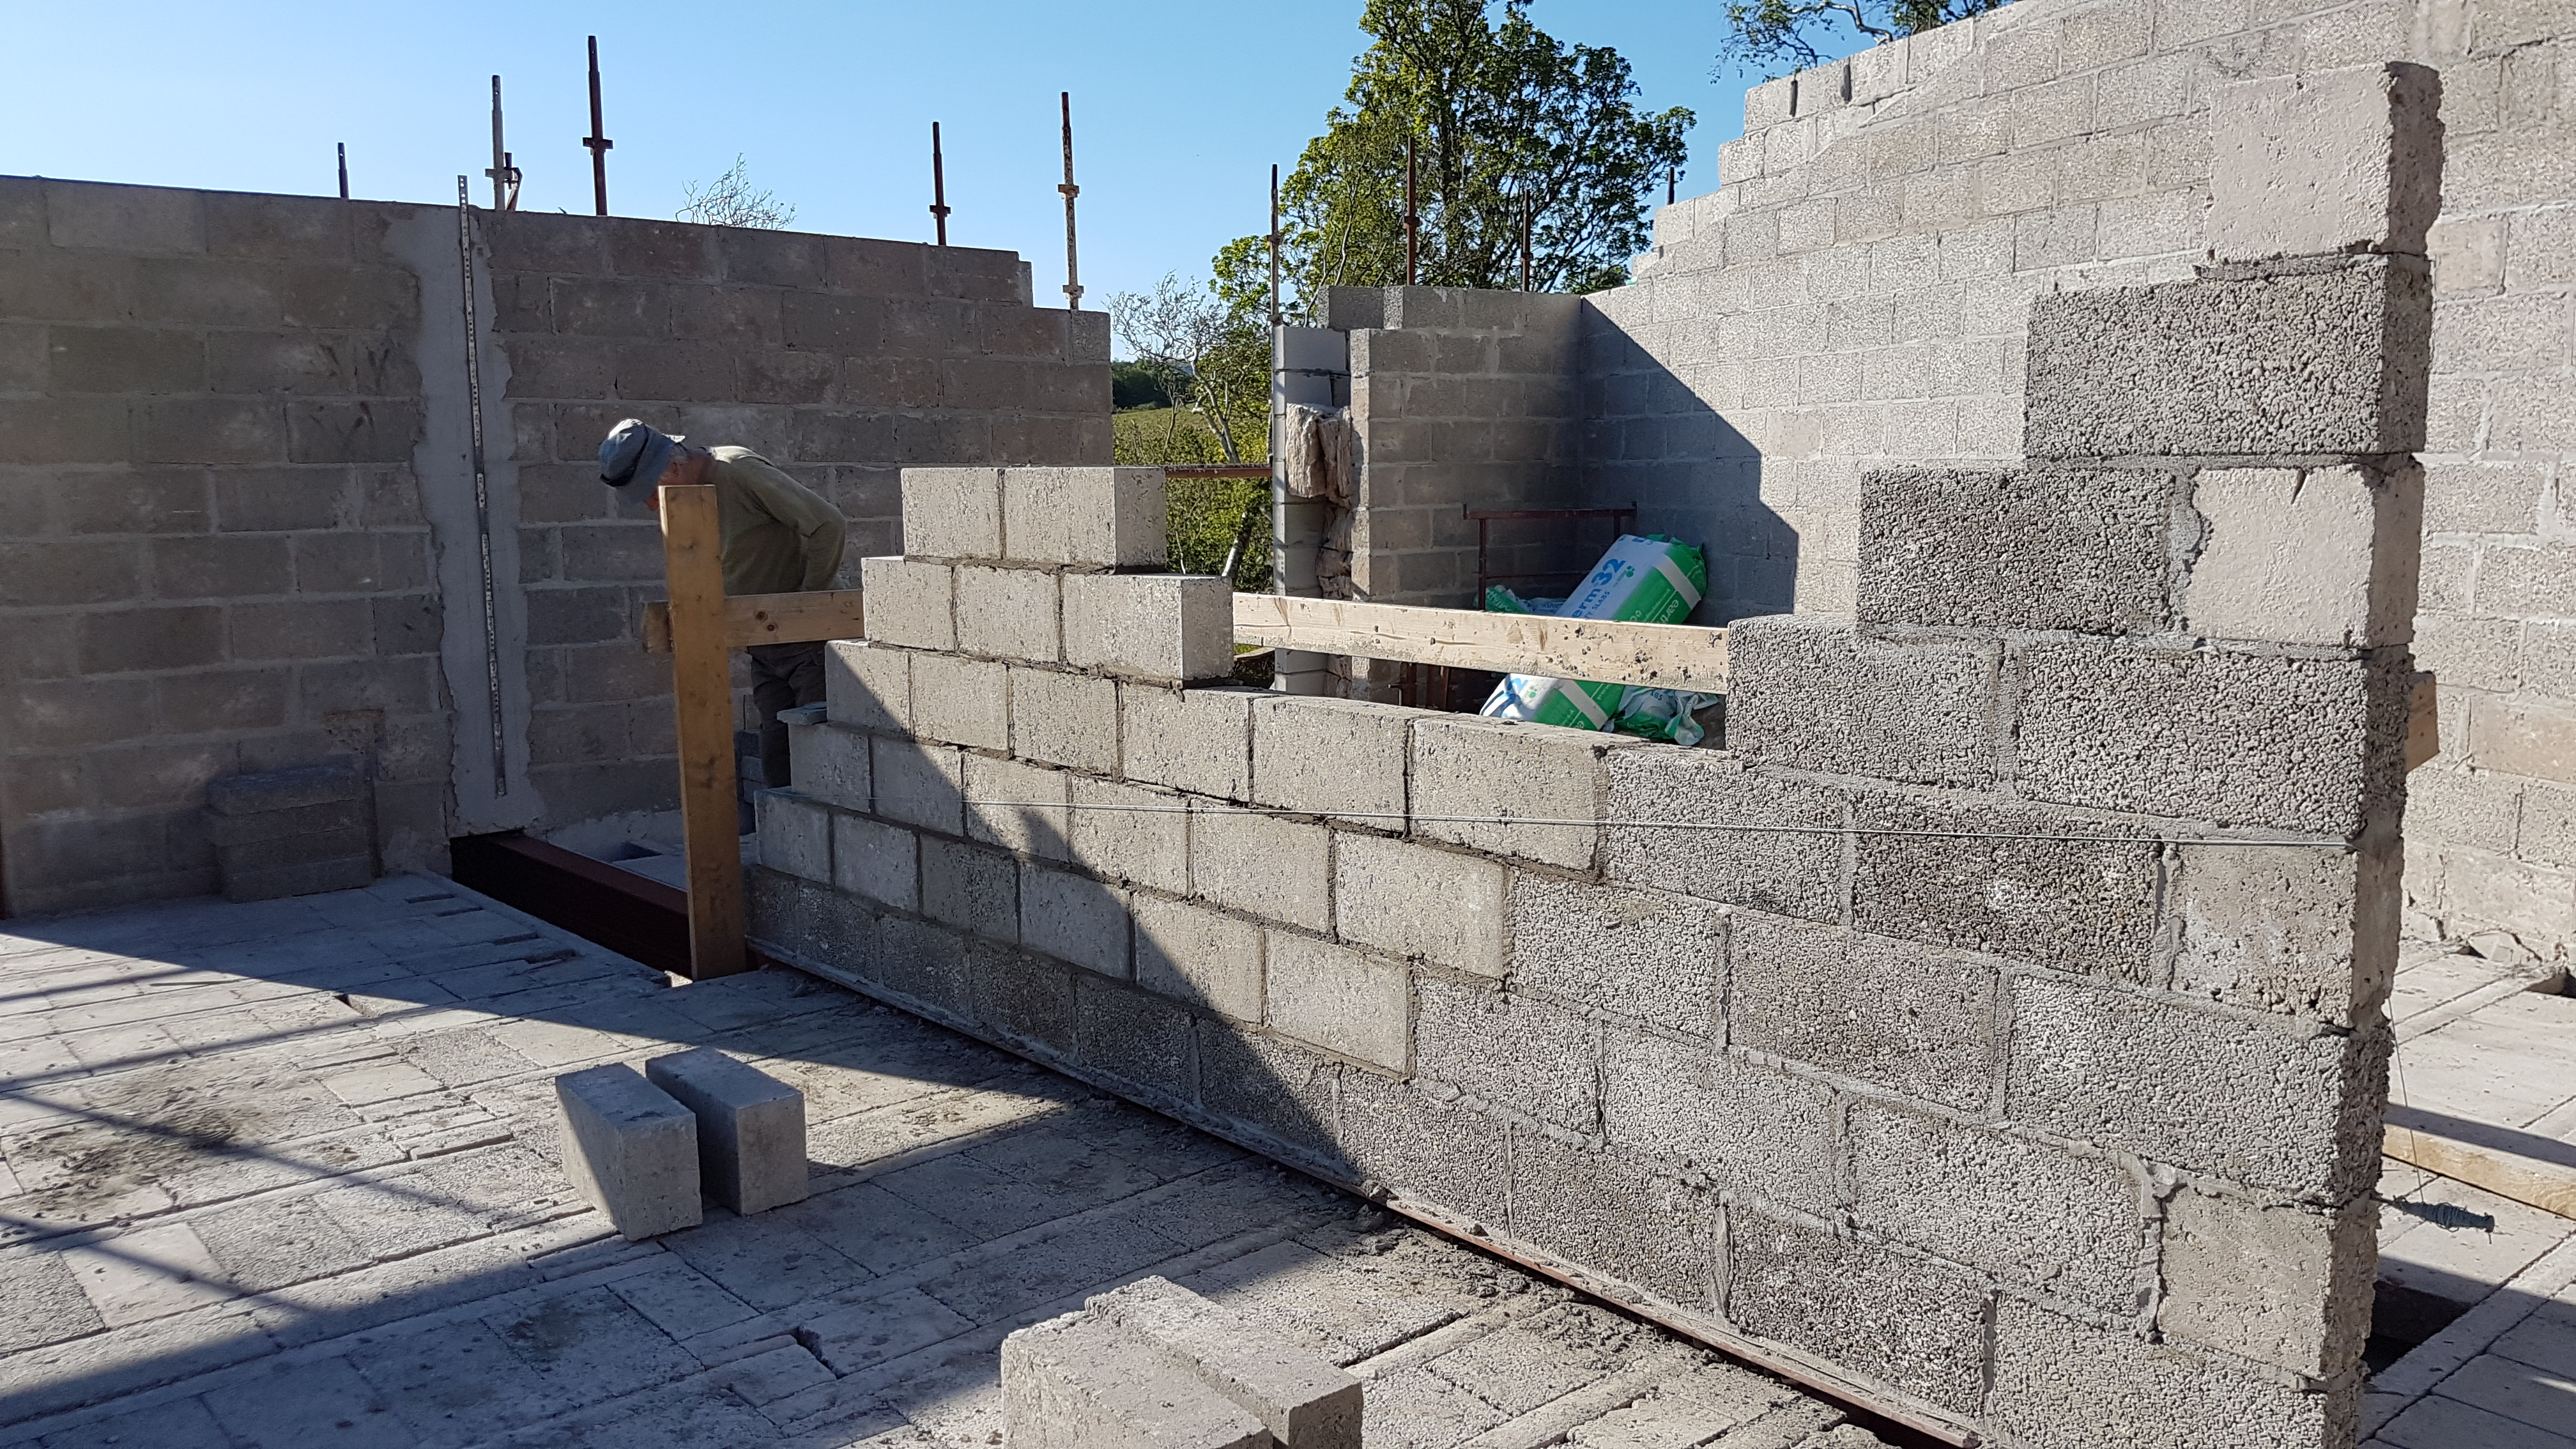
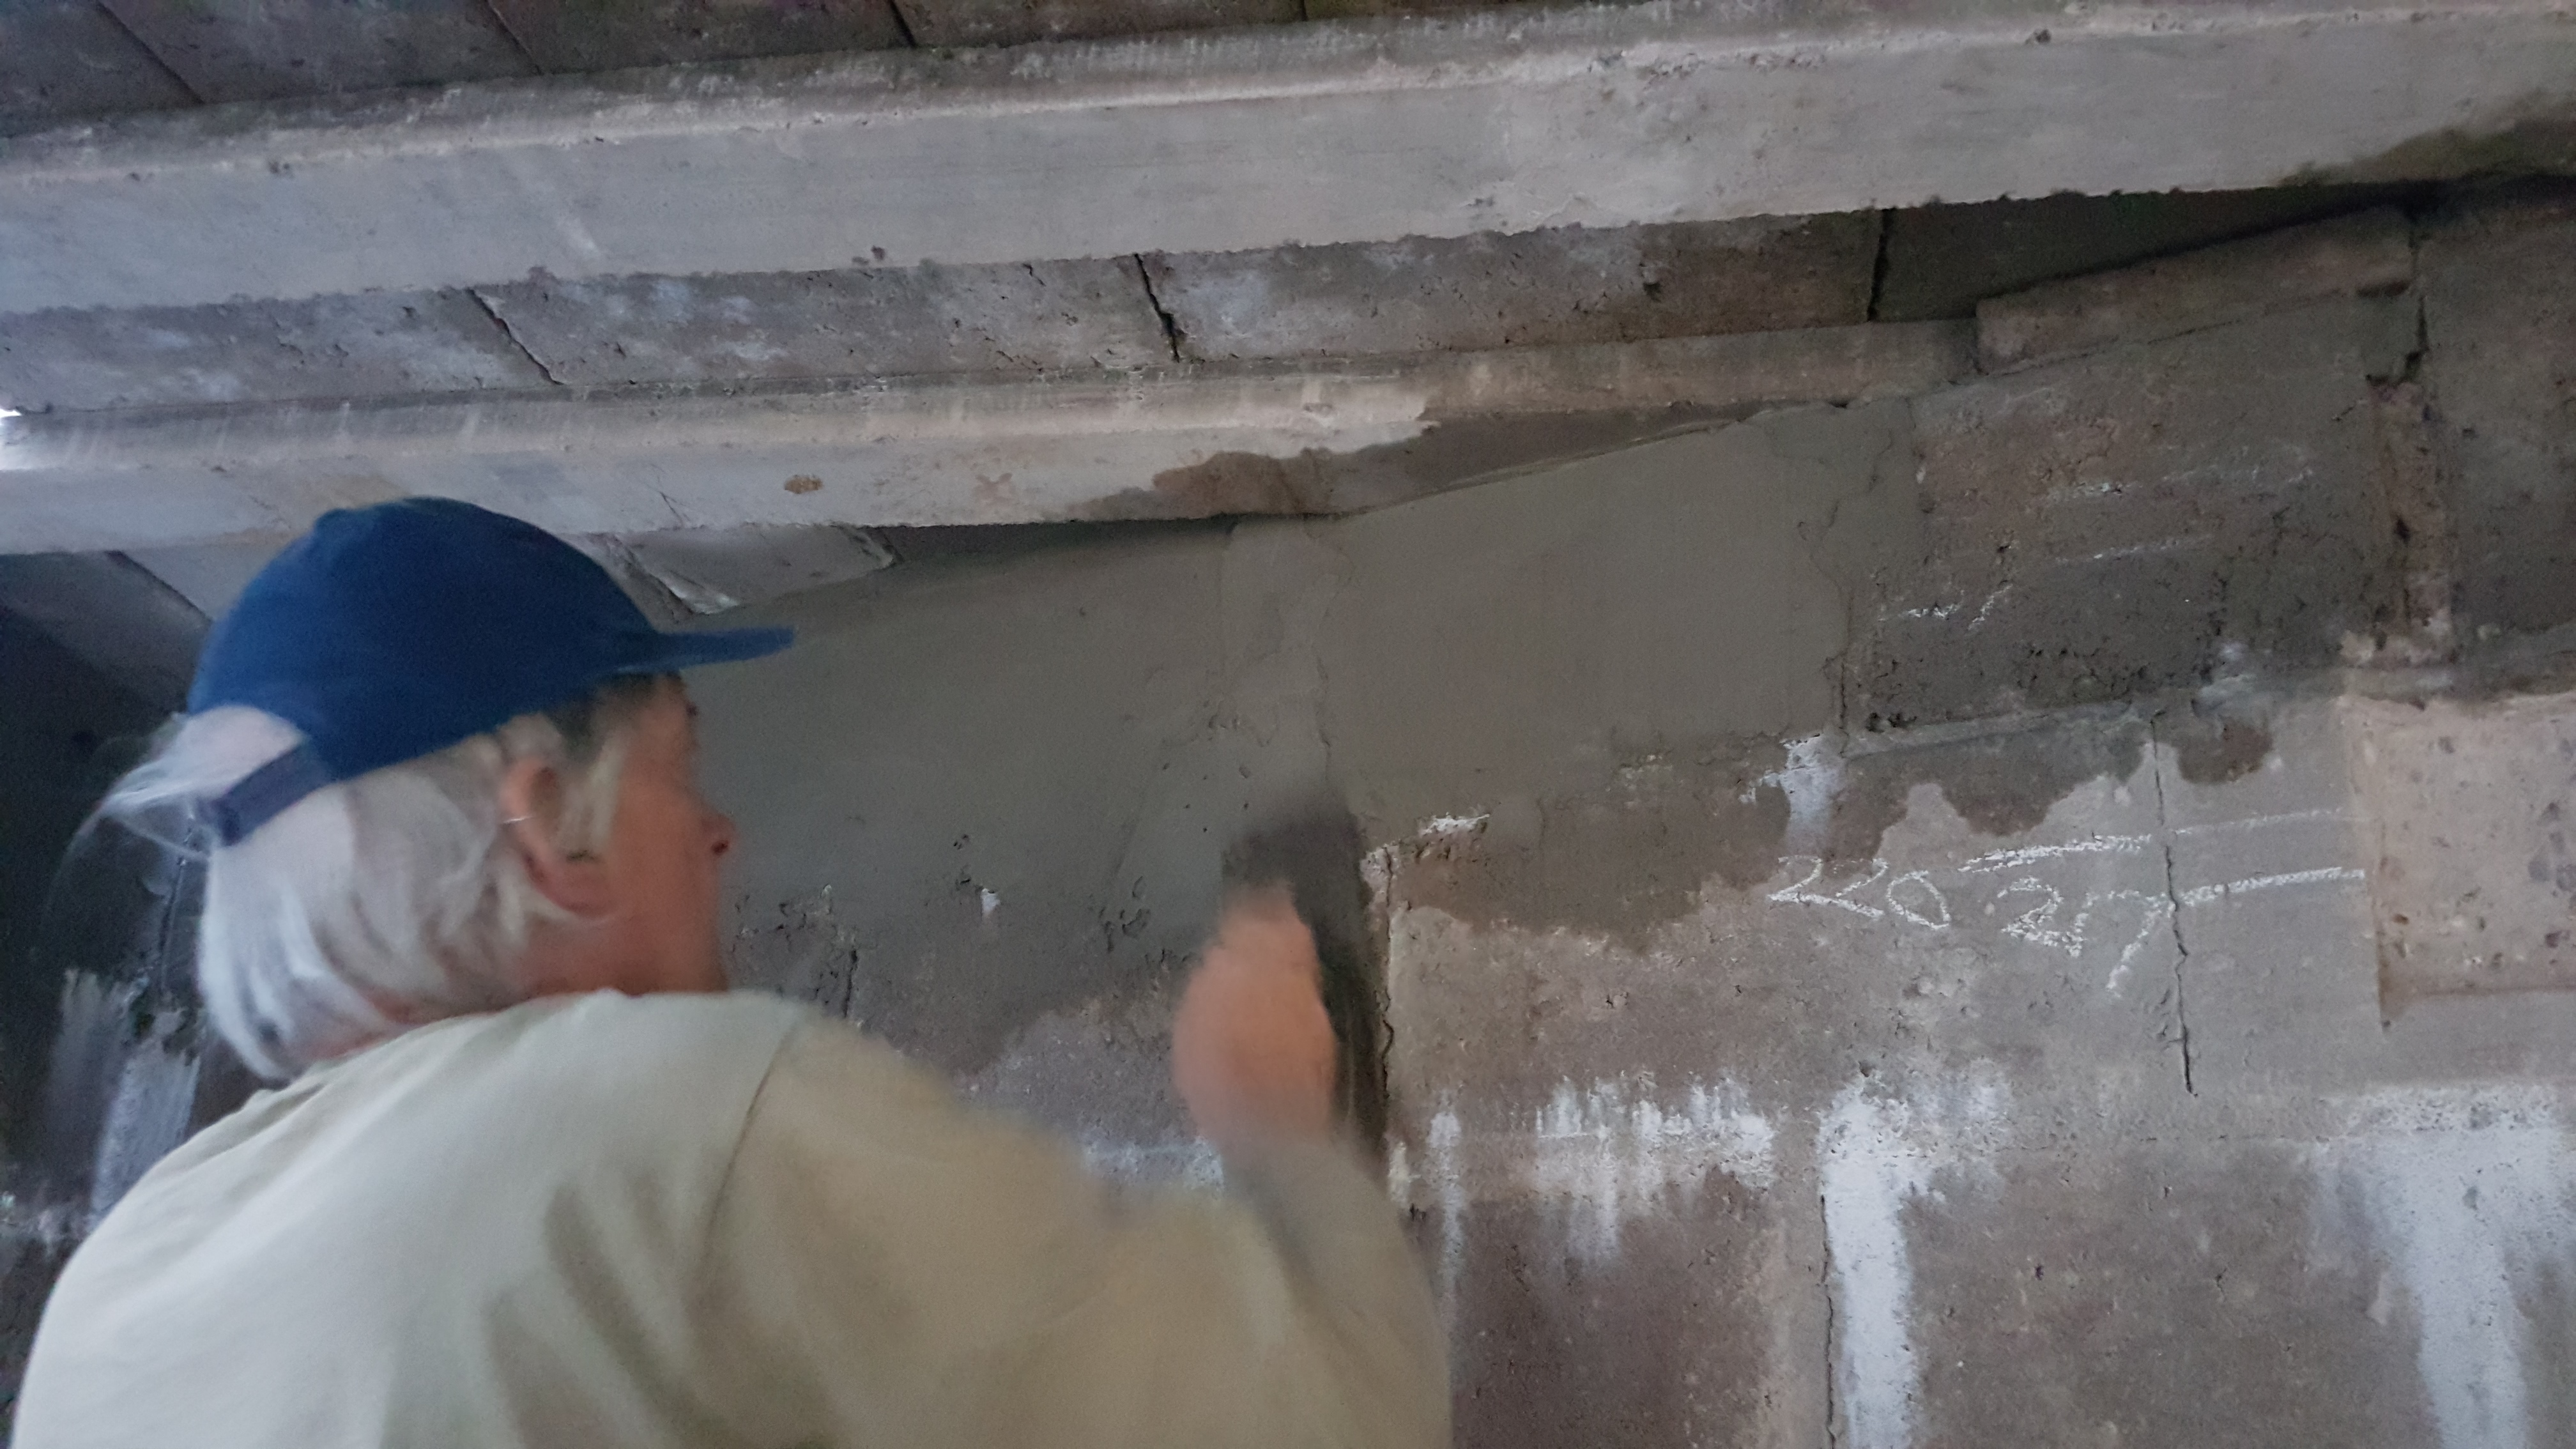
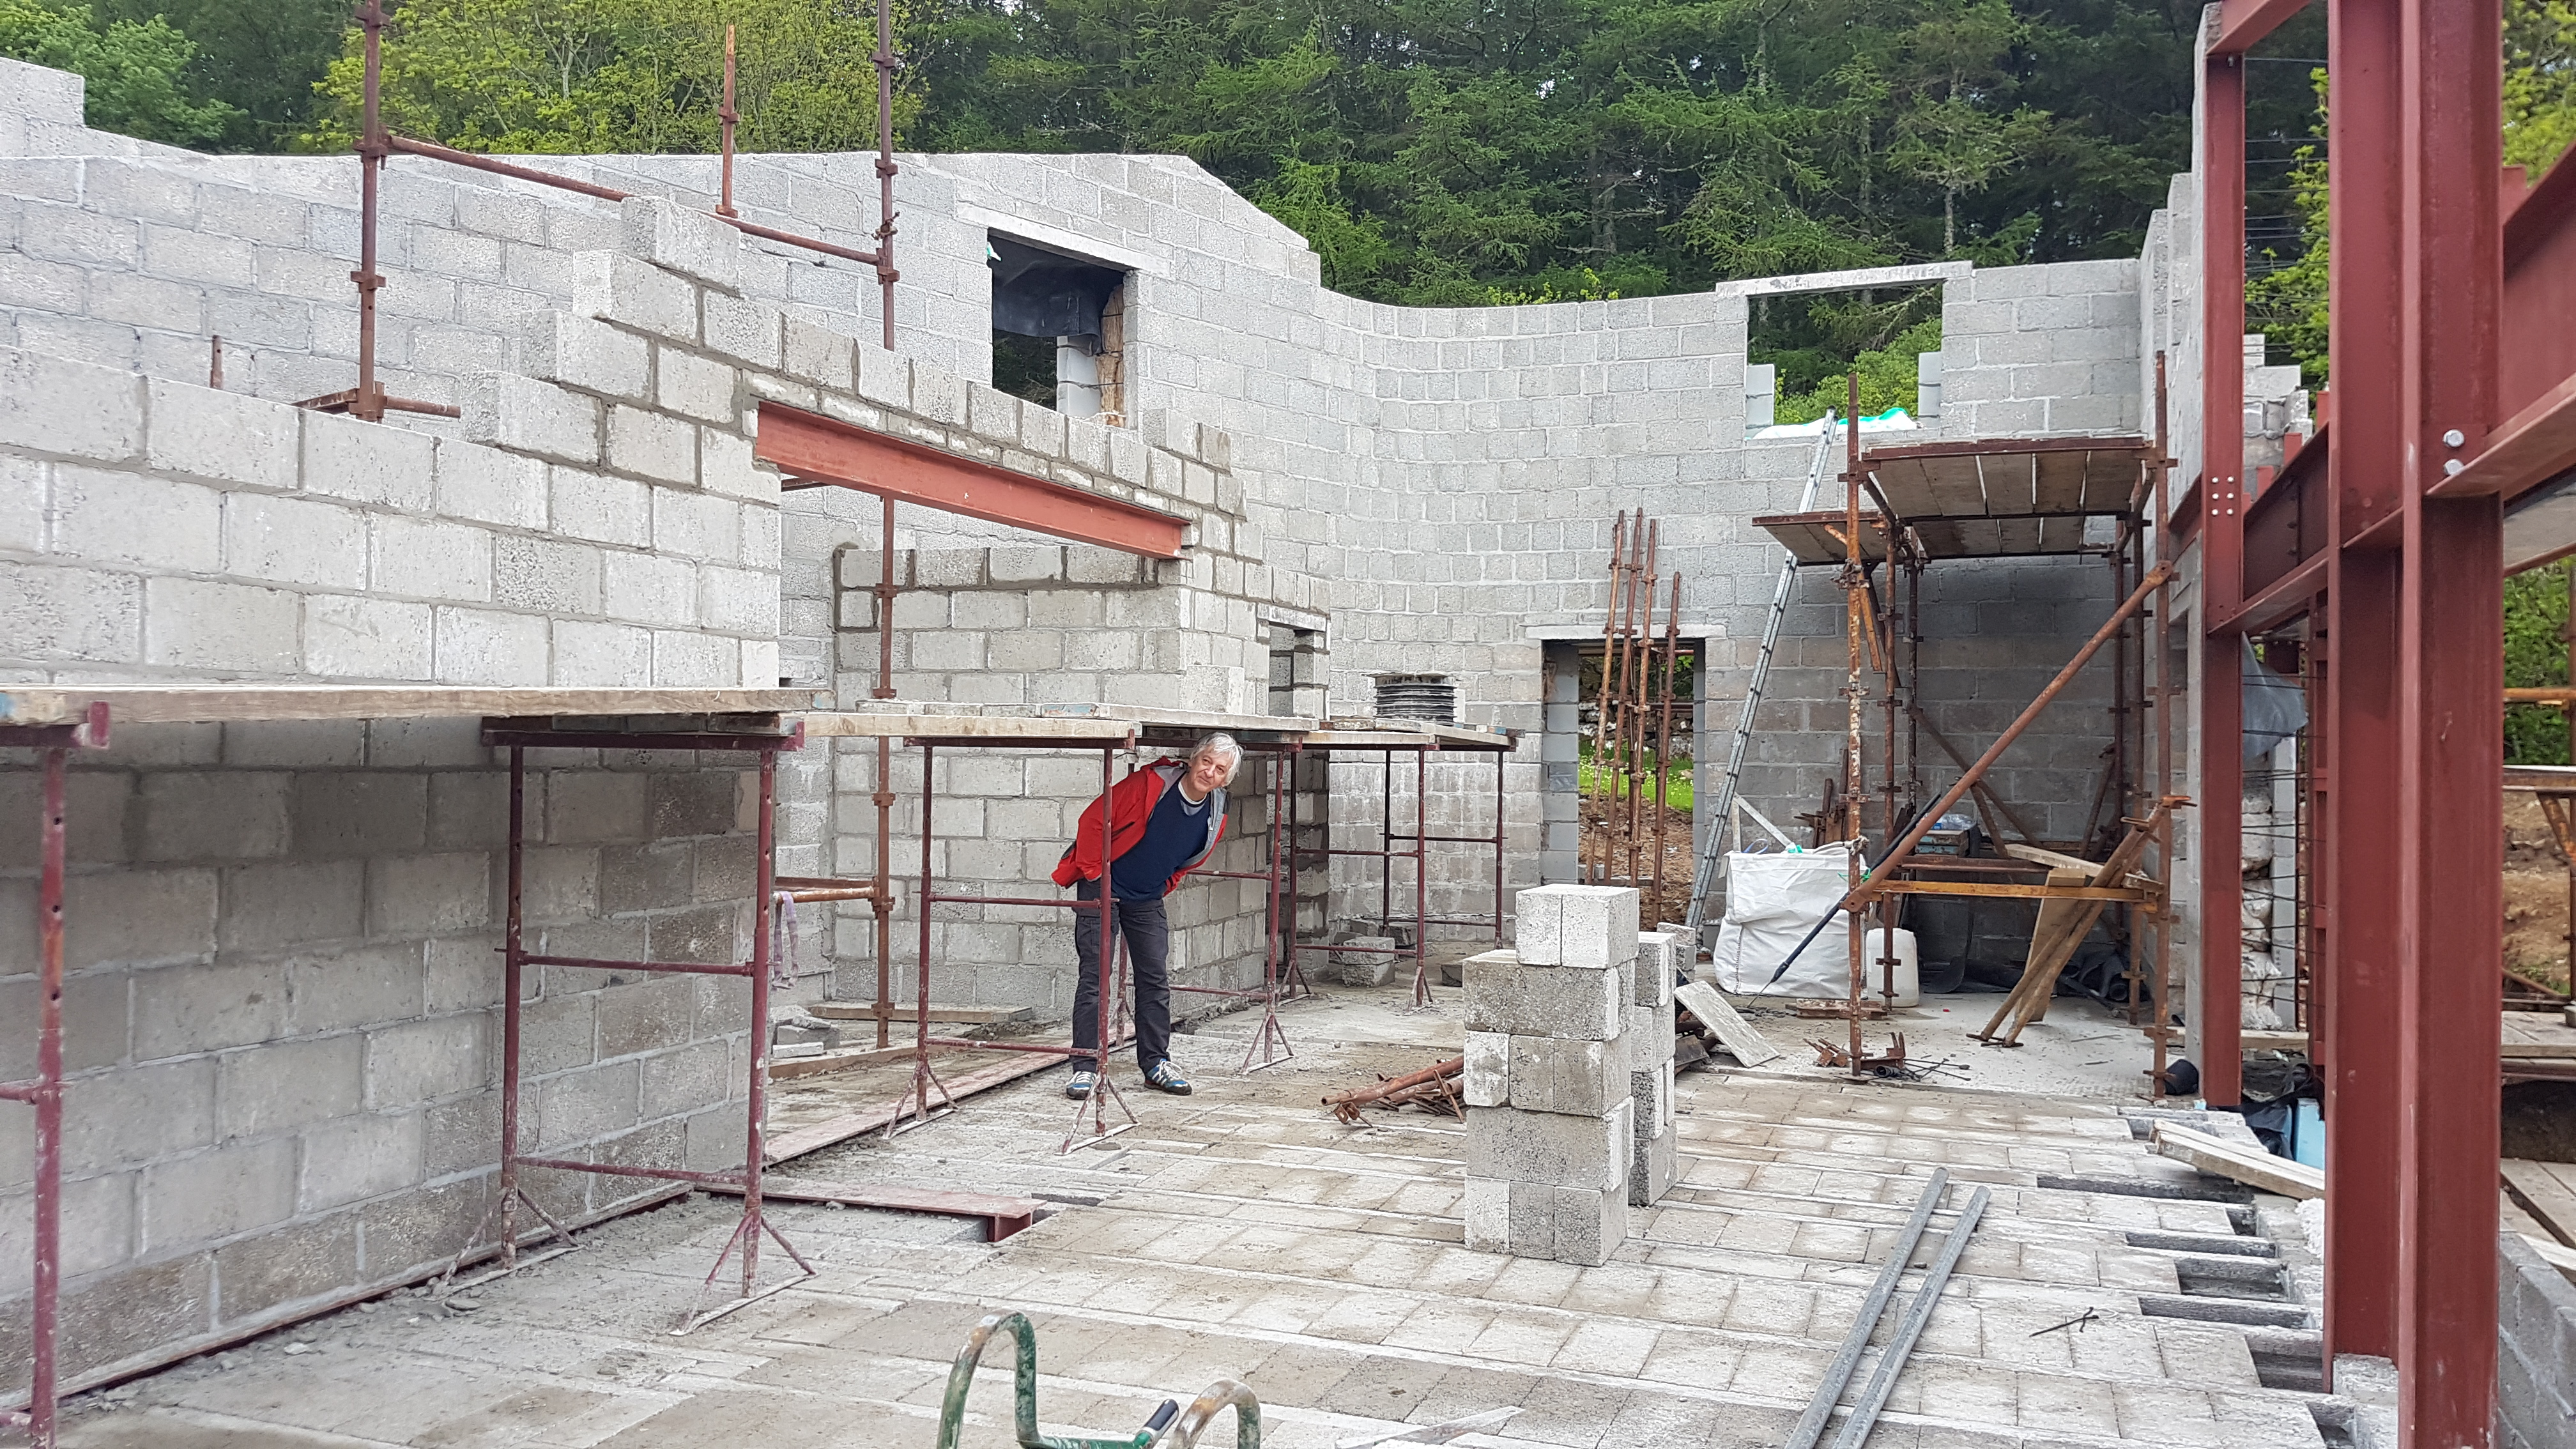
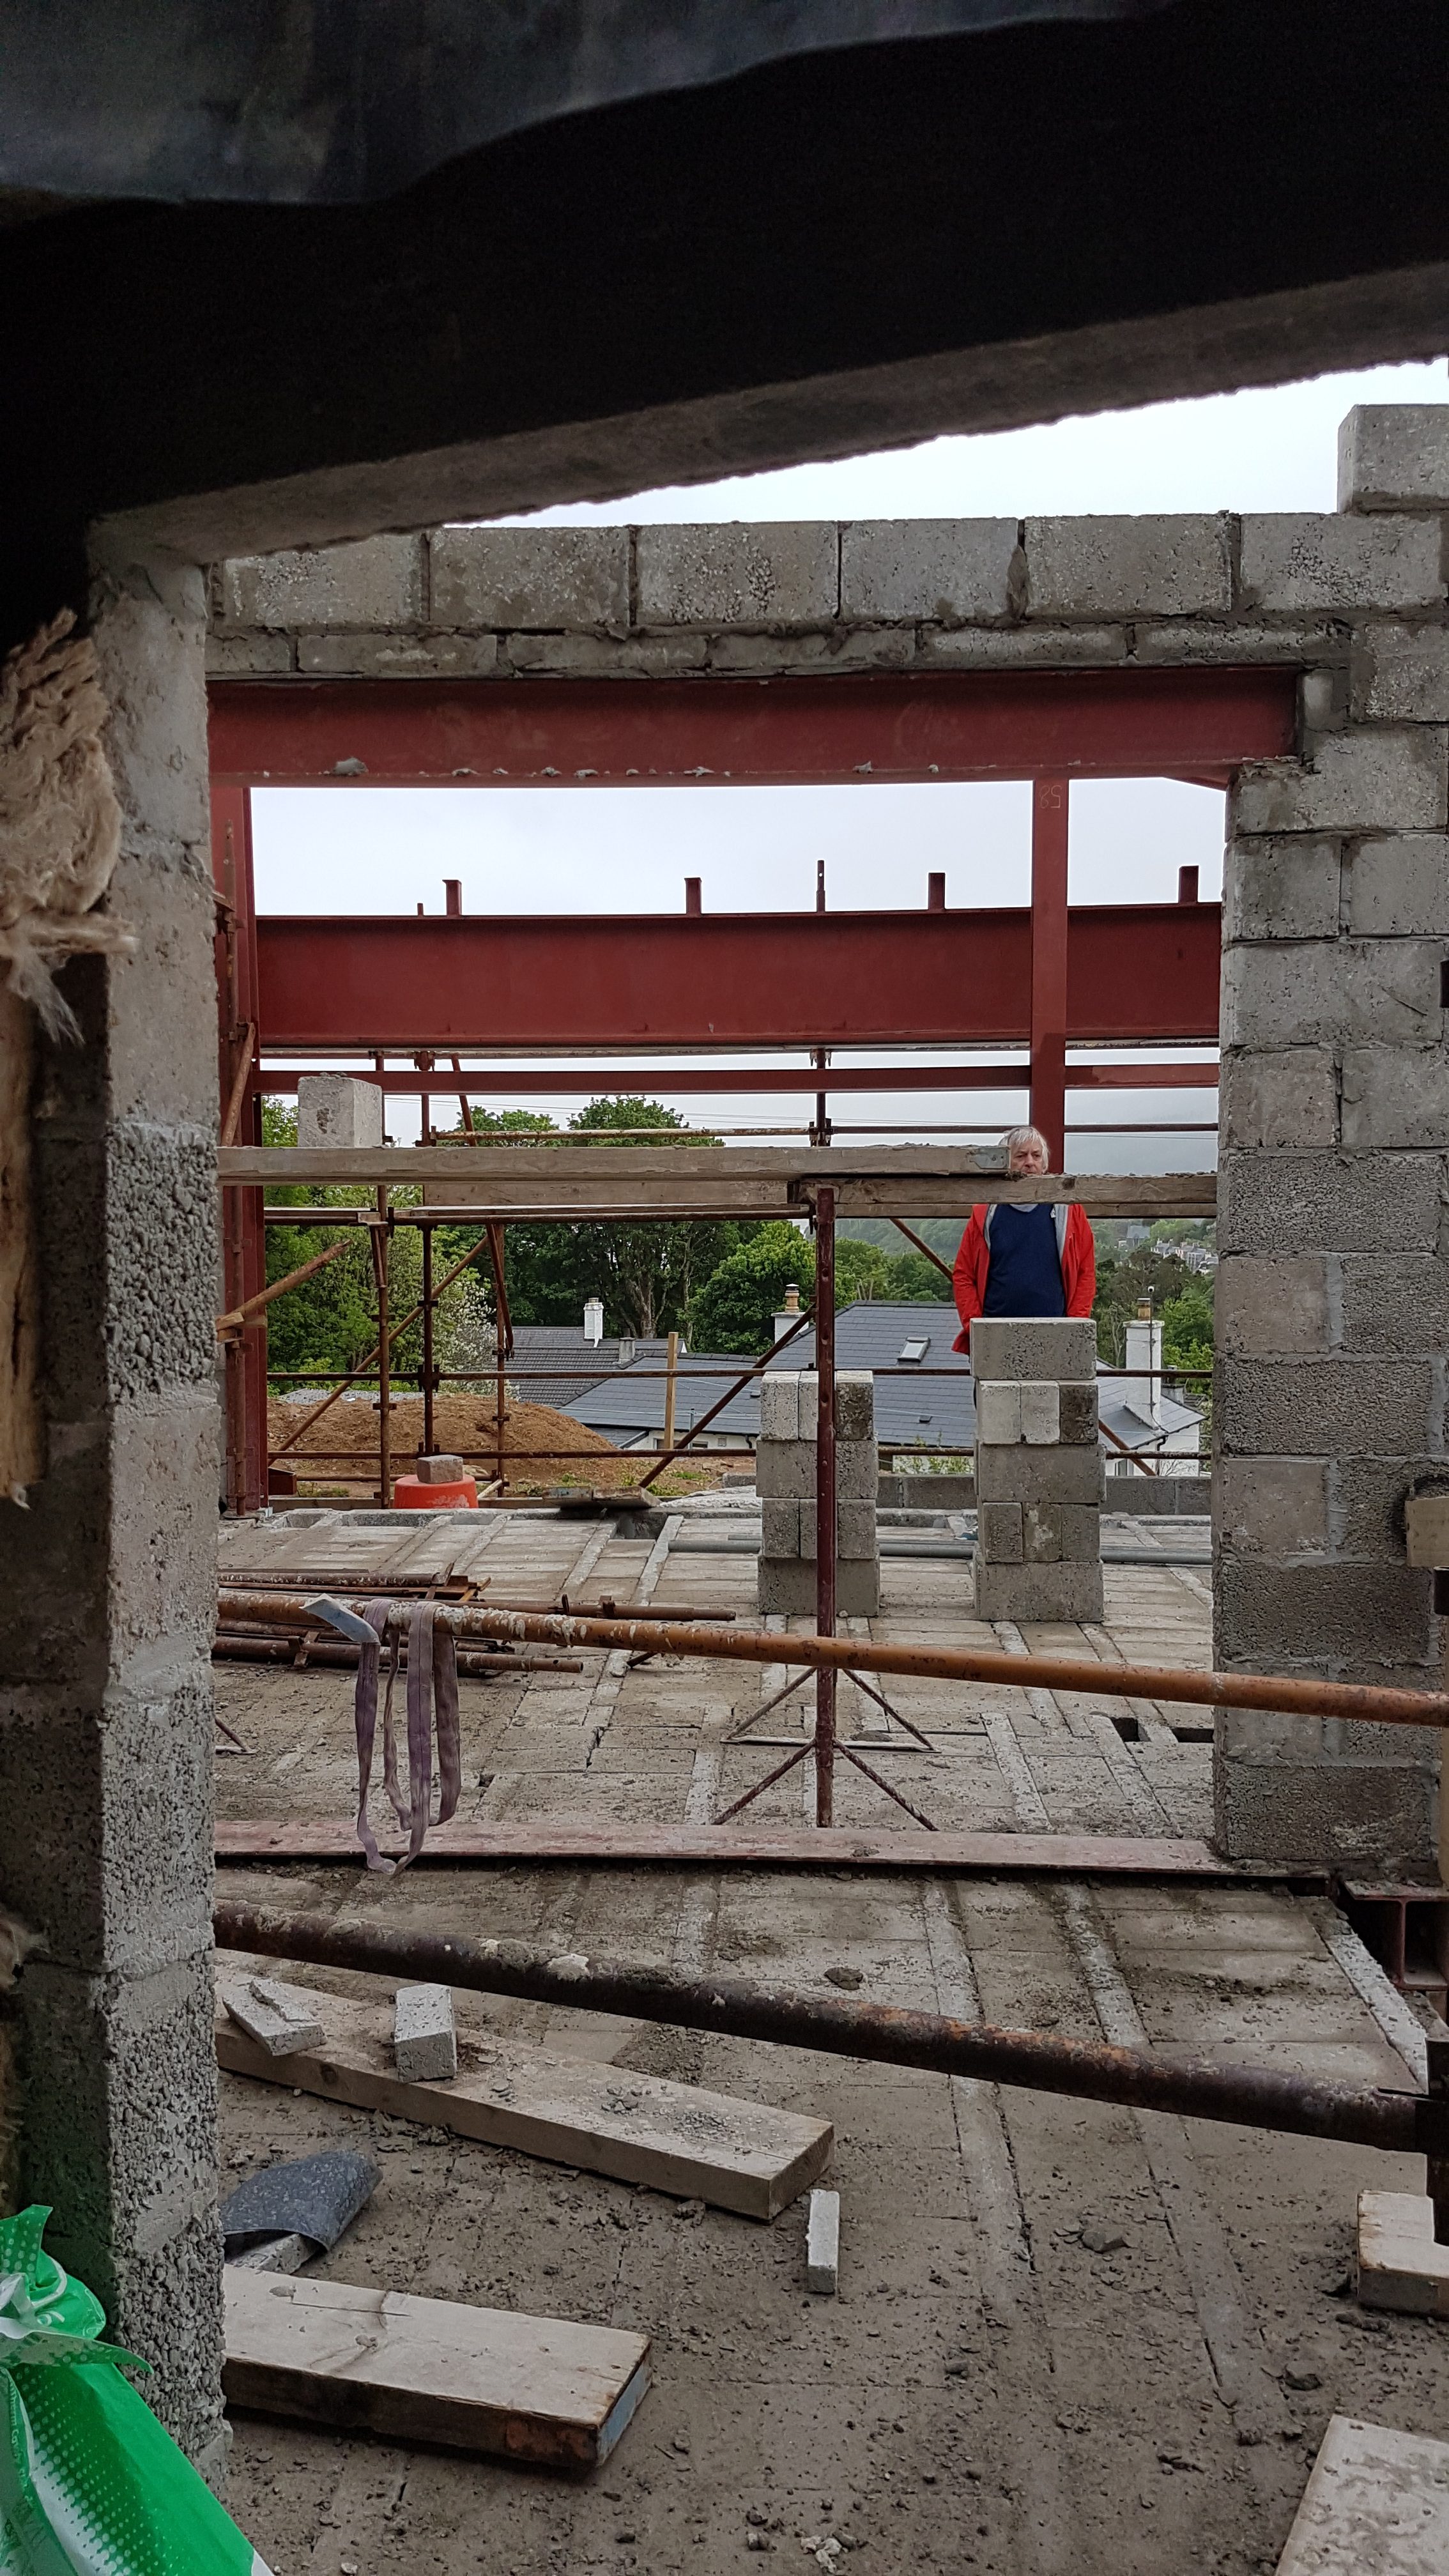
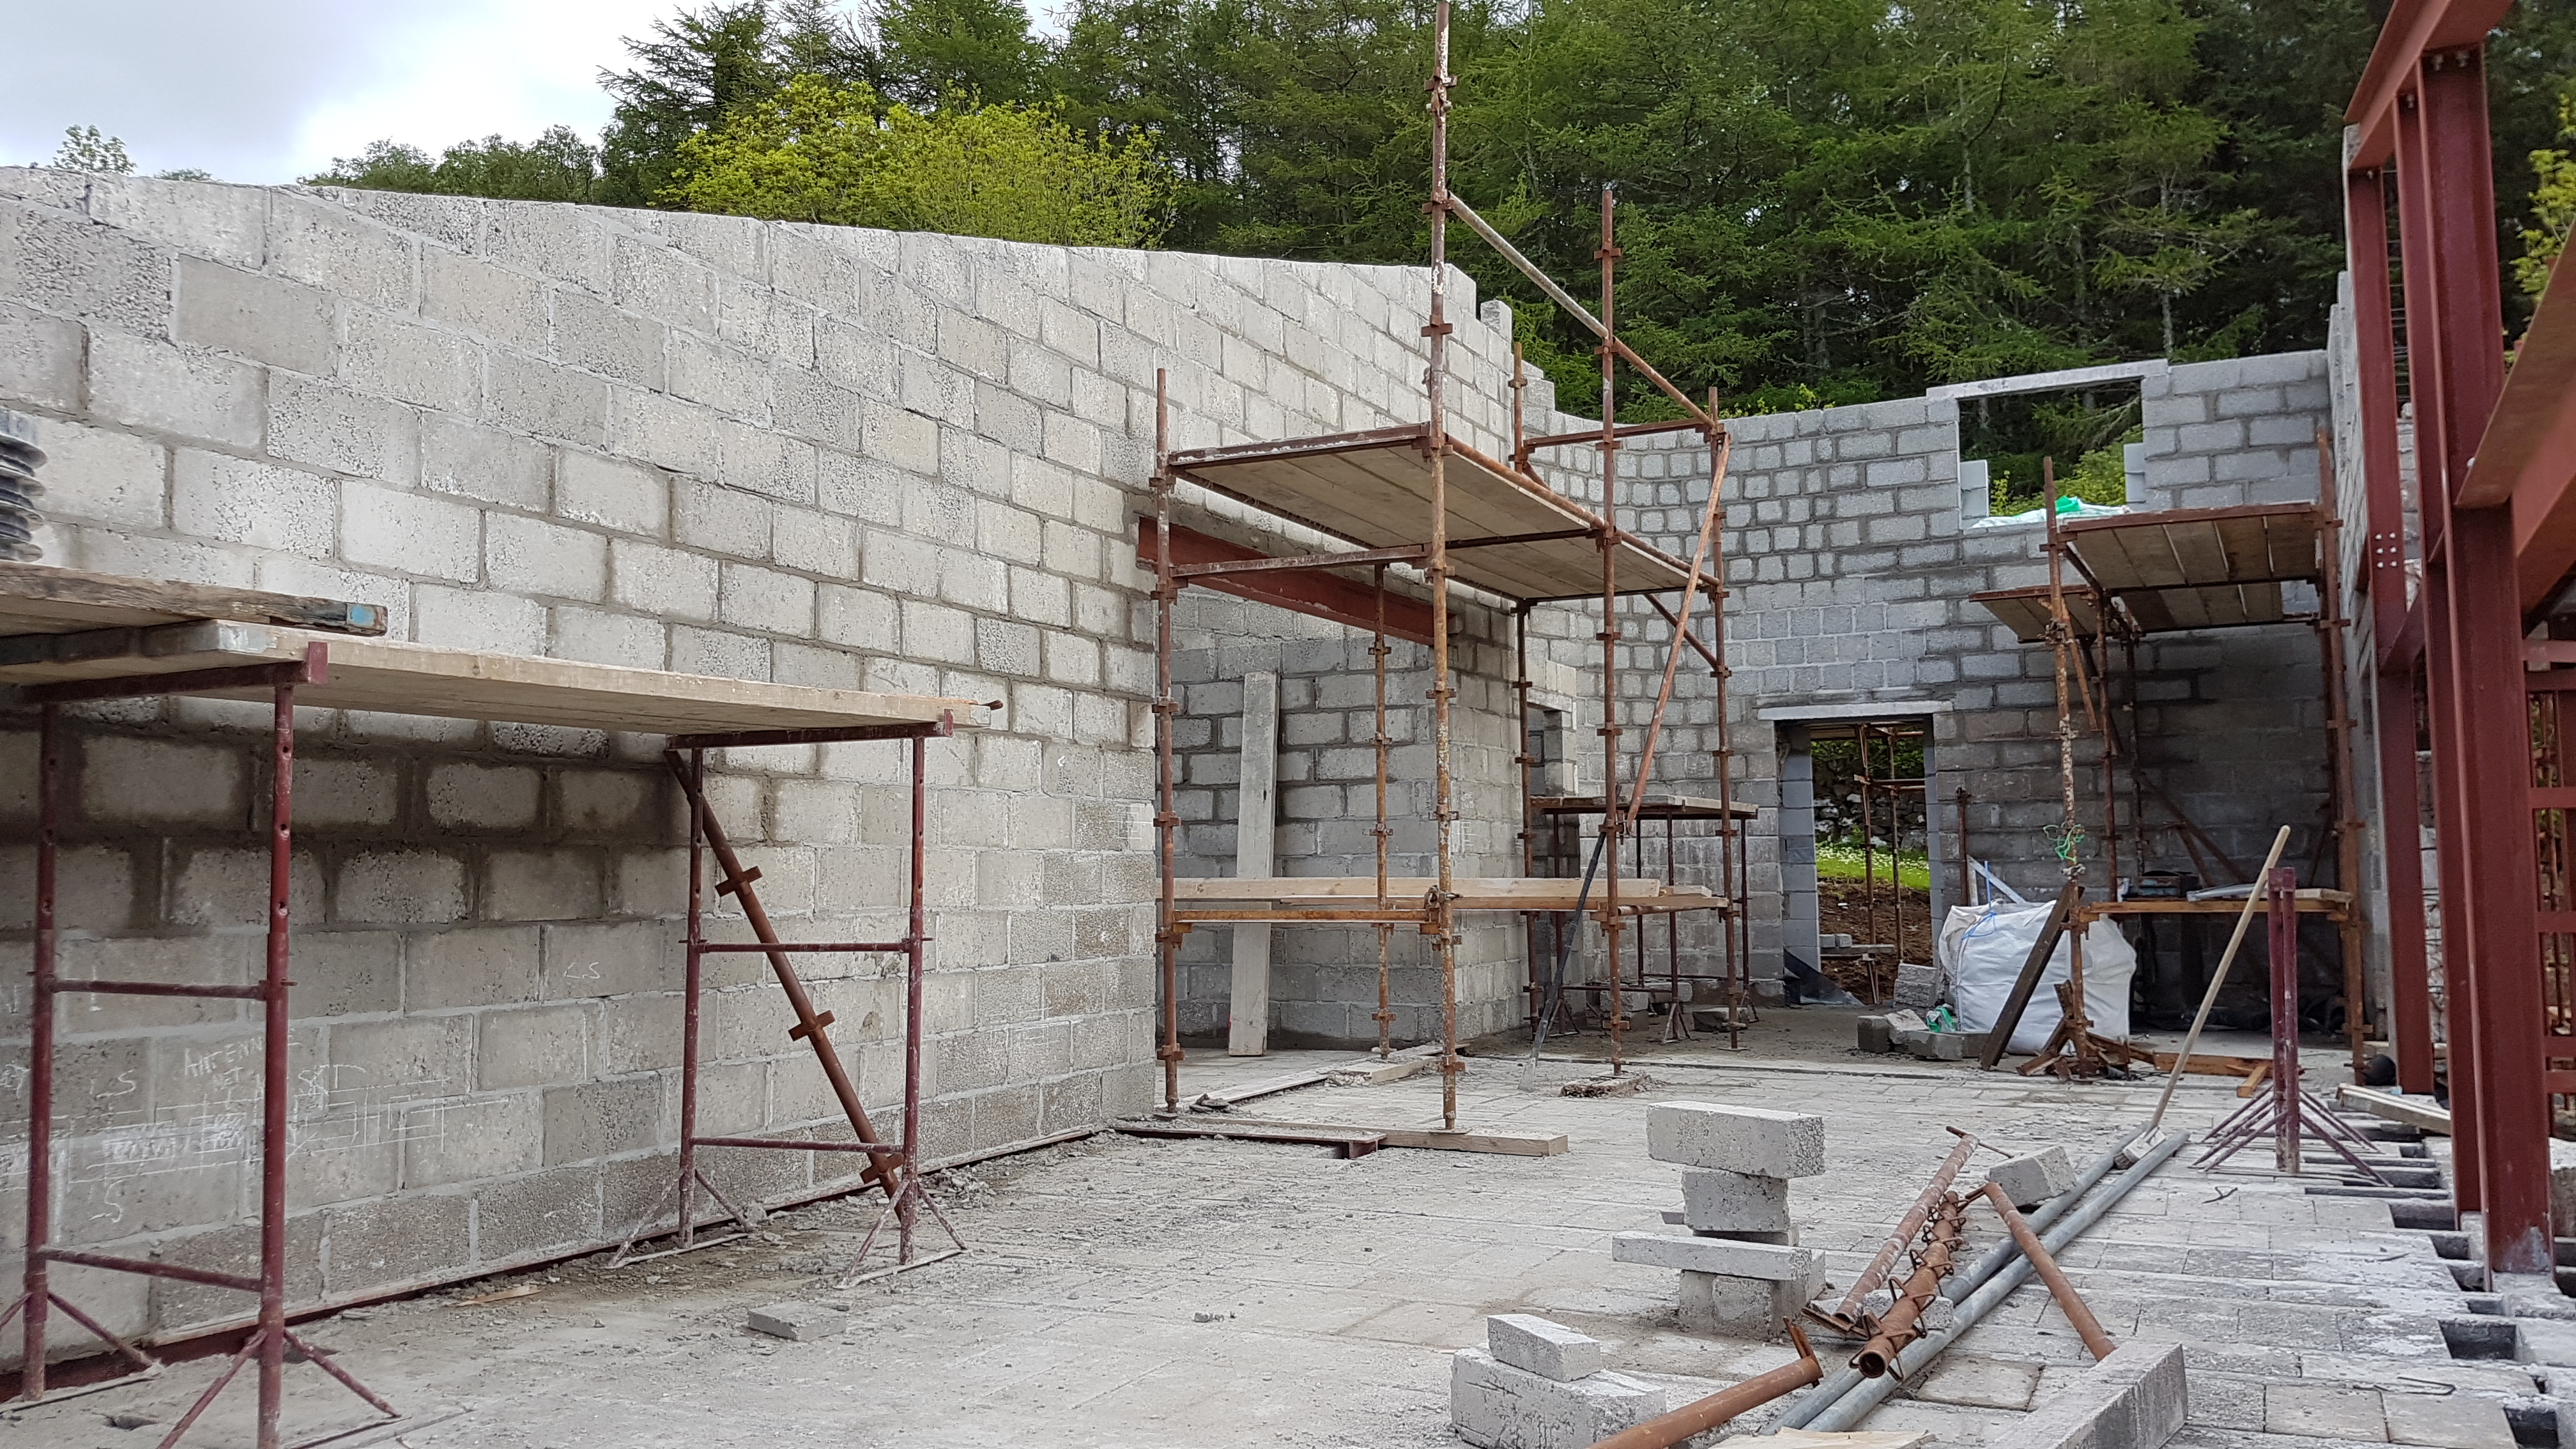
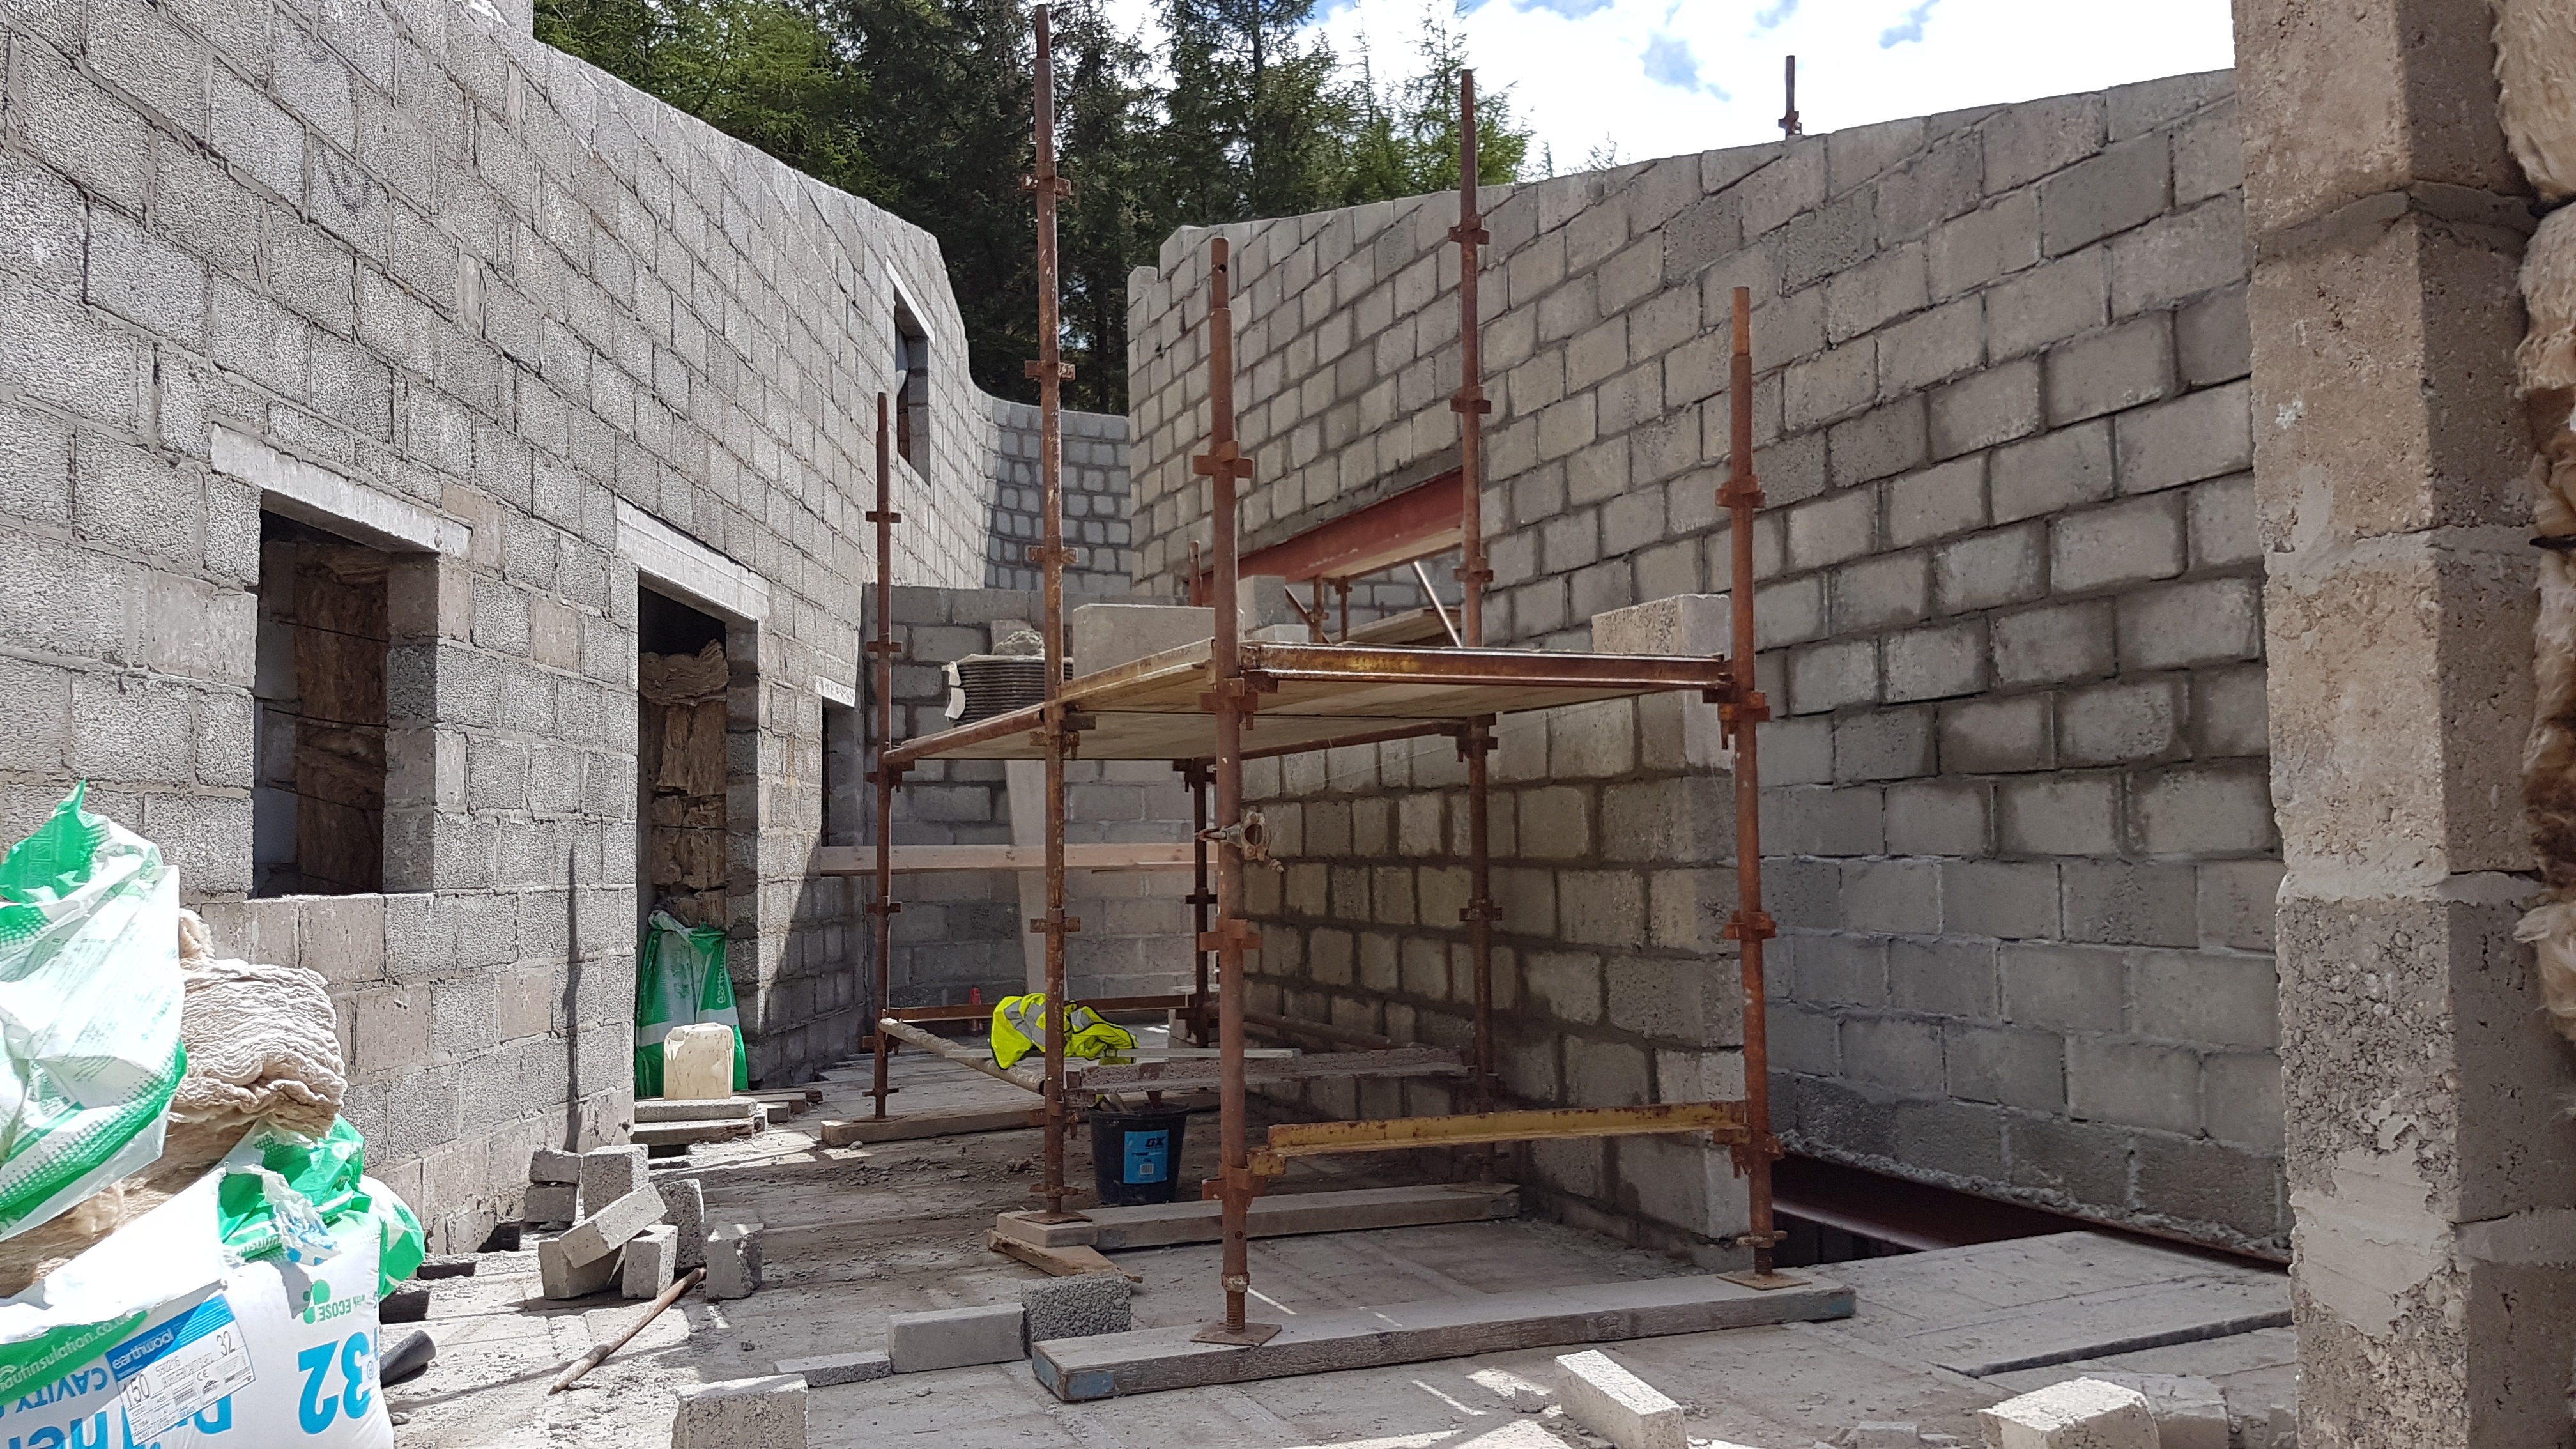
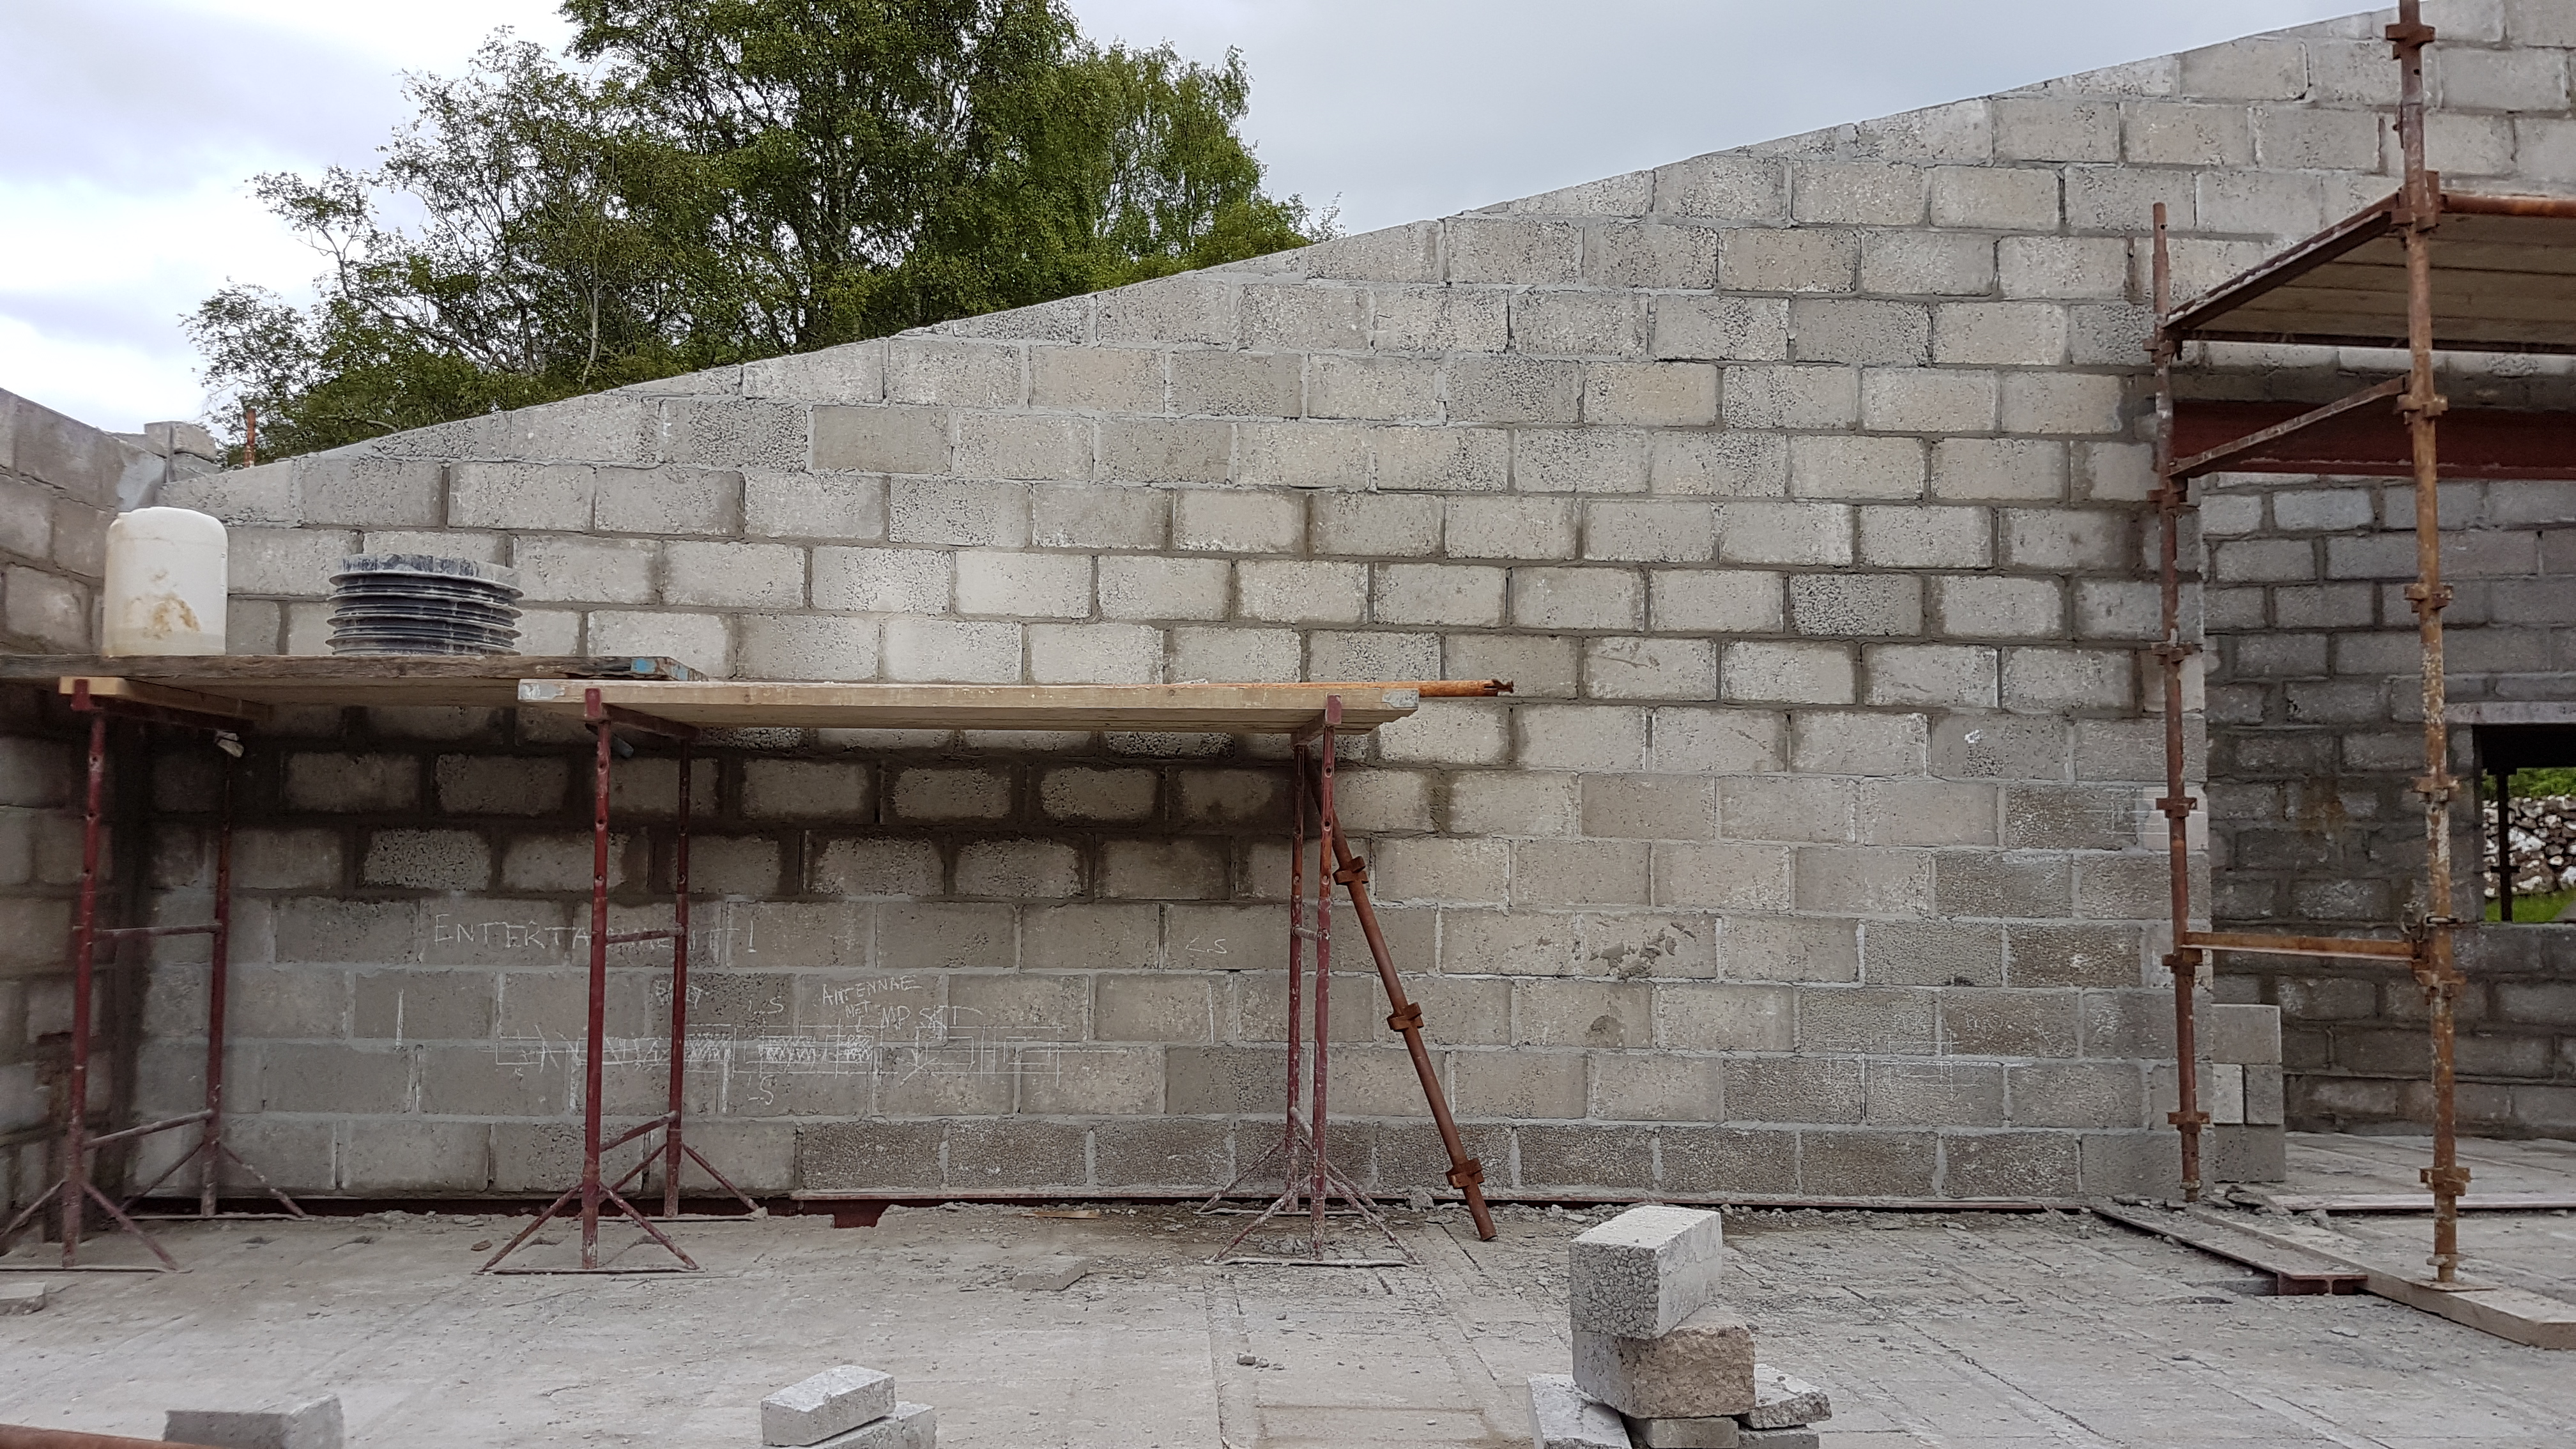
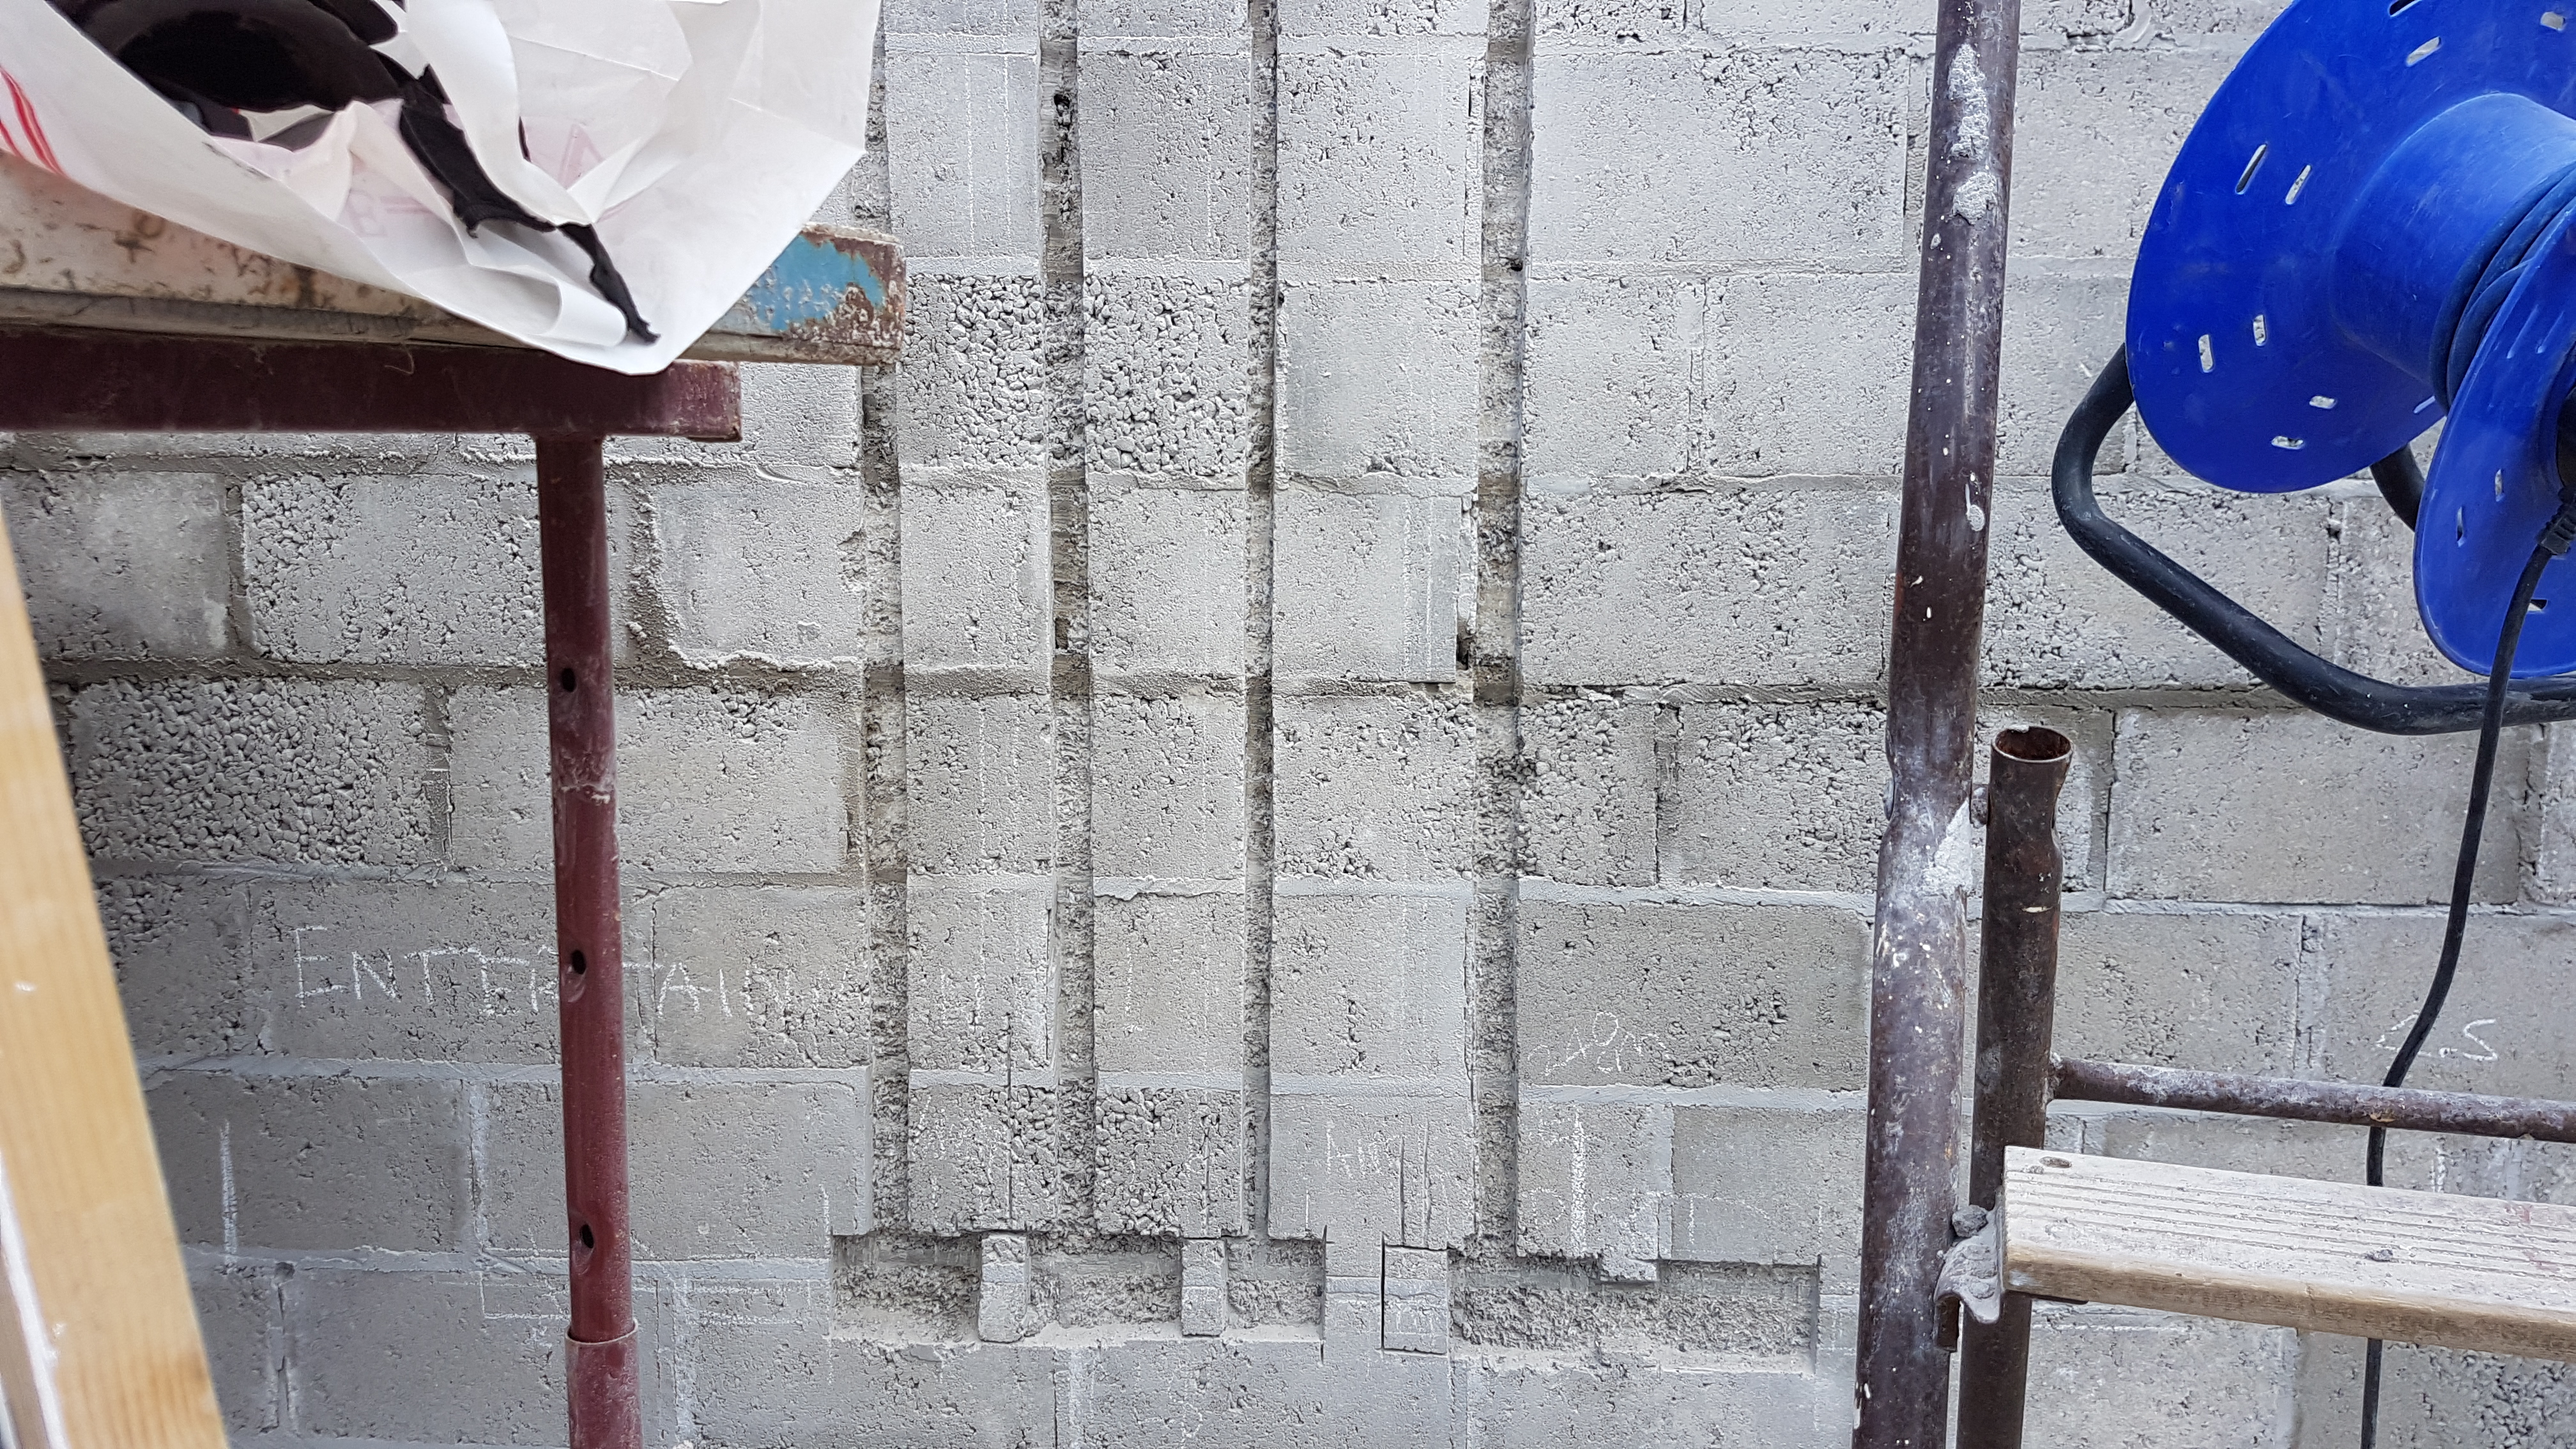
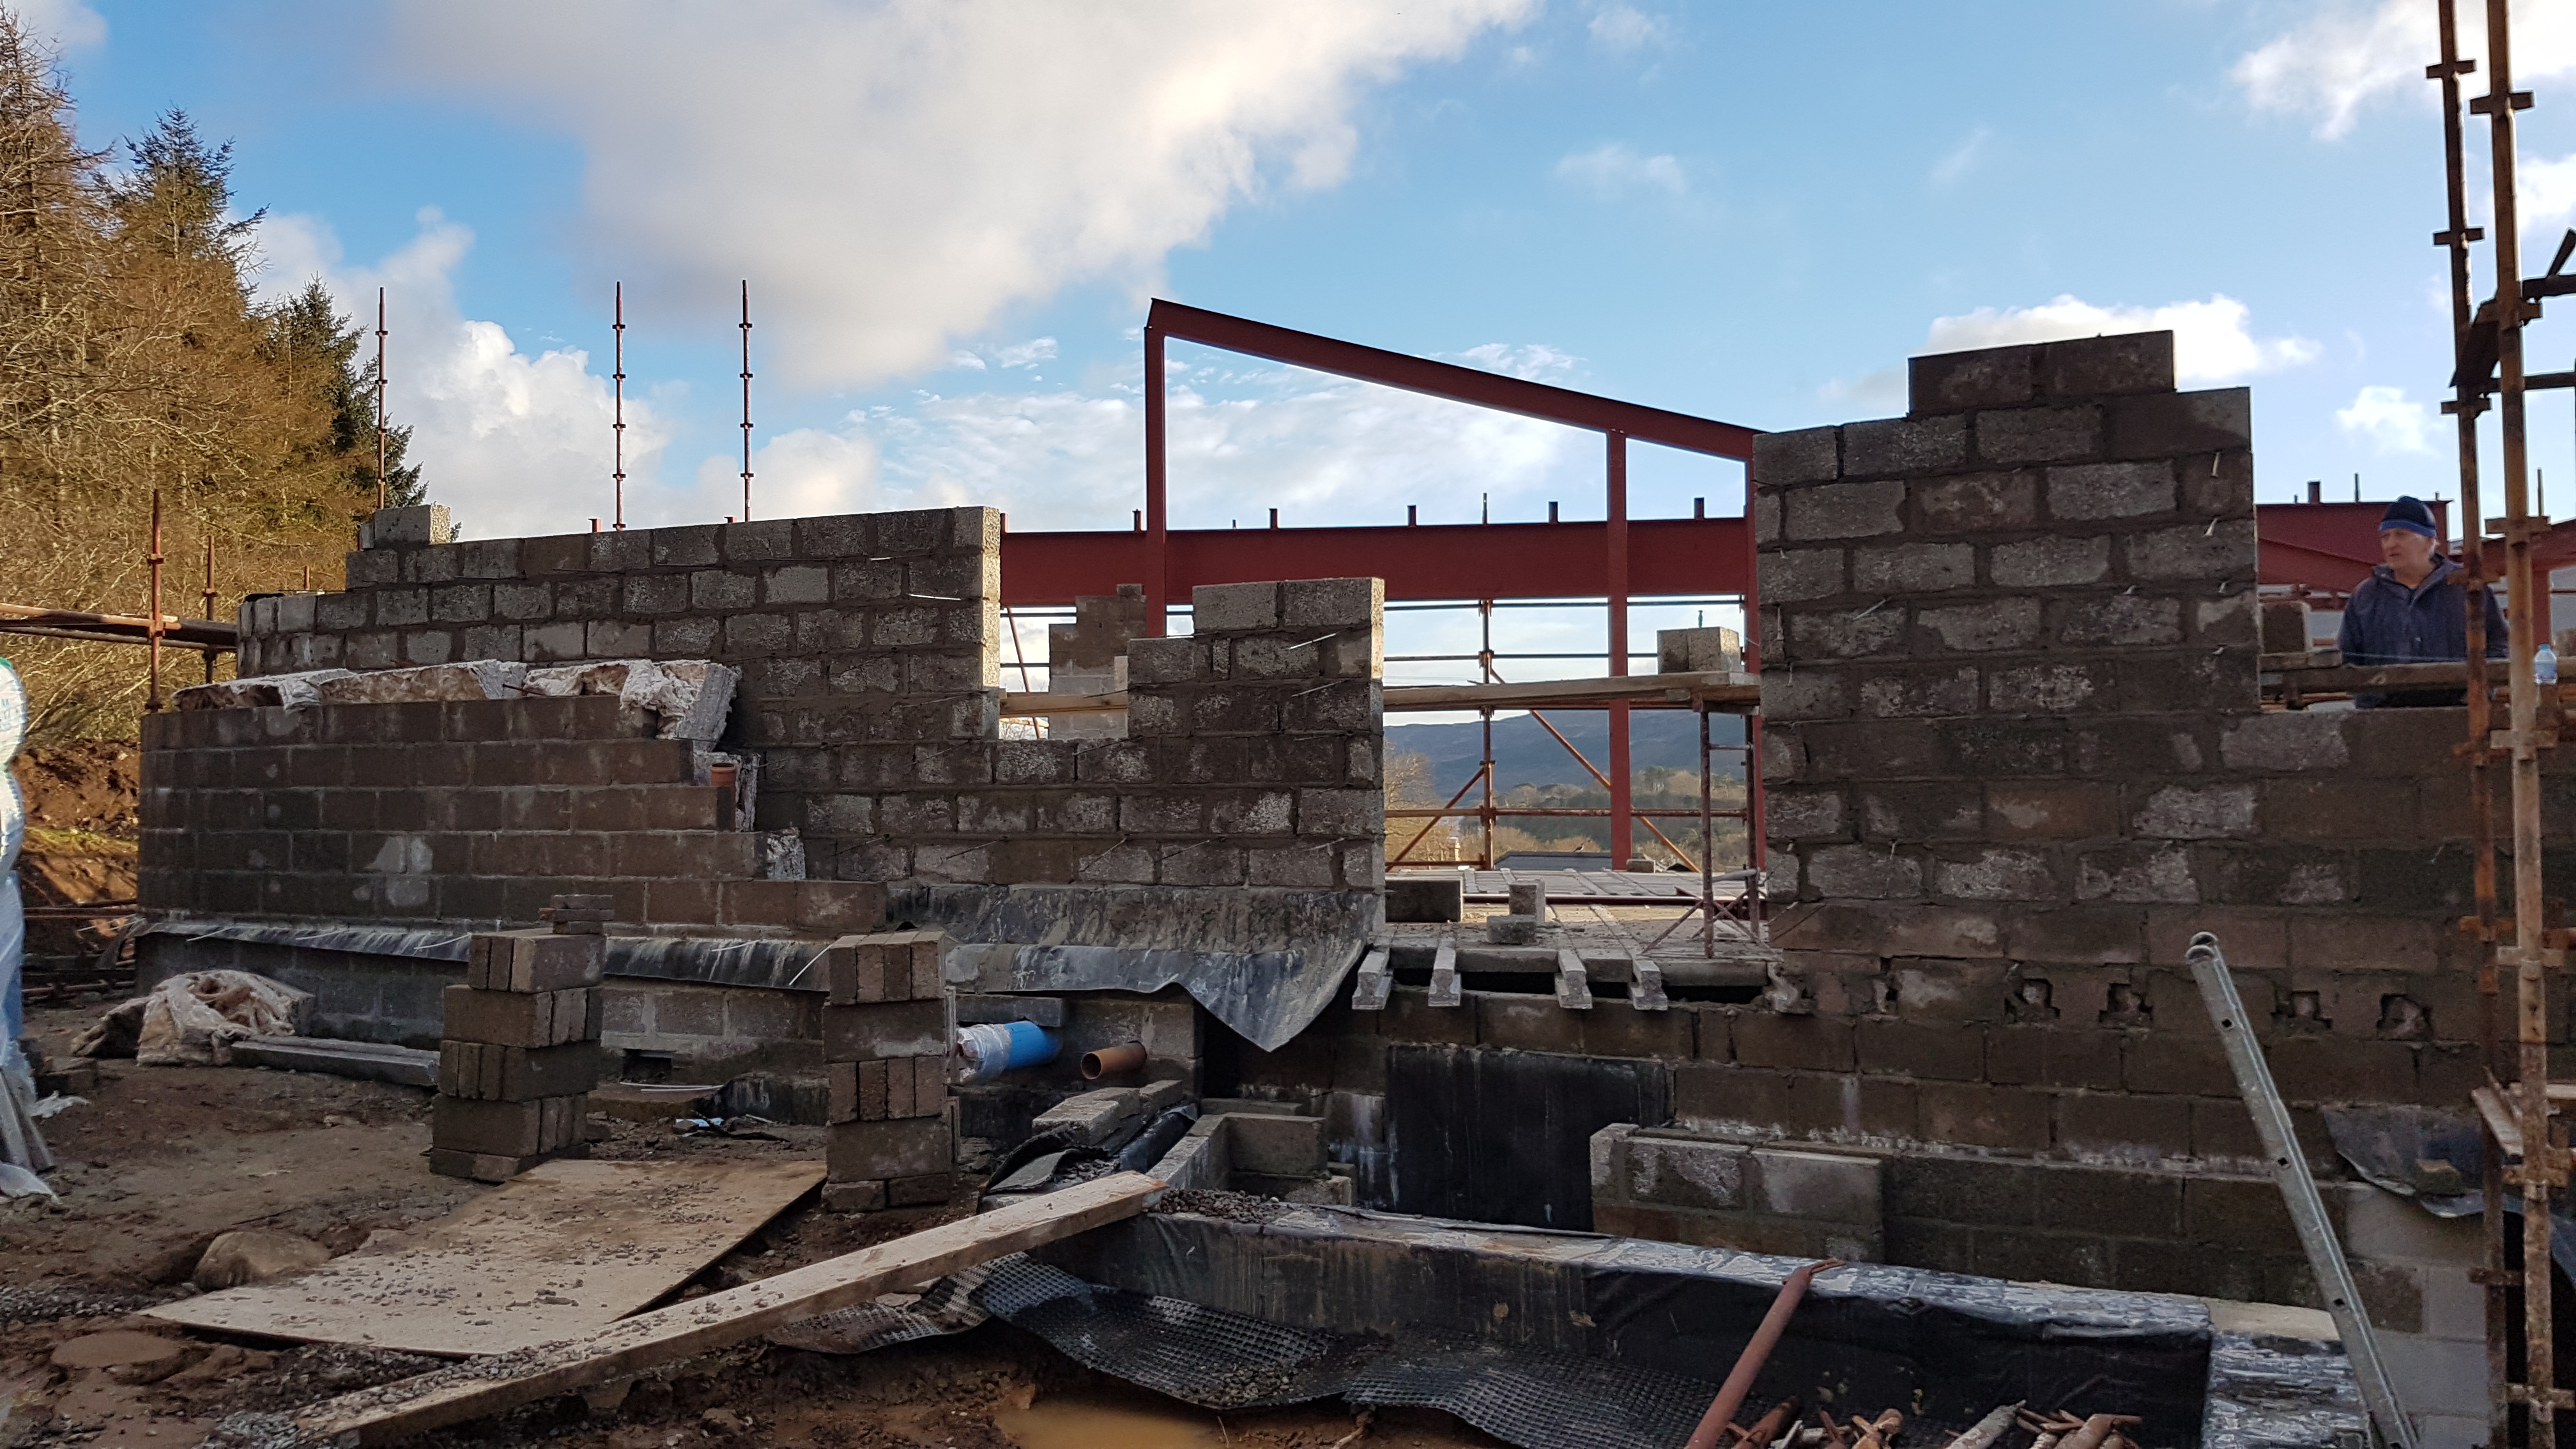
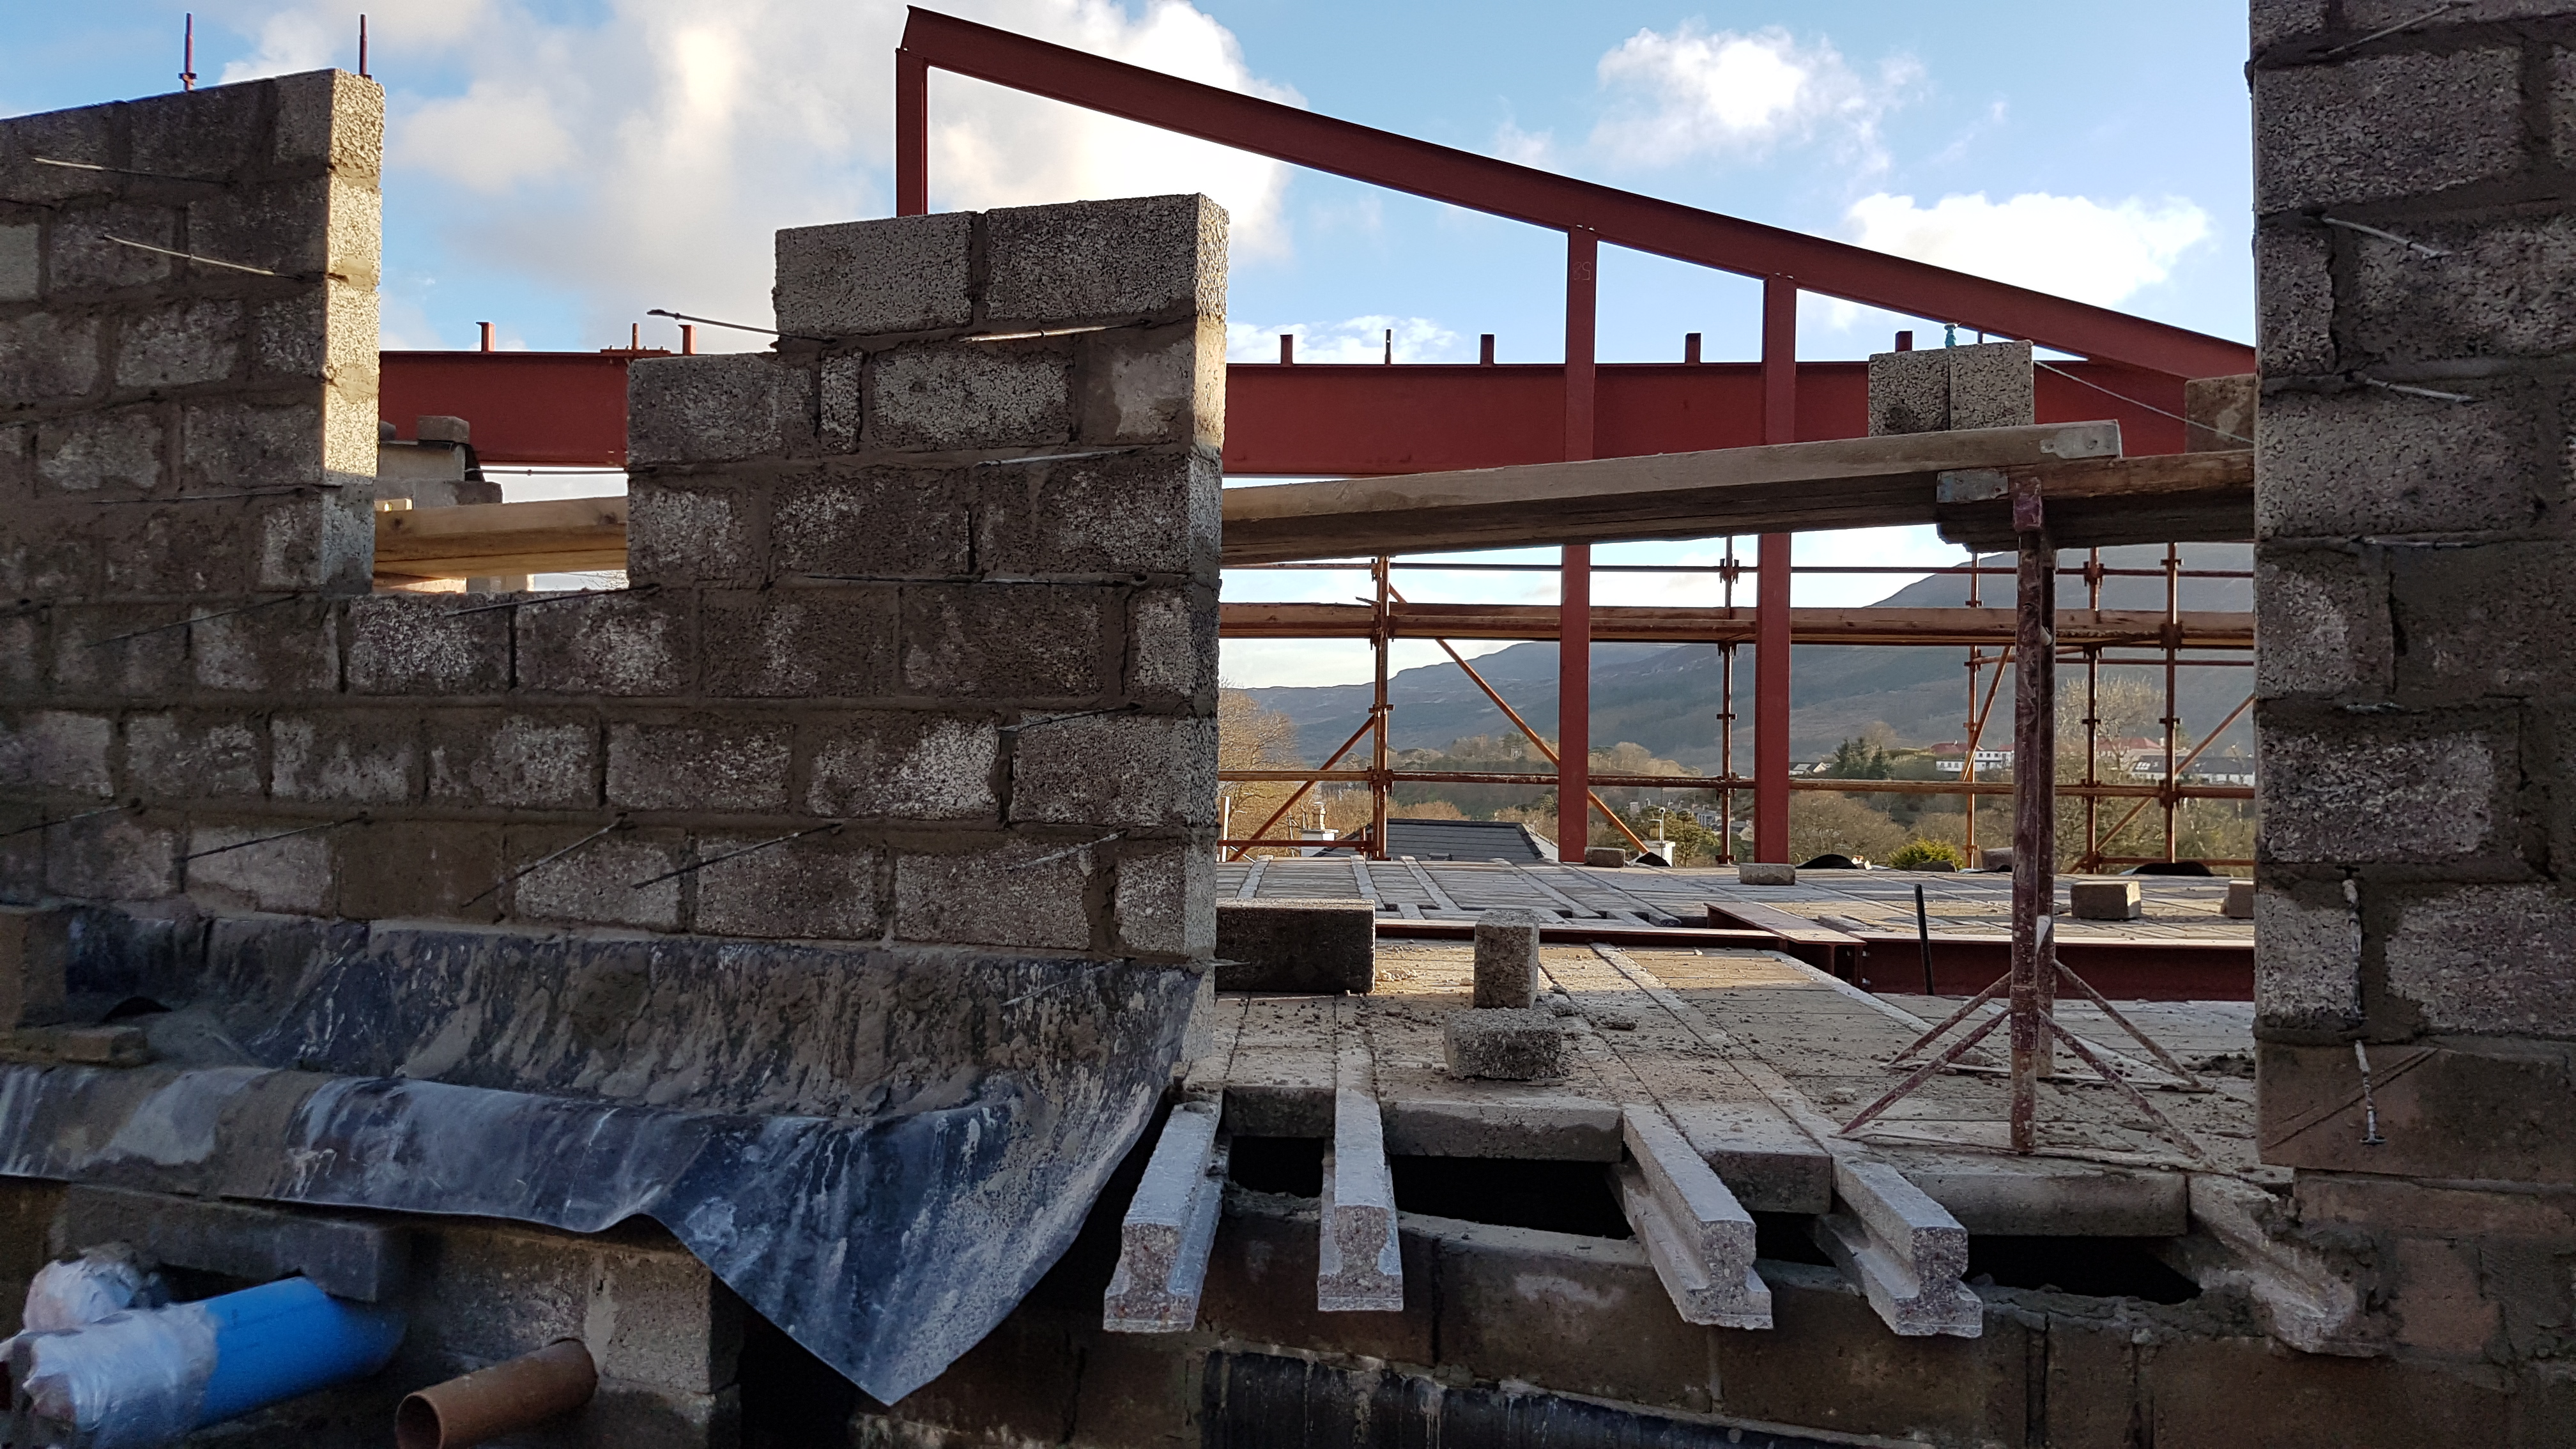
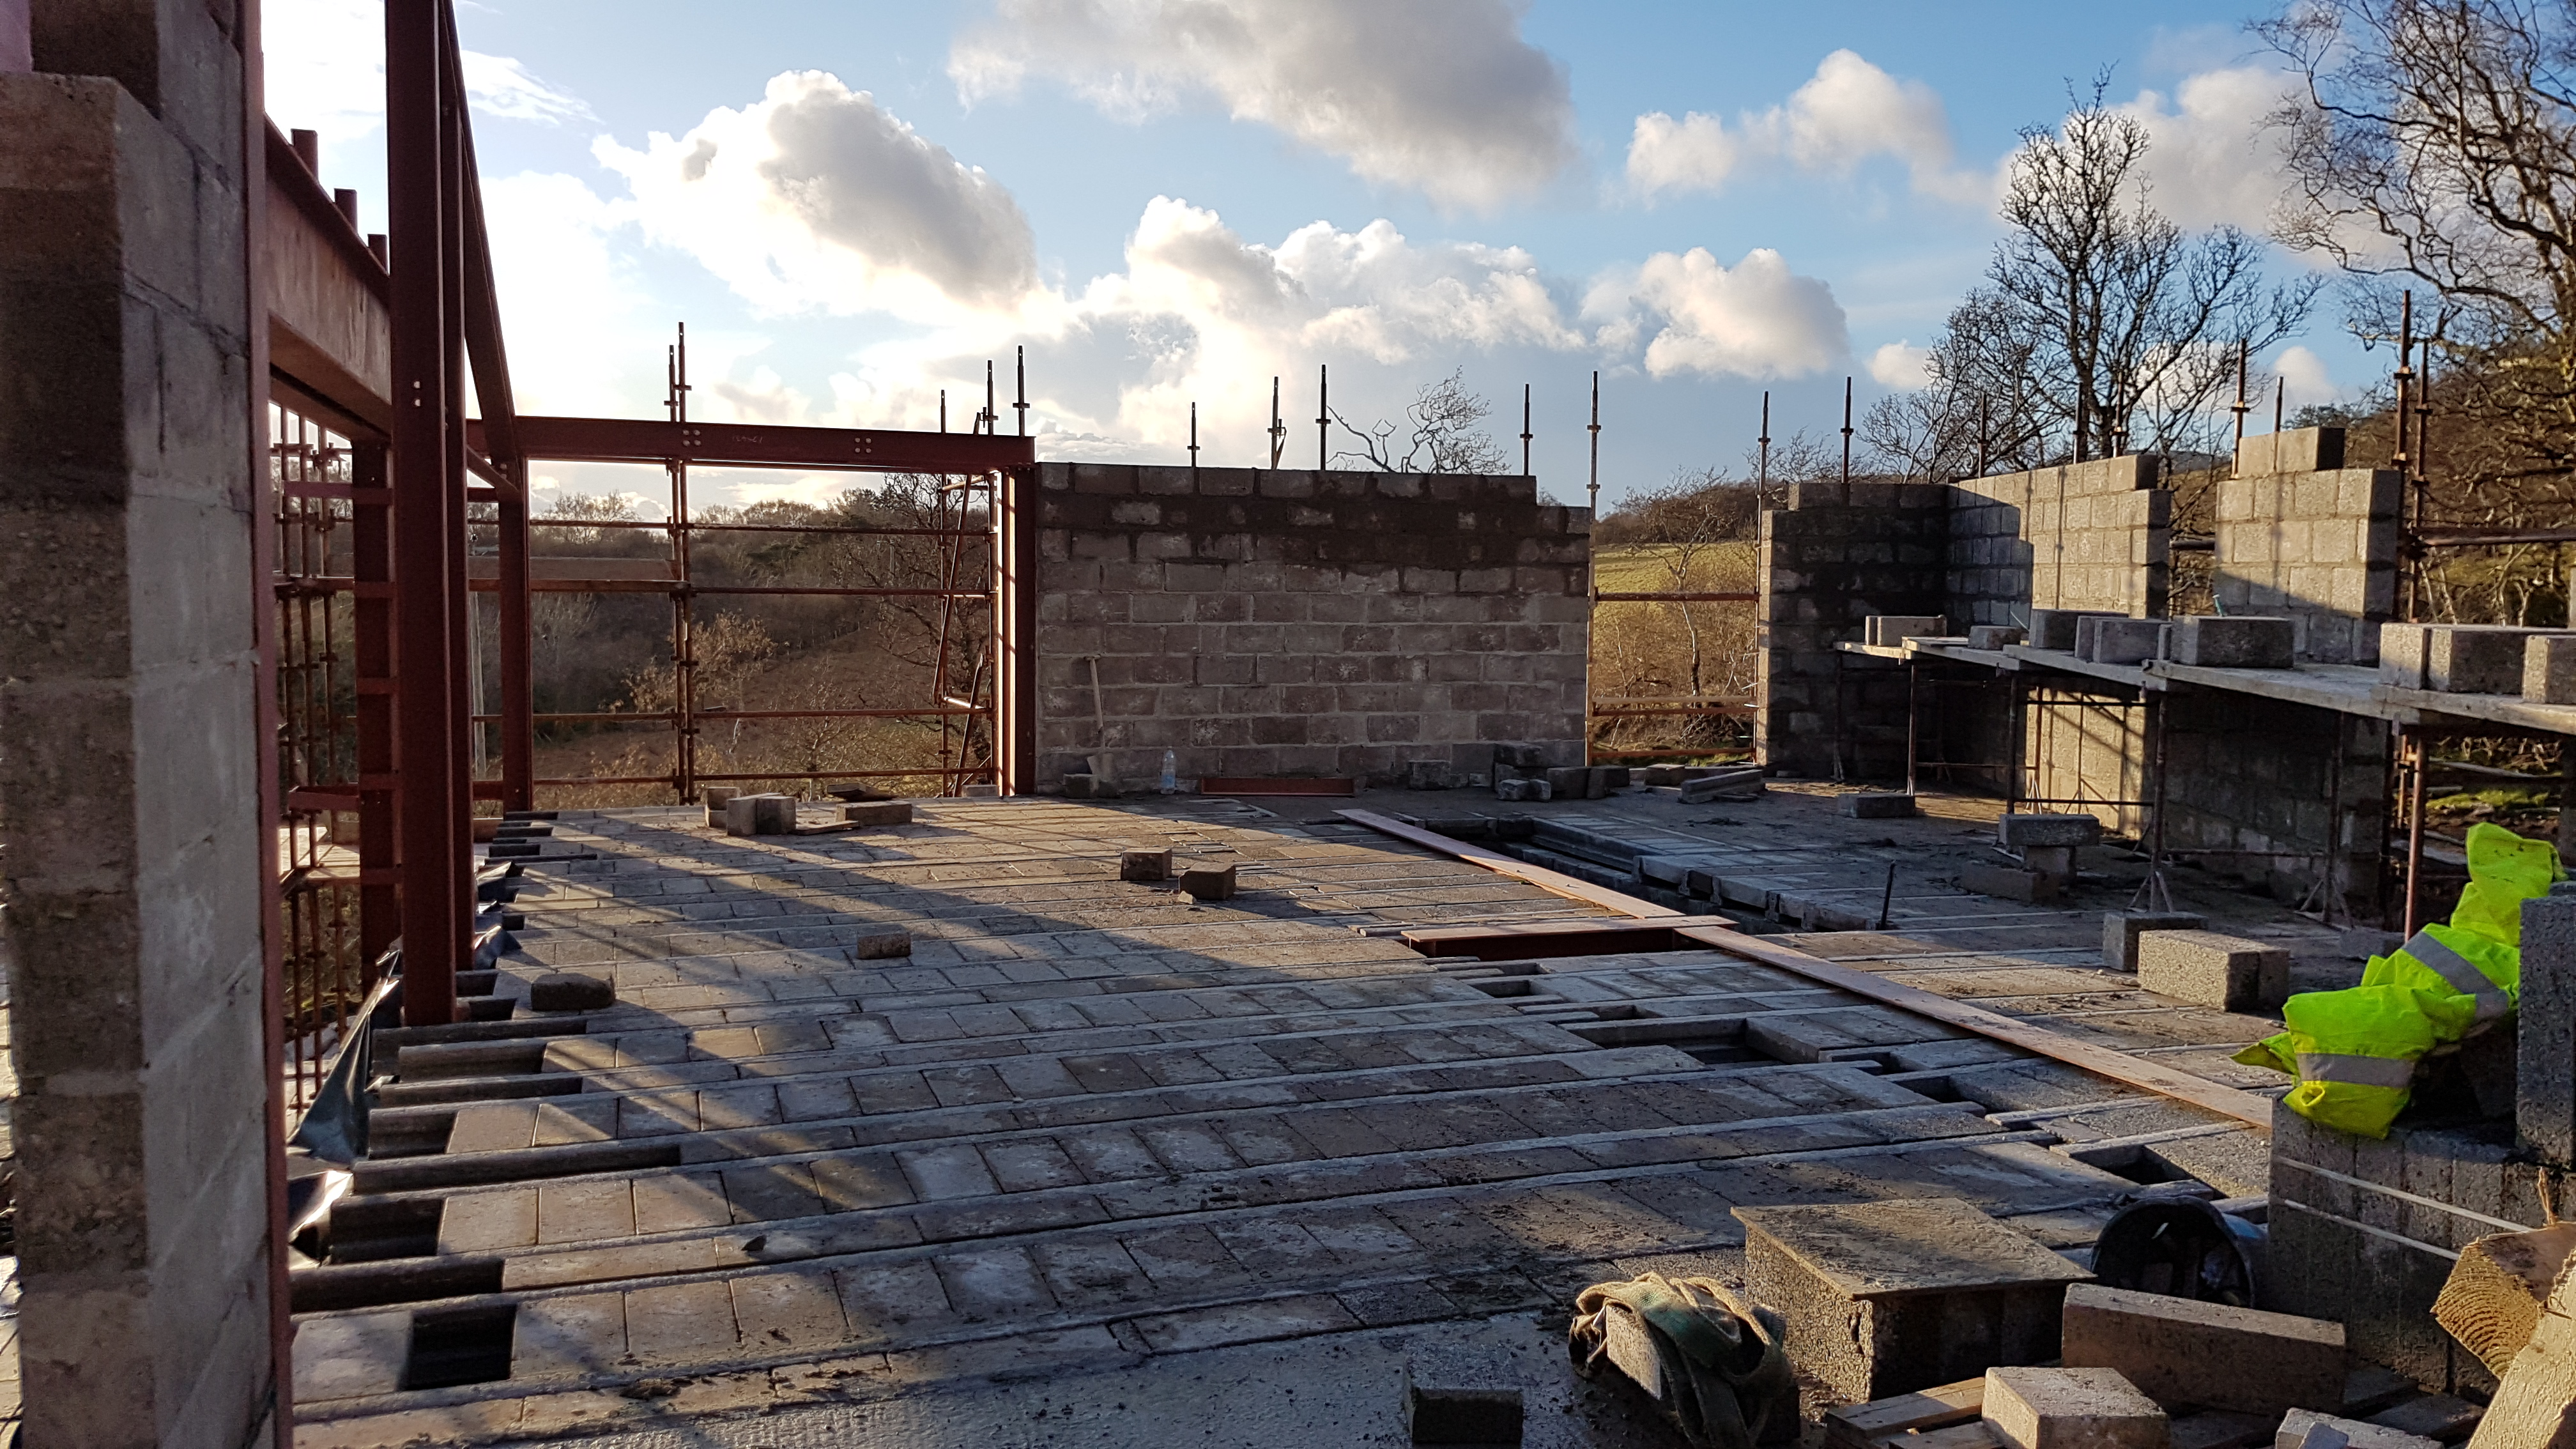
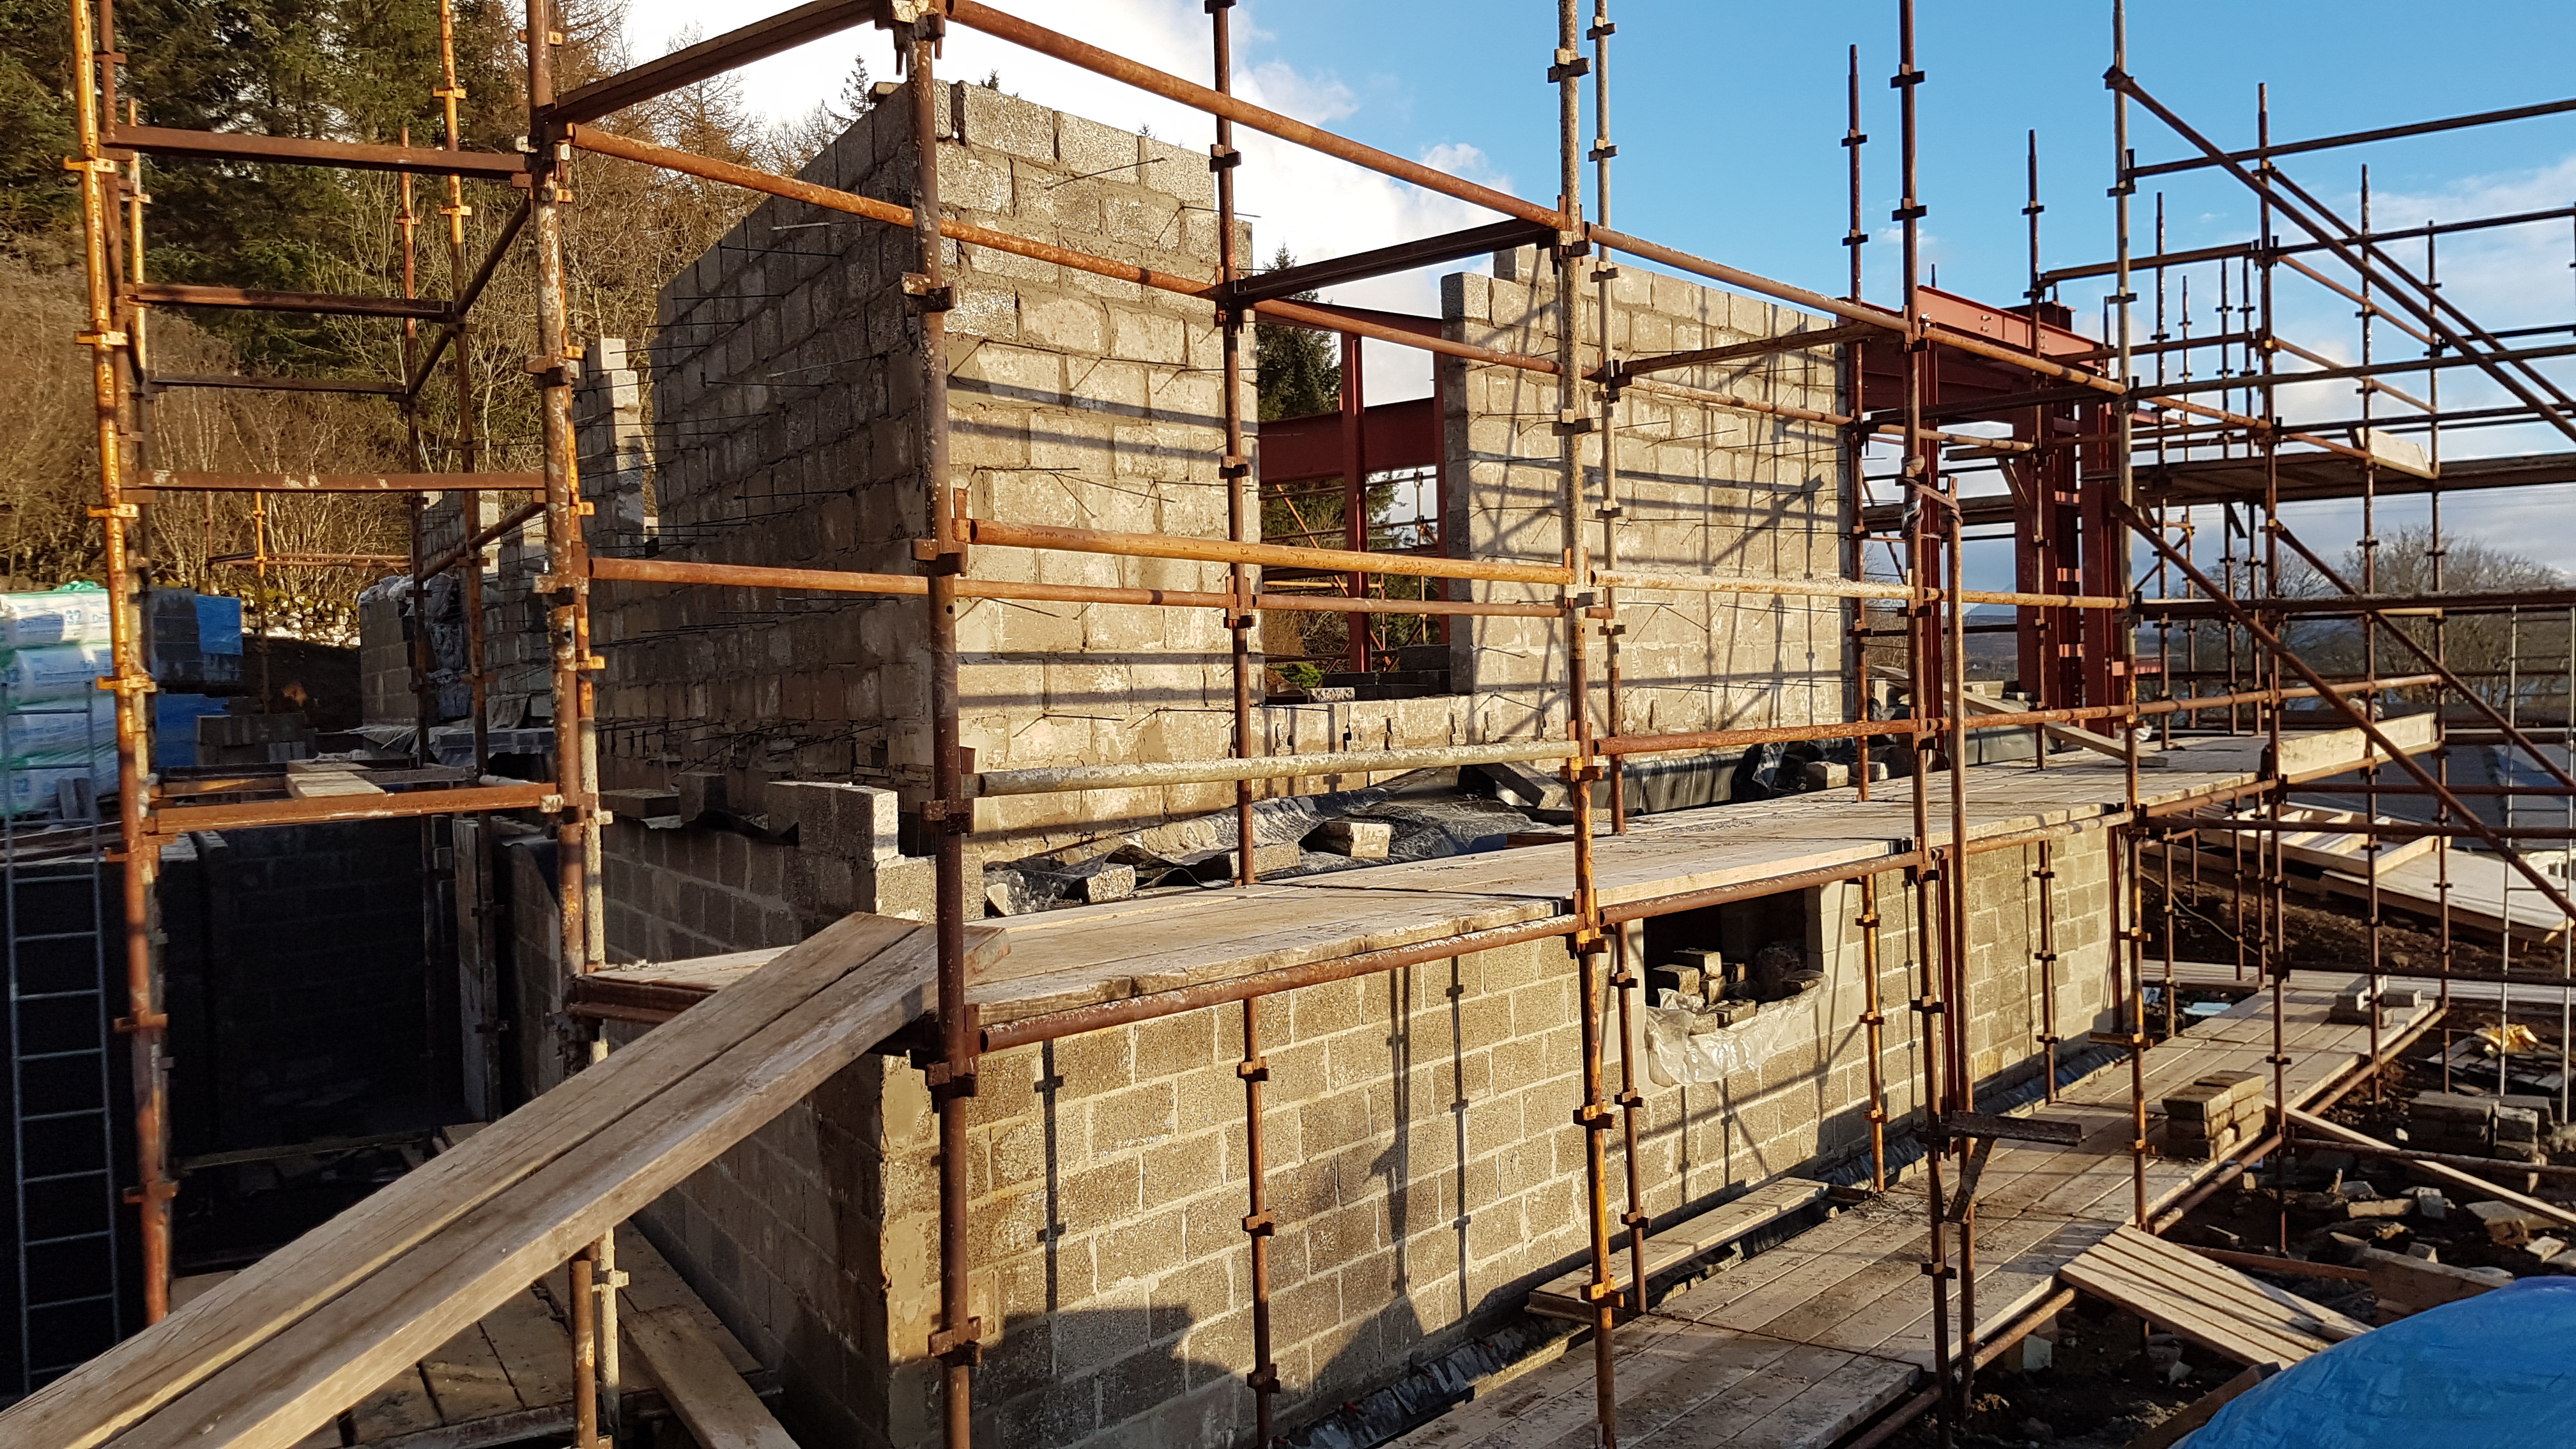
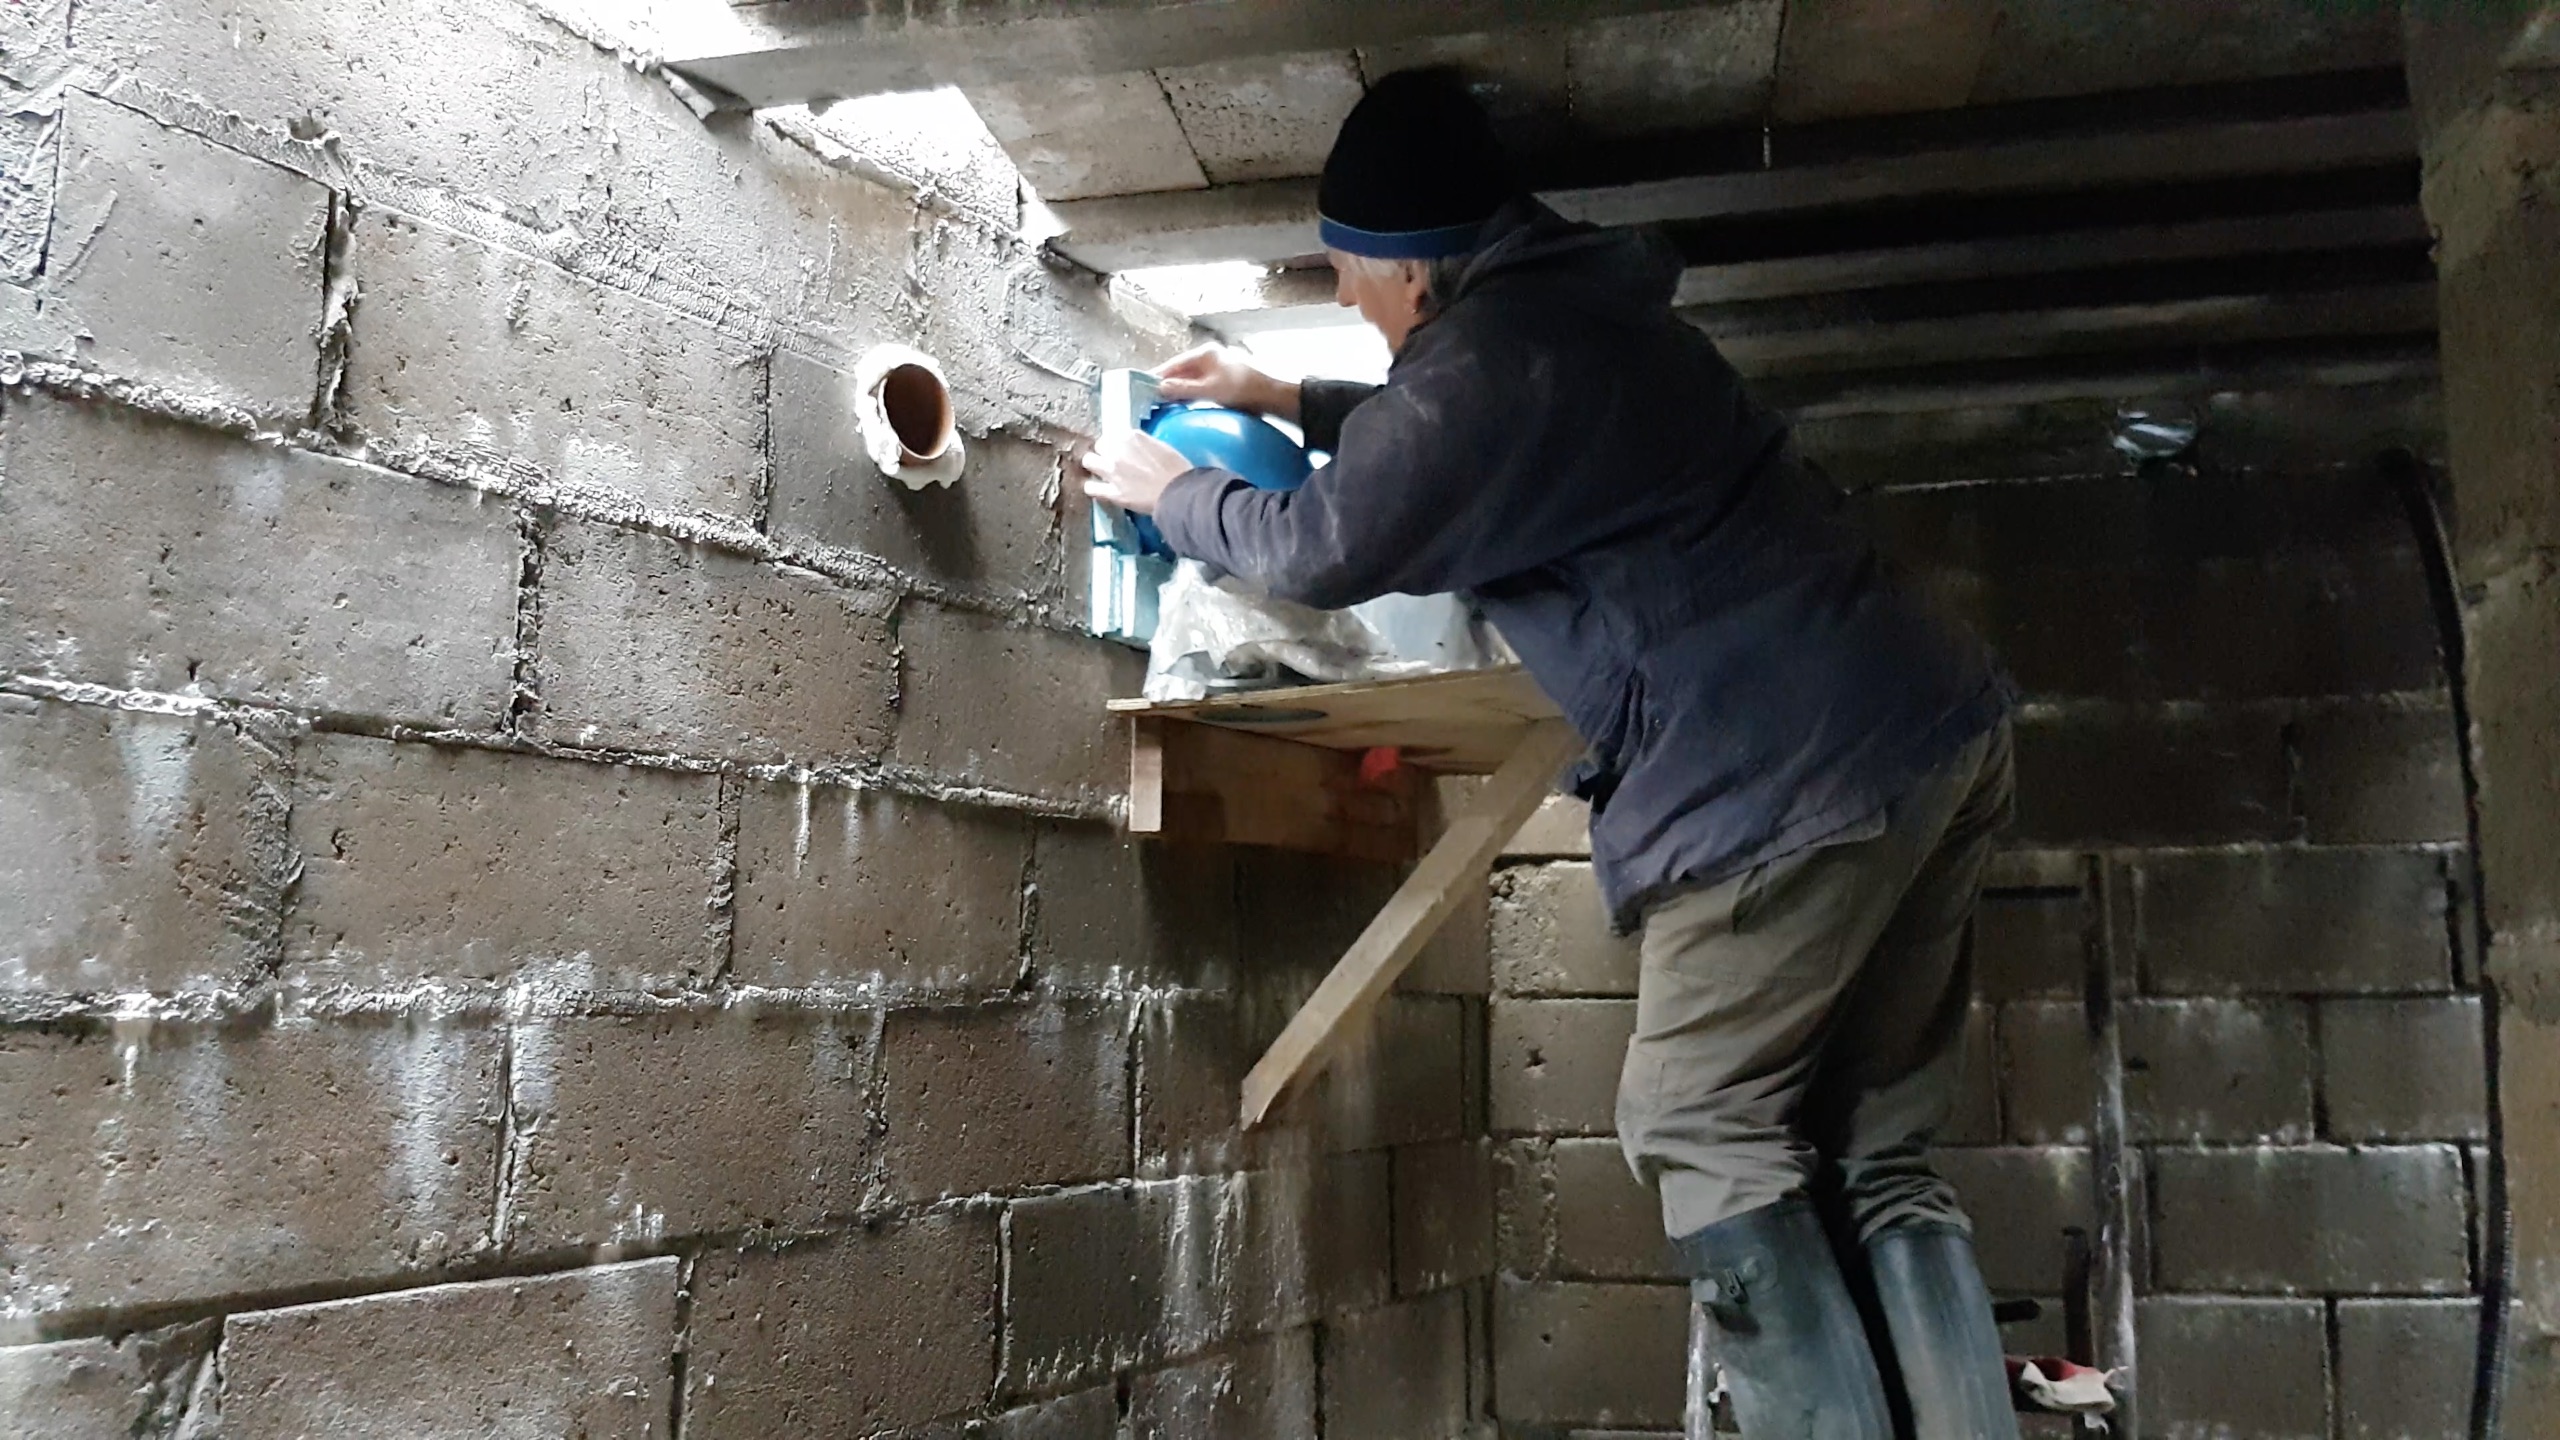
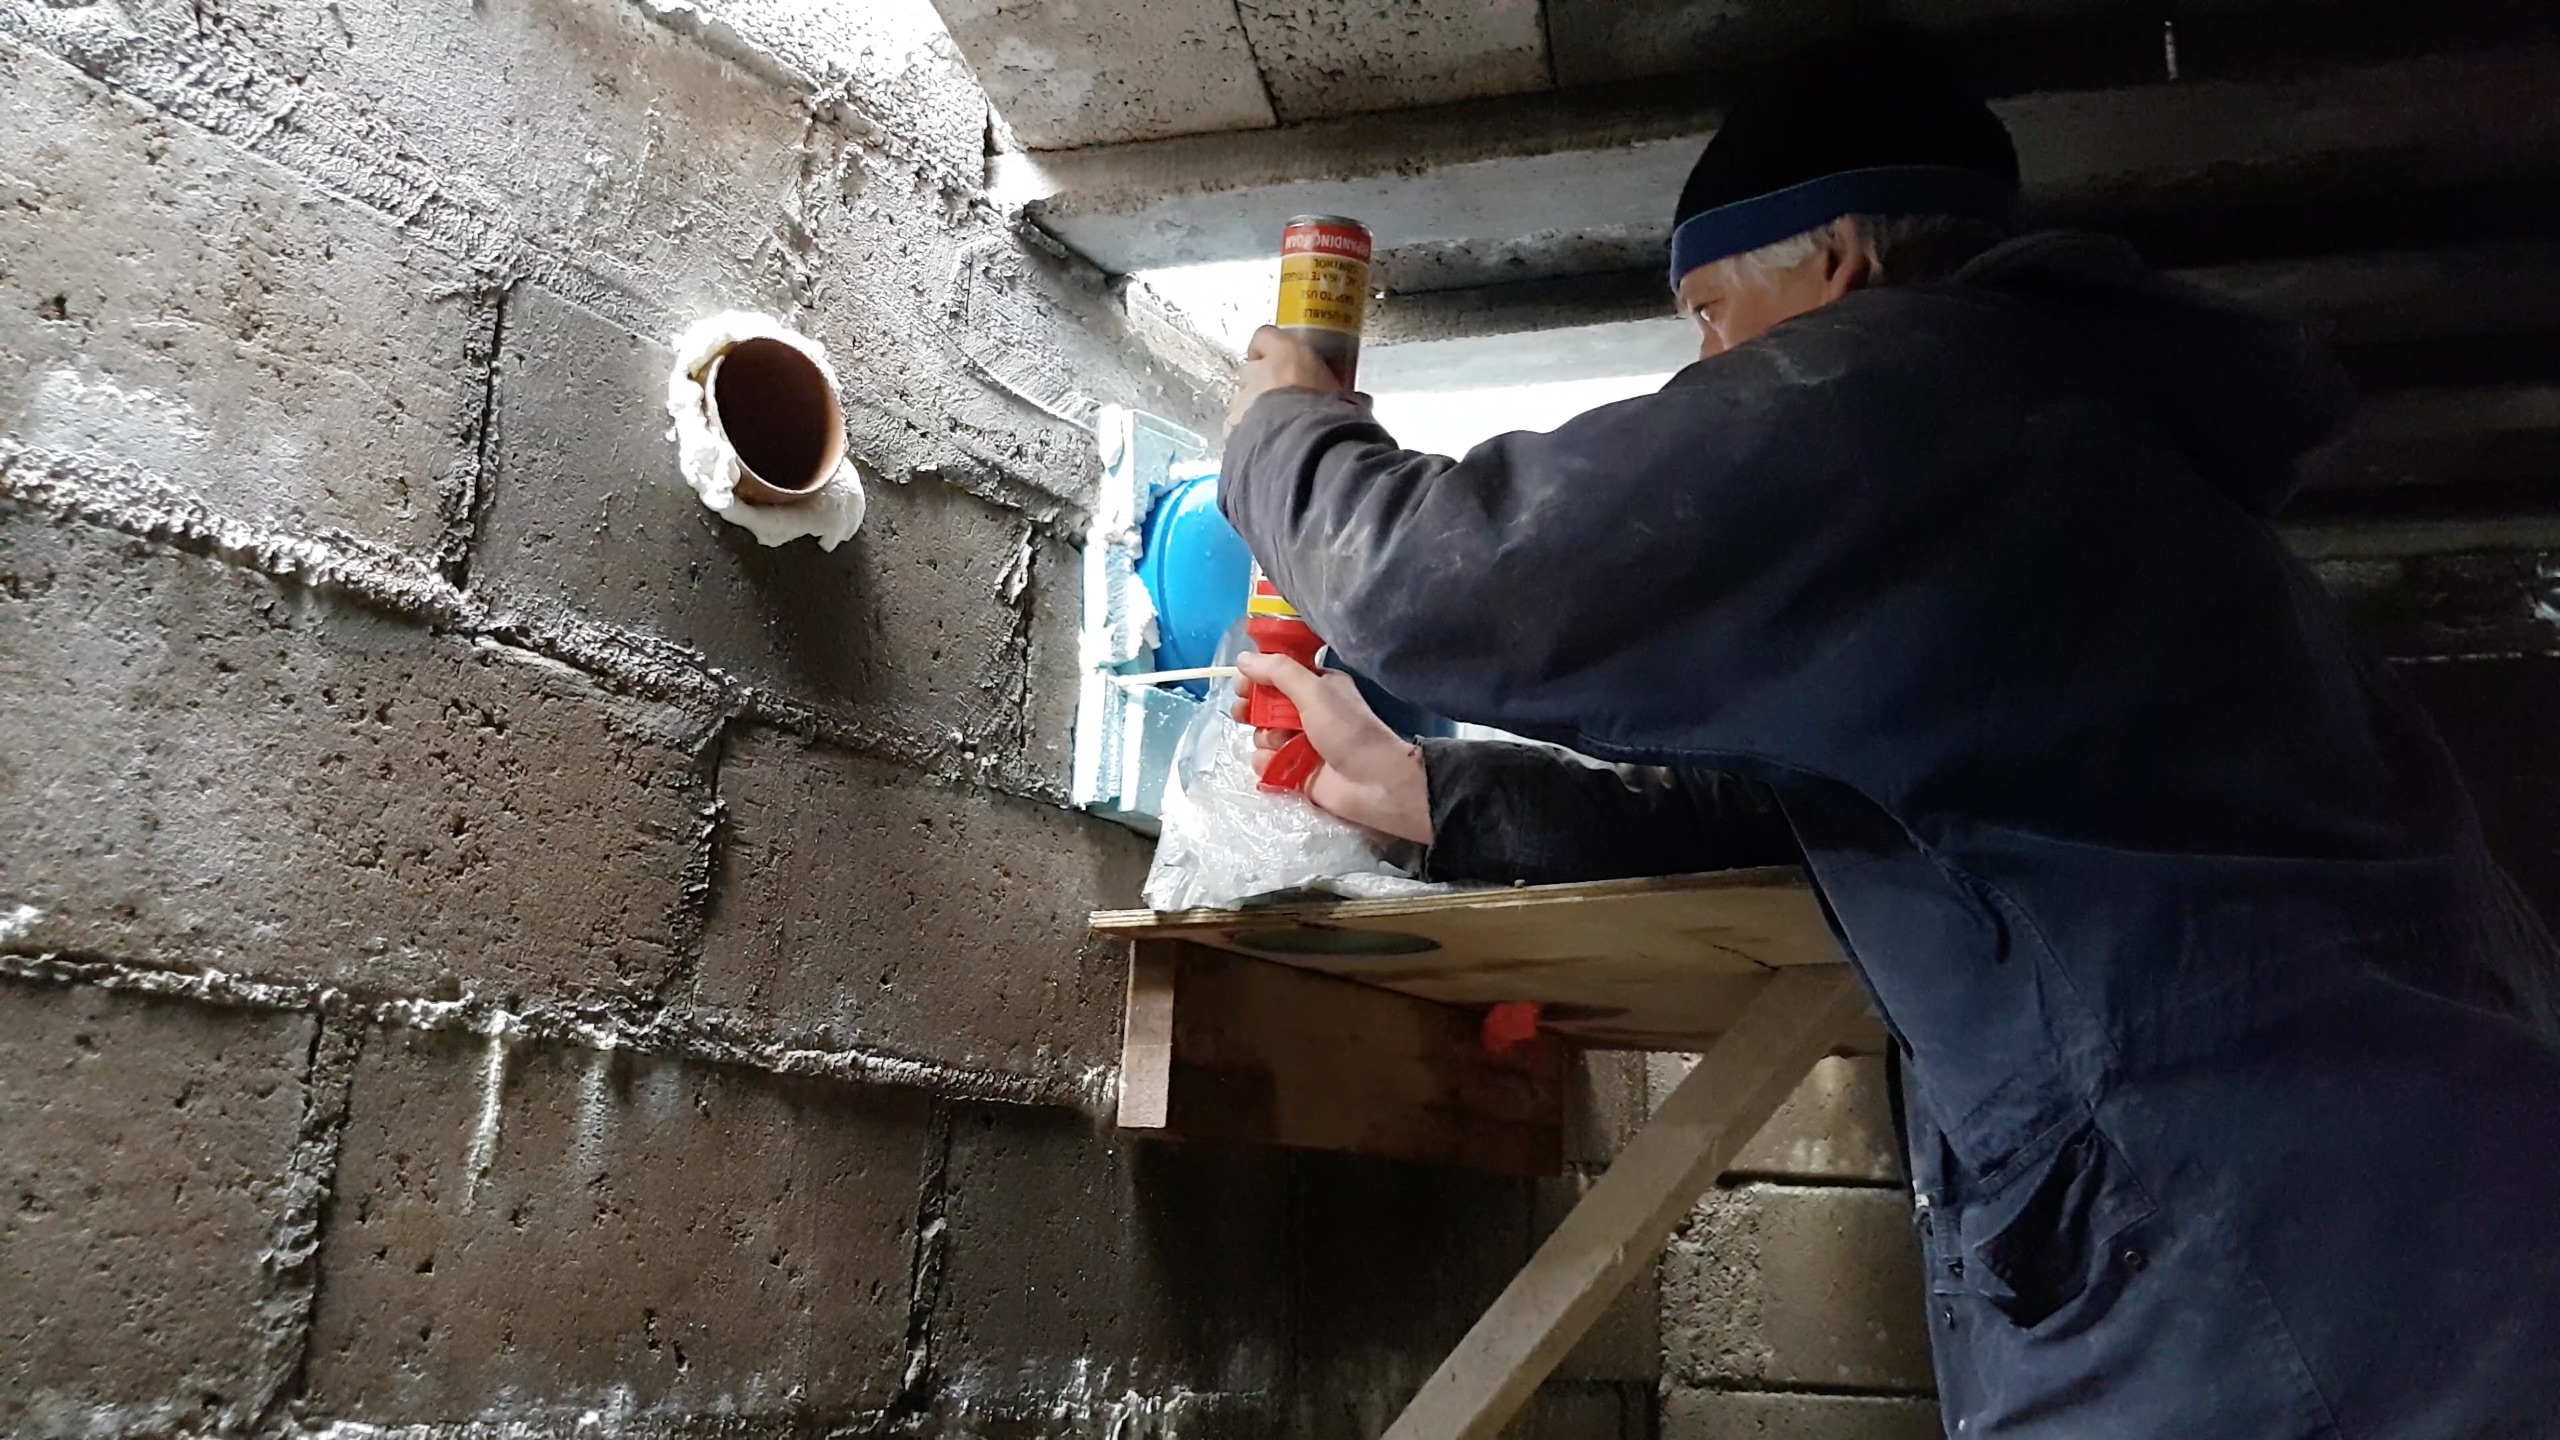
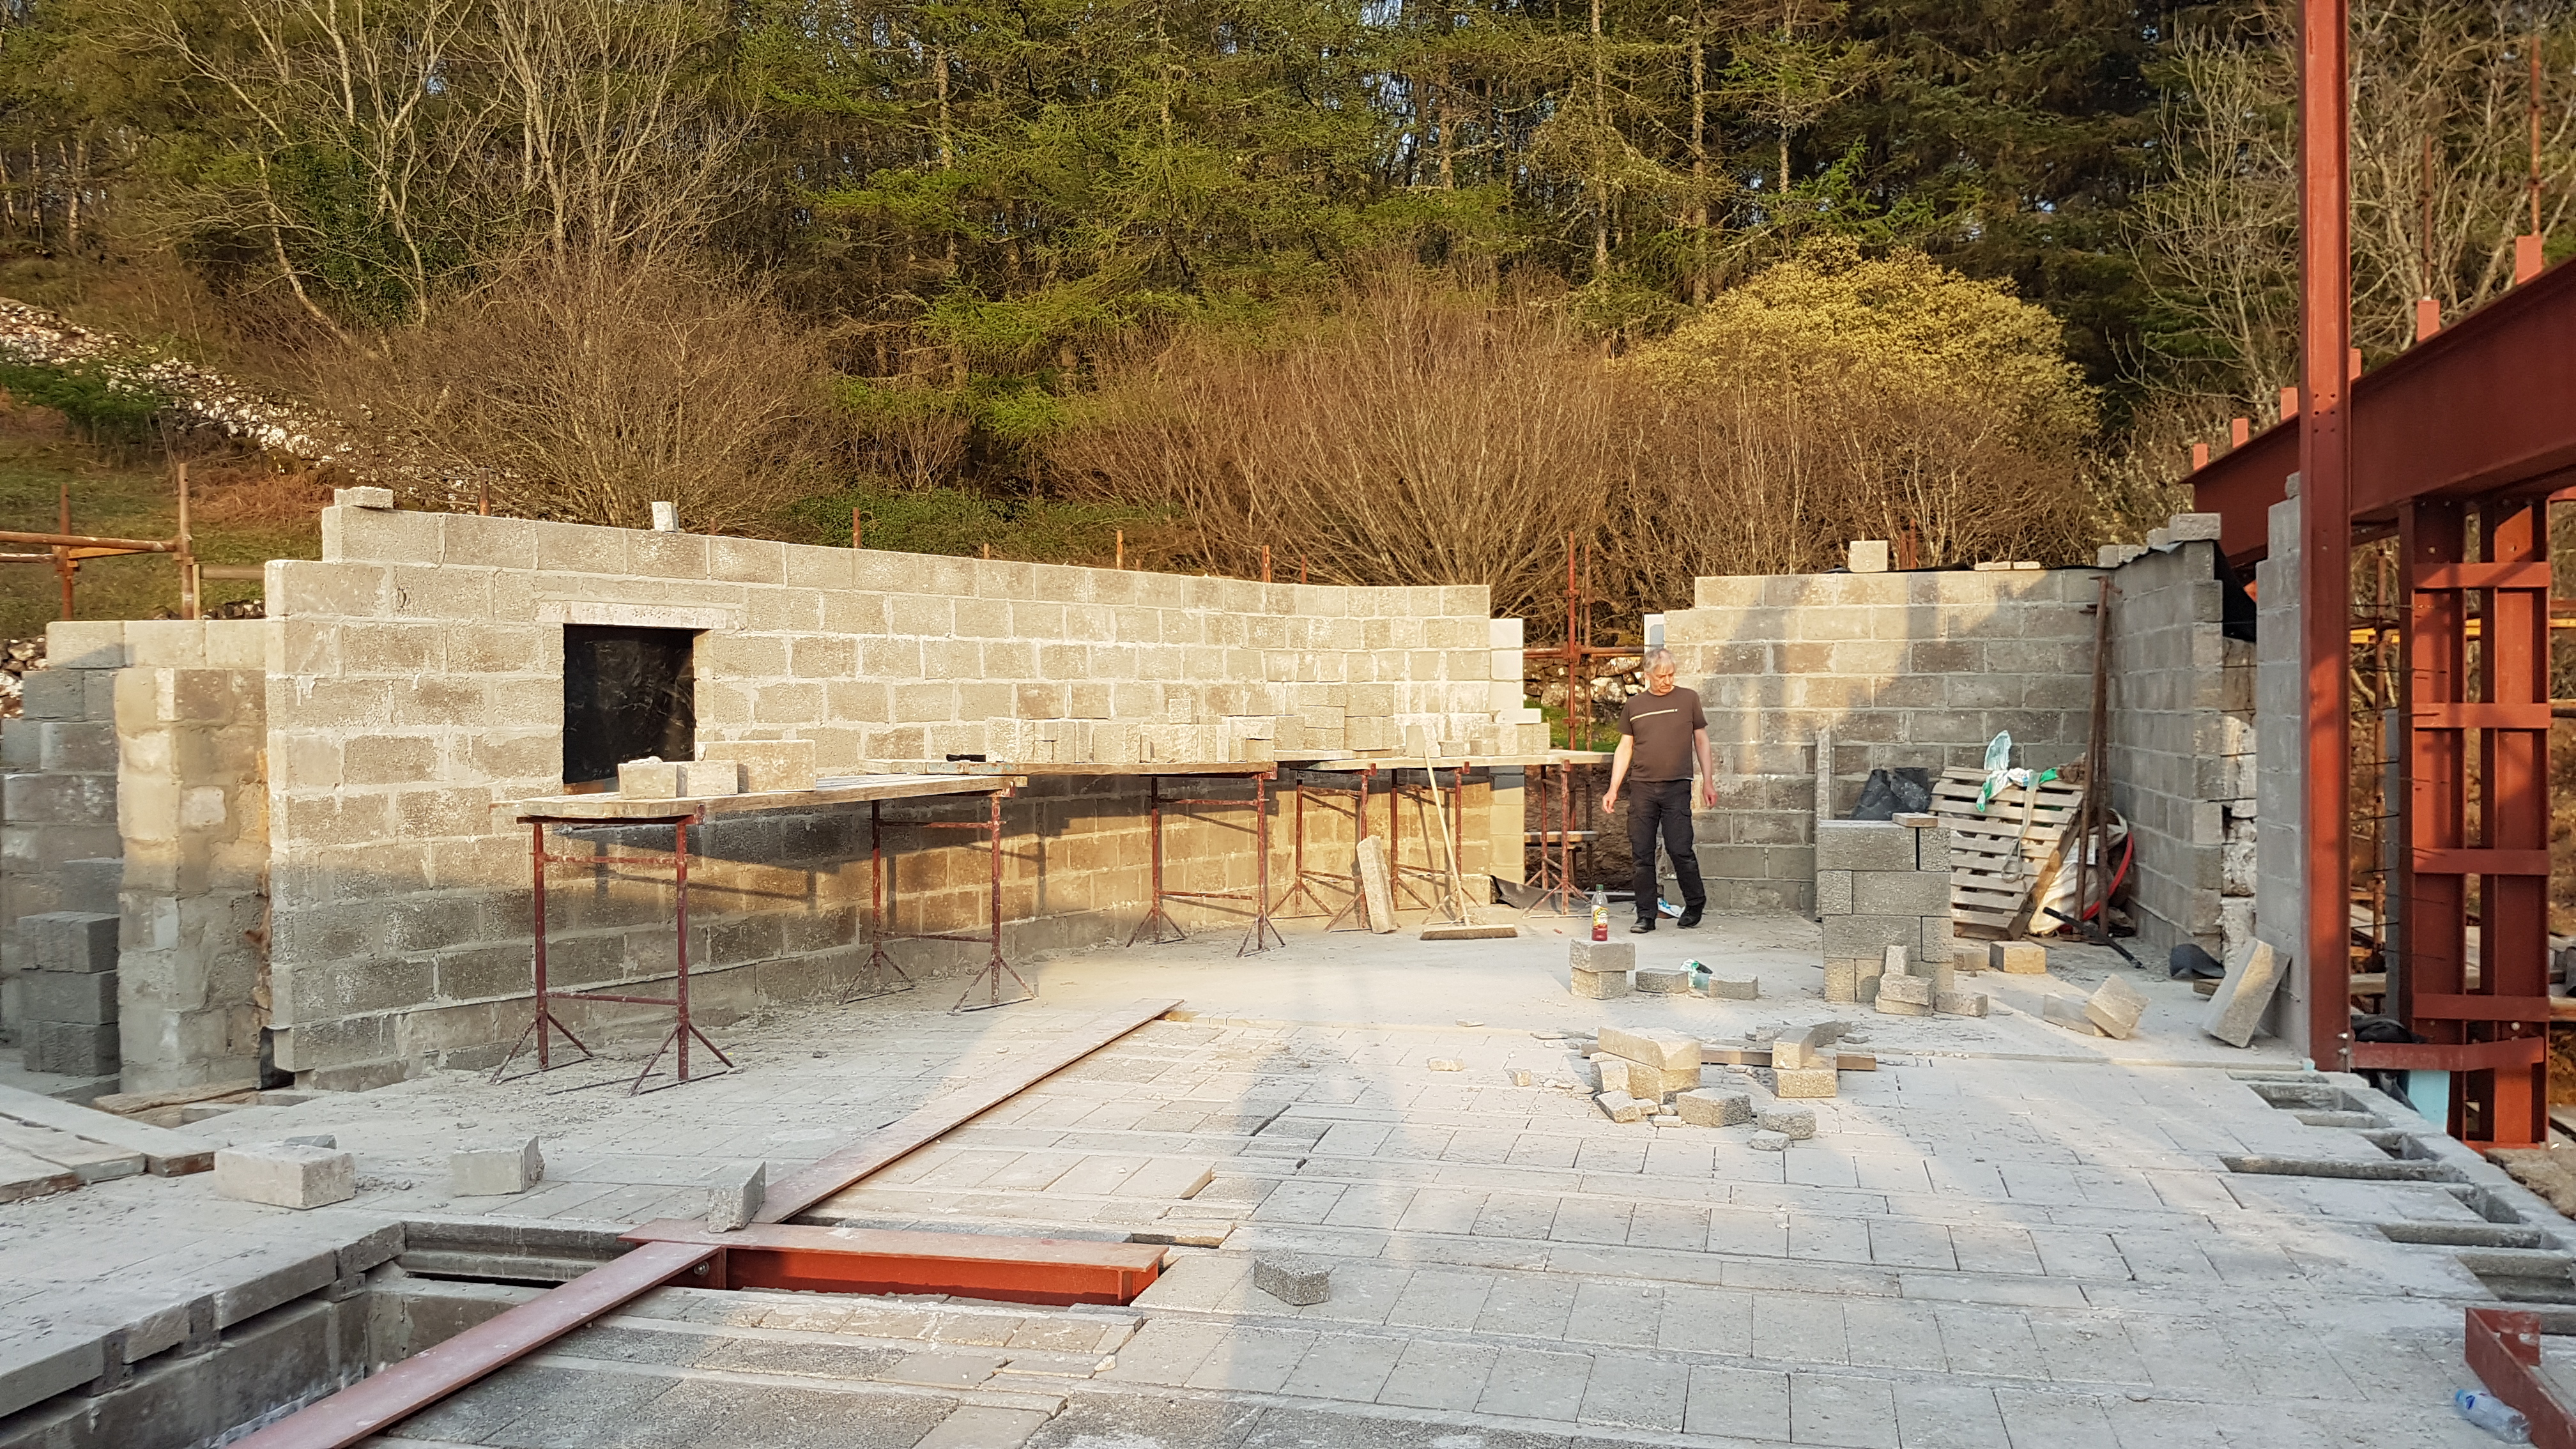
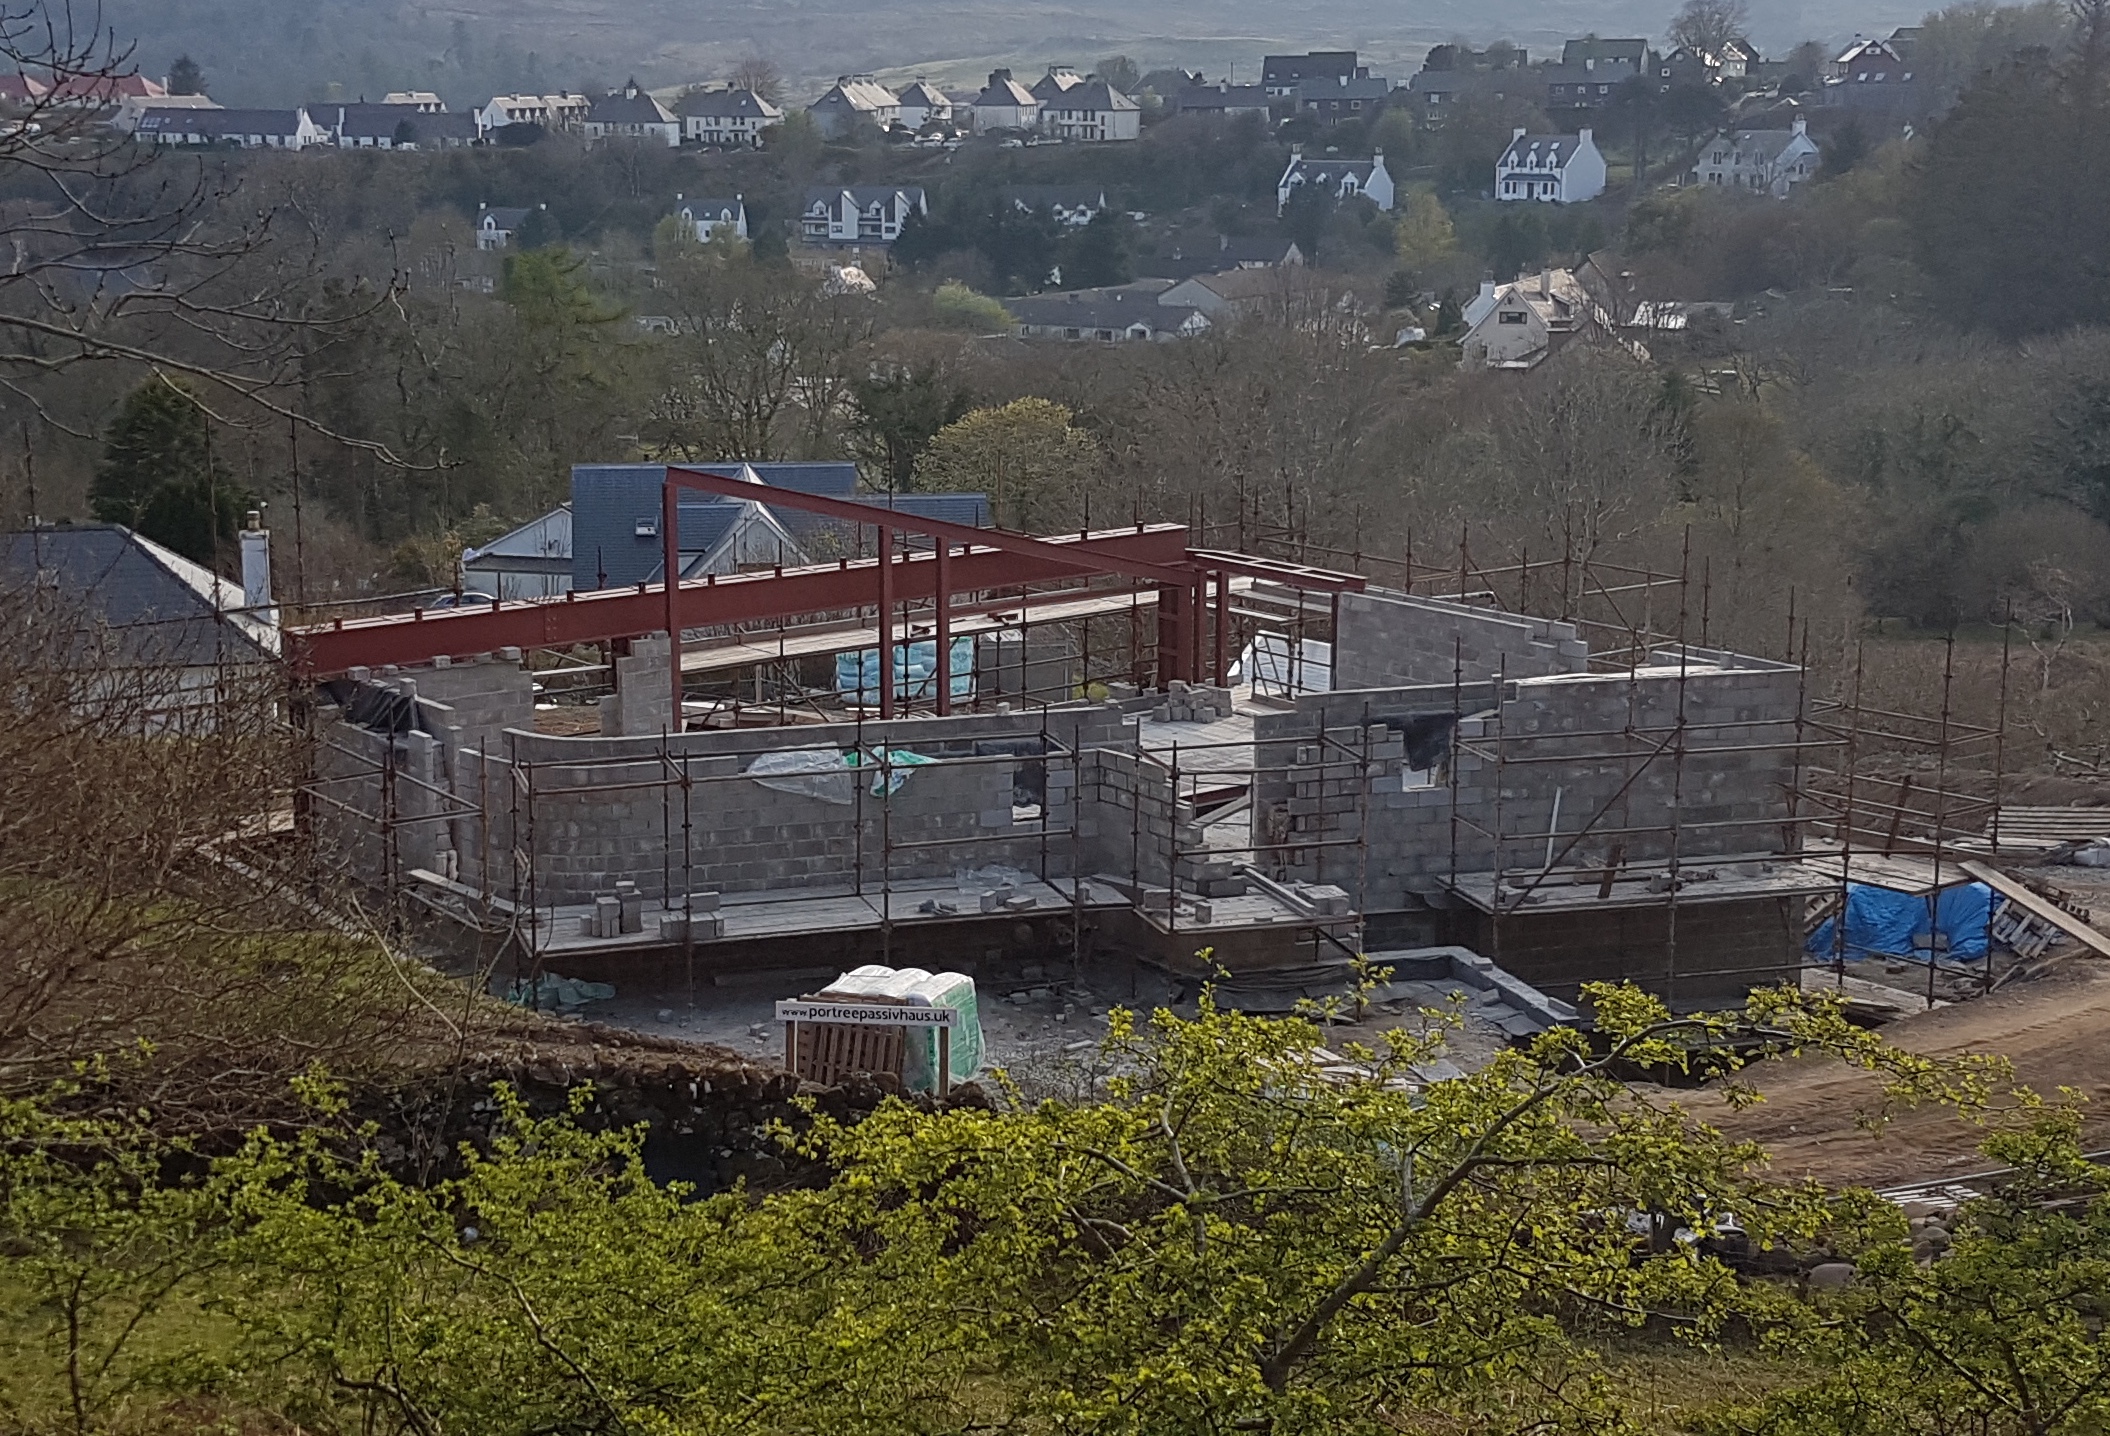
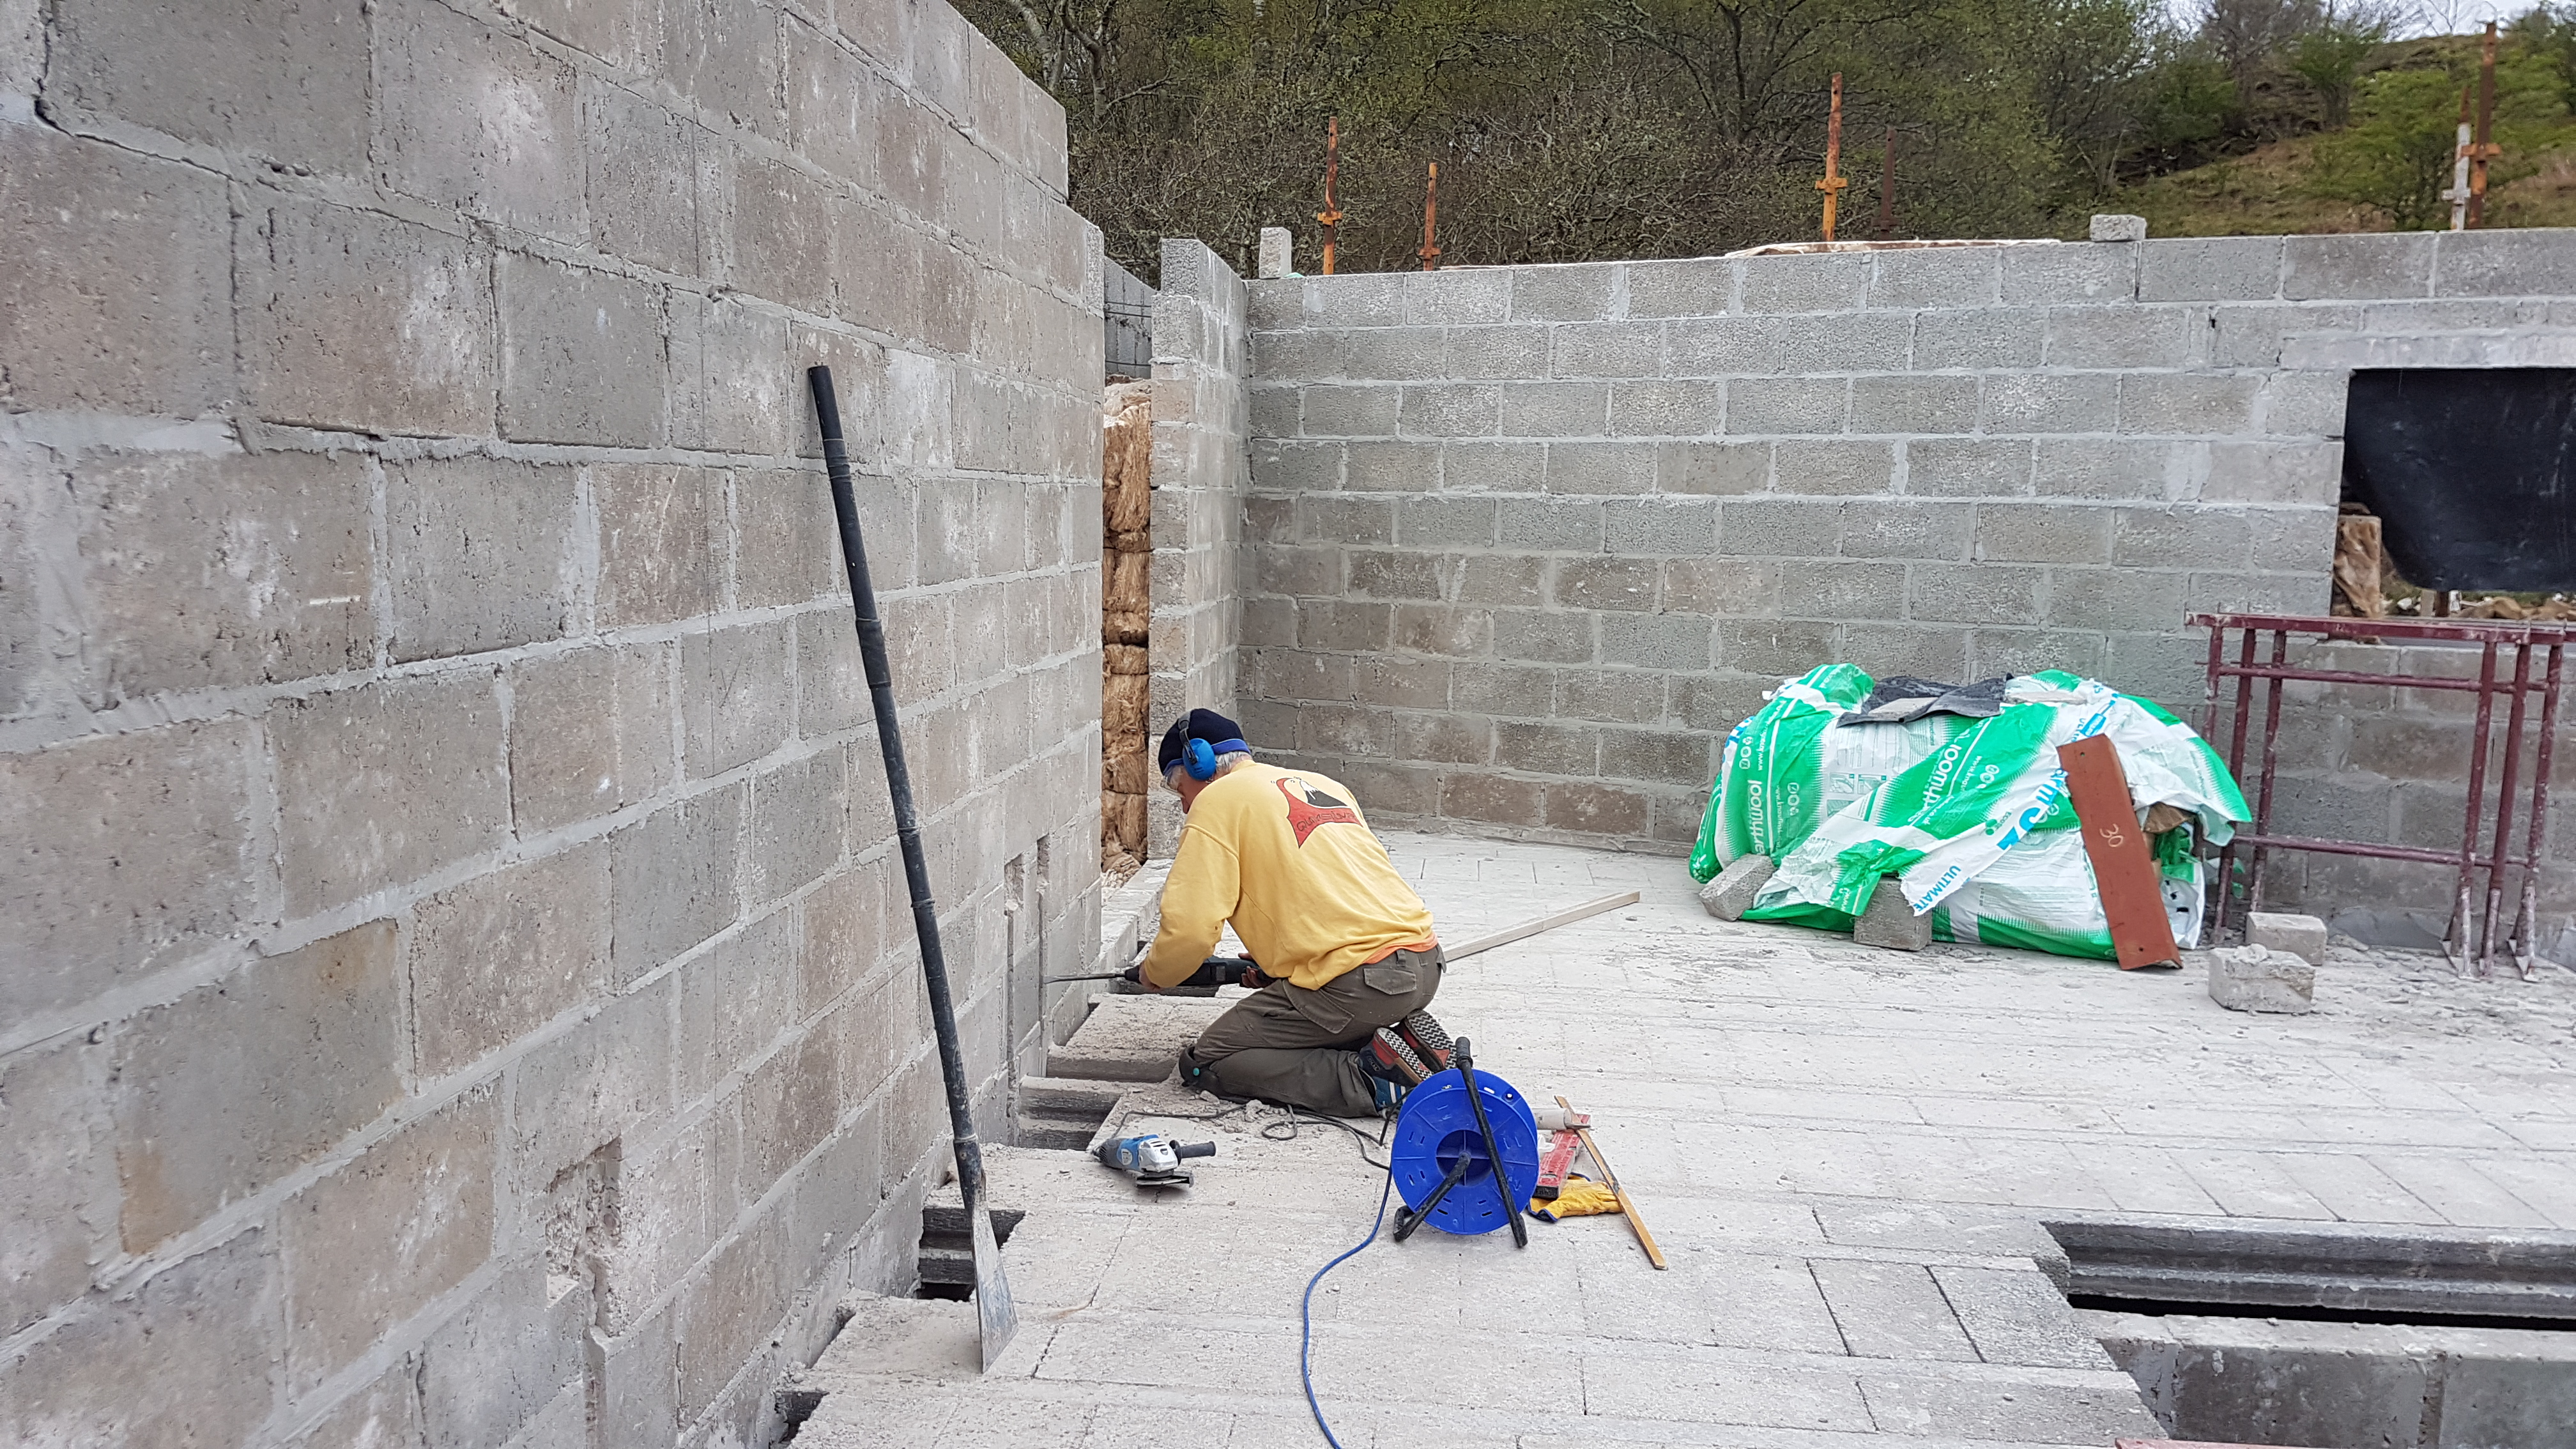
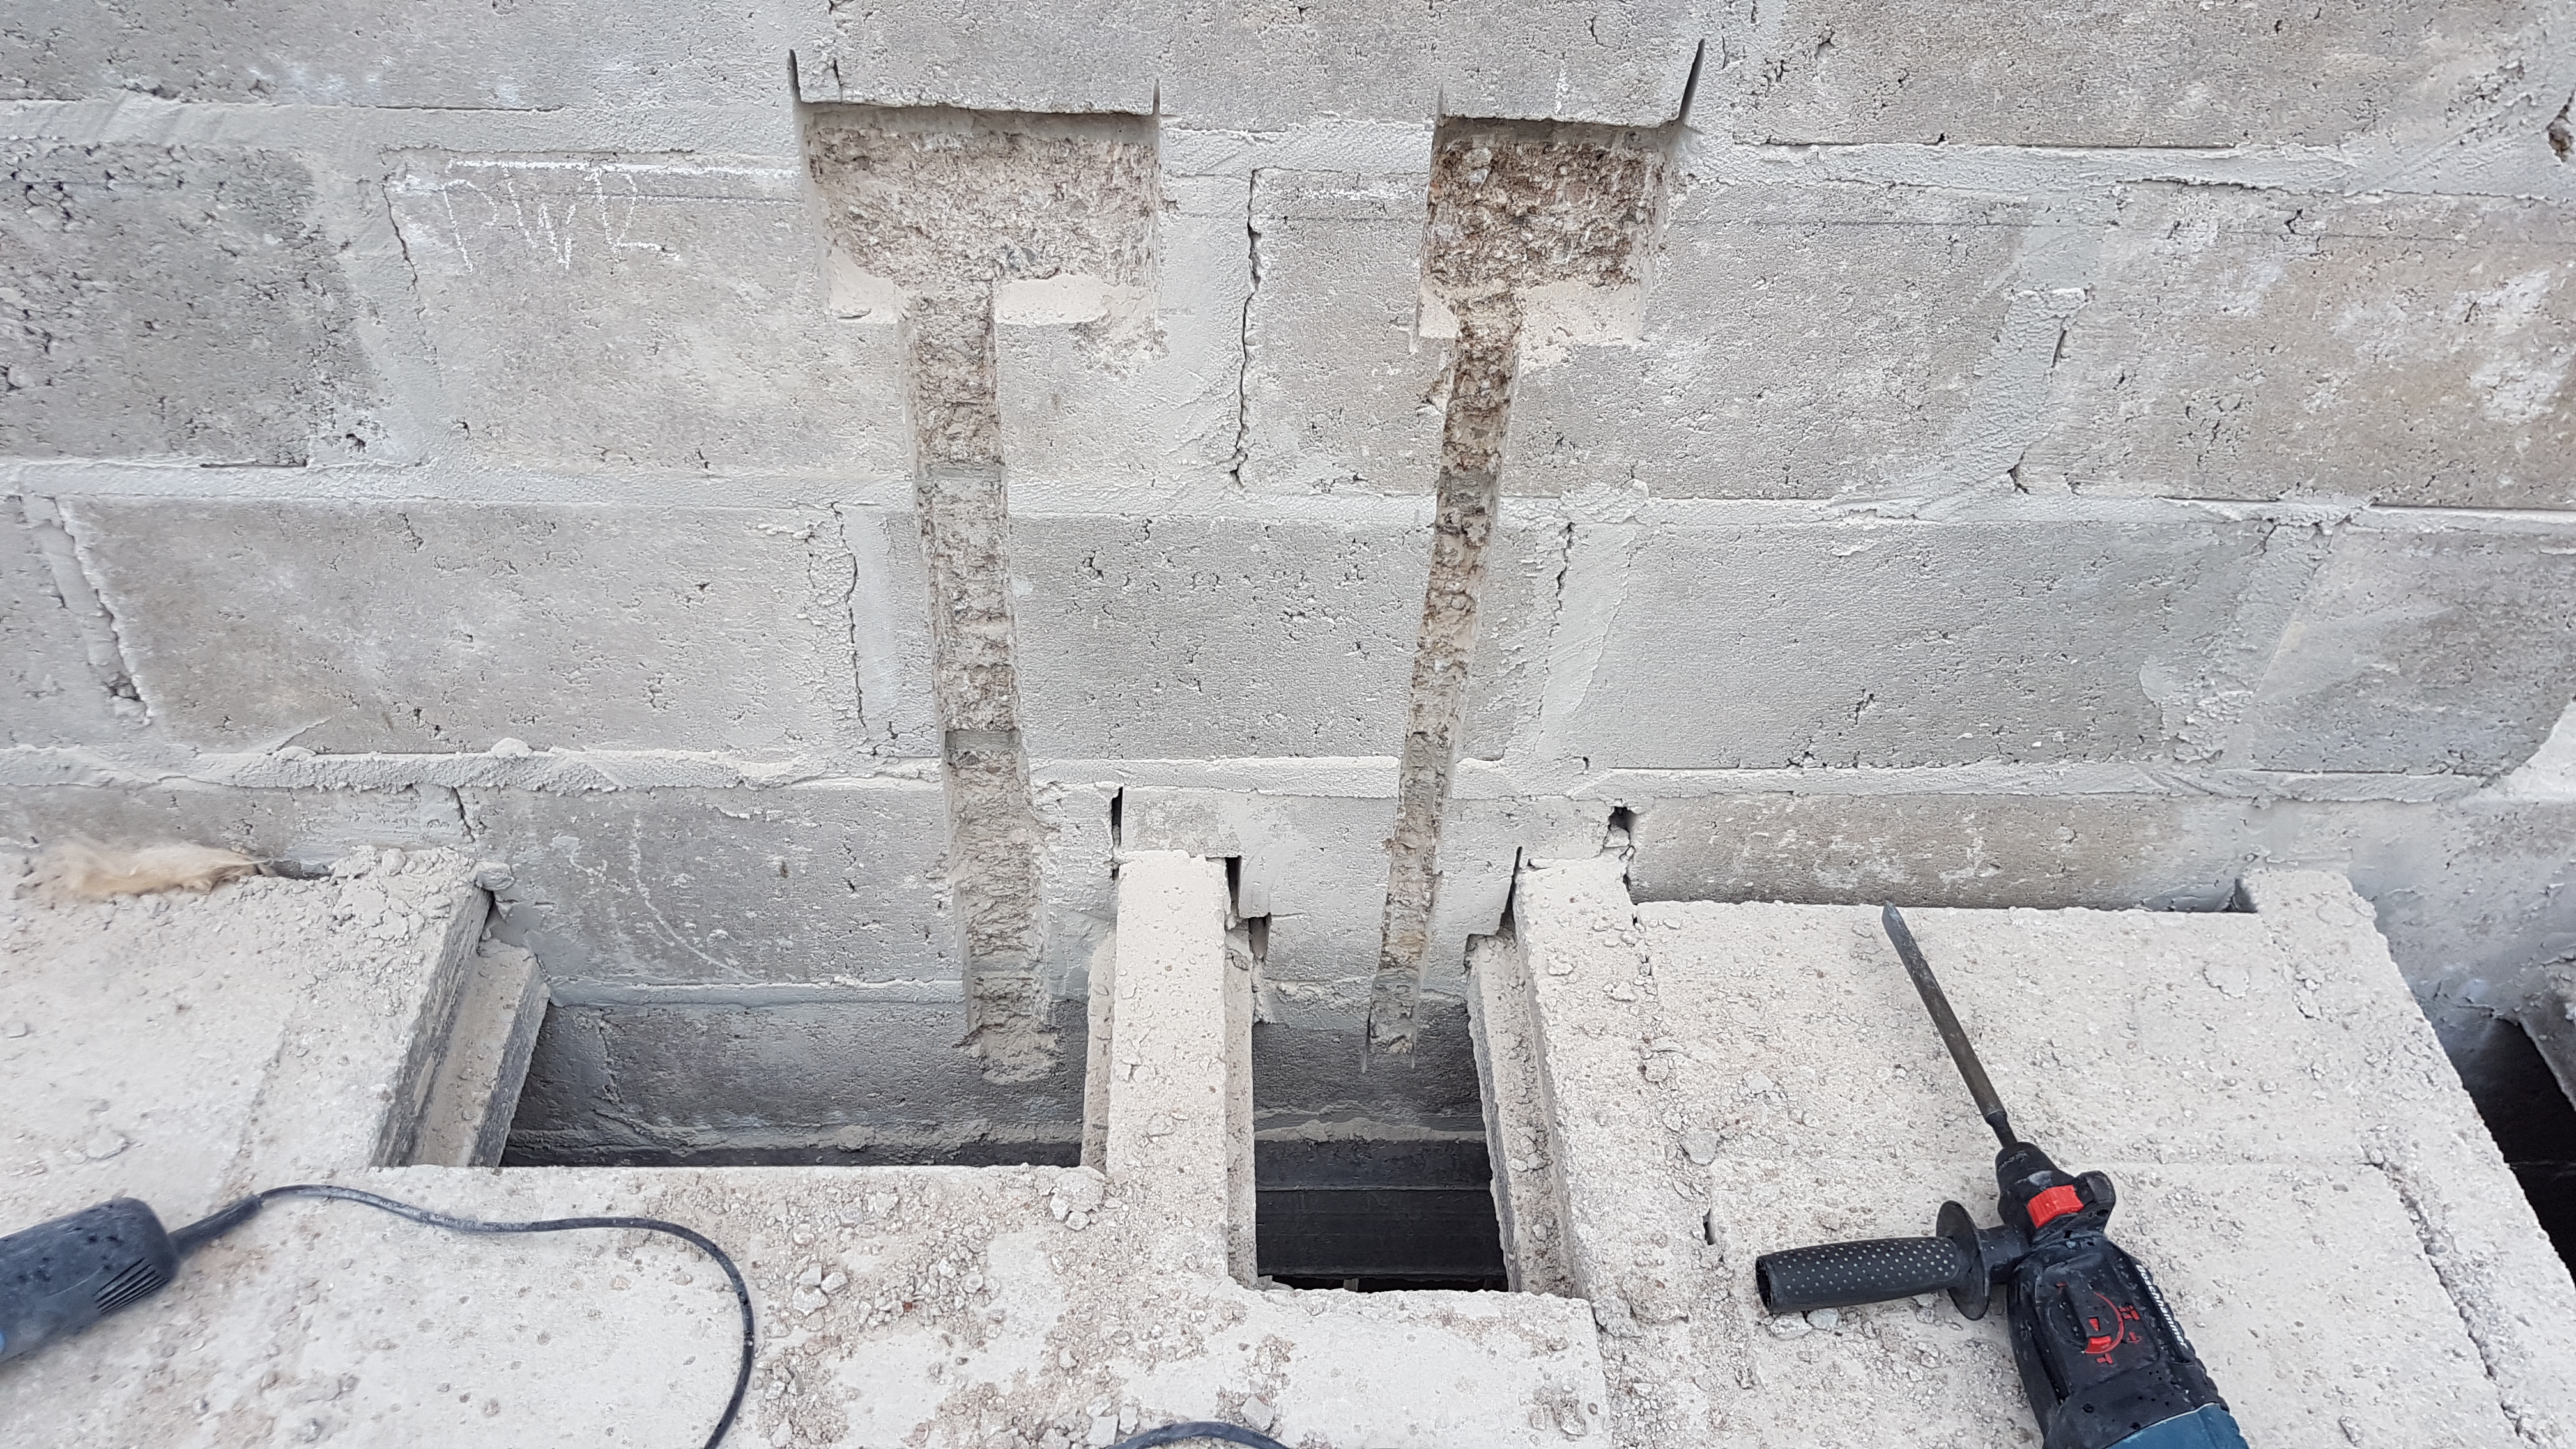
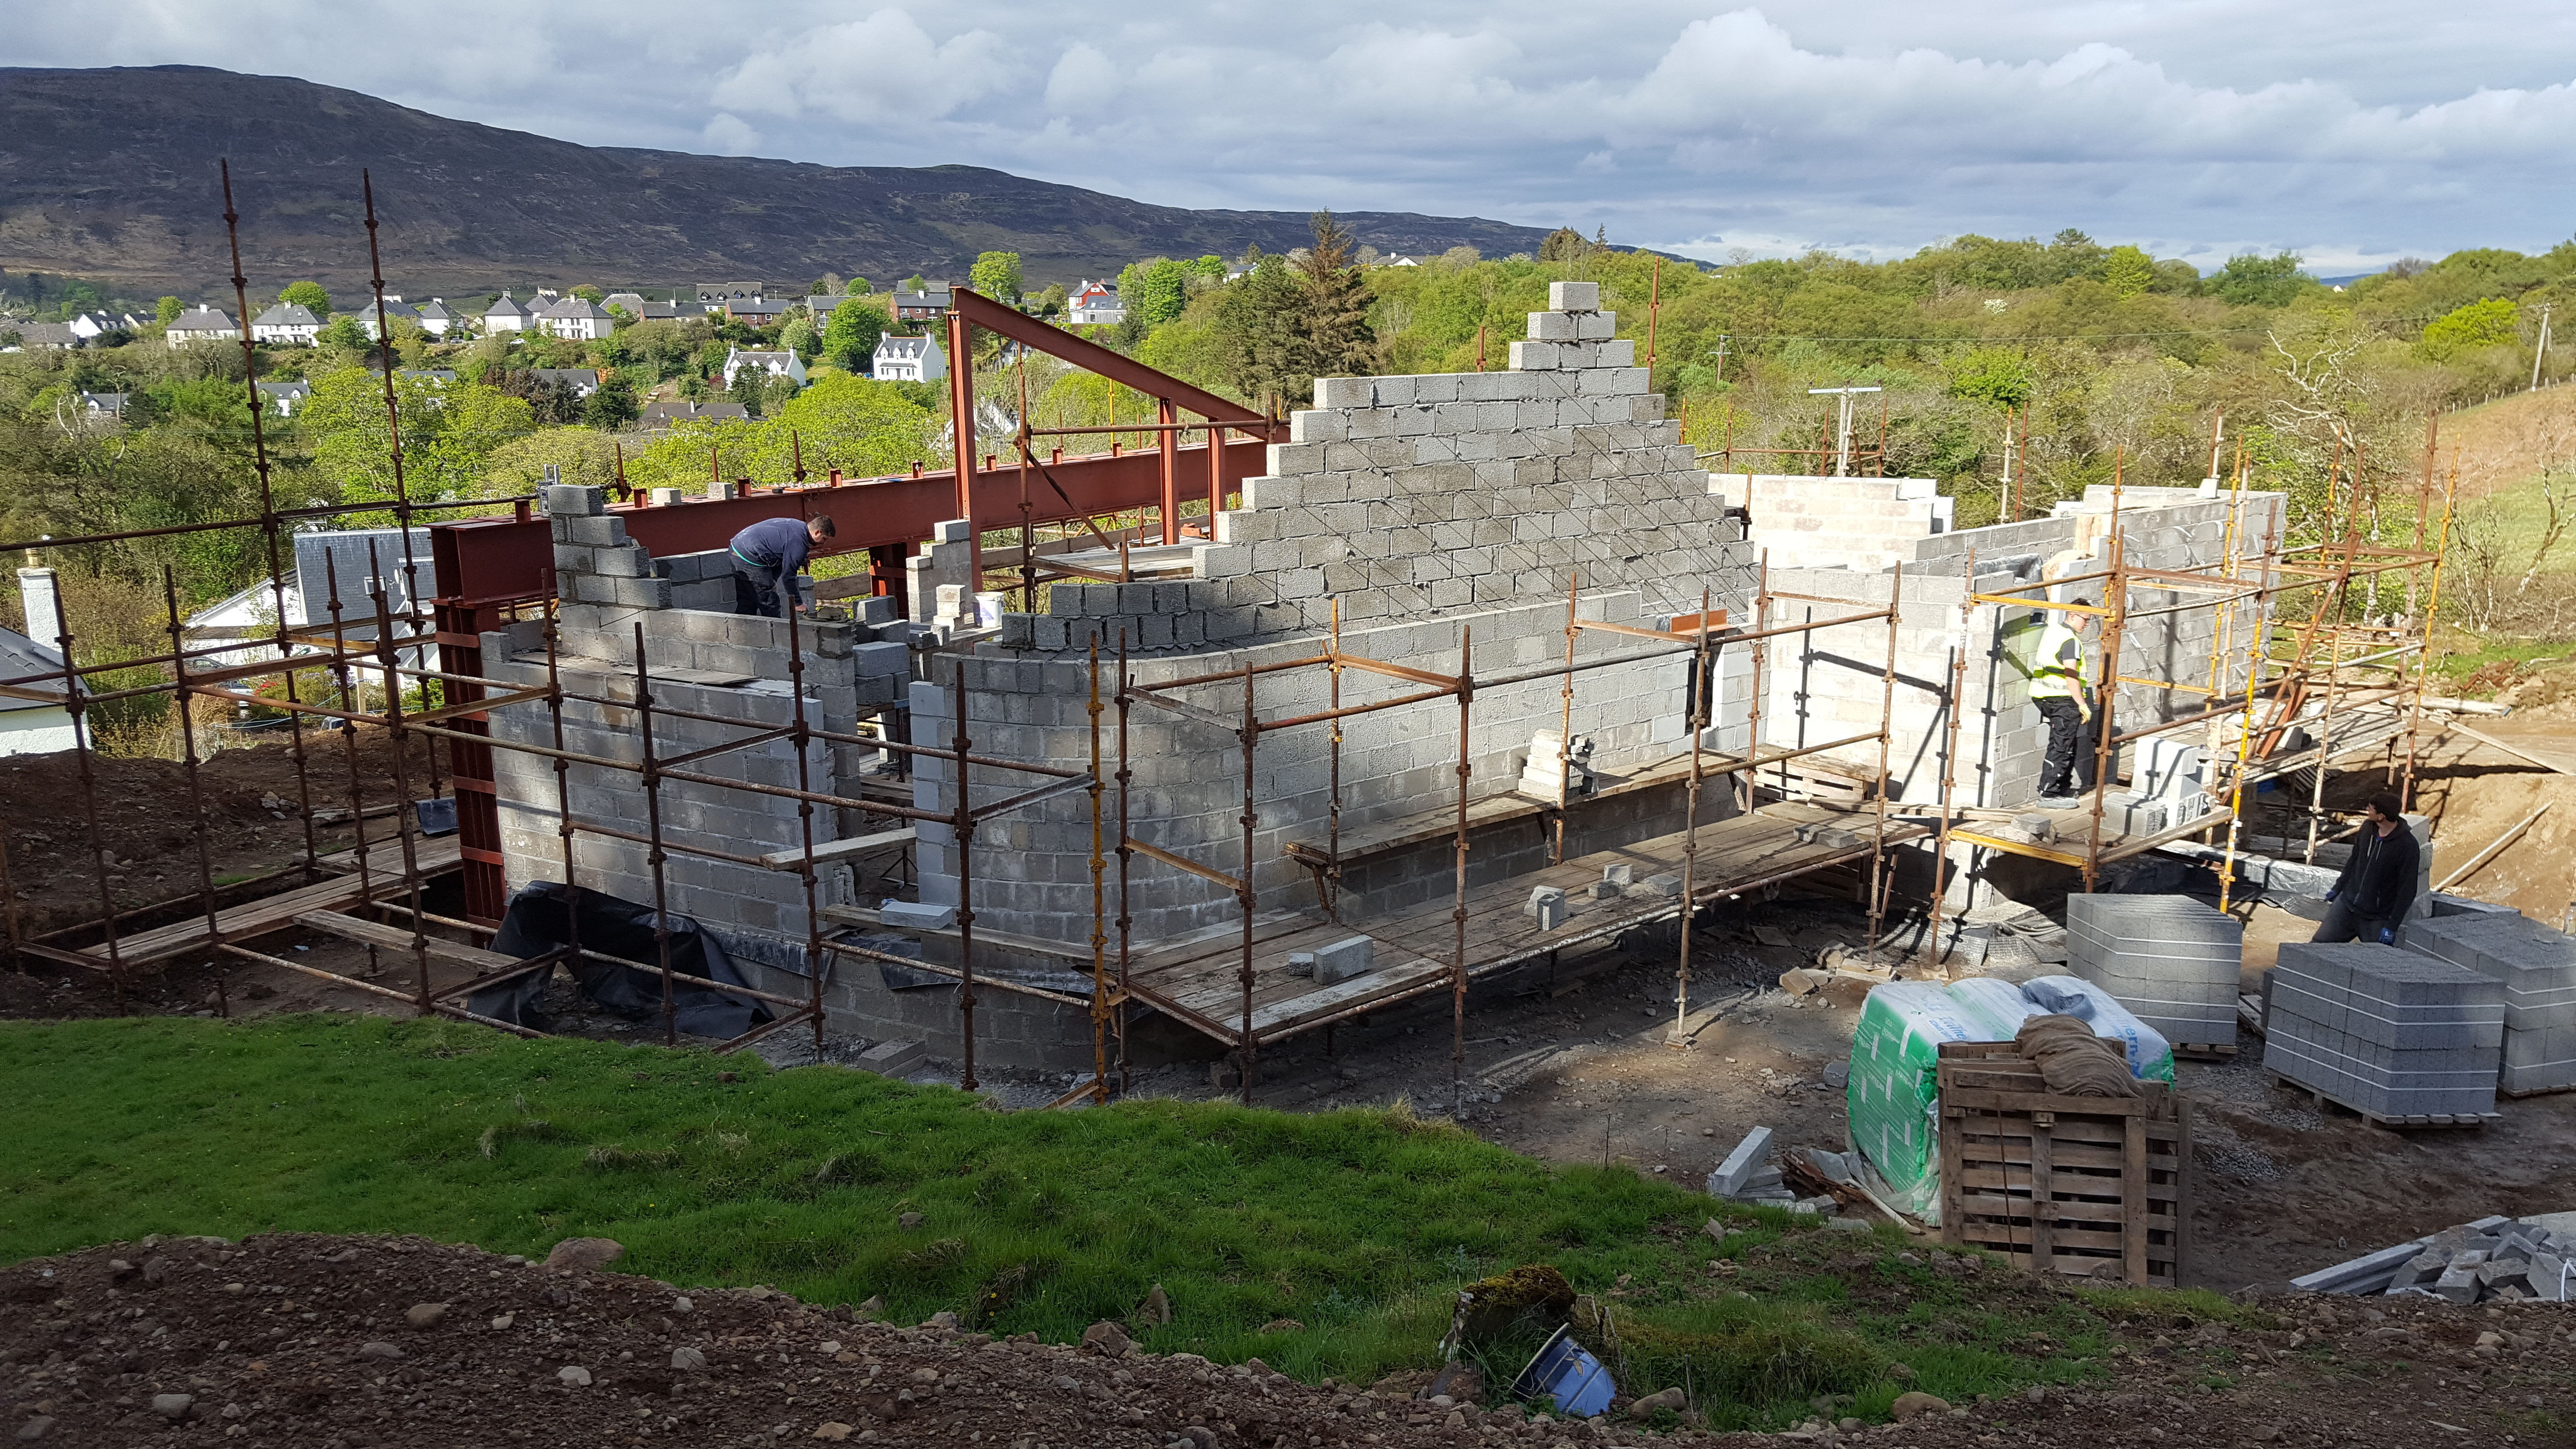
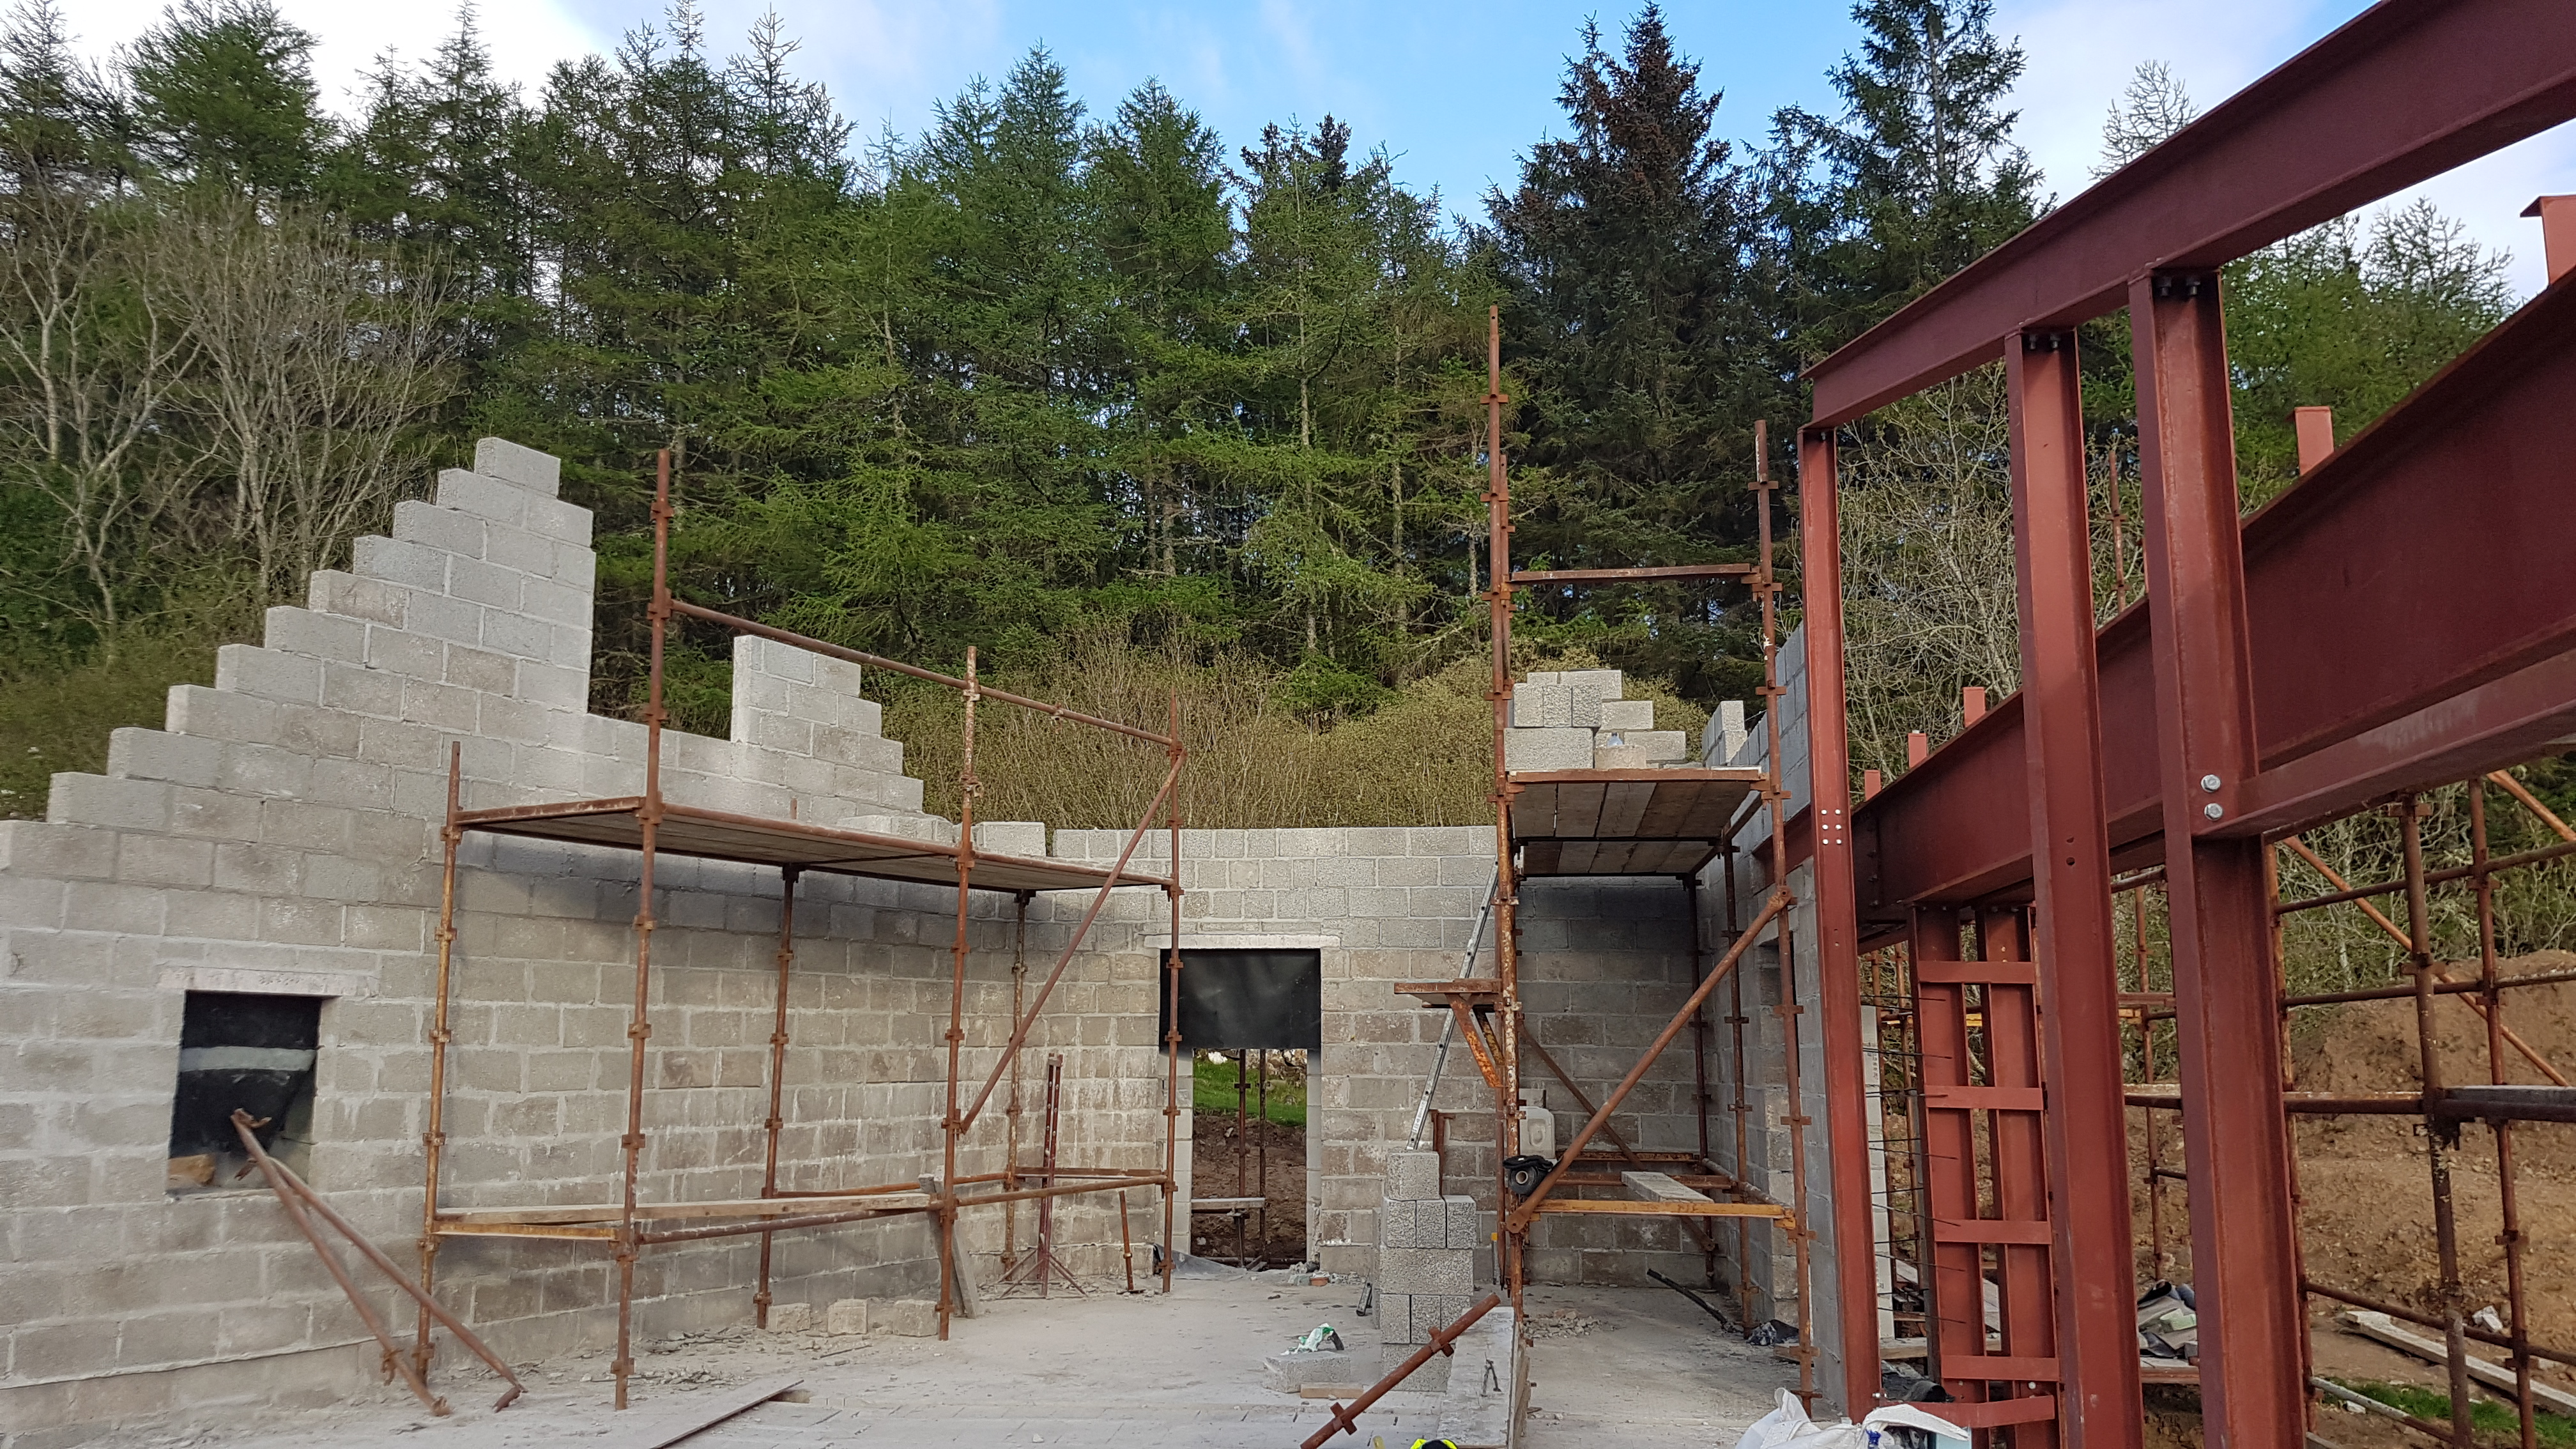
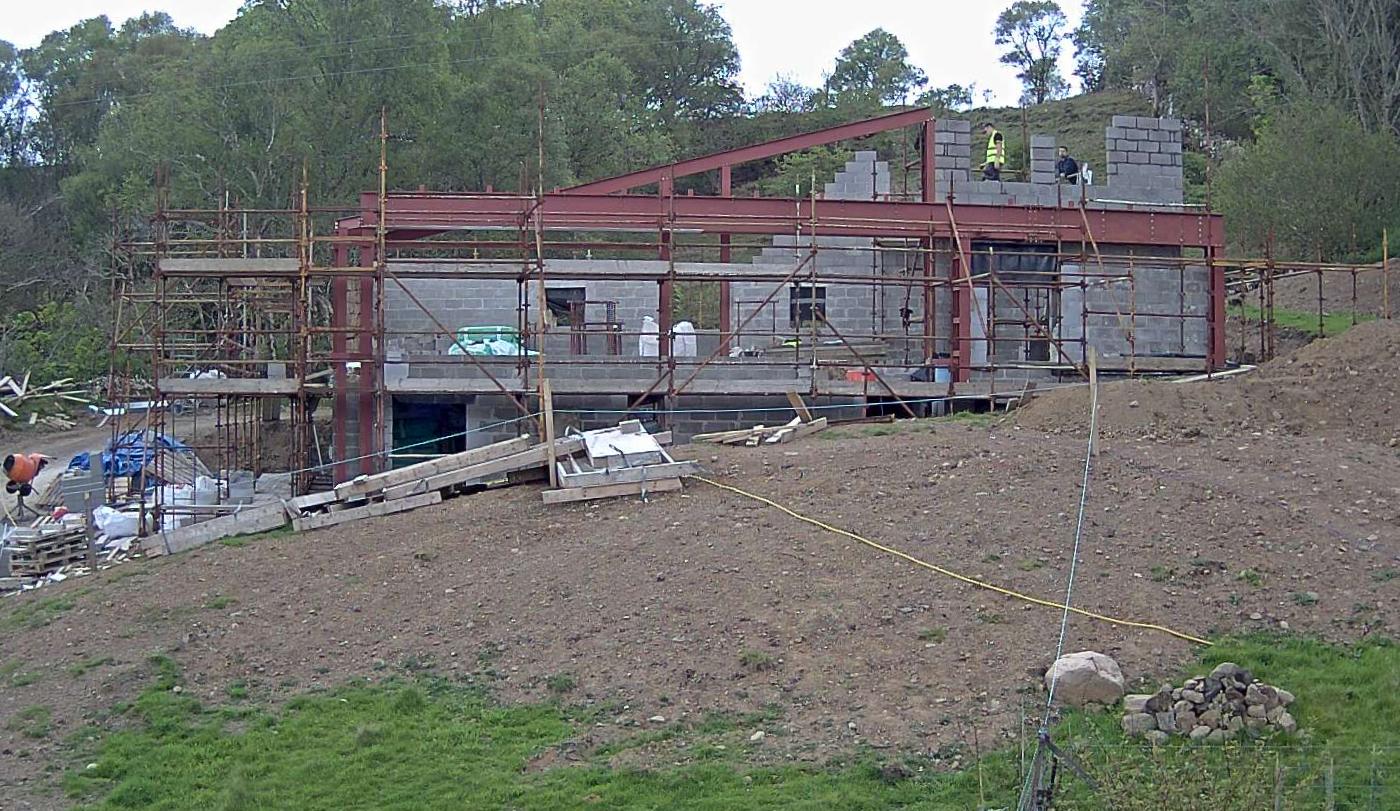
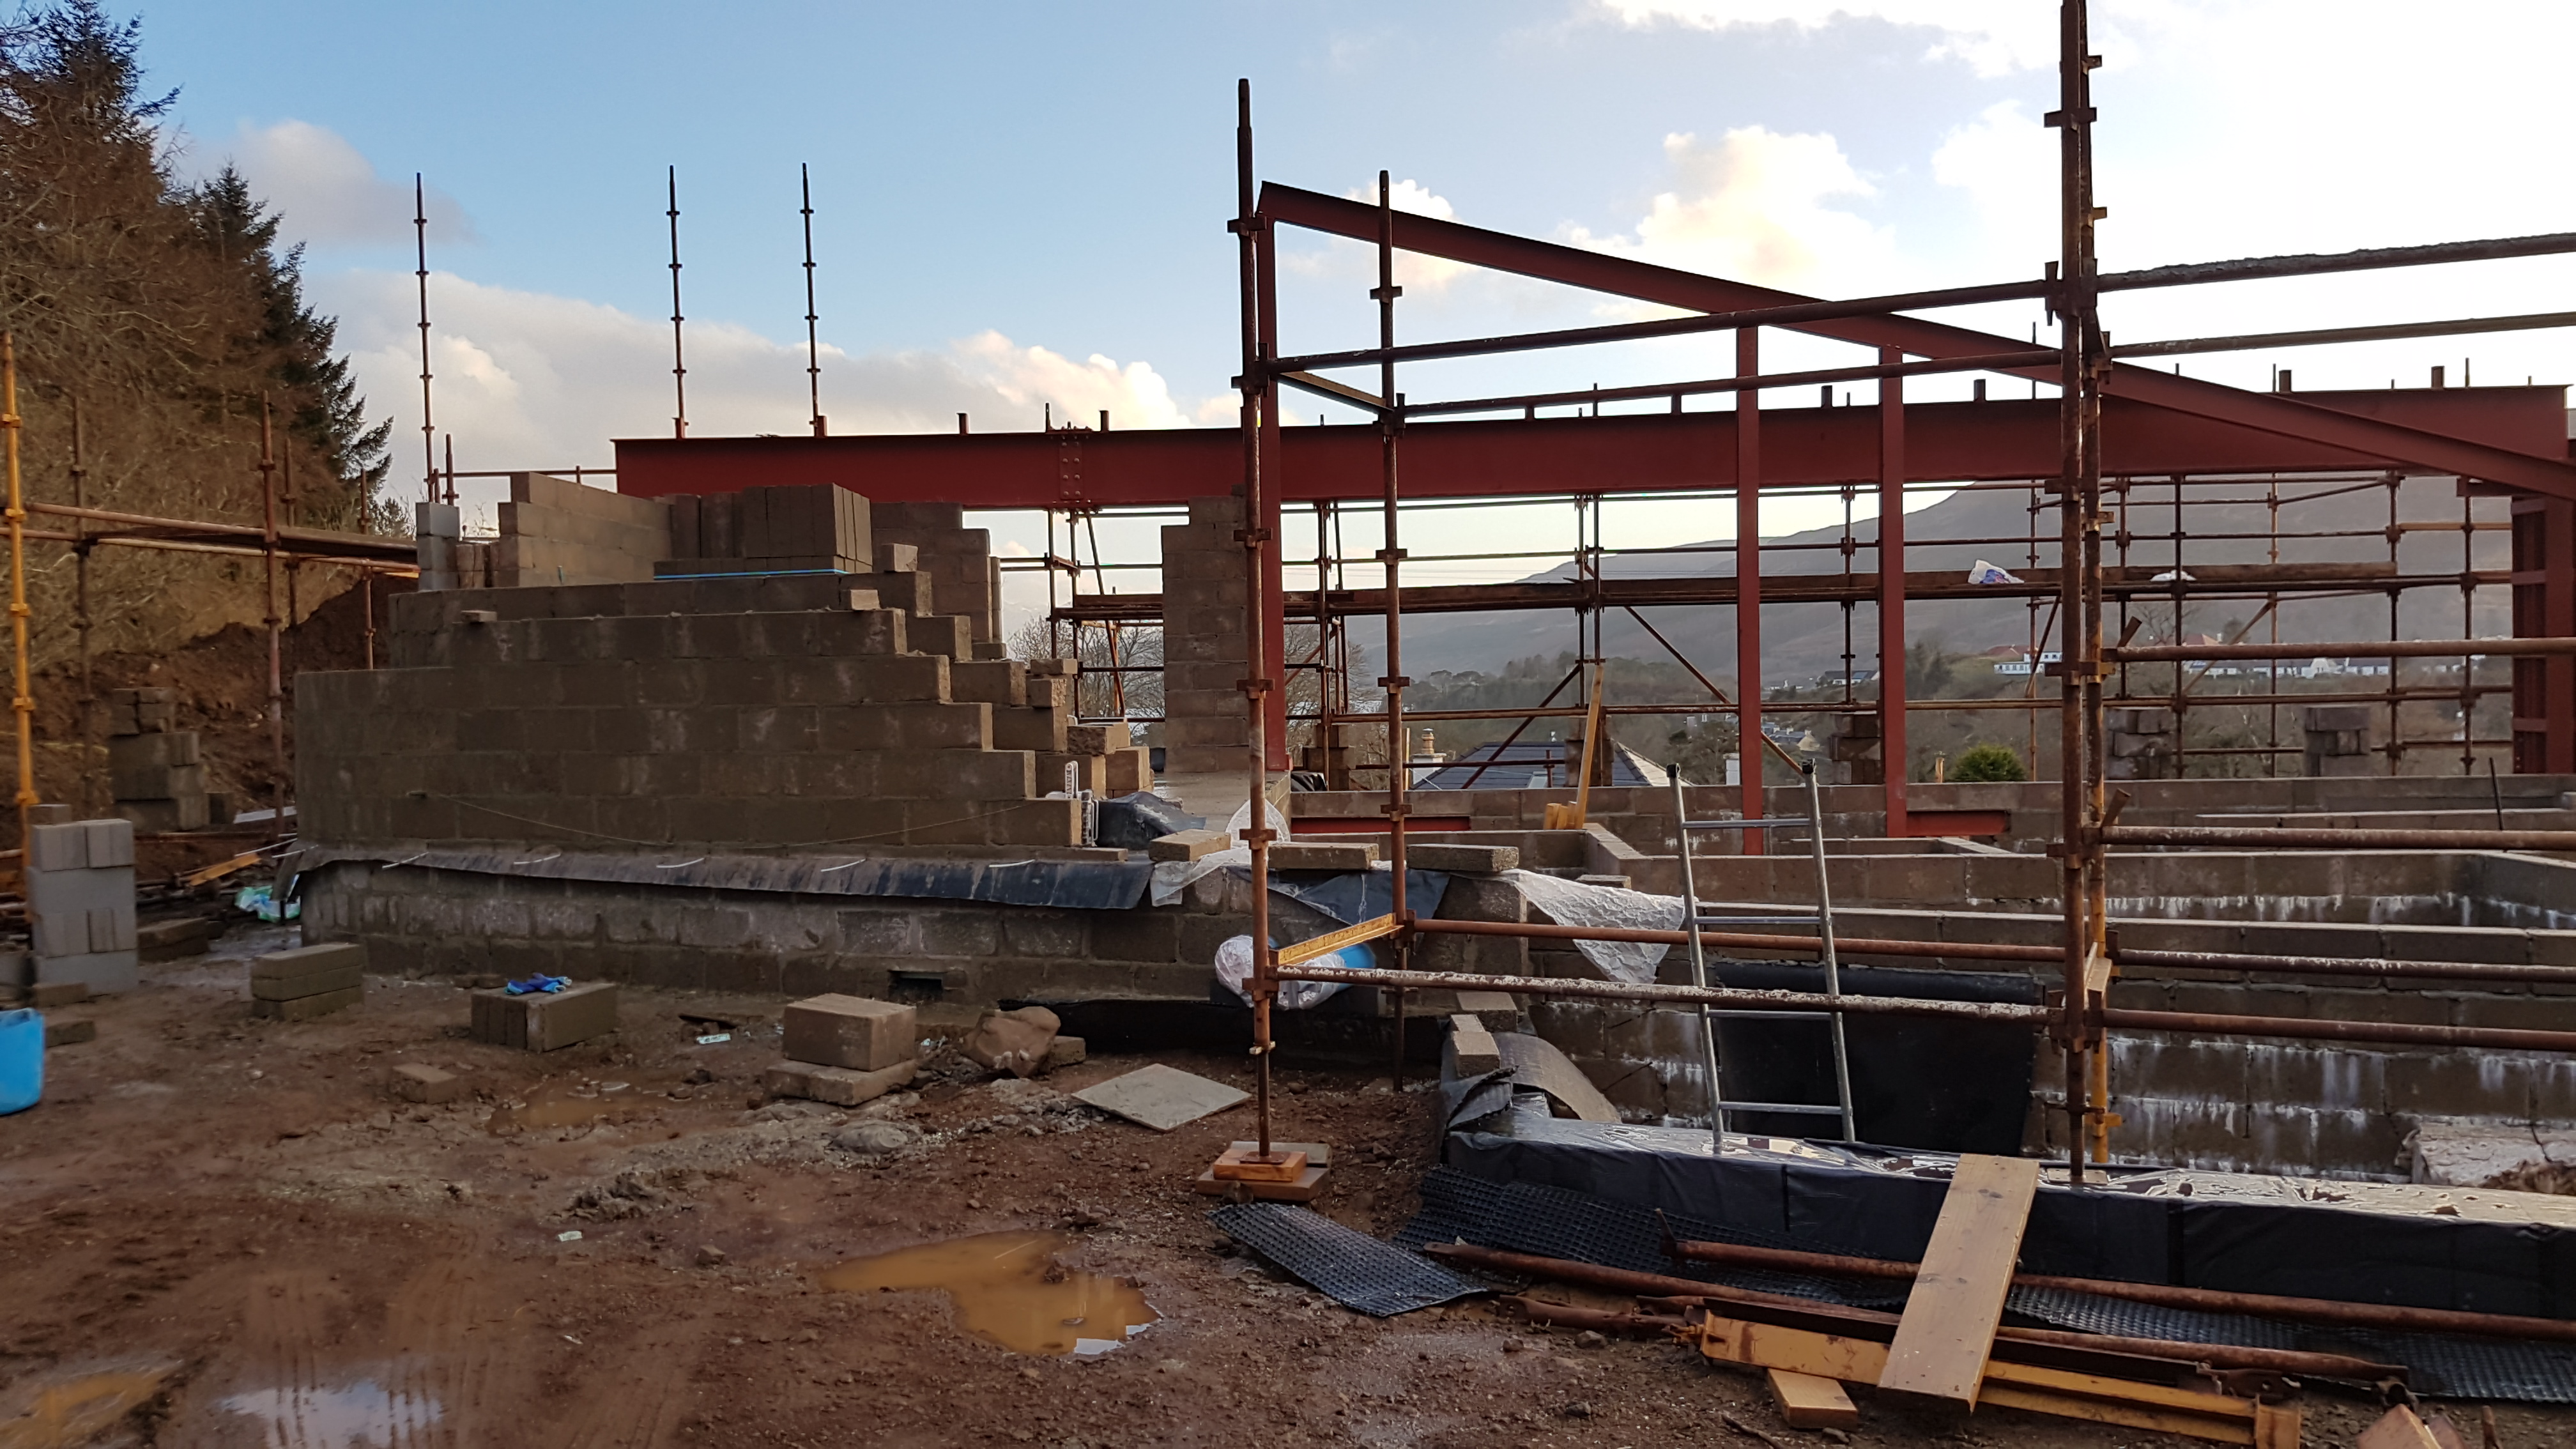
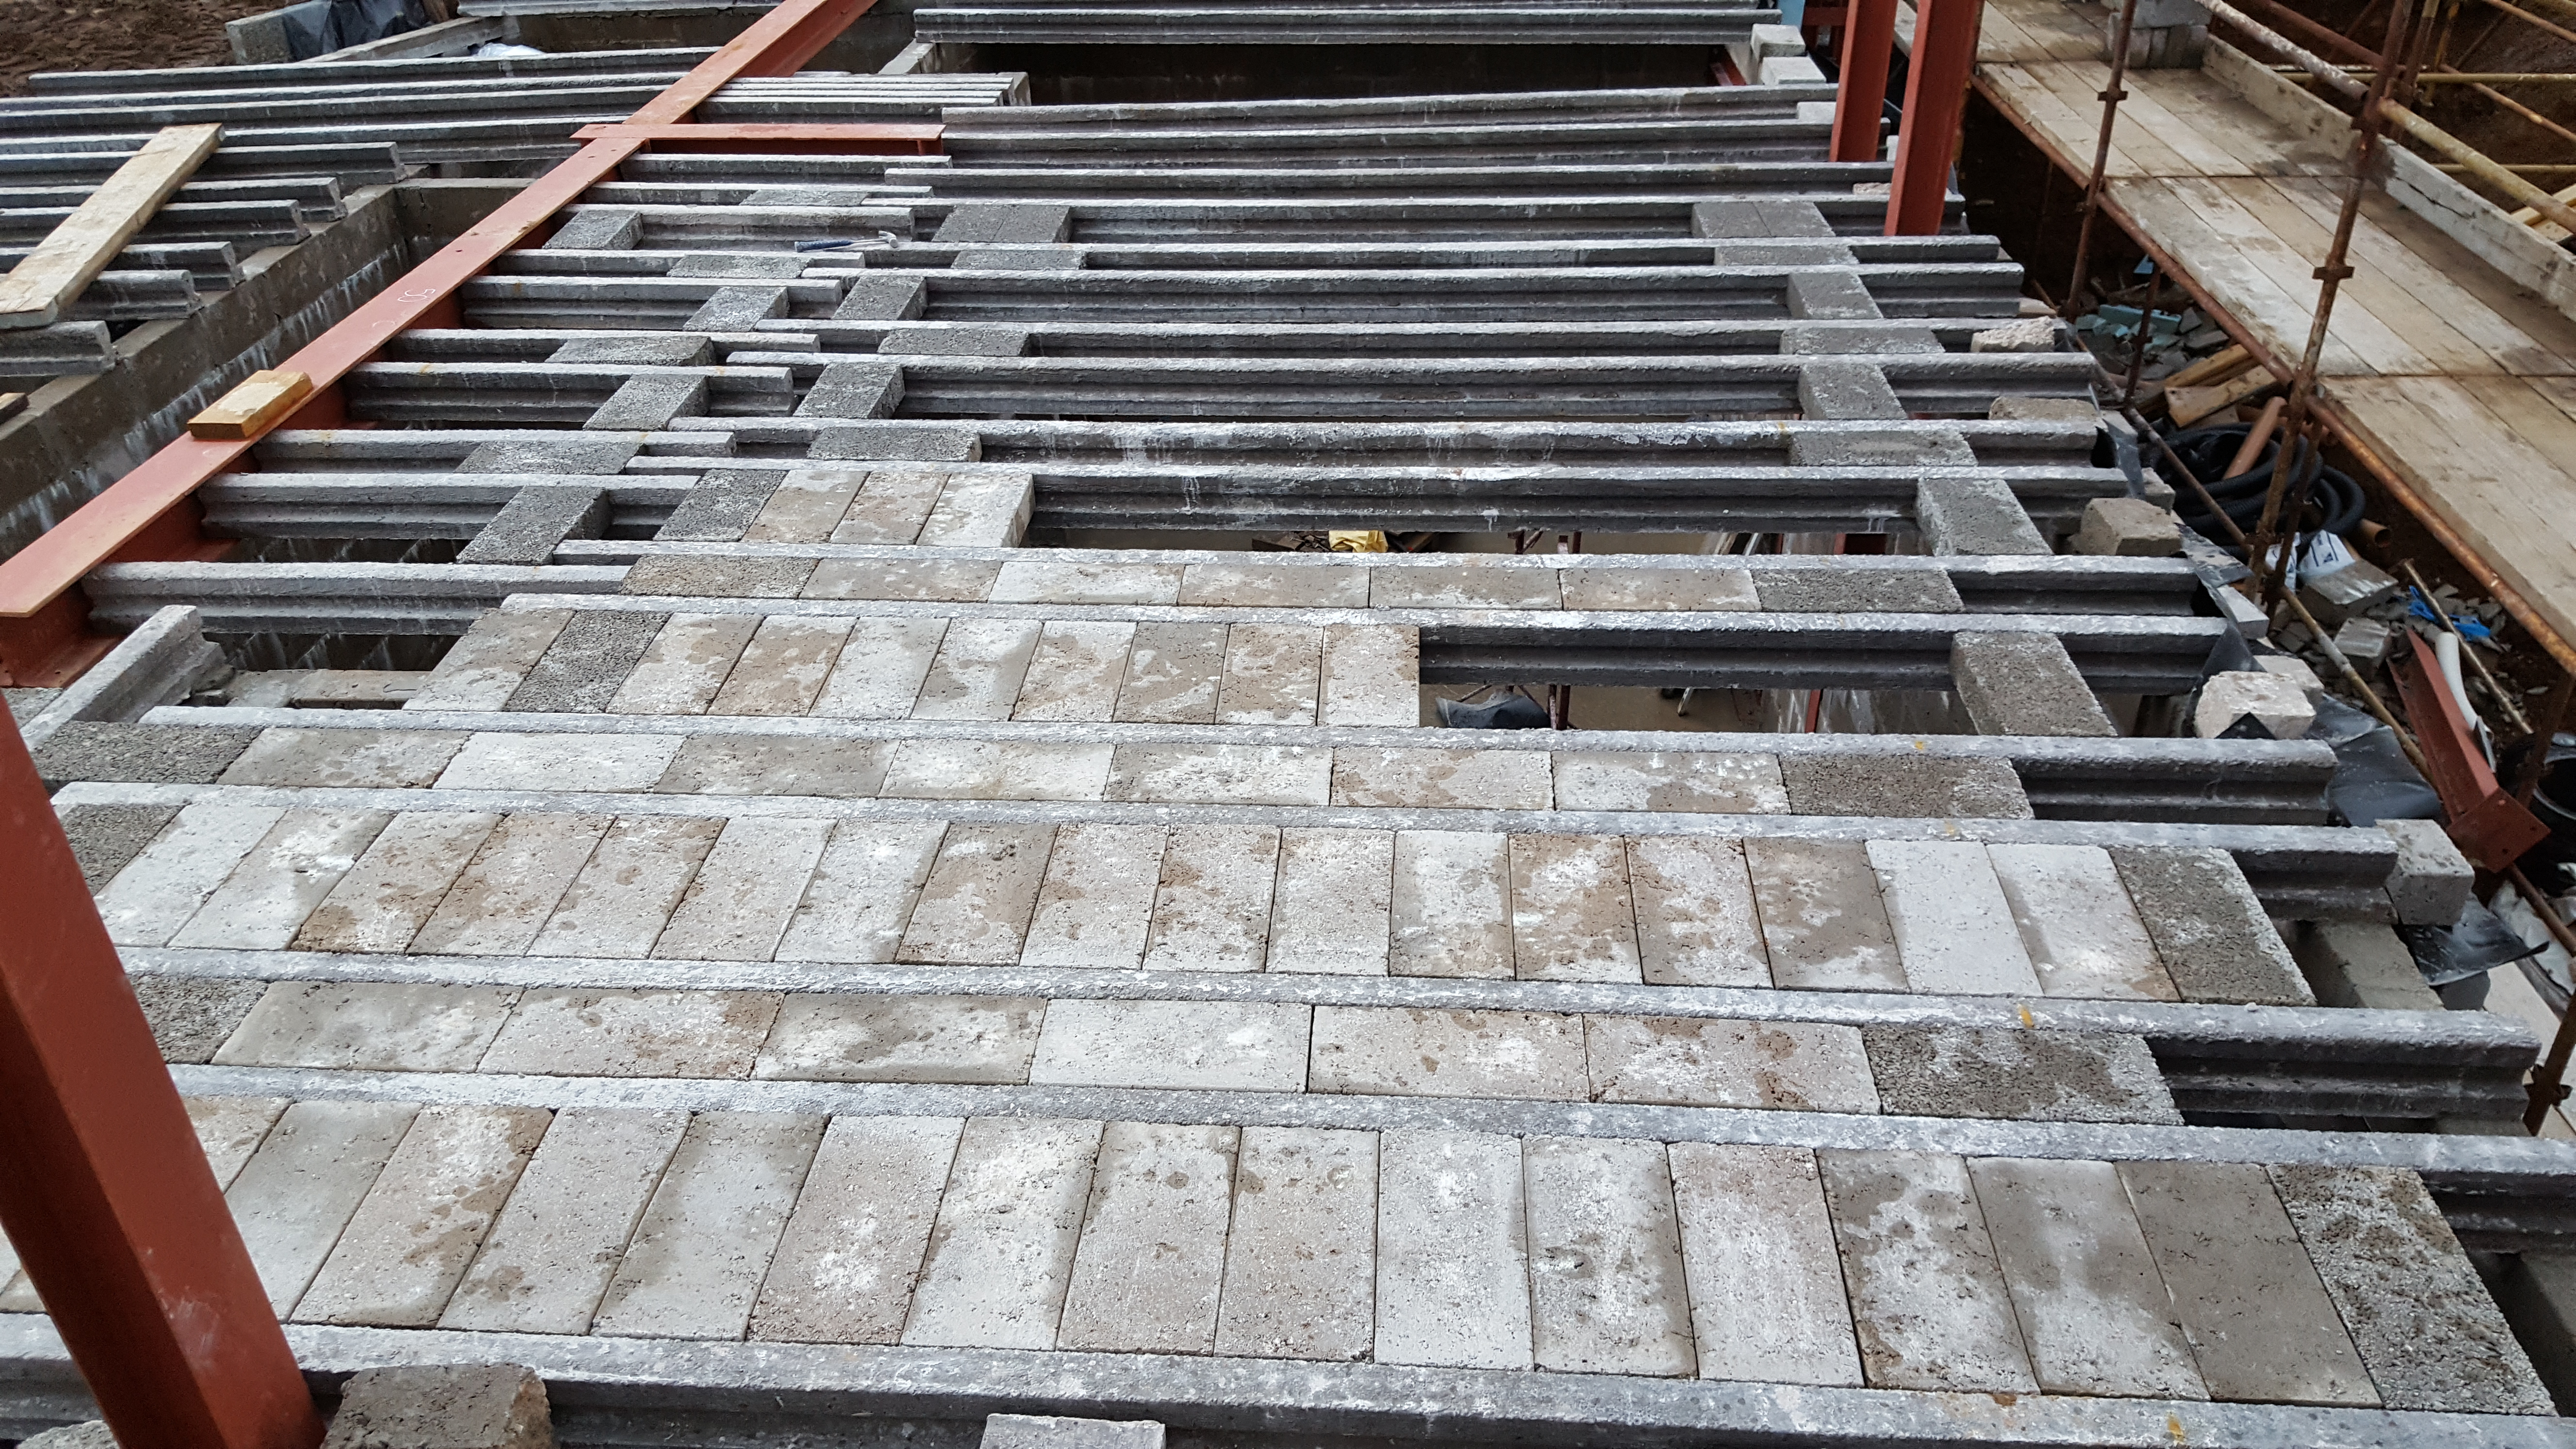
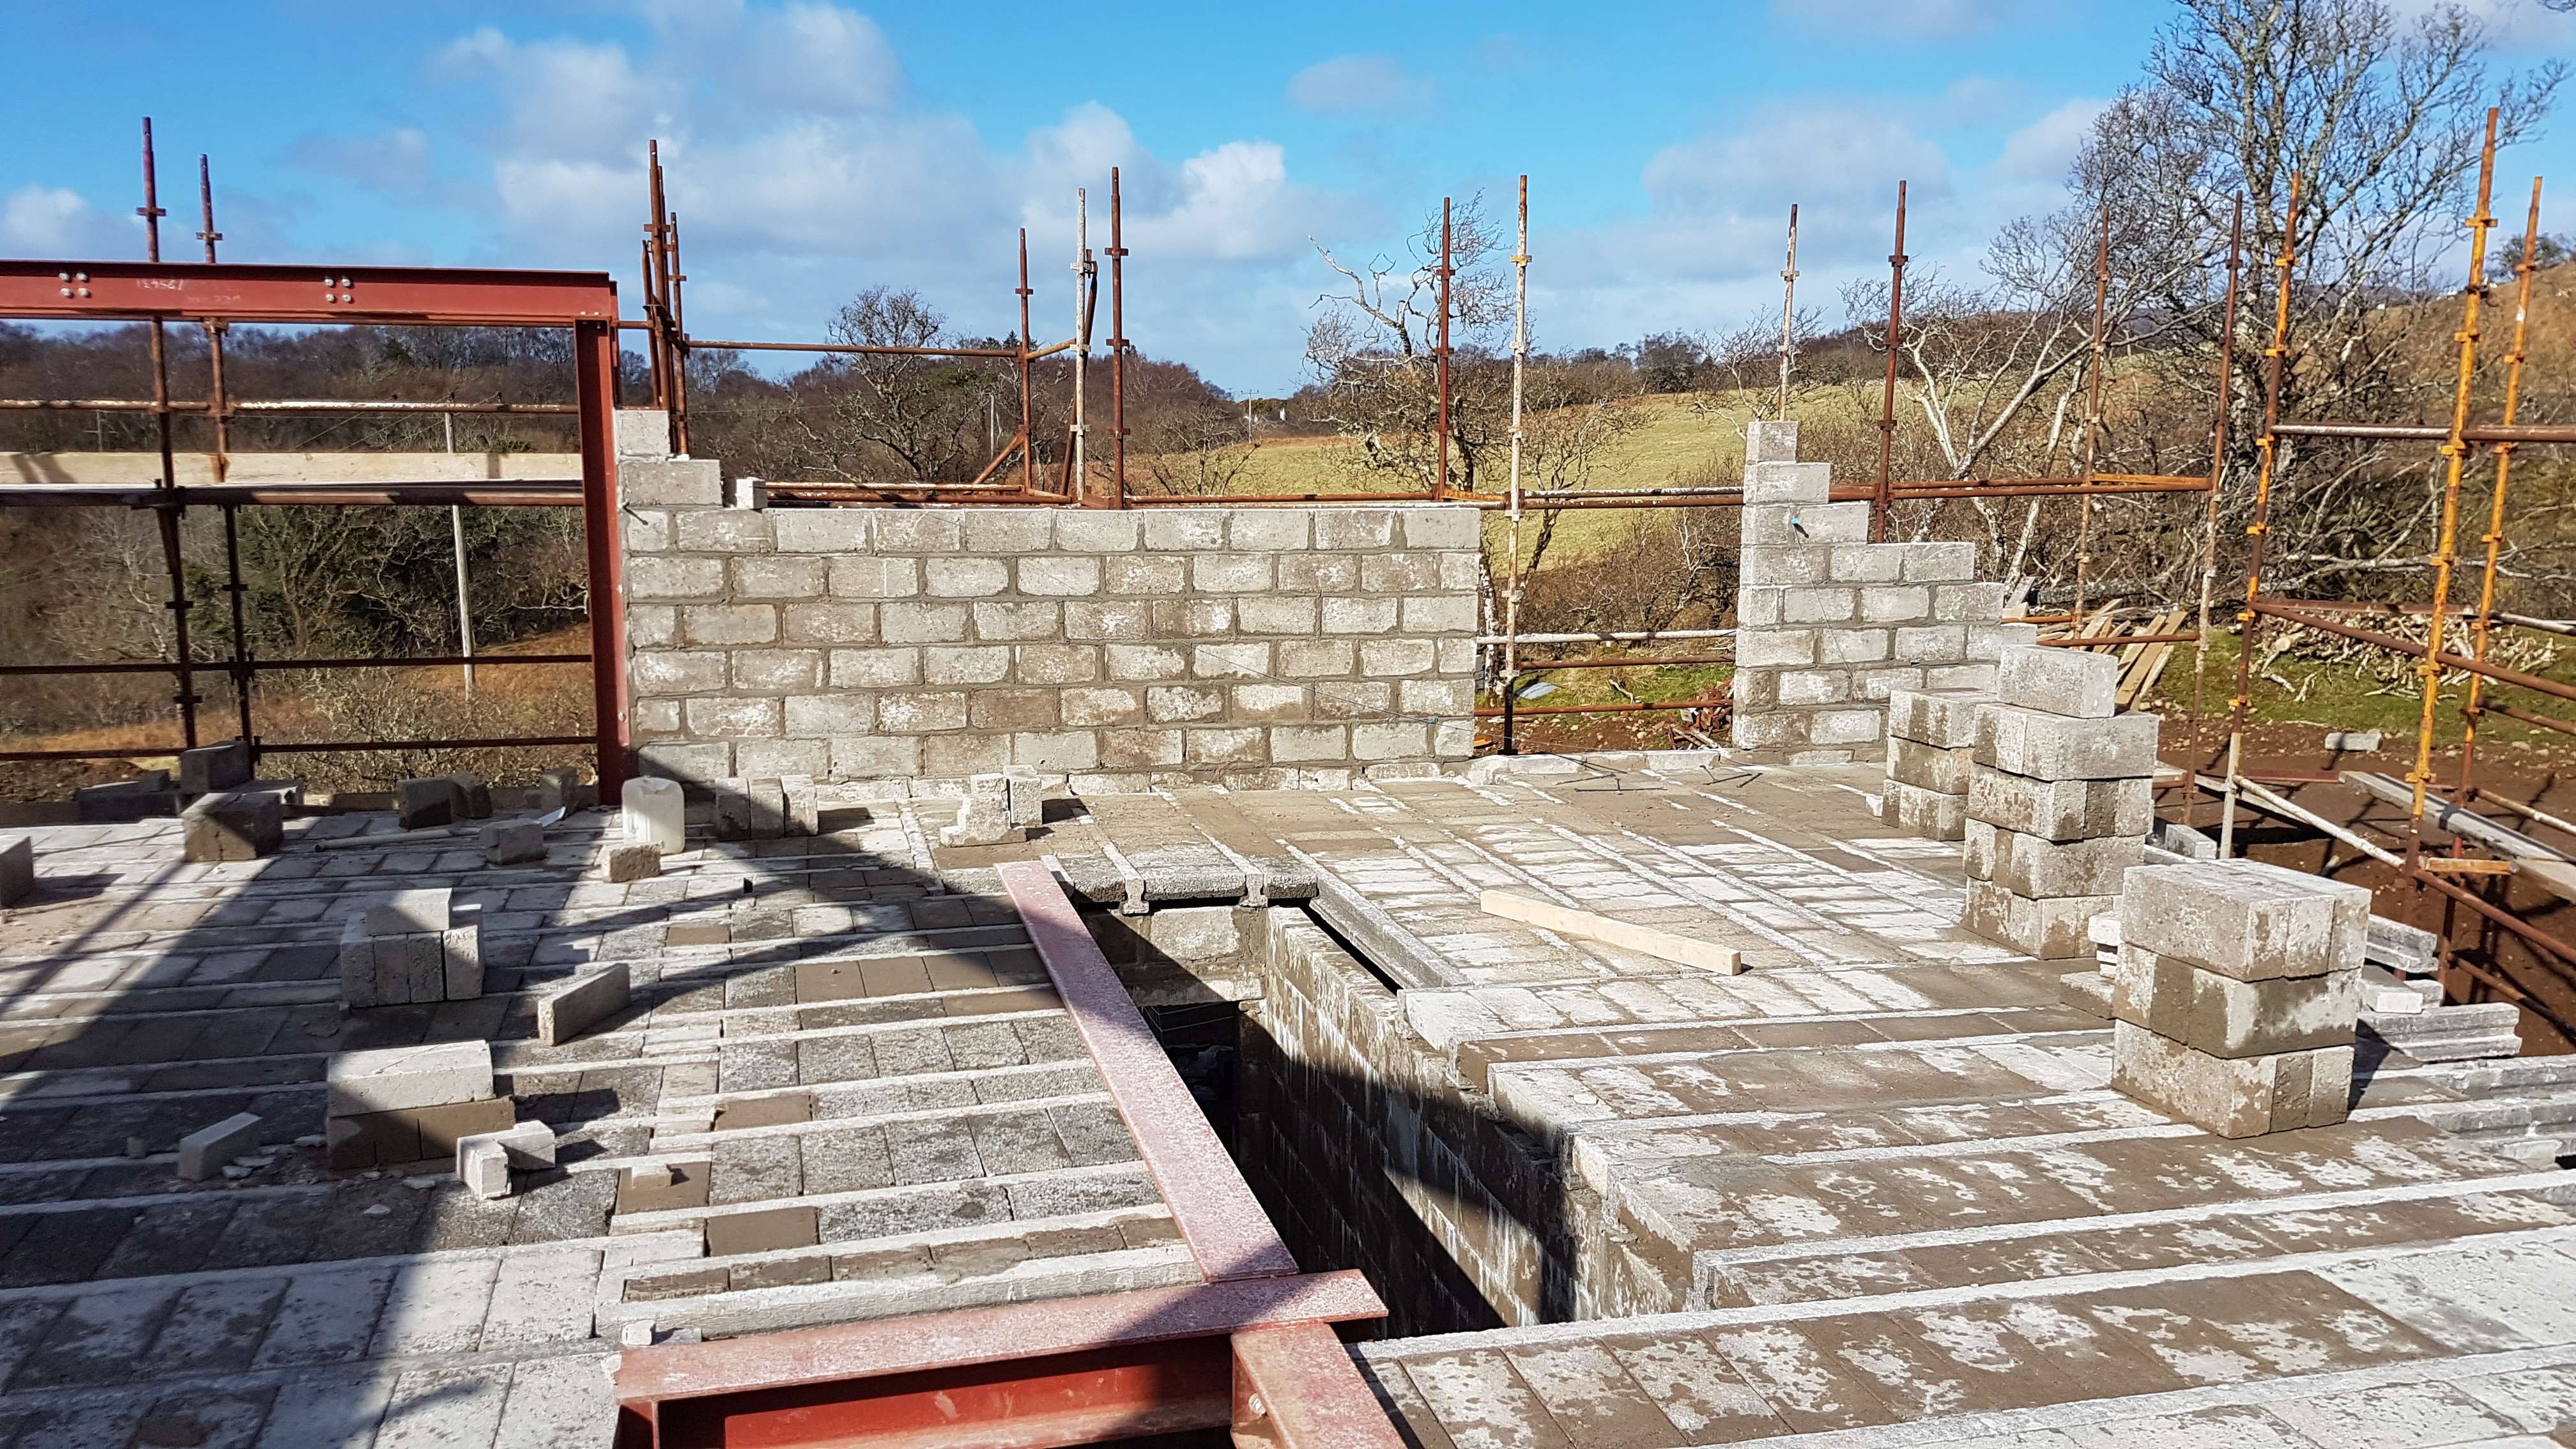
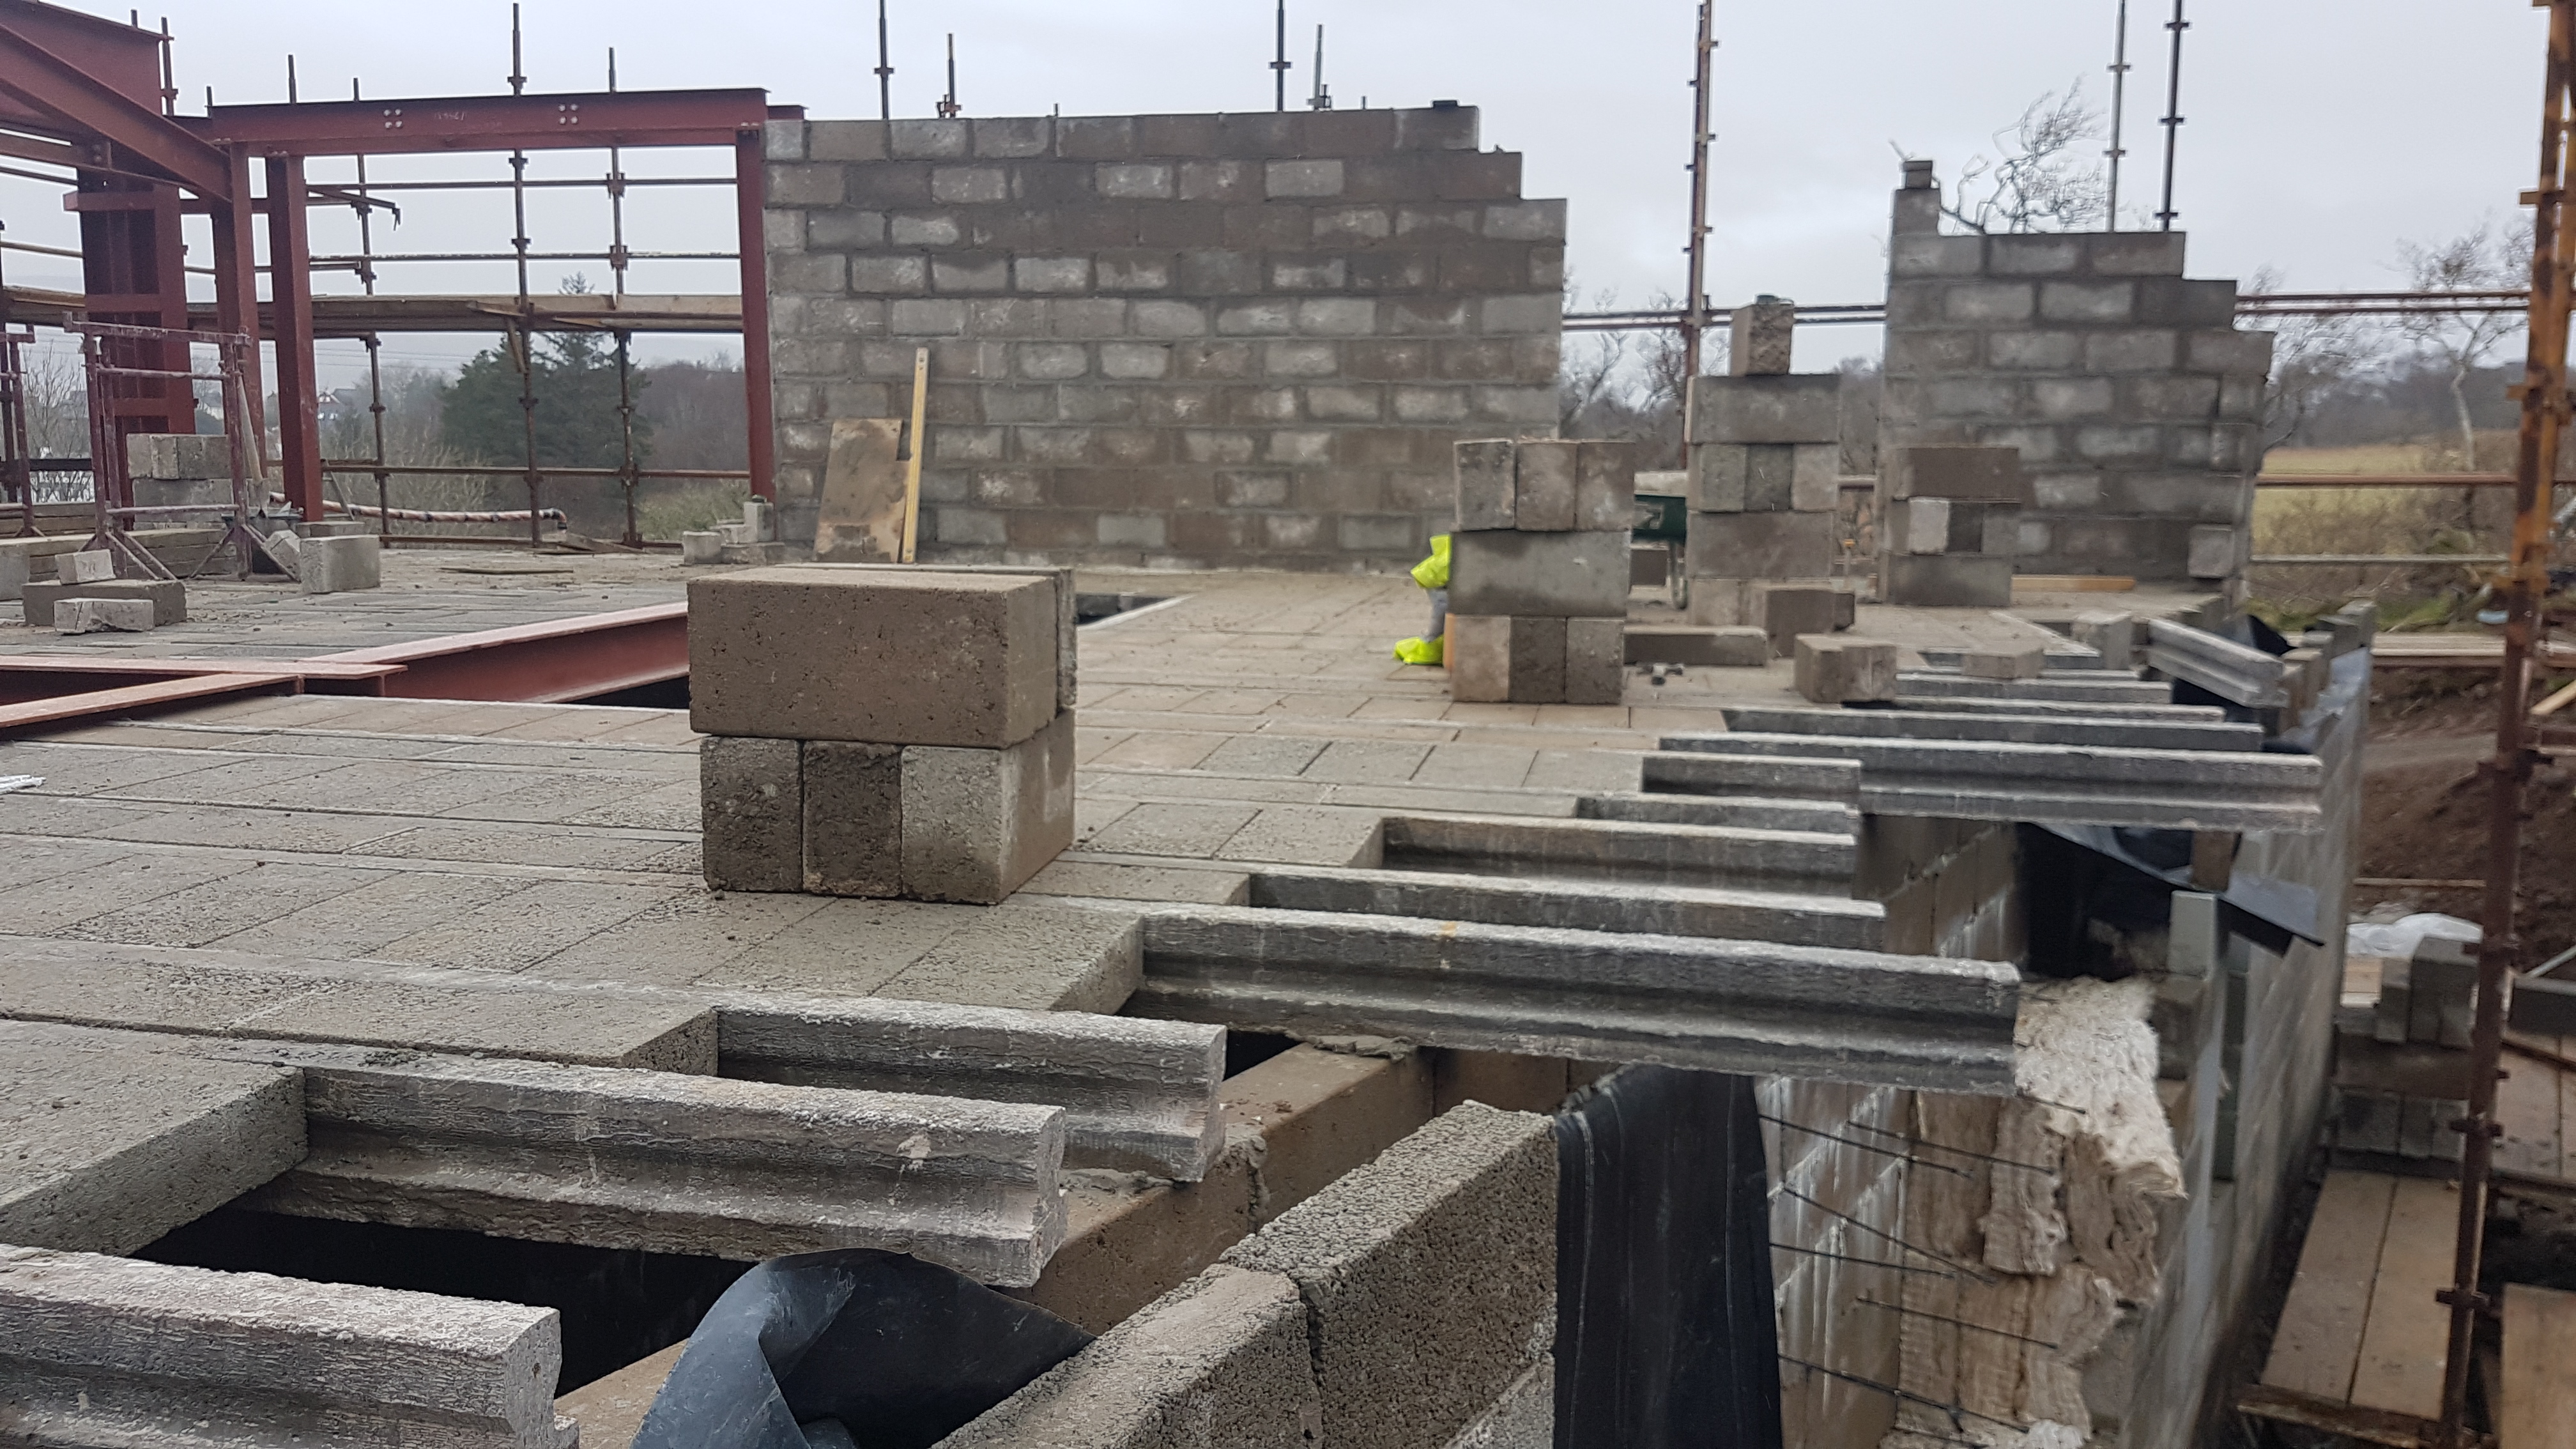
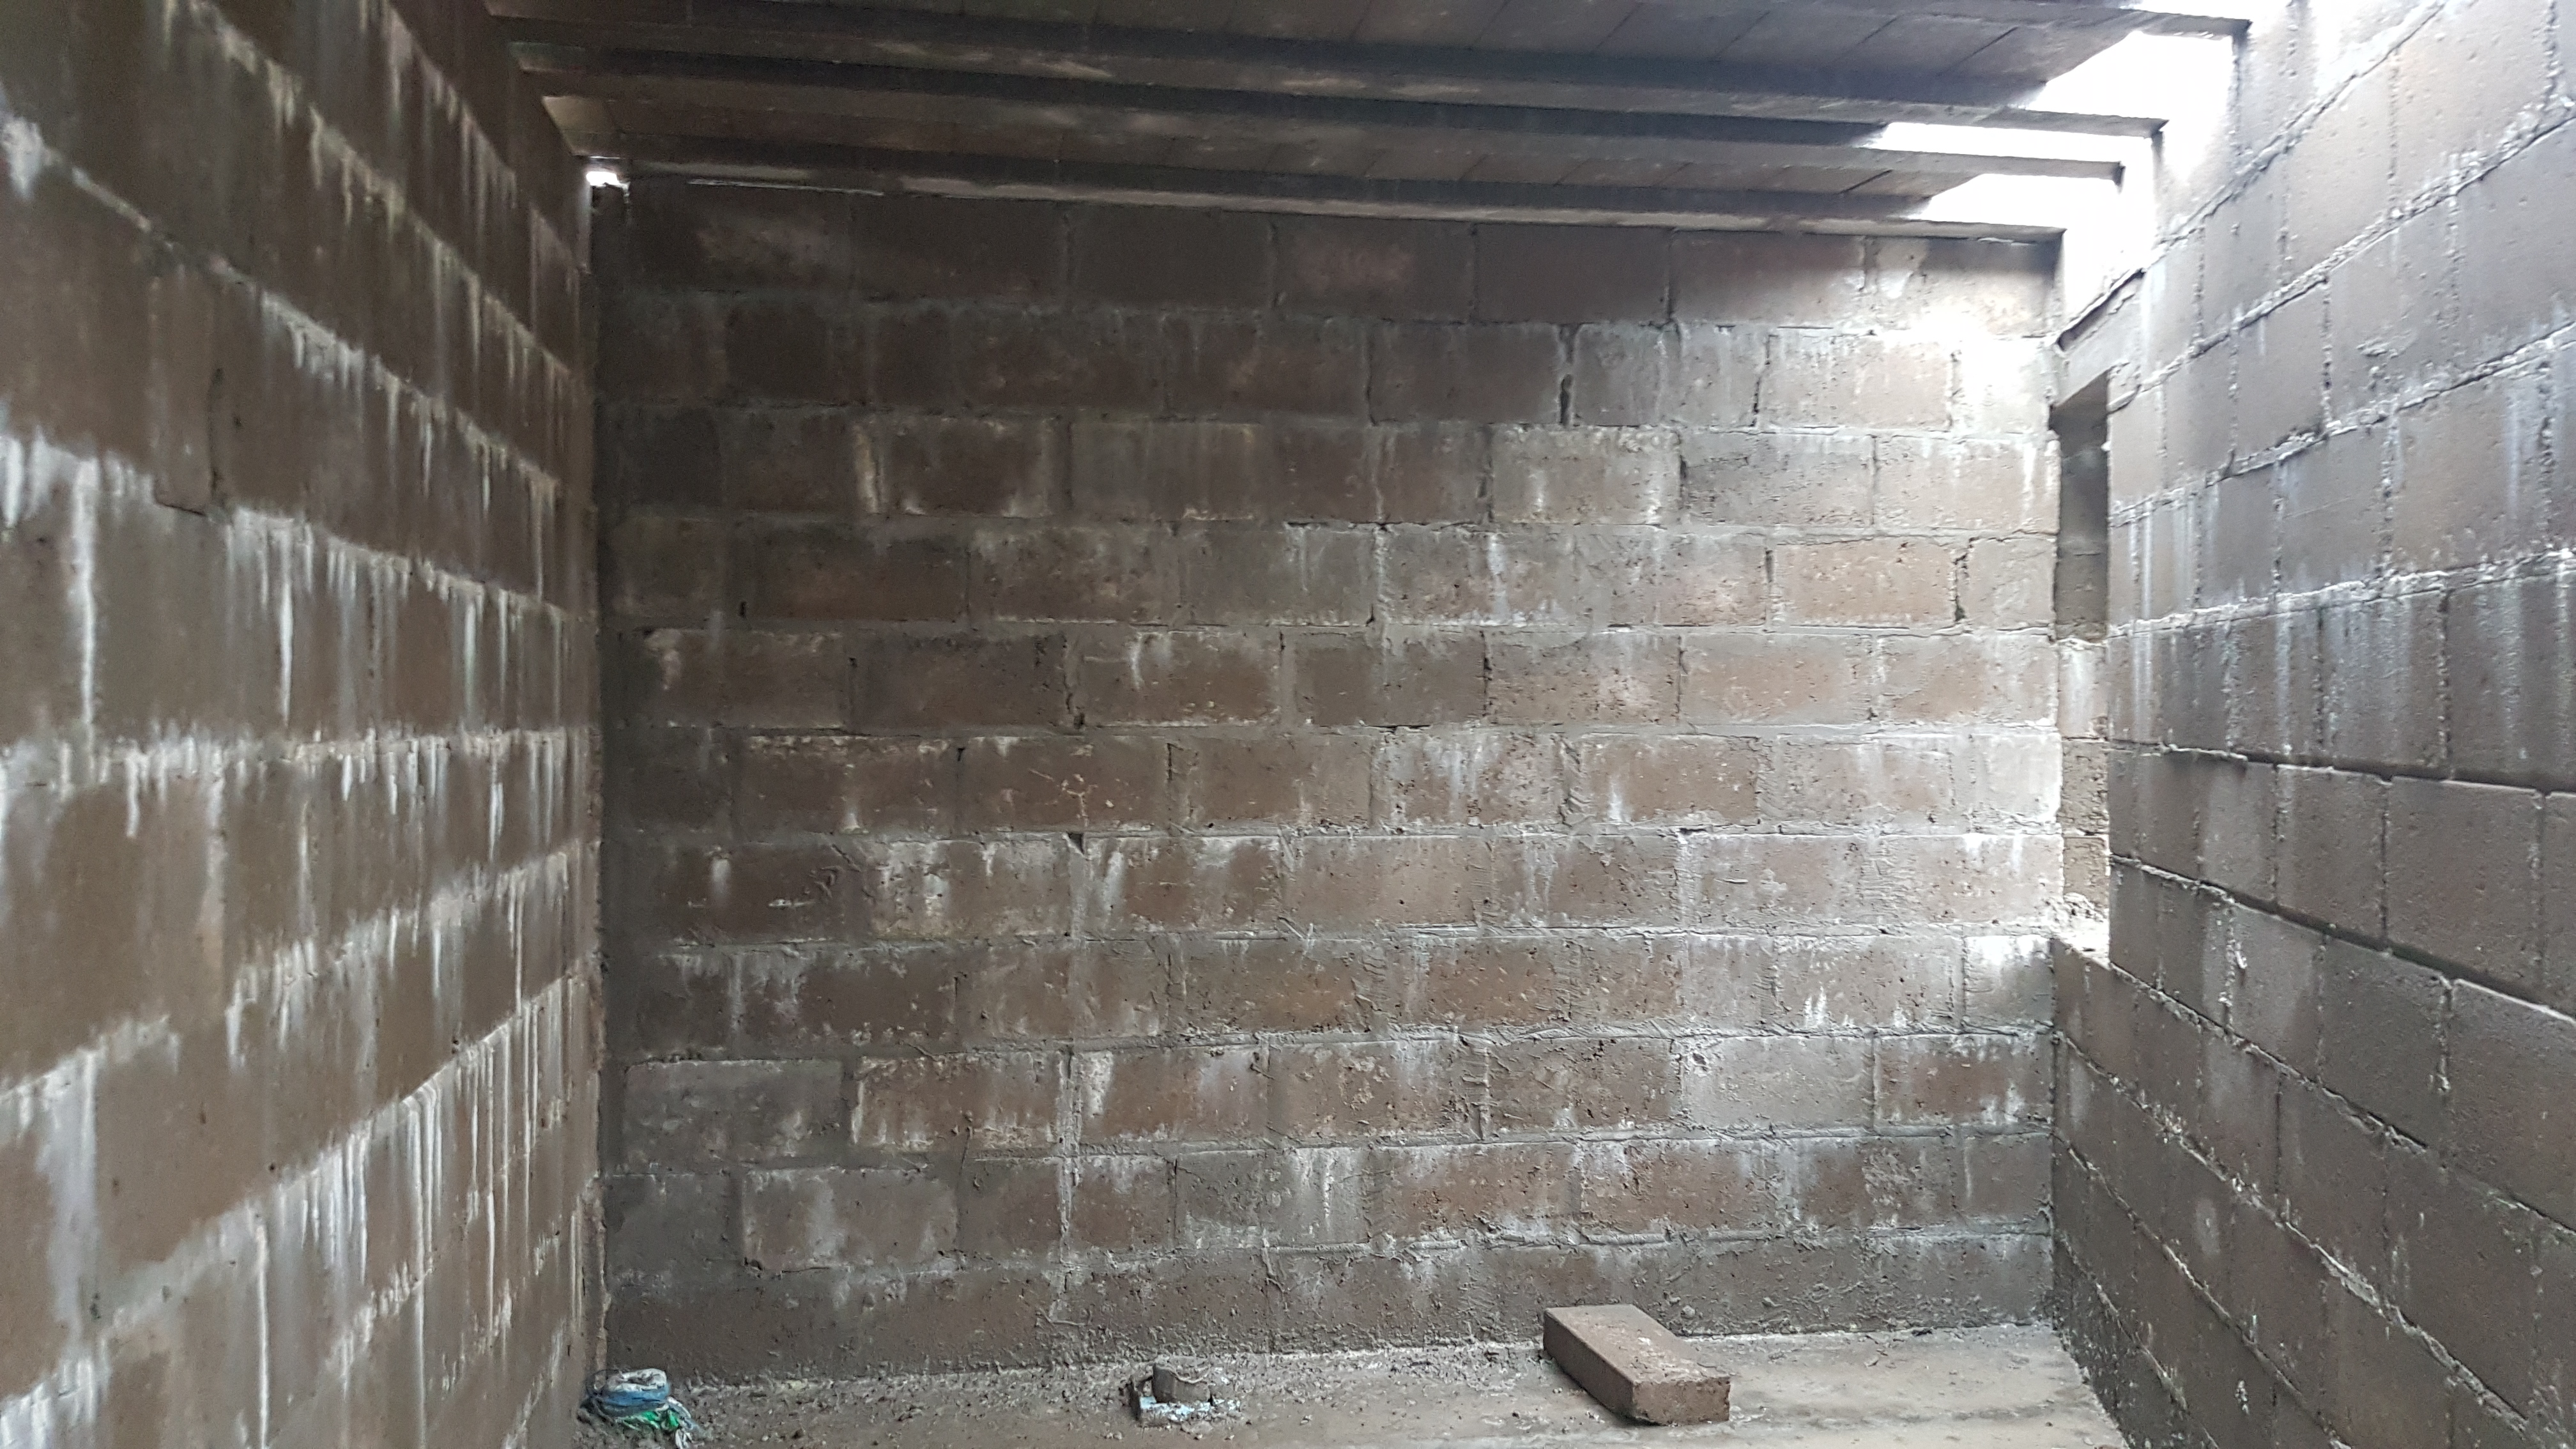
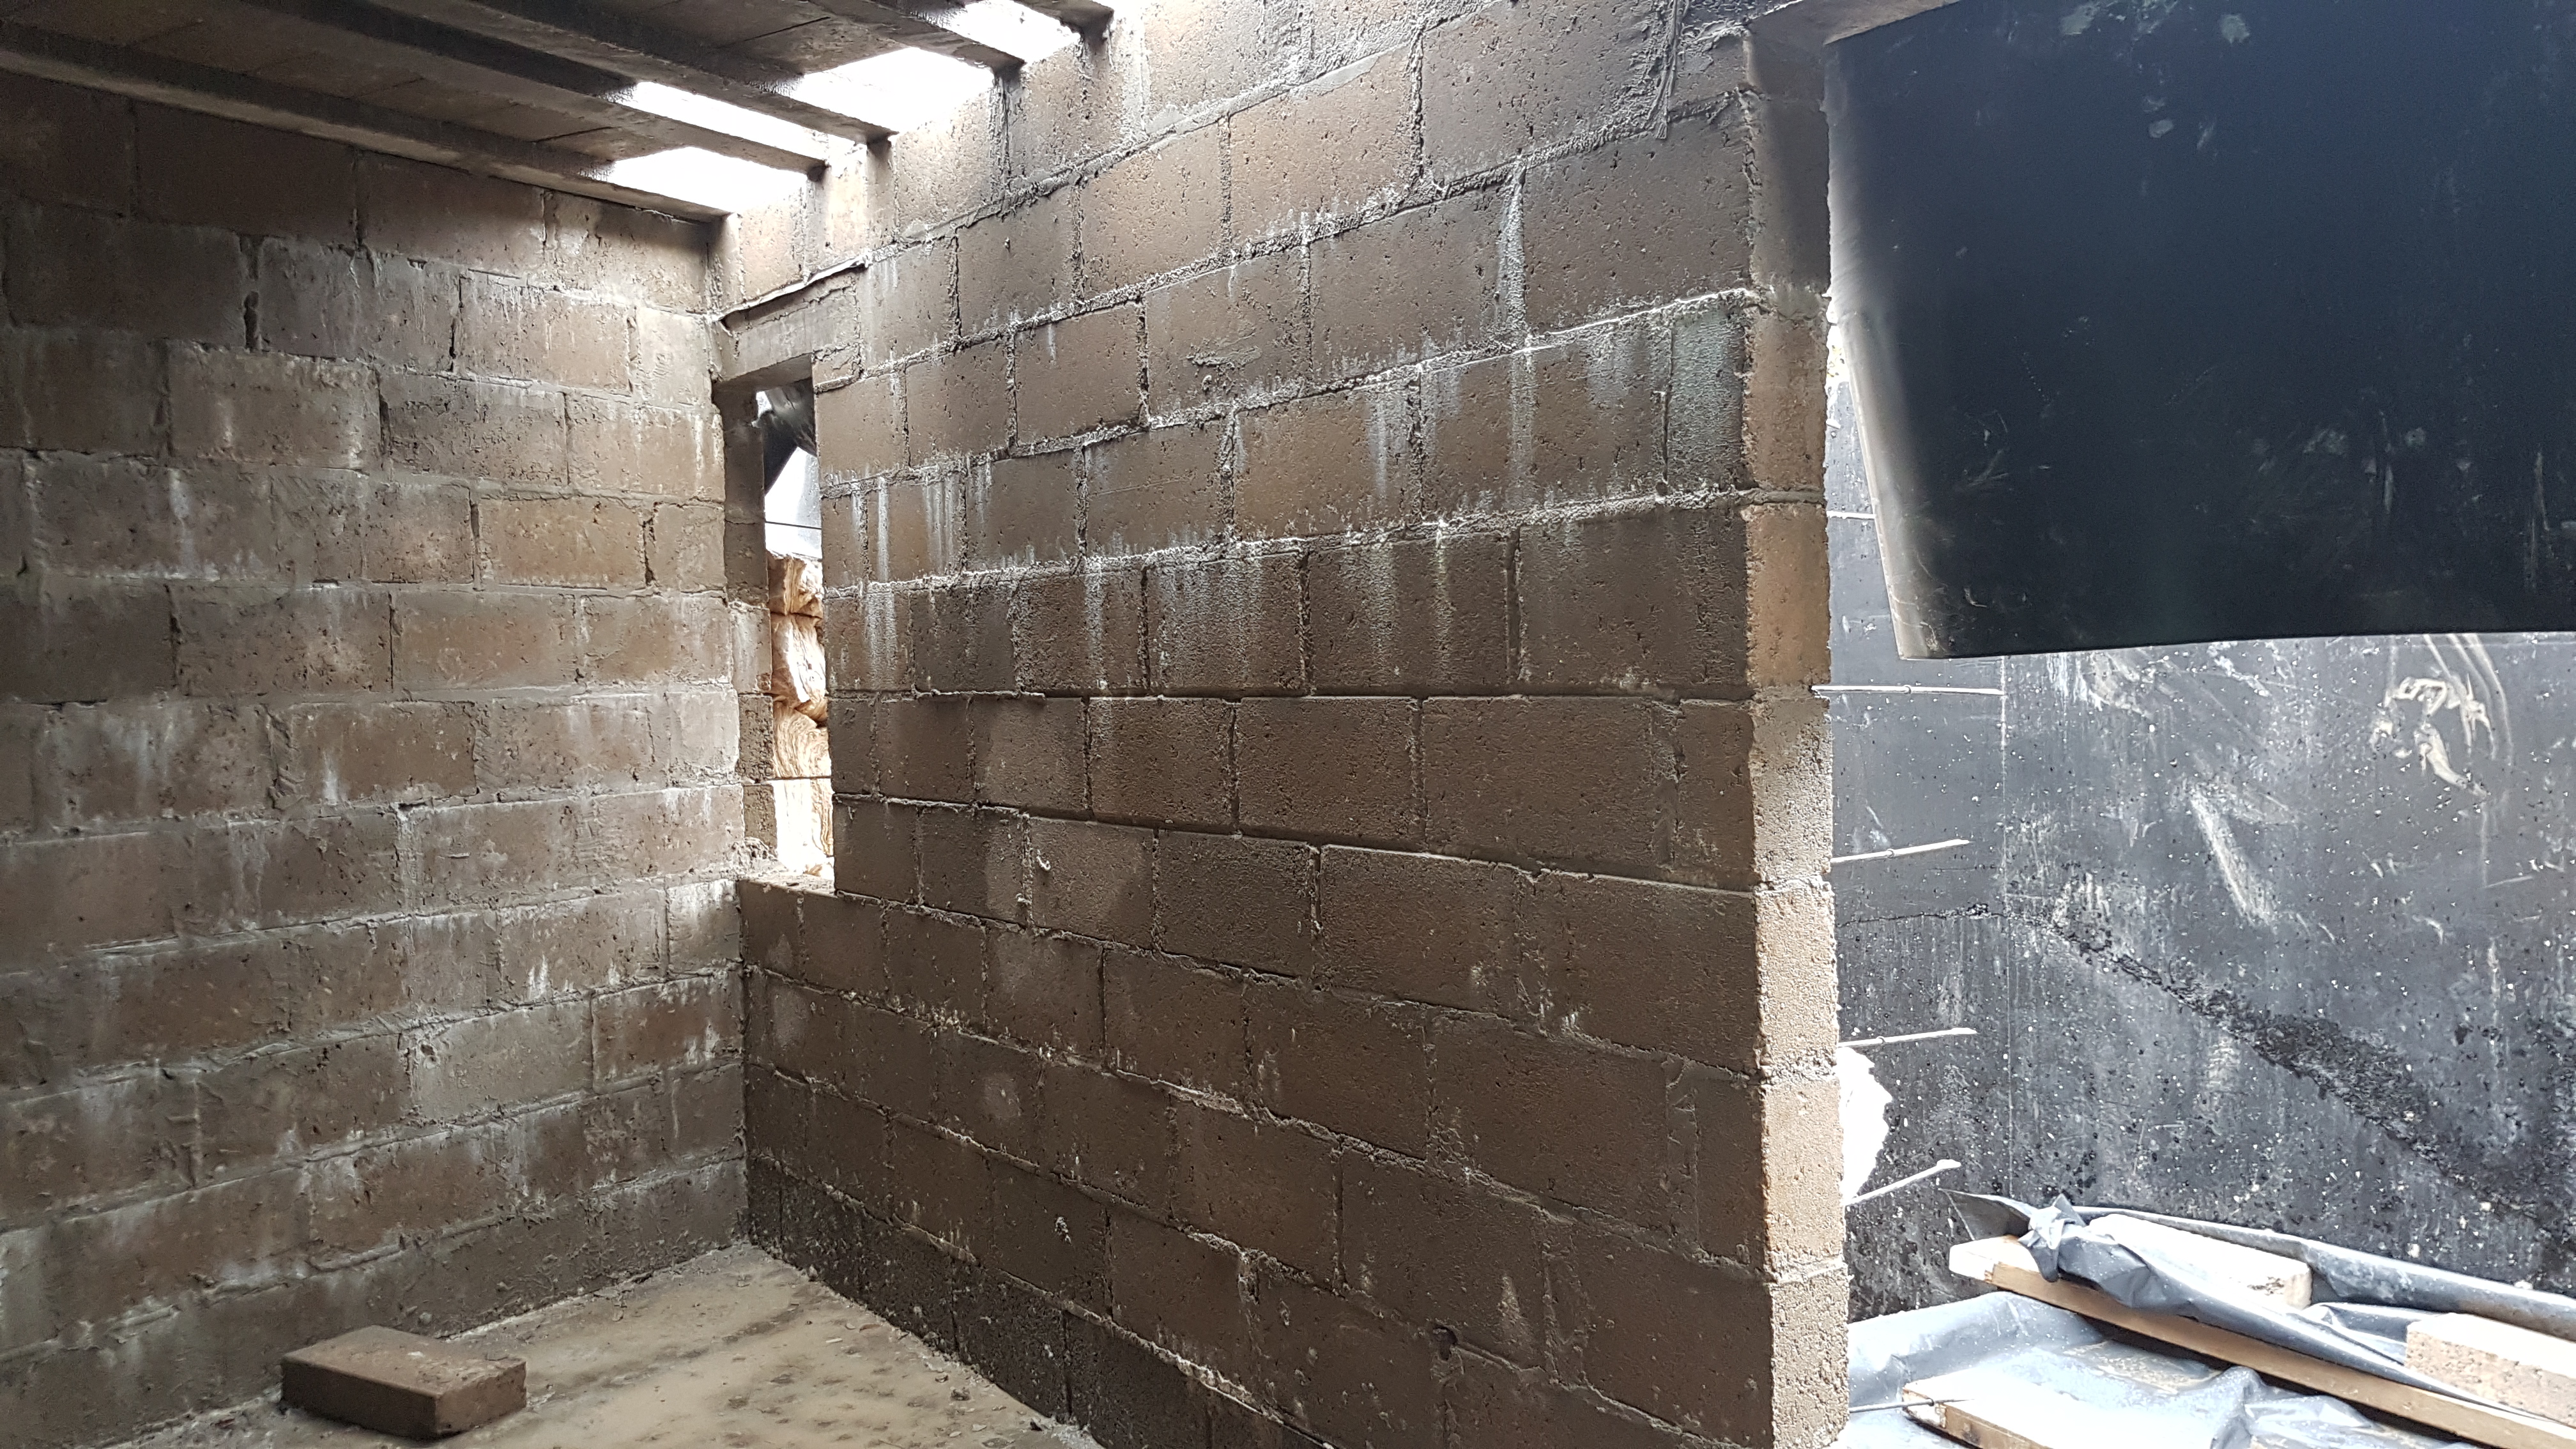
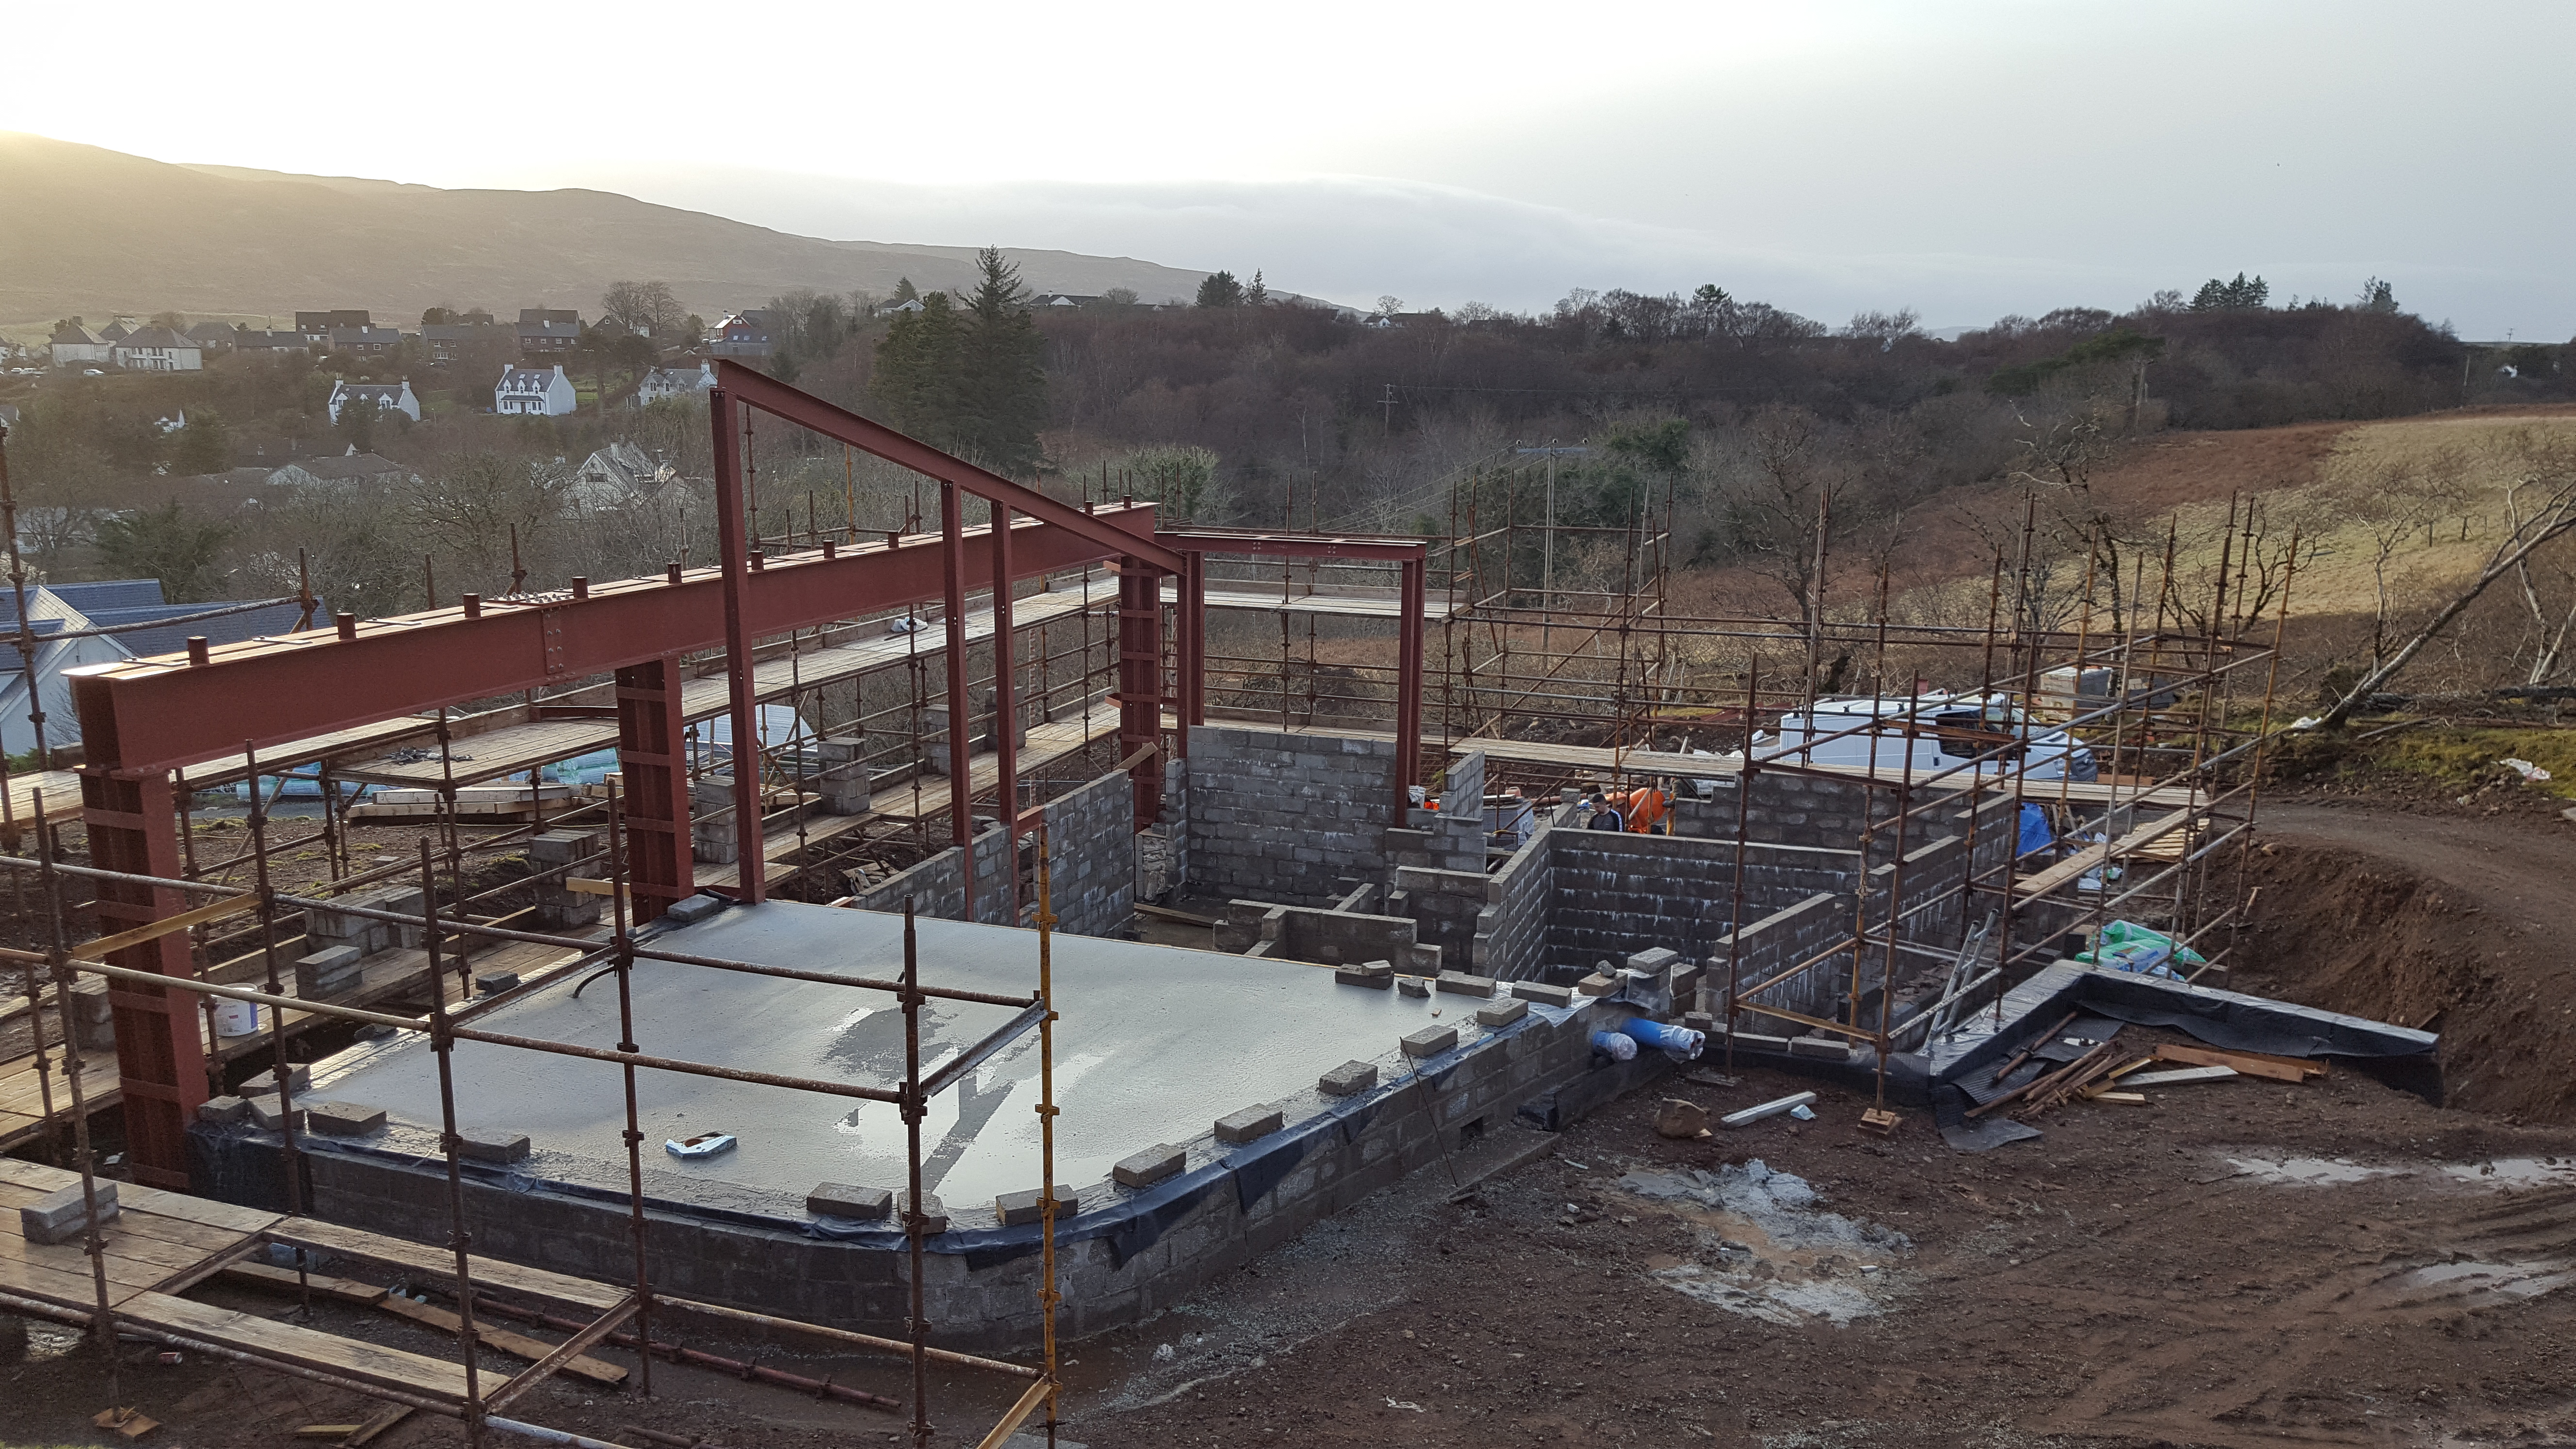
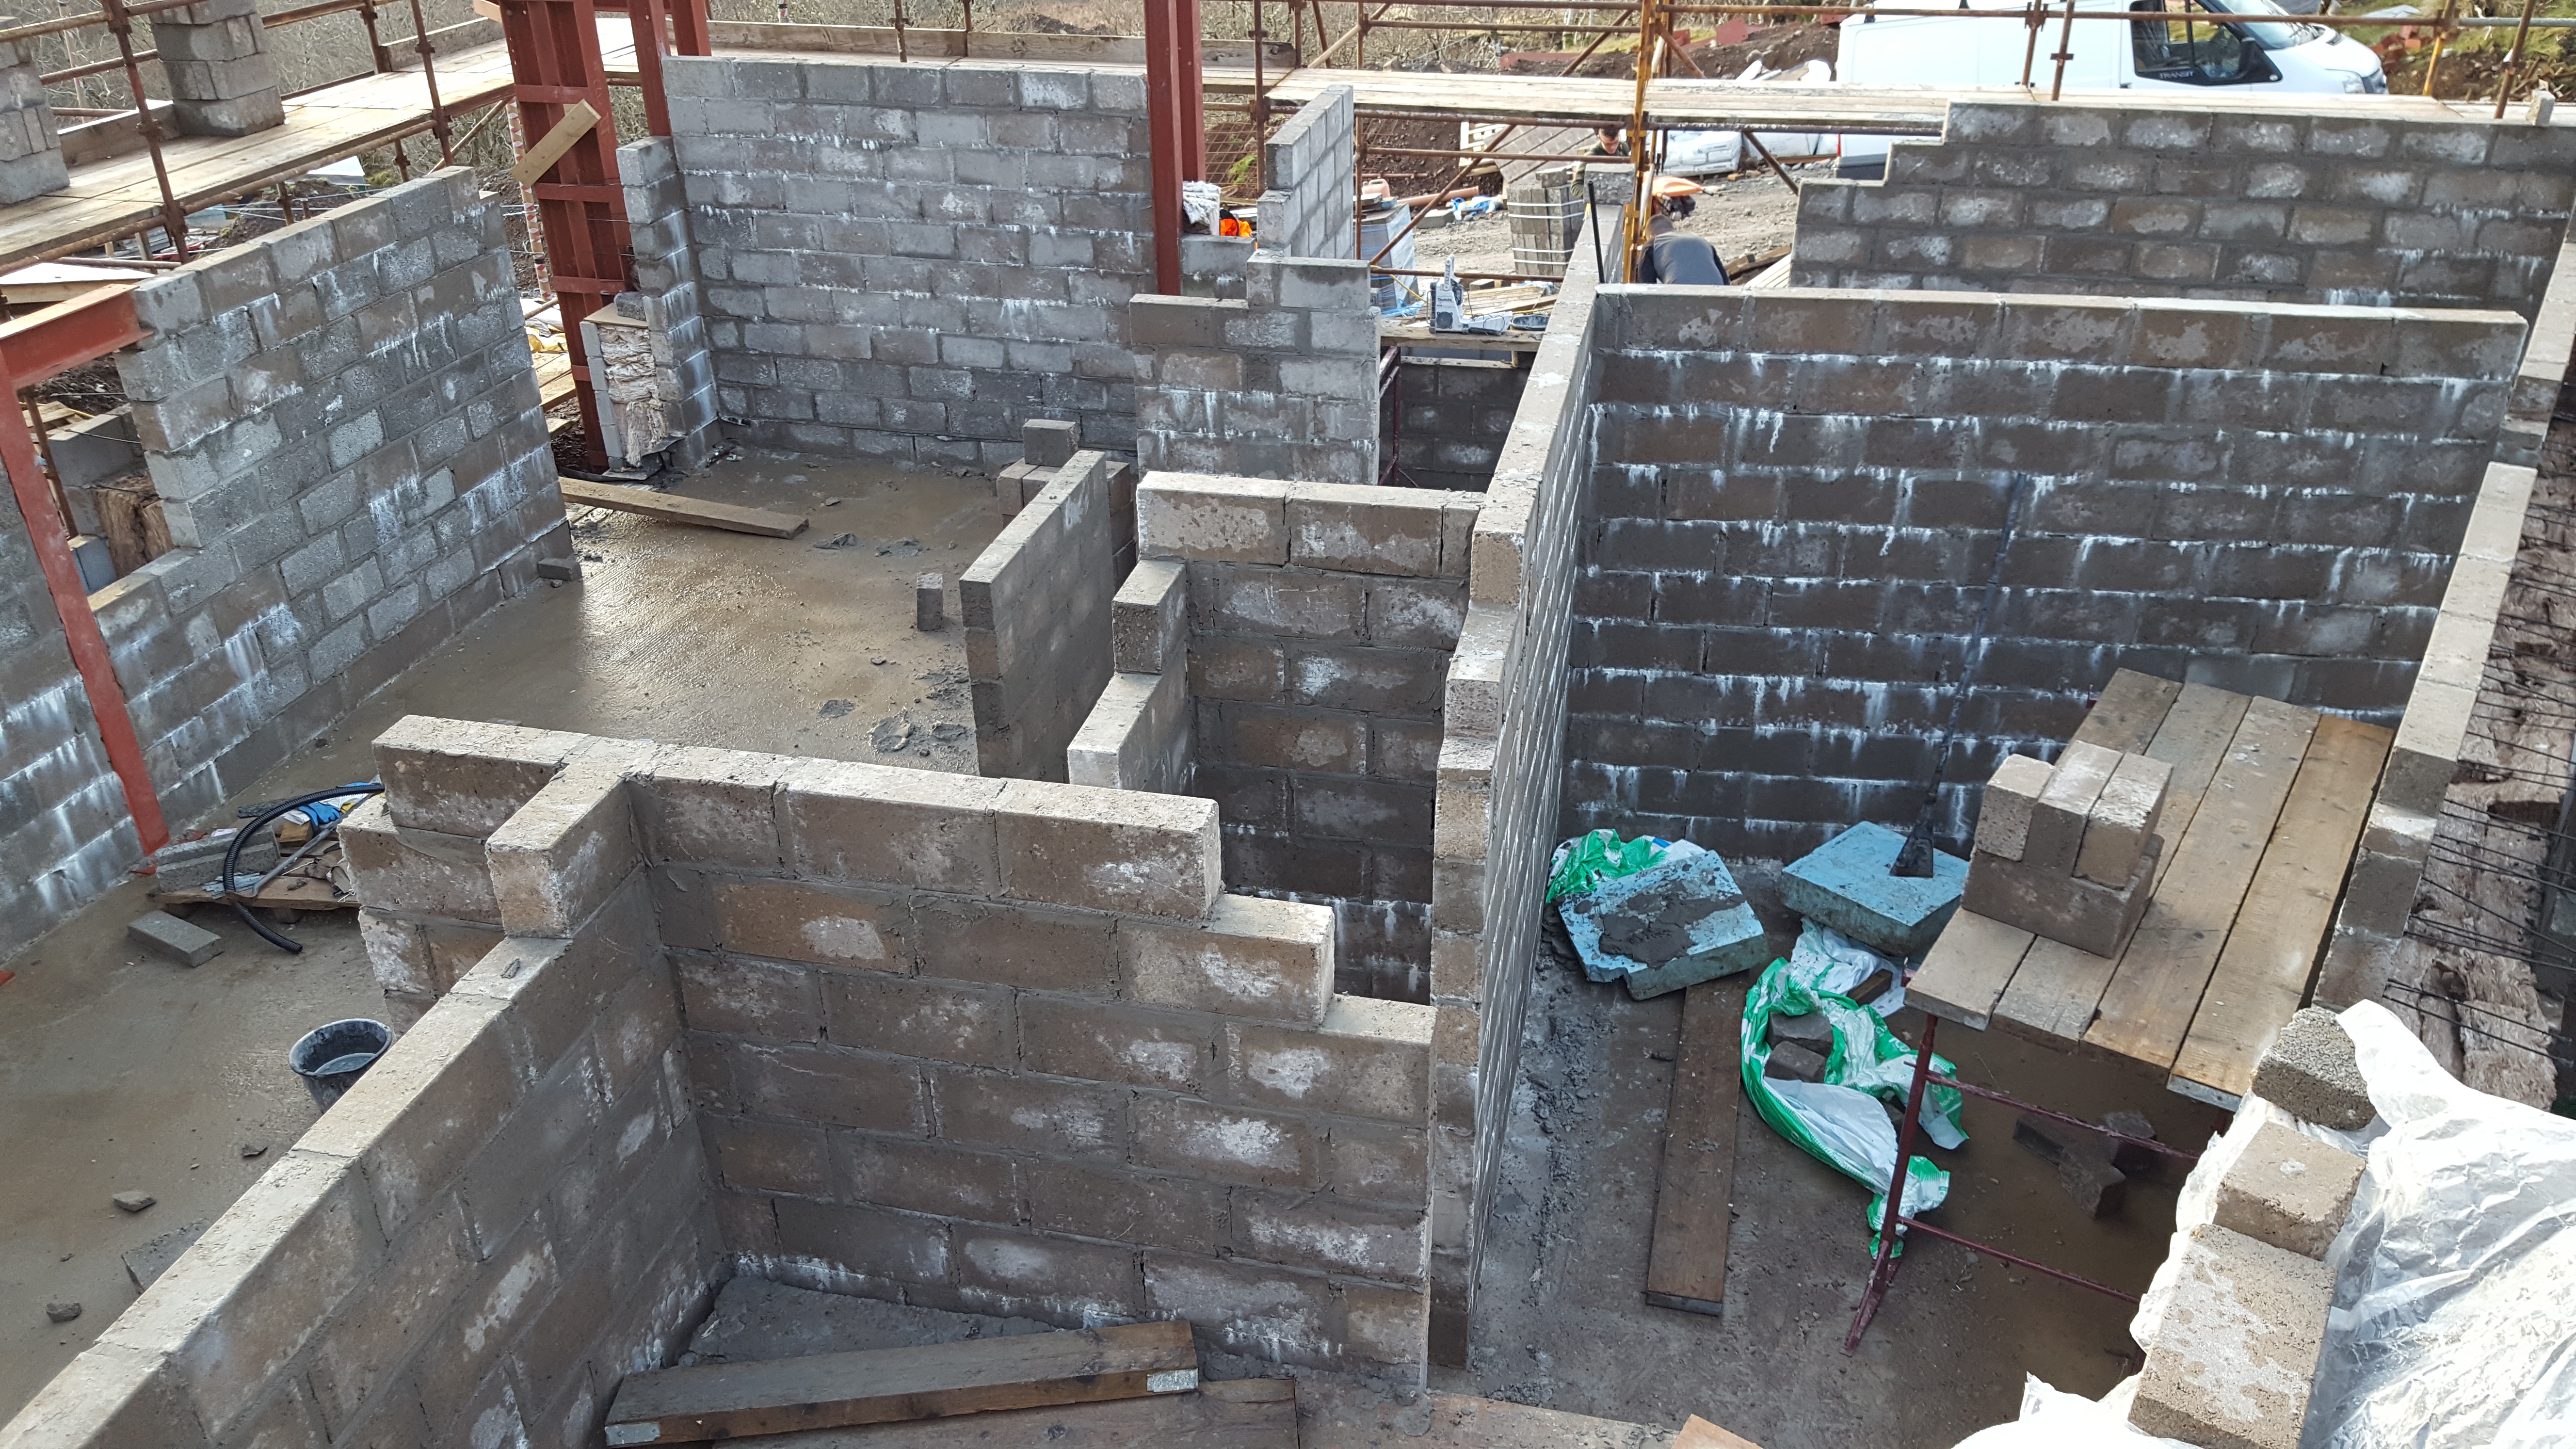
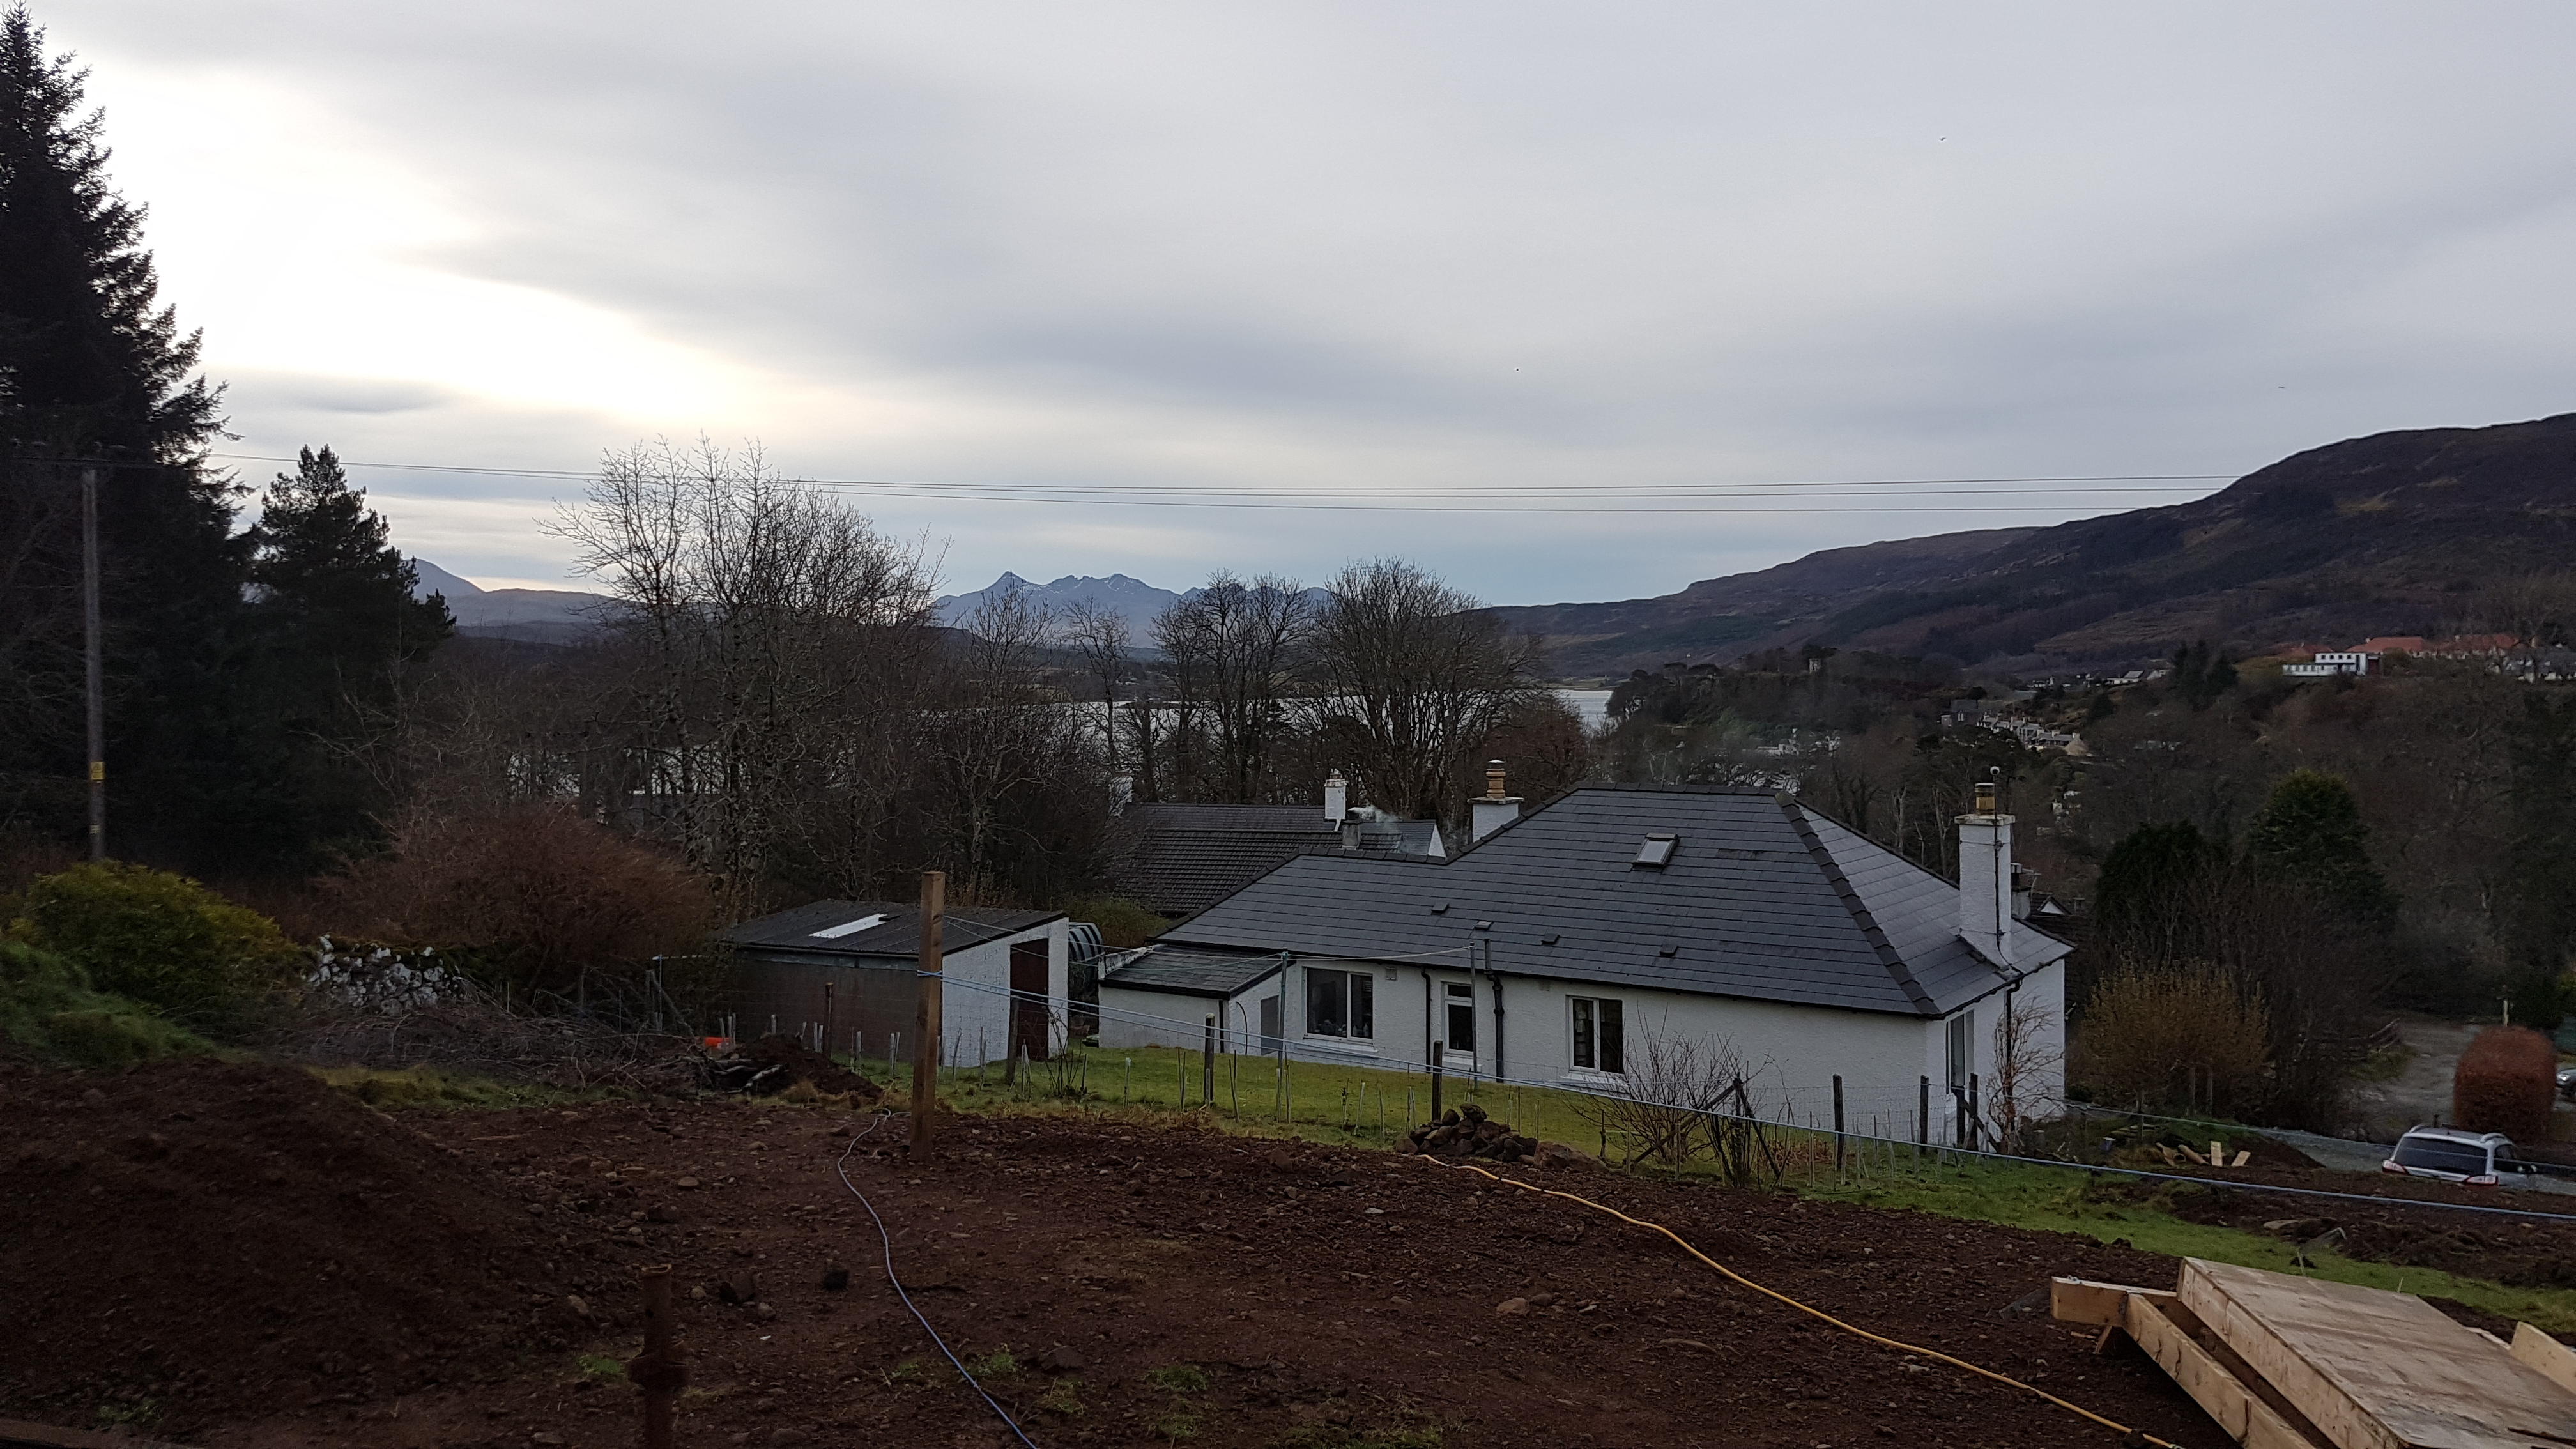
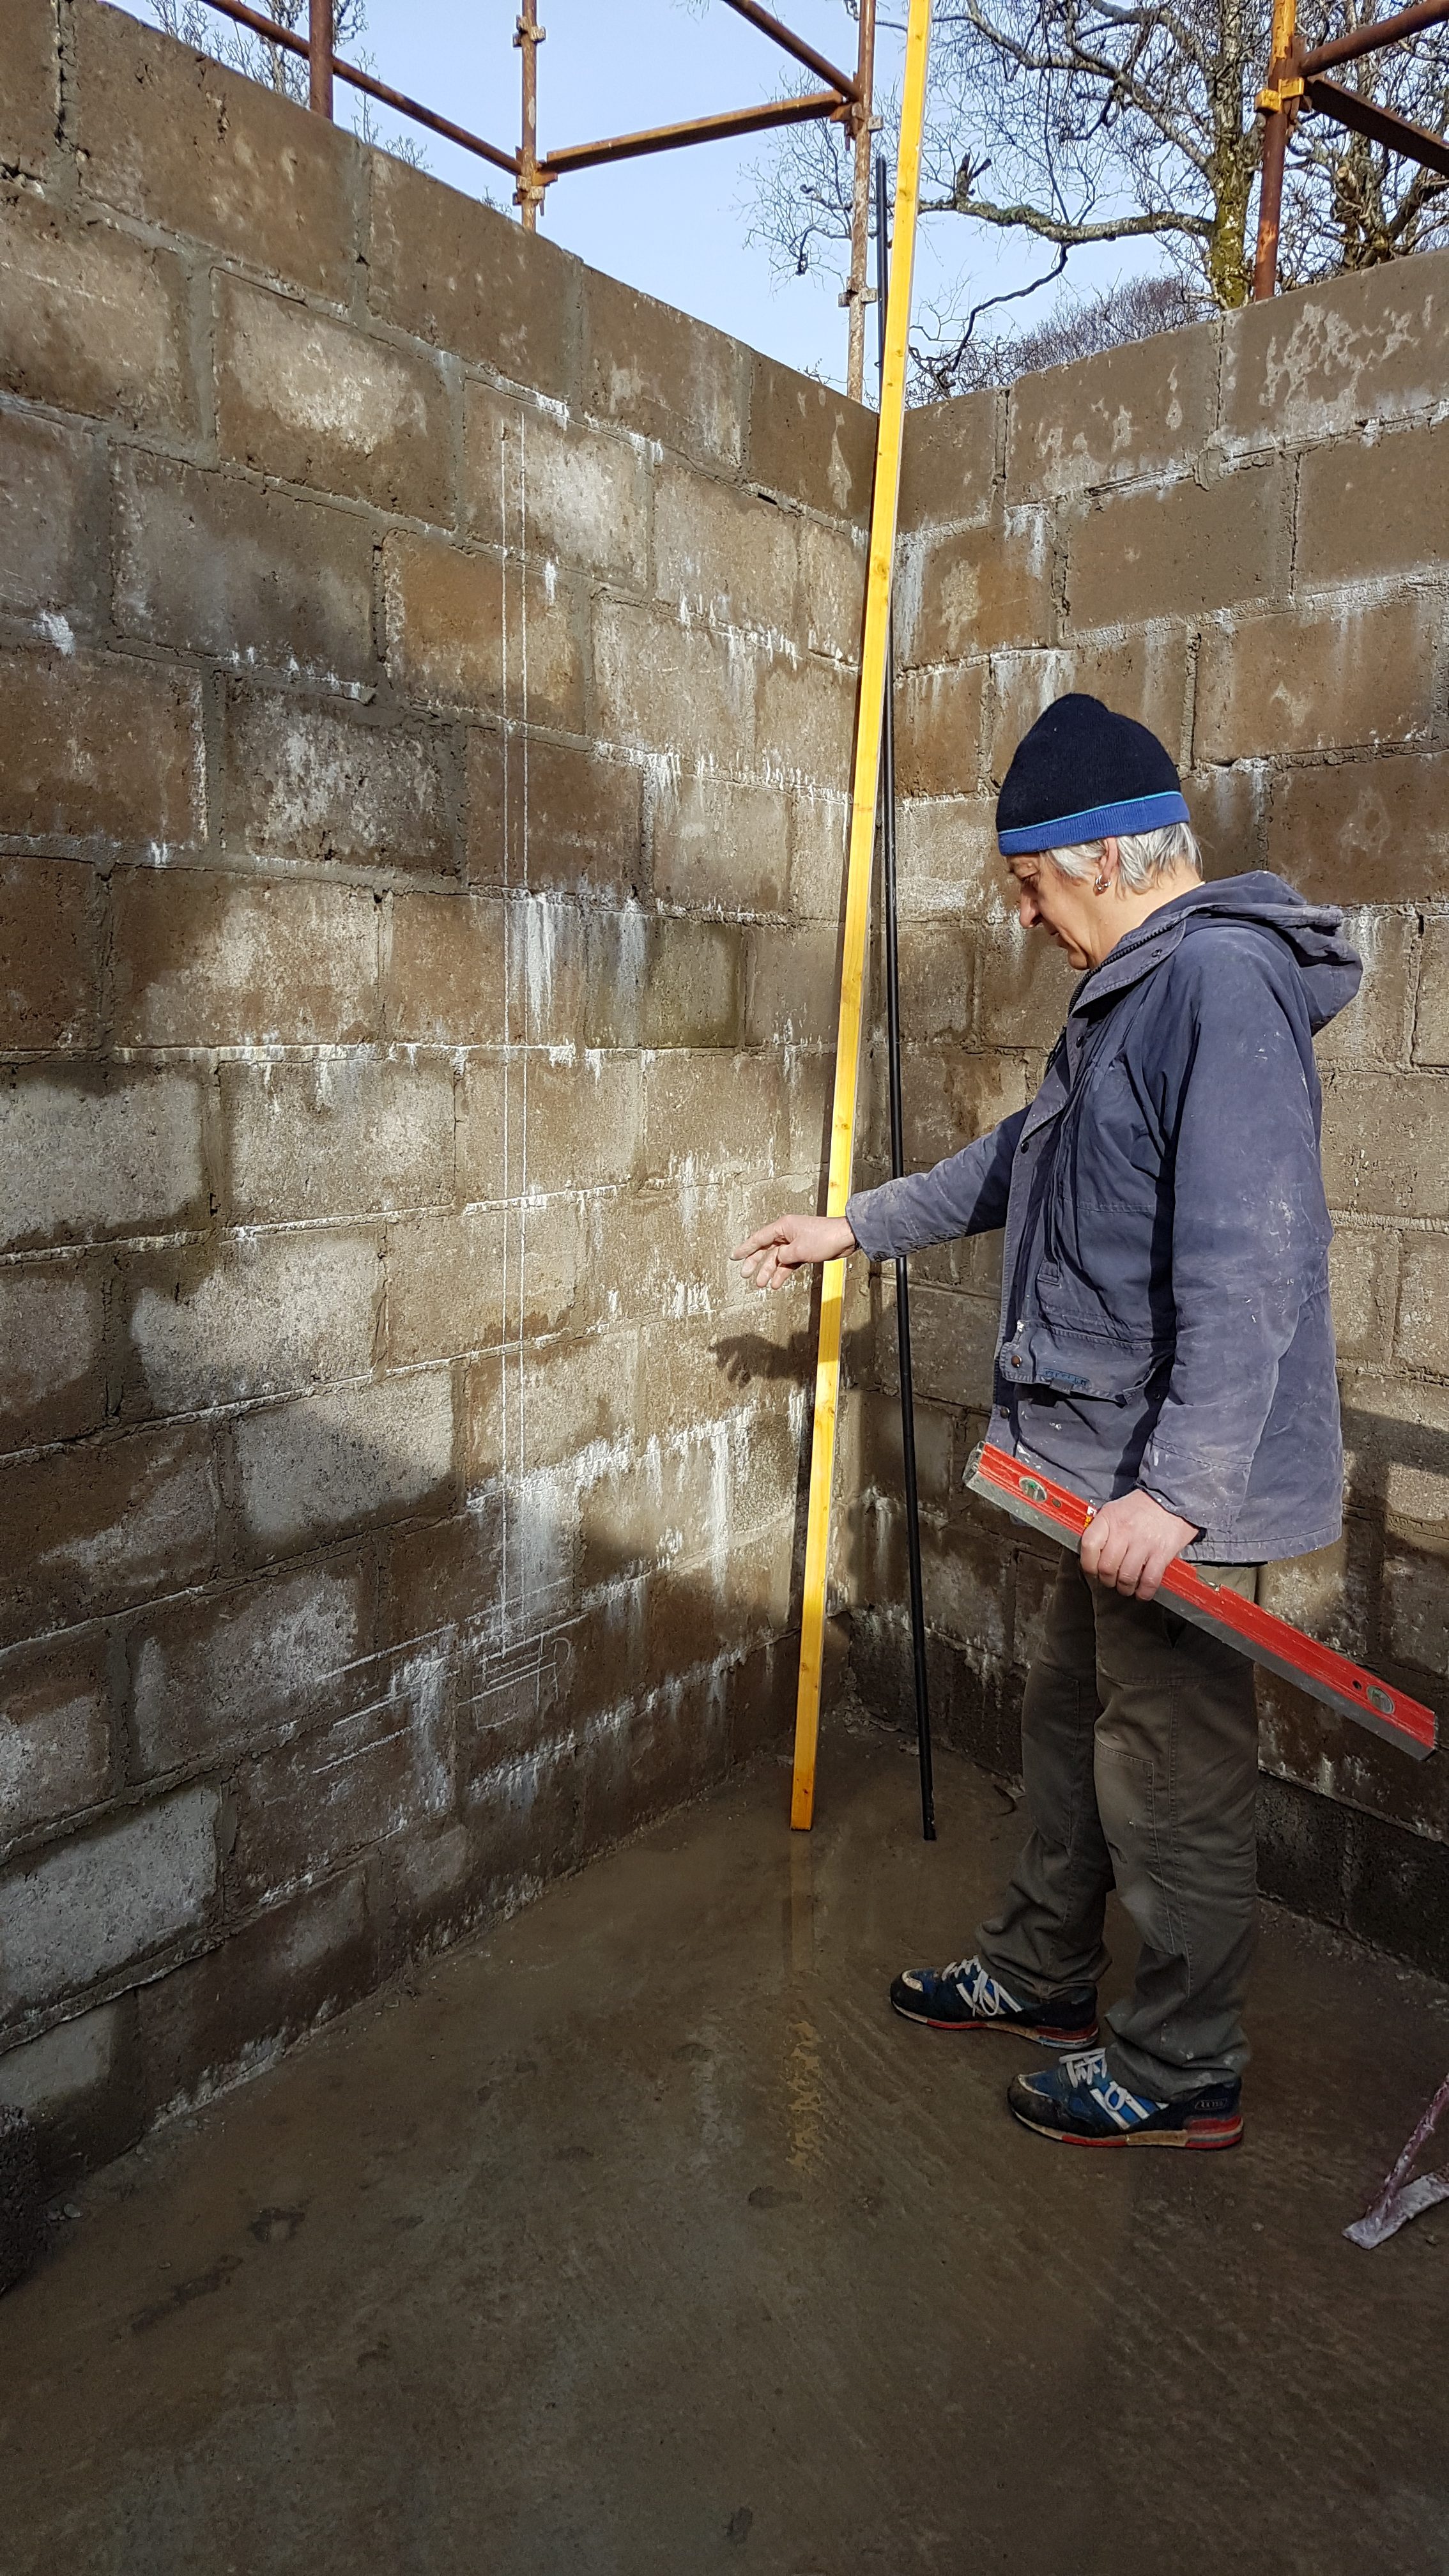
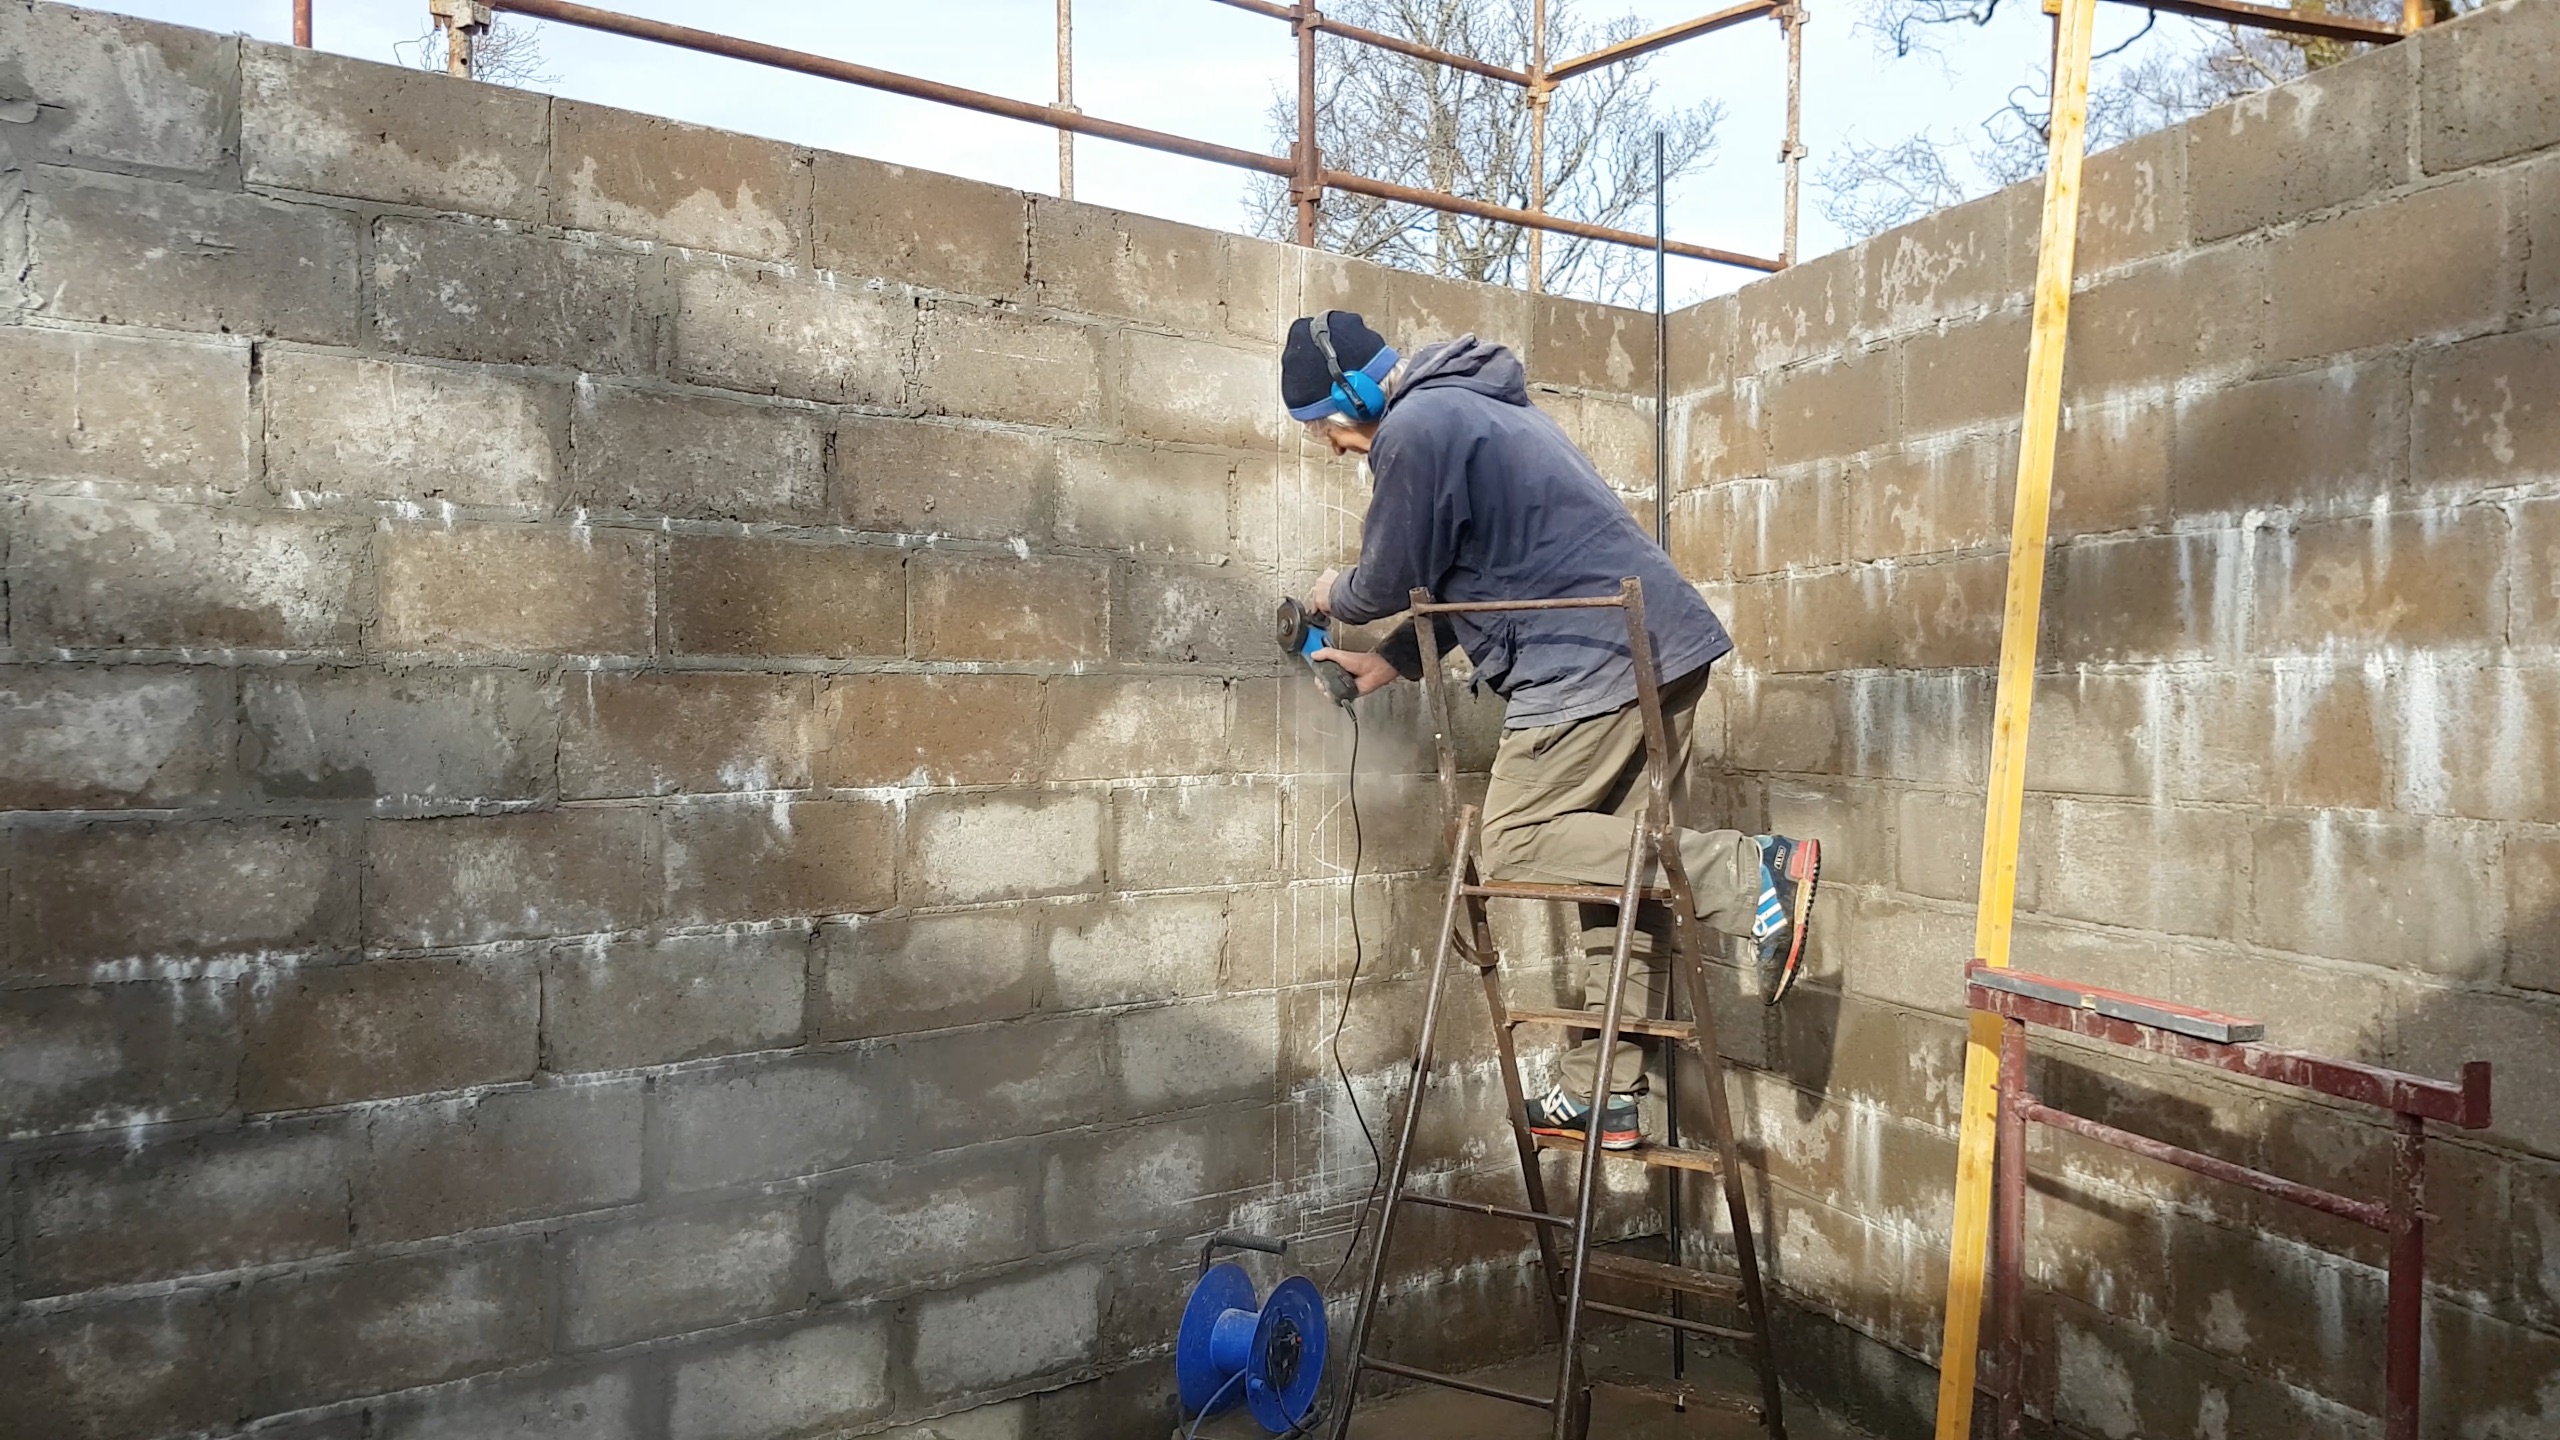
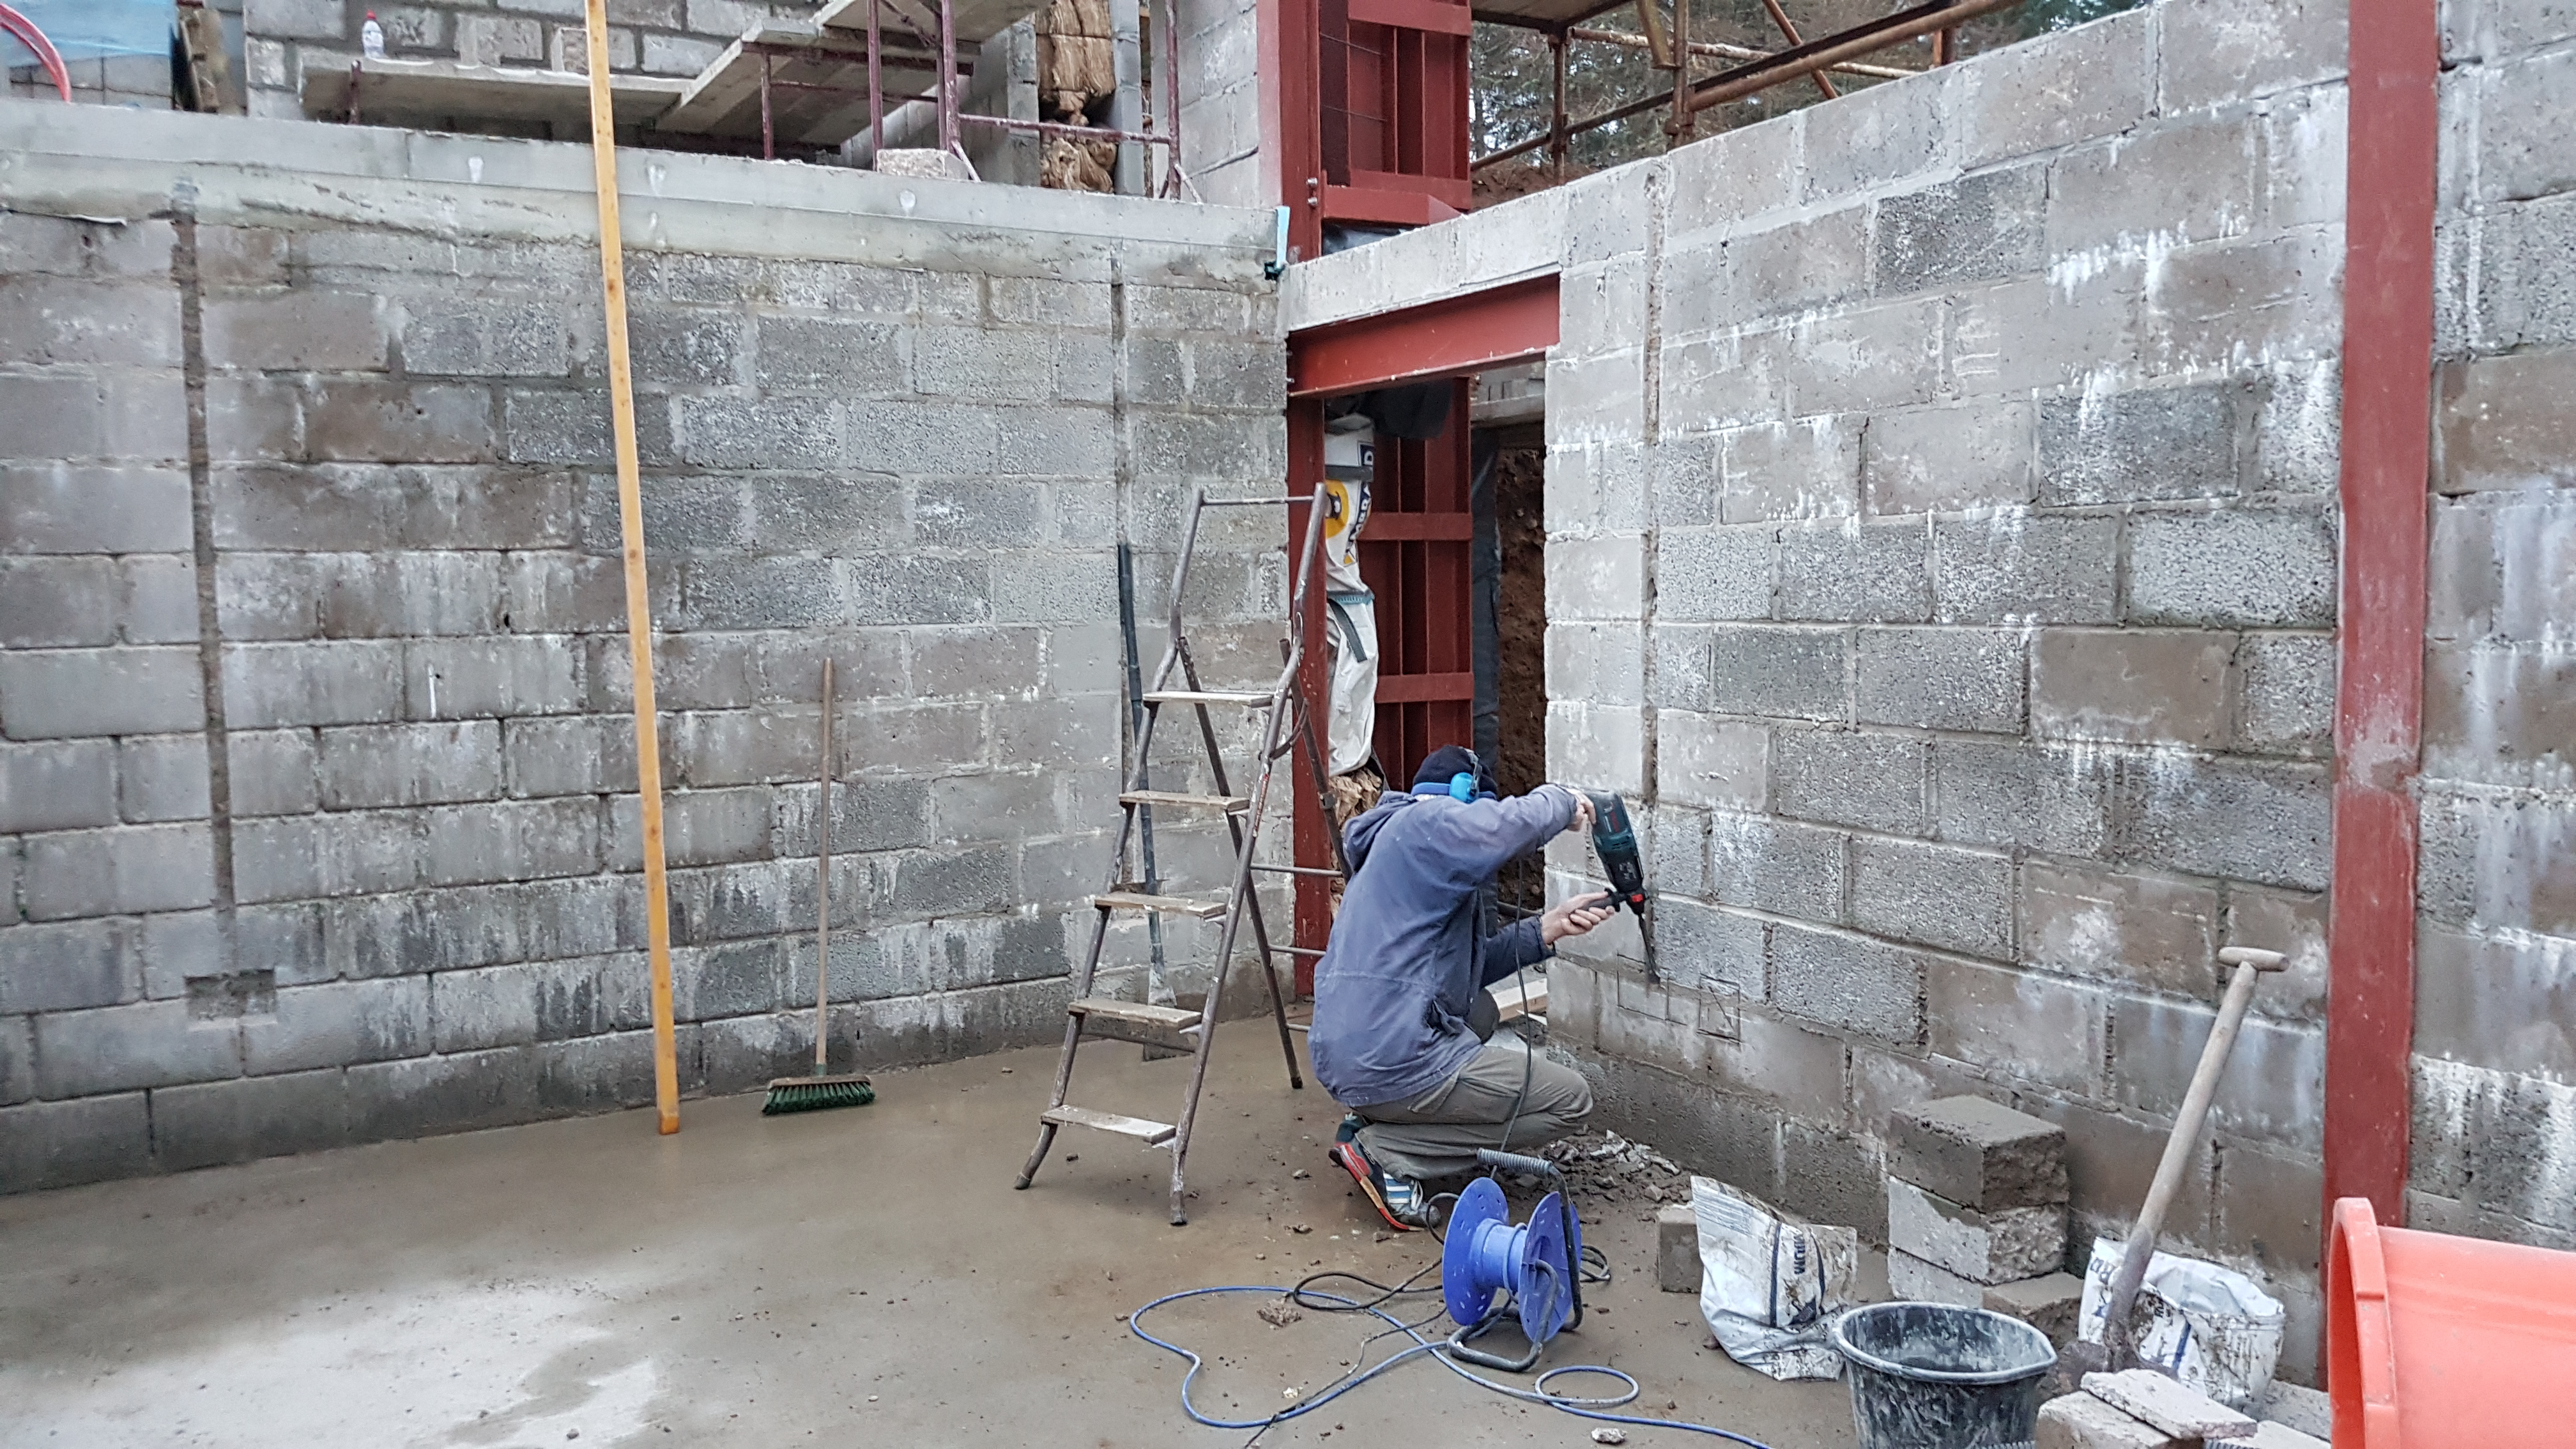
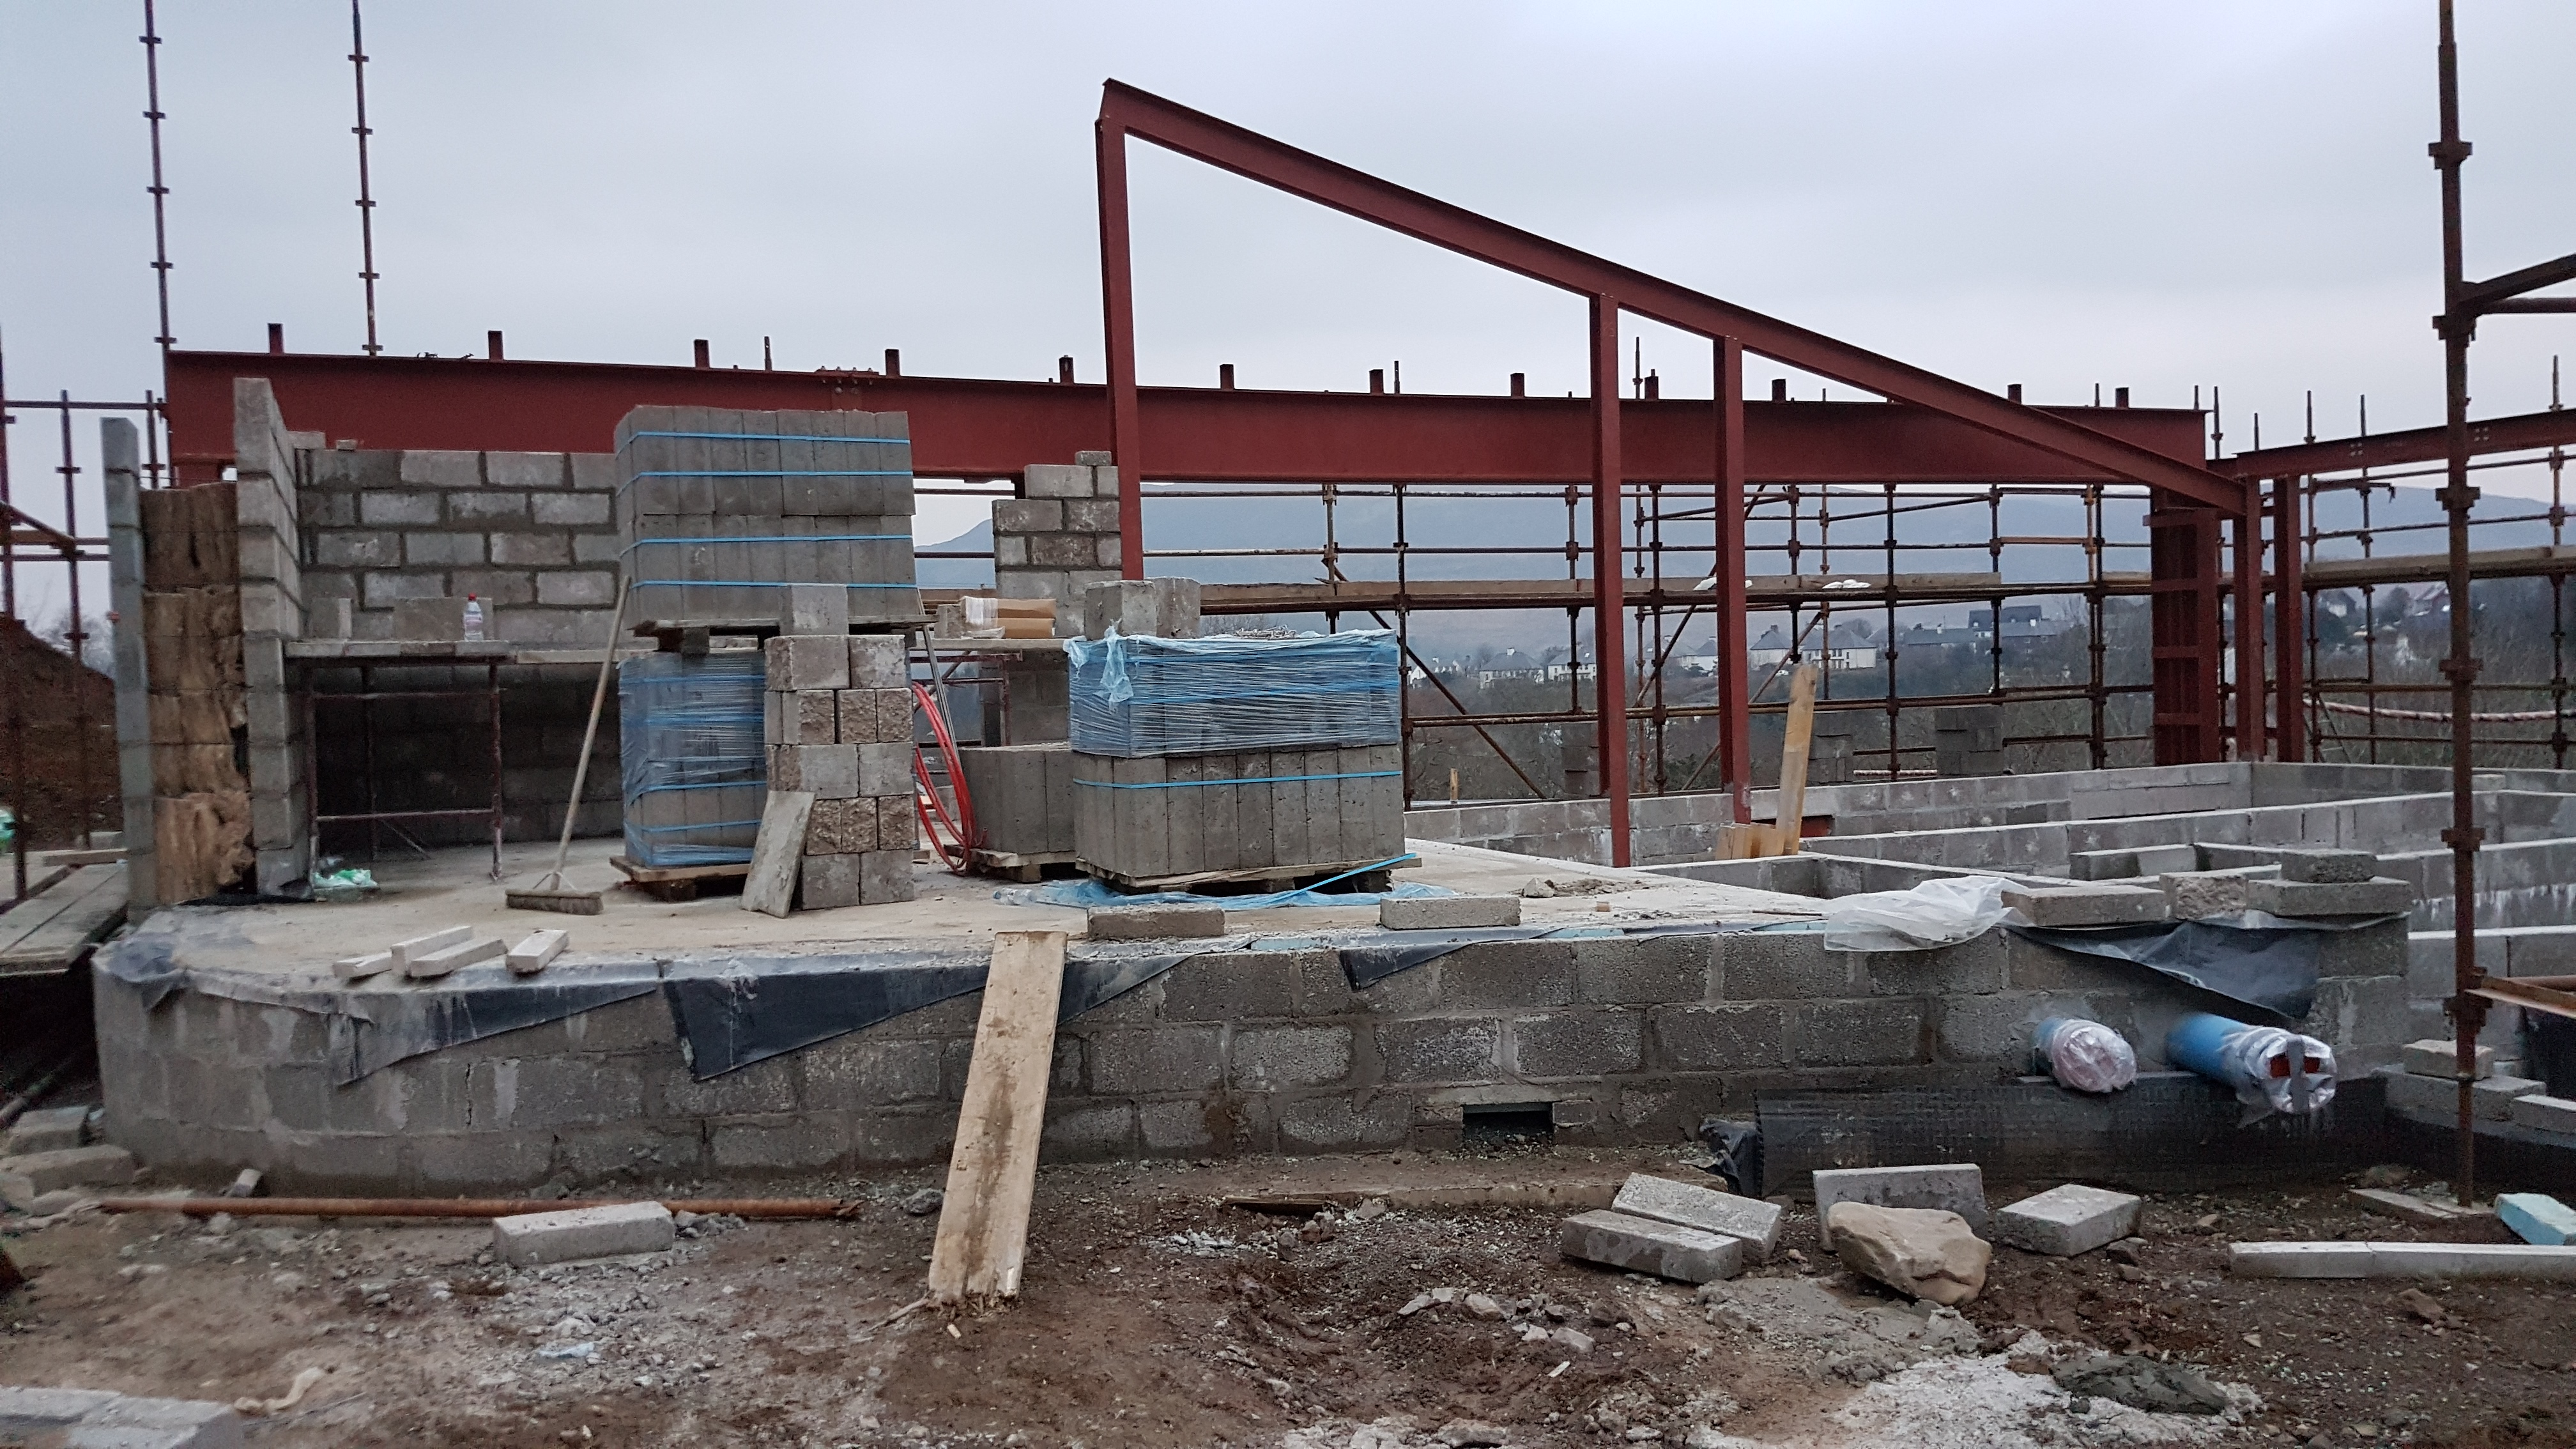
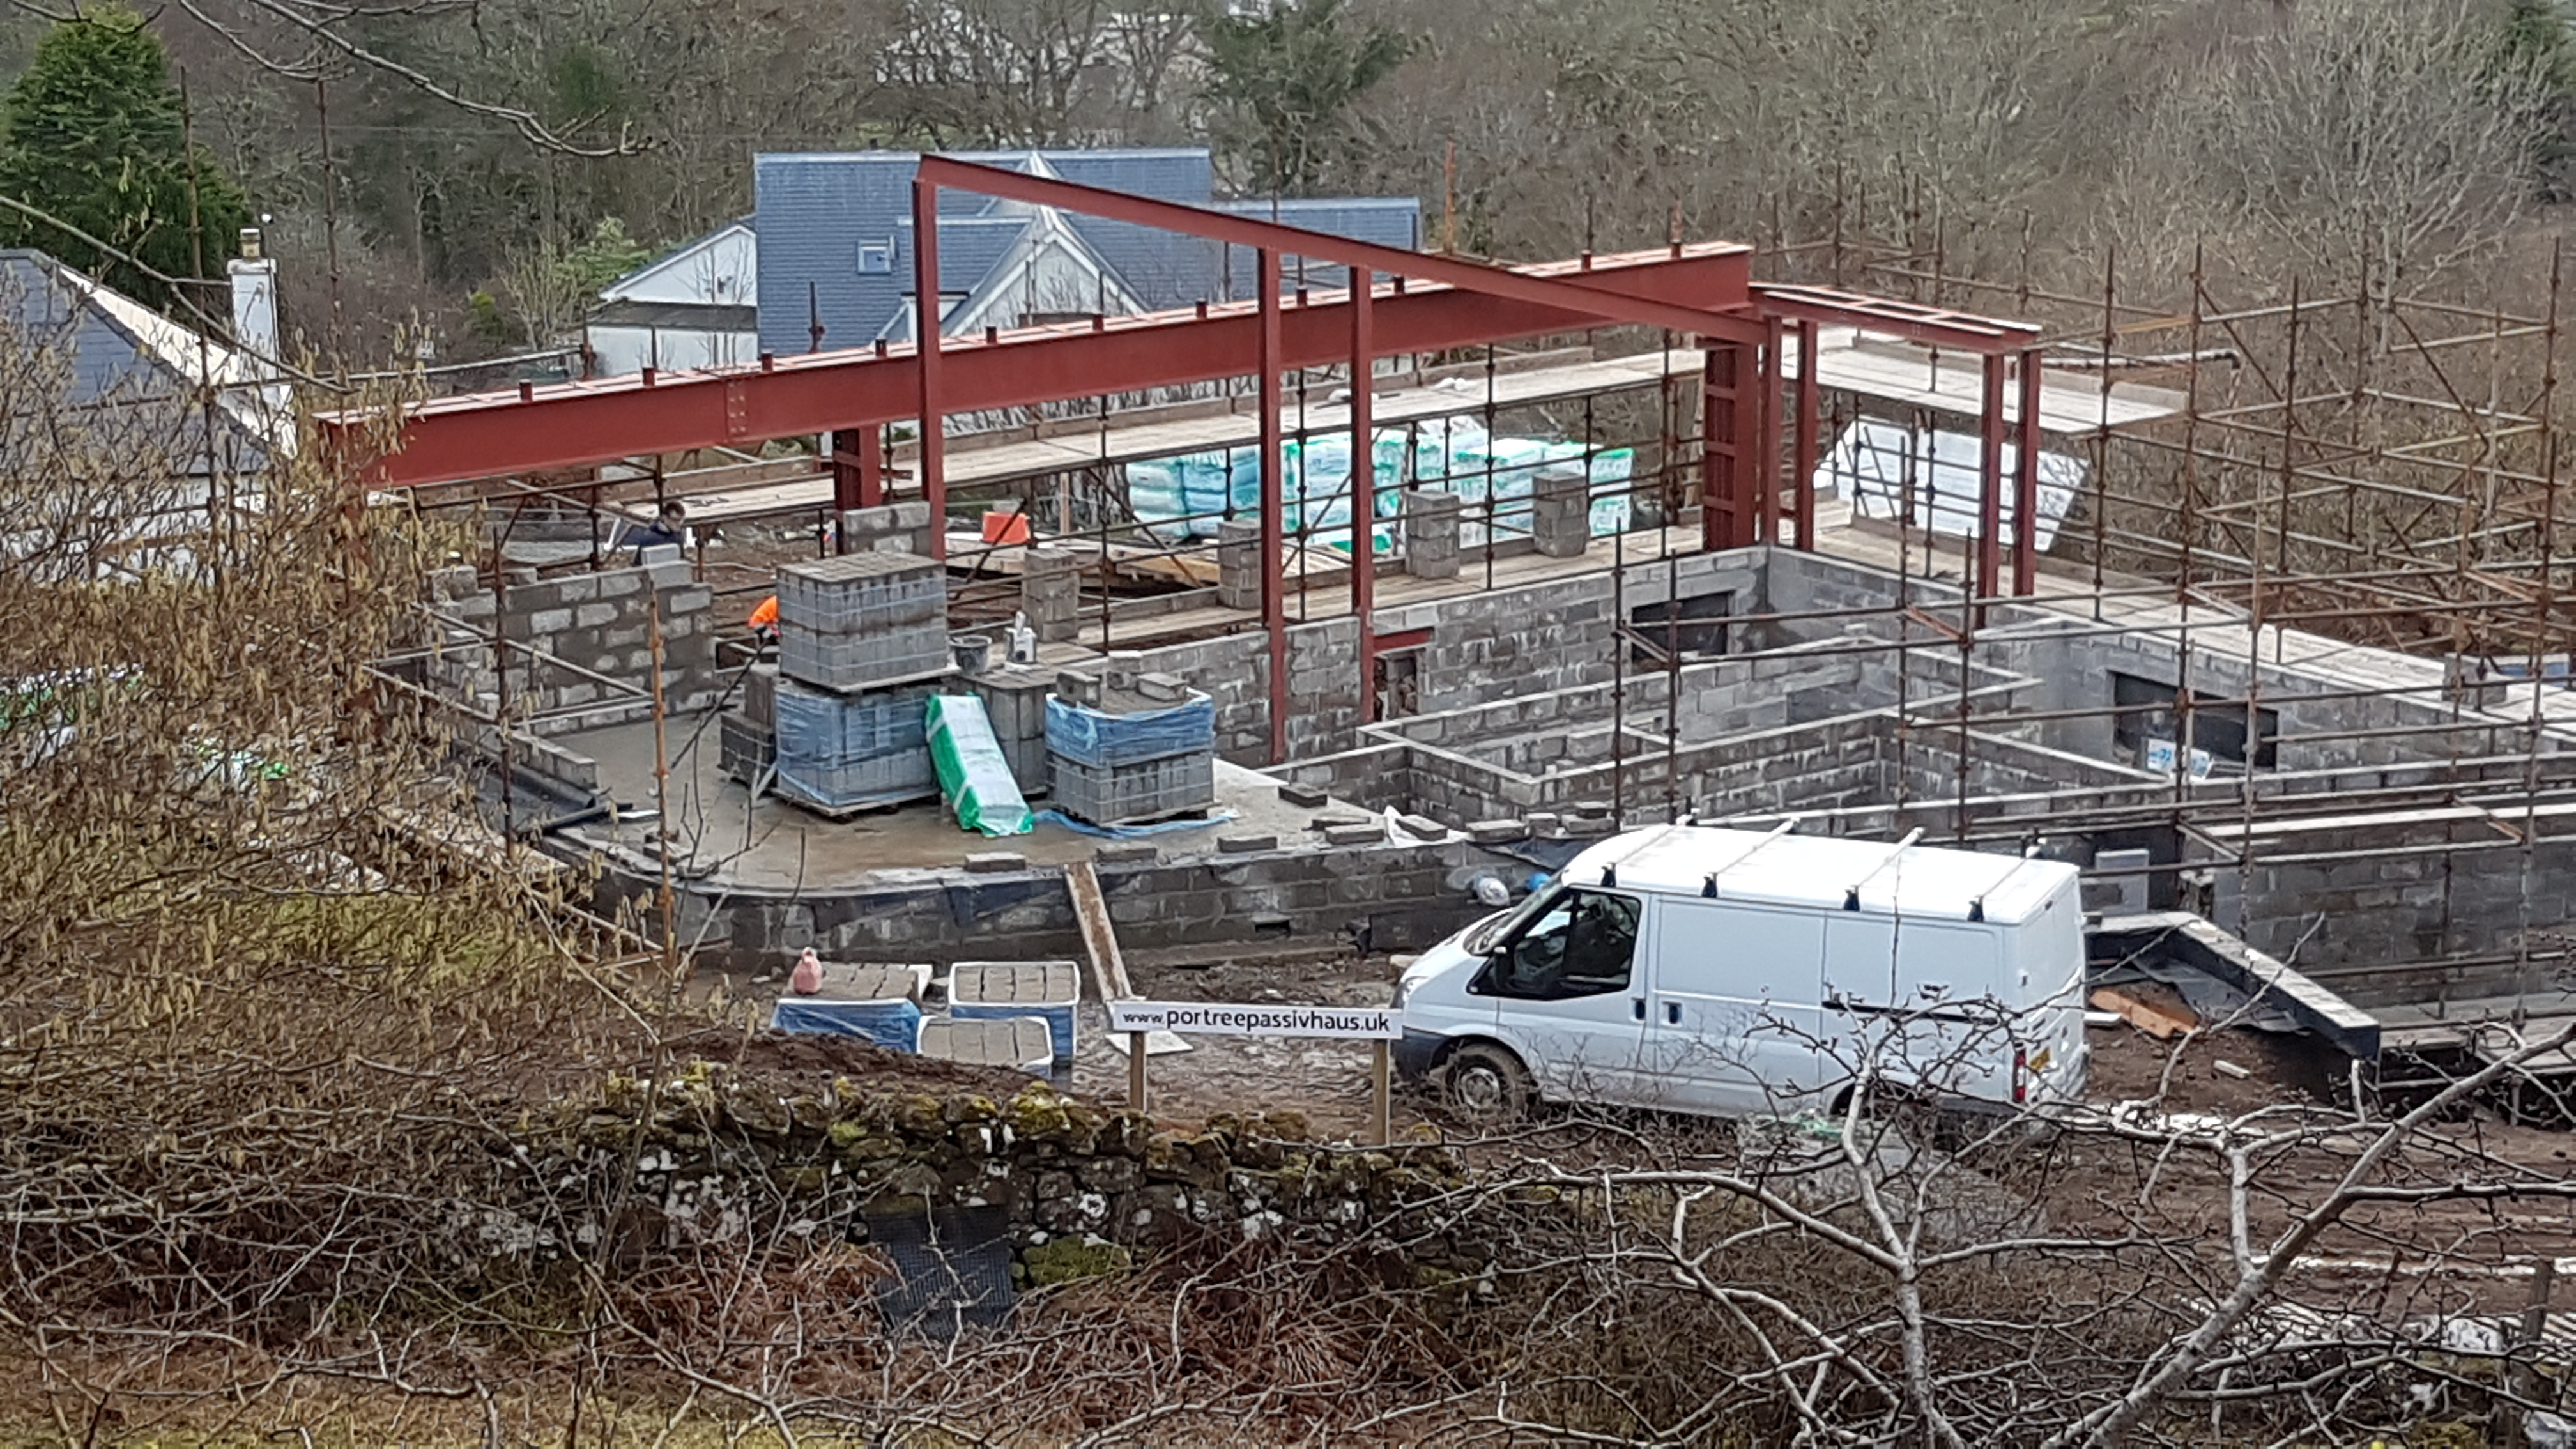
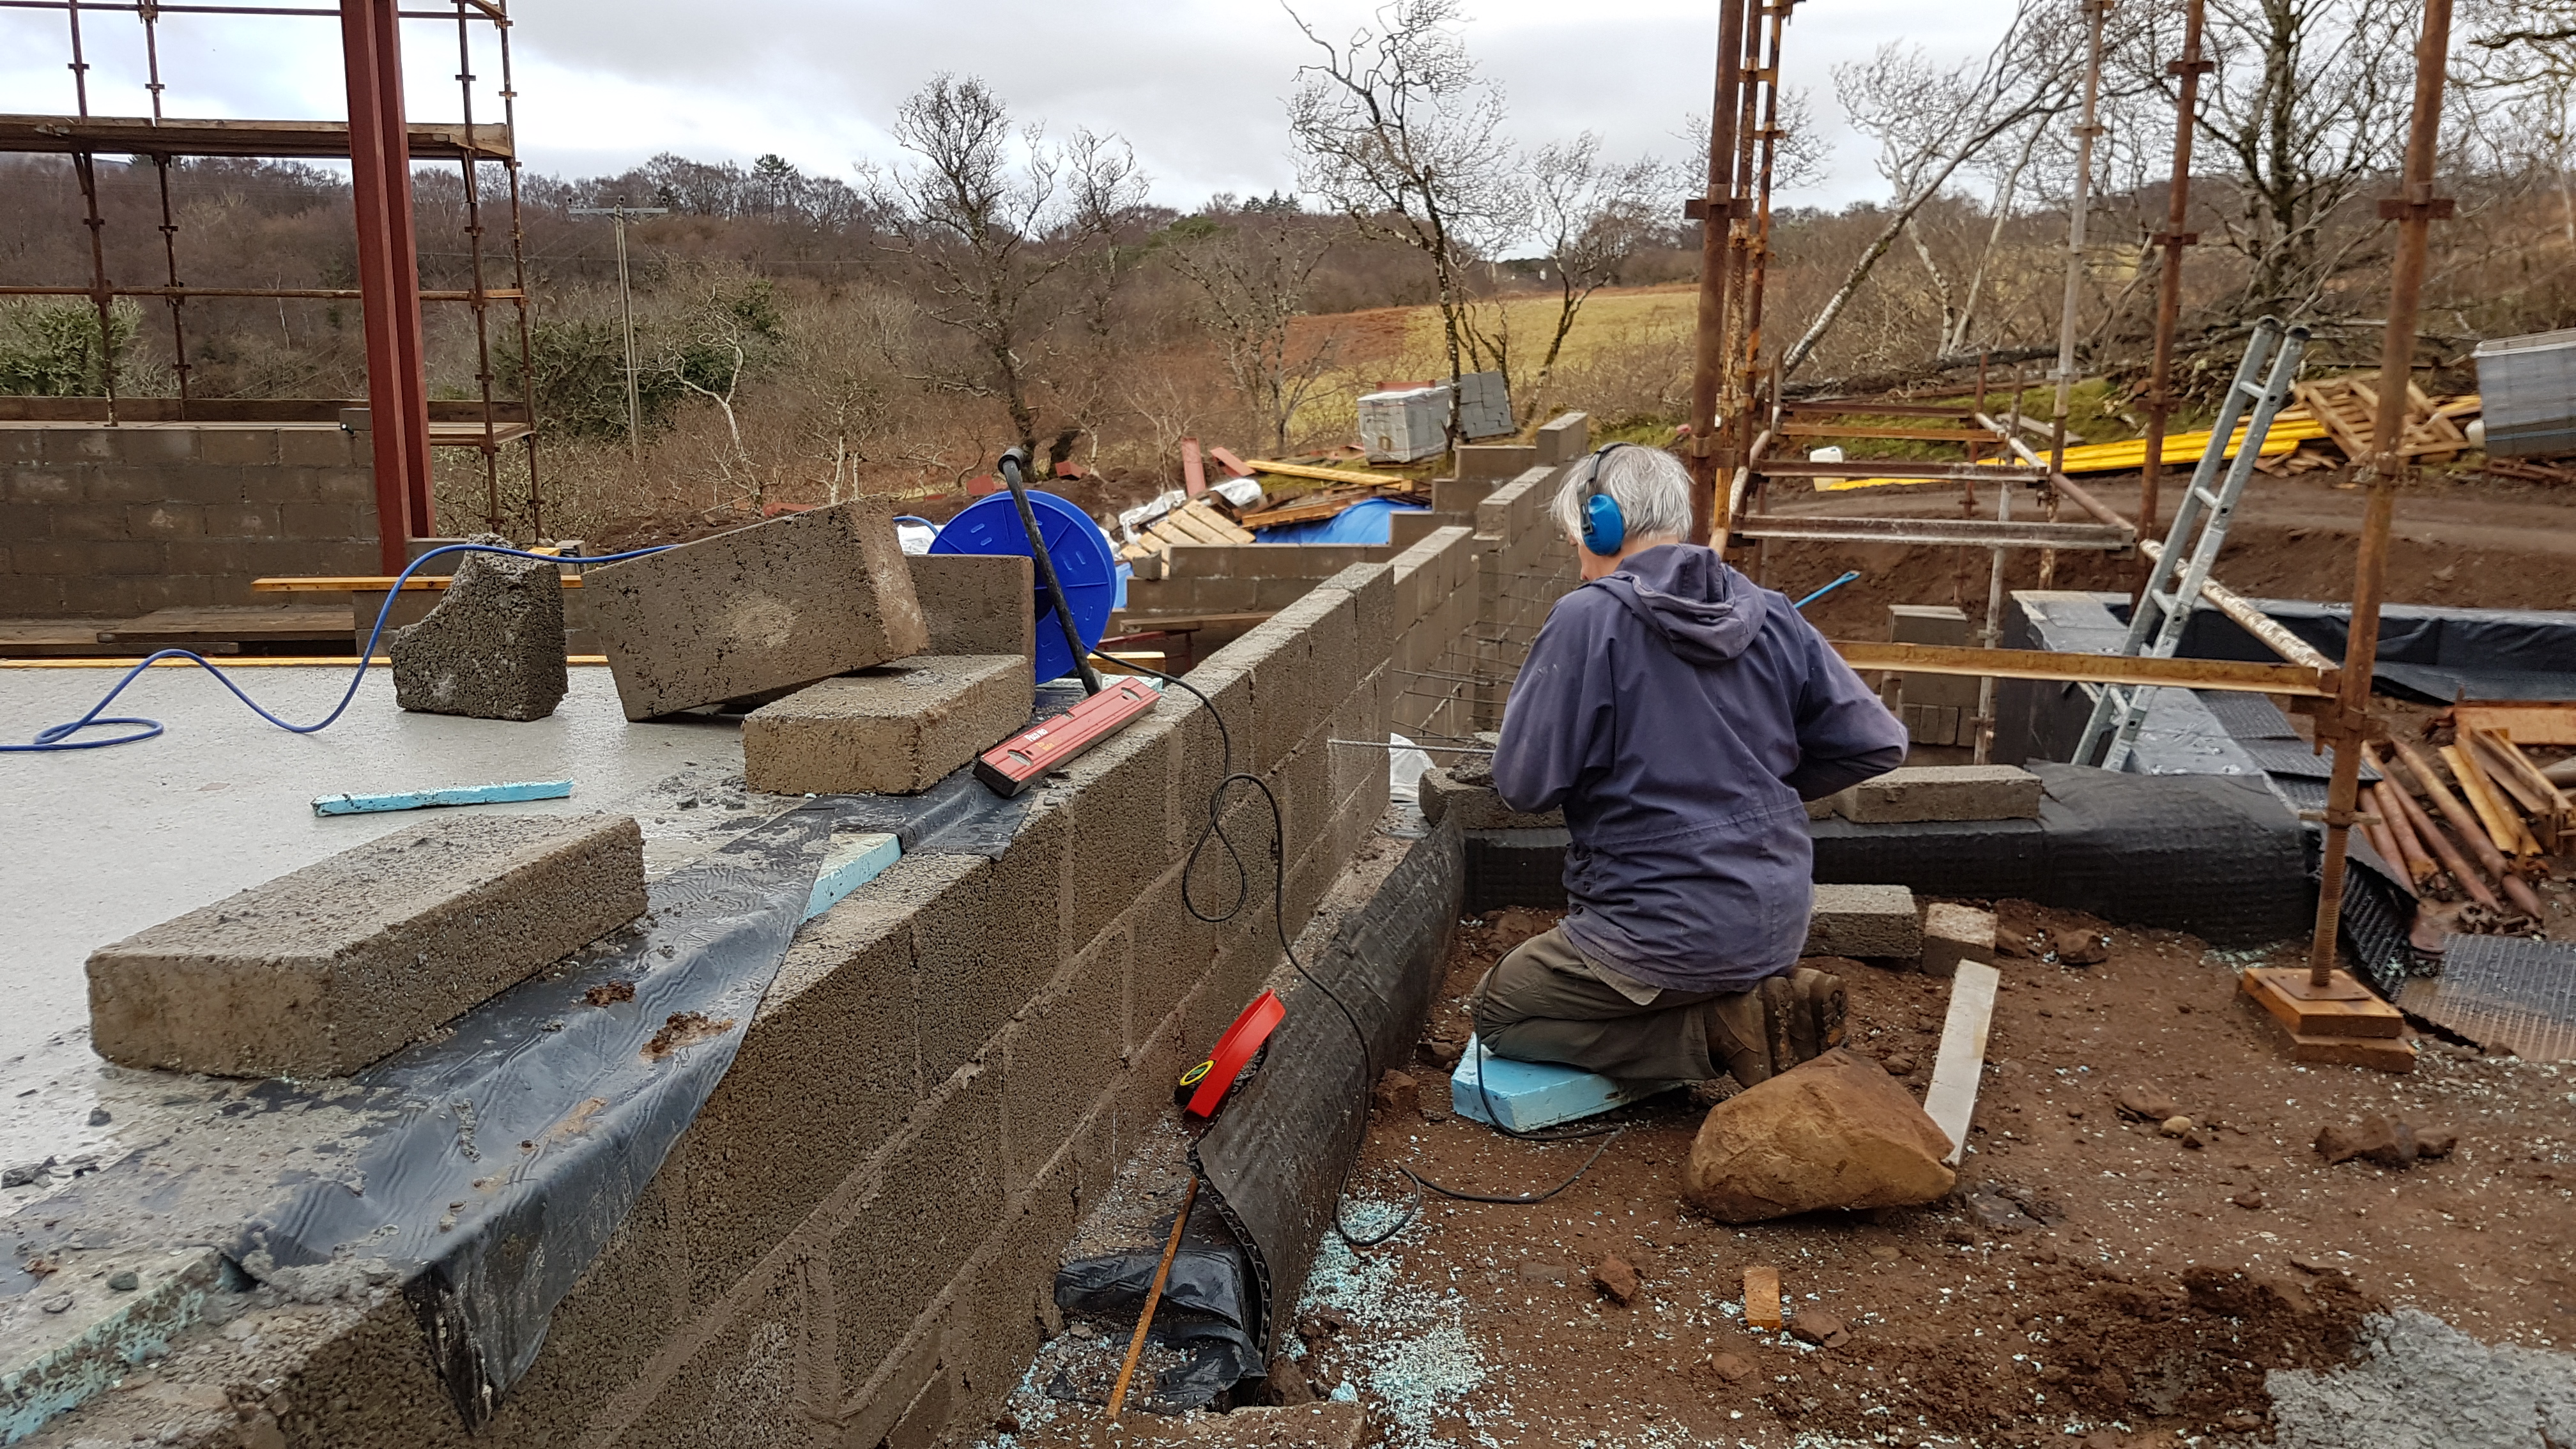
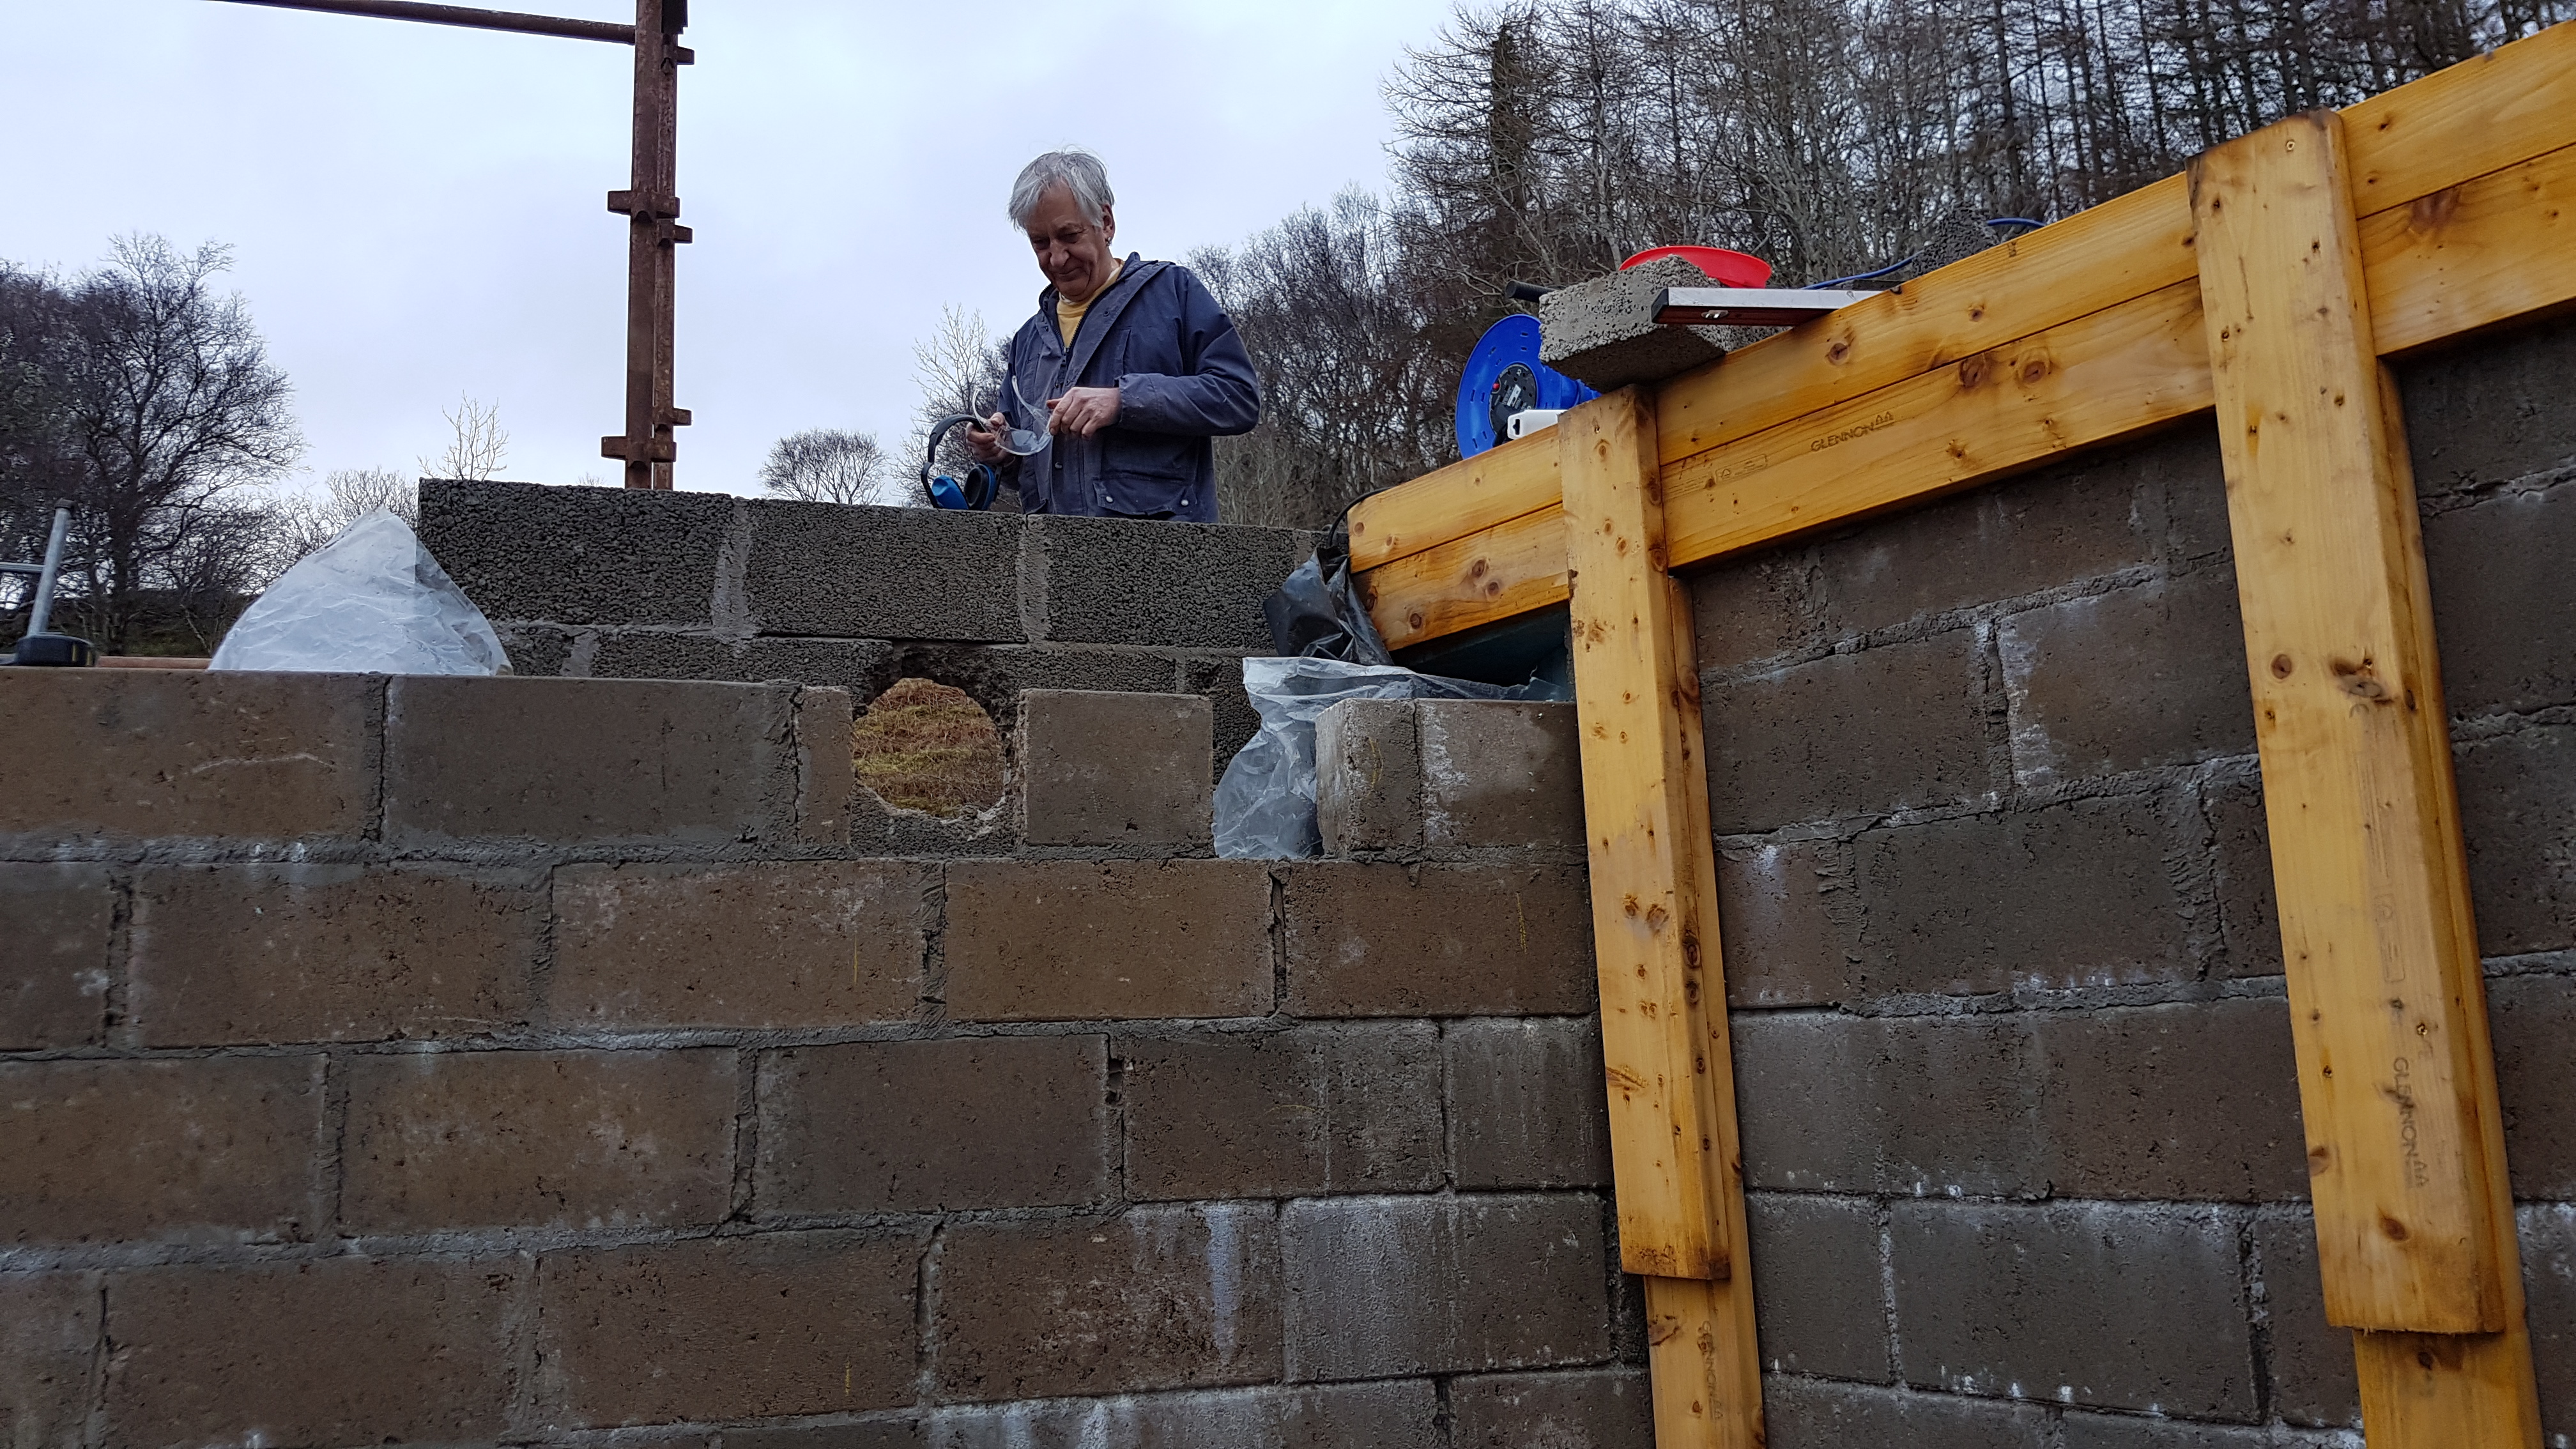
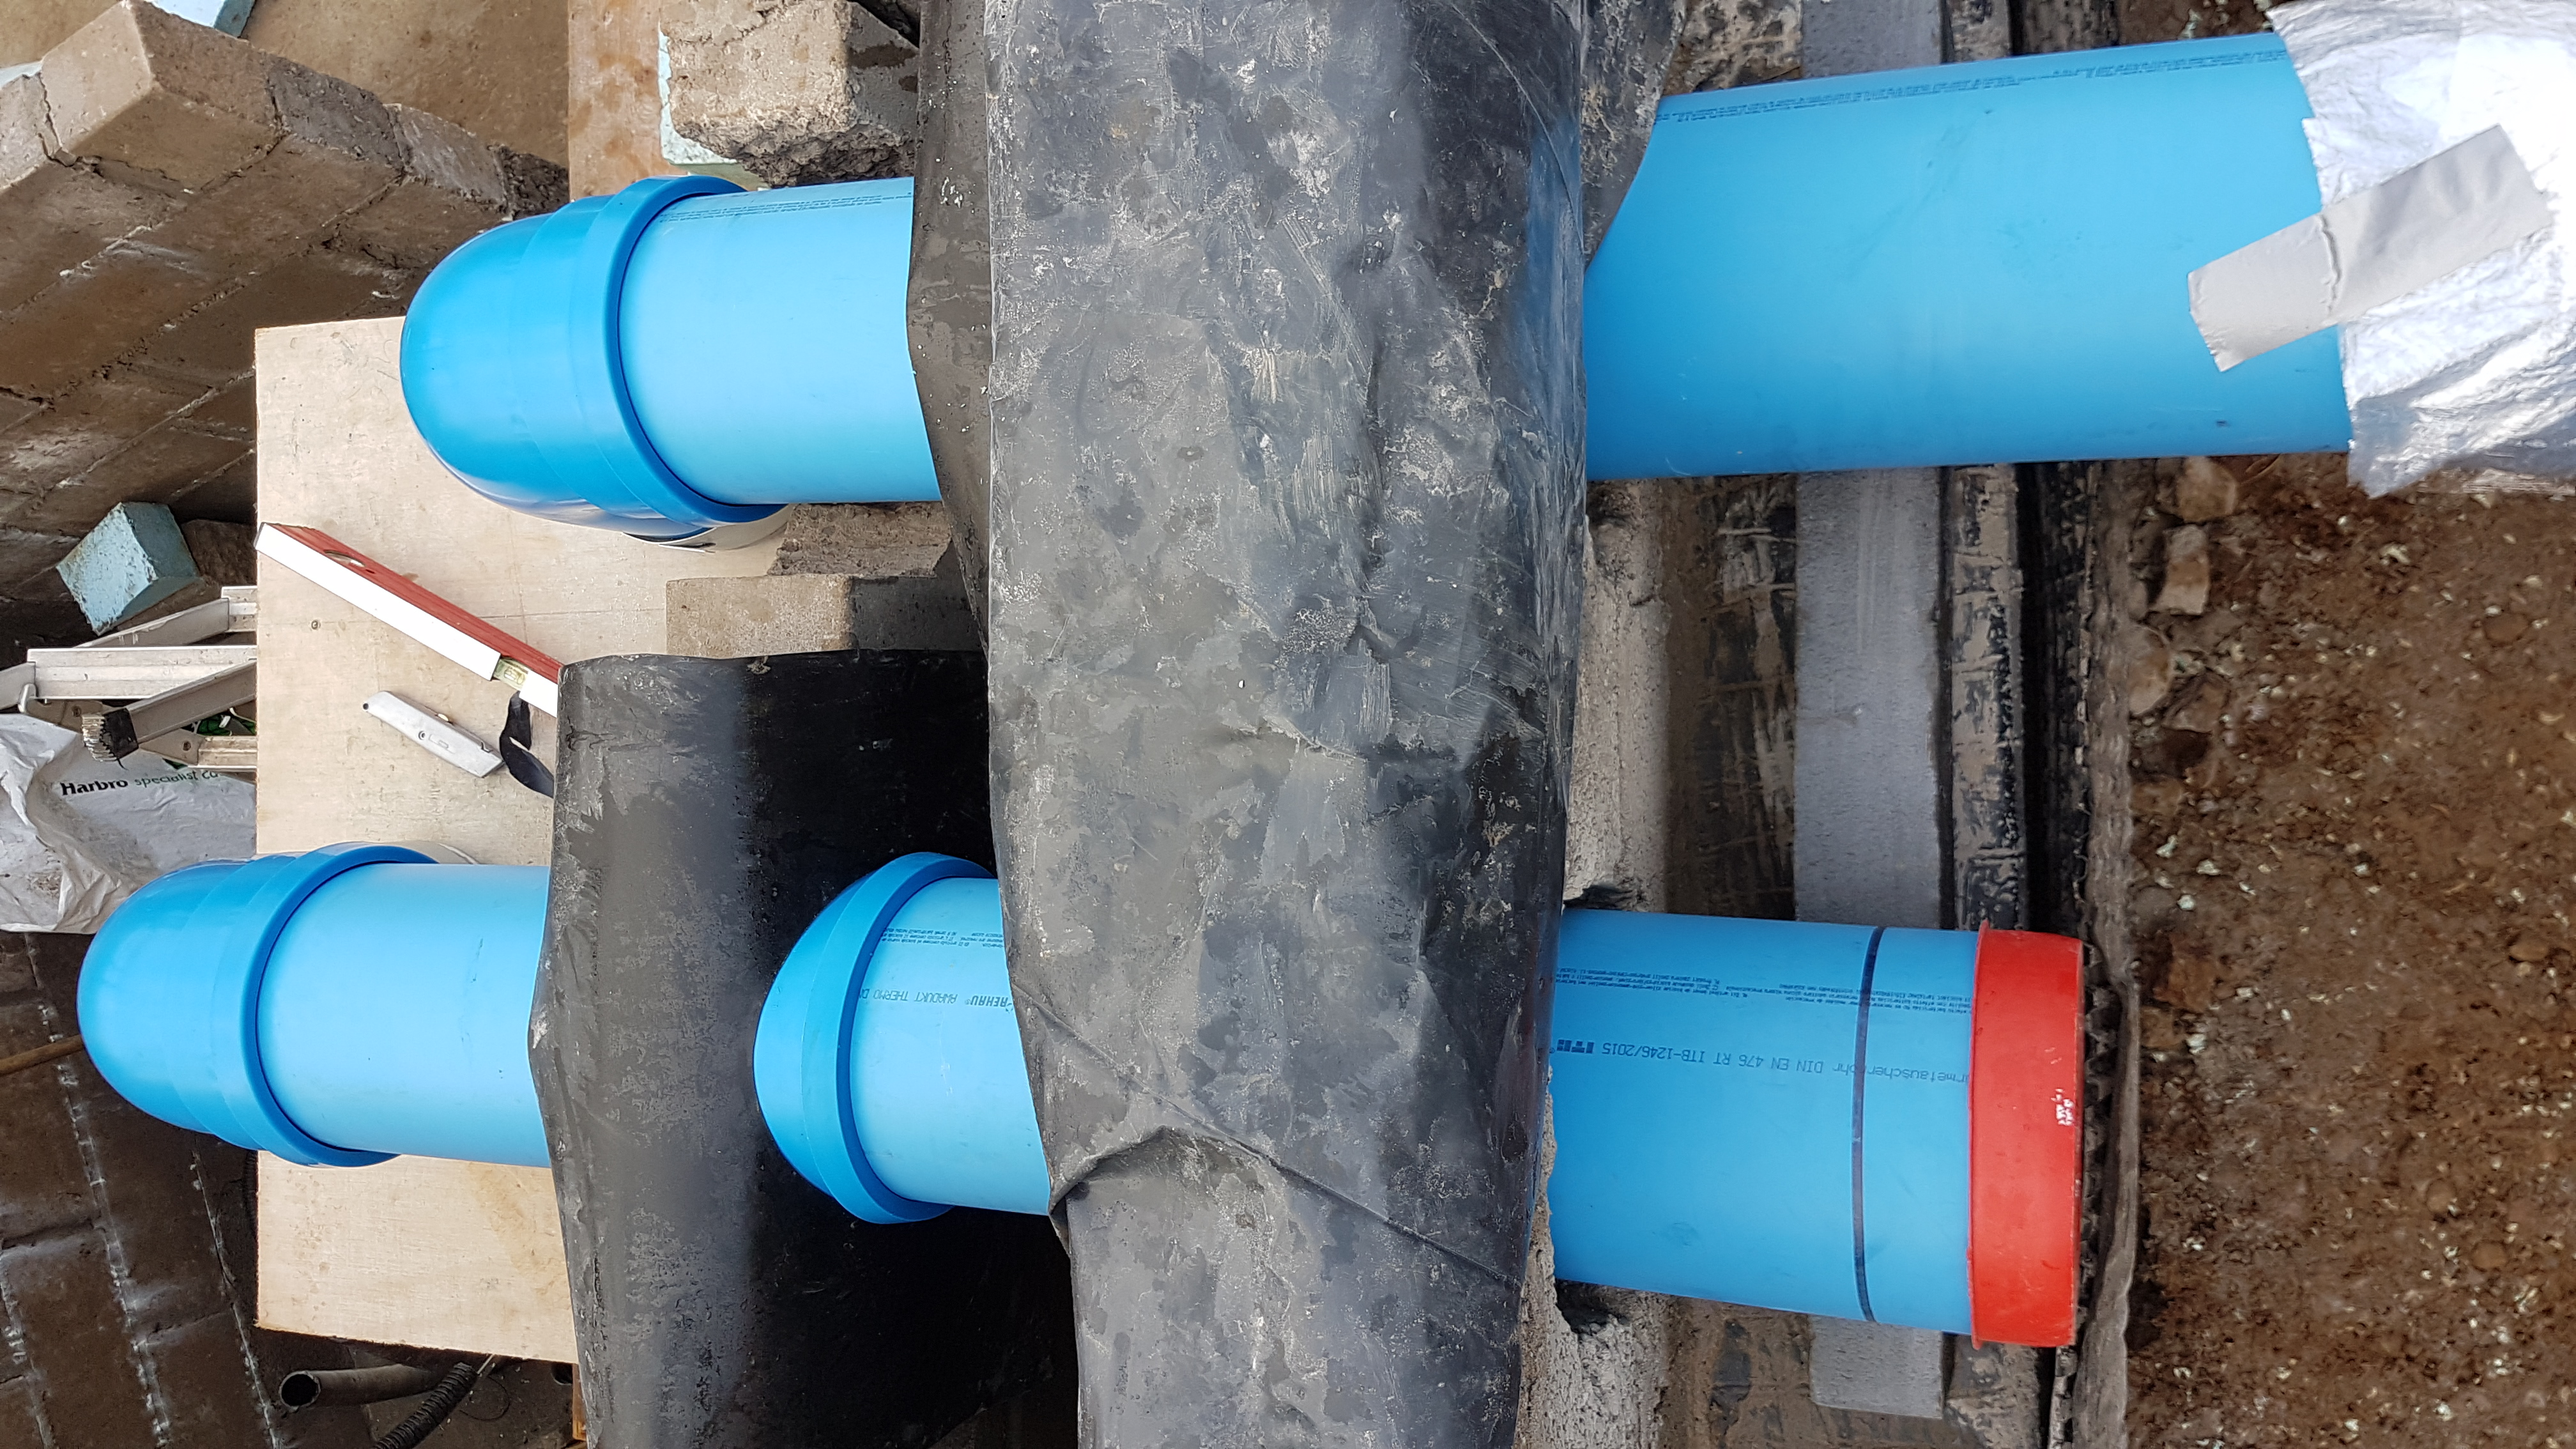
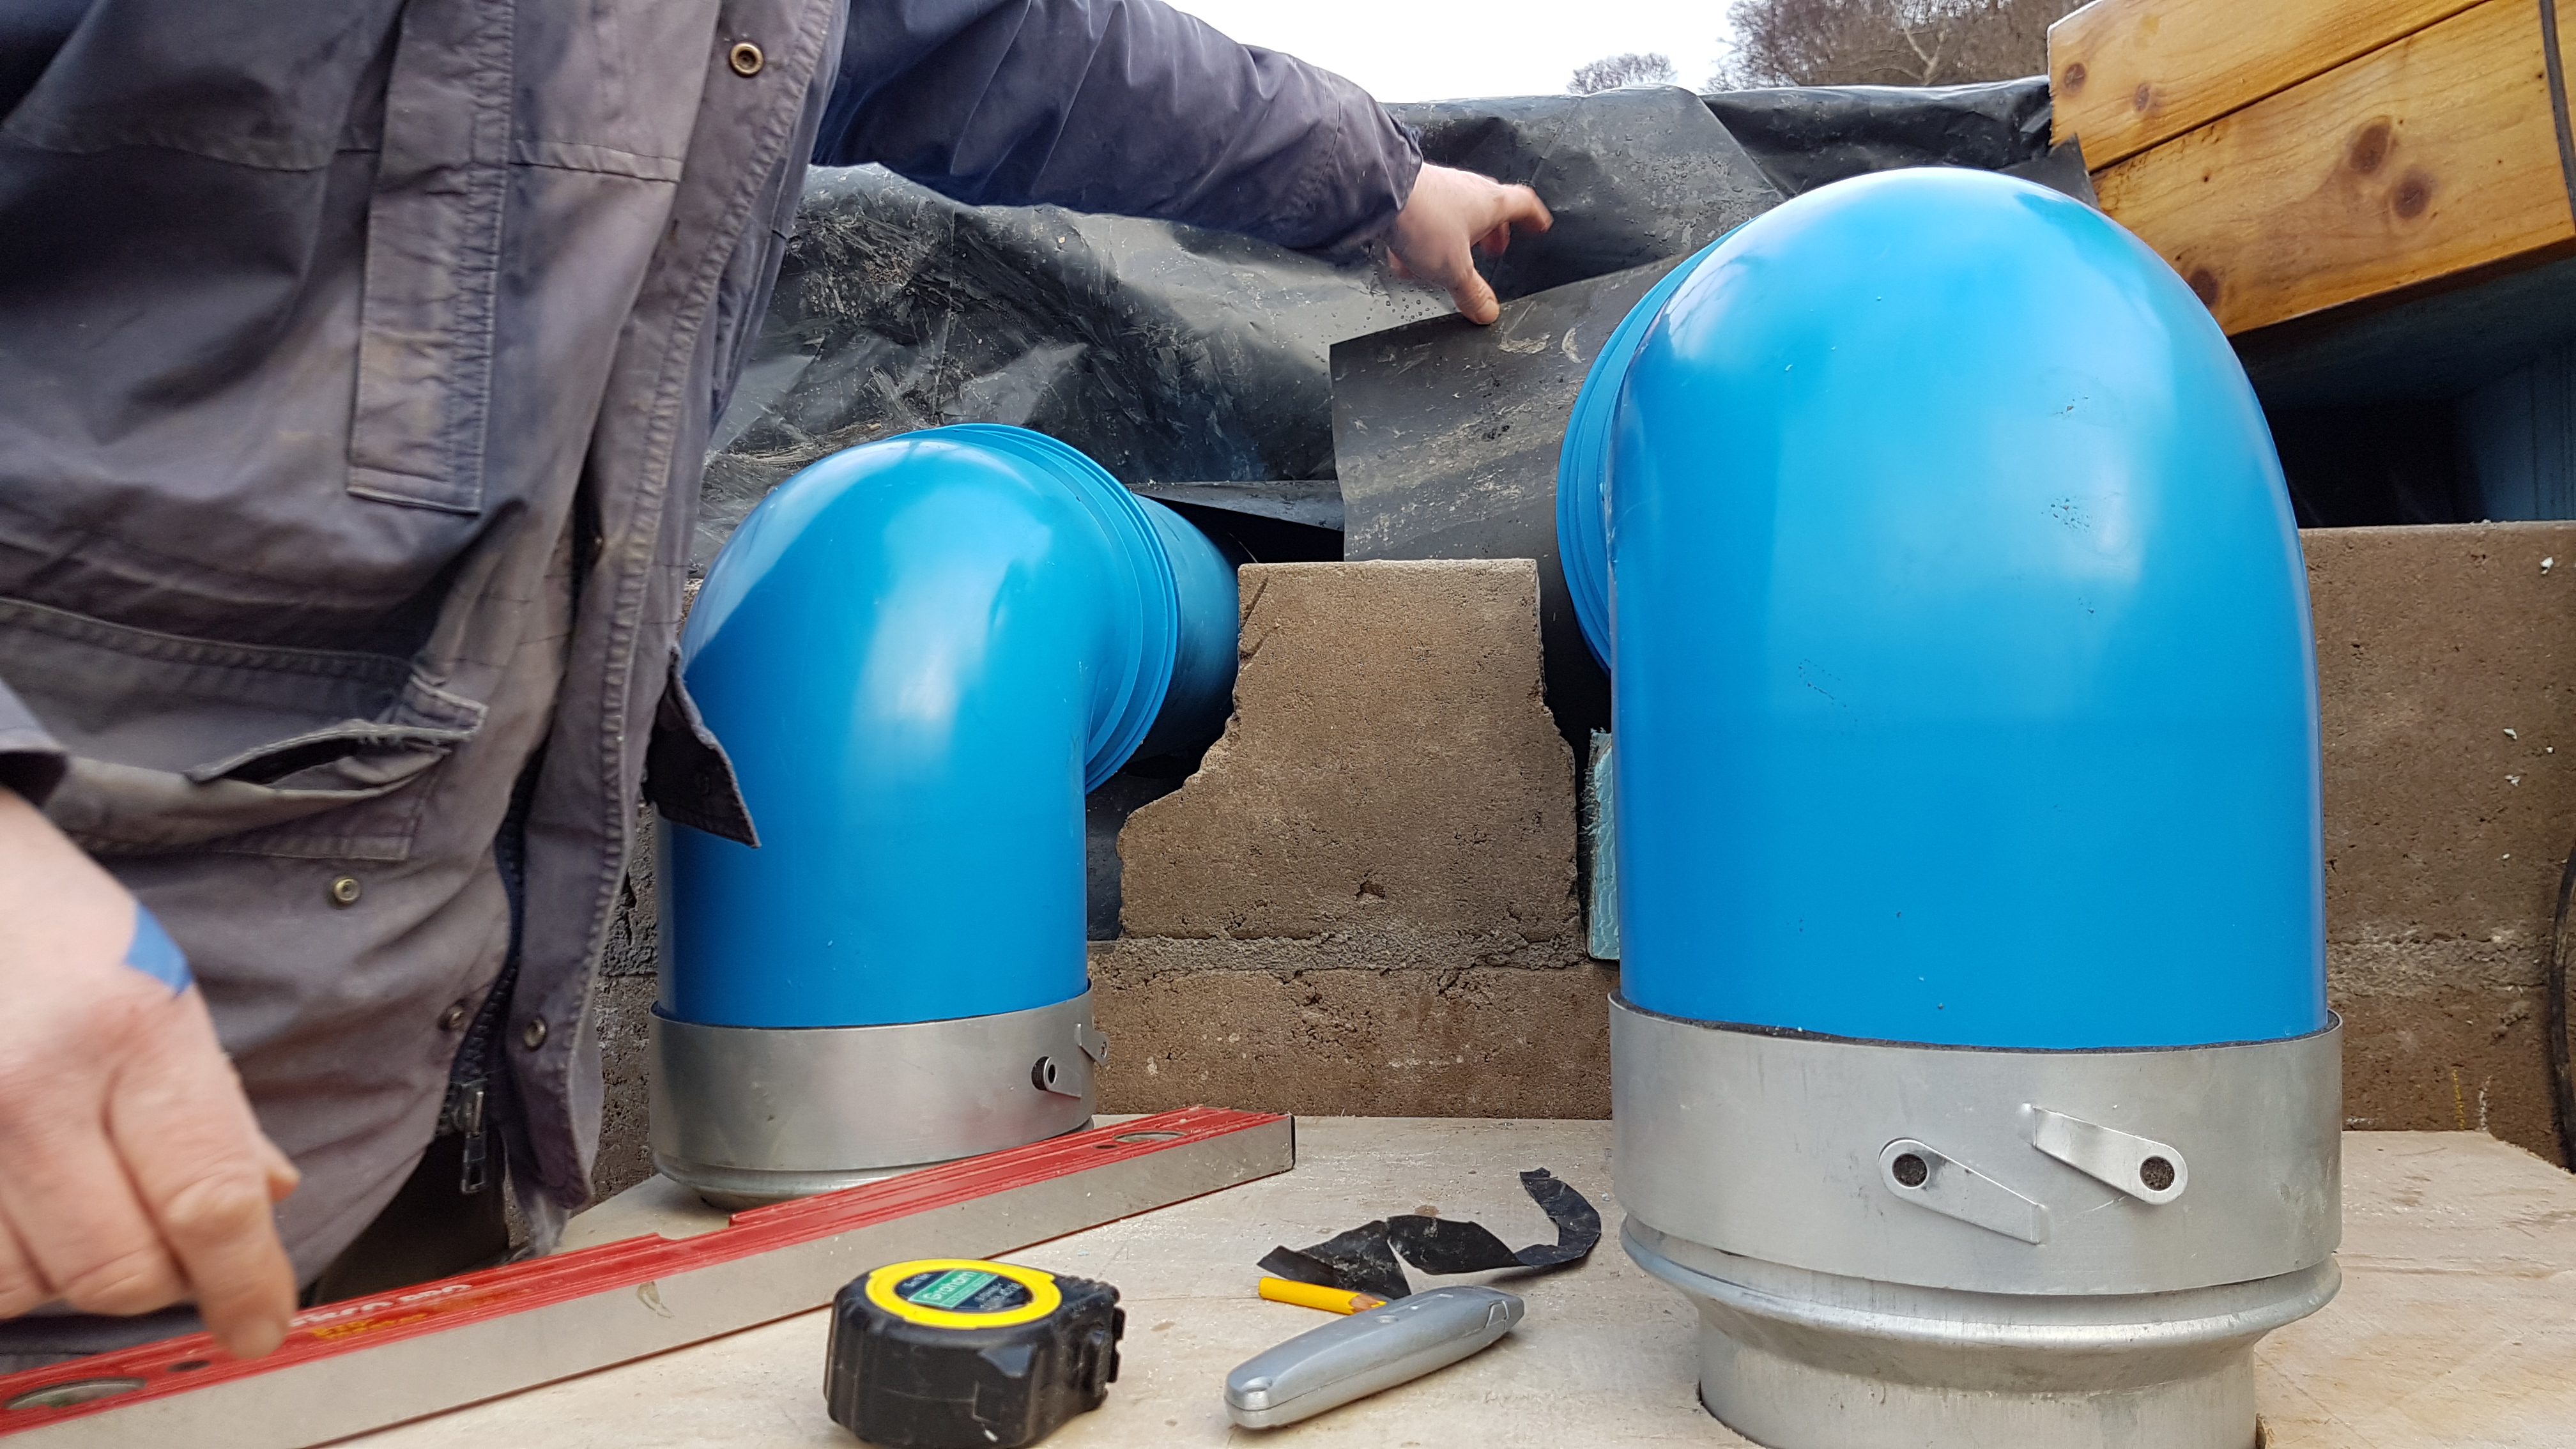
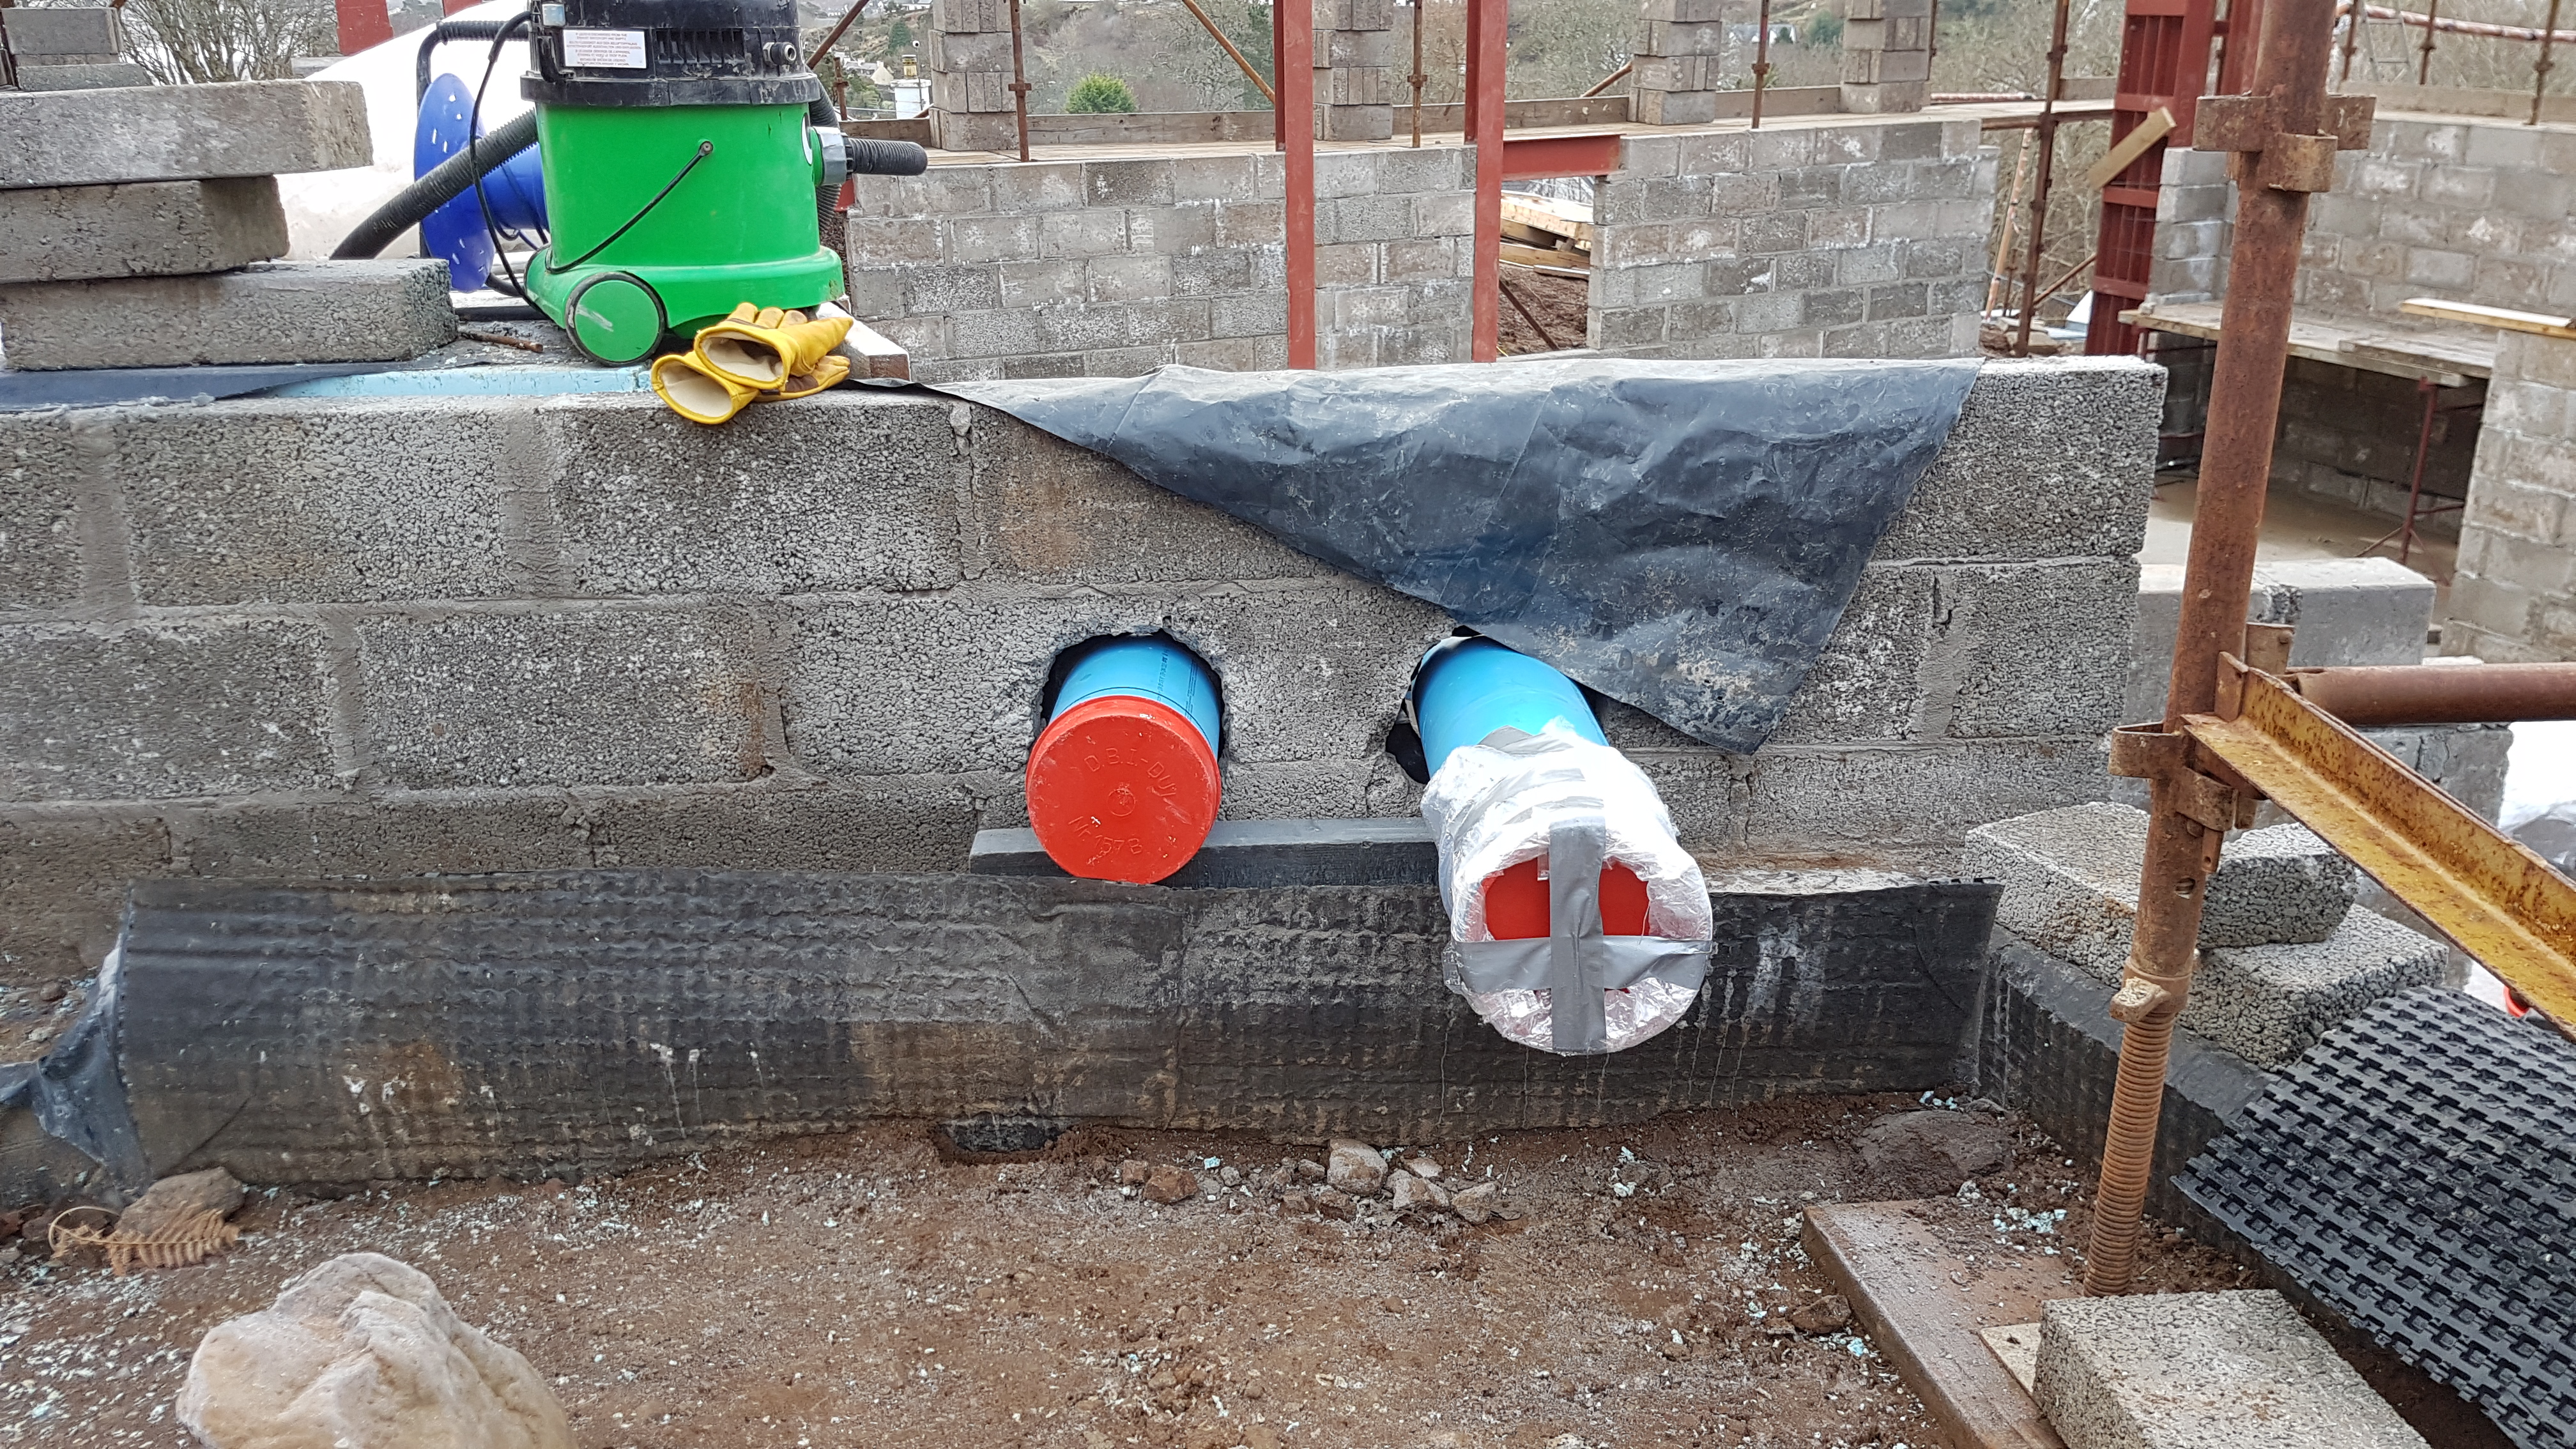
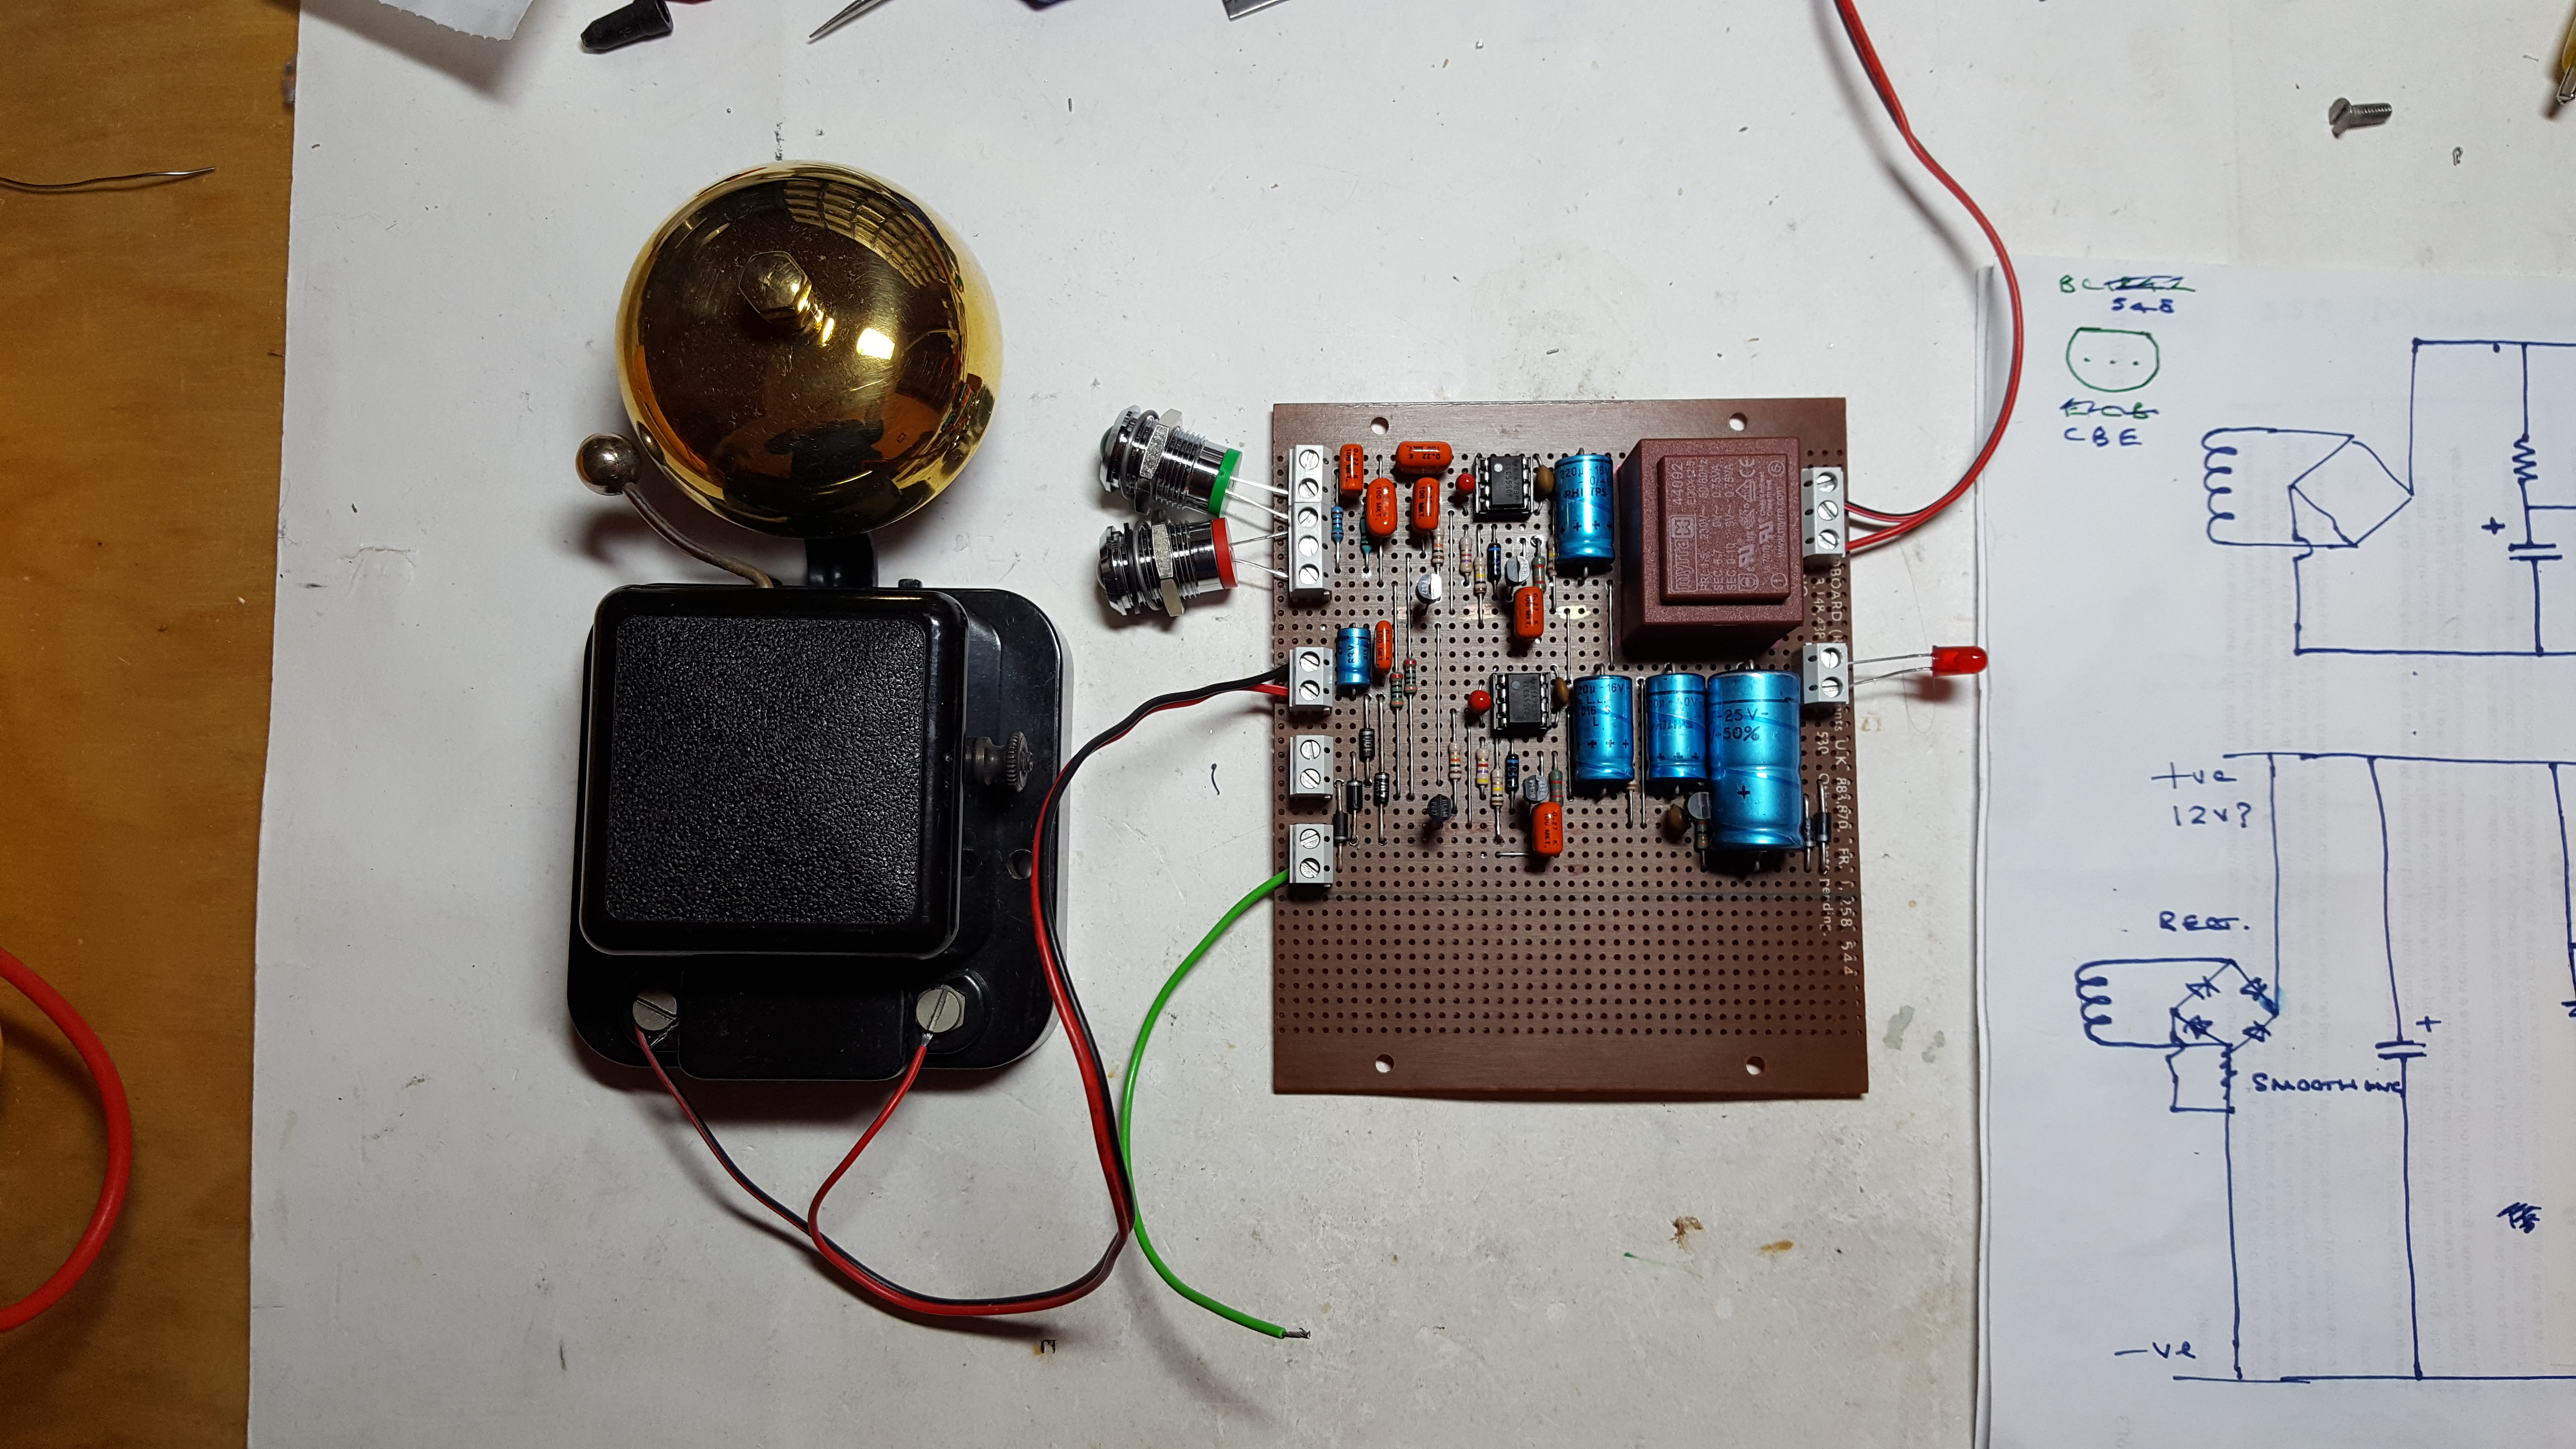
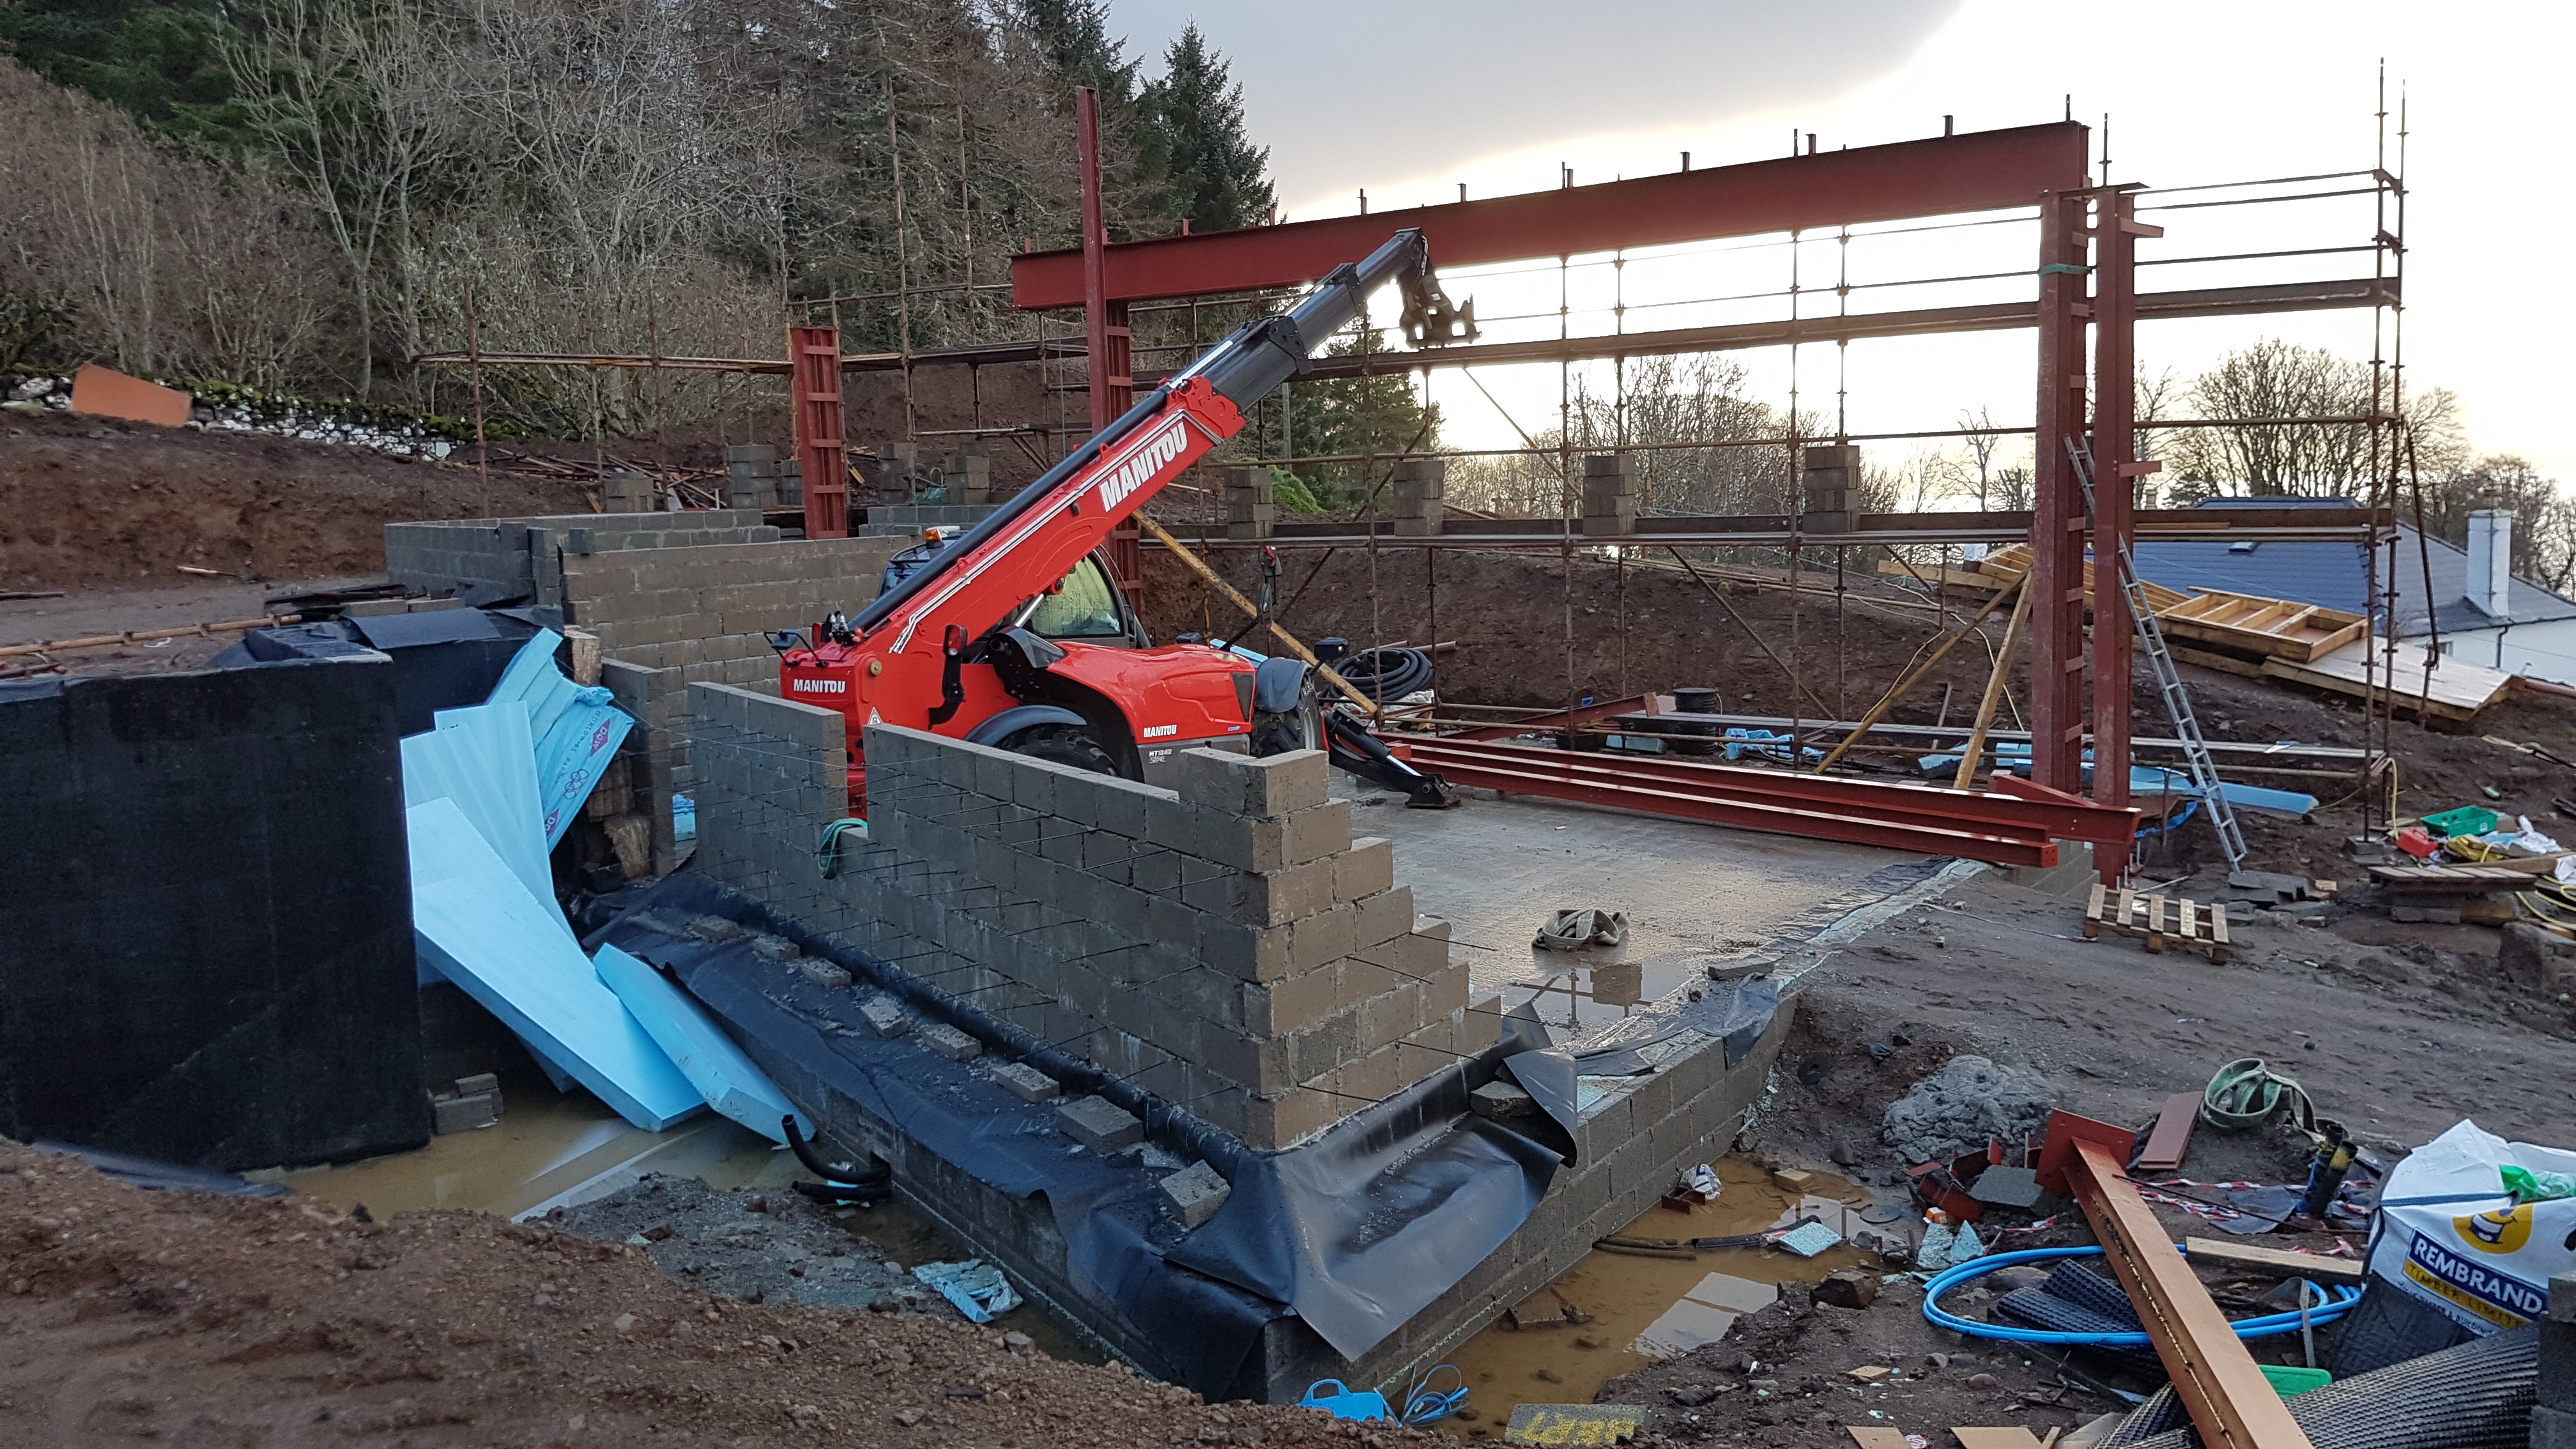
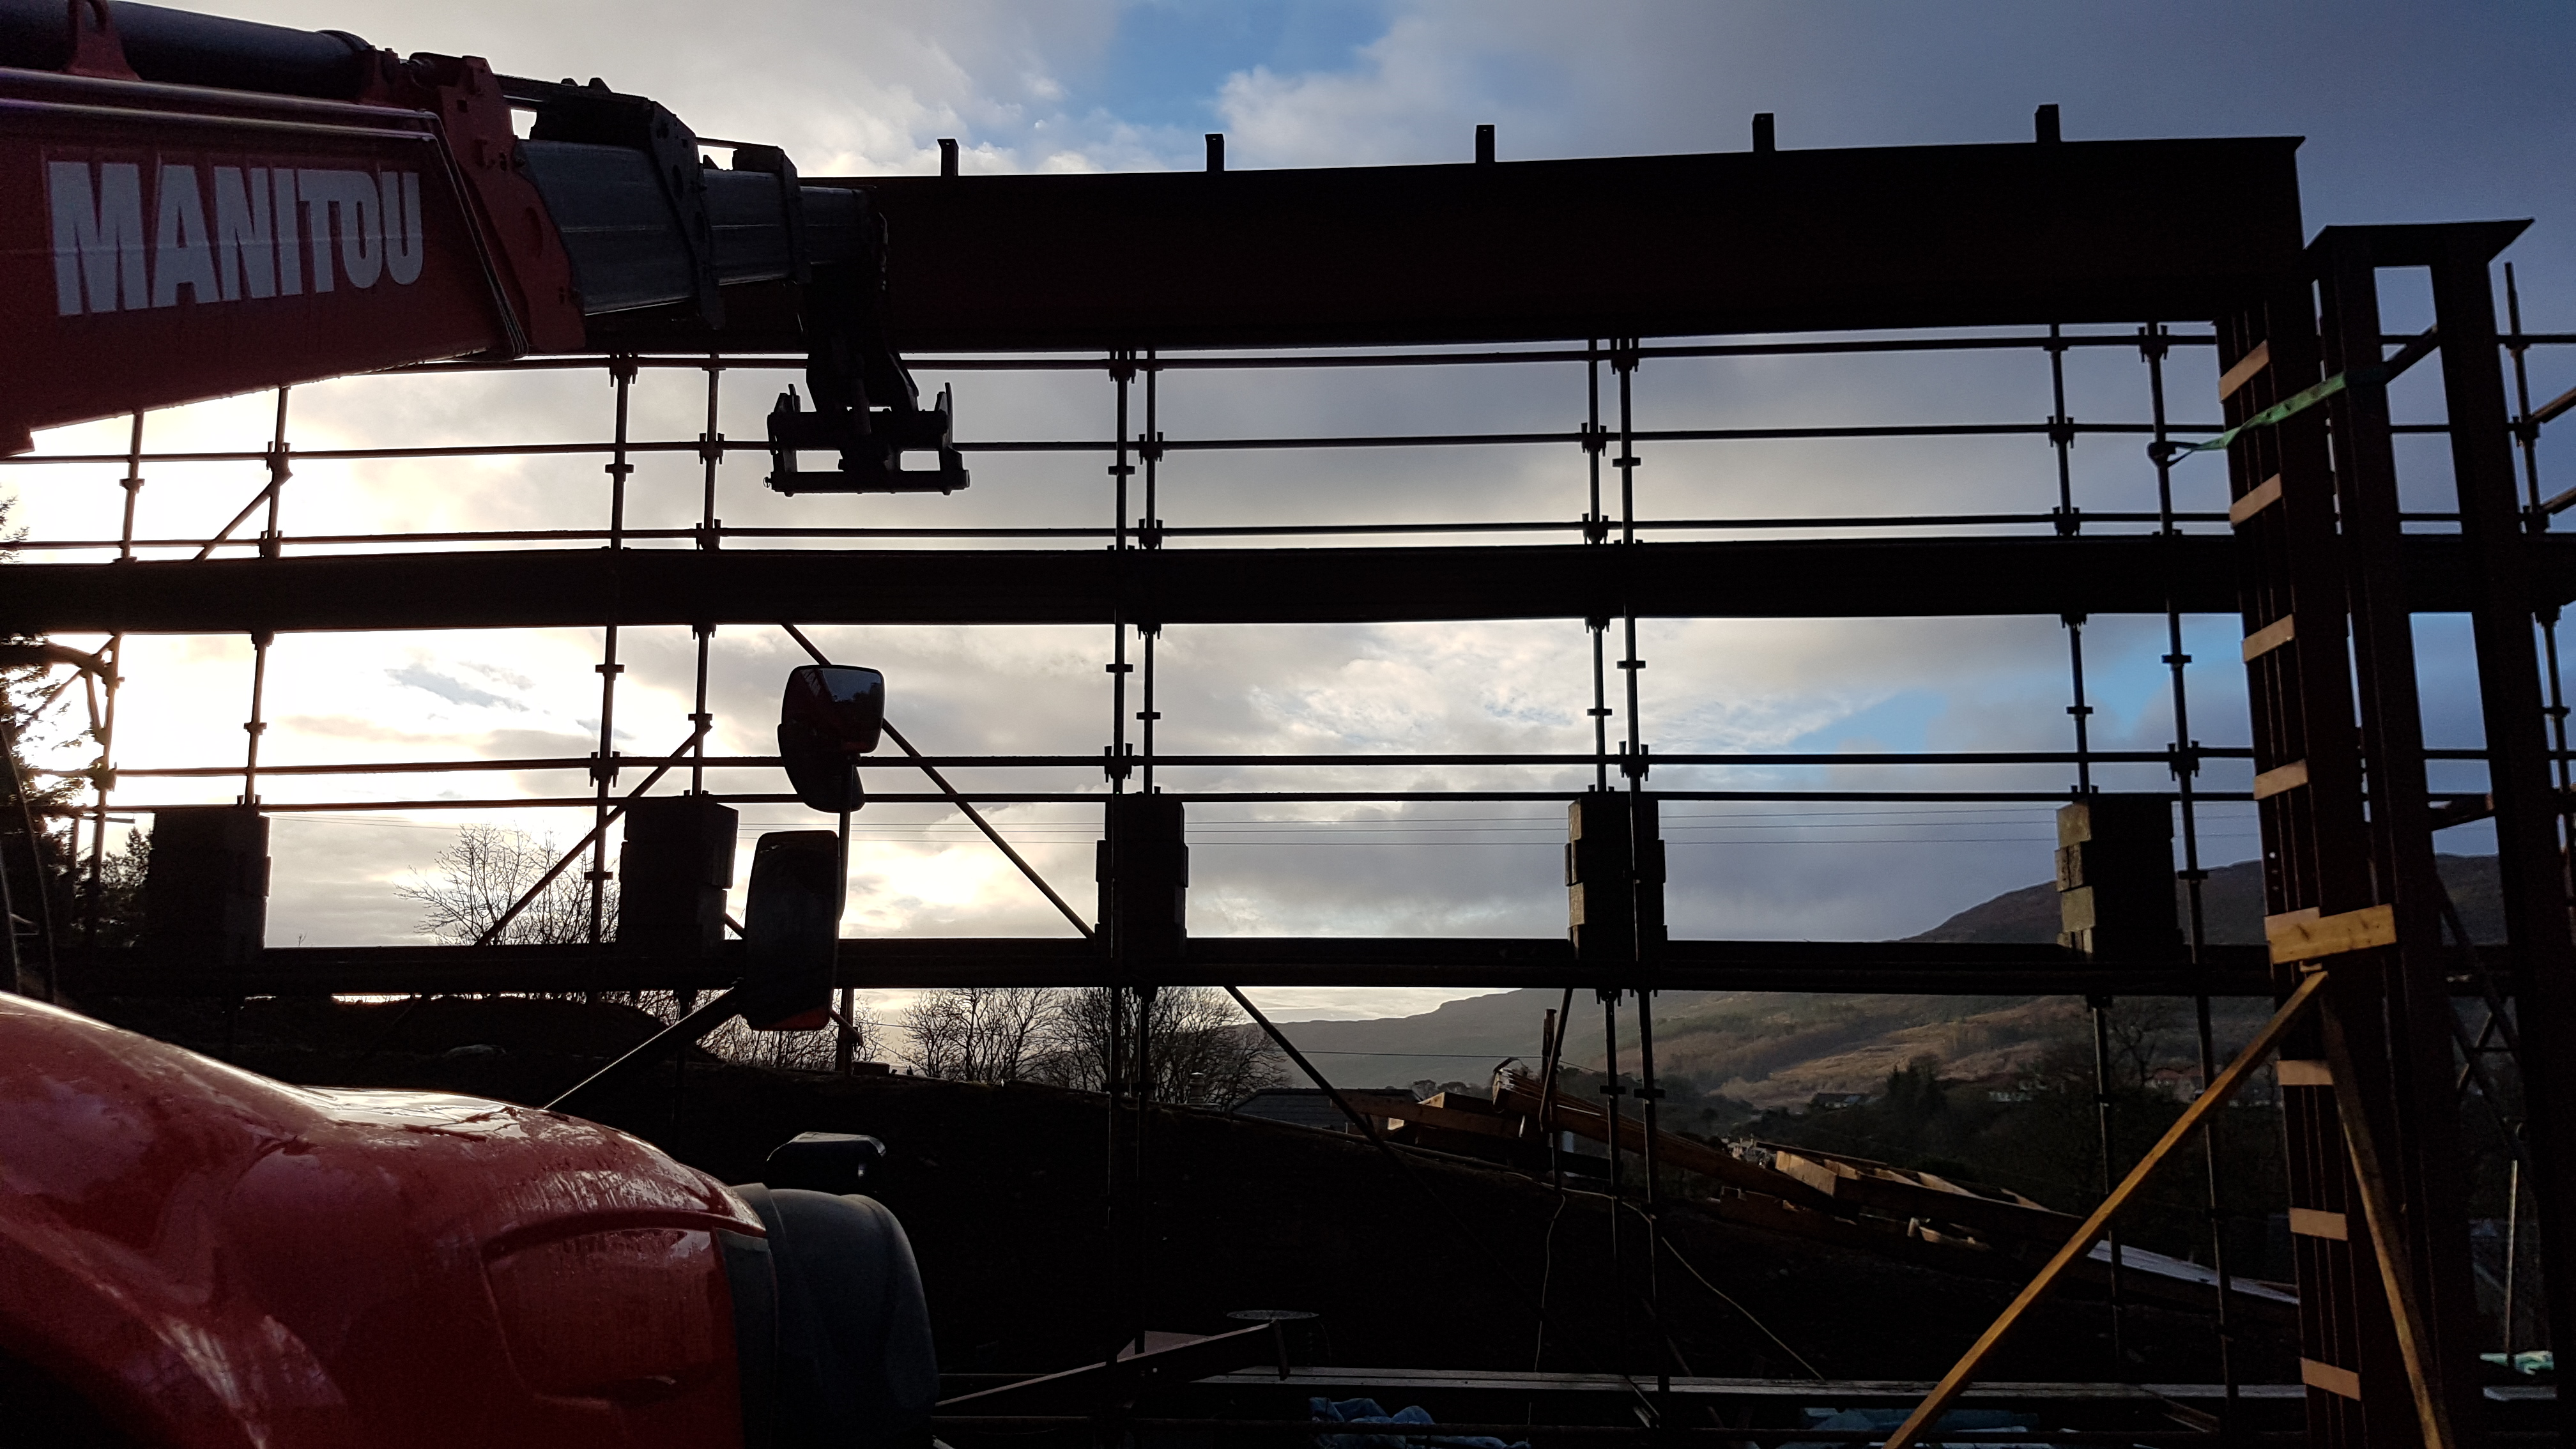
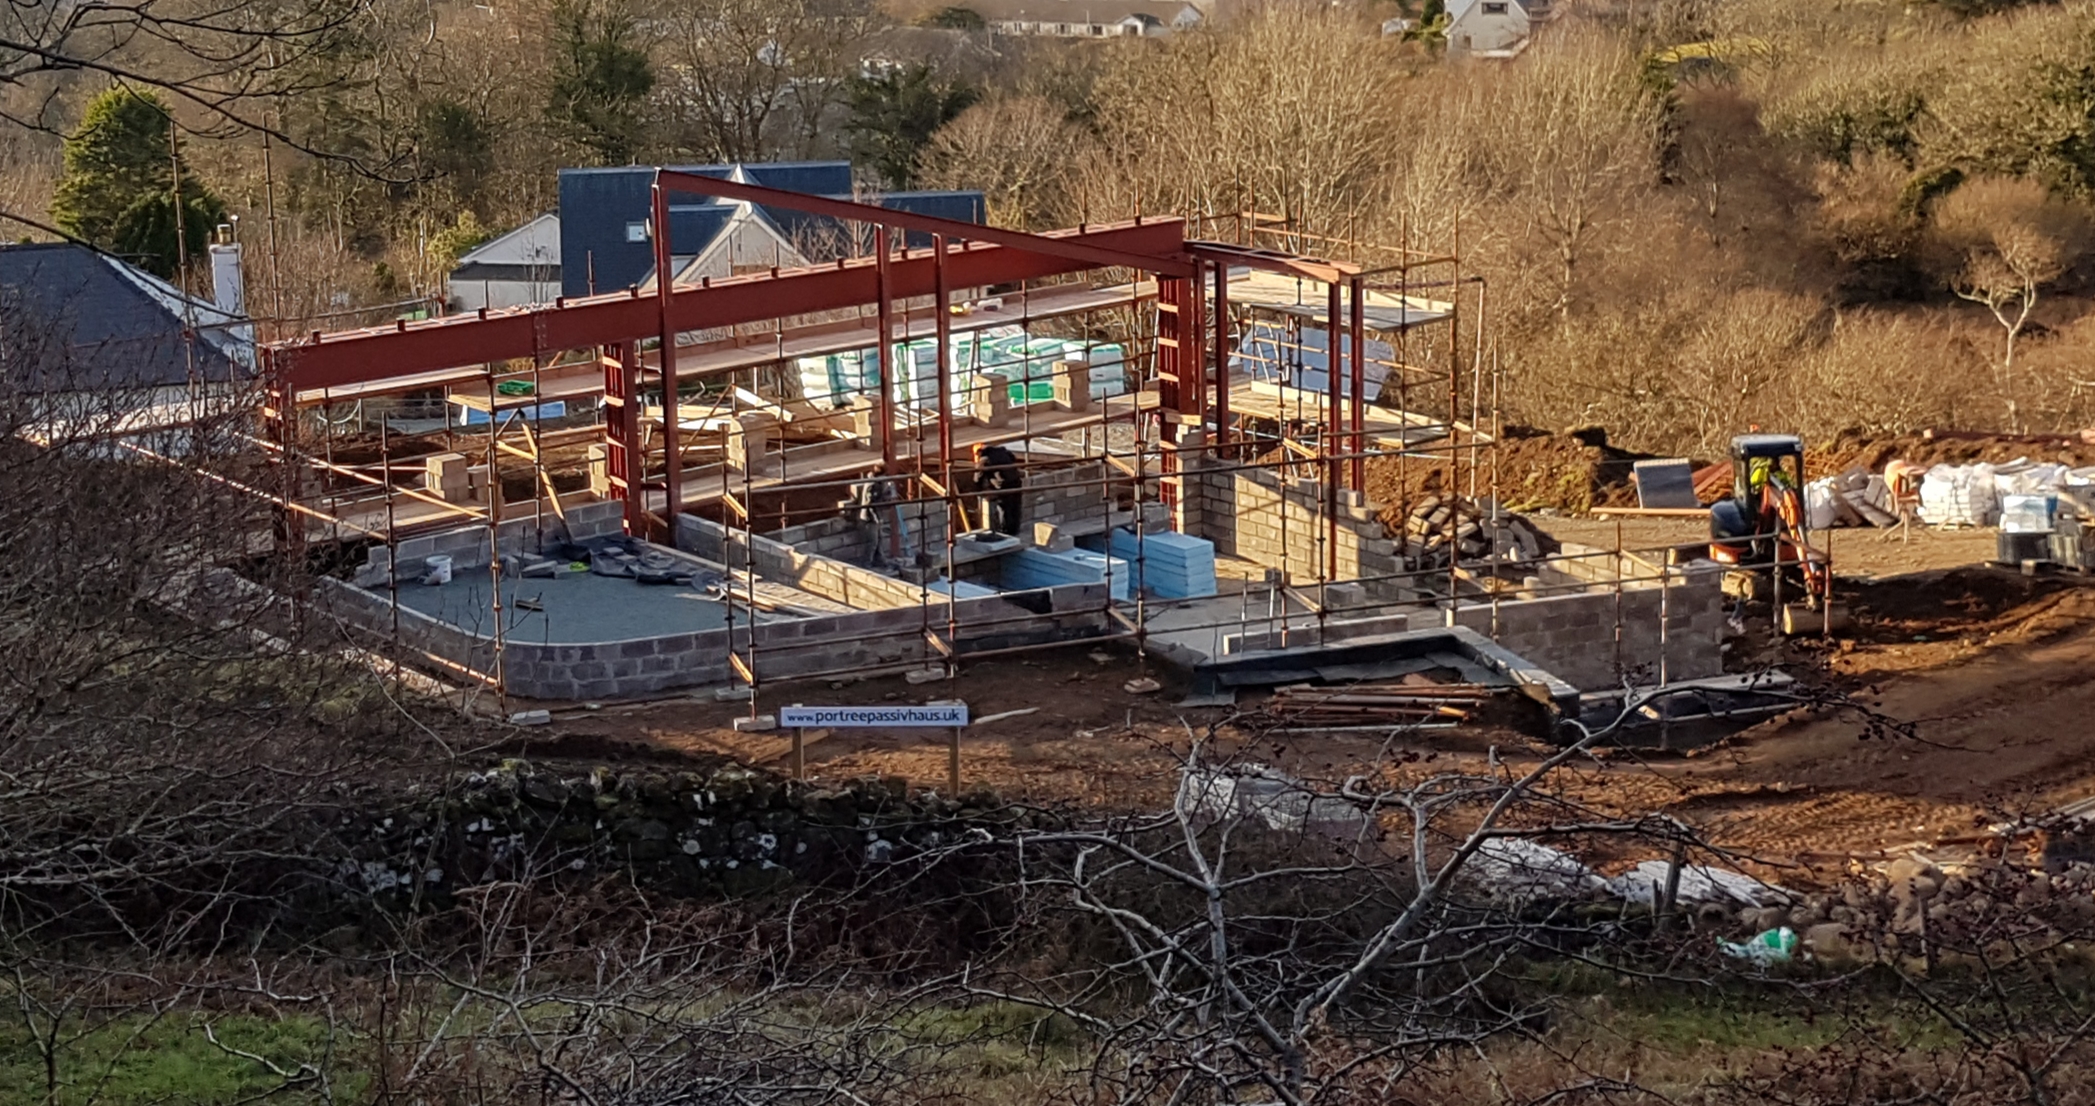
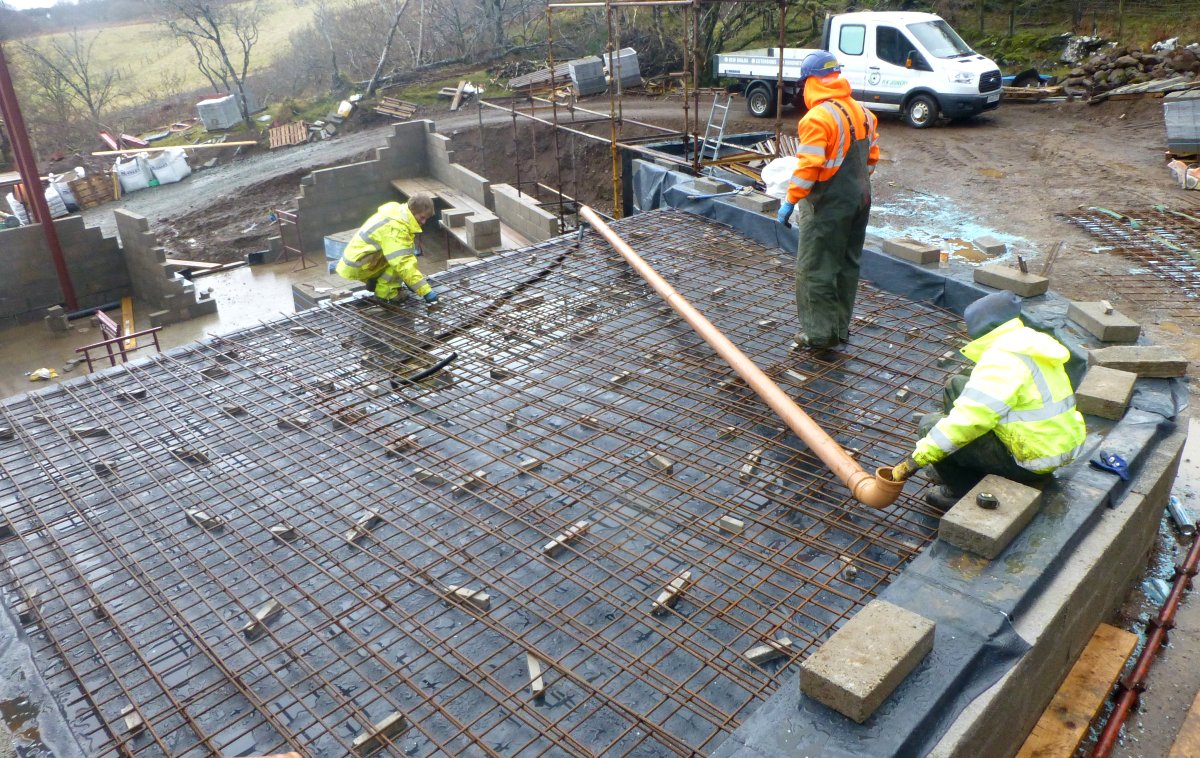
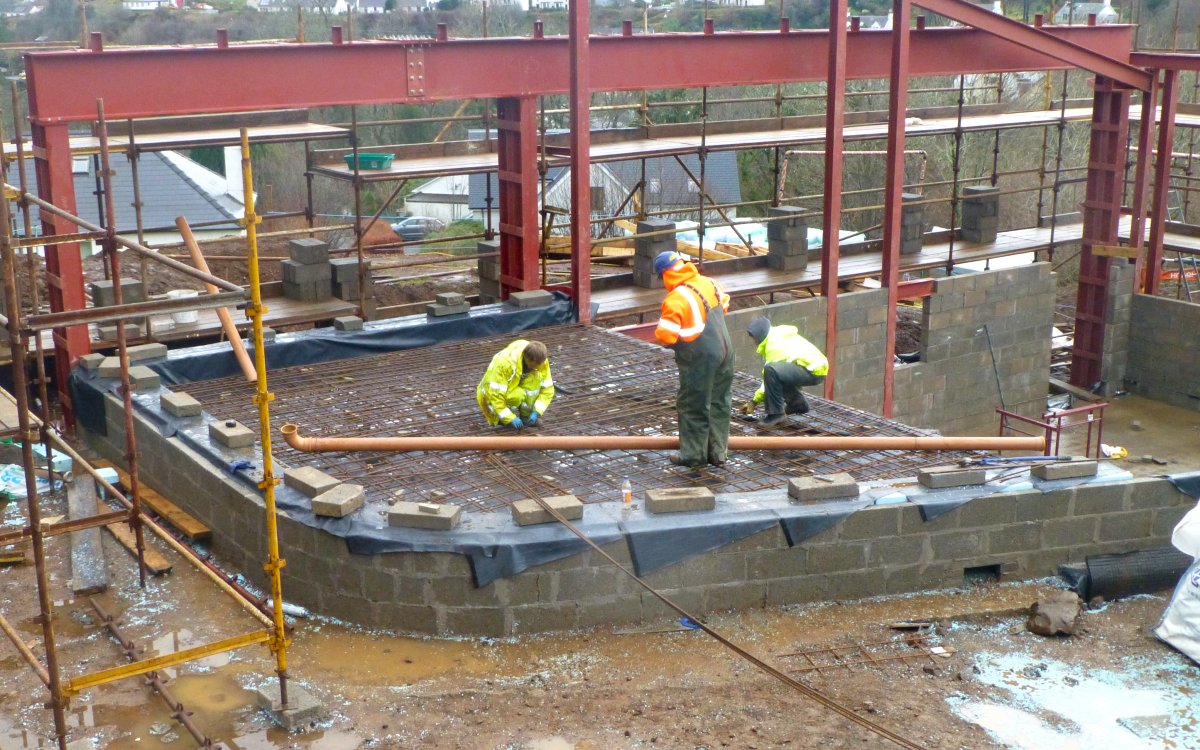
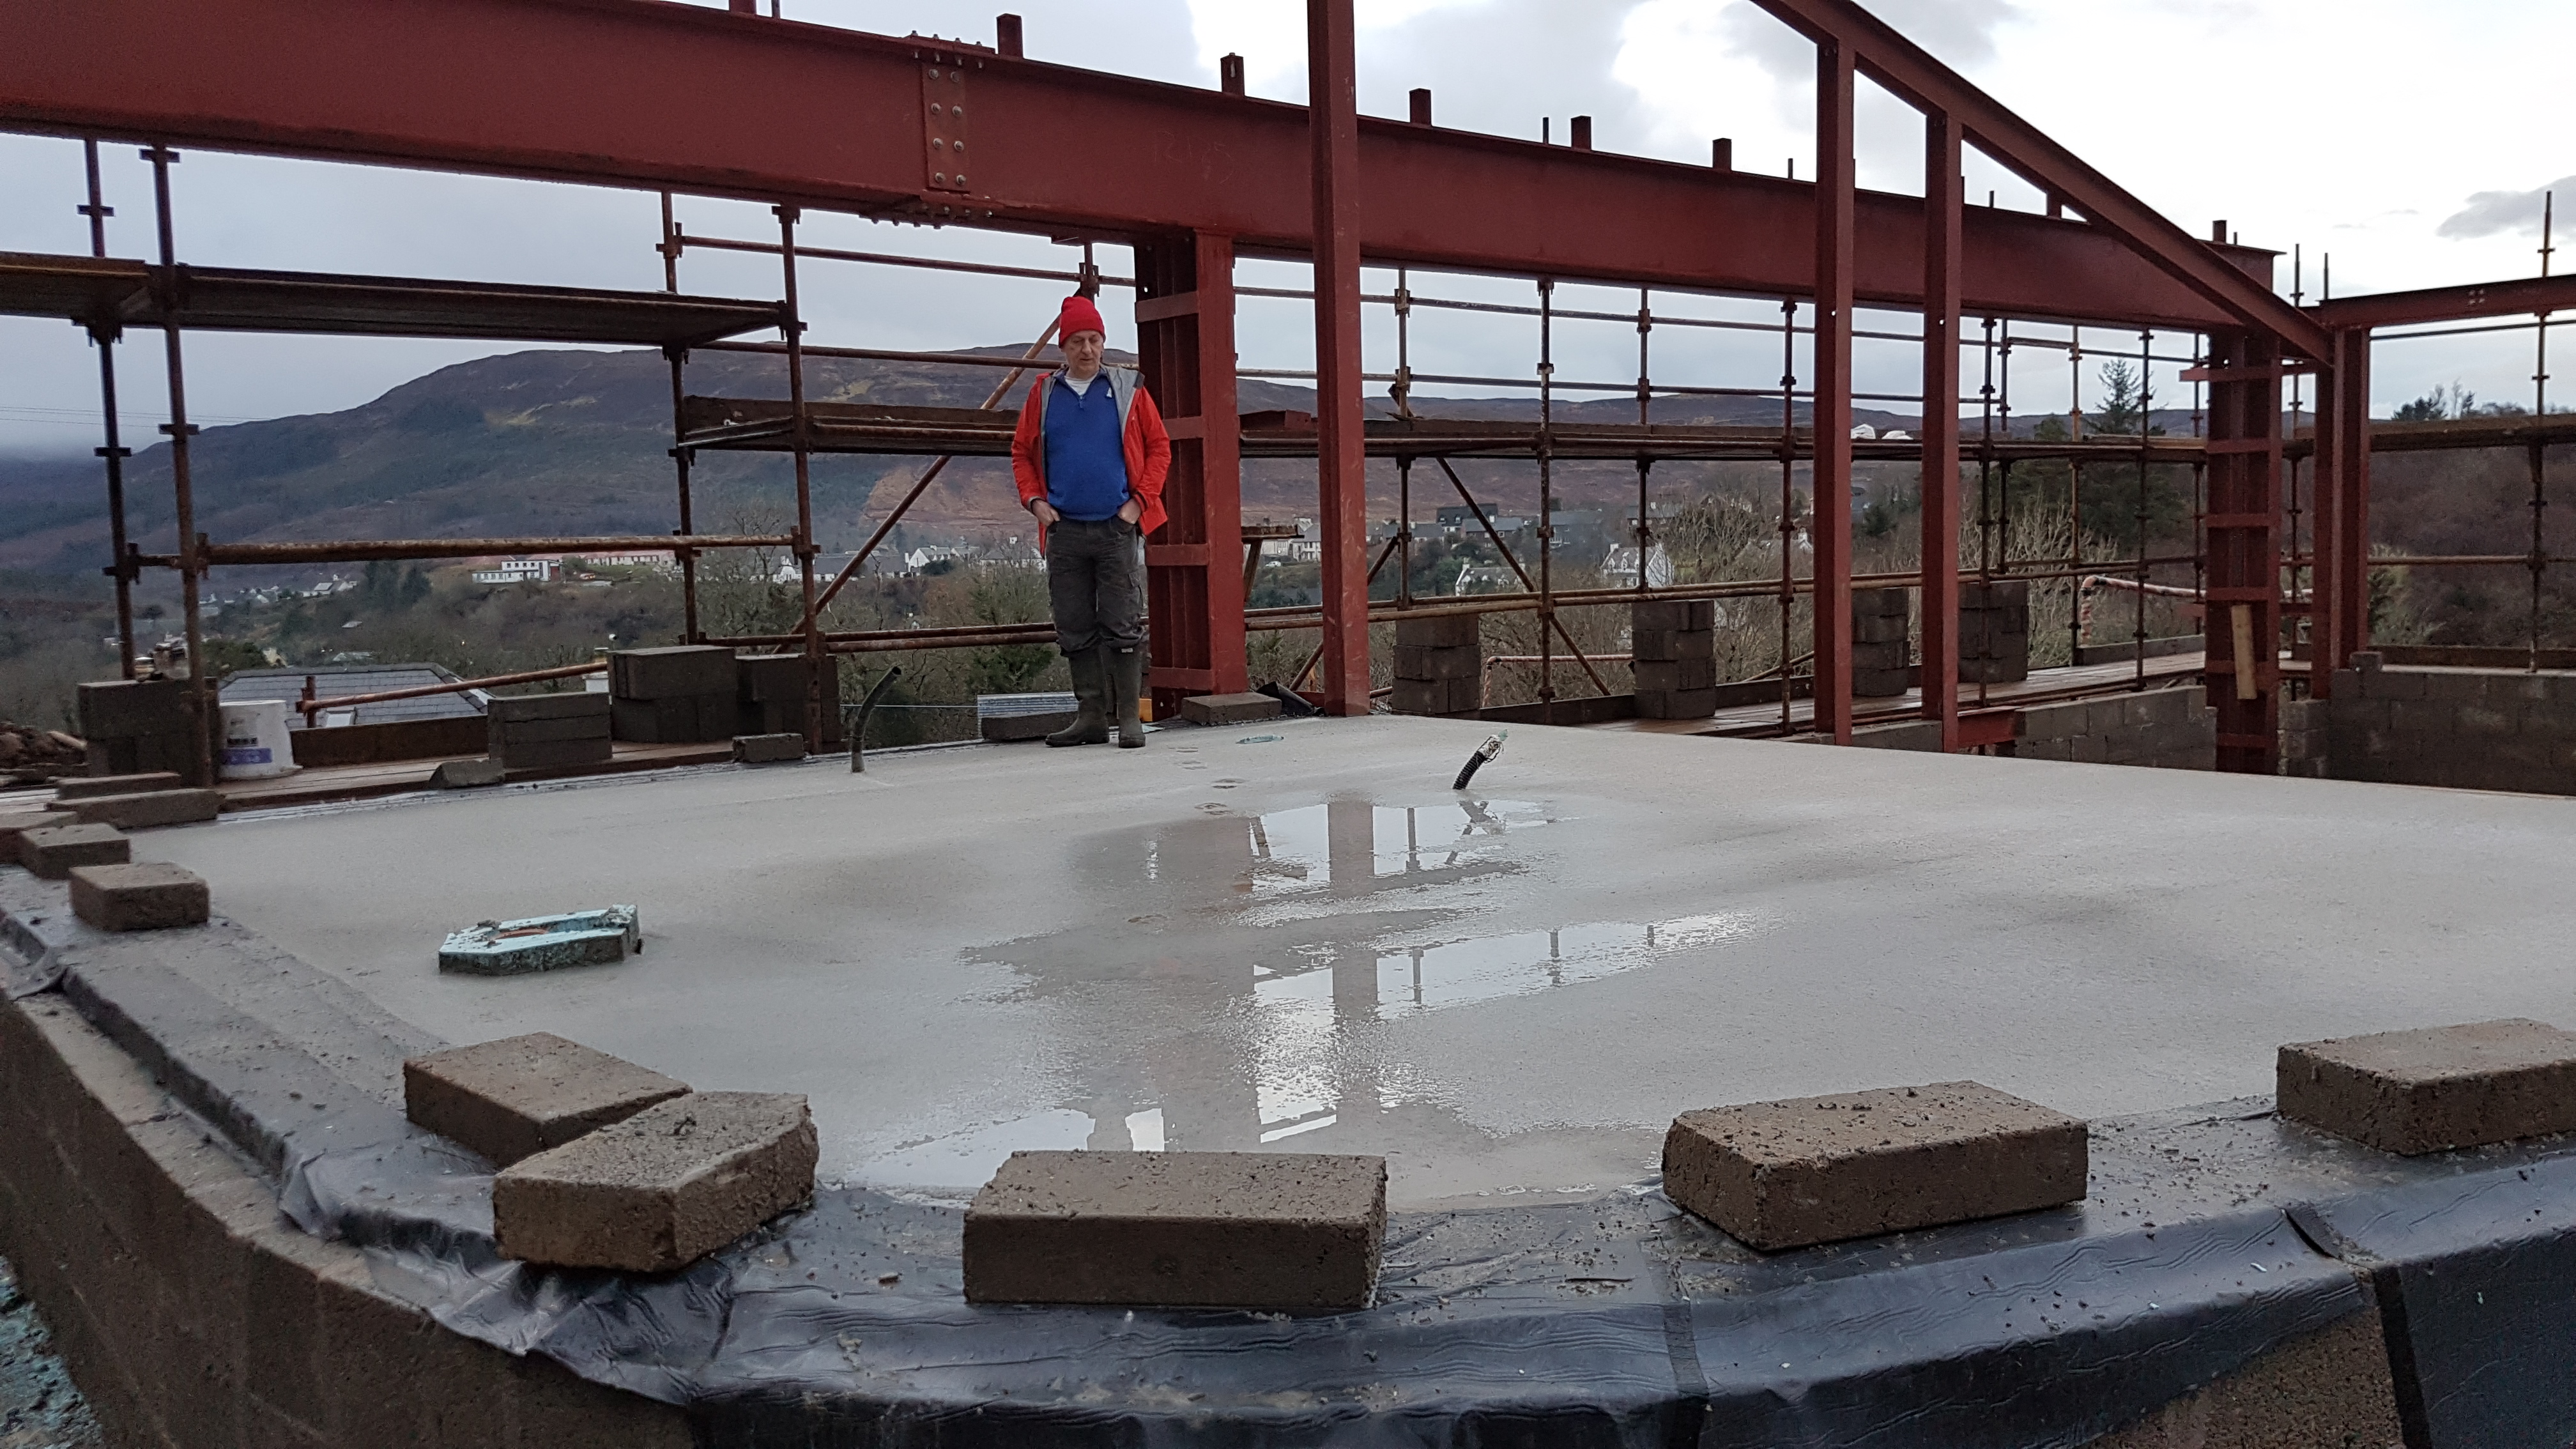
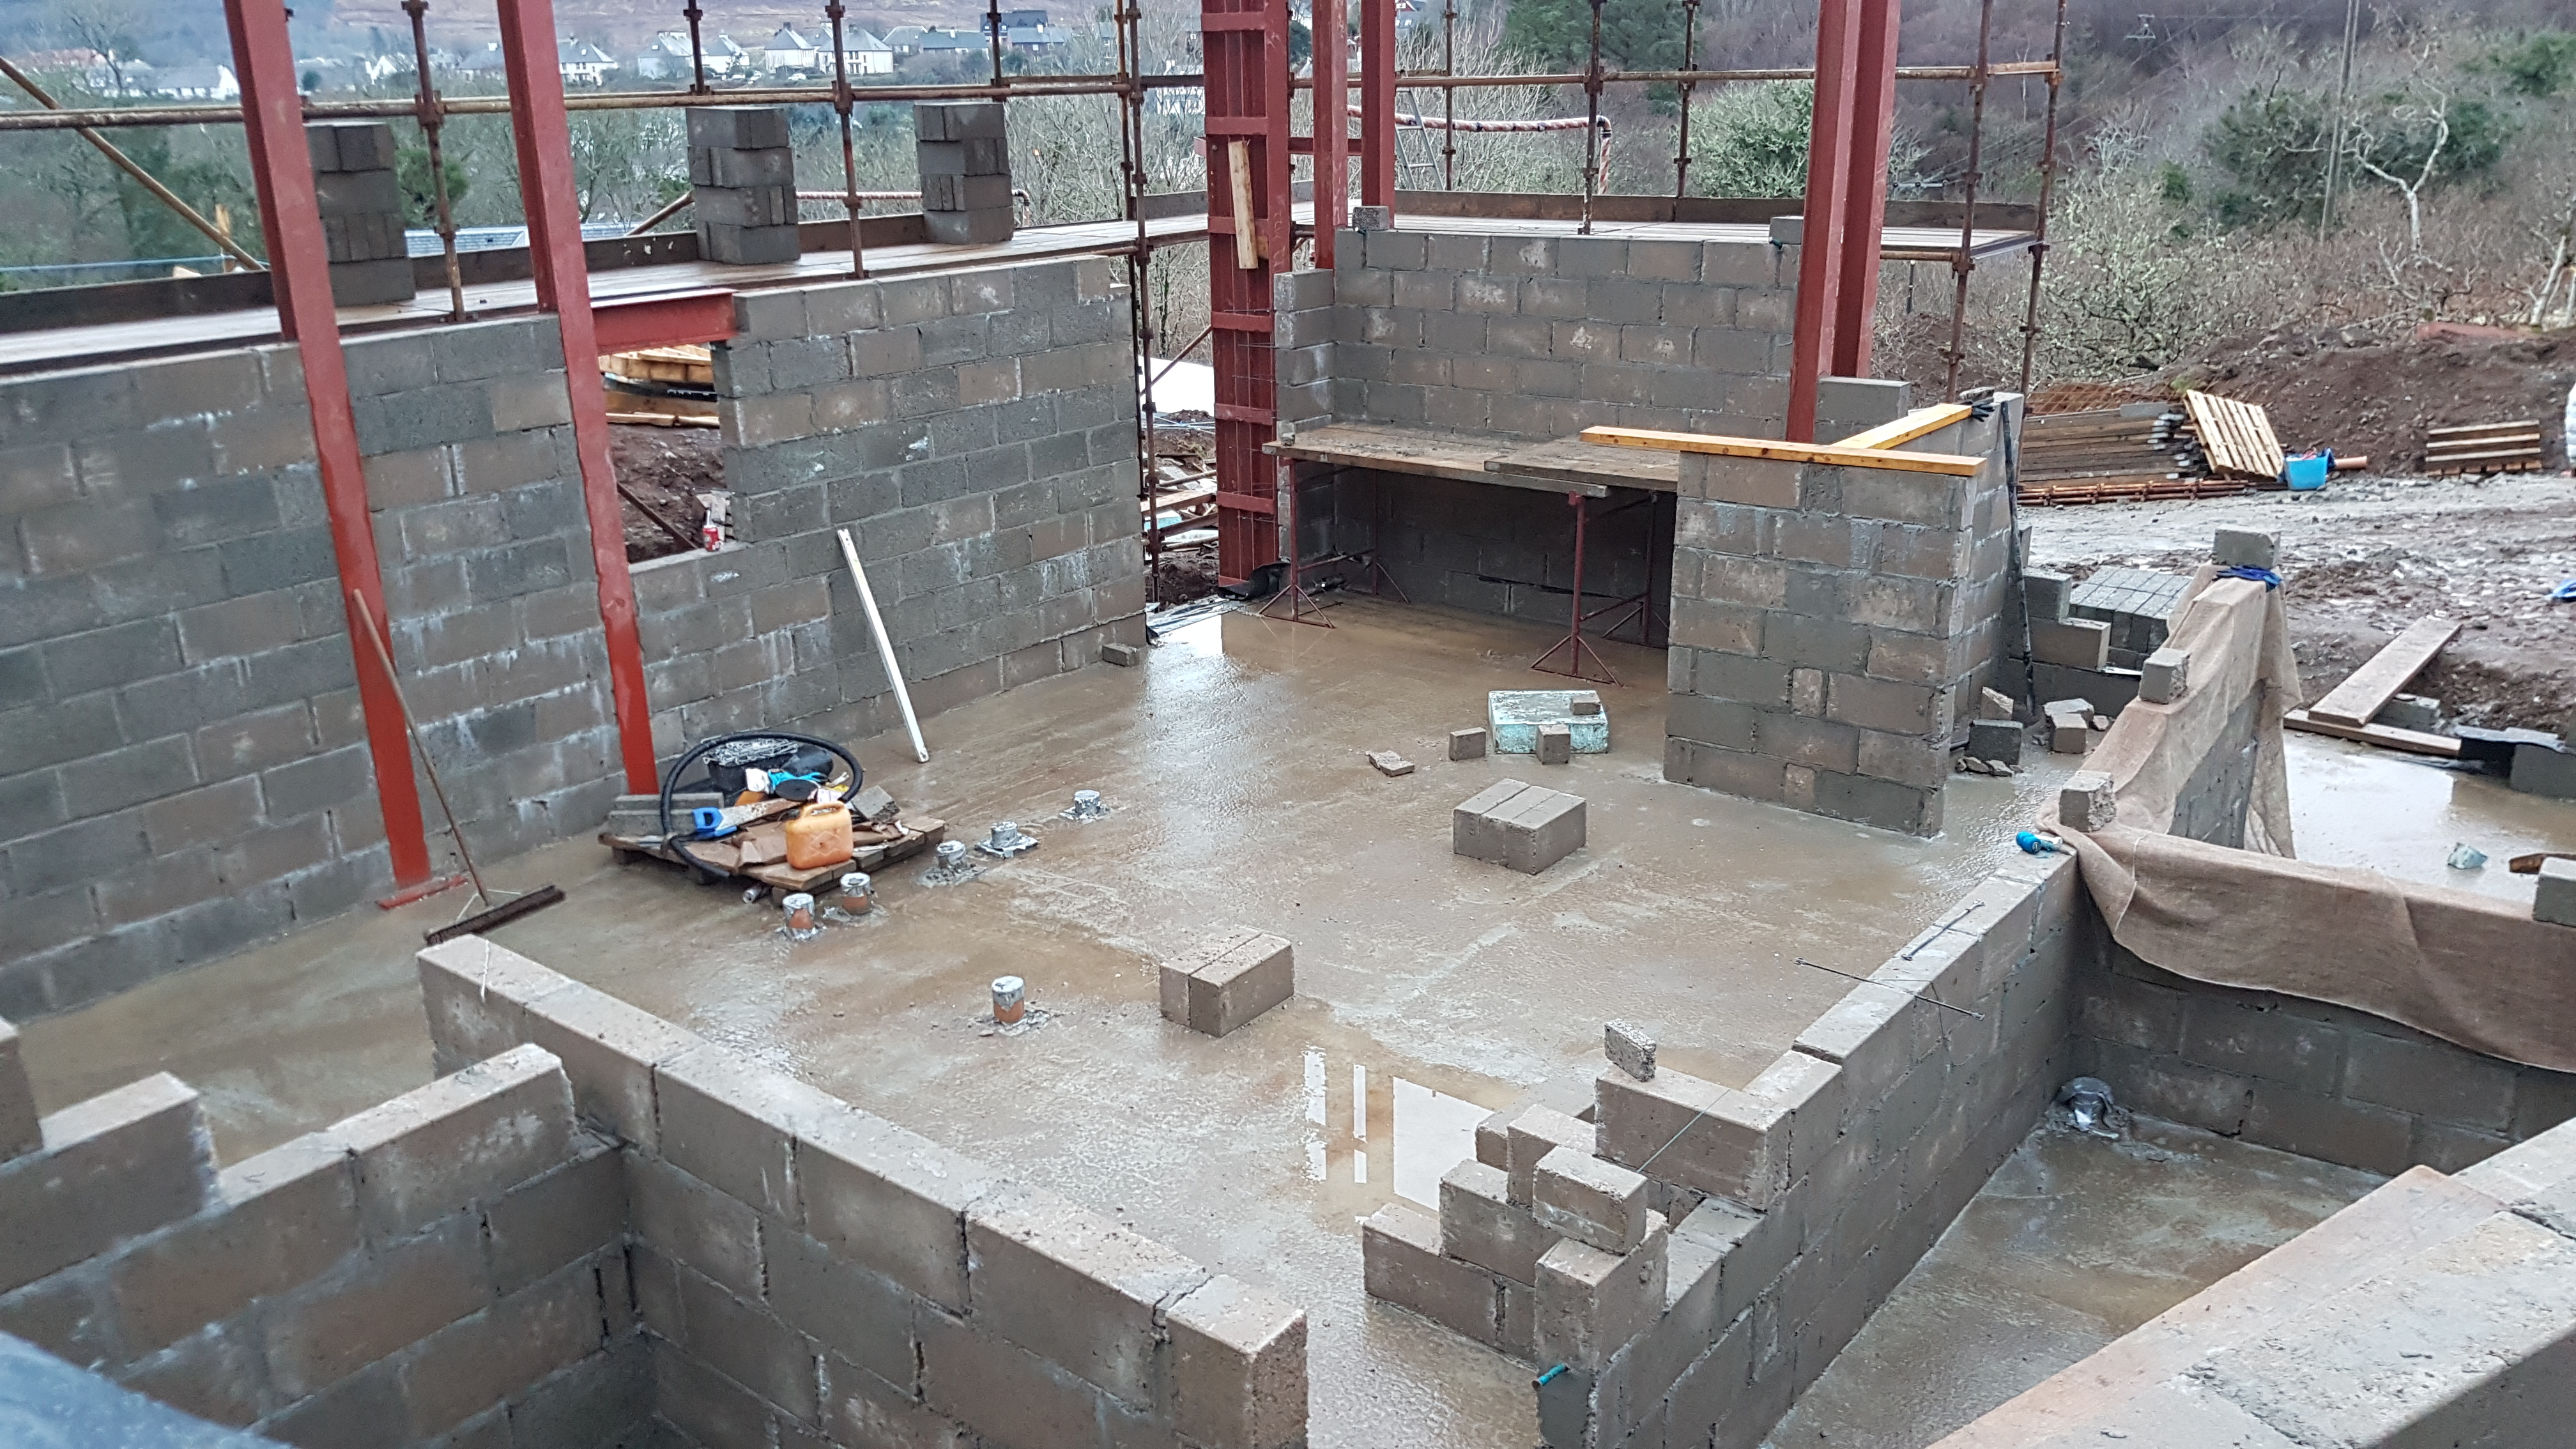
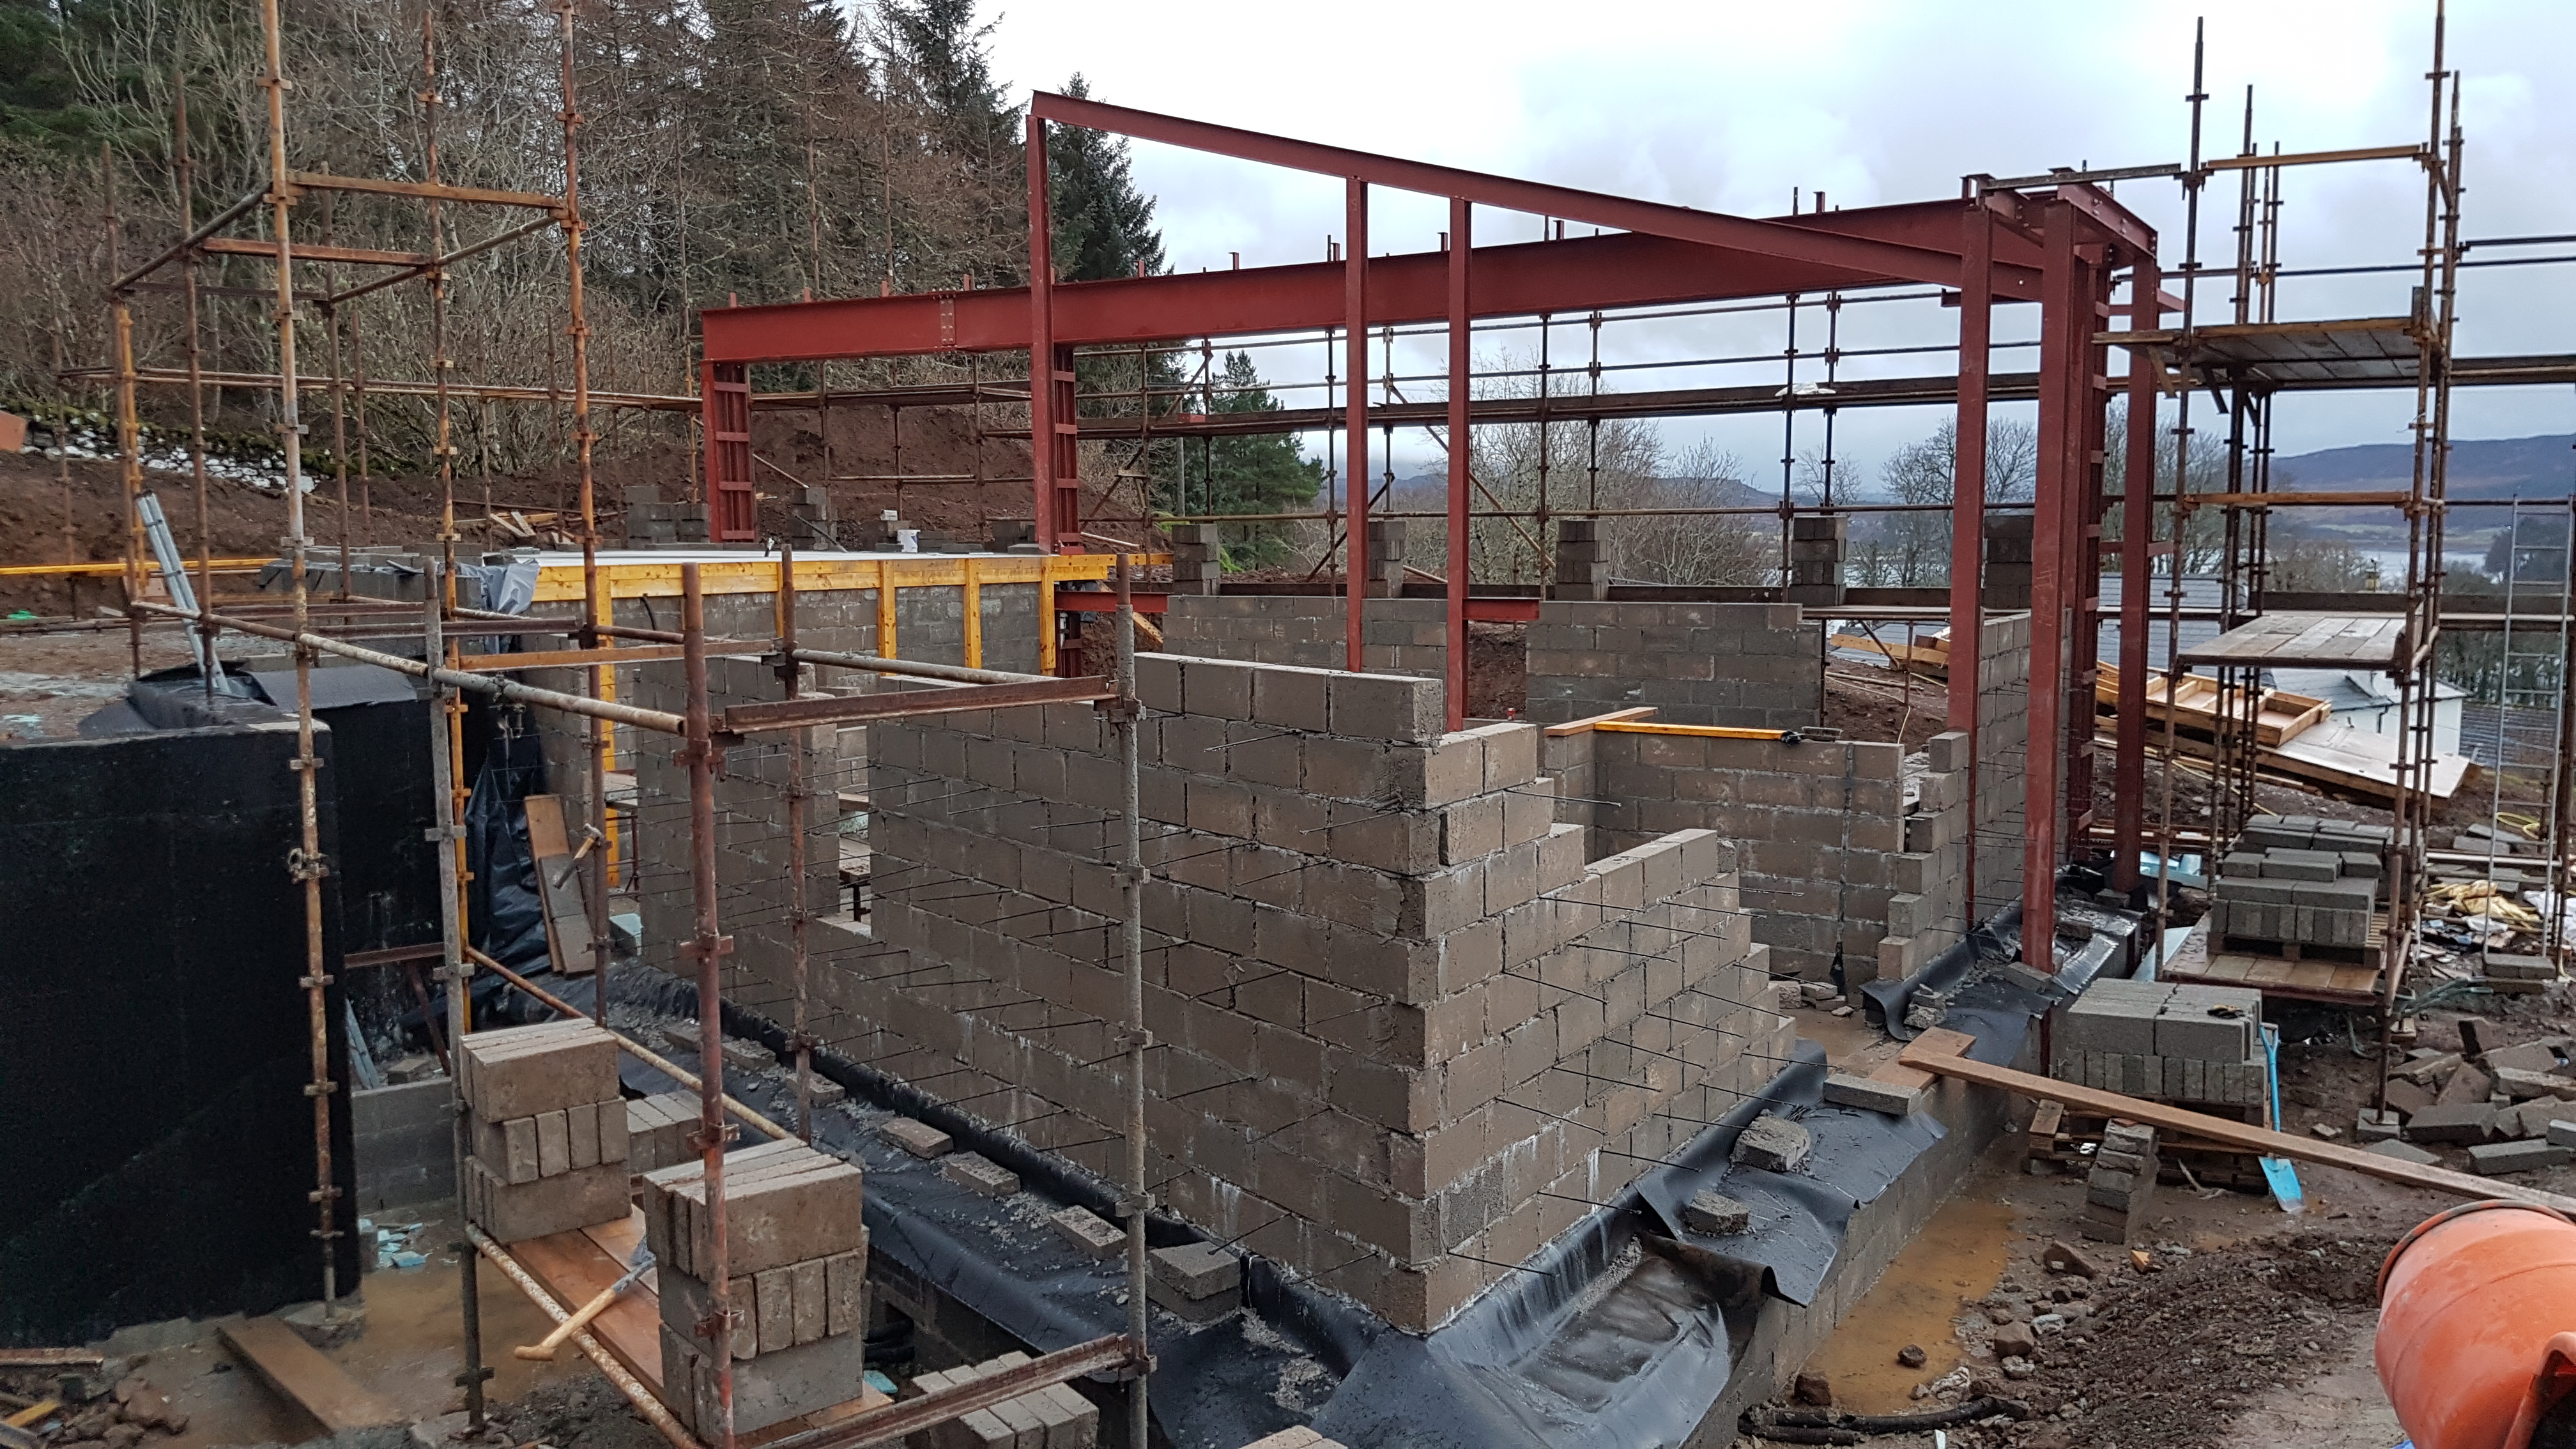
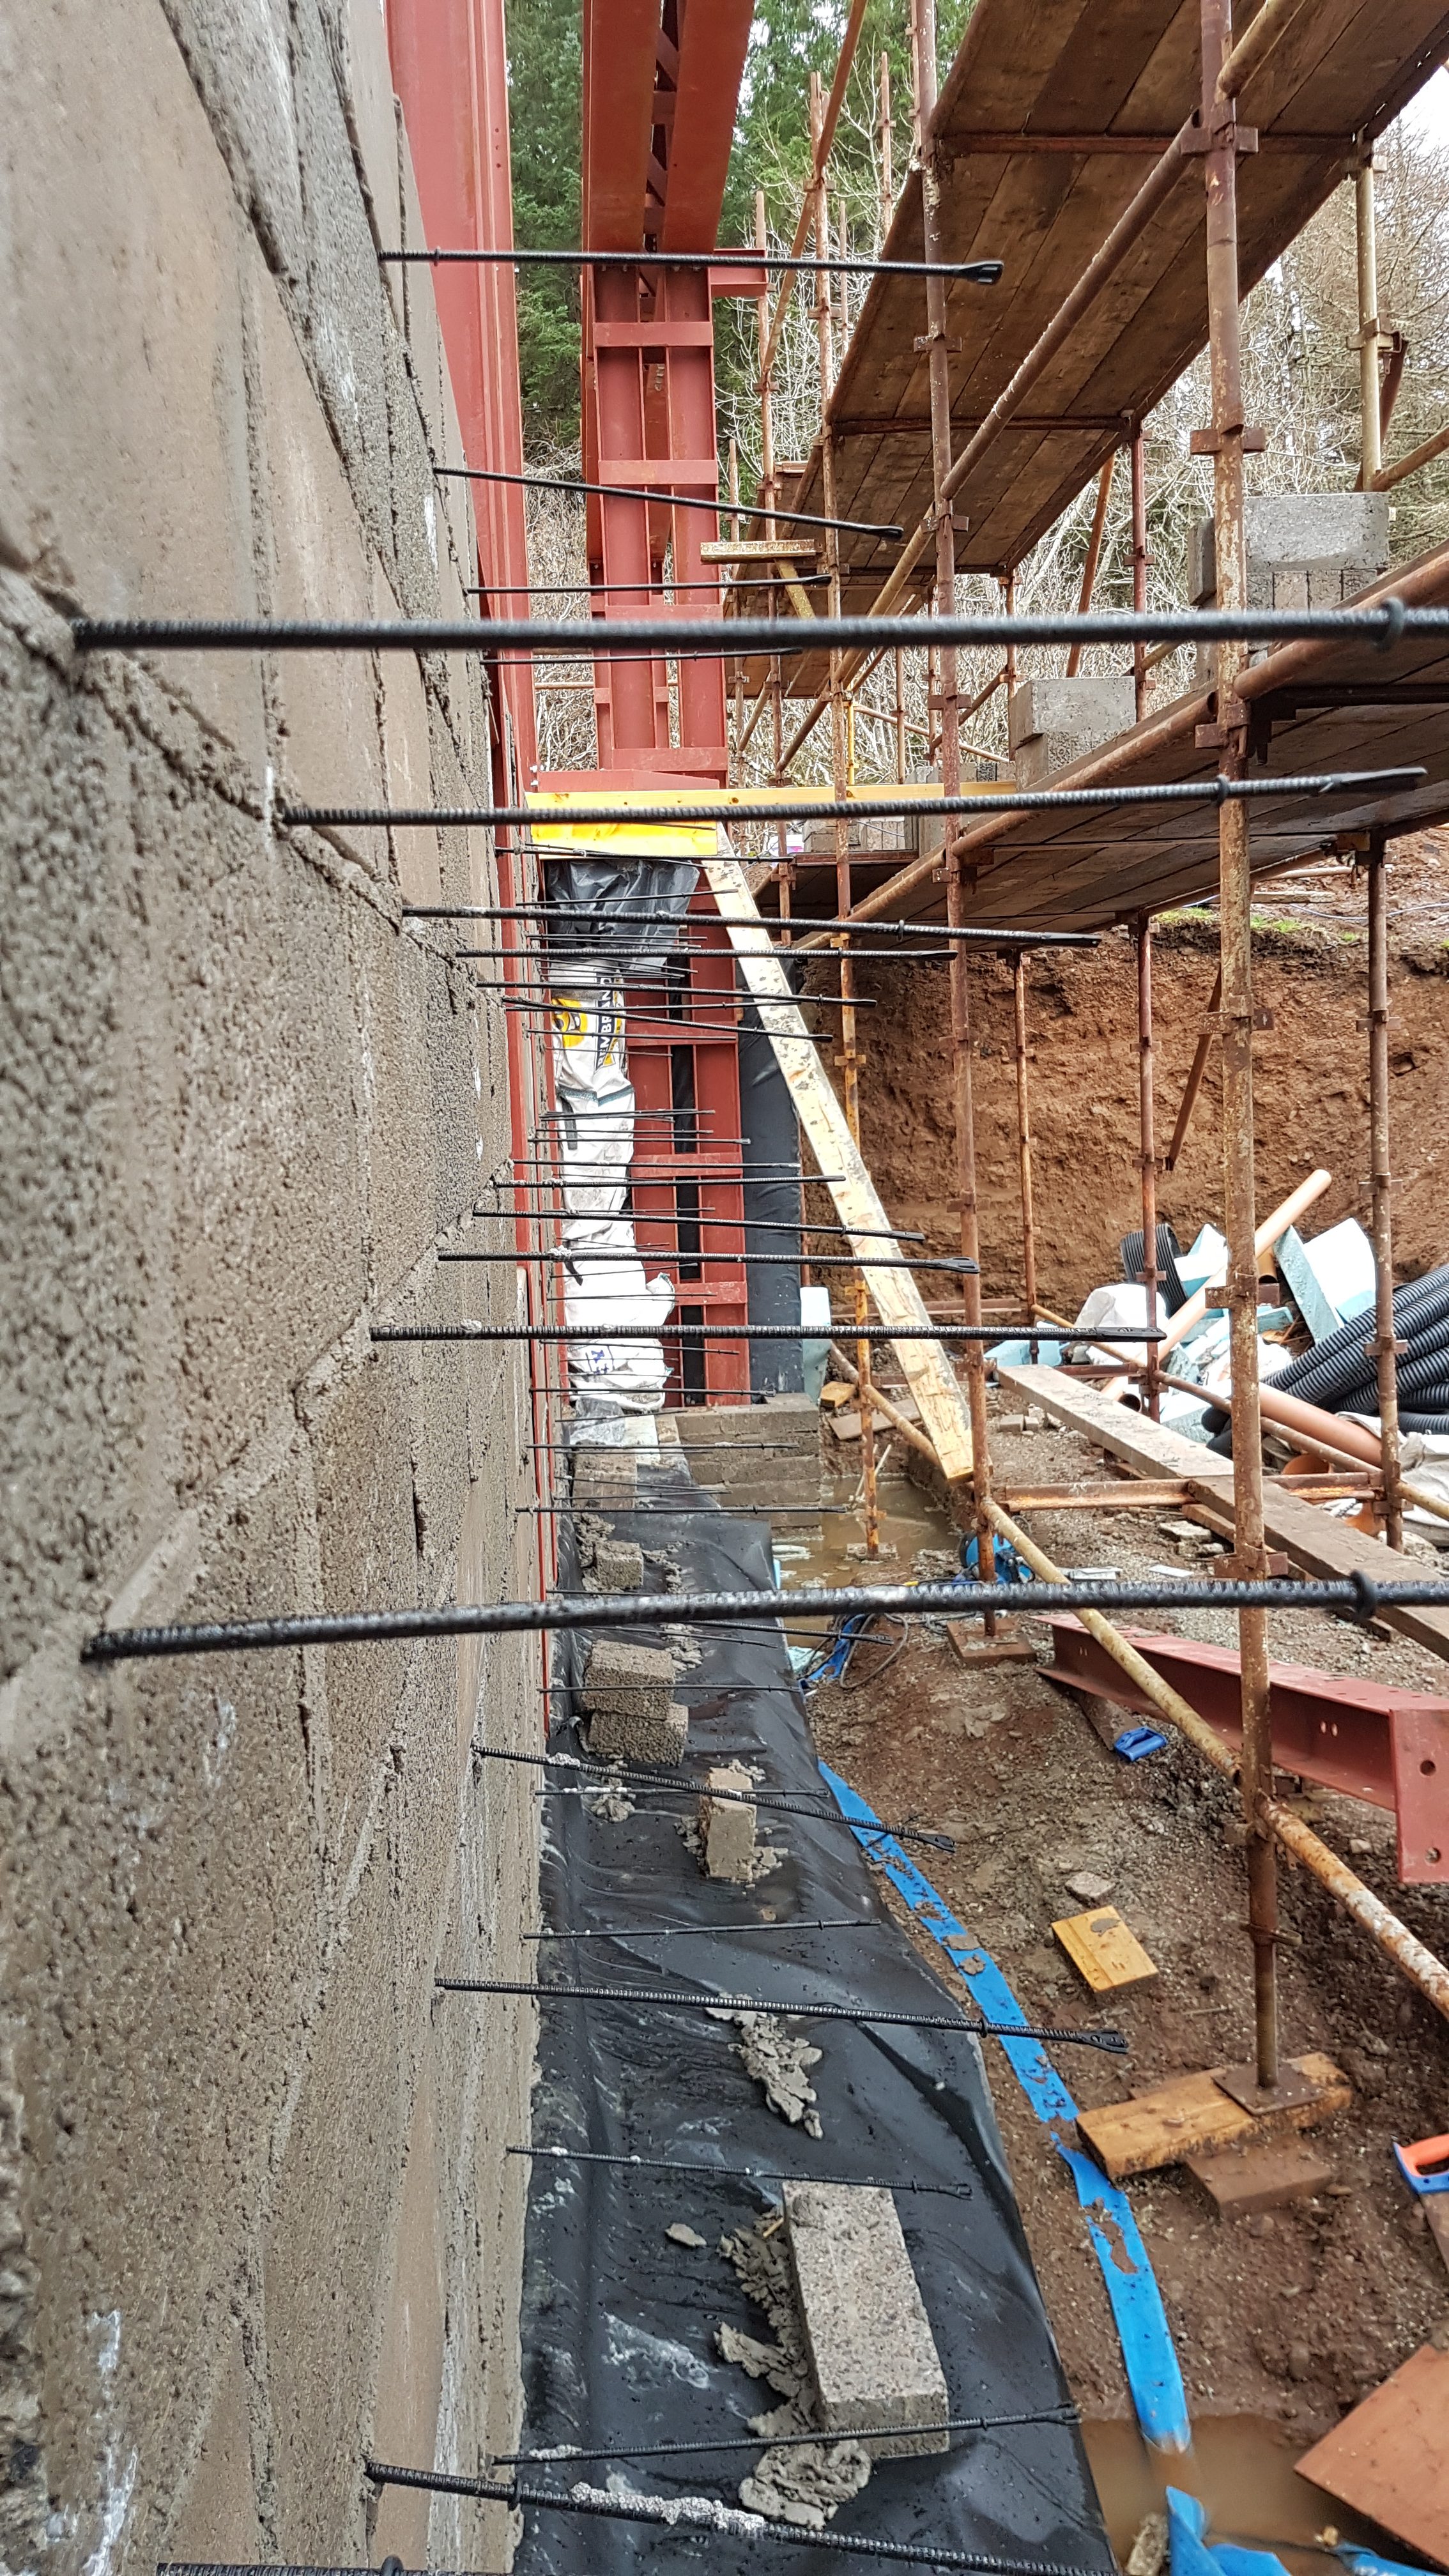
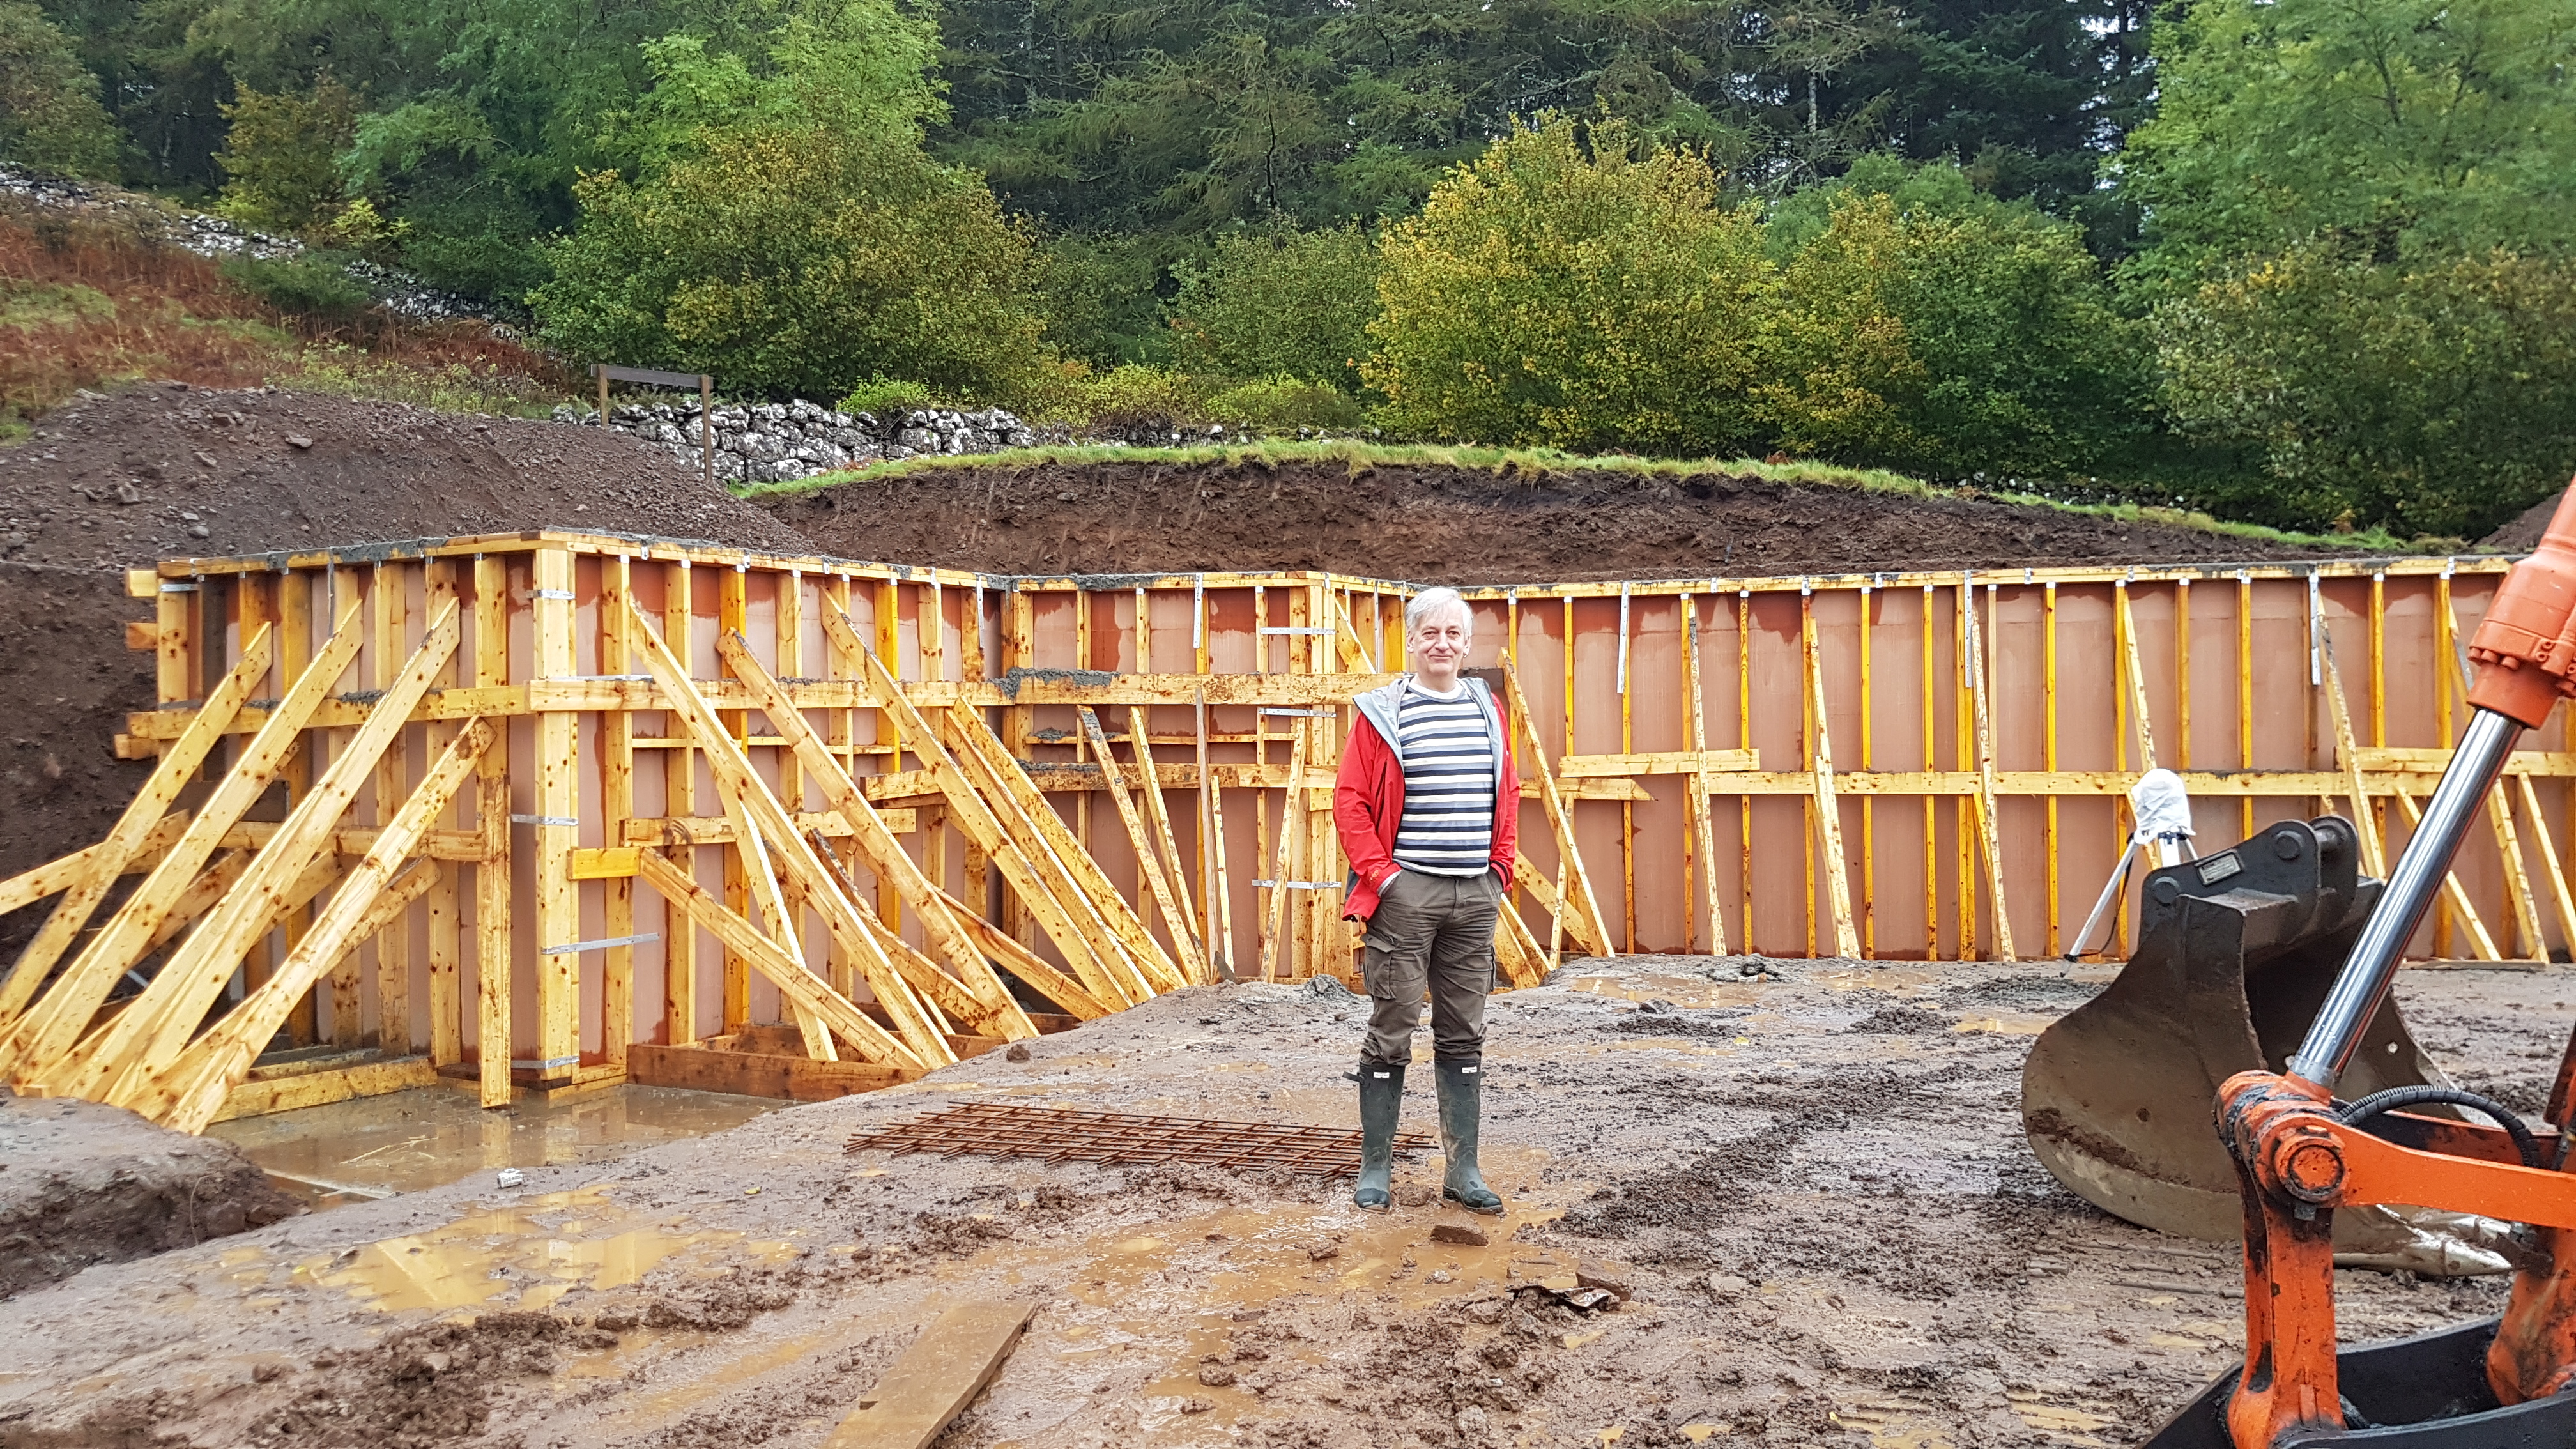
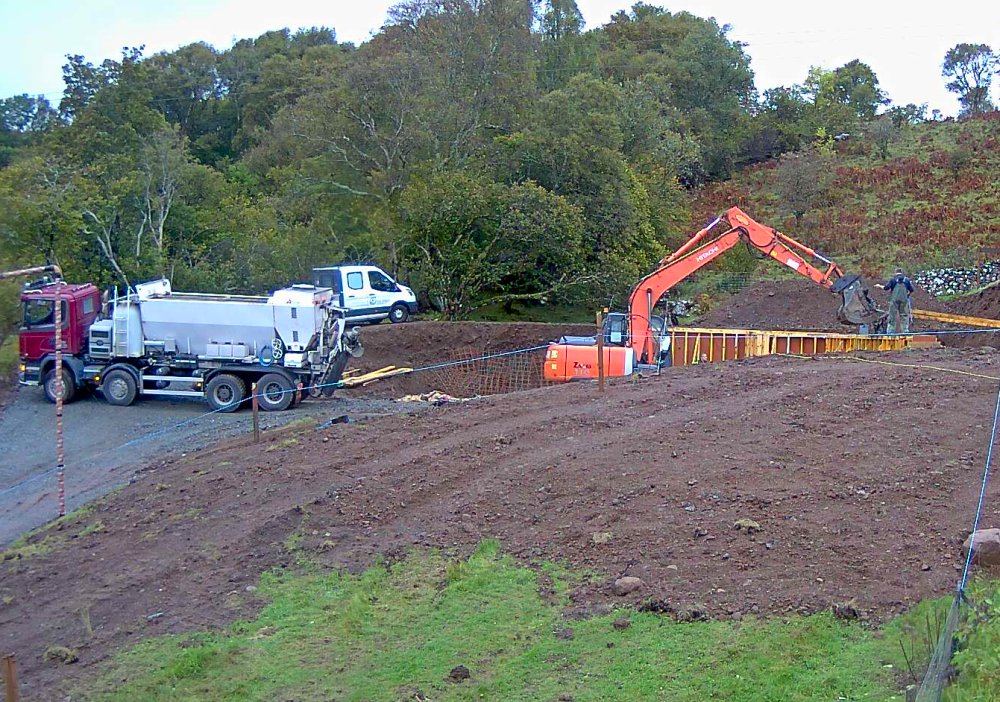
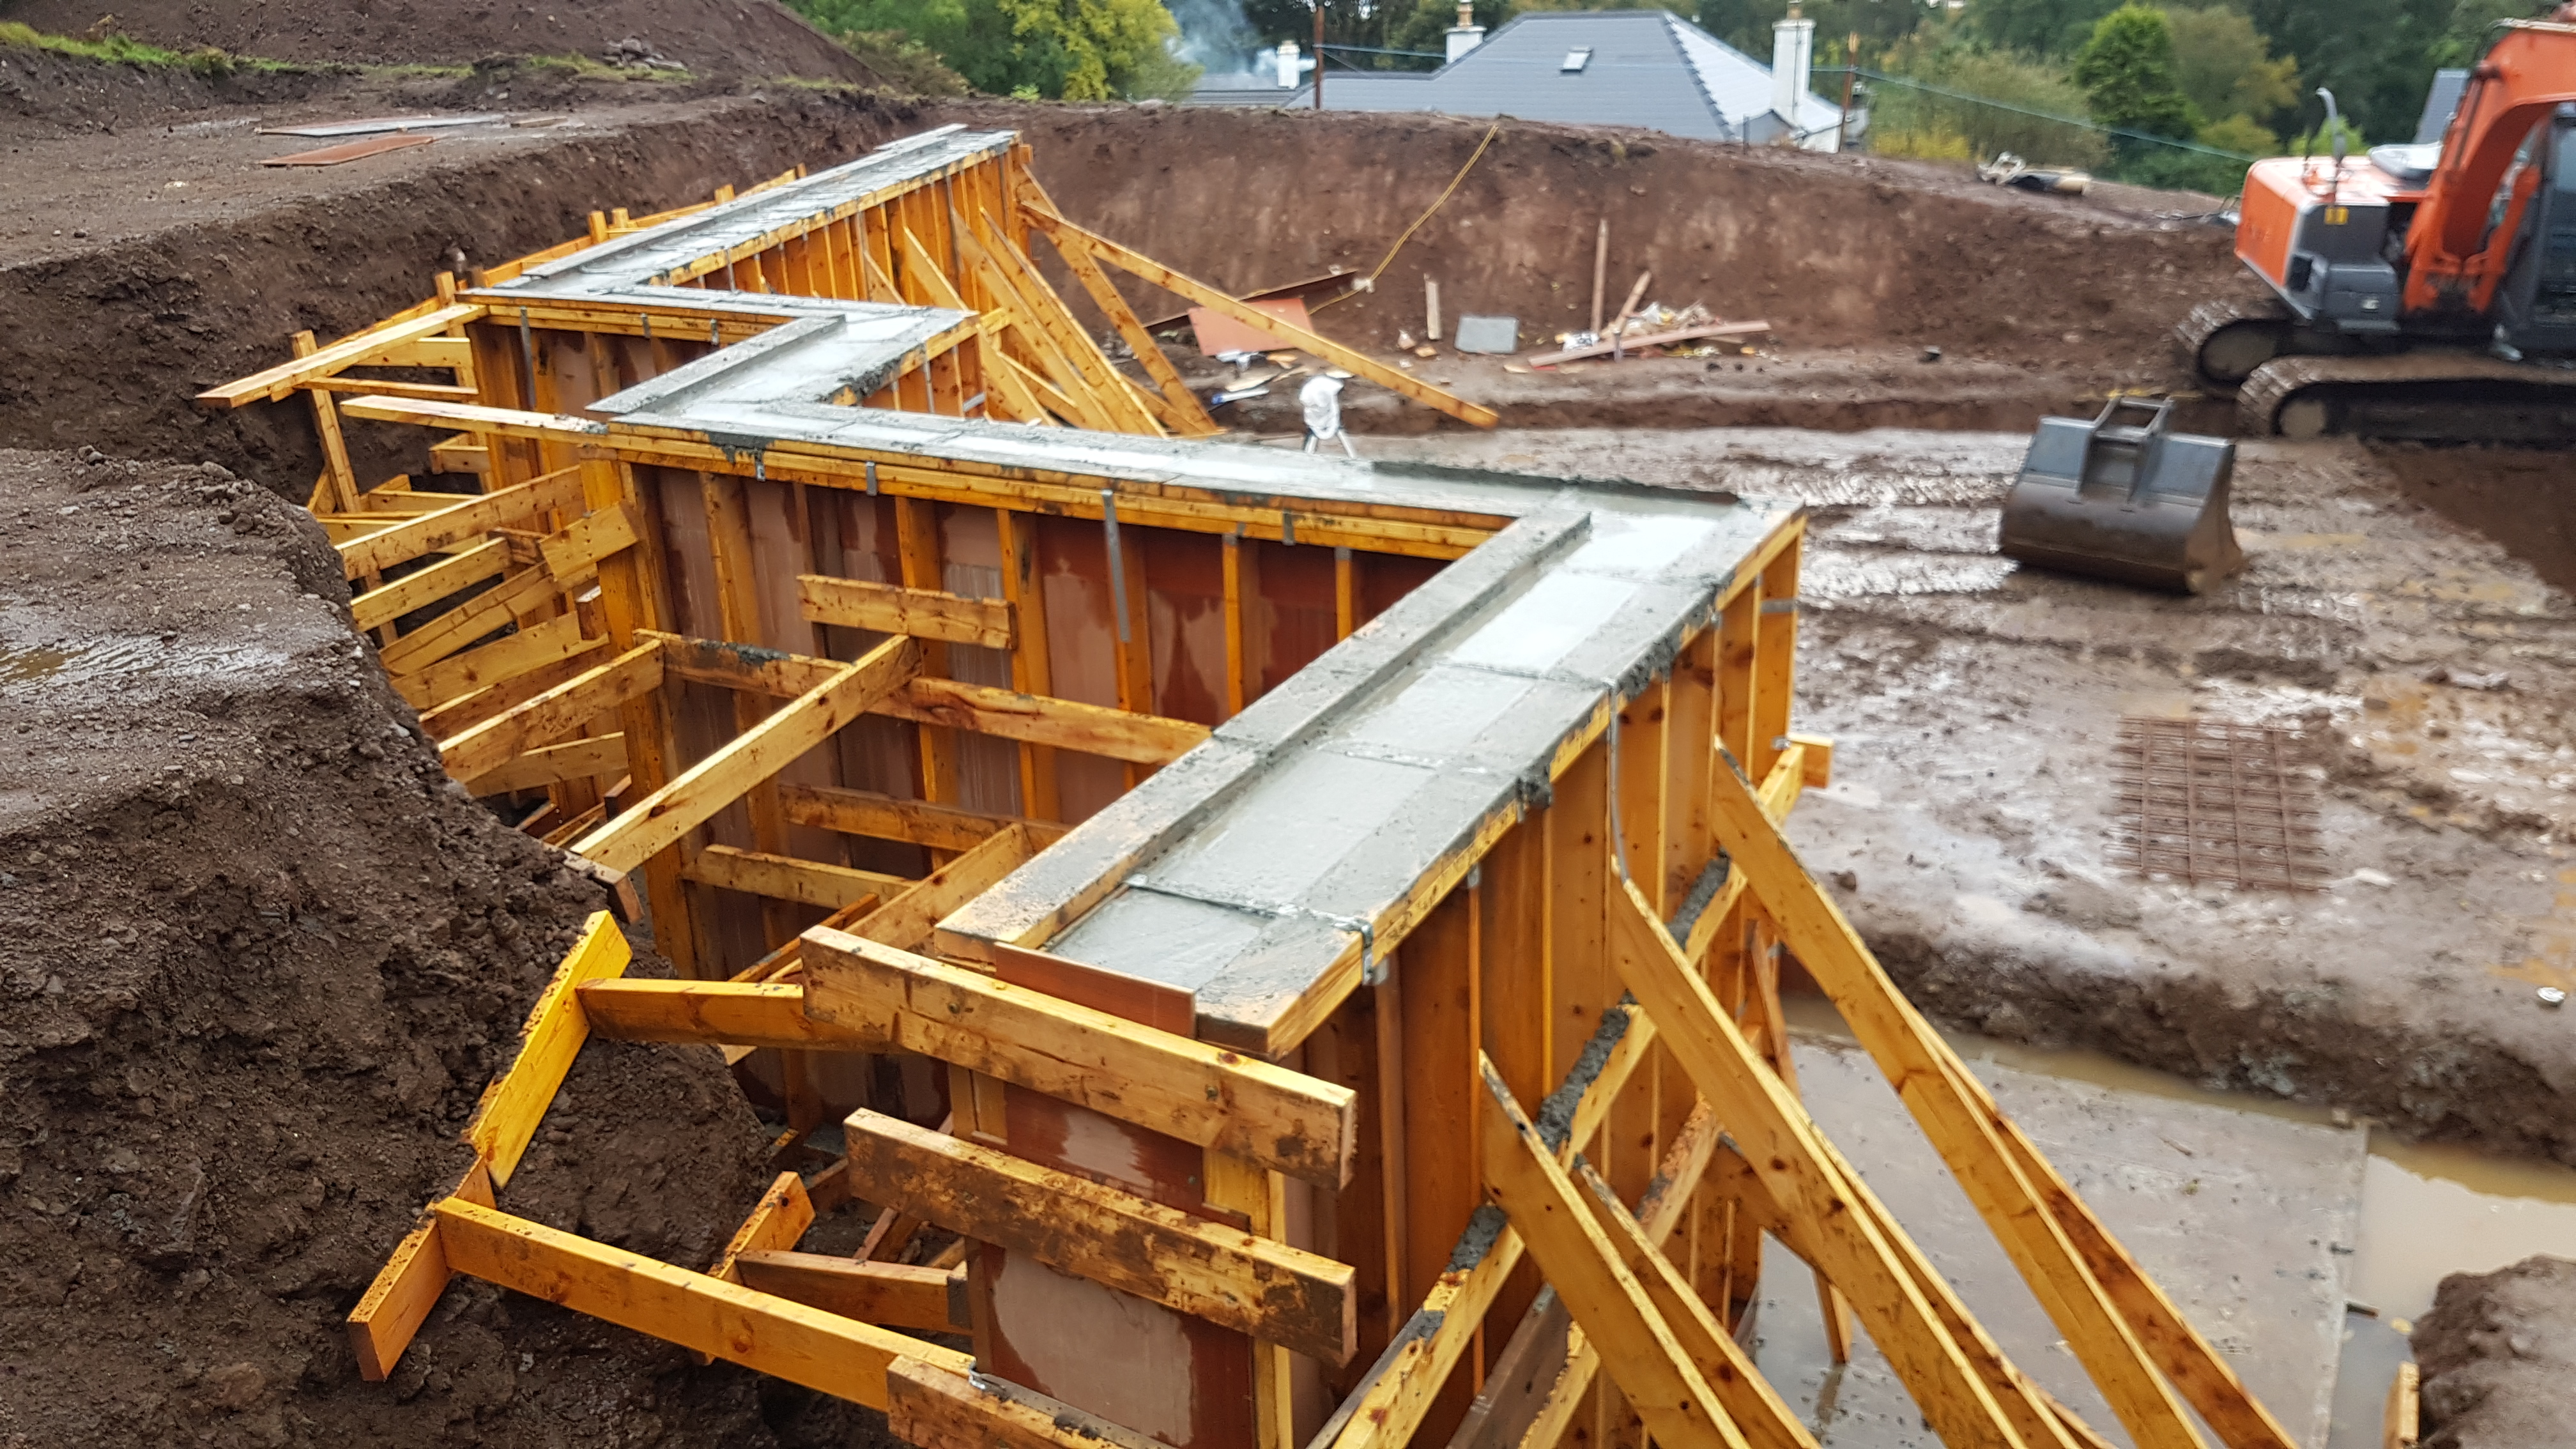
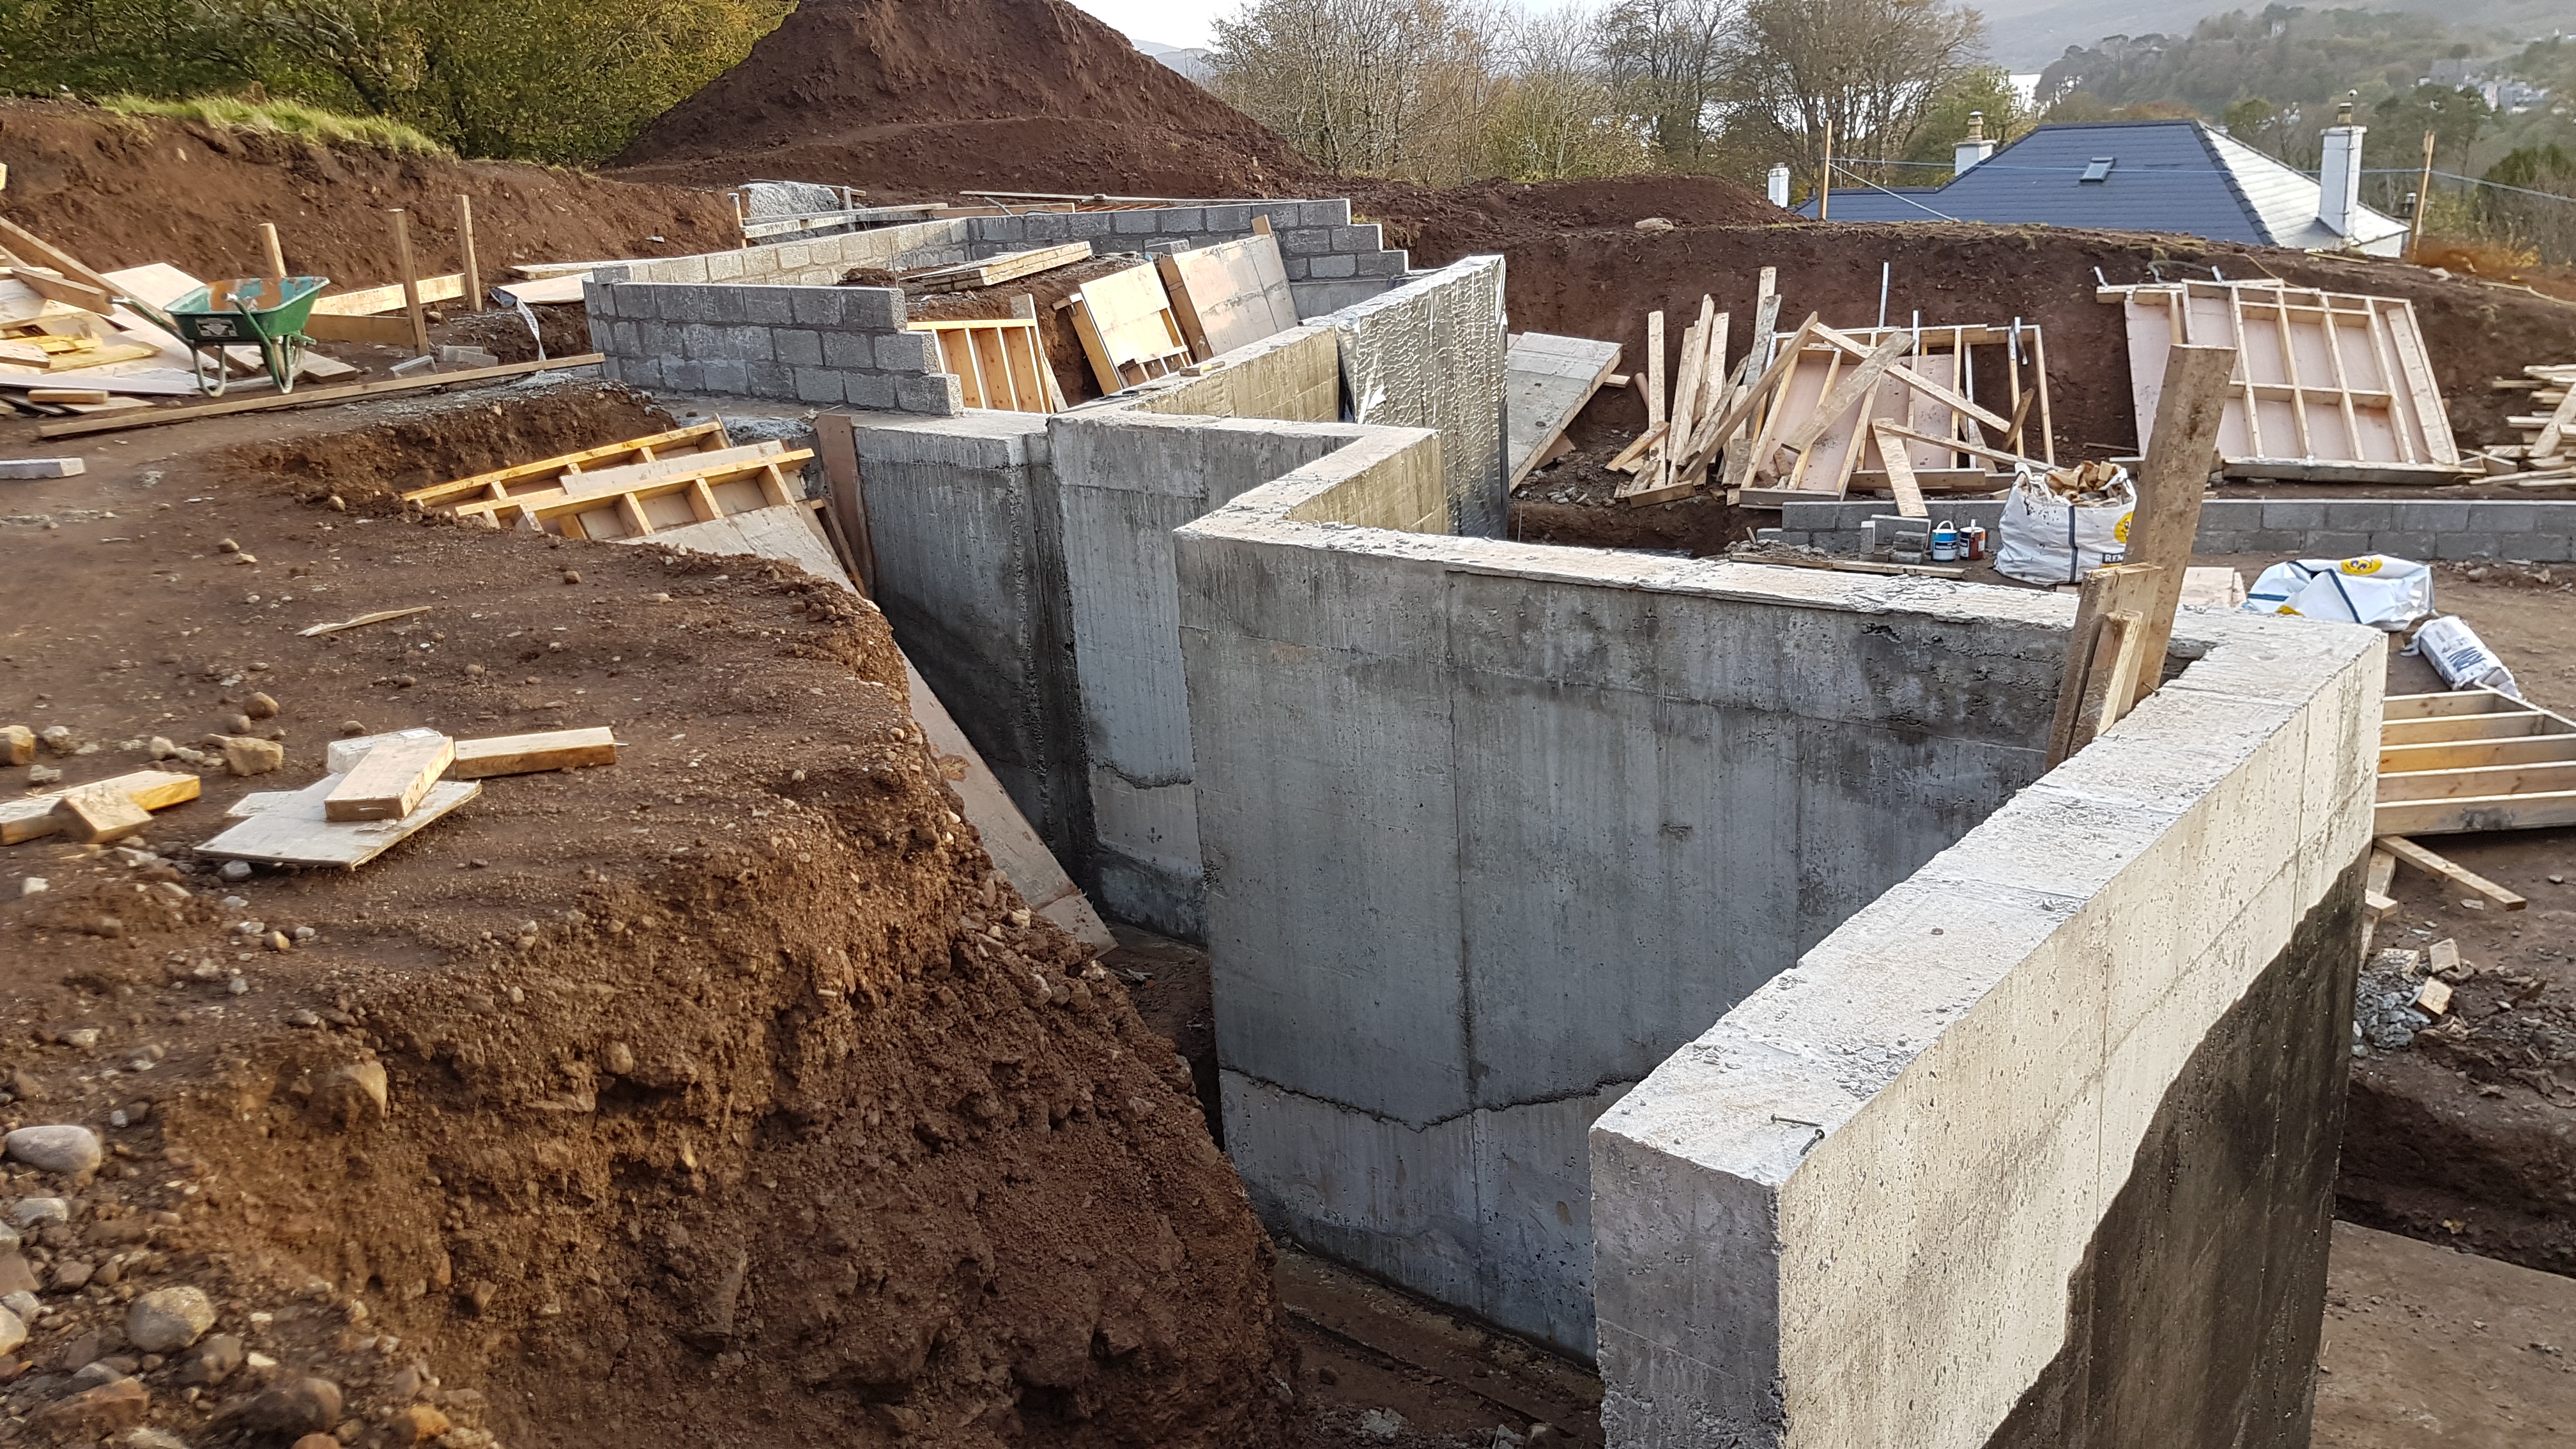
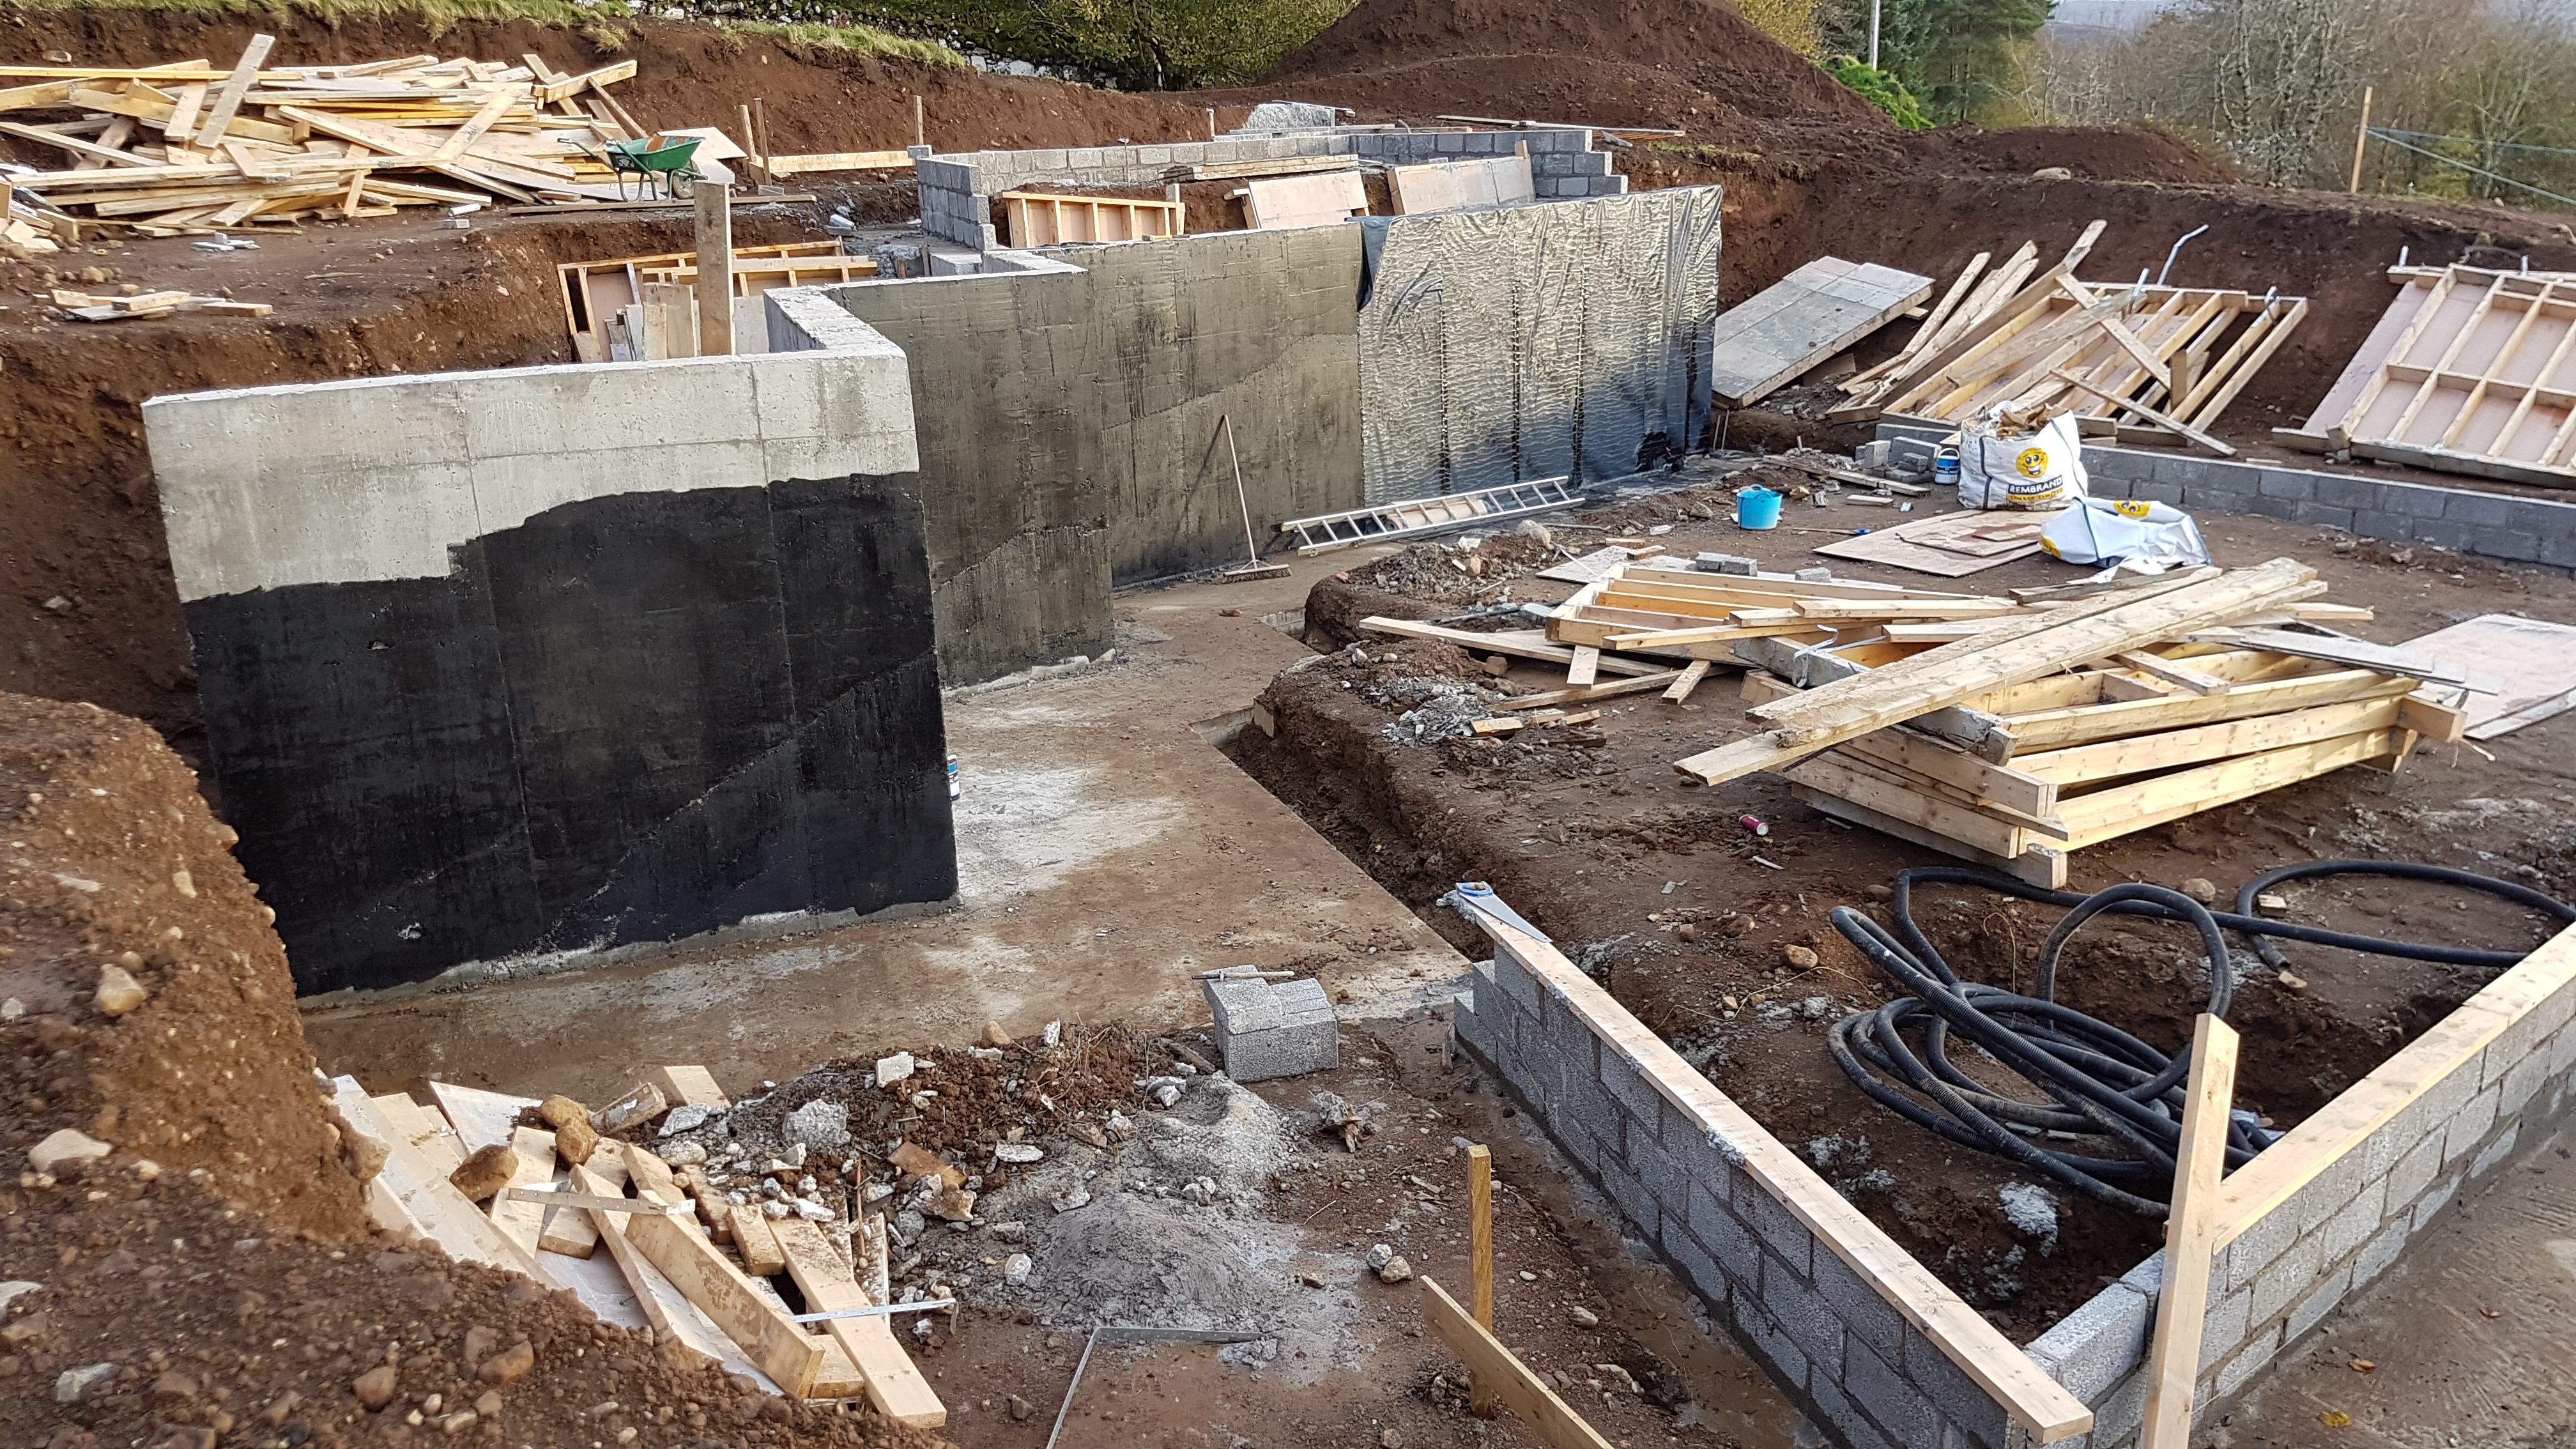
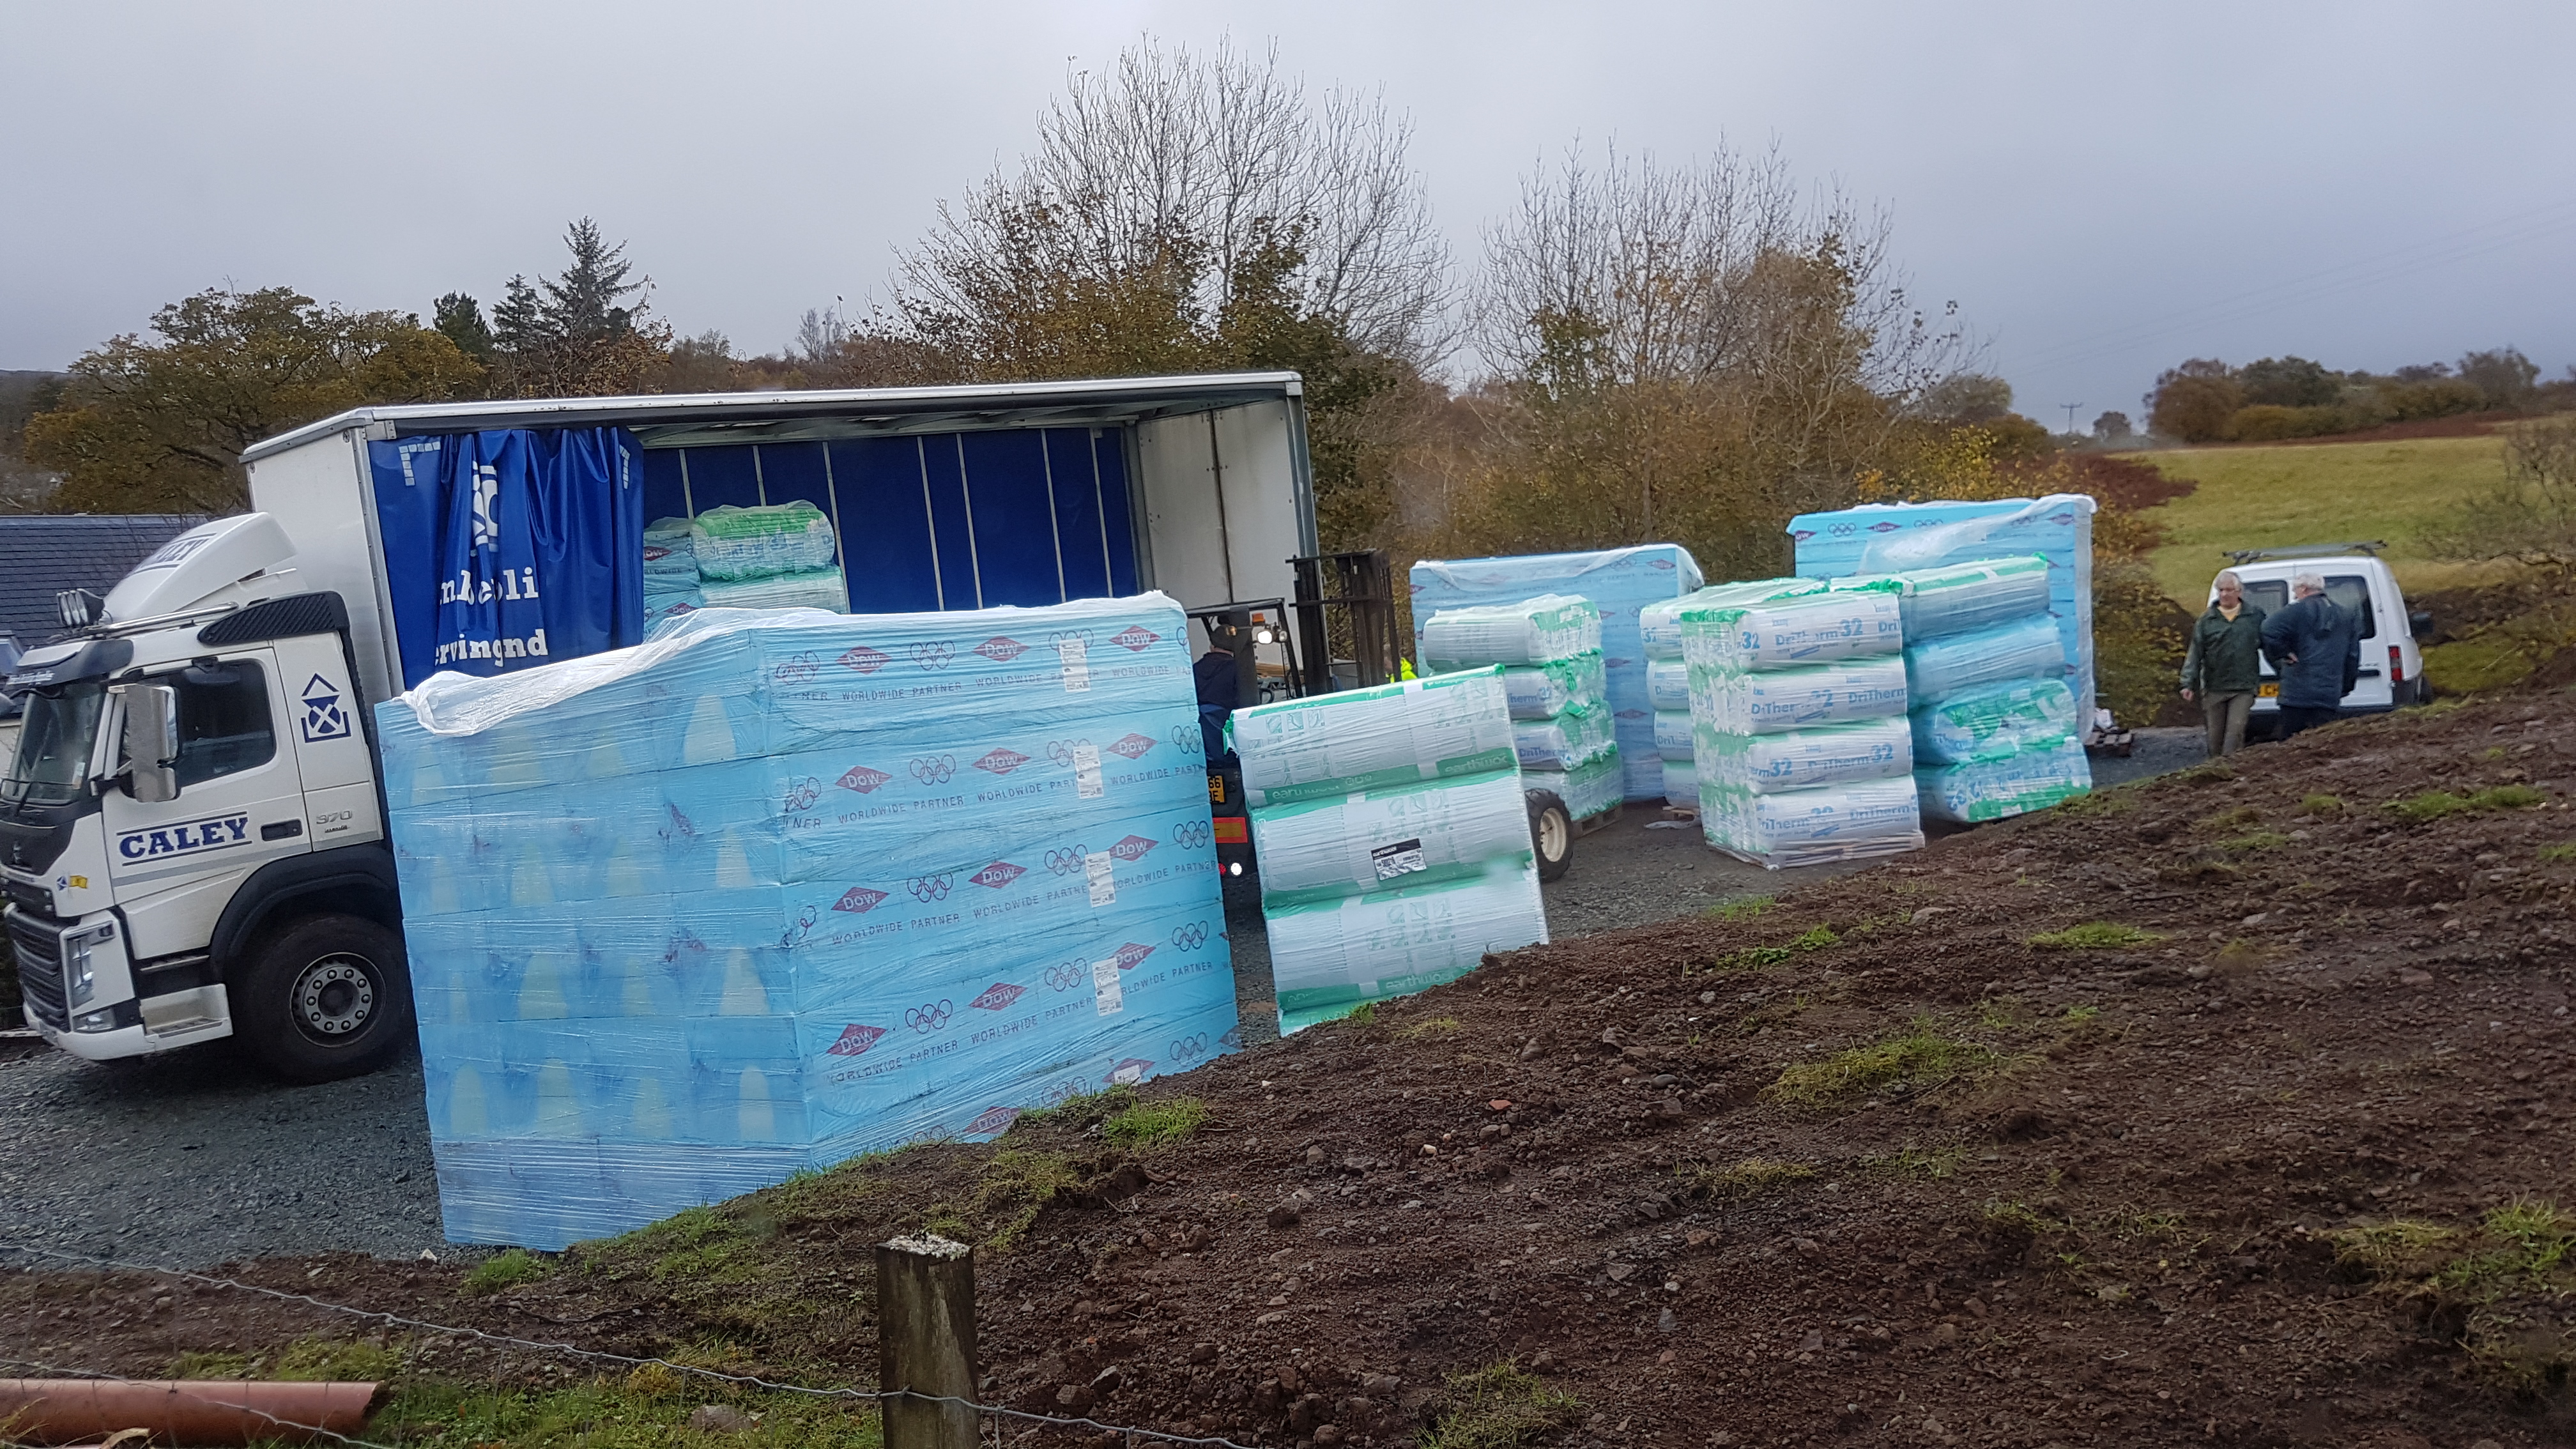
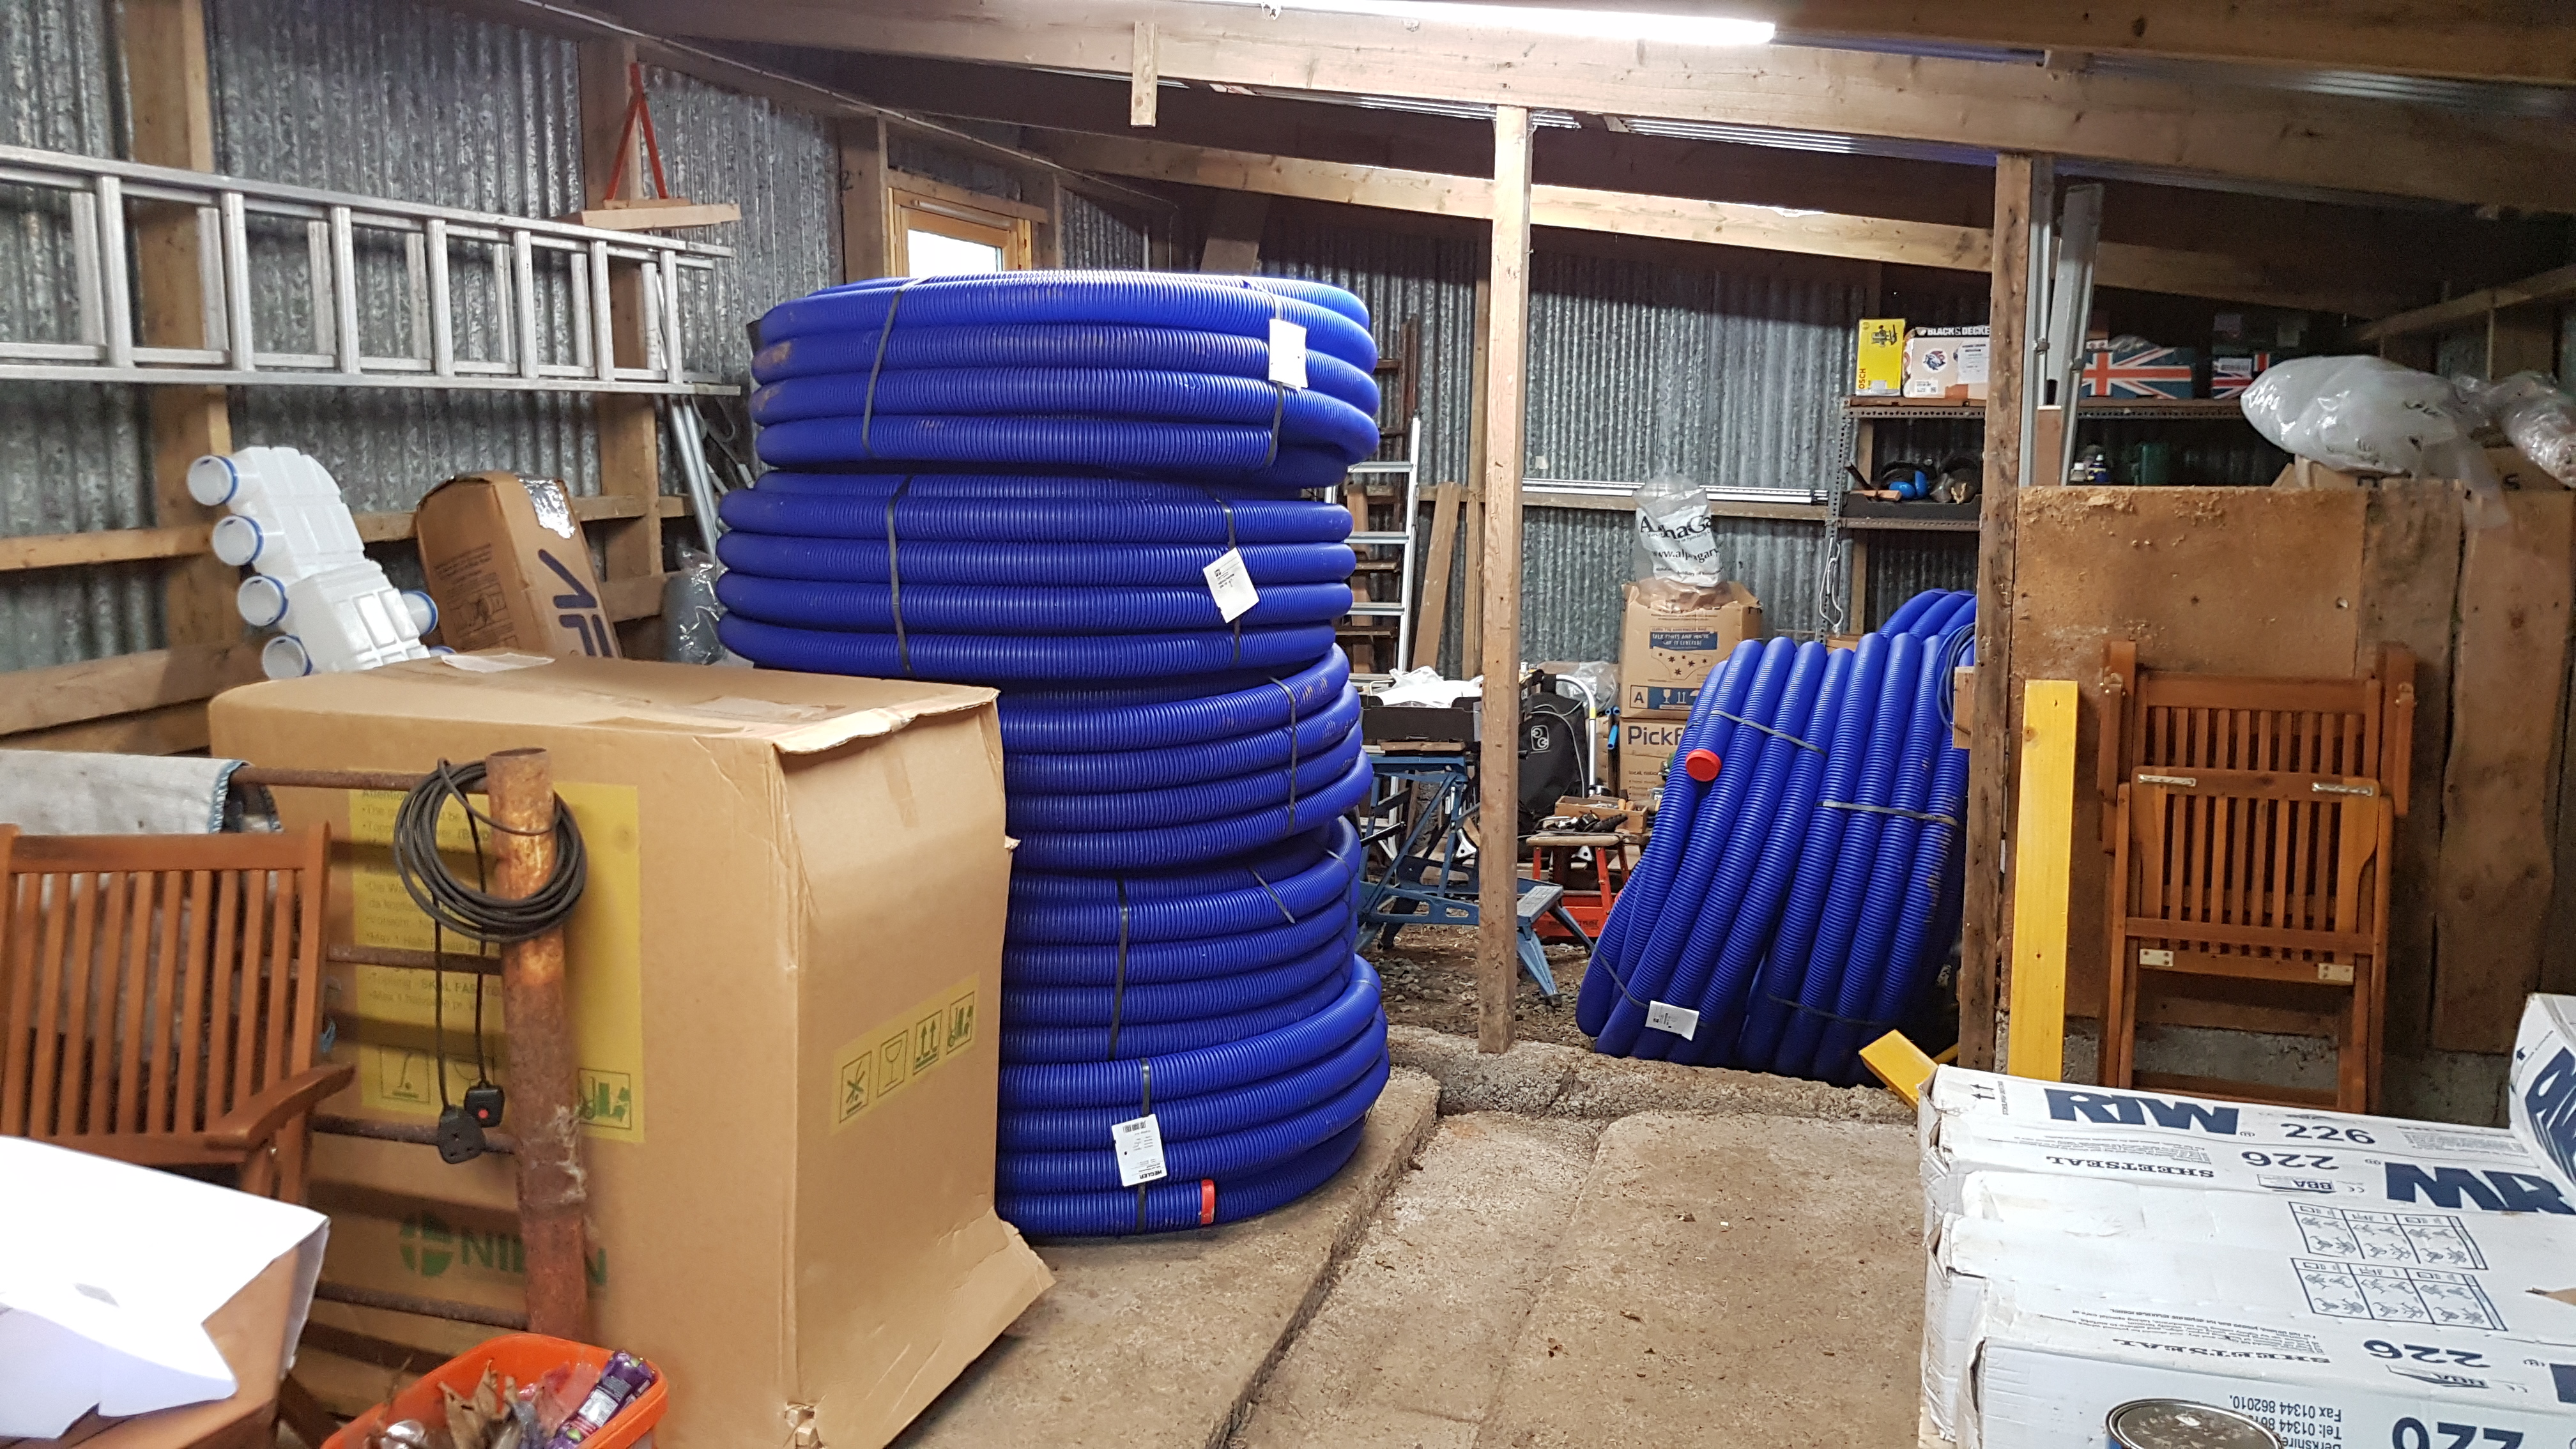
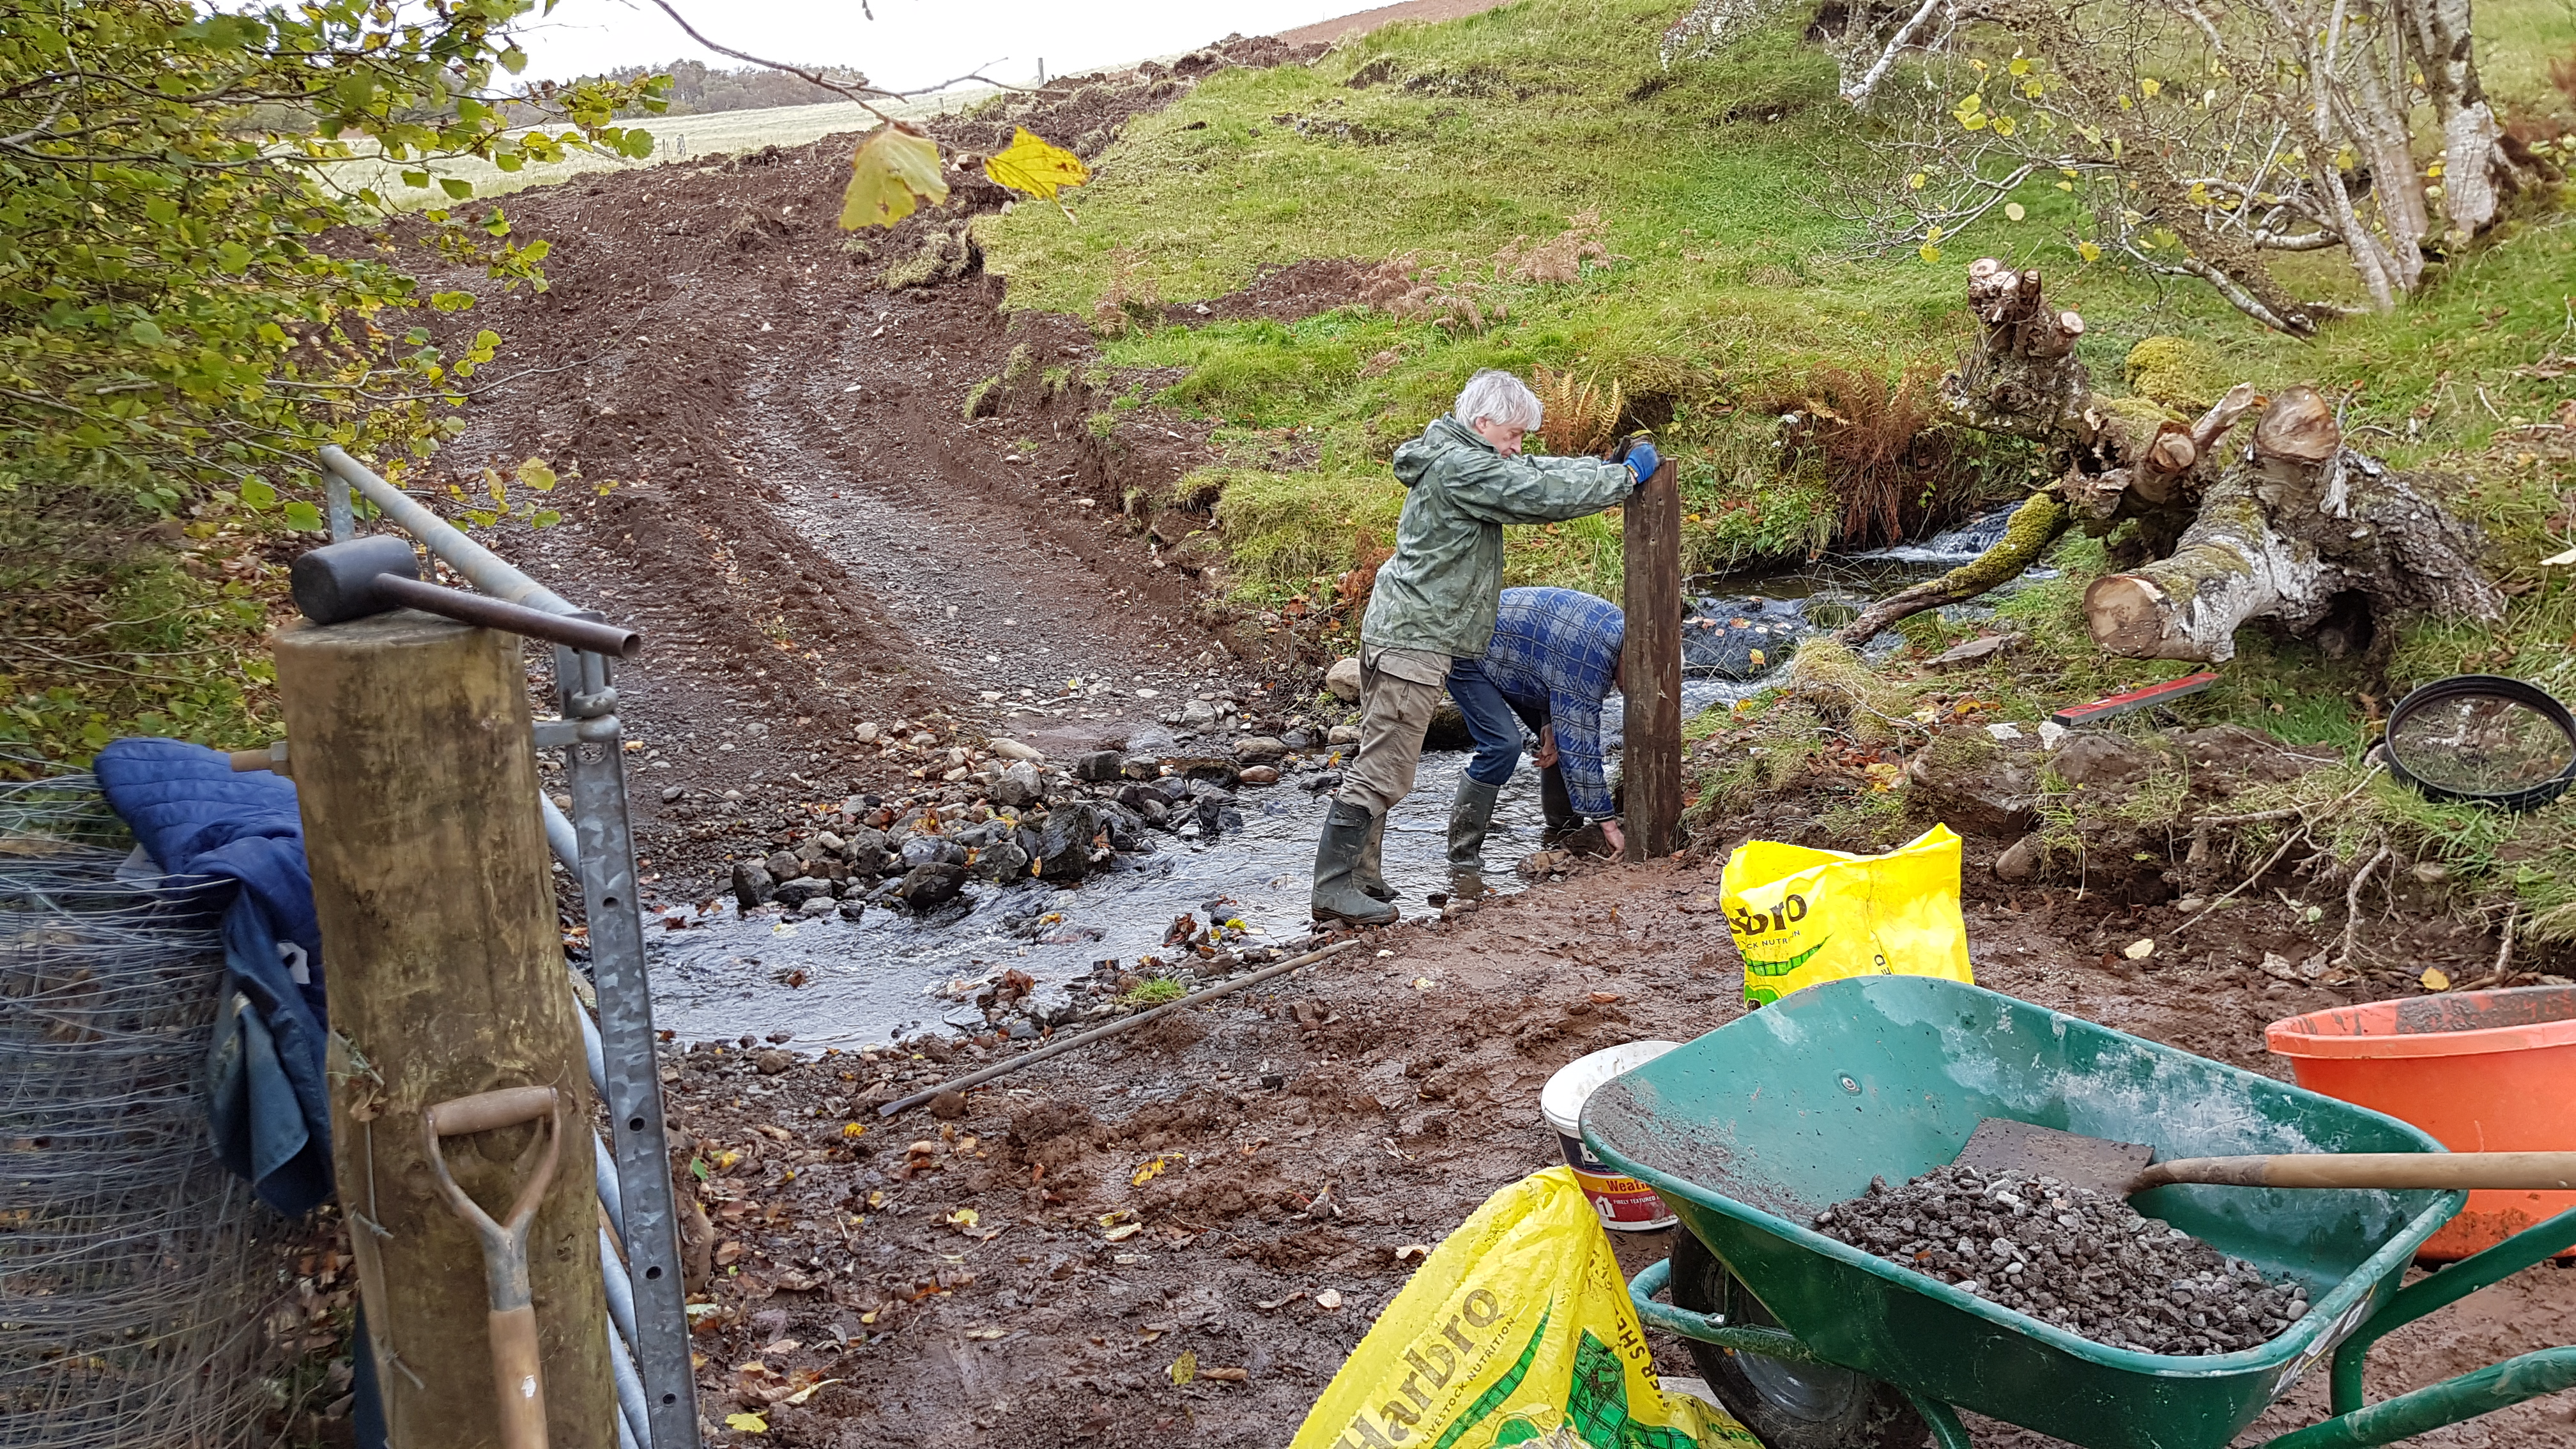
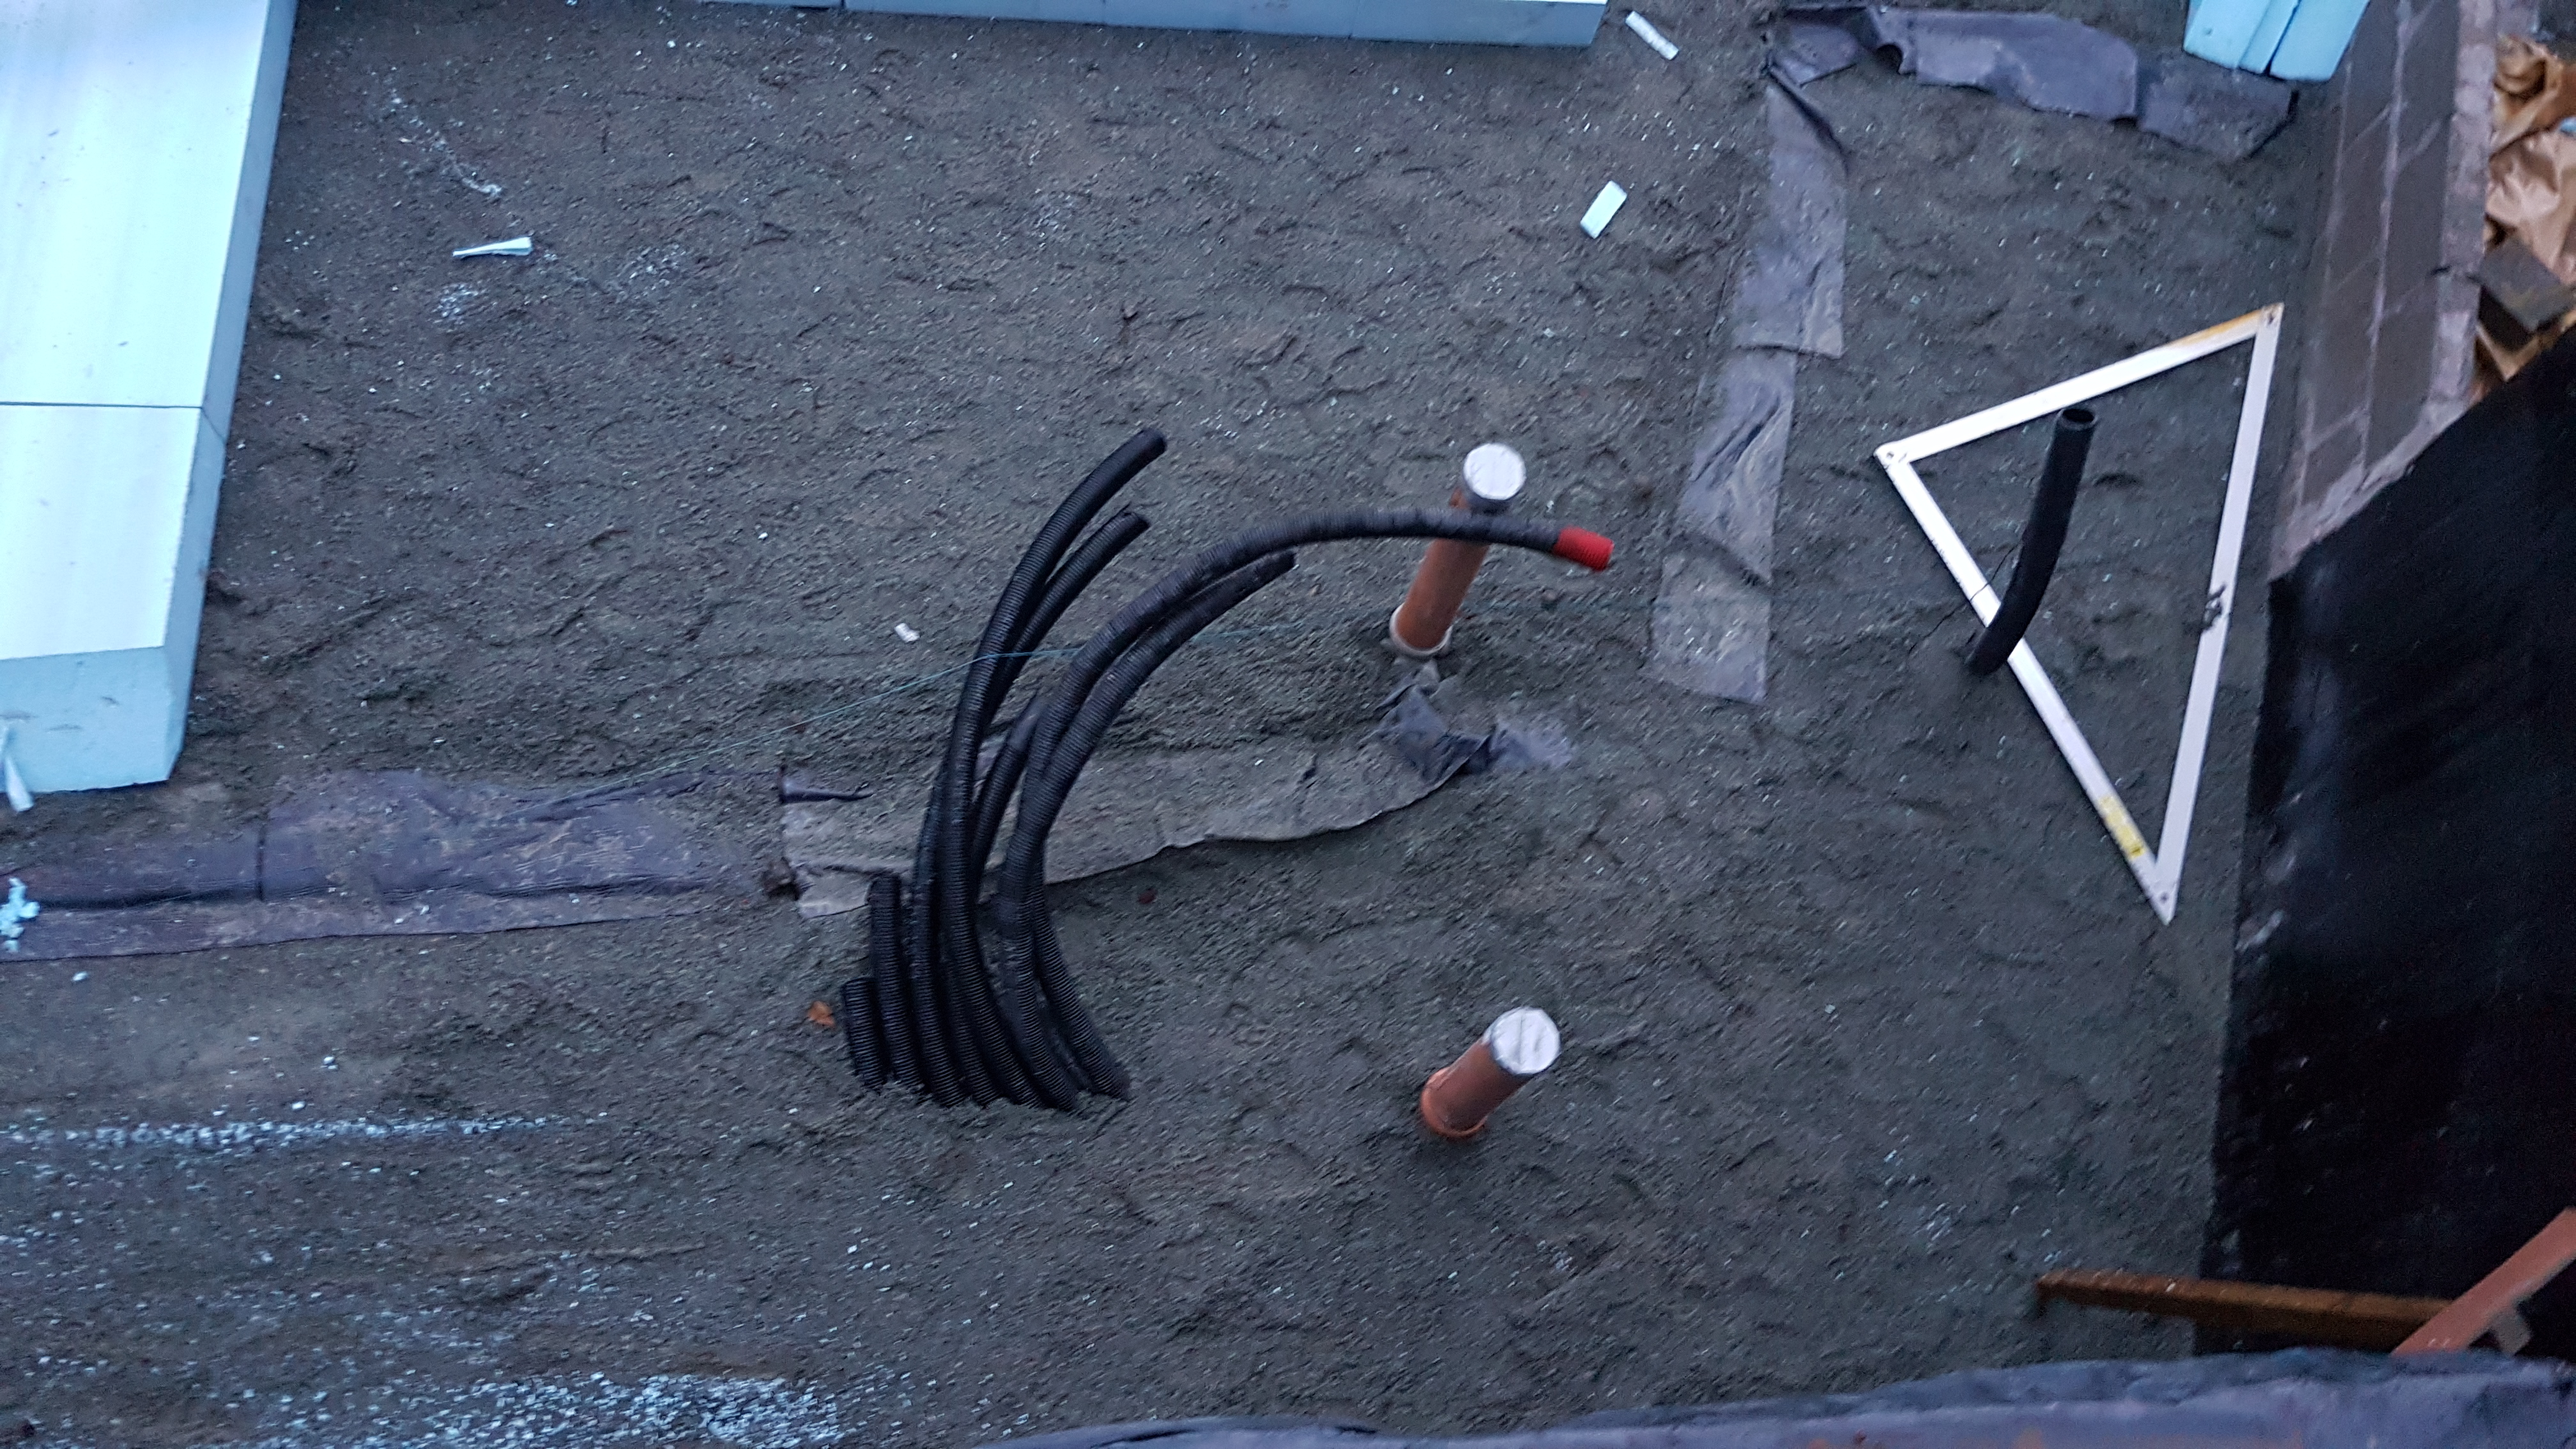
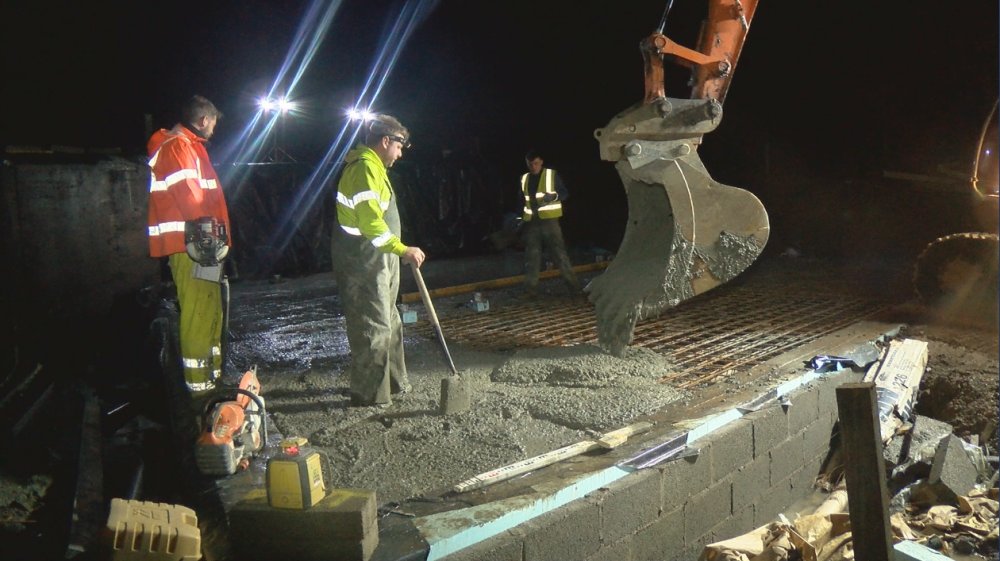
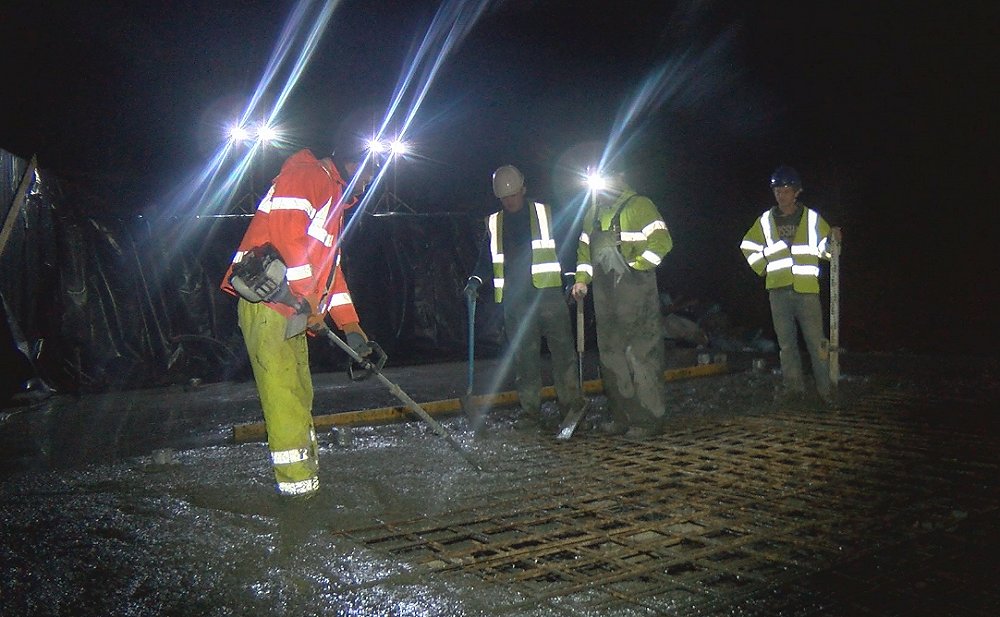
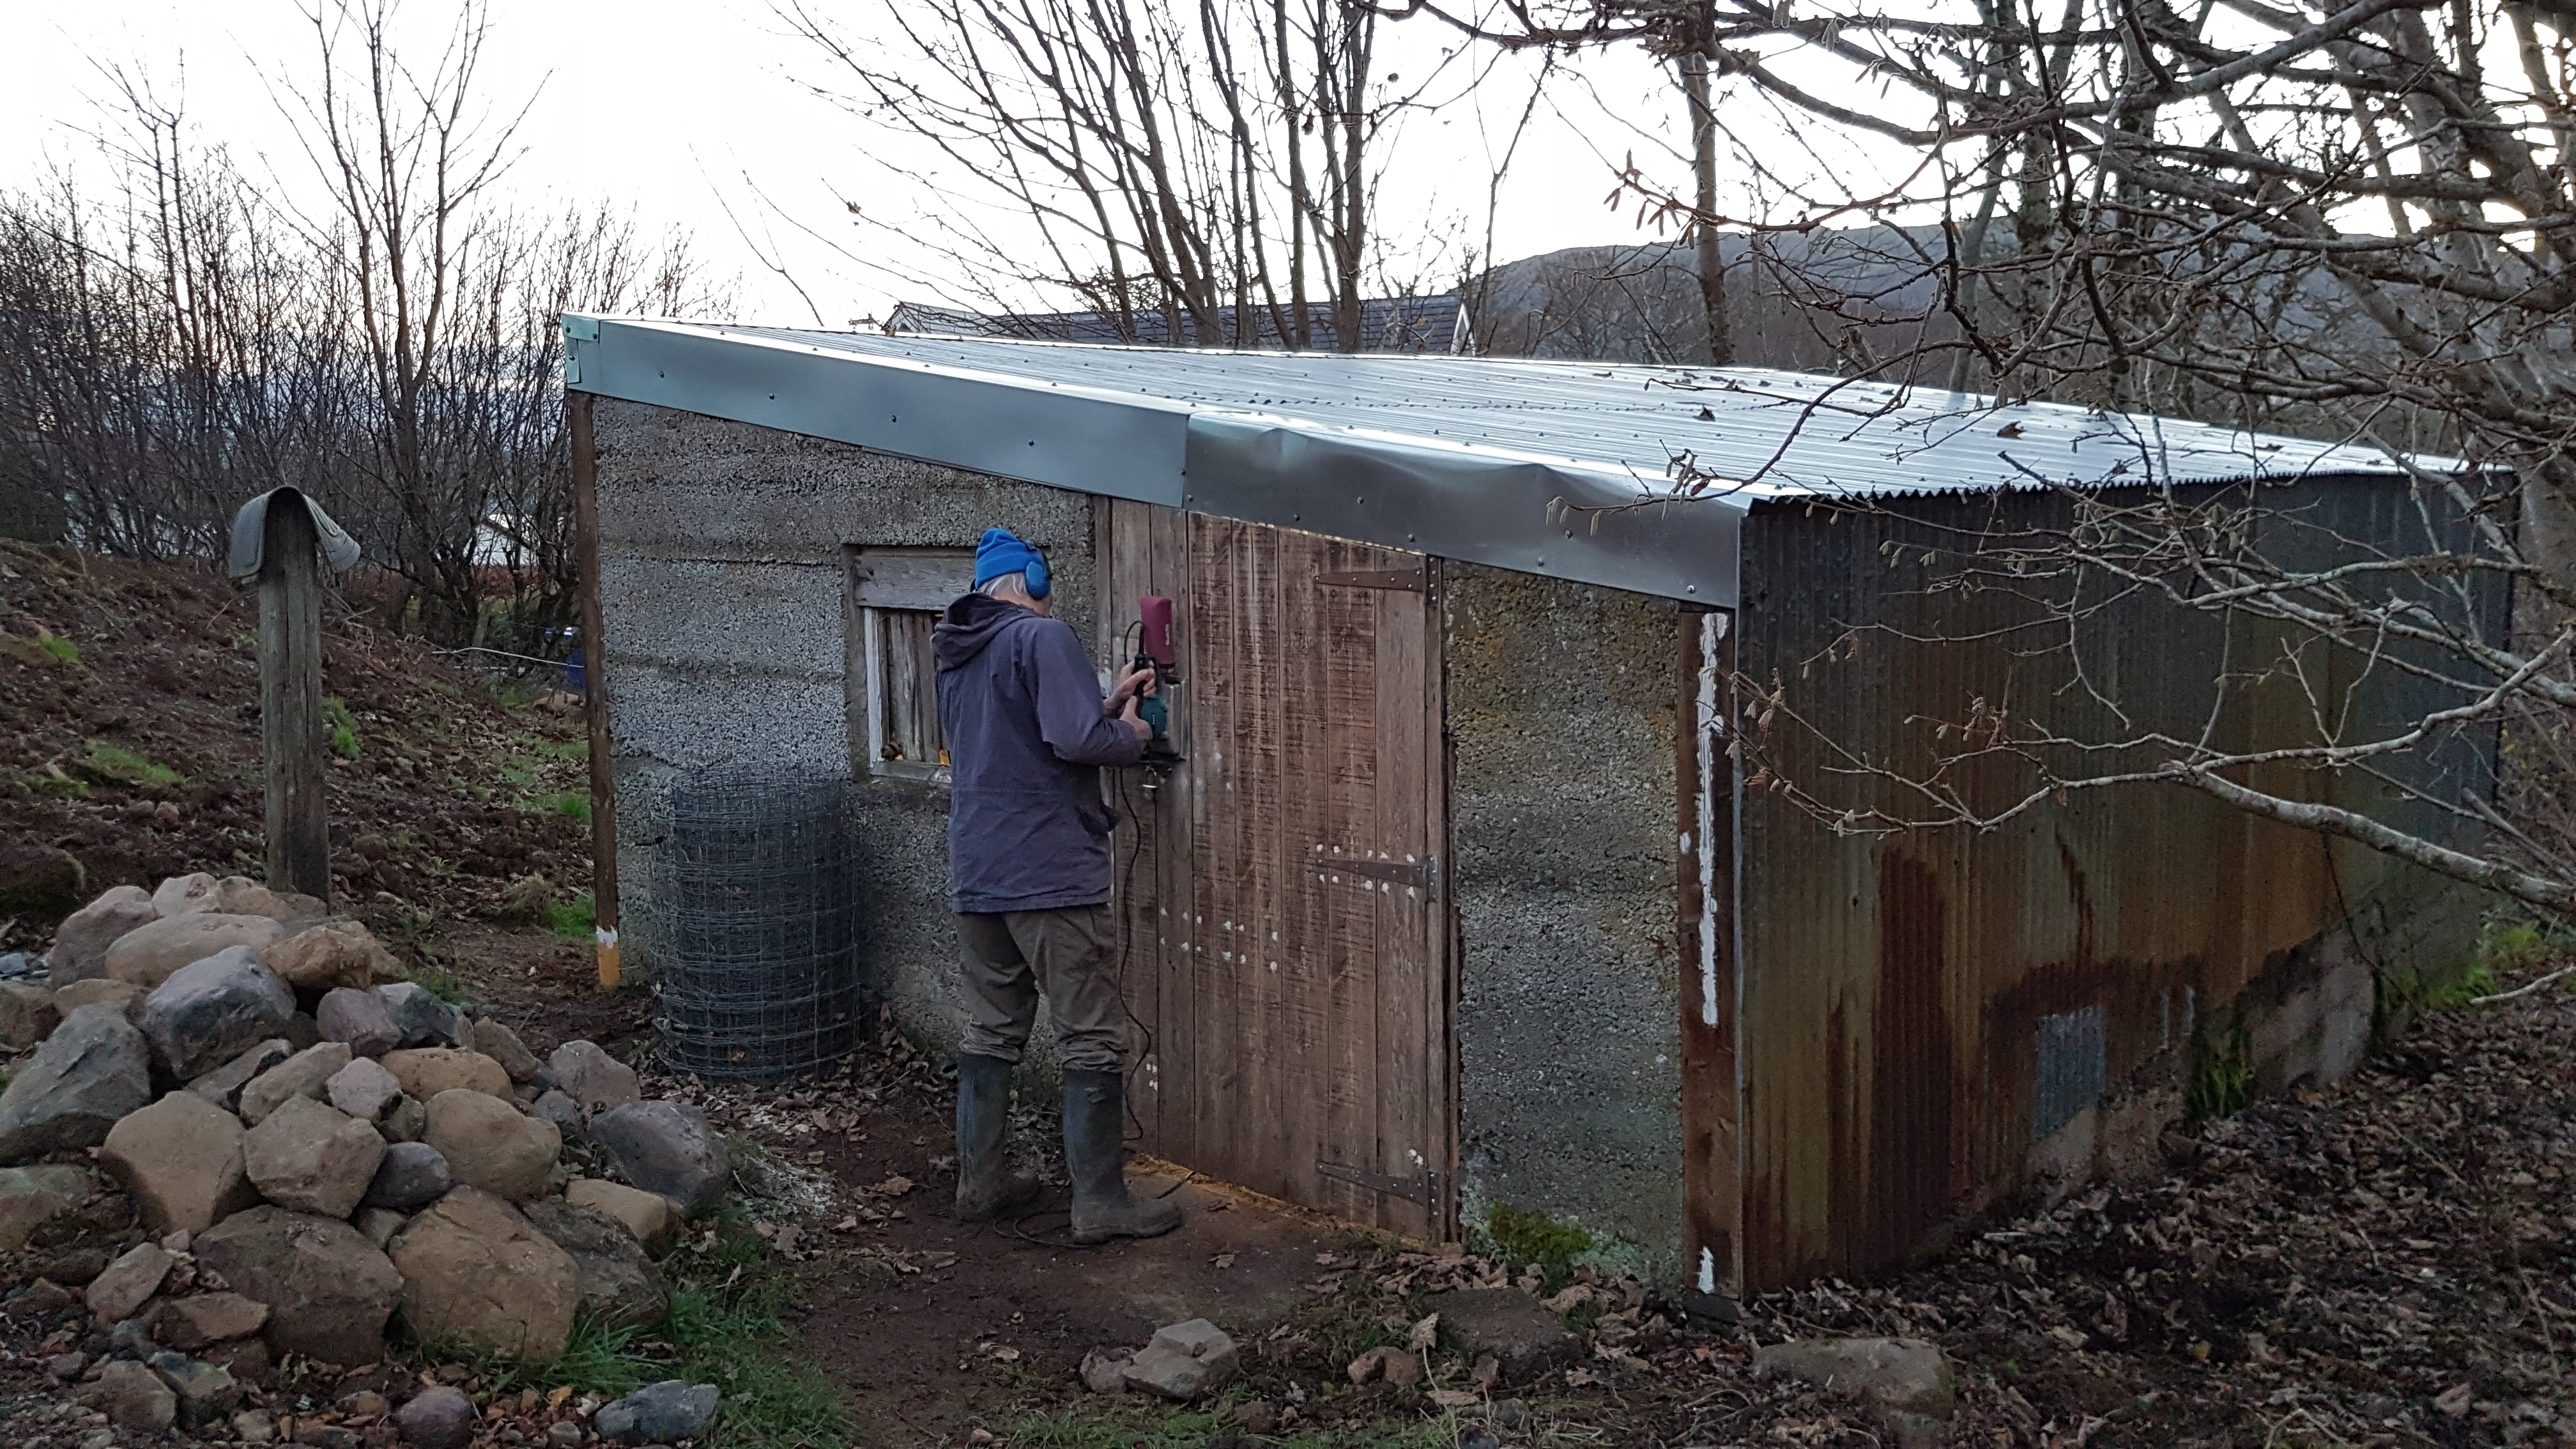
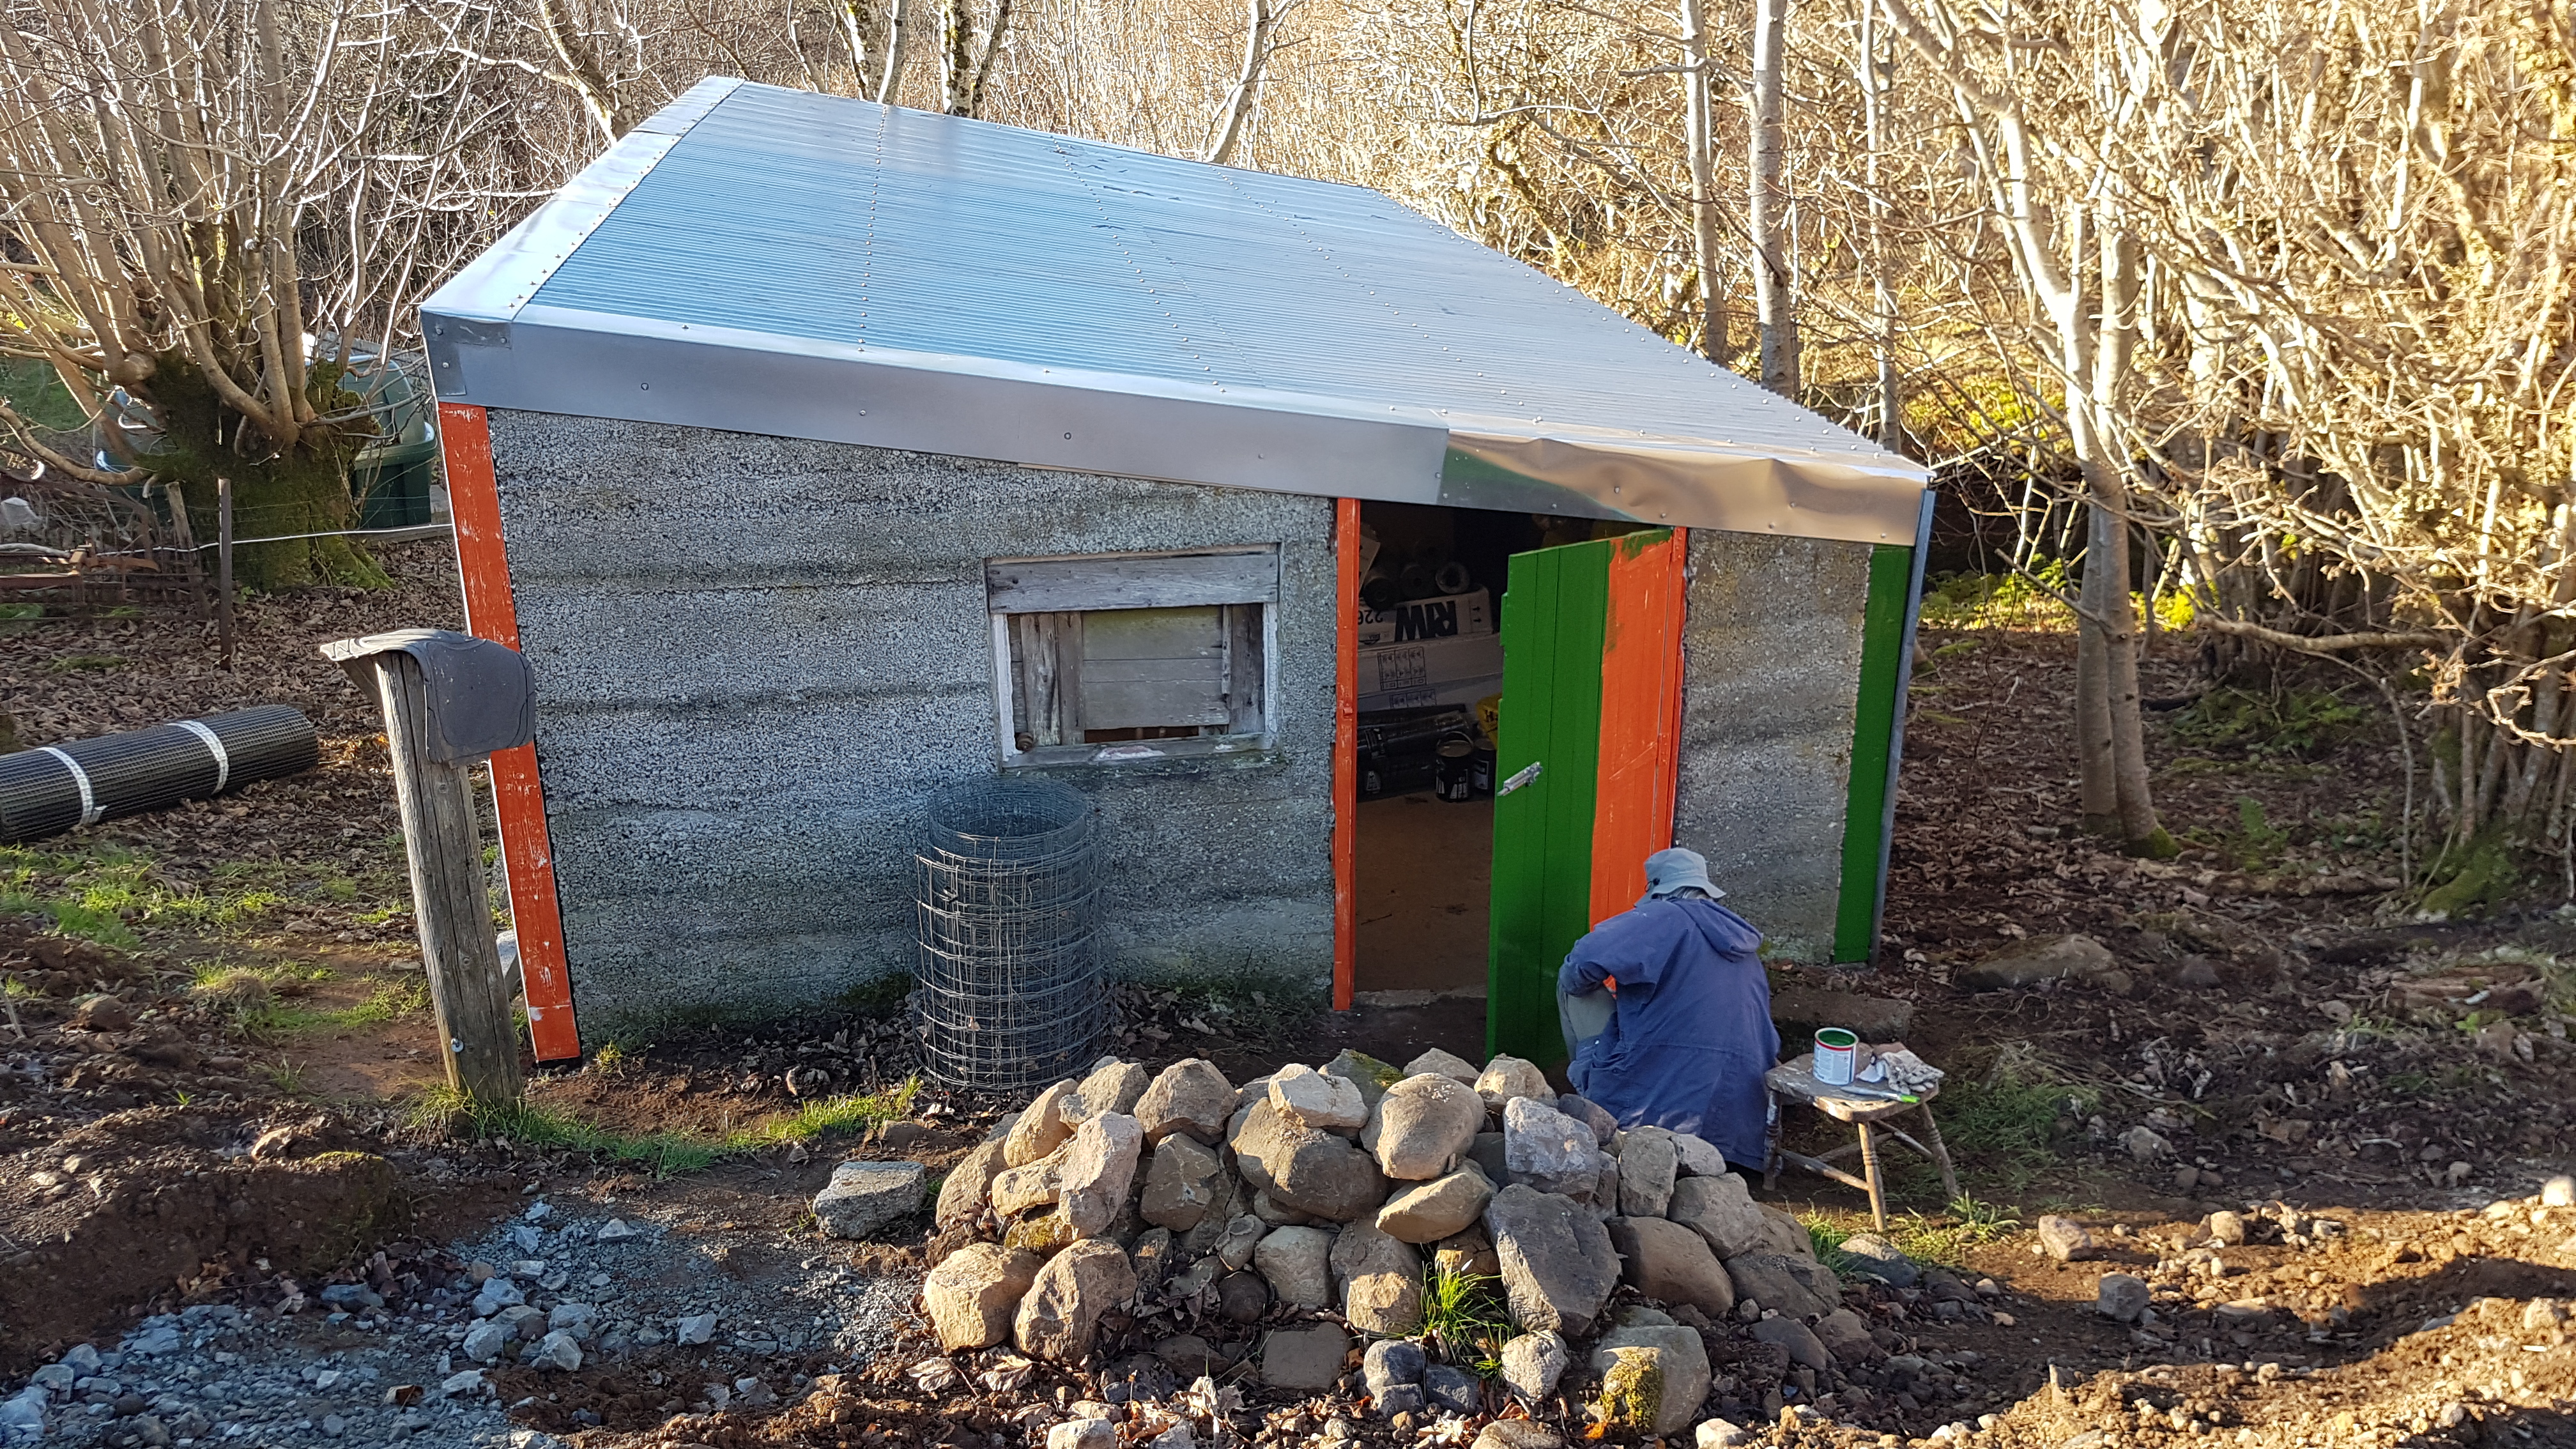
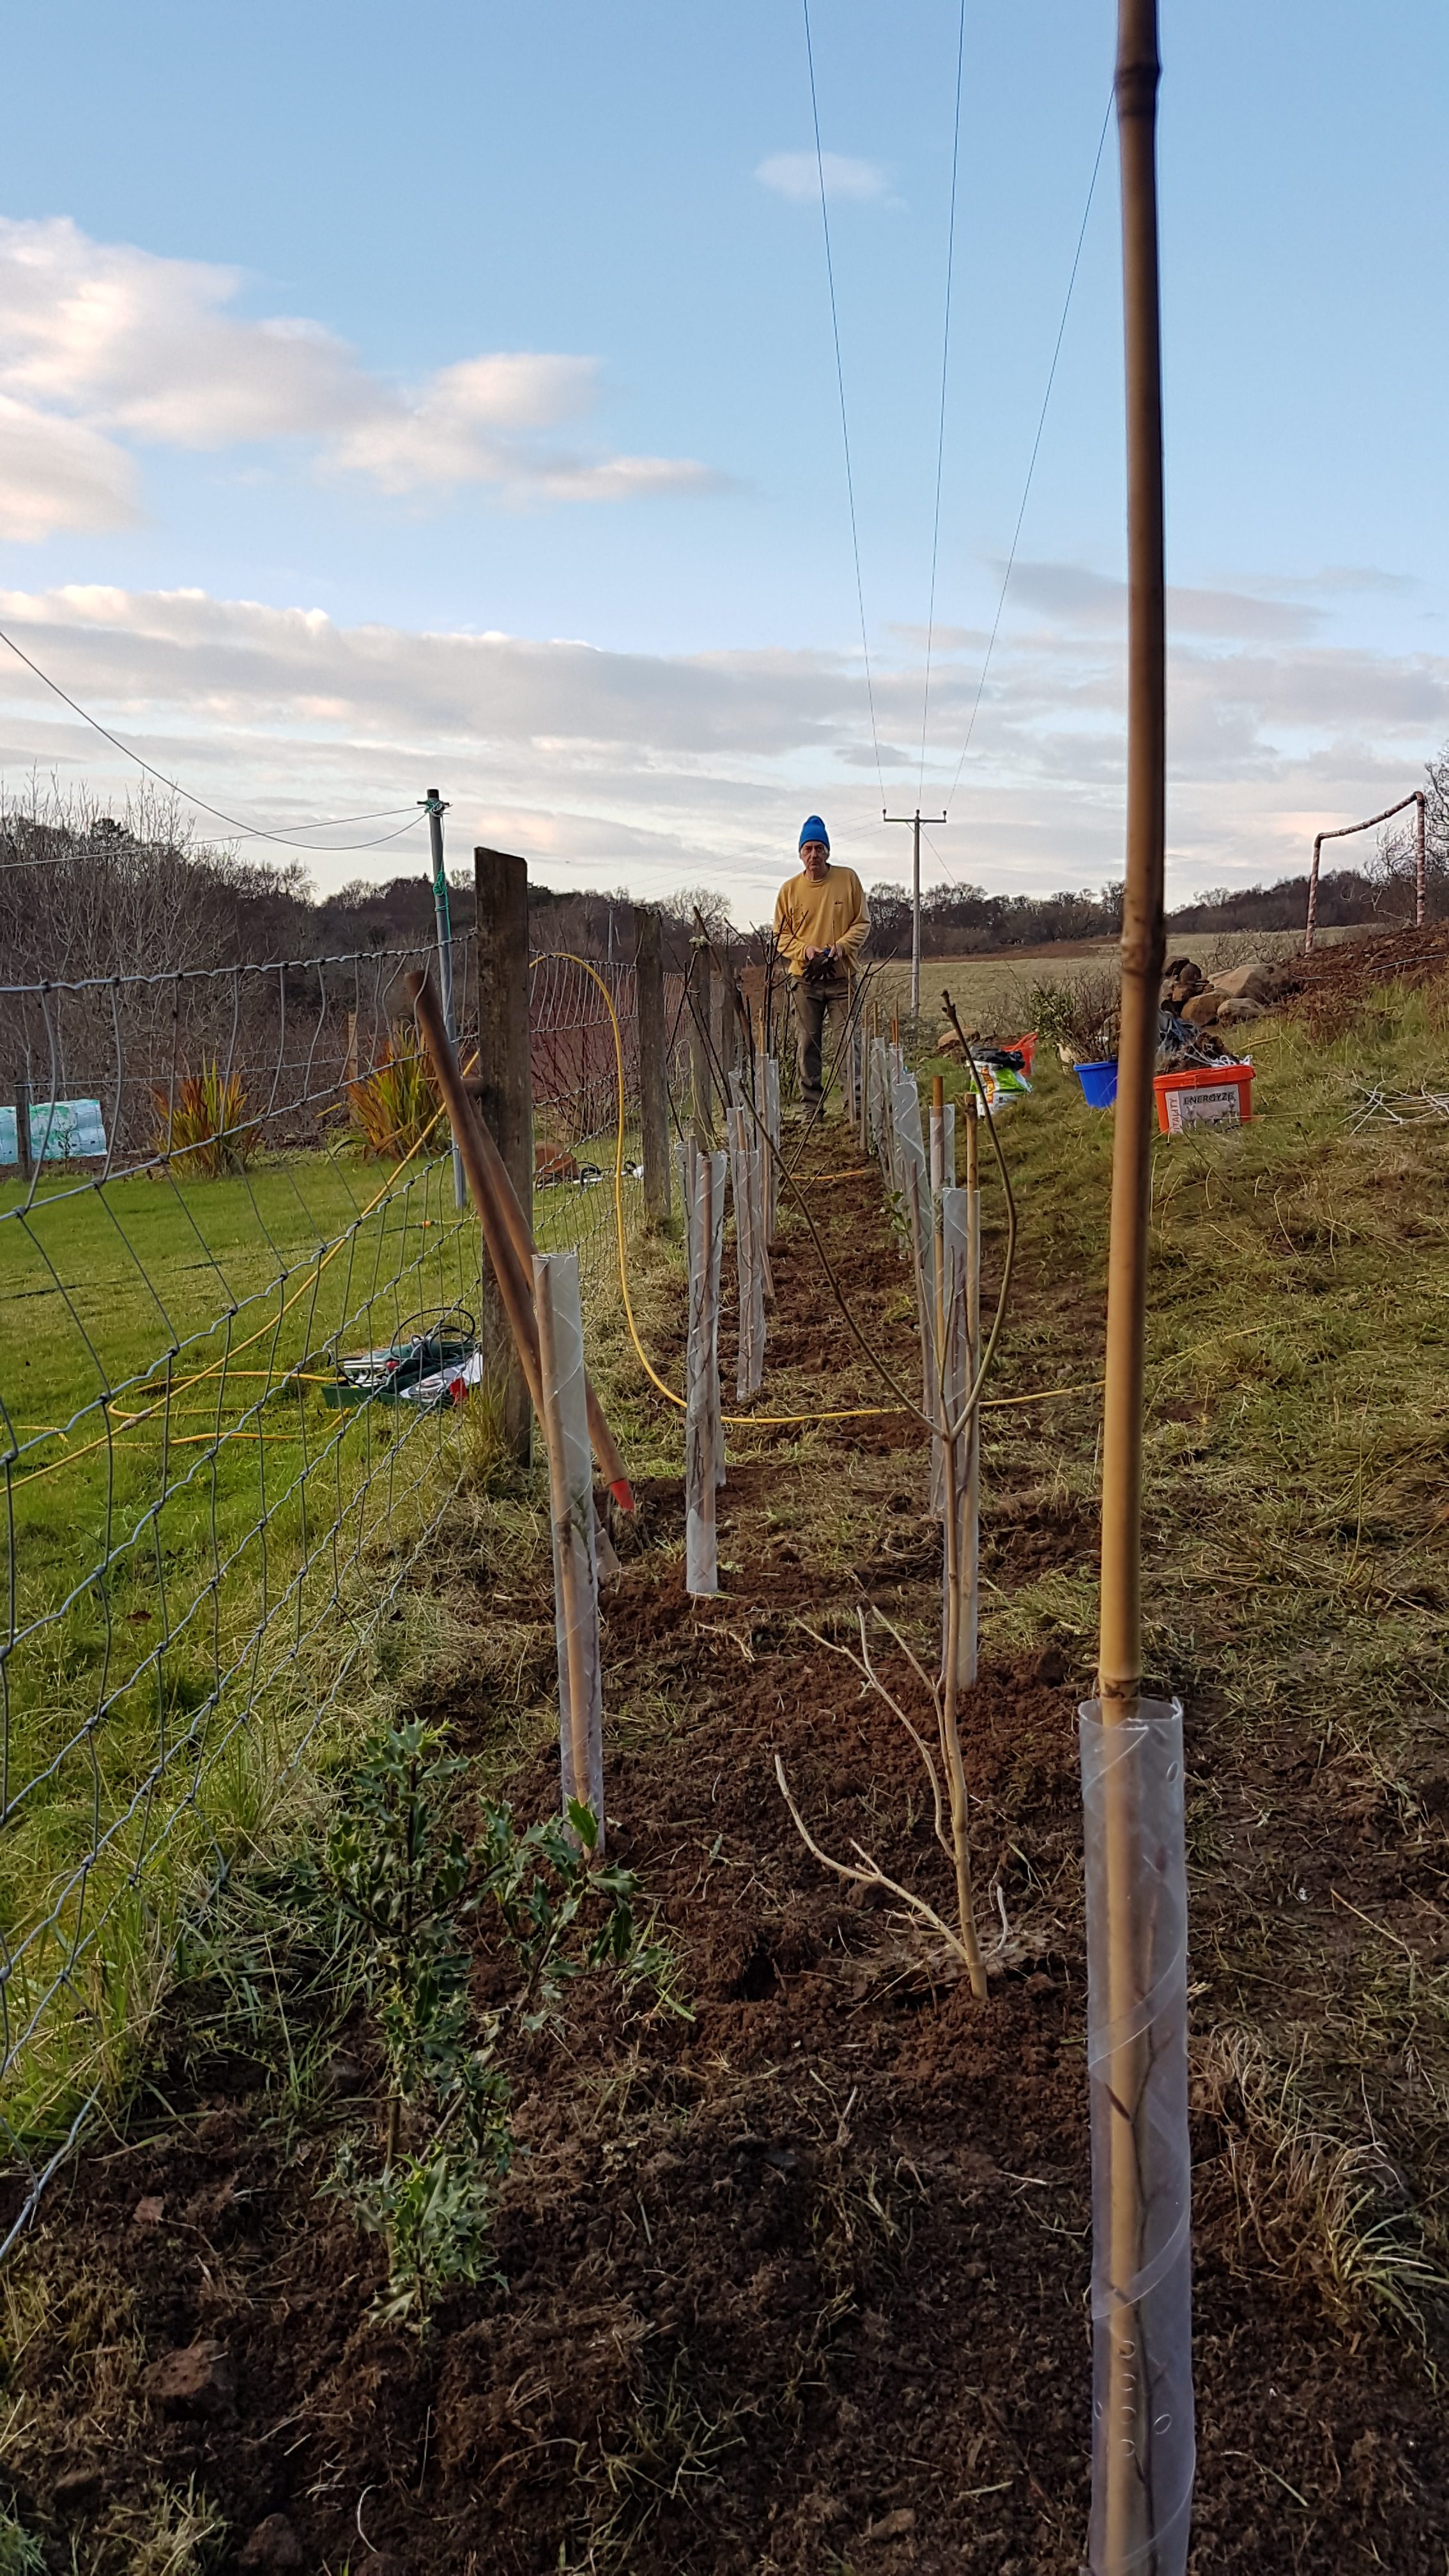
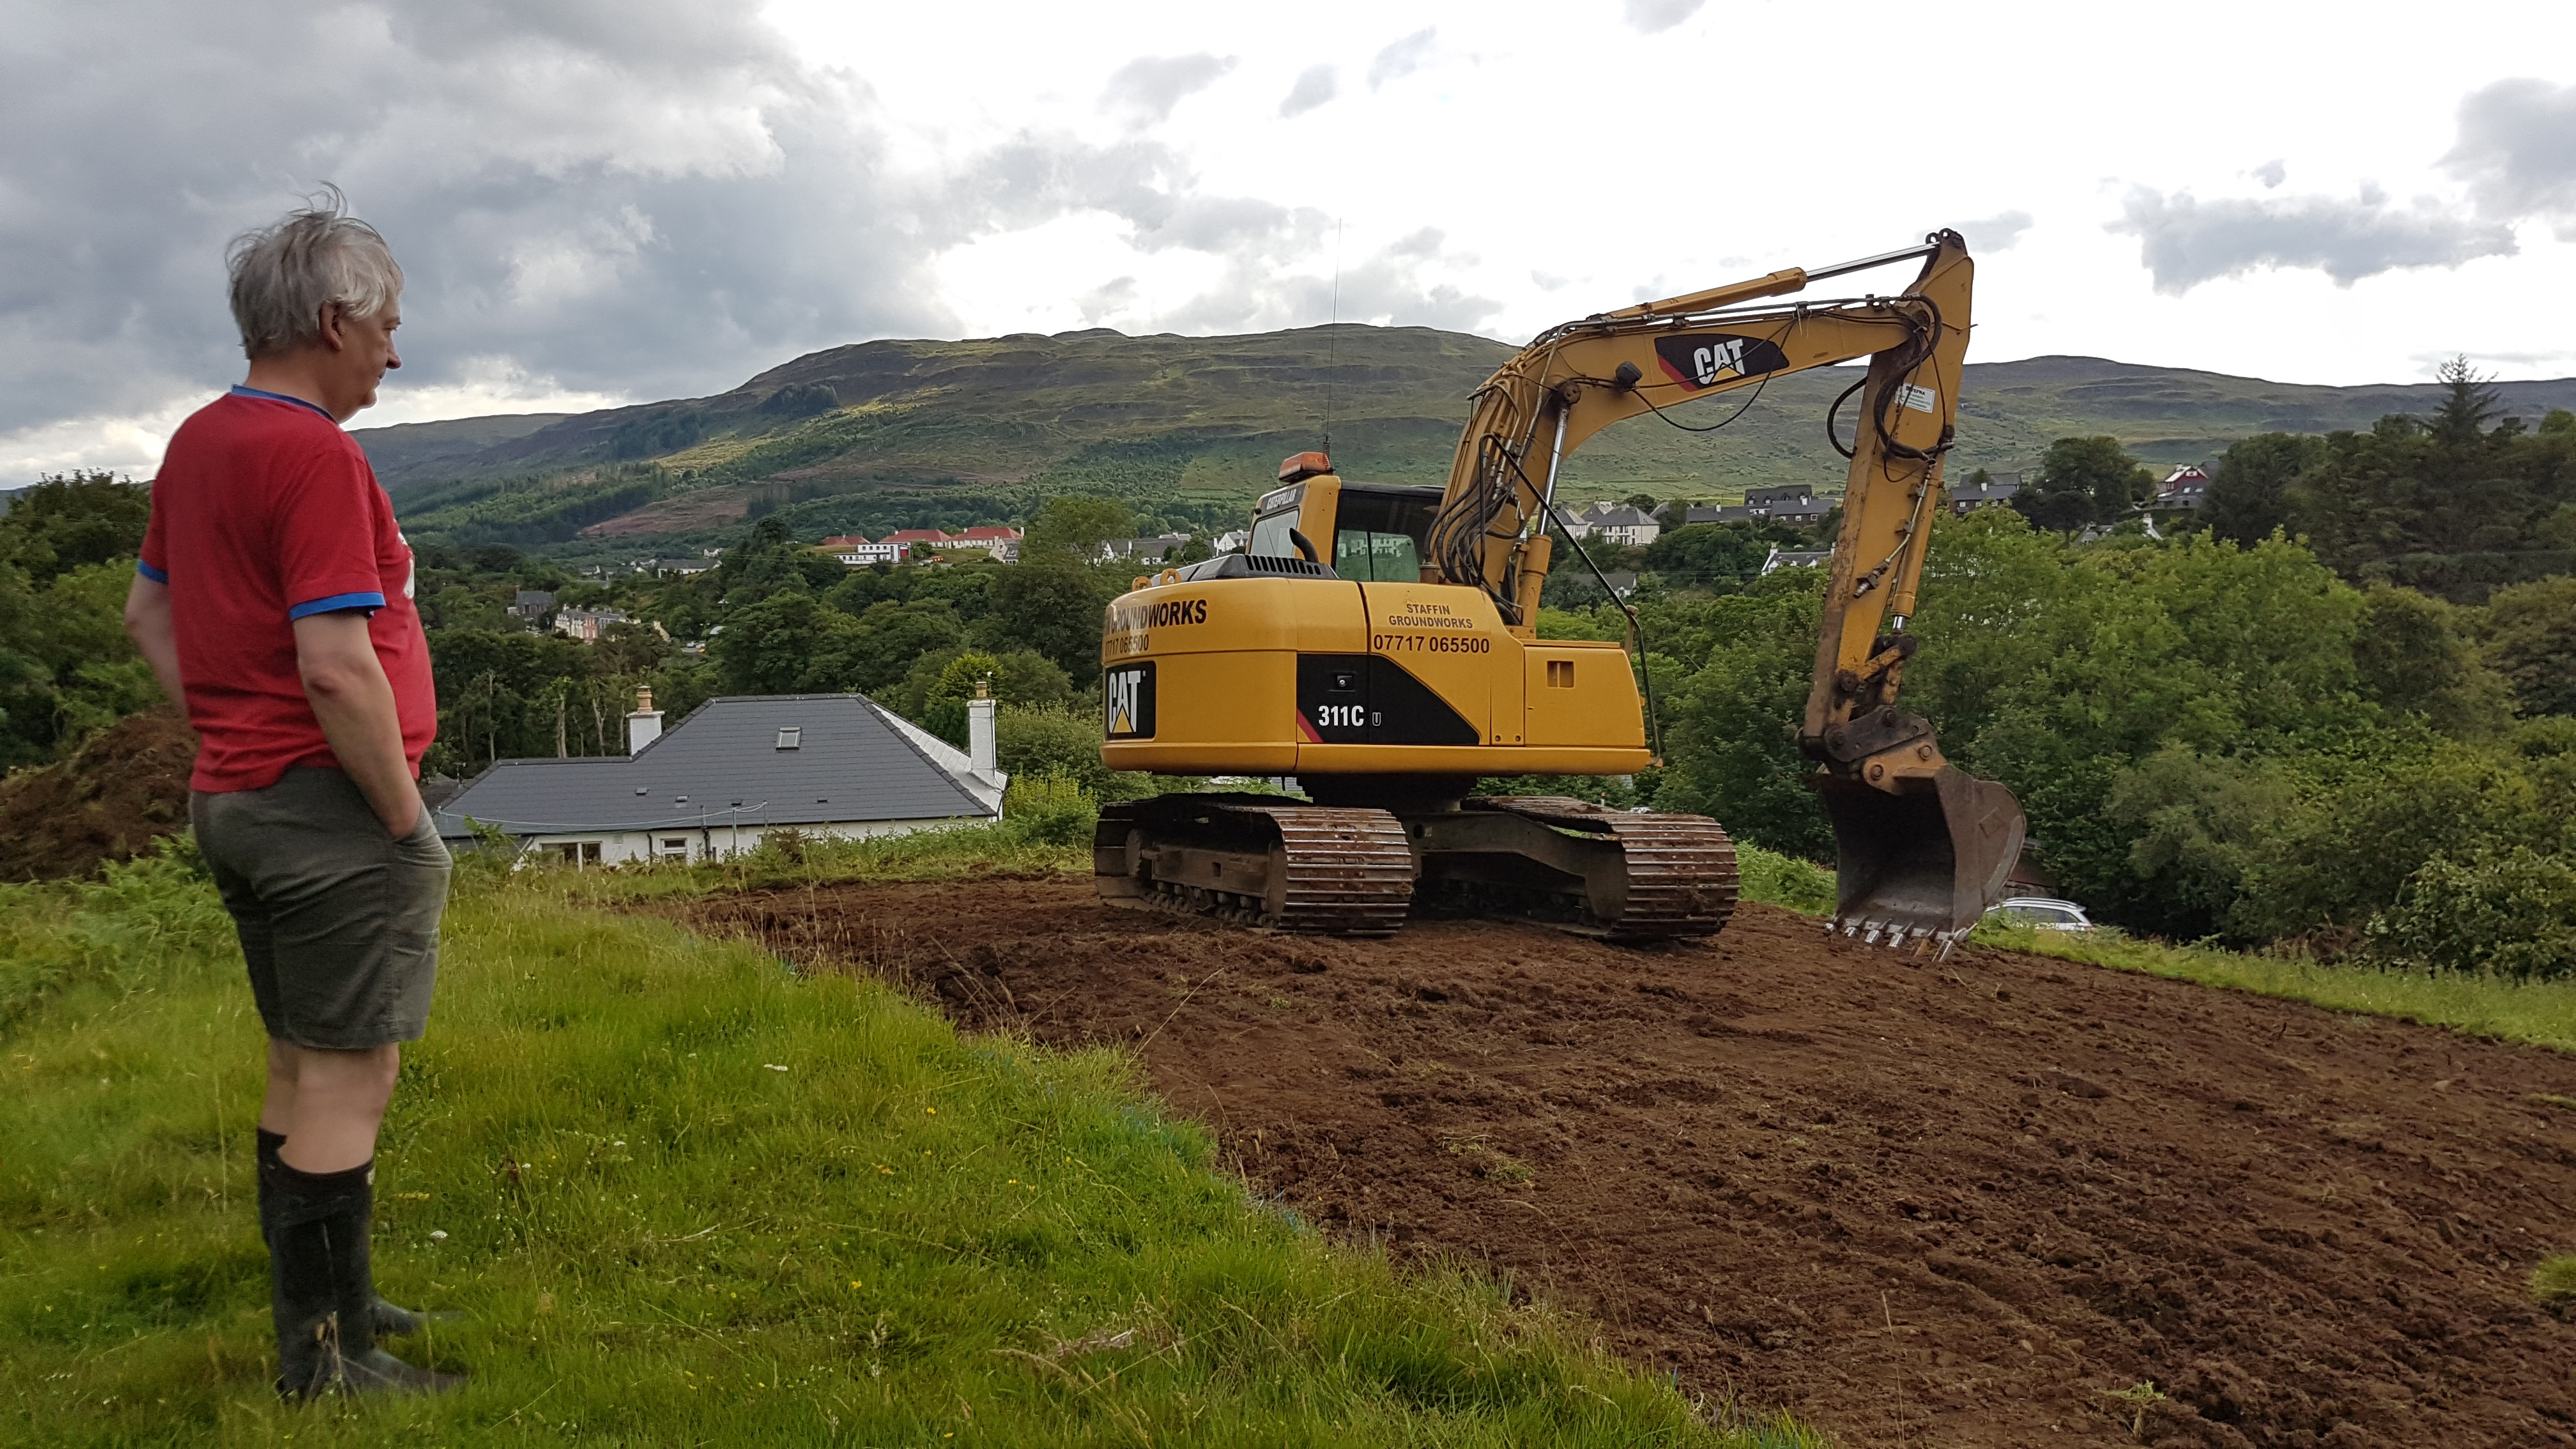
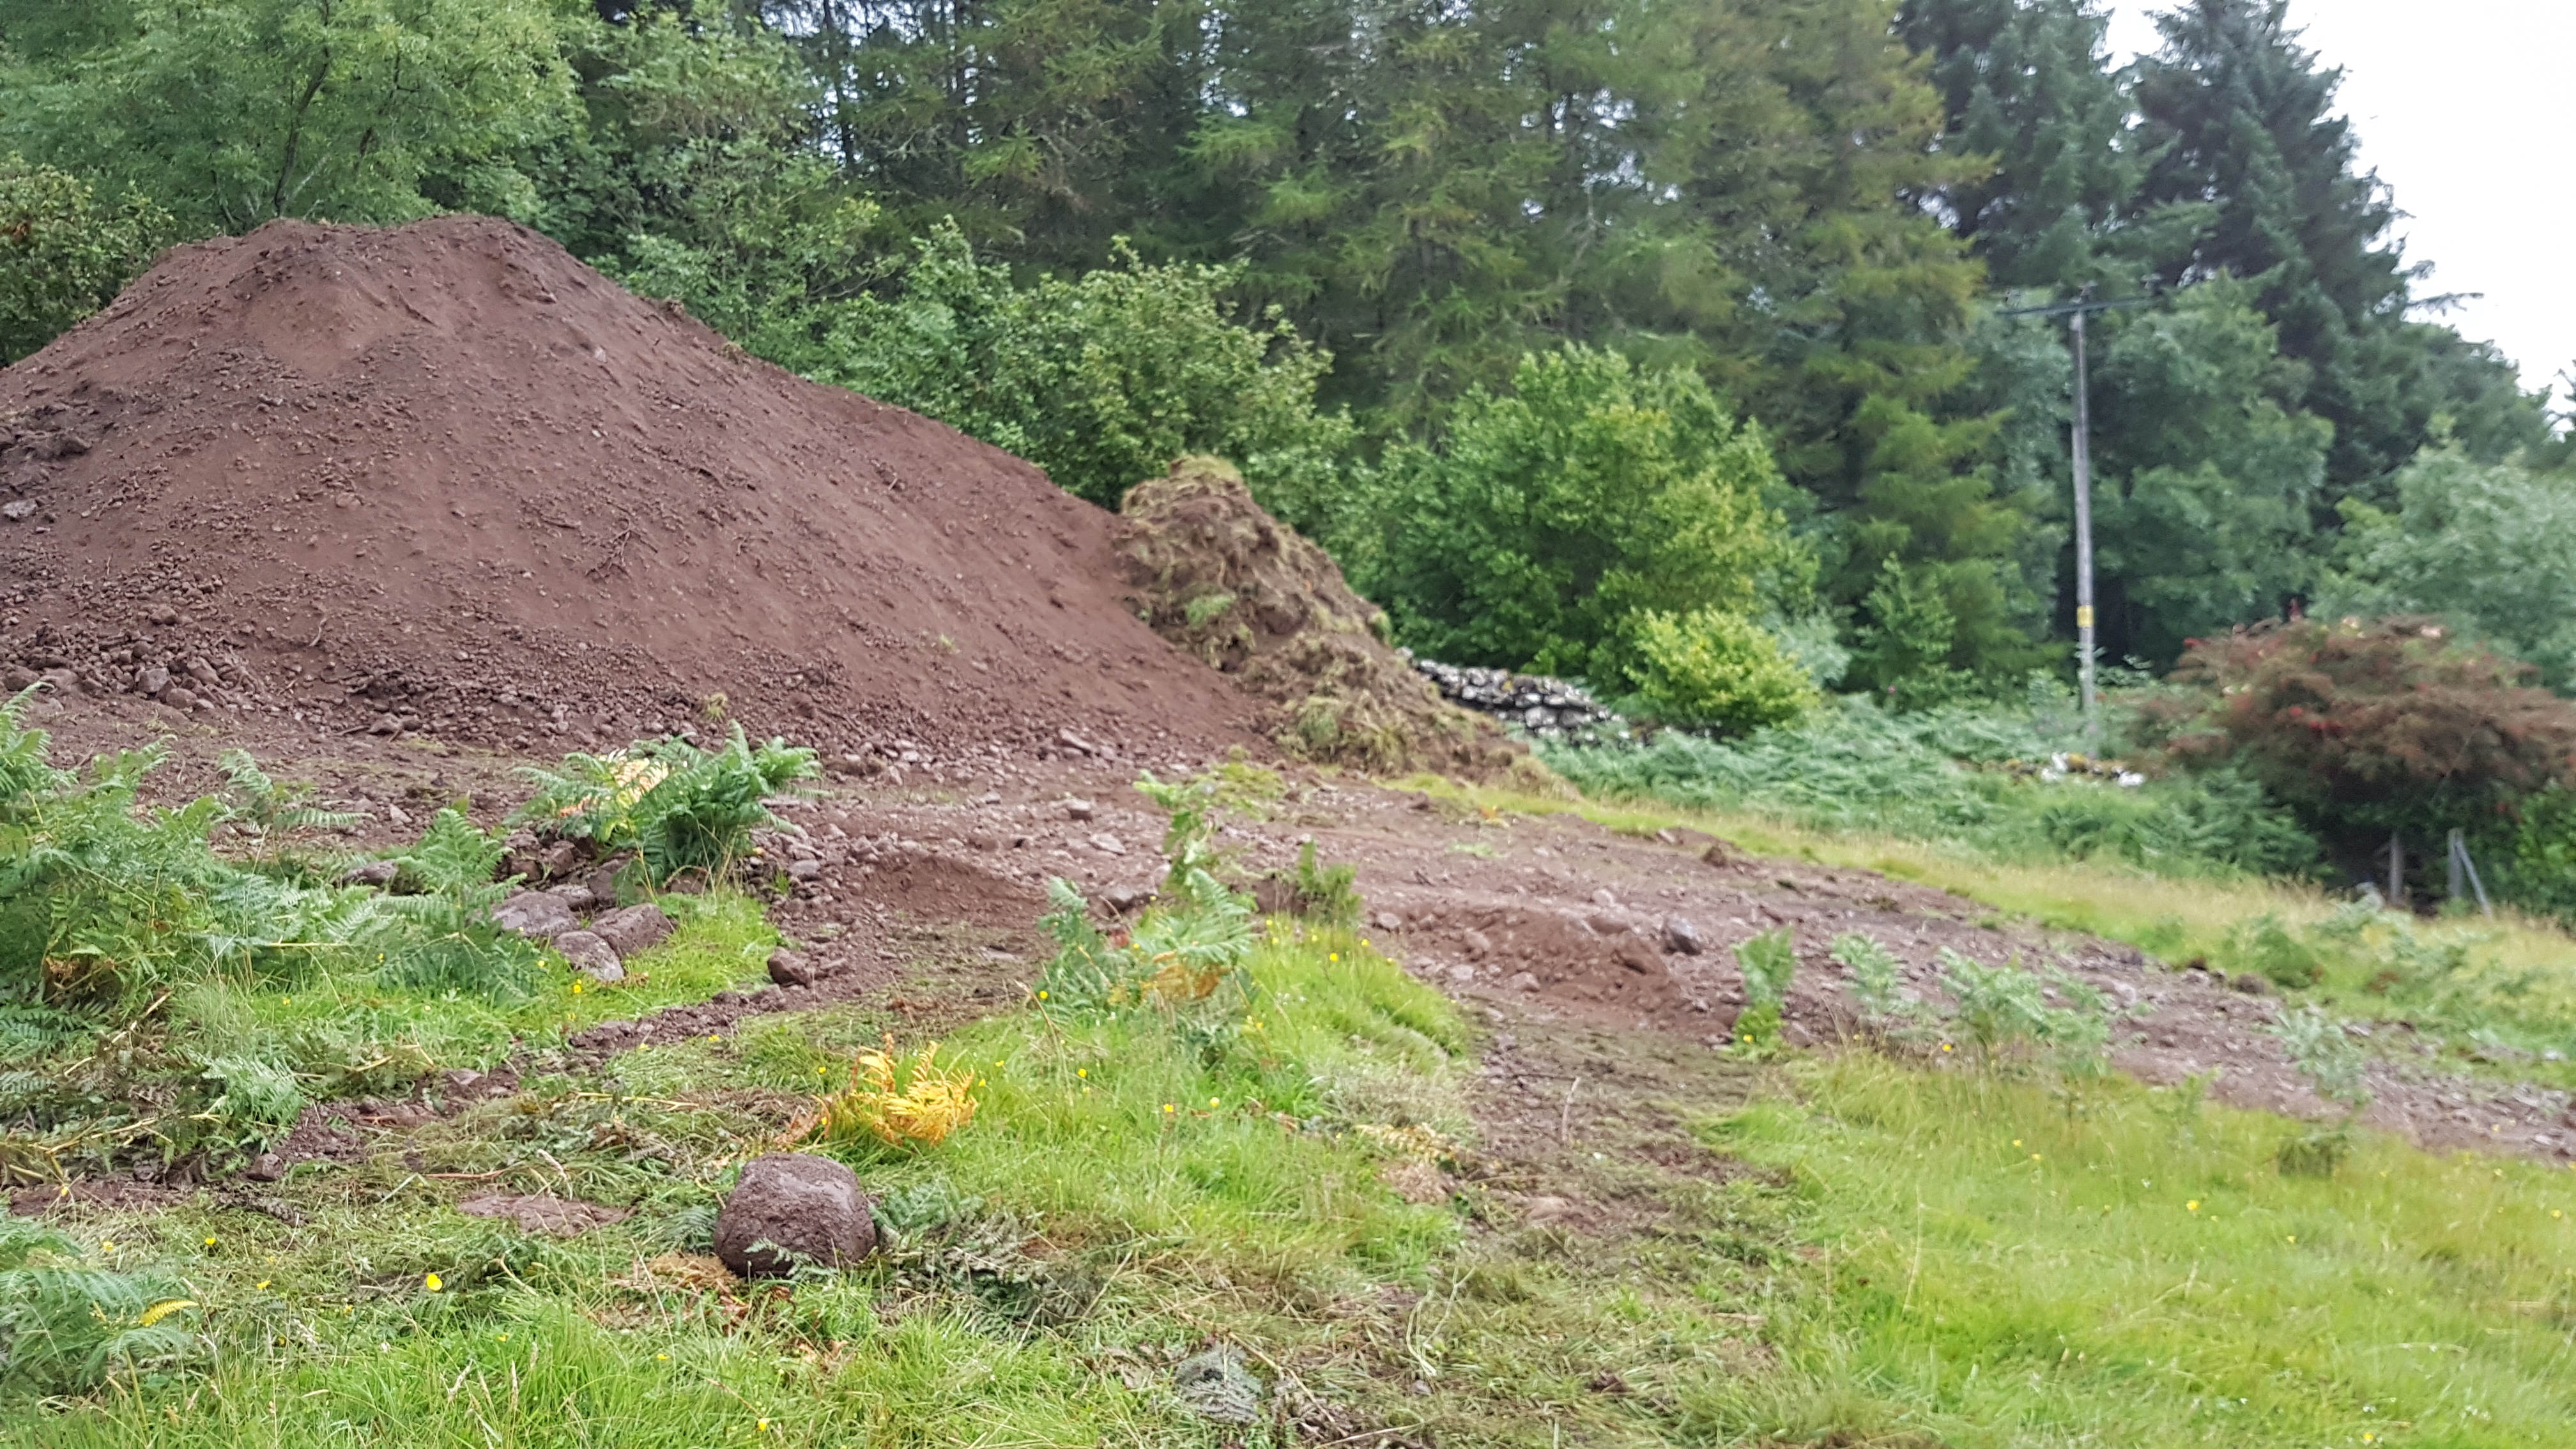
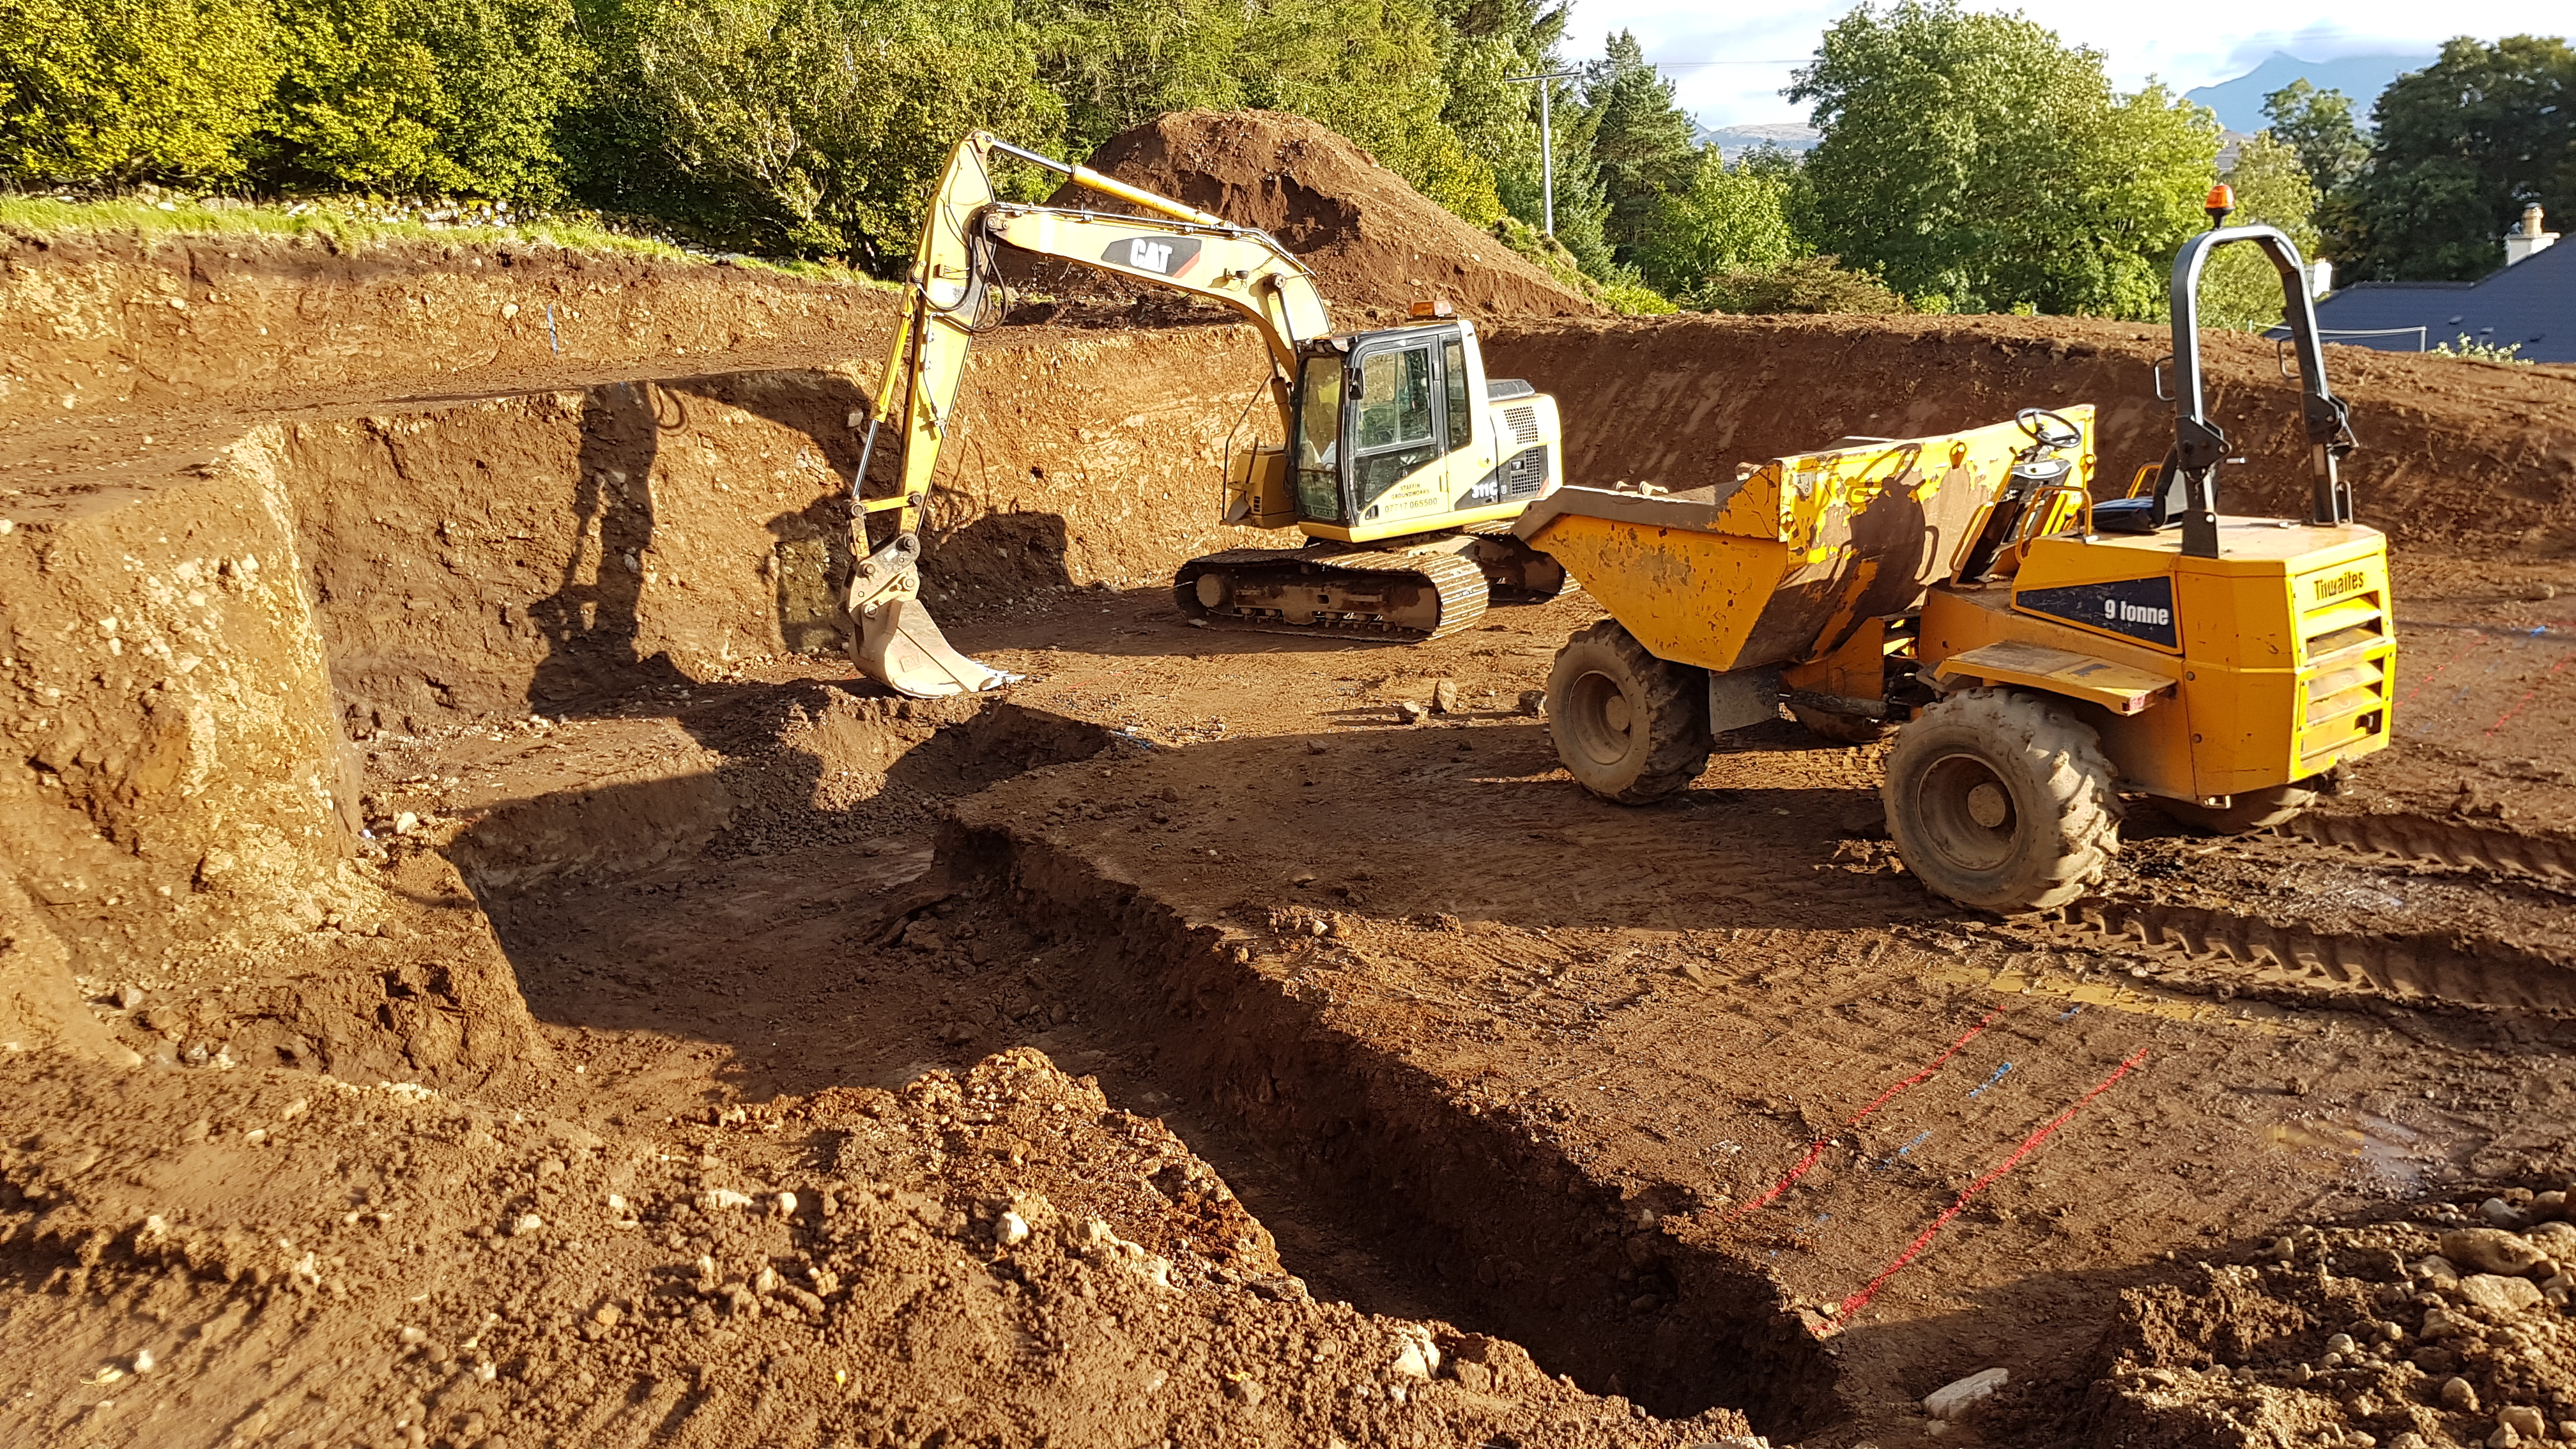
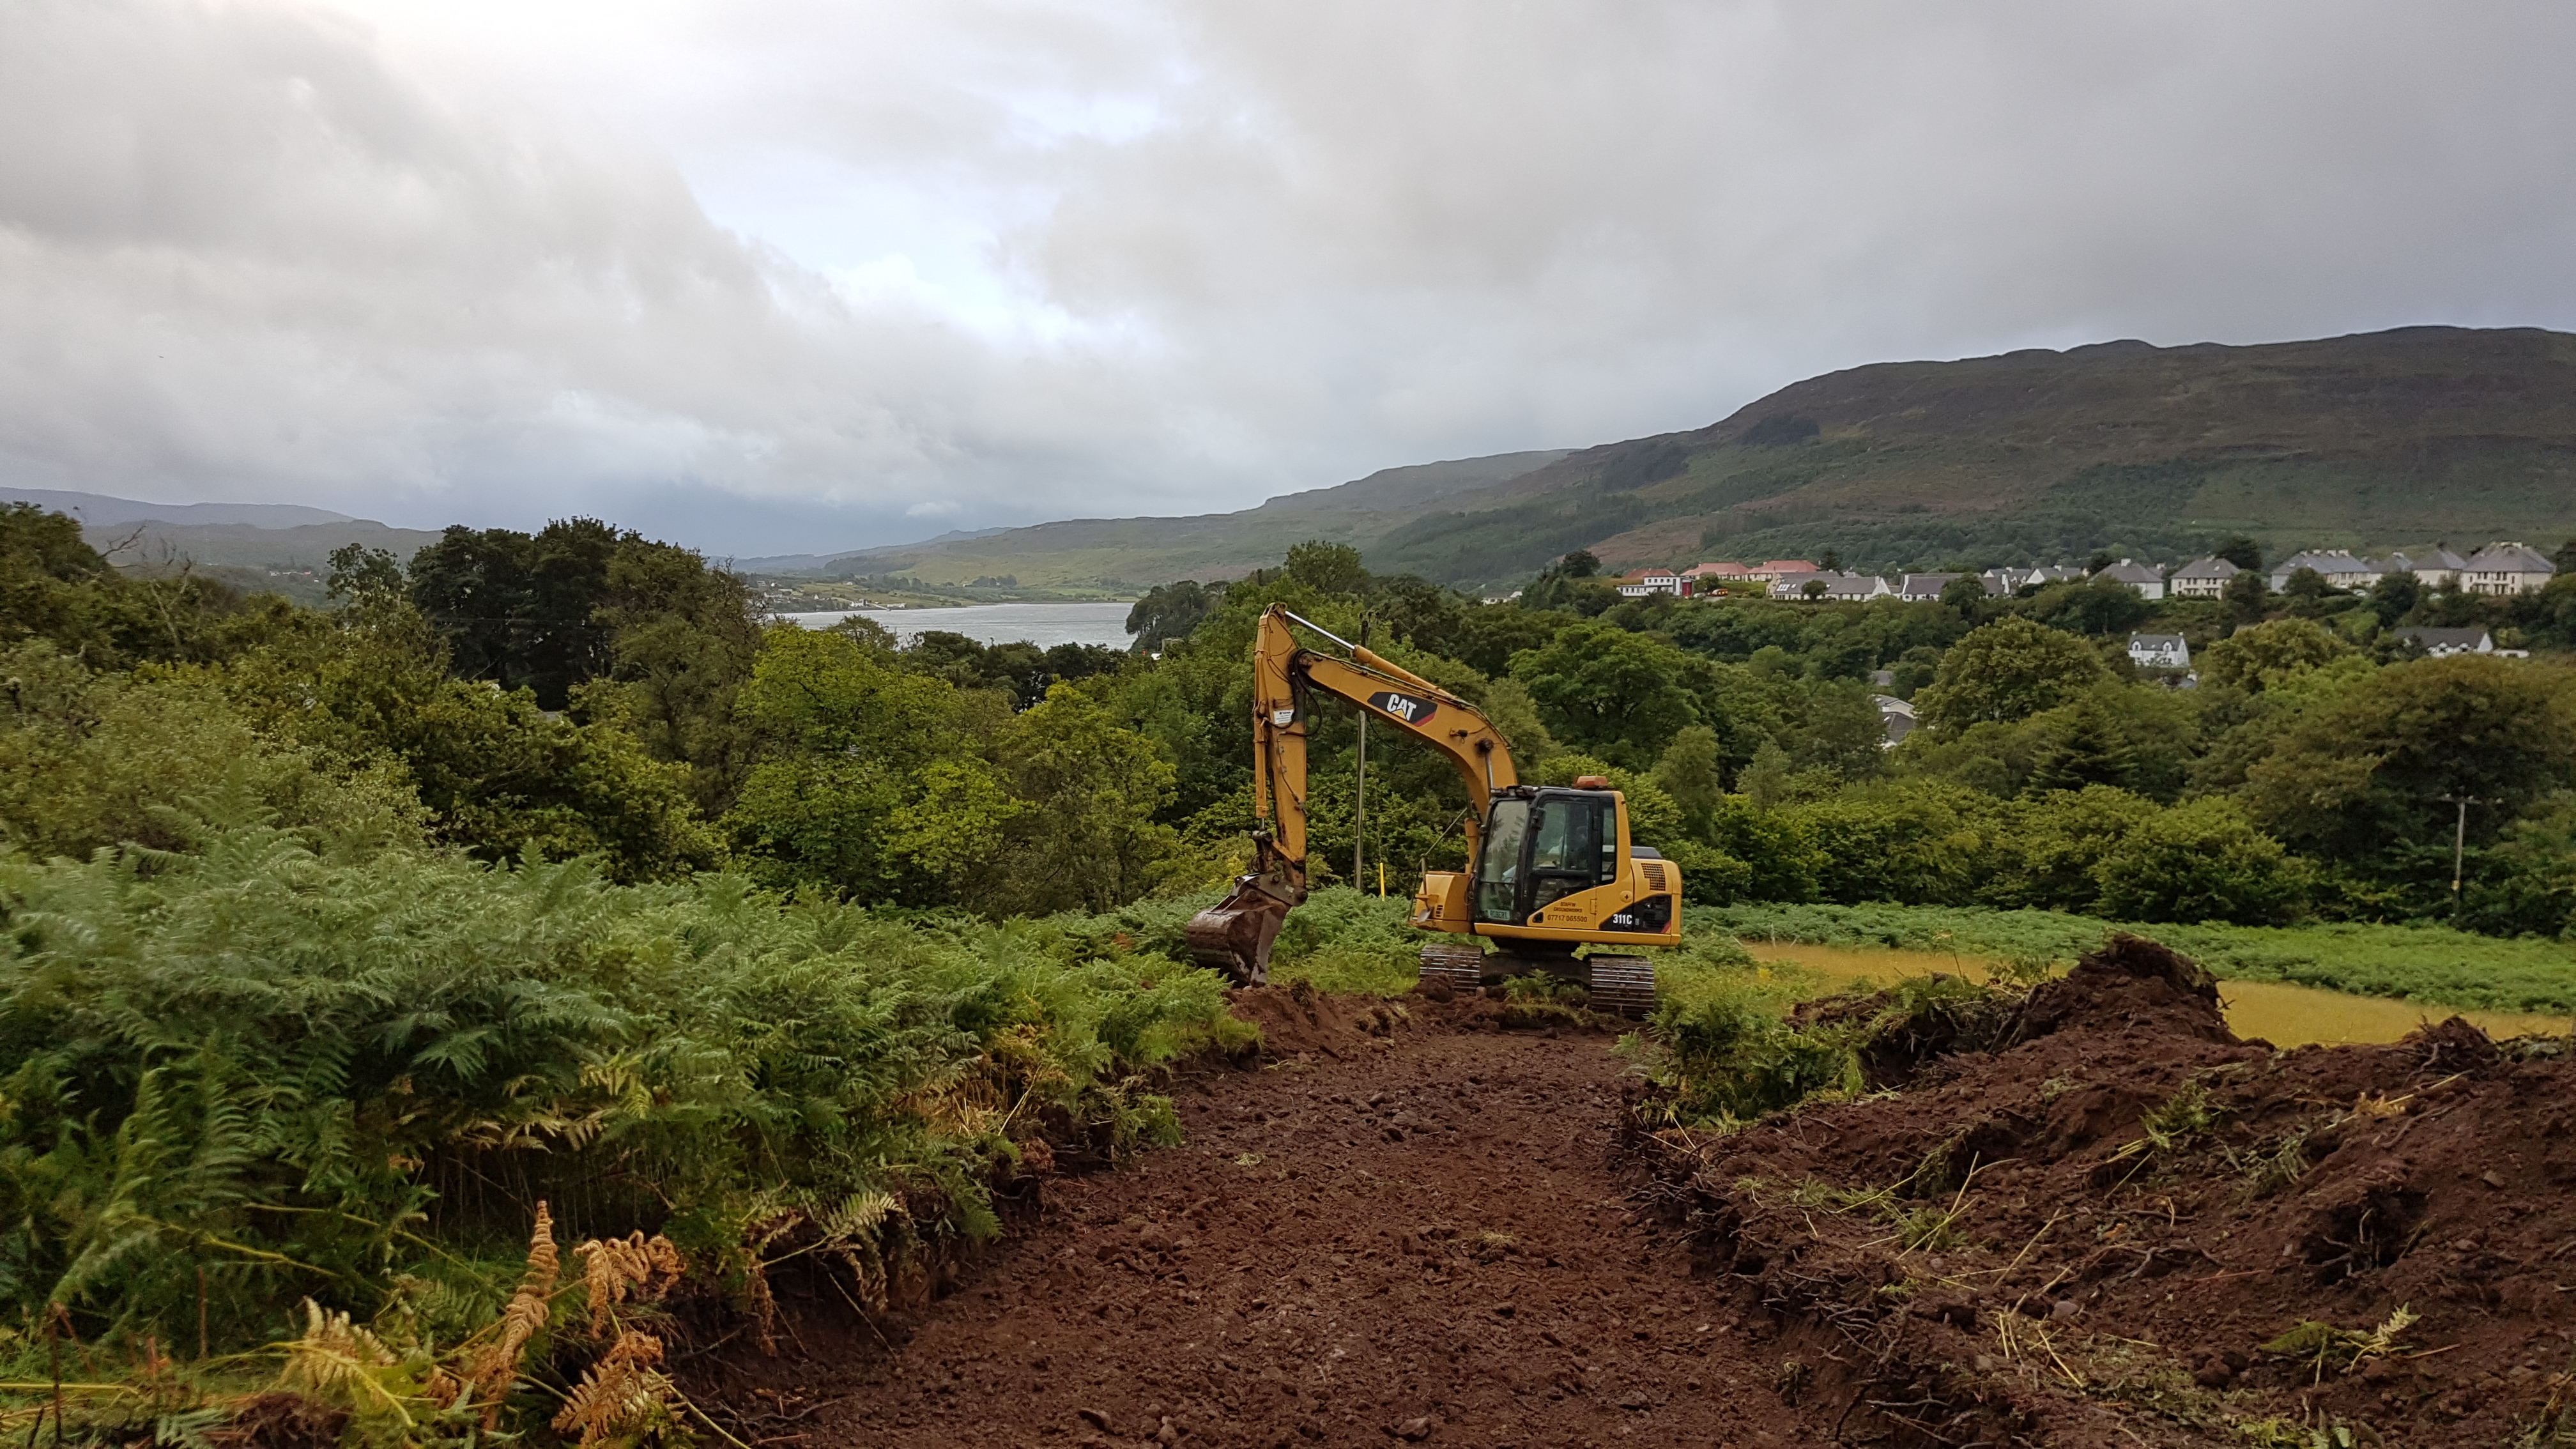
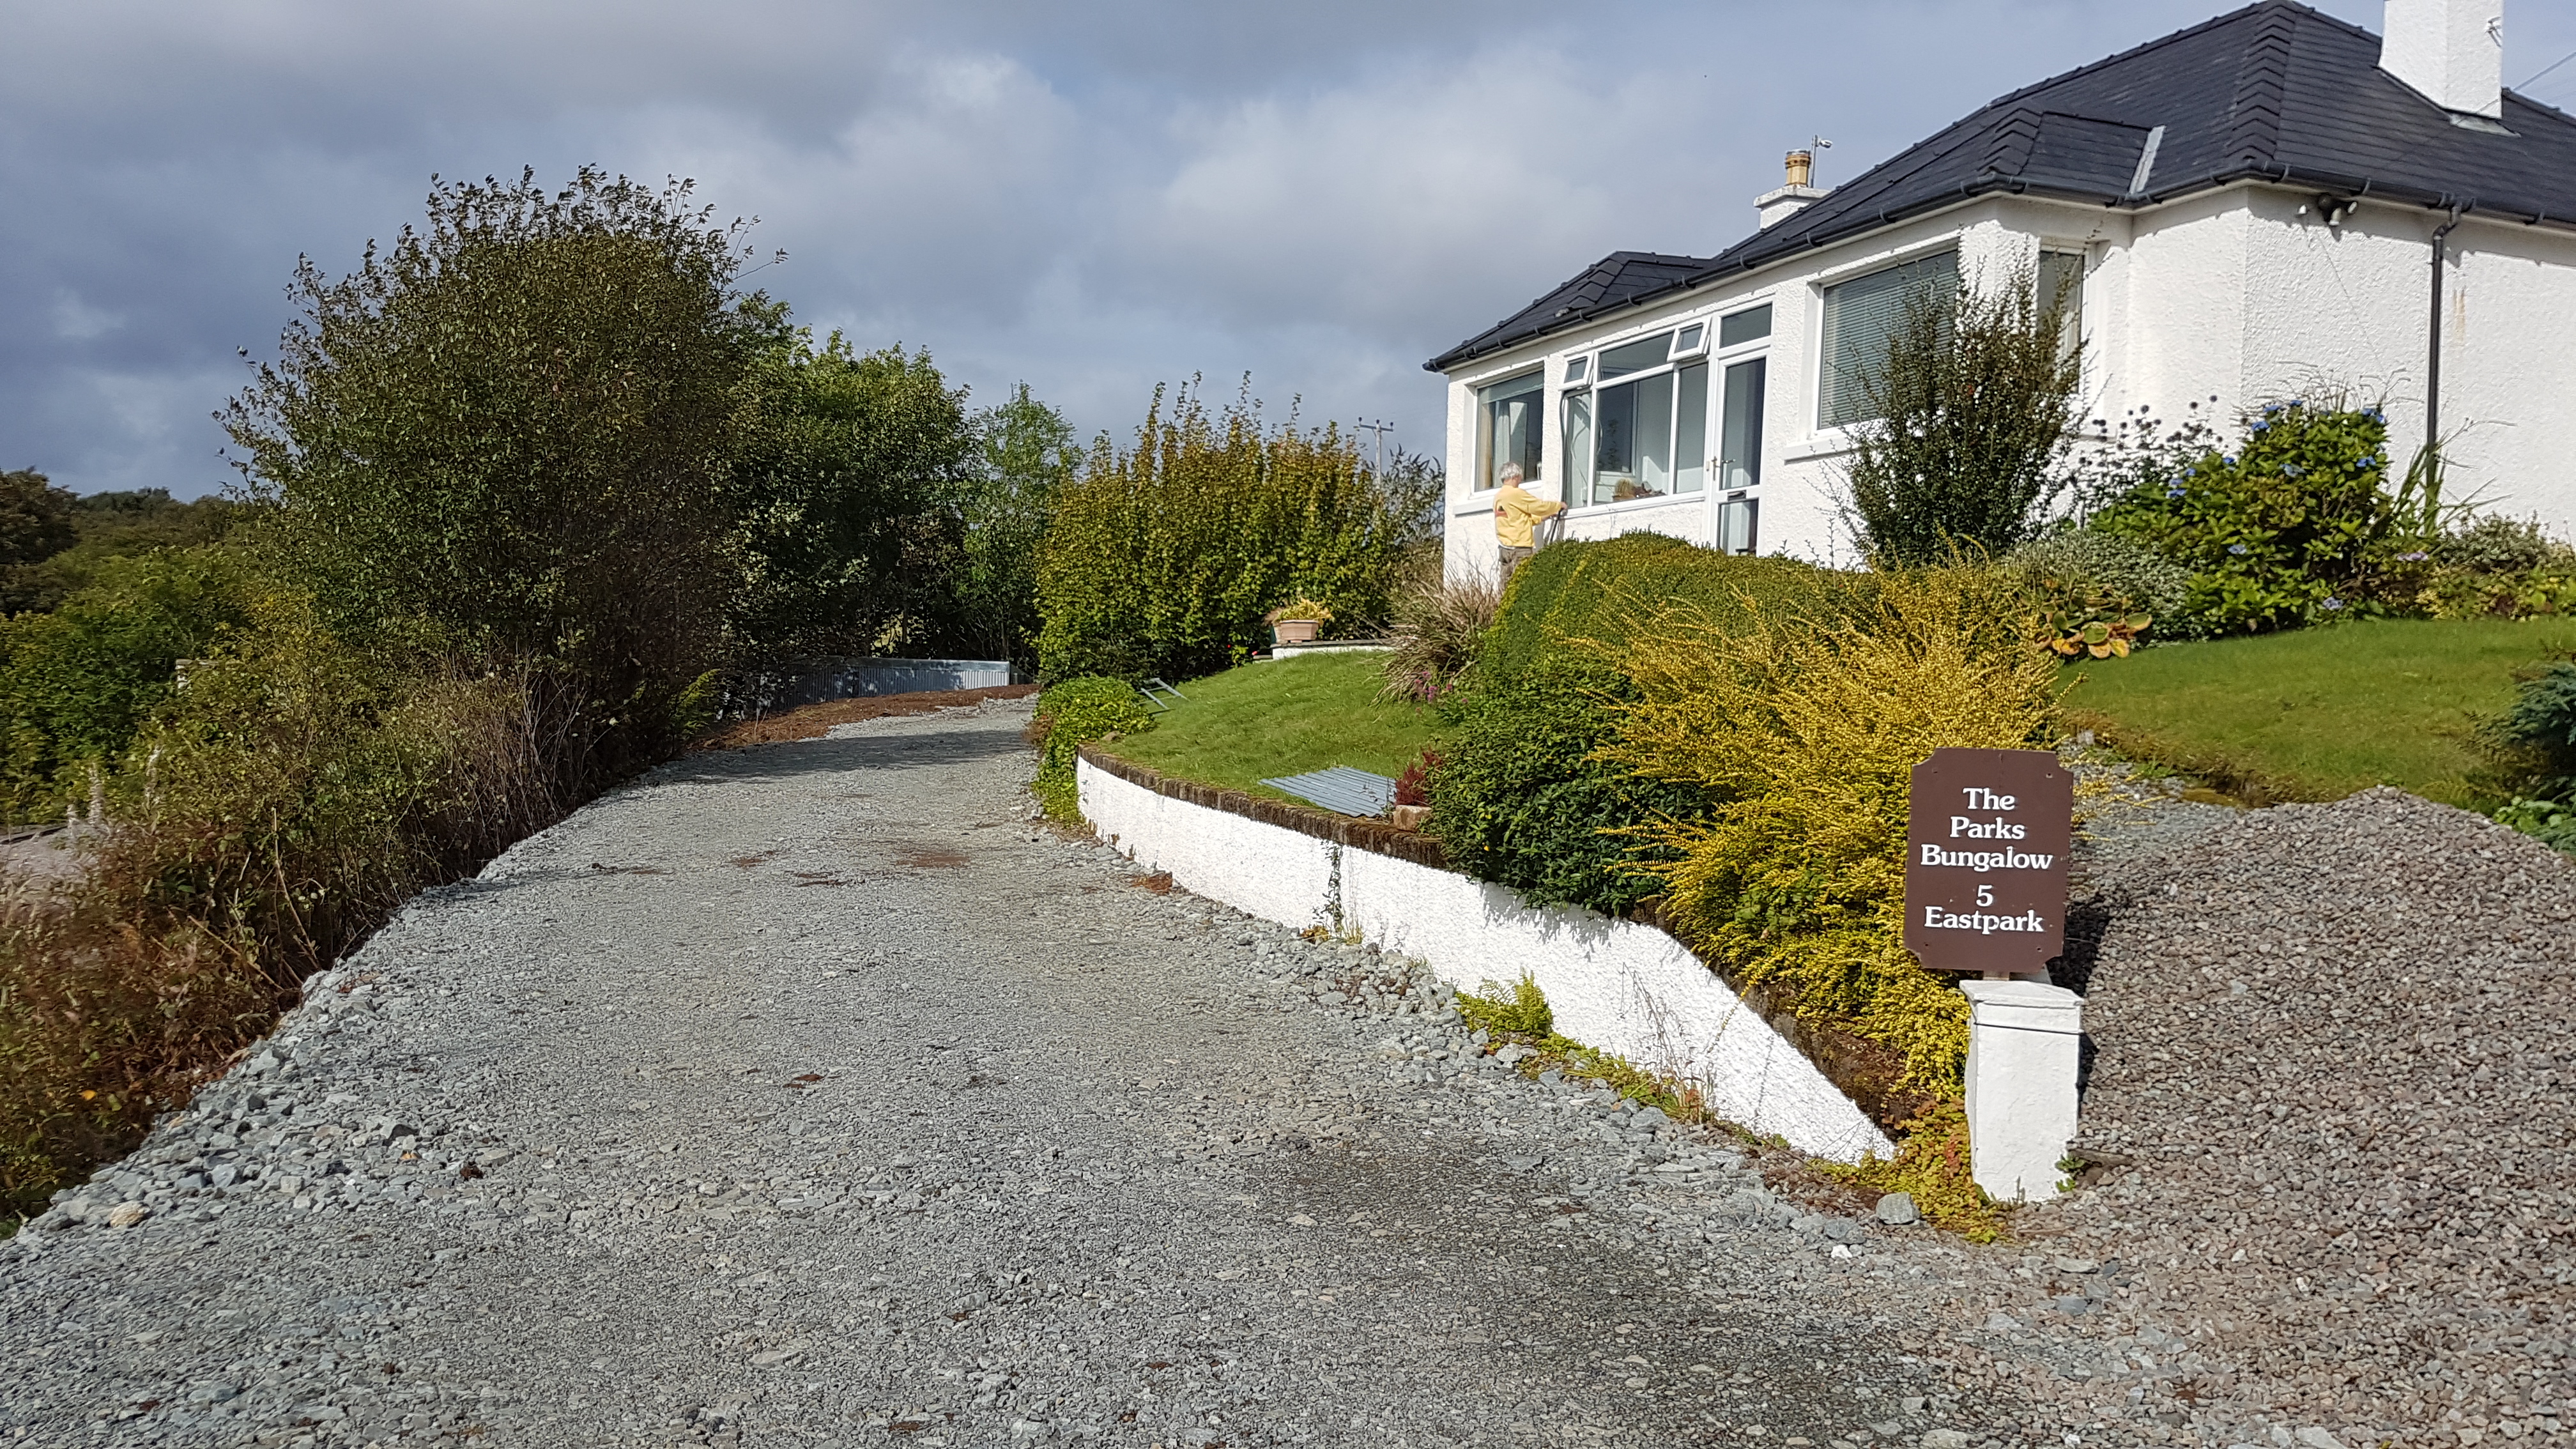
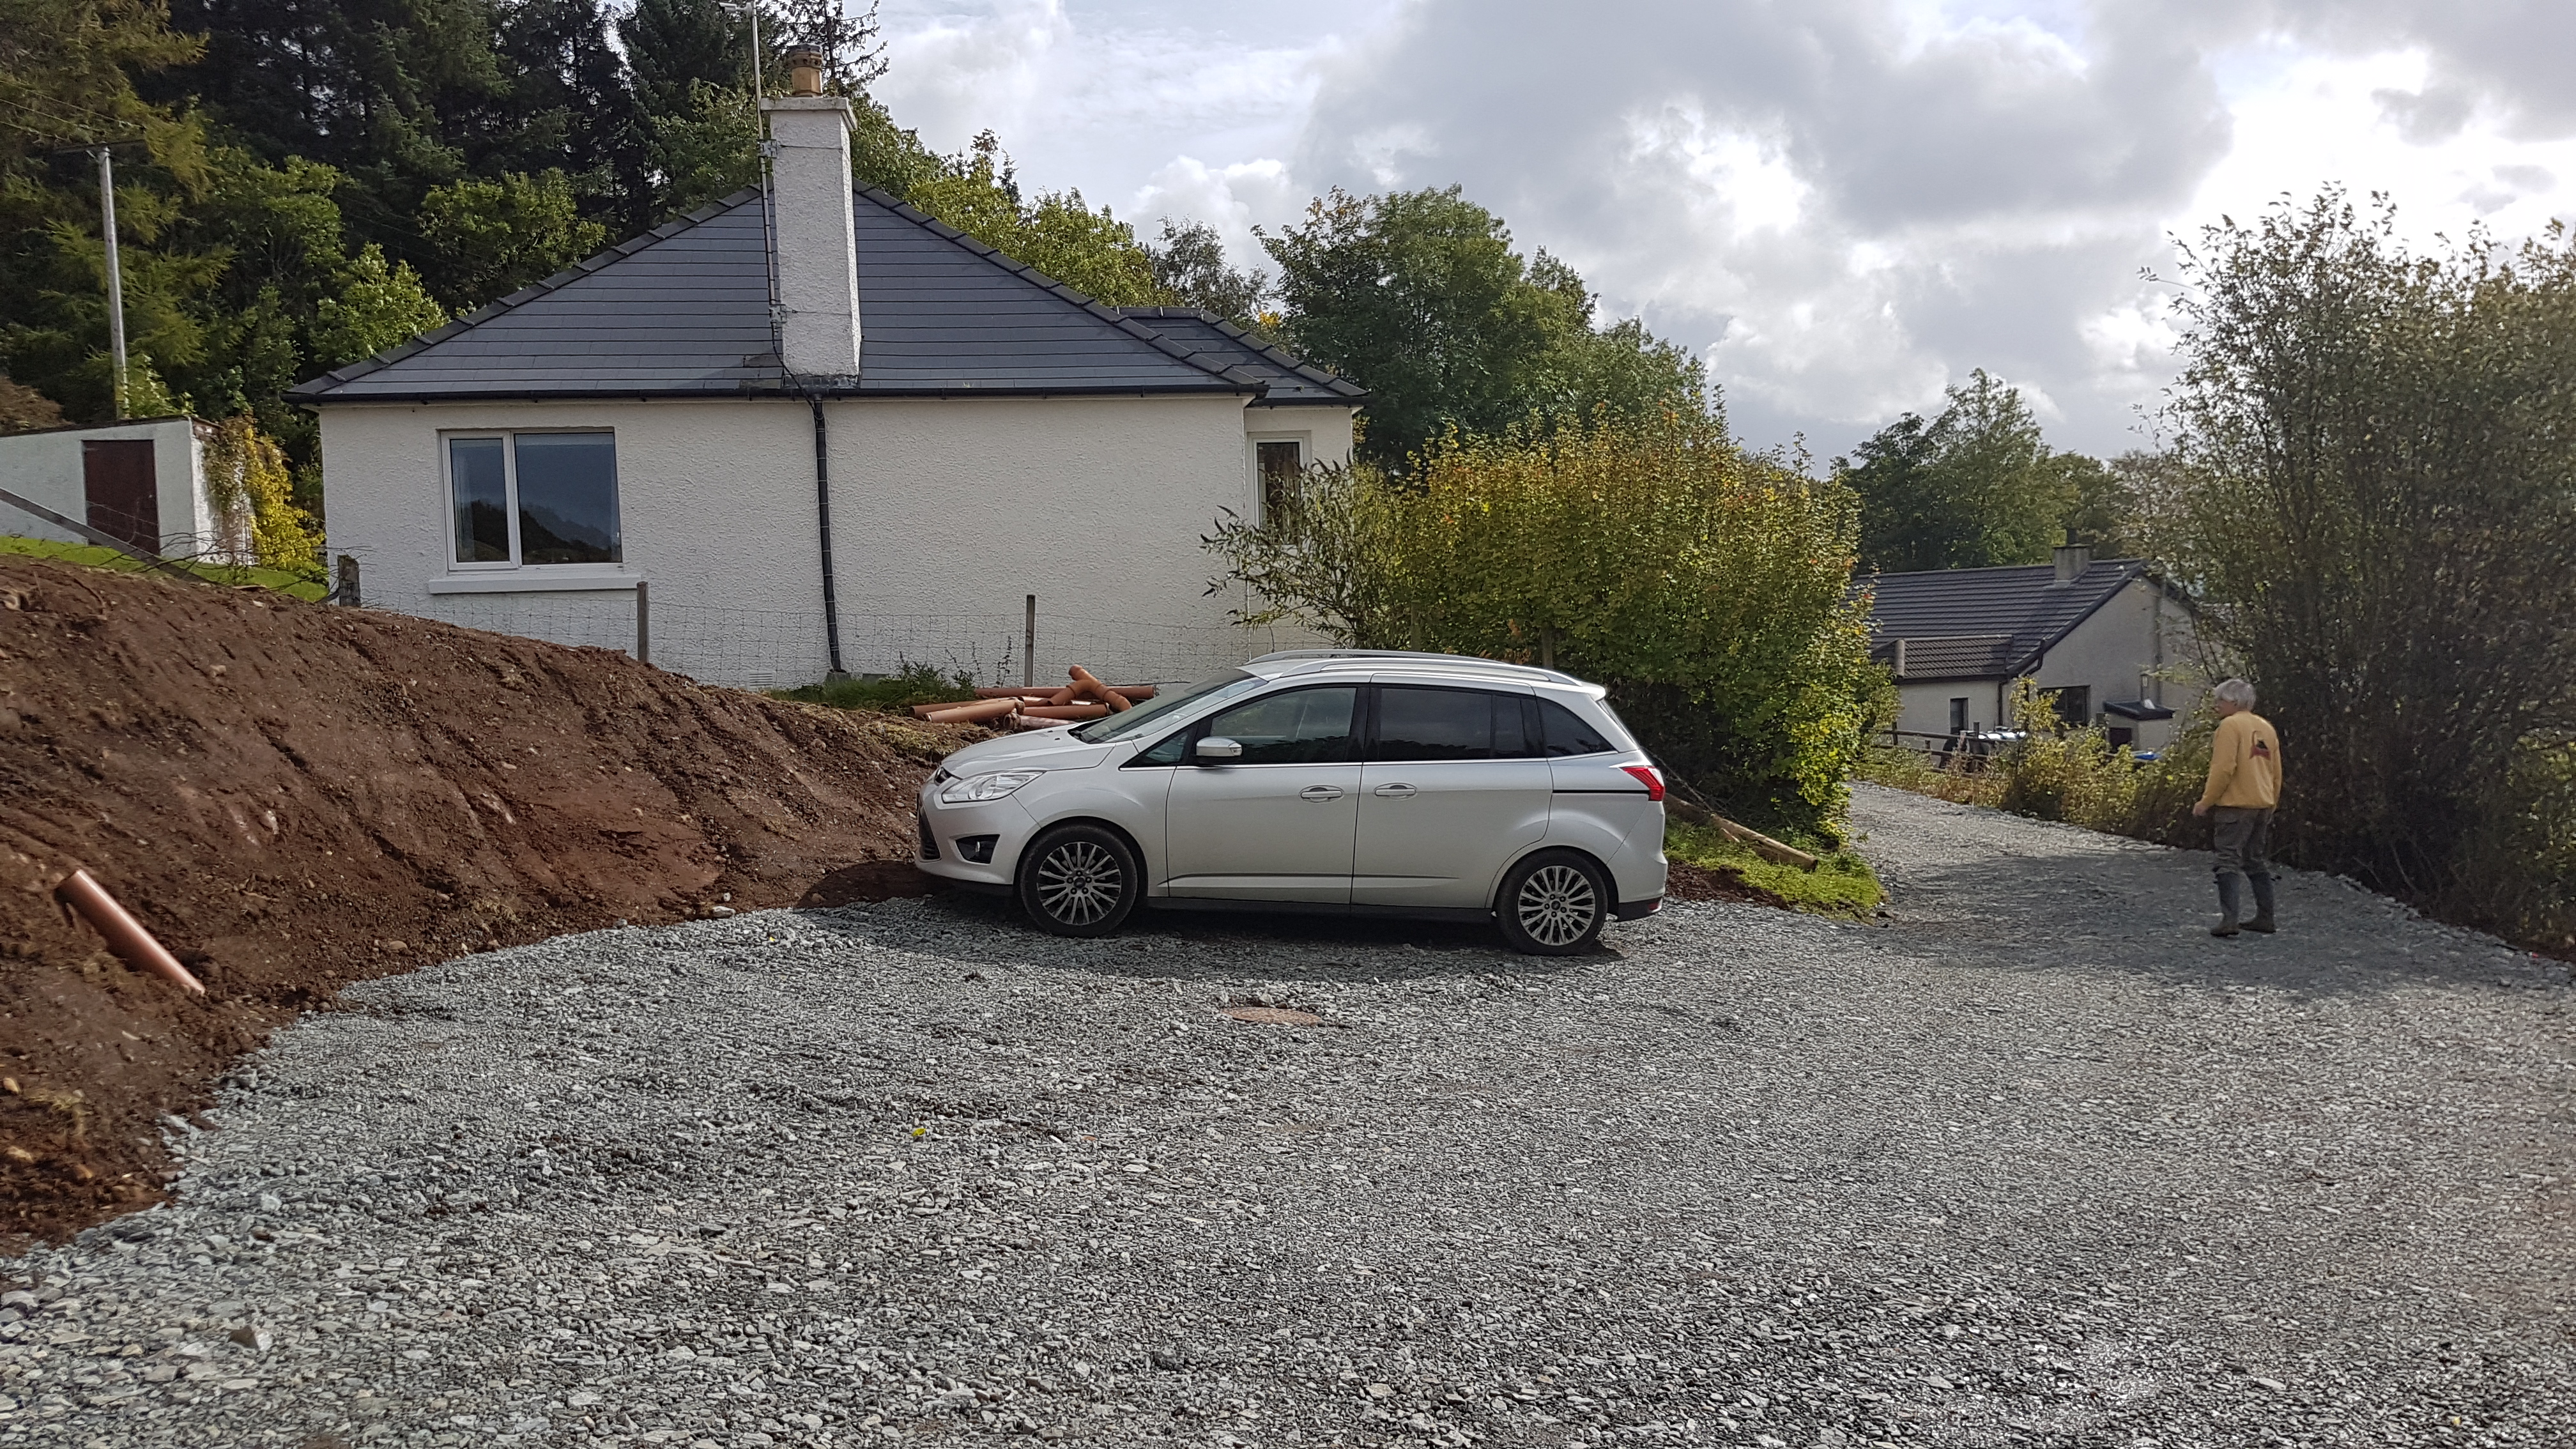
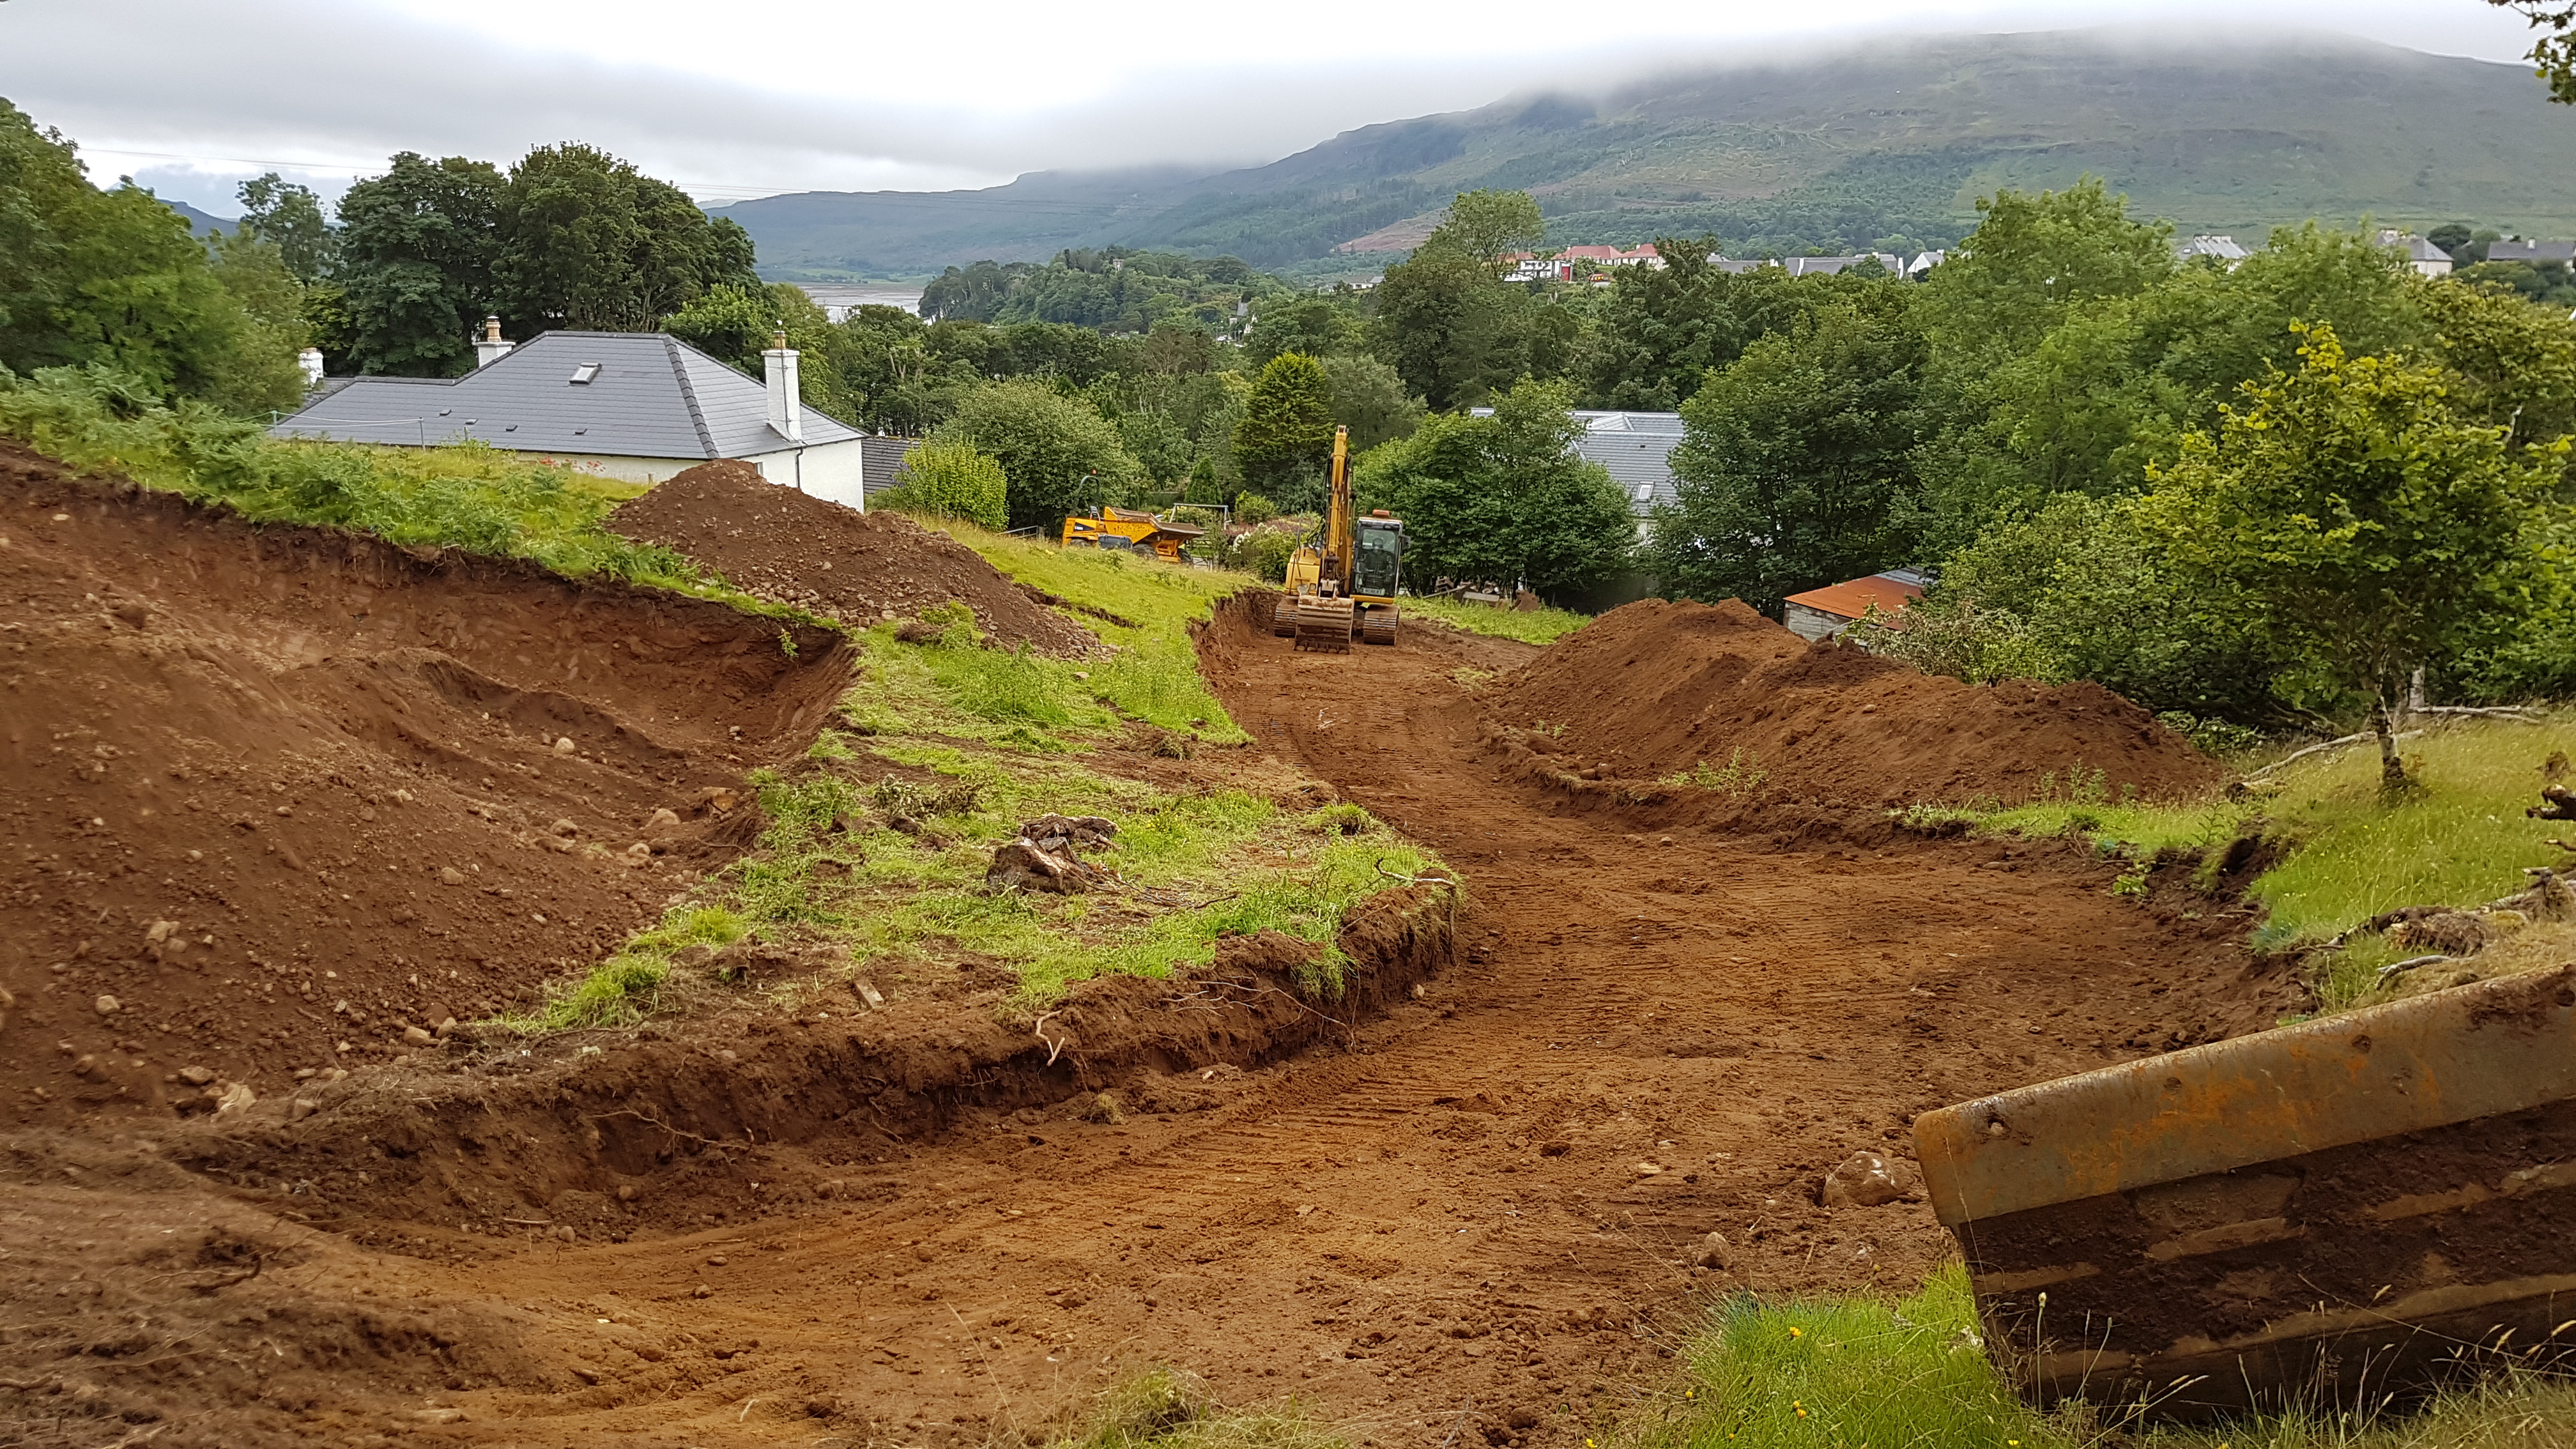
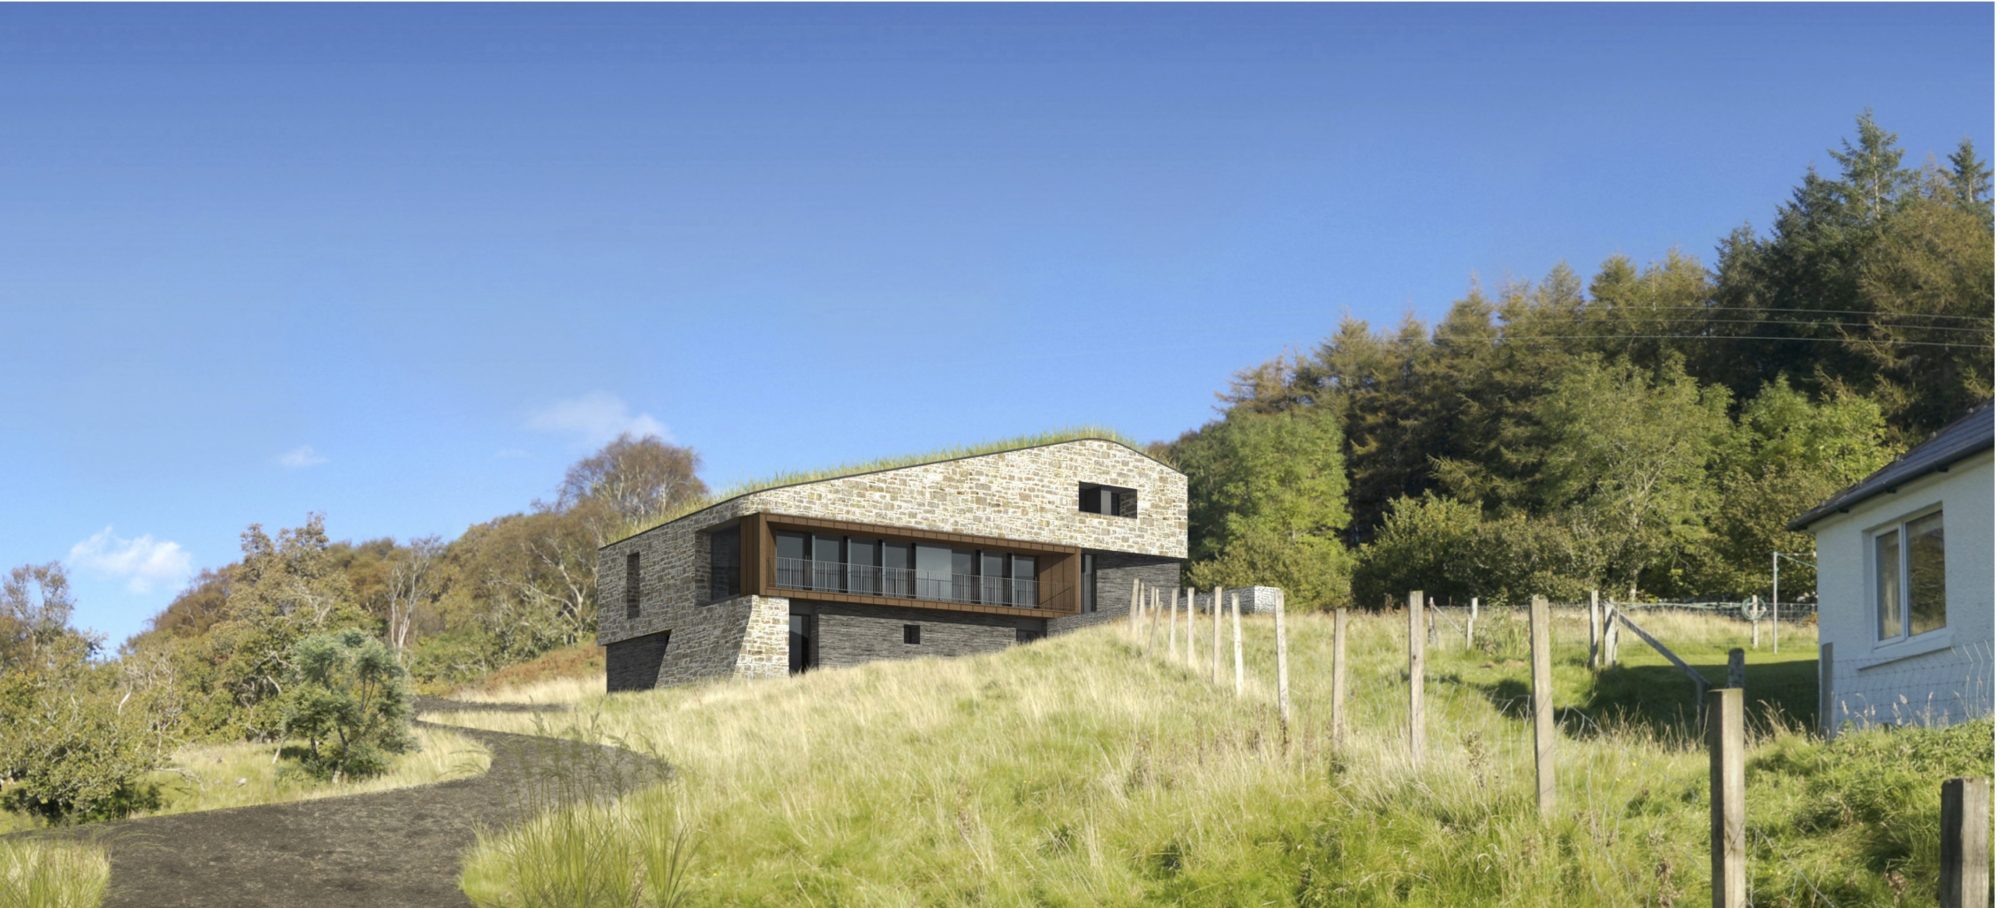